Battle Report Italians vs Desert Rats, Encounter, 71pts
By Dennis Campbell AKA Matt Varnish
Photos by the Author
Here we have the 2nd game using the Italians out of AVANTI, this time versus the British ‘Desert Rats,’ Encounter, 71 points. Nothing like playing Desert armies when it is -40 something degrees outside! Chris Caron once again obliged me in being my opponent and hosting, this time playing the British, and he opted for a Combined Arms approach, as he usually does, with an Infantry formation, an Armoured formation, and some Artillery support.
Brit 25 pdrs, 2 on the hill, 2 off for maximum visibility, he had no OP
Chris’ list was a Crusader HQ, Crusaders, Grants, Infantry, 6pdrs, two units of Carriers, and 25 pdrs. He also used the ‘Scout’ card, improving his Crusaders.
I had a tank formation with 4 Semoventes, 5 M14/41s, another formation with 2 platoons of 5 M14/41s, 90mm AT guns, and 100mm howitzers. Not one Bersaglieri!
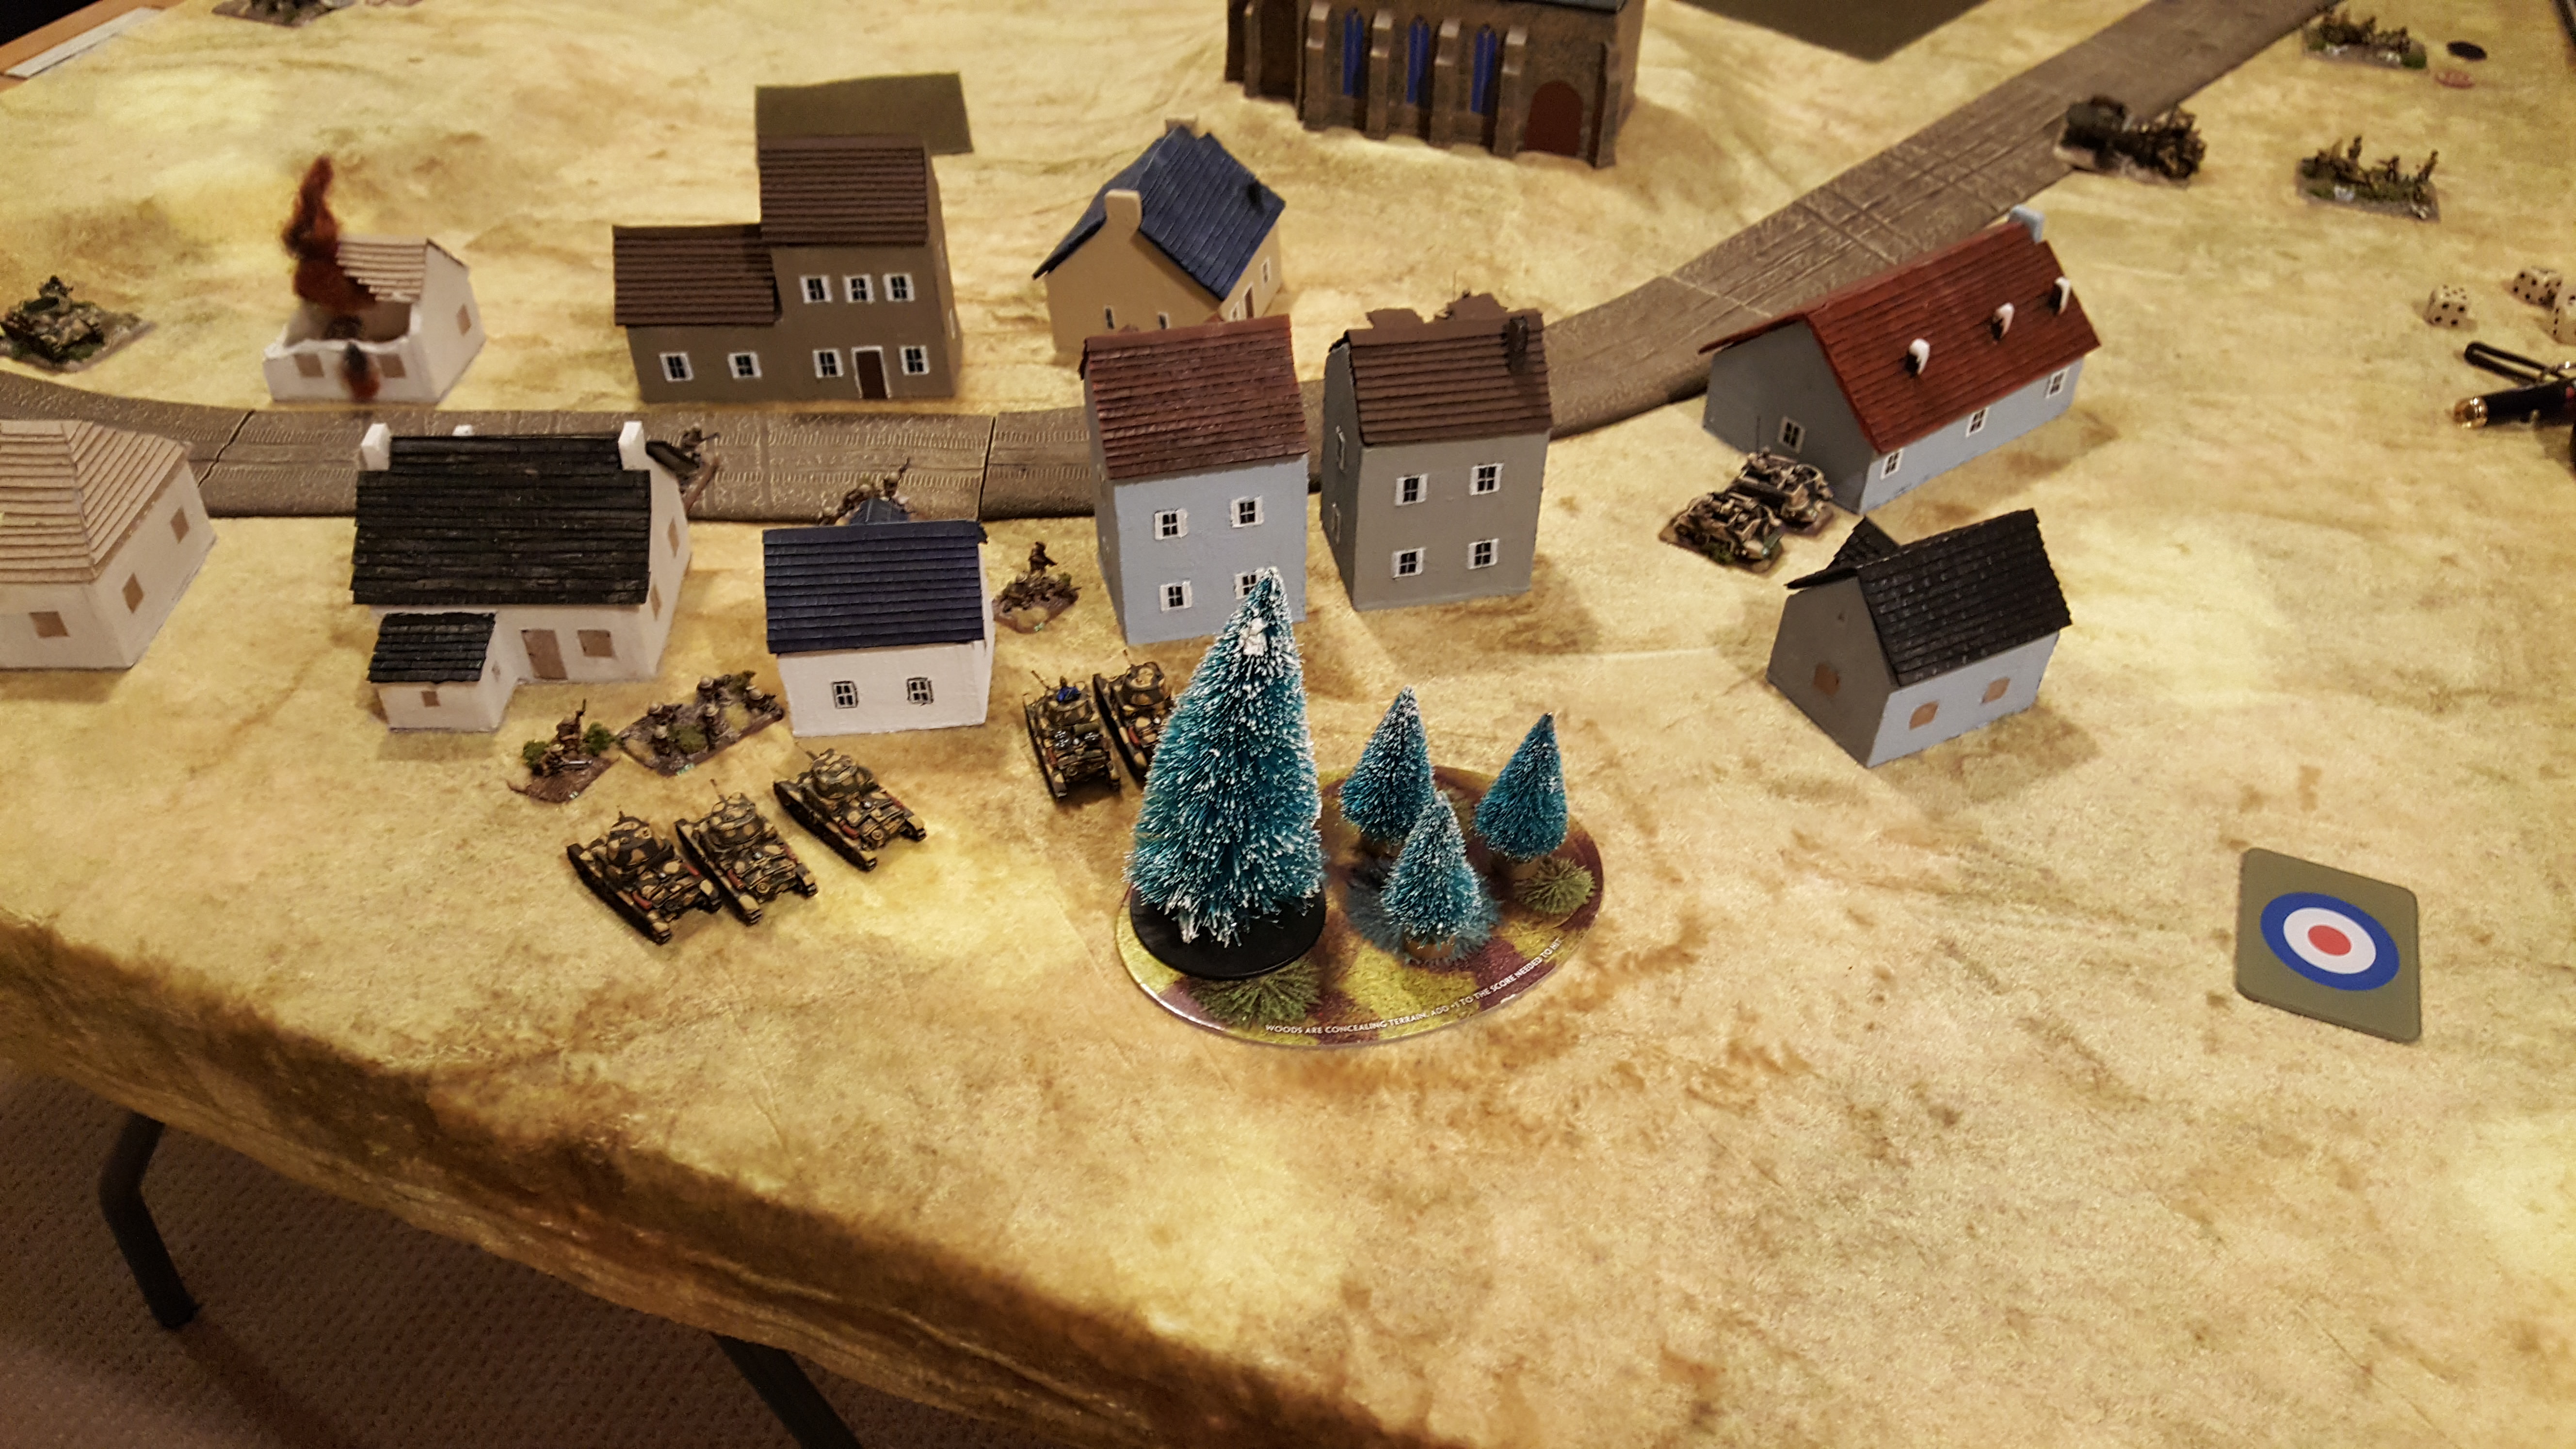
We rolled up Encounter, and here are some Deployment pics:
Motor platoon guarding the wrecked M14 objective near the townChris would spearhead his 6pdrs onto a hilltop forest after I deployed a unit of M14/41s in a field. This would prove the turning point of the entire game, in the Deployment phase. He put his entire Crusader formation in Reserves.
More carriers and the Motor Coy HQ are on the other objectiveFour spearheaded 6 pdrs with clear lines of sight into my whole DZ.
I knew if I went first, I could at least avoid most of the 6lbr fire with a few buildings here and there. I had to leave my Semovente Tank formation in Reserves, as the other one was lower on points and would force another unit into Reserves.
Yes, its a 75mm gun, and my plan was to Dig In my howitzers, even on the road, now that there are no limitations anymore!
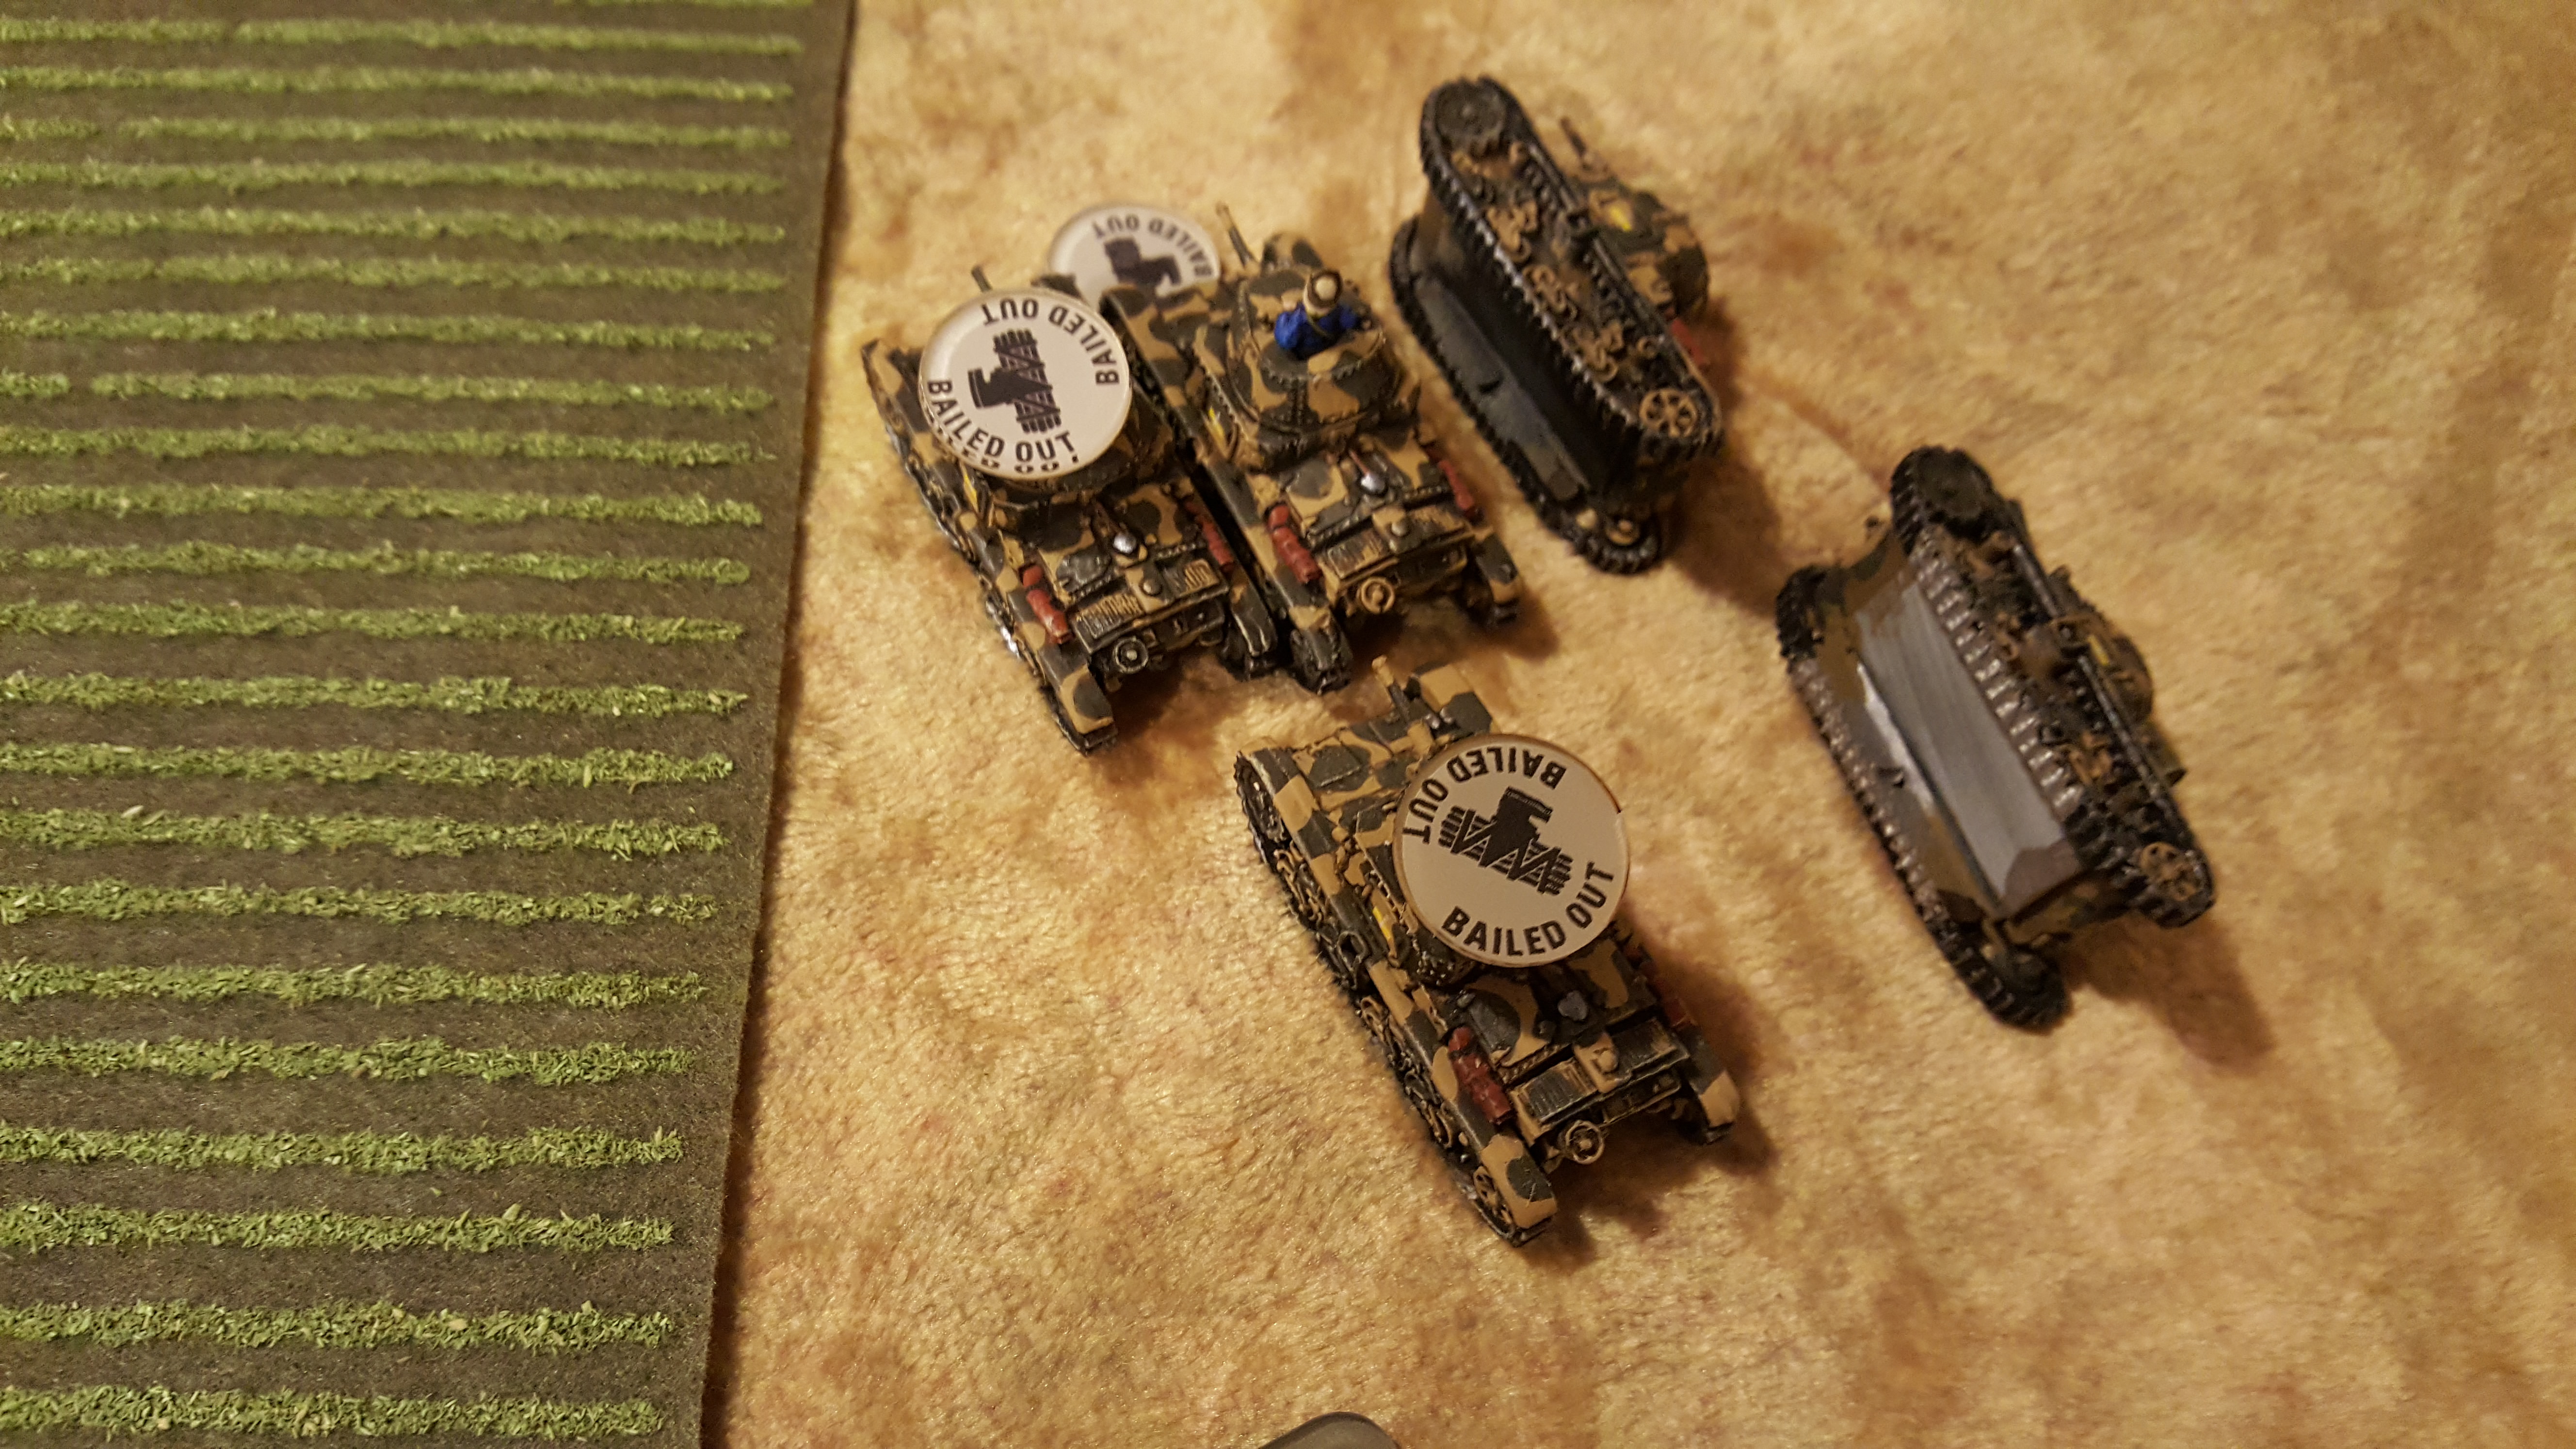
Five M14’s in the open… sigh.
I left the Lancia’s there to cover the road into town and the open ground against his tanks. Forgetting 6 pdrs have 28-inch range, not 24!!
Chris would get first turn, and apart from move some Recce carriers around, the focus is the 6 pdrs. He had 1 gun shoot into my Lancia’s killing one (5+ to hit) and the other 3 guns at my M14/41s, and got five 5+s on 6 shots!!! All of Chris’ bad luck from the previous game came back in spades here!
Predictably, my remaining Lancia gun-truck would fail its Motivation, and just 2 of my m14/41s would remount on my turn 1. I advanced to use the hill crest as cover and hoped to pin the 6 pdrs guns with my 100mm guns, but those failed to even range in!
After turn 1, notice top left of the table, the lone undefended British objective… I would have to hope reserves could contest it.Italian guns vs the 25pdrs on the far hill. Apart from a few pins, all game we would kill only one gun team of each others’ artillery.
Chris’ turn 2, after I had threatened to bypass his 6lbr gunshields with my artillery, he tried and failed to Dig In the 6pdrs. Failing the Dig-In, his return fire was less effective, and I made my saves on the one M14 that was hit on 6s, My turn 2, the ‘Plan’ was to flank each end of the 6pdrs (remnants of one tank platoon on one, full platoon plus HQ on the other) shoot from behind the gunshields, and assault. I was able to only Pin the guns and went in with my 2 tanks on one flank, passed both Cross checks, failed to hit, he would pass his Counterassault and shoot my tank in the side with Anti-tank 9, breaking my platoon!
Failed to shoot or melee that one gun, and lost the crippled platoon of m14’sThat’s ok, I thought, I’ll send in my other 6 tanks on the other end, joining the formation HQ, and on the way in, would get one Bailed by Defensive fire, fail 3 of 5 Cross Checks, kill 1 in assault, and then fail cross checks on the rest trying to cross that forest to get to the second gun! The lone universal Carrier crew could only sit and laugh at the Italian tanks all bogged down in that forest.
Man of the match: The forest, causing 5 failed cross checks and saving the 6pdrs from justice!Singling out my HQ??, that’s just not Cricket, old boy!
After we all had a good laugh and sipped our Whiskeys, Chris did not receive any reserves, and after unpinning his 25 pdrs (my 100mms had pinned him in turn 2) would fire over open sights and kill my Formation HQ and another M14. His 6pdrs could not find any targets after turning to face my bogged-down tanks.
Start of my Turn 3, my lone M14 platoon is removed, since that Formation is not In Good Spirits (HQ and 2nd platoon destroyed) leaving me with JUST the 100mm guns on the table!
6pdrs after having destroyed my entire m14/41 formation!!Chris would get his heavy tanks on turn 4, Dashing them from the corner deployment (Scattered Delayed Reserves) threatening my field objective, but staying JUST outside my 100mm guns’ 16-inch direct-fire range. Cheeky! His motor platoon Dash/Follow Me towards my empty town objective. The recce Carriers are making their move on my 2 objectives as well.
With Front Armour 5, only the Semoventes can touch the Grants but are still in reserves…My turn 4, I get a bit of luck: Both reserves come in, Semo’s by his Grants, M14s by his infantry, both with the corner deployments so I got that extra 16 inches.
Lining up for rear armour shots with my Semoventes on the Grants
My Semo’s take side armour shots with their Anti-Tank 8, but with Side Armour 4, he would make some saves and I could only kill one Grant! Meanwhile, I would make 18 of 30 MG shots on his motor platoon, killing almost all of them, then assaulting the survivors.
Love the M14/41s vs infantry that are not Dug in!
My Semo’s would actually survive this, front armour 4 vs Crusaders and the Grants just couldn’t hit!
Turn 5, both Recce carrier units would hit my objectives. My assaulting m14’s actually went too far, and would now need a successful Blitz move to contest. Which they, of course, were not successful.. in hindsight I should have simply moved, then Follow Me the platoon leader to contest. Since even if I failed that, the leader still moves the 4 inches.
Recce using my wrecks as cover vs my 100mm guns, but the Semoventes could contest this objective..…while a failed Blitz move means my M14’s can only look on from 6 inches away as the other Recce win the game for Chris.
Apart from the Motor platoon running off after being assaulted, I did not kill anything. While there was certainly plenty of luck swings, it was still a really fun game, but I have to admit to being underwhelmed by the 100mm artillery (maybe would have been better Ranging In on 3+s if I had rolled Elite on the 8 Million Bayonets dice) If they could have ranged in on his 6 pdrs that first turn, I would have saved myself the rest of the M14/41 formation, but again, I kinda wanted to see them charging in, assaulting, seeing if they could do it.
On paper, they sure can, just maybe not if I am touching the dice! The Lancia’s were badly placed, but I had zero area terrain on my whole side of the board, so I placed them so the church shielded them from the 25 pdrs, but that ONE 6lbr at 27 inches was enough to break them! I don’t know if I am sold on just tanks. Instead of assaulting the 6 pdrs, I guess I could have sat and shot my main guns at him? But then I would be hitting on 6+s, he would get a 4+ save, then I’d have to make 4+ firepowers, while I am super vulnerable to any return fire. If anything, this game makes me want to paint up more British 6 pdrs!
Link to Video Battle Report:
Matt Varnish, AKA Dennis Campbell, plays Team Yankee, Flames of War, and Black Powder in the frozen wastes of Canadia. Check out my youtube channel for hundreds of Battle Reports if you like here: