Converting with Nothing
By Jacob Shober
Converting is one of my favorite parts of assembling miniatures; customizing them by changing (whether simply or drastically) from the original model, to create your own flavor of character or pose.
This is sometimes daunting to a beginner, as you see tutorial after tutorial on using green stuff, plasticard, brass rods, and various other extra parts. Sometimes, you end up spending as much as if not more on extra materials to convert your model as you did on the model itself.
This does not need to be the case, however, as this article will show. Sometimes, it is as simple as shaving off a tiny bit of plastic, “cutting and pasting” from other parts on the same sprue, or even using parts of the sprue itself. Below are several examples of tricks I have used to customize my own miniatures, so you too can bring your models to life in your own special way.
The first trick has to do with arms on infantry models. Very often, arms are posed in certain ways, at certain angles from the main torso. This is especially the case with arms holding weapons that require them to be at a certain angle for the other arm to fit. What if you want to make a dynamic pose, with an infantry model holding up their weapon and dramatically pointing, or clutching their chest in a heroic last stand? It is actually super simple, without changing too much of the model.
Shaving down the connection surface, where the arm meets the shoulder can vary the dynamics of the pose.The modification is all about the angle of the joint. The easiest way to change it is to shave off a sliver of plastic, at an angle, from either the torso, shoulder, or both. The more material removed, the more the angle will change. If you remove material from the back of the torso or shoulder, it will push the arm away from the body. If you remove material from the front, it will move it closer to the body. Make sure not to remove too much, however, you still want the shoulder to appear natural. The key is to shave off just enough material accordingly.
I have removed just a tad bit of material at the edge of the shoulder and arm joint.Hands
The next trick follows along from the previous; hands. A person’s wrists are quite flexible and can be rotated quite a good amount, and still look natural. One of my first ever conversions was a simple turn of a pistol wrist for a “kill shot”. Yes, I was very young. Please don’t hold it against me. You want to make sure you take a sharp hobby knife and cut at the exact point where the wrist meets the sleeve (or armor casing, whatever it might be).
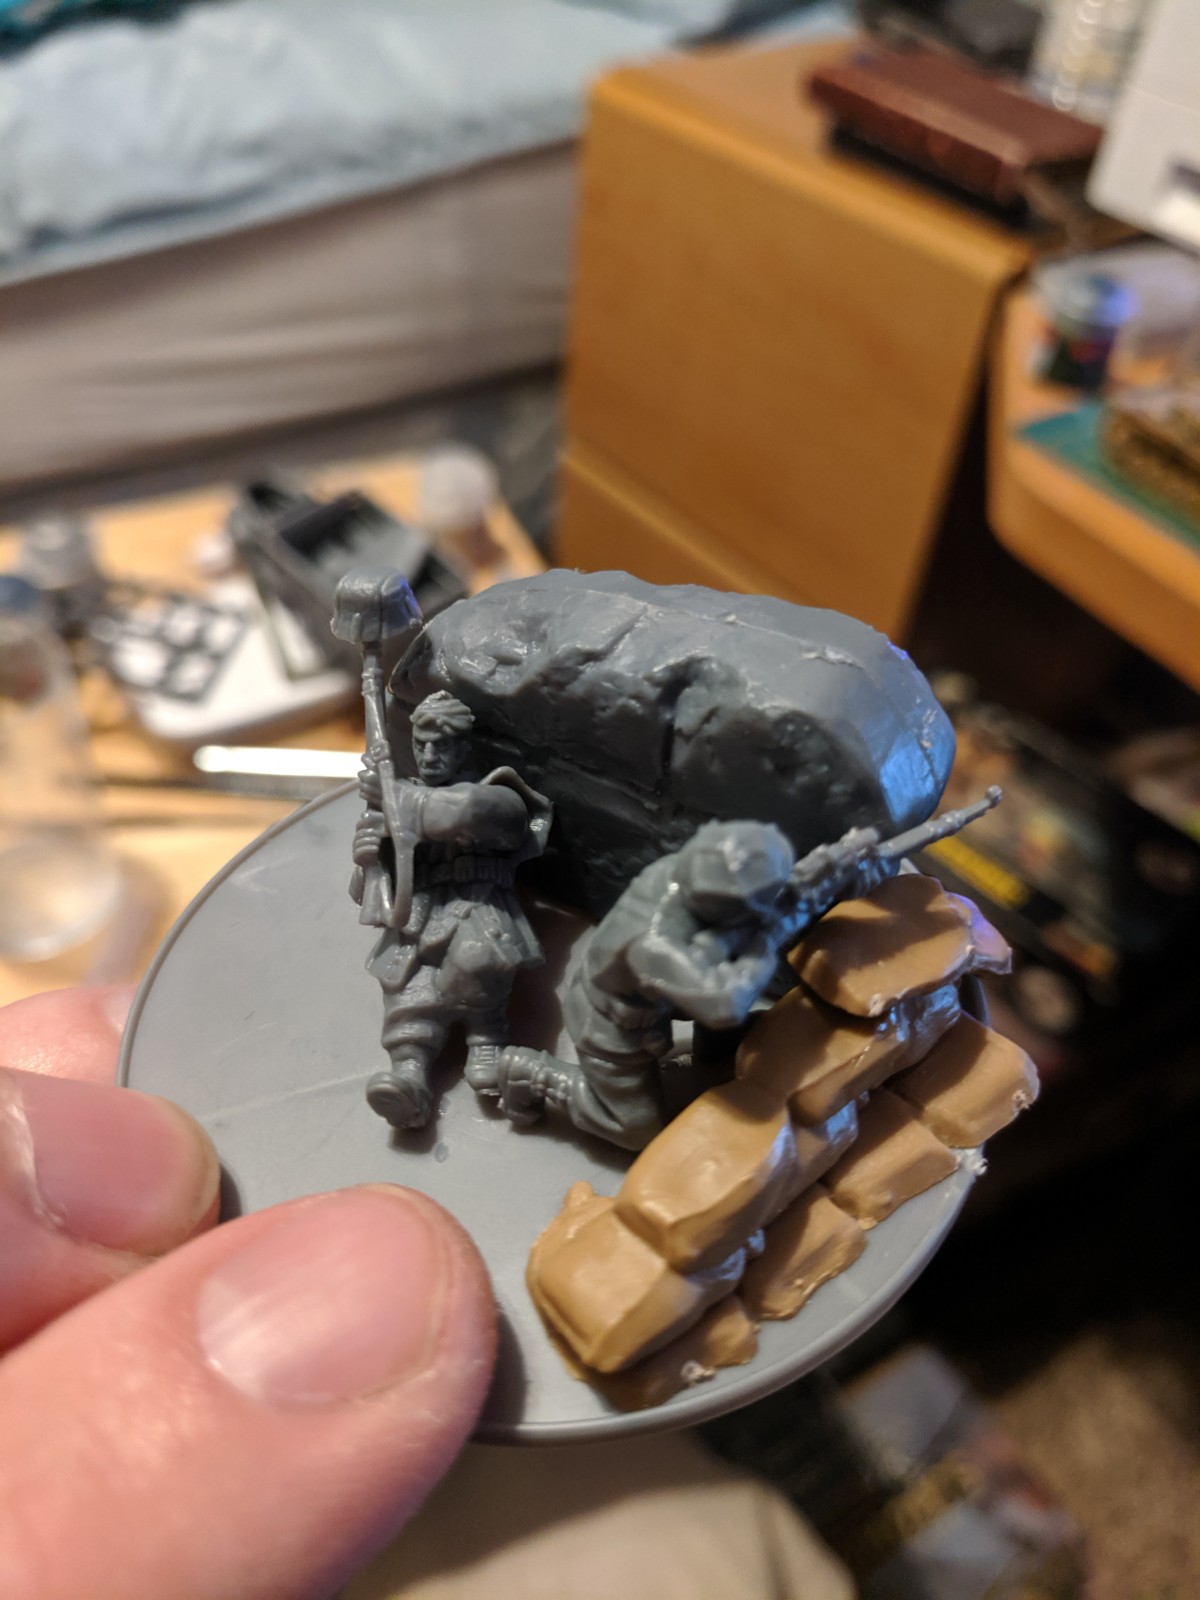
Then, glue the wrist in place back at the angle you wish the hand to have, making sure to center it on the arm stub. This can be used to have your model holding their rifle while retrieving a spare magazine from a pouch or throwing a grenade, or placing a melee weapon at a more dynamic angle, or in the case below, holding on to the shoulder of his comrade as he fires over the other.
Speaking of magazines, most of the time models do not come with spare magazines, so a reloading pose is usually out of the question. It does not need to be the case. This next trick is mainly used for weapons with pronounced magazines; Bolters, STG 44s, Thompsons, etc. Clips, such as those used for the Enfield or the Garand, are a bit more difficult, though creativity can win the day.
This iconic pose of a German LMG team features some simple modifications. Remember to use putty, or gap-filling glue to fill in any excess gaps created by your modifications.For this, you will need two weapons of the same type; one you are going to scrap for the magazine, and one you want to be empty and reloading. Most of the time, the magazine fits up into a magazine-well, so simply cutting off the magazine, while it might do in a pinch, won’t be the right length for a new magazine. I promise not to tell if you just do that.
To get it more accurate, though, you want to carefully cut off the magazine at the joint of the magazine well of the rifle you want to be reloading, and just below the ejection port of the rifle you are scrapping for the actual magazine. Sometimes, on the model, they are the same width; congratulations, you’re done, and you can glue the magazine to the reloading hand.
Most often, however, you will have to shave down that bit of extra material on the magazine that was part of the magazine well. Have your blade as flat as possible to the surface, and try to cut at a continuous plane; a simple rectangular profile is perfect. Voila, you have a spare magazine for your weapon!
A melee weapon held creatively or dynamically can make a leader model pop, but often they are held only a certain way or don’t even have a good way to hold them, to begin with. The solution is twofold.
Melee Weapons
When working with historicals of non-firearms eras, or with fantasy models, these same techniques carry through. If your model is holding a melee weapon, you can either do the trick of cutting and pasting on a different wrist or at a different angle or get precise with your blade. As with the magazine, hold your blade at a very flat angle, and shave off the extra material of the hand. It doesn’t really matter how good you make it look, as long as there is enough material to hold together. The hand you will be putting it in can hide the sins of a rough cut.
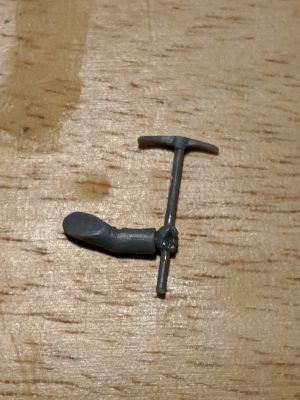 Alternatively, if you have the weapon, but like a hand already holding something else (such as the pick example below), there is a way around that too. Cut off whatever the hand is holding just above and below the hand, trying to have a nice flat surface on either side to work with. Then, lay the melee weapon beside the hand, and cut off a small piece matching the width of the hand, leaving you with two pieces.
If the melee weapon has a long handle, you can drill a small hole into either side of the hand, just enough to give the glue some purchase when you glue both pieces on. If it does not, then just glue the pommel and the weapon in the pose you want. An important part of the gluing process is to make sure that the melee weapon carries a straight line through the hand. Eye up the alignment a few times while the glue is drying, and examine it from different angles.
The Stance
Finally, let’s talk about feet. Most posed legs and feet have flat surfaces for gluing them to a base in a particular way. Be a rebel. Make your infantry charge gloriously, or have a dramatic last stand laying against a tree. The first half of this trick is very similar to that of arms. If you want your infantry to sprint all out, one leg in the air behind them, all you need to do is shave off a slight angle in the front foot.
As before, the angle is important; shave at an angle, with most material being from the bottom the toe area. Try not to go past the sole of the boot into the toes, as that would look awkward without some creative basing (which can hide many a foot issue…) Even just a slight angle is enough usually to lift the rear foot off the ground. Glue solidly to the base, and you are good.
Left: Standard pose, Middle: Toe shaved down for a more dynamic pose, Right: Both side by sideTo lay a model prone, leaning up against something, you want to use a model whose legs are as close together and center as possible; see the painted medic example, as well as the unpainted sniper’s spotter, below. Lean them up against the object before gluing the head on, to make sure the pose is natural. Also, ensure that the arms can fit in the pose you want, and you have two points of contact to the ground, at least; the posterior and the feet. If you want to get really creative, you can cut small horizontal notches in the soles of the boots, to represent treads.
I hope you enjoyed this article, and it will help you get over any unease with converting. It is quite amazing how customized you can make your model using no more than your hobby knife. Until next time, I hope you have a sharp blade, a sharper eye, and the sharpest mind.