Crossing the Line – Aachen 1944 Reviewed
By Mark Greenwald
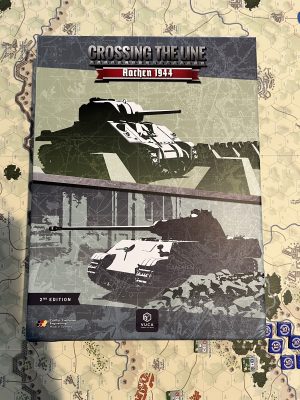
Crossing the Line is part of a series of games developed by Vuca Simulations in Germany. I came across it a few years back and put it on my Christmas wish list. But a second edition with a mounted map was just published this year. So I picked it up for myself.
It arrived last week and as soon as I could find table space, I set it up to do some solo learning.
Vuca Simulations is probably a company most have never heard of, but they are putting out some really nice games with nice reviews. This series includes two other games right now, Across the Bug River – Volodymyr-Volynski 1941 and Operation Theseus – Gazala 1942. It is an operational-sized hex and counter wargame with a nice twist on the standard IGOUGO turn sequence.
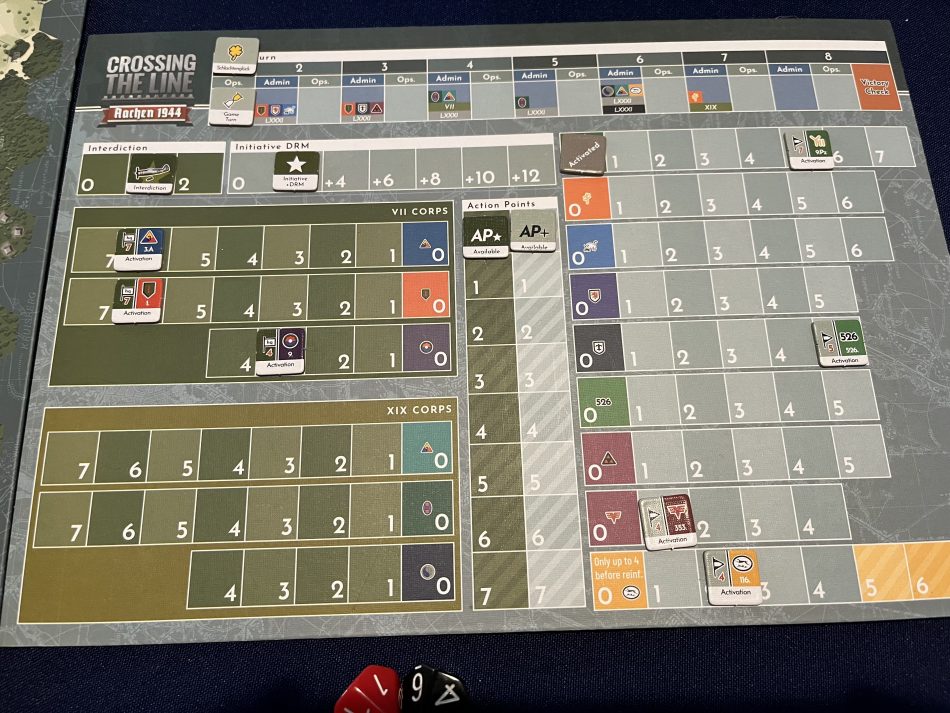
I usually try to learn a game solo before trying to find another player. Crossing the Line is not designed as a solo game, but while playing it, I did notice it is noticeably more suitable than many games for solo play. The game utilizes an Initiative Determination method for the player sides to activate a formation (such as the 1stInfantry Division “Big Red One”) which allows a player to do several actions generated by a table based on die roll and cross-referenced to the formation activation level.

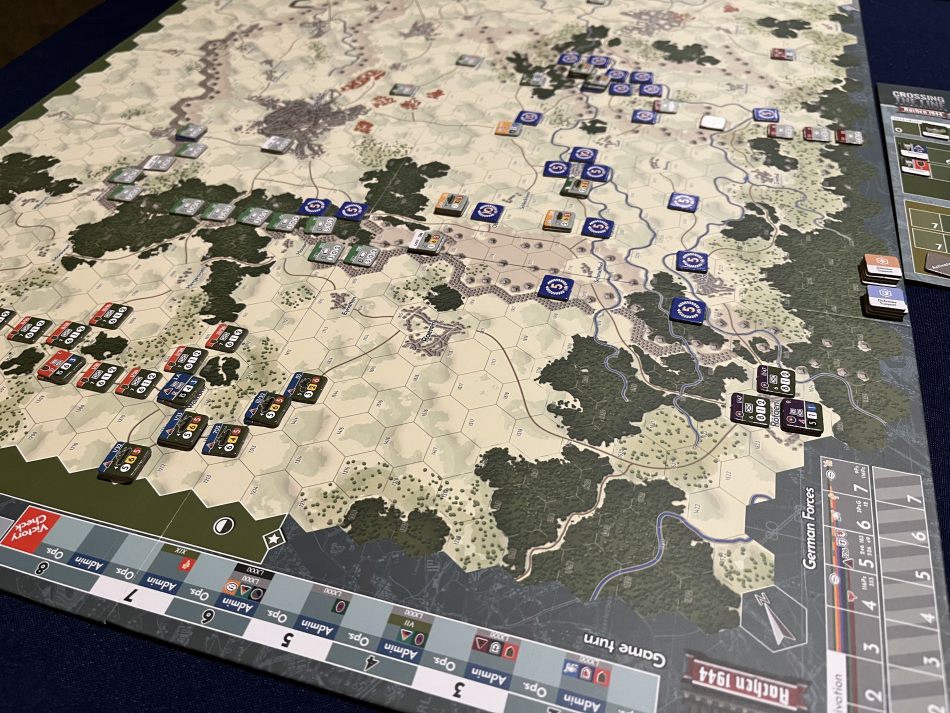
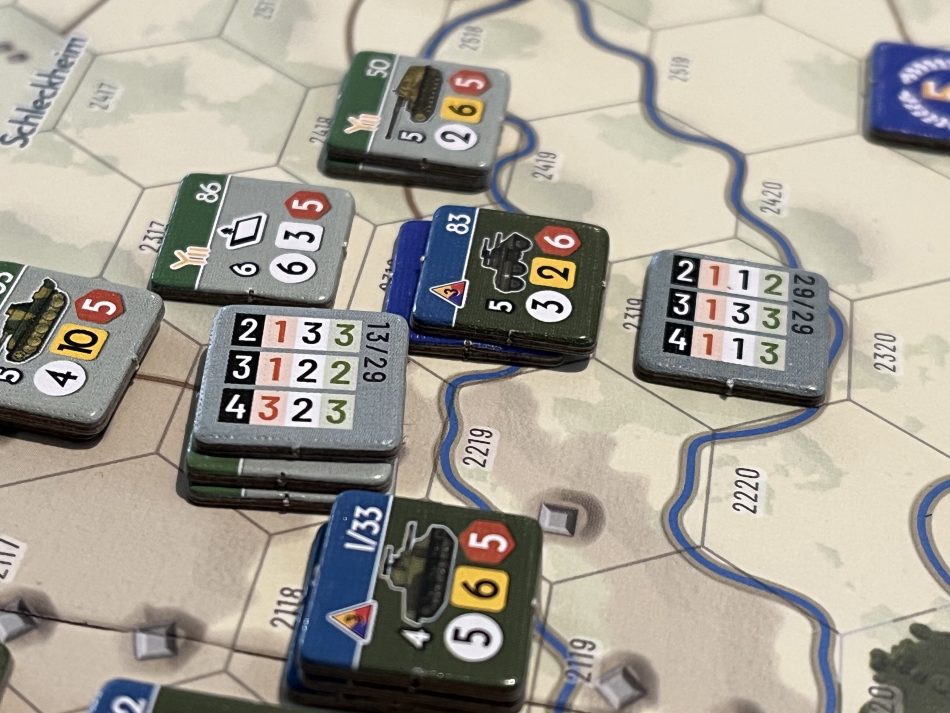
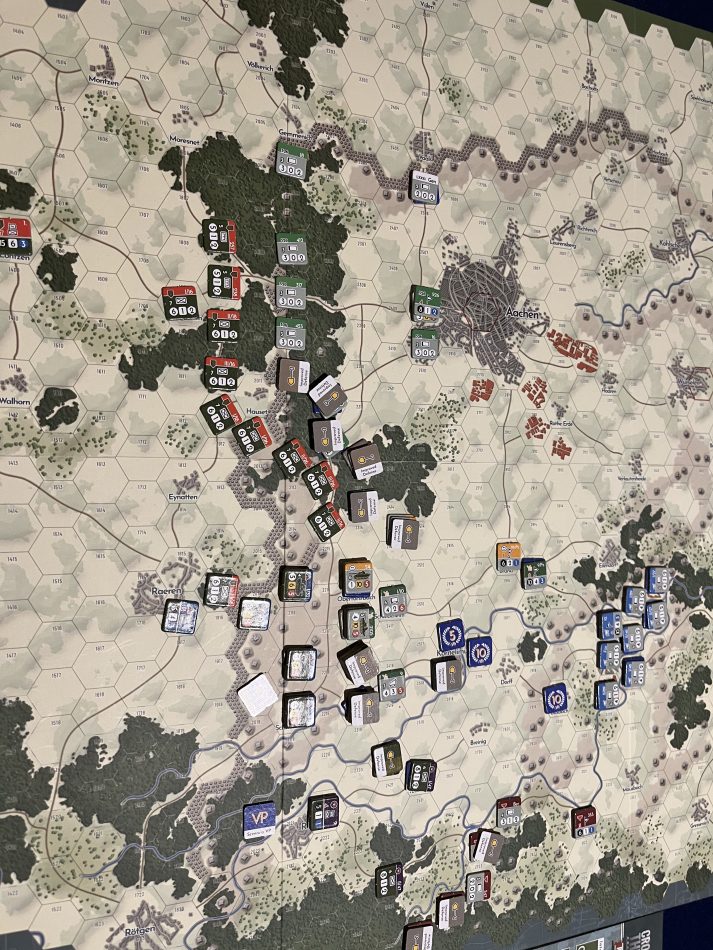
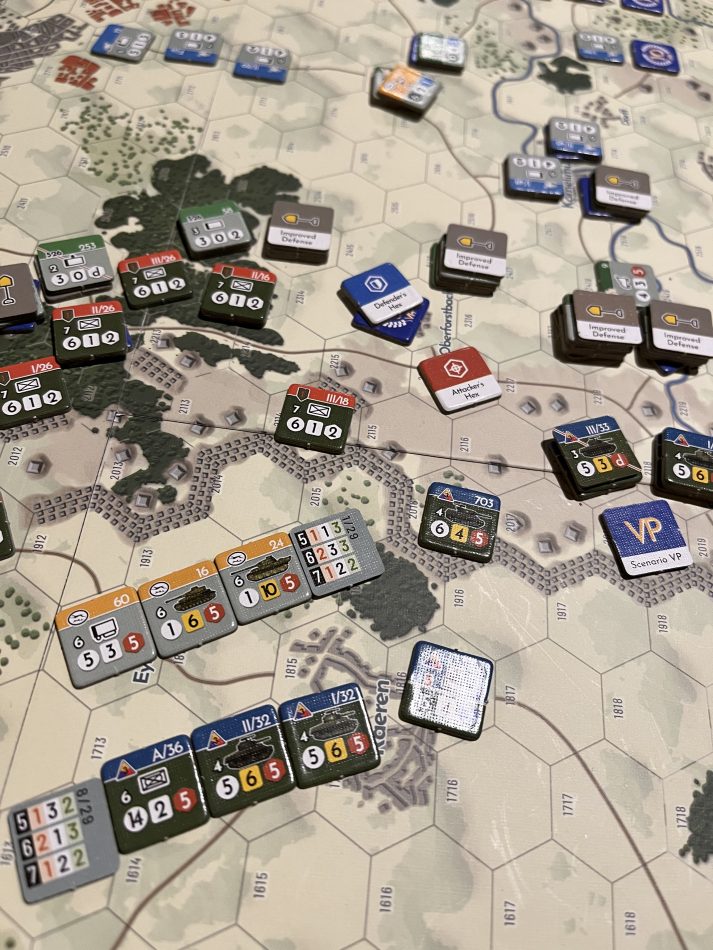
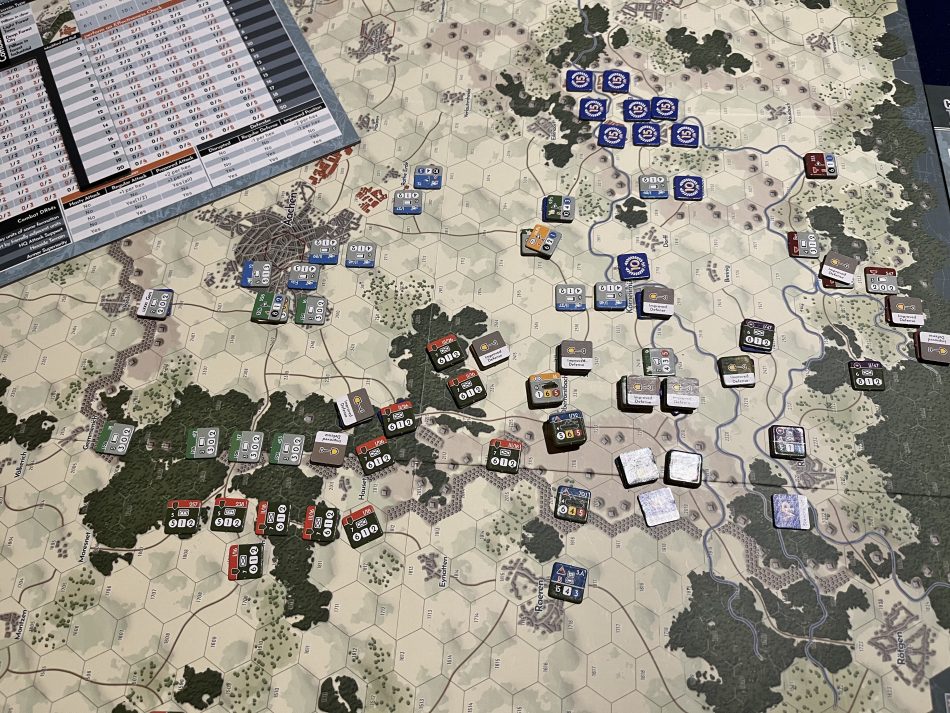
Germans counterattack the 3AD recon element. Looks bad for our boys during a turn. A formation has a set number of activations and each one lowers the available actions players can take during the turn. In this way, a turn is multiple operations by both players, sometimes players can take two or more in a row if the dice rolls occur. But each time you activate a formation, your opponent gets a die roll modifier to increase their chance of going next.
Additionally, if you move next to an enemy unit, your opponent can try to get a Reaction formation activation based on HQ rating. If successful, your enemy can interrupt your actions with their own. They might even get to do a spoiling attack or retreat, forcing you to spend more actions. I think it is a very good mechanism – similar to some of the CDG games now use.
One of the reasons this is great for solo is at any given point in a turn you can stop, walk away and come back later to pick up where you left off with the next roll for initiative. I think this is pretty great myself, as I was playing the second scenario over the course of three days while doing other things. It does require you to complete a formation activation, though.
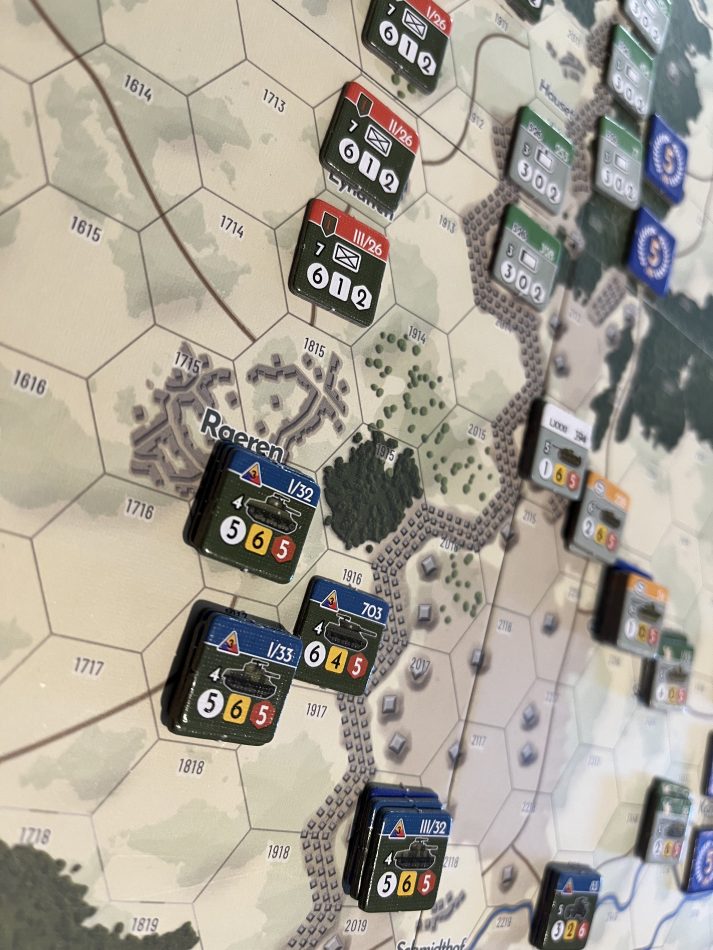
Each formation activation allows a player to move the component units of the formation. Most of the components are infantry battalions, and combat commands (of the US armored division, or German Kampfgruppen). During activation, you get a random number of action points to spend. Moving cost only one while doing a prepared attack costs three. As you do action, units can be moved more than once, allowing you to conduct an attack and then exploit the resulting gap (if any).
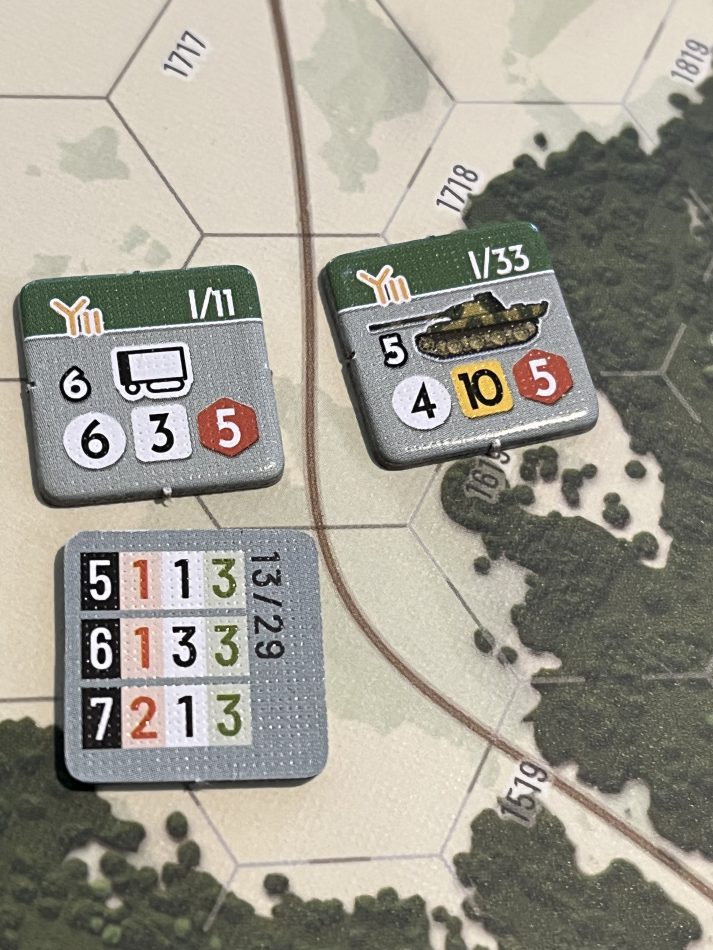
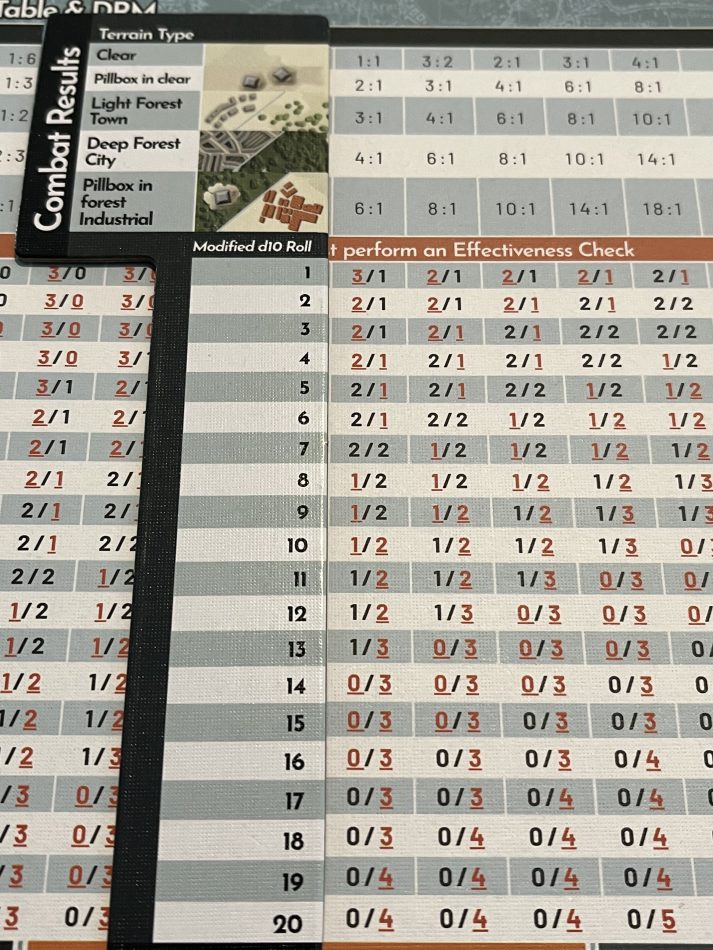
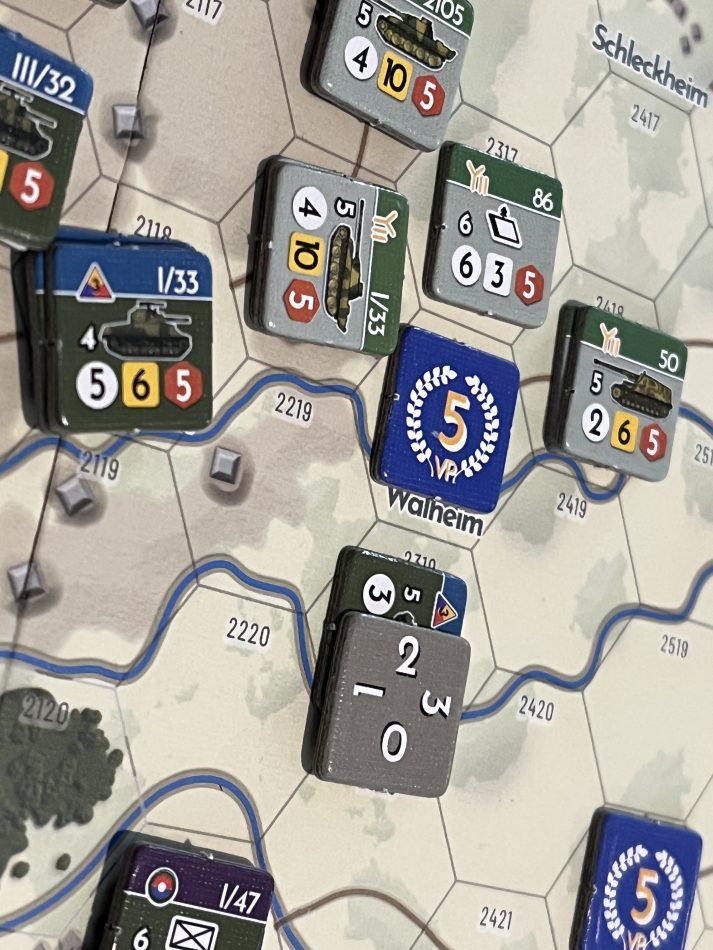
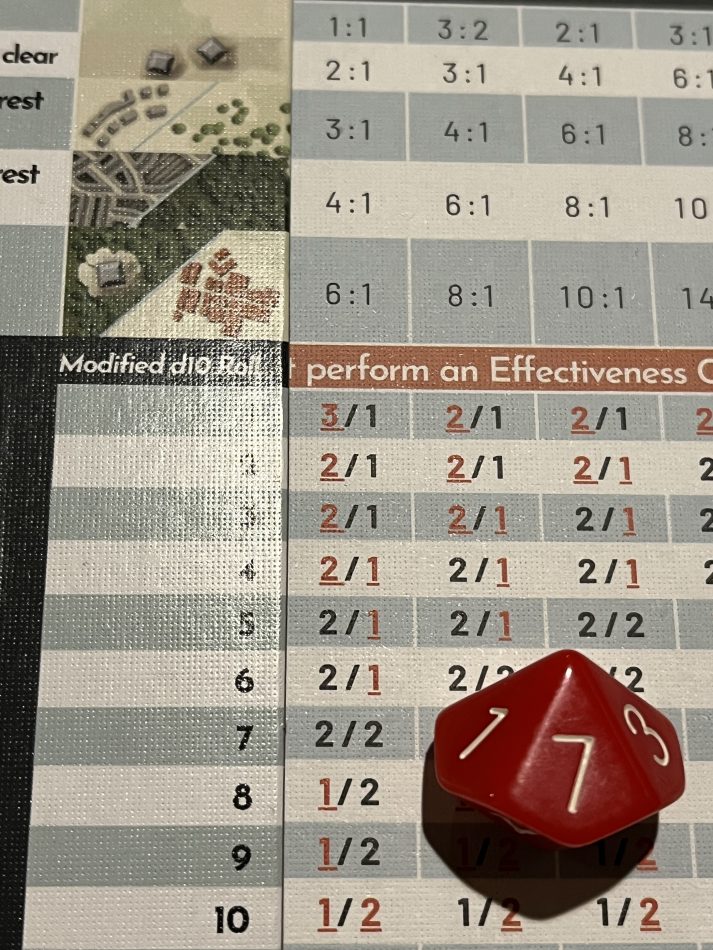
Combat in the game is attritional, with a wide band in the middle that gives one to two-step losses for the units involved, as well as retreats and a disruption chance. Disrupted units can only attempt to recover during the operations phase, so they become static, and easier targets to attack.
The combat chart is interesting, as terrain modifiers do not influence the dice roll. Instead, they shift attacks from left or right along the results prior to rolling. This seems more intuitive than doubling/tripling combat factors. Also, Combat Chits are randomly drawn. These influence the strength points of both attacker and defender based on unit posture and effectiveness.
Then die roll modifiers are added up for HQ and supporting units as well as how much armor or anti-armor is involved. As a result, some of the German tank units, with a high value for tanks, can do low-value attacks with a high die roll modifier to actually succeed. At first, this looks pretty complicated, but after a couple of goes, it all starts to click into place.
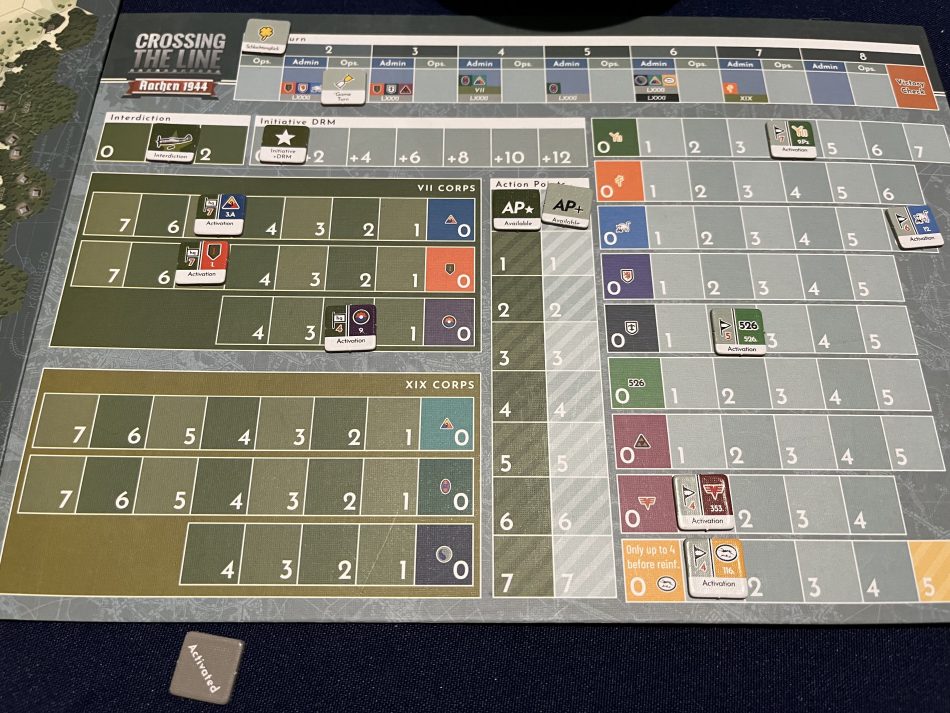
After each player activates a formation, the number of activations remaining decreases to simulate the fatigue of the units. When both players pass, the turn ends, and the next turn starts with an administrative phase. Both sides can recover HQ activation points for the upcoming operations cycle with the Germans being subject to air interdiction to influence their recovery. Replacements are assigned and any reinforcements or withdrawals are completed.
I really enjoyed my first solo outing and look forward to more solo as well as getting an opponent involved. If you like a good, interesting, re-playable WW2 wargame, I highly recommend picking up Crossing the Line – Aachen 1944 by Vuca Simulations.