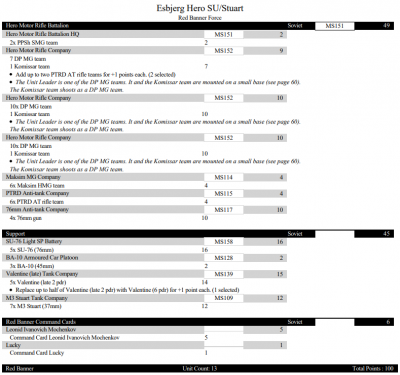
FOW Bat Rep Red Banner list (Leonid)
By Benny Christiansen
Following up on my Tactical Suggestion article about the Red Banner Command Card with Leonid in it, I have had a game with a friend, where we tested a list using that card.
I have already had another game with the list, but in that game, he never got to be a part of the game, and I found it hard to make any real analysis based on that game.
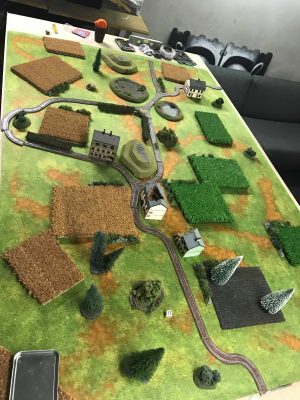
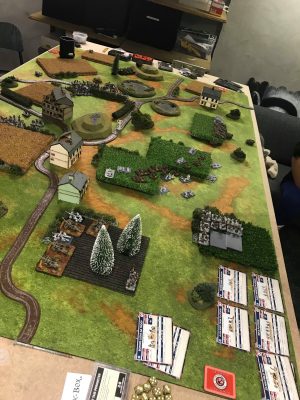
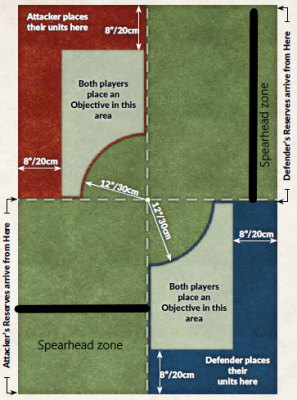
Be aware that the game is a Fog Of War game, as I am going to a tournament with all Fog Of War matches, and this was a test of a list for that event as well. We played Dust Up.
His thoughts on his list
I asked him to make a few comments about his list and why he has made it as he has.
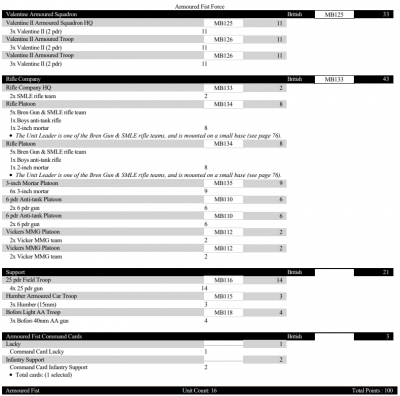
“Thoughts on the list: I wanted to make an assault list, for that you need something to attack with. I’ve had Valentines (three tanks) on the table before and they seemed to do the job. With “only” front armour of 6, three tanks would be too few. Six tanks seemed like the right number. With no way to place six on the table, I ended up using a formation with the infantry support.
I considered death or glory, I think they are superior due to being cheaper, but that way I needed to take death or glory crusaders as well, which I’ve not tried so far, but they seem a bit overpriced (need to test that someday). With infantry support, the regular valentines just won for this list. I love the rifle company and that company is more or less always the backbone of any army I make along with the 25-pounder. The new thing here is six mortars, I usually only place 2 for the smoke. That means they are useful only in one turn, now I wanted to try if it was worth it with more.
Finally, the humbers had two roles, expand my deployment and make sure I could play with all Fog of war cards, and thus adapt more on the fly. In a Fog of War the middle of the table is important, with all the arty I felt I could at least prevent my opponent from getting it. The problem was lack of a how to win tactic. I ended up going with the “adapt on the fly” tactic (which I normally hate) and thus I needed to be able to use all the cards in the deck. Finally Bofors. I’ve had a look on these for some time, they look really interesting, so now they finally got to the table.”
My thoughts on my list
I have no doubt that Leonid is a fun gimmick, but probably not a real tournament choice. I wanted, however, to test if he would have an effect on my opponents game, and also how much I could “control” him, and especially if he could survive. I made it the smallest version possible, by making it a small platoon, but still with the very important PTRDs, that will put the fear into my opponents weaker armored units, such as Marders.
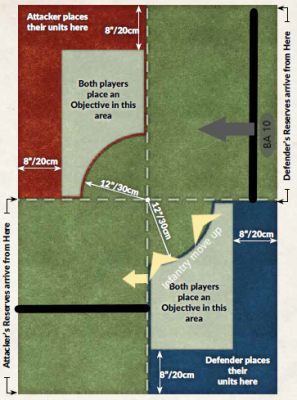
My plan was to make the HQ and small inf platoon the “Leonid” force. I would keep the 2 other infantry units on the table also, as they are good at taking and holding objectives. I also needed the BA-10s so I could make a Spearhead move.
When I found out he had a lot of Valentines, I had to change my original plan and leave Stuarts and PTRDs out, while taking in the 76mm AT guns and the SU-76s. The gunteams should help defend against his reserves along with 1 infantry platoon, but the brute of my force should be on the side where I would get my reserves in. Leonid could “pop up” at my opponents backyard, or in his reserve area. At least, that was my plan before the game.
The 2 turn game
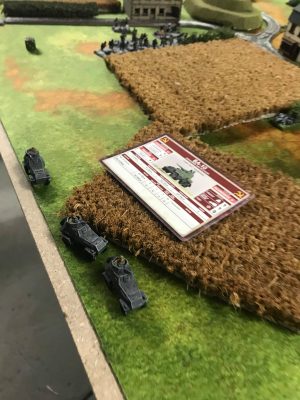
Turn 1 started rather eventful, as Leonid decided to make an appearance. I had actually some thoughts about it, as I wasn’t sure if this was the right time. I considered using my “Lucky” card, to prevent it, but in my last game with him in my list, he did not appear so I decided to let him “join the fray”. The platoon “counts as moving” so only the outer most infantry teams could fire.
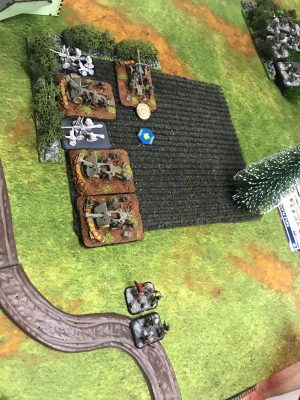
I had placed my SU-76 differently than planned, due to the buildings and a forest blocking their LOS. I wanted to keep some pressure on his Valentines when they entered the game. Until that happened, they could provide artillery fire on his Bofors/6pdr platoons.
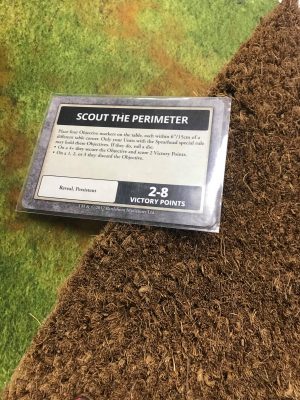
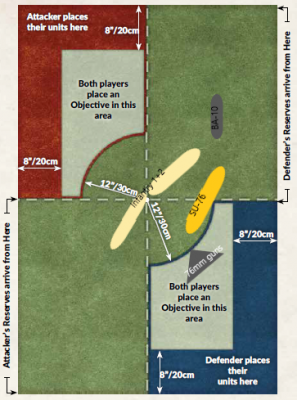
My BA-10s spearheaded down the flank as planned, but did not move up towards the middle, as I drew a pretty bad turn one mission card, telling me to go to the corners of the tables to claim objectives. His forces on that side were mainly 25-pounders and 6-pounders with an HMG platoon, so I didn’t really feel my BA-10s would make a positive difference there.
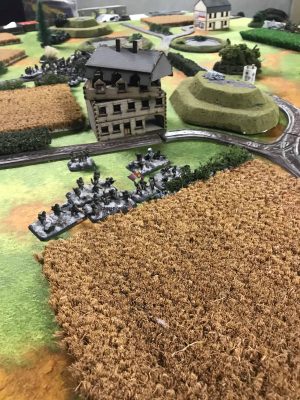
The Leonid platoon exchanged fire with the units around them, but due to stone fences, the entire platoon had bulletproof cover, which kept them alive. The HQ was in the edge of a forest, close to his 25-pounders. I originally planned for the HQ to be a spotting unit, but changed my mind in turn 2.
In his turn, he drove his recon unit close to the Leonid platoon to shoot them away. After a full round of shooting from almost everything, only a couple of bases had died in the platoon, due to the stone fence giving them Bulletproof cover.
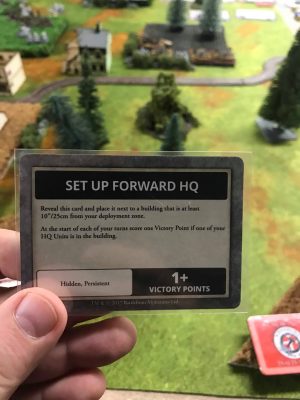
At the beginning of my turn 2, the Leonid platoon failed to unpin, so they could do very little other than shoot. I moved my infantry into a building next to his HMG getting ready for shooting it out with him, and also preparing to “jump” to the next building, hoping I could get my HQ there to claim points due to having the “Setup Forward HQ” mission card.

The game summarized
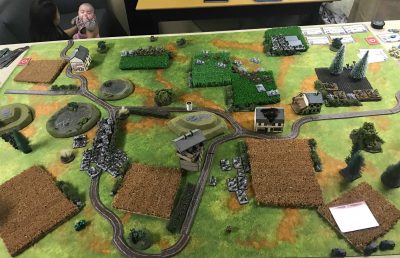
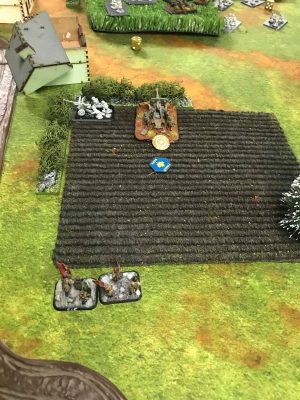
The game ended very quickly. The main focus was on the Leonid platoon, but should (in hindsight) have been on the HQ. I realized that the HQ could assault the flank of the 25pdr platoon, and potentially take out a few teams. I was unable to unpin the platoon at the hill in the middle of the table. I had moved them there, so I could put maximum pressure on him, simply by flooding the middle. He had, however, taken enough HMG/Artillery to prevent me from going there.
I had my HQ move out to the side of the 25pdr platoon and then assault him, after pinning the unit.
My shooting went rather as expected. I tried to do wonders with my SU-76s and the Leonid platoon and 76mm AT gun platoon. I think I managed to take out one team or two.
I assaulted his 25prd, both teams getting in, as he only had 1 shot in defensive fire. Being a Hero Motor Platoon, they hit on a 2+ in assaults! His team died, and he then lost the assault, having to move more than 15cm away, his 25pdrs surrendered, and the 6pdr failed a cross test, and thus also surrendered. This meant he had one 6pdr and one 25pdr left in his two platoons and in his flank.
The stunning effect of the assault – leaving his entire flank open – made us stop and talk about the situation, rather than play further. We quickly had a look at it, and there was no doubt that he would be unable to recover from this.
Leonid experiences
I have used him in two games. In one game he never entered the board, and it is not completely clear how much or how little his presence changed the game. In this second game, Leonid changed the game drastically. On the card it says he “may” be held in reserve, and that you don’t have to decide until you are about to put him ON the table.
So this gives you some time to think. Your opponent will have to take him into consideration, no matter what. If you are up against “soft” targets such as gun teams, he is definitely good against them. The 2+ to hit in assault makes them killers, once they get 1-2 teams in.
Conclusions
Is he worth the 5 points? I think he is, for now.
The fact that you do not have to decide what to do with him until you have to put him on the table, makes him very flexible. His use vs armored units is more doubtful. I have considered using the Molotov Command Card but so far I have not done it. I’ll have to do more testing, to find out if this kind of list is a distraction or a tactical advantage or what.
The size of the platoon: That subject is giving me a lot to think about. If I use a large “blob” of men, as in a normal Motor Rifle choice, with approximately 20 teams, I’m not sure I could find room for them. They could potentially do a lot of damage, but forcing a 20-24 team platoon into your opponent’s deployment zone is rather optimistic.
The Hero version really causes a lot of thought. Should I include the HMGs to provide extra shots? I have decided “no” so far because they have ROF 2/2. So there is no major danger of being assaulted by infantry. HMGs primarily deter infantry.
Two PTRD teams; I like them, and I’ve added them. This provides the platoon with a little bit of “threat” towards units like Marders, Hummel and such. This could also deter an armored assault.
Large or small platoon? Well in the present list, it’s only a small platoon. I might try it with a large platoon. Its only a few teams extra, but will provide the platoon with a chance to survive a whole round of shooting from most armies.
So for the next tournament, I plan to bring this list, but with a 10 man (+2 PTRD) size Leonid platoon, and a small platoon to provide gun teams and such with a mobile infantry defense.