Basing with Baking Soda and CA Glue
by Troy A. Hill
Wait? CA glue?
That stuff we curse at every time we instantly bond our fingers to the model we’re holding? And what’s this about baking our bases?
No worries, mate! Just a lesson I learned from “Uncle Atom” over at the Table Top Minis YouTube channel. You can catch
Basing presents all sorts of difficulties and challenges, until you get a system worked out, one that works for you. In my case, the old adage of Close enough for government work… has served me well, and gets my model on the table in a (reasonably) presentable fashion. That said, I doubt I’ll ever win a painting award unless my competitors are three-year-olds. But, it depends on who the judge is. Another three-year-old as judge will probably play favourites, and I’ll be out of luck again.
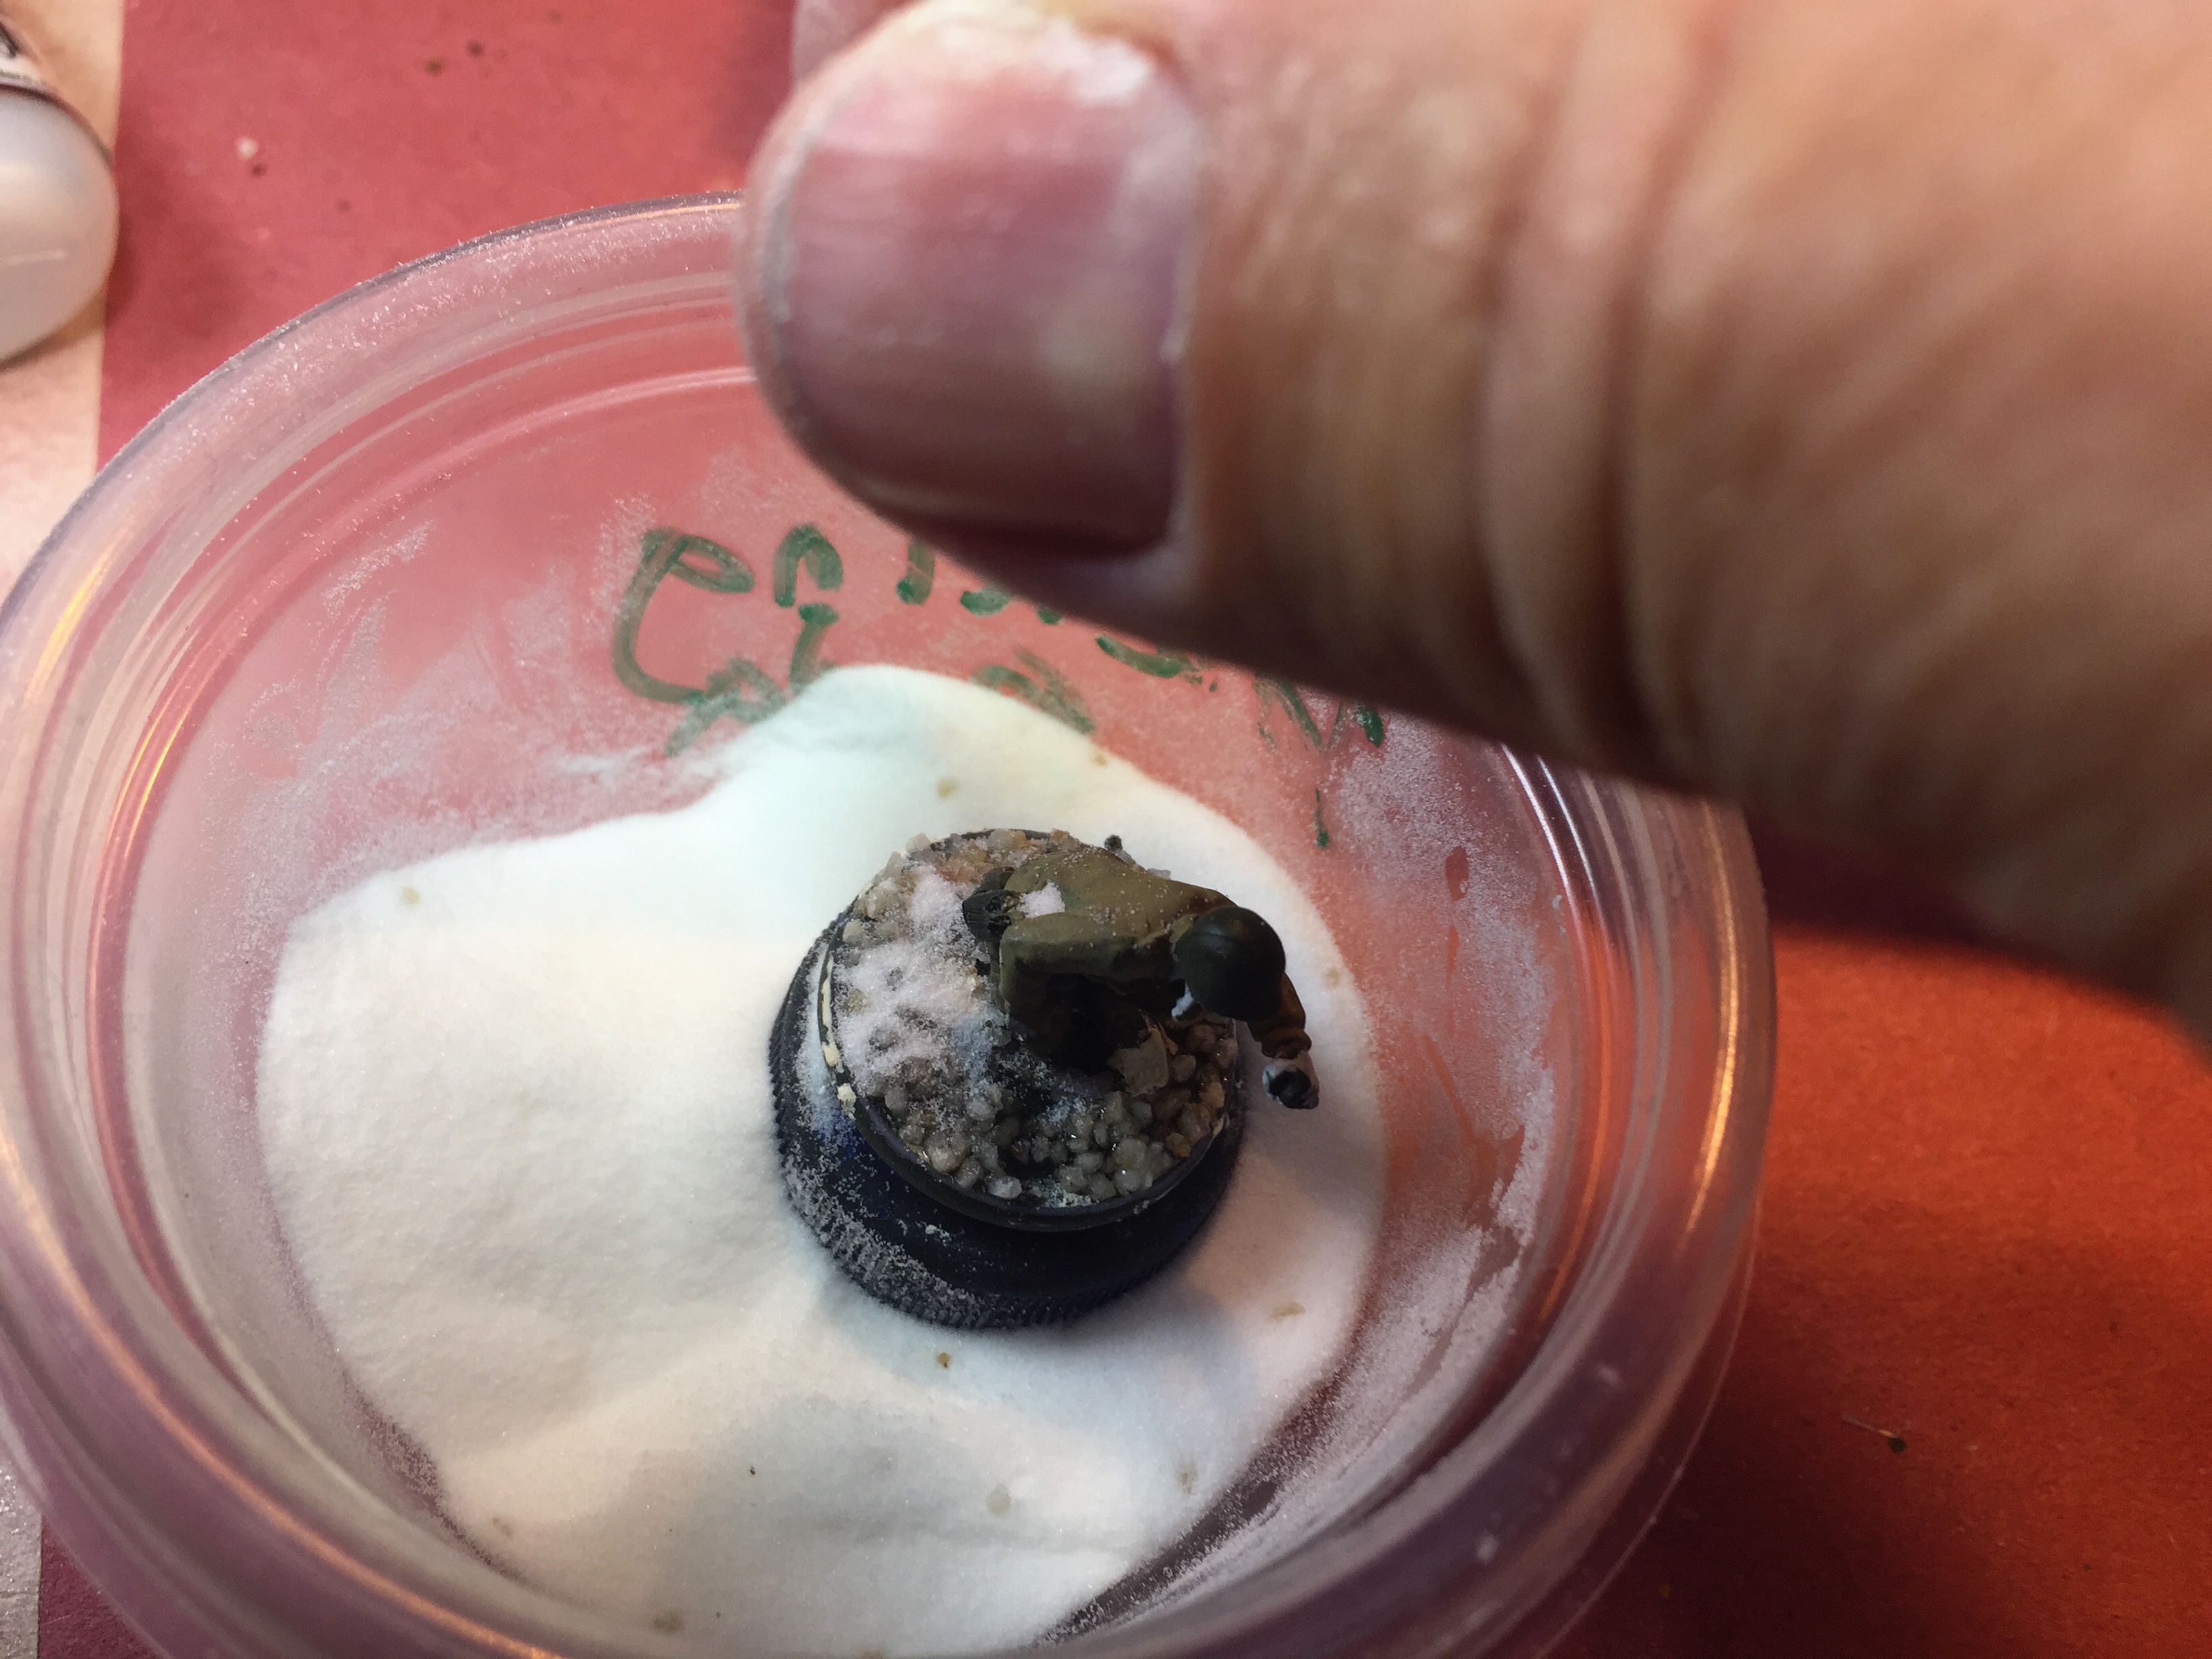
This figure began with a spackle basing. But an unlucky drop cracked it. So I shaved it off, and decided to head toward the CA glue and baking soda mix.Back to baking your bases and having a soda…
The main challenges I find in basing my figures fall into three distinct categories: durability, ease of application, and appearance.
Durability
Frankly, I love using spackle (or “filler” for most of the world outside of the USA). Especially for desert basing. But, I’ve seen the desert suffer severe damage when a model takes a tumble off a table edge. The typical method for adding spackle to a base is to score the plastic of the base by incising a crosshatch of lines into the surface where the spackle will be layered on. The scoring gives the spackle something to grab onto.
I’ll be adding spackle to the bases of this PaK 38 crew for Bolt Action. So, I’ve crosshatched the plastic bases. This helps the spackle grab hold. I might also use CA glue and baking soda first, then spackle, so there is even more texture for the spackle to grab.An alternative method is to use watered down PVA glue (white glue), and add texture such as “fine ballast” or turf scenic materials from the model railroad terrain product lines. PVA is more resilient and pliable than the spackle above, but it too can have a tough time with the sharp crack and impact of a metal model falling from a great height.
I’m finding that the CA glue method survives best in the impact tests (aka Troy’s accident-prone nature kicking in and knocking a model off a table when he least expects it).
My 20mm AA gun and crew for Bolt Action. It was based with PVA glue and “fine” ballast. Then I added some CA glue and baking soda to get the drifty-sand pile look. But, it took a tumble off the painting table. There are two areas (behind and to the right of the gun) where the PVA glue has come loose.Even if you prefer spackle for your earthy bits of the base, I’ve begun using the CA glue as the initial layer on the base, with either the baking soda, or a cheap filler material (sand), to create a texture for the spackle to get some “bite” onto. My wayward elbow and ability to send a model to its doom haven’t had the opportunity to test the idea of spackle on top of CA and baking soda. Give me some time. I’m sure it will happen.
But wait! CA glue is expensive!
Yes, it is. But I always end up with about one-third of bottle that is thick and gloopy, that I tend to toss in the bin. Now, I save those, and use them to do the bases. Also, I’m haunting dollar and discount stores looking for cheap bottles of CA glue.
Appearance
This category is all about what effect the modeler is after. This depends highly on the scale of the minis involved. Fifteen-millimeter scale figures in a desert setting will look like they’re in a boulder field if you use glue and sand. Twenty-eight-millimeter figures are more acceptable with fine sand glued to the base, but even then, spackle gives a more uniform texture for a desert full of sand grains.
GIs in process of being painted. Once that is finished, I’ll keep working on the bases. Uncle Atom at TableTop Minions recommends basing BEFORE priming. The primer helps the base material stick to each other. I’m of the other school, and like to add the basing after I’ve got the feet of the model painted. But either way works.A sense of scale between the model and the basing material aside, there is also the effect of the terrain one is trying to model. Spackle can be used for a more smooth or rippled landscape. Other materials, including the CA glue and baking soda, can make a more bleak or textured appearance.
Ease of application
For this criteria, too many variables come into play to distinguish one method over another. However, the CA glue method isn’t forgiving if one is sloppy. Get a dab of glue on your model, and if it goes unnoticed, you’ll risk having extra texture on the pants (or in worse locations) of the figure. Spackle or even PVA glue are much easier to remove wayward dribbles and splatters, even after they dry.
A Case Study: Winter basing with CA Glue and Baking Soda
I’ve been painting for my friend Jacob, who serves as the Warlord “Sarge” out at Brookhurst Hobbies in Garden Grove, California. This gives us a nice trade-off. I don’t mind “fast” painting to get models on the table top. And Jacob likes gluing arms on Bolt Action models (sooooooo many arms to glue on). So we trade tasks. I paint, he glues arms and heads on dudes.
Jacob’s finished Americans. If I wanted to muddy them up, I could dab some brown wash into the slushy bits. I also drybrushed the white paint onto the model to give areas where snow may be falling and gathering. Such as on top of packs, or sticking to legs and feet.I’ve gotten his demo forces painted, and moved on to basing. He said he wanted his Americans to look like they’ve been caught on the way to Bastogne. Patton nipping at their heels to move faster than the quartermaster trucks with their winter gear.
To base the US bros with slushy winter look, I opted to use the CA glue and baking soda mix. But, some of the models are metal, with the flat metal base that I’d either have to snip off — or glue onto the round plastic base. I’m not much for snipping off those bases, so I’m left with needing to build up suitable basing material around the metal underneath the dudes.
Normally, I’d opt for spackle. That works for snow, but I wanted a churned up ground, ice, slushballs, and snow mix. Freeze-thaw–freeze style. Fortunately, I had some largish scale sand (used as a base in potting plants).
Step 1: CA Glue the large sand to the base. I sprinkled baking soda on top of that. Why? Baking soda acts as a catalyst and dries the CA glue almost instantly. And the mix of the fine texture of the baking soda, mixed in with the large texture of the sand started to give the bases that mixed ice and snow look I was after.
Step 2. CA Glue, then dip in baking soda. This step was to fill in some of the rough texture of the sandy bits. The glue and baking soda helped level out the rough of the sand.
Step 3. Now add the spackle to create the smoother areas of fresh snow.
Almost finished models. Some more drybrushing of white needed. Note the drifts on the MG base, created with spackle.A note on spackle. I’ve saved a few small tubs of spackle (hobbyists tend to go through quite a bit of it), and now I buy larger tubs, then dole it out to the smaller tubs, and mix in cheap craft paints to give it the color of the surface I was after. For my snow effect, I started with a few drops of light blue paint. I only mixed about half the tub and had to keep adding more white spackle to get it to the bluish snow effect I wanted.
BTW: why blue? Because snow is really ice. Frozen water. Ice reflects more blue than reds and greens. That’s why photos of a snowy landscape tend to have a blue cast (if they’re not color corrected). So, give your nice snow a hint of blue. If it’s churned up, nasty stuff that vehicles have been driving through, and troops firing artillery on, then it’s probably not blue any longer.
I didn’t bother mixing out the blue. Instead, I dry brushed (or wet–drybrushed) some white paint with just a hint of blue (20:1 white to that light blue paint) over the slush and snow. You can see a mix of this in the large base I decorated for Jacob’s 57mm AT gun crew.
You’re welcome to comment below with your own tips and tricks for basing. Or, hop over to the NDNG forums, where I’ve got a in the painting section. Ask questions, share tips. Discussion is welcome in both locations.
I used more of the baking soda than the spackle on this base, since the base was already textured paving stones. The baking soda gave it a snow look, but allowed the underlying base texture to still come through. I added the large sand in piles for a rubbled look, then added spackle around the sandbag barrier.Troy is a recovering journalist and long-time gamer. If encountered in the wild, approach with caution. He can be placated with coffee and oatmeal-raisin cookies. He serves as editor of No Dice No Glory. When’s he’s not zapping typos here, he’s writing medieval vampire fantasy novels on his balcony in smoggy Los Angeles.