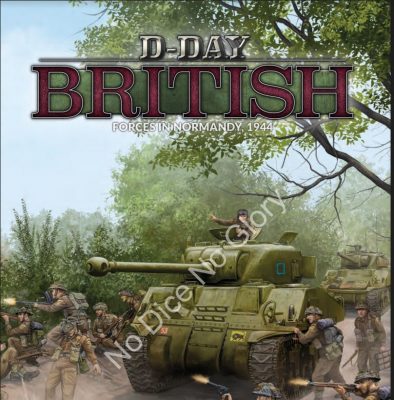
FOW D-Day British Missions – Part 2 – Counterattack
By Tom “Chairborne” Mullane
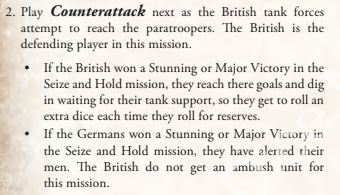
This is Part 2 of my playthrough of the mini-campaign in the back of the British D-Day Release.
My trusty opponent Shane competed in the “Sieze and Hold” mission last time, and for round two, we are reversing our roles.
I will be taking the Germans and a grenadier company, and Shane will be playing a Cromwell recce company.
The British are counterattacking to try and reach the Paratroopers who landed and held points the night before. let’s see how they fare.
The Forces Assemble
So this time I took on the Germans, and as you can see, my options are a bit more limited. While I have plenty painted, I had to rely on a few of Shane’s models to fill in the gaps. I have plenty of base platoons, tanks, infantry, and guns. But the oddball pieces, AA half-tracks, recon units, smaller infantry guns, are still absent from my collection. And since the German Army contains multitudes of weirdo equipment, I expect no matter how much I collect, I’ll always fall a little bit short. The Germans were the defenders in this mission, and the Allies (due to their victory in Part 1) are allowed to roll extra dice for reserves. It would come in handy.
The Mission:
The Armies:


I took a Panzer company with a whole mess of supporting units. (4 core platoons) and Shane took the Cromwell Recce Company and a formation of infantry with some AT guns.
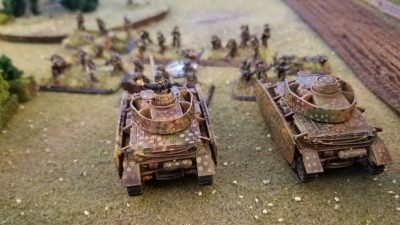
The village prepares for the bombardments to begin and the Germans warily sneak towards the village.
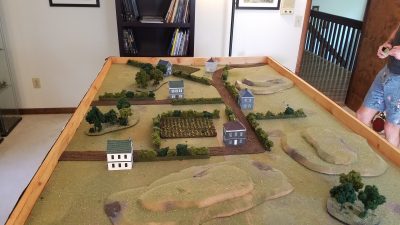

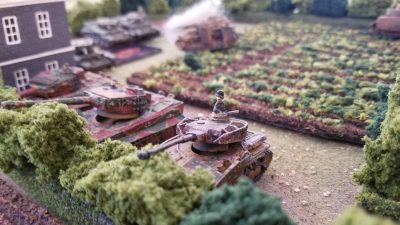
The recce platoons allow the Tigers to tiptoe towards the hedge. The brittle platoons of panzer IVs tentatively peak around the house, while the infantry and their artillery support lie in wait for the British to arrive.
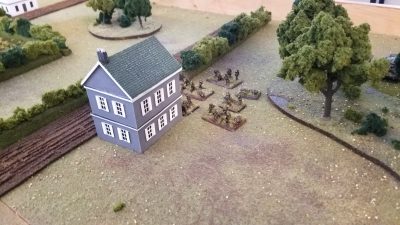

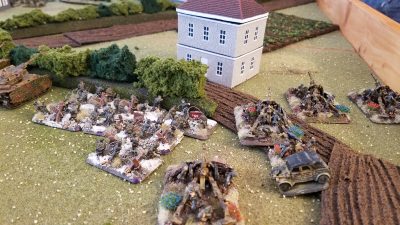
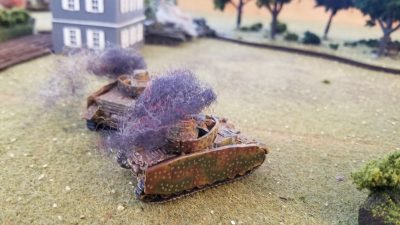
The British stay behind some woods and use the houses for cover as the angle for shots. The Germans would respond by coming straight at the infantry, and sending the Tigers down the road, in an attempt to deal with the oncoming reserves, which are already cresting the hill within a second turn.
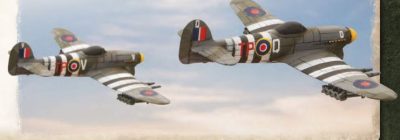
As they were neatly arranged along the road, the Tigers were subjected to strafing from local Typhoons flying CAP, and take a few dents to their paint jobs. The Rockets don’t hammer home, only brewing up one Panzer IV,

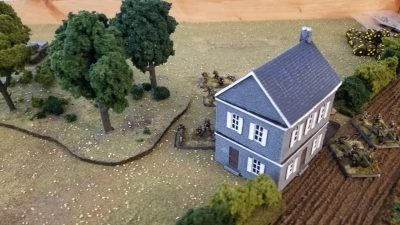
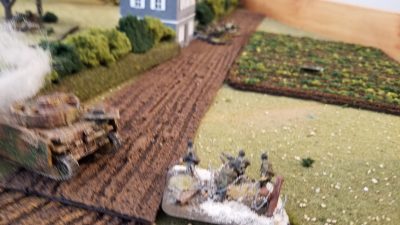
The Germans cross a field and close to within point-blank range of some British Infantry trying to hide in a house and wood. The Fighting is fierce, and after several assaults back and forth, the British are on the verge of pushing through. But Tank support arrives in time to spray the hedges, and force them back.

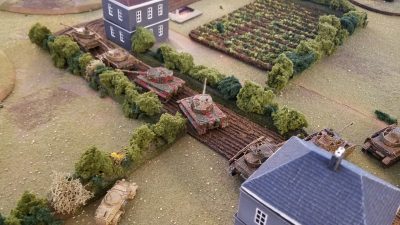
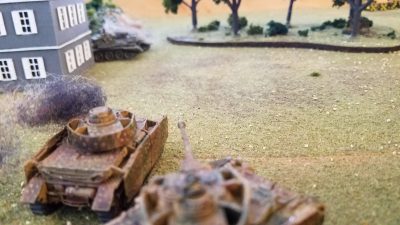
With the right flank of the German defenses seemingly secure after the fight in the crops at the crossroads, attention turns to the left, where Cromwells are swarming towards the objective in the open. The Tigers move to answer them, but the bumpy road leads their shots to fly wide.

As the Panzer IVs line up their shots, the planes come back for another pass, and the AA cover the Germans had hoped would prove decisive against the Jabos whiffs spectacularly. Rockets scream into the ground as more Panzer IVs burst into flames.


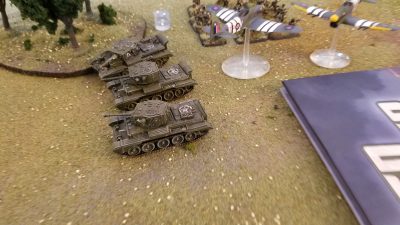
German tanks score some hits, and send a Cromwell platoon running as it moved in to try and salvage some of the fighting on the German Right flank,
Finally, coming in from all sides, the Cromwells get flanking shots on several tanks and force the issue on the German left. Despite the Tigers there, the allies have too many tanks and have inflicted too many losses. In the scrum that follows the Germans are forced to abandon the town.

The Allies have won game #2 8 to 1 (after only suffering one loss)
Shane takes his revenge and the Allies take a 2 to 0 lead in the campaign.
 Thomas “Chairborne” Mullane is a writer and podcaster for No Dice No Glory since its inception. He teaches High School history in NY and Lives in Danbury, CT. He is a player of Flames of War, Bolt Action, Dungeons and Dragons, and Blood and Plunder. Tune in to “Tales of the Sail” if you want to hear what he sounds like, and please say hi during the next HMGS convention.