PSC Shilka and PT-76 for NorthAG
By Tom Gall
This is a quick mini-review and painting guide for the Plastic Solider Company Shilka and PT-76 10mm models. These are great for Battlegroup: NorthAG, the recently released “what if” WWIII ruleset by the Plastic Soldier Company. They are certainly usable for other rules, Team Yankee in 10mm would surely result in a whole lot more table space and make your battlefield look far less like a crowded shopping mall parking lot.
Let’s start with the that was first introduced approx 1951 and is still in service today. This is one of the treats that Battlegroup NorthAG brings, a much larger collection of hardware to field on the tabletop as compared to WWIII: Team Yankee.
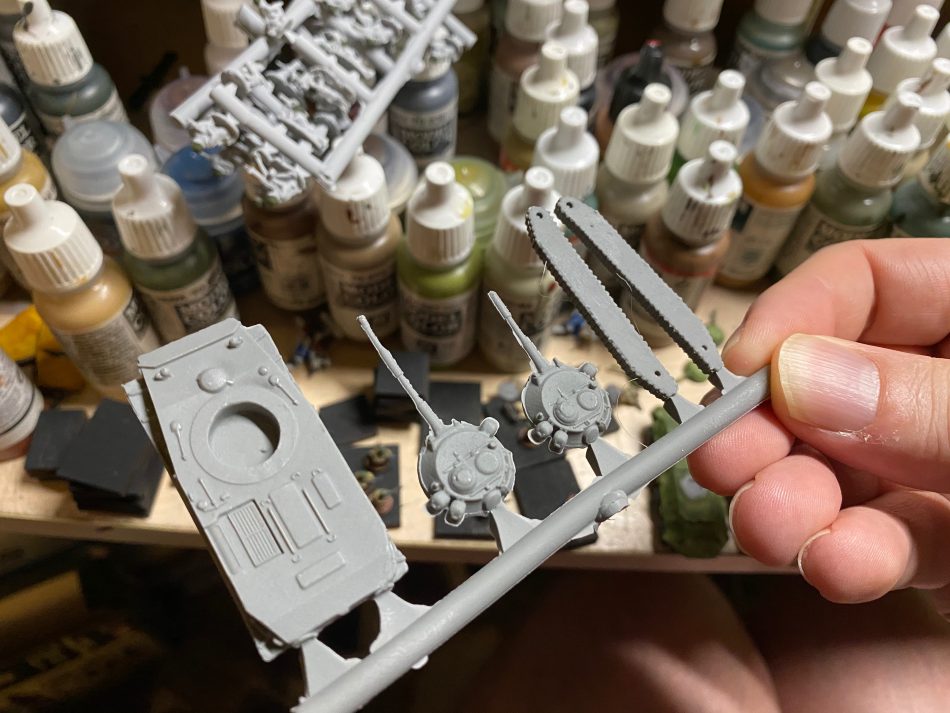
PSC with their Ultracast technology at 10mm has everything for the PT-76 on one sprue. Just the left and right tracks to glue on the and model is assembled. Note that they model comes with two turrets as the PT-76 has two versions, a 76.2mm armed turret and a 57mm auto cannon. What do you feel like driving today comrade?
You’ll note that the model is fairly clean of flash, there was just a little bit on the 57mm gun, I use a file to clear it away. Details on the model are clean and clear.
 I went ahead and primed with Citadel Corax White under the presumption I was going to go entirely with contrast paints as I have been doing for most of my Soviet force. I decided now was a good time for a little bit of an experiment.
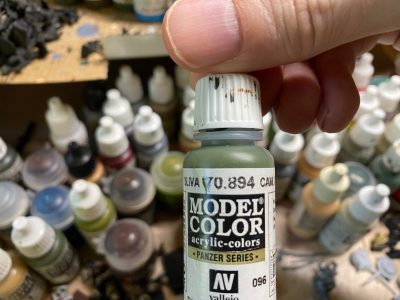
With one PT-76, I’d push forward with using contrast paints over the white primer and then highlight accordingly. With the other, I went with something a bit more creative. I would apply a layer of 894 green Vallejo first and then apply contrast paints over the top of that, and then highlight.
Sure I’ll have two slightly different looking vehicles for the motor pool, but if you look around on the internet there are some fun pictures of a vast sea of BMPs each in a different shade of green.
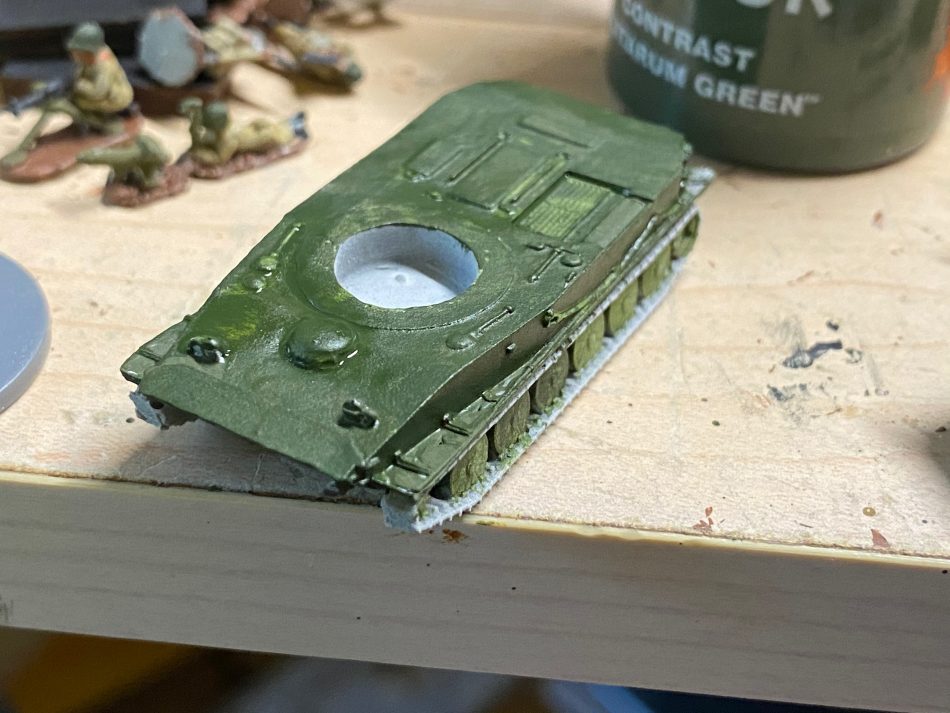
The first layer now applied, then a layer of Citadel Militarum Green contrast paint. 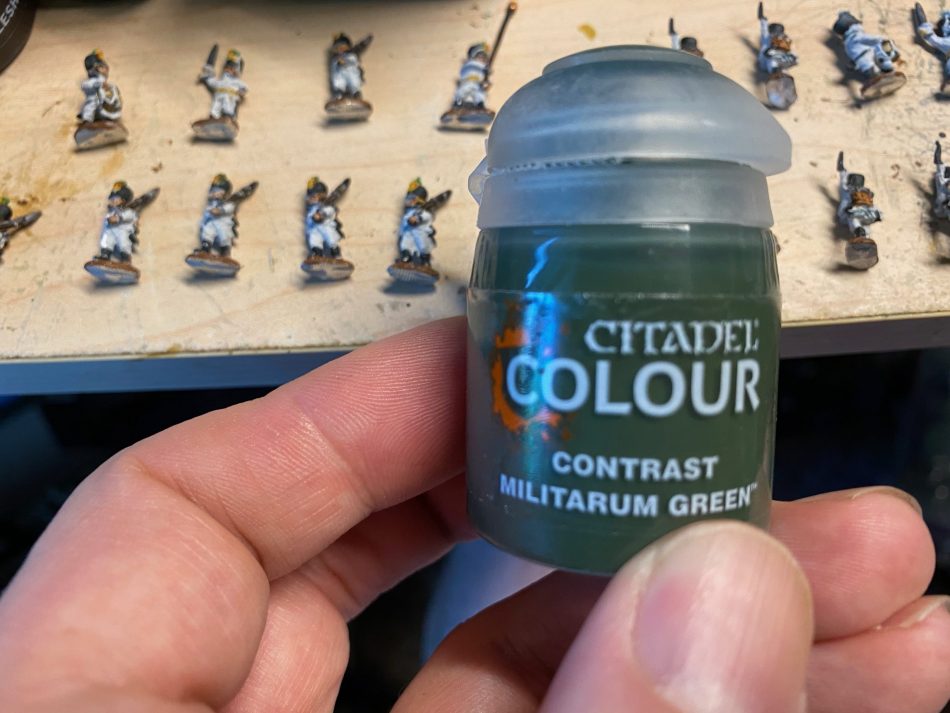
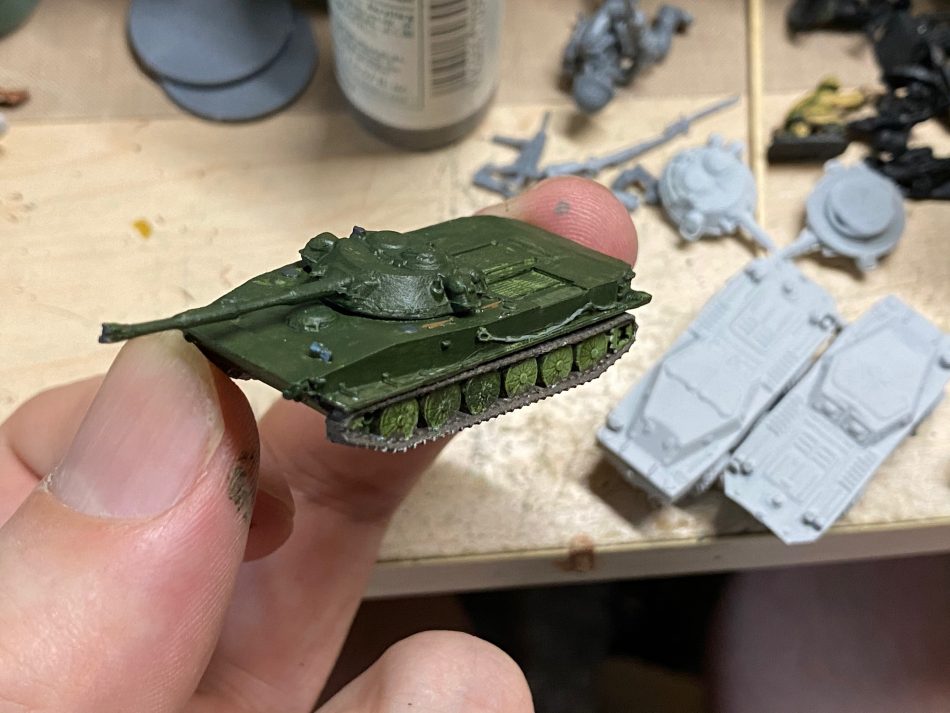
Moving on to highlighting, Vallejo 900 for the headlights/lights, a touch of gray for the tow cable, and Vallejo 304 Track Primer for the tracks to complete the job. 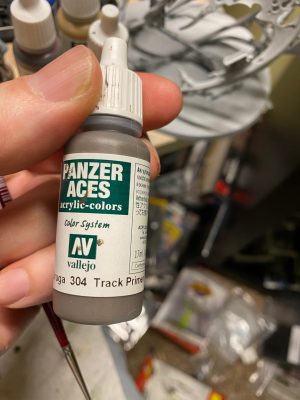
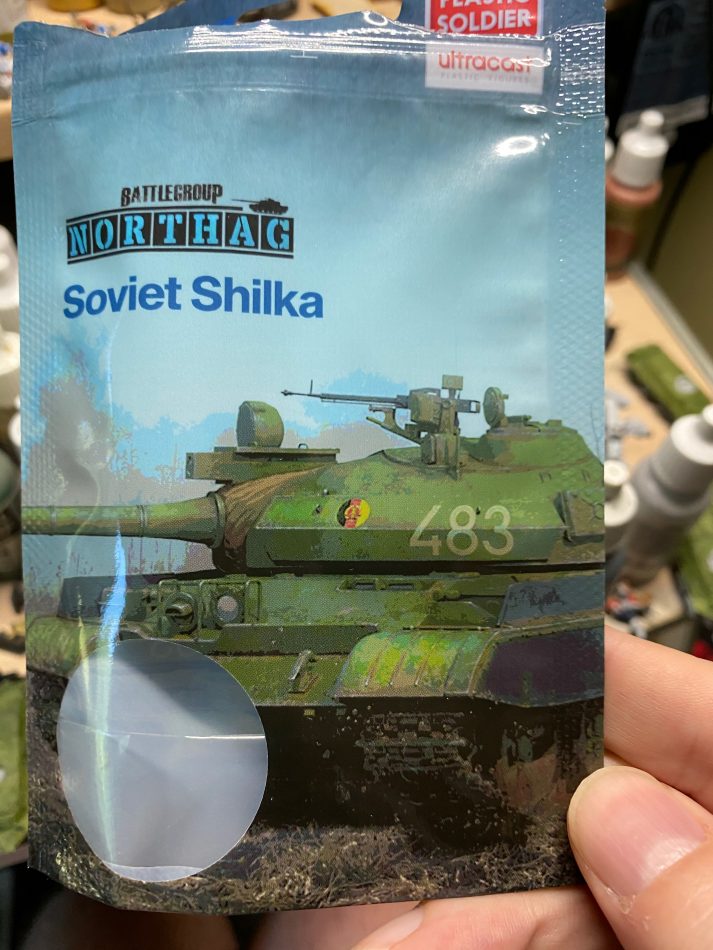
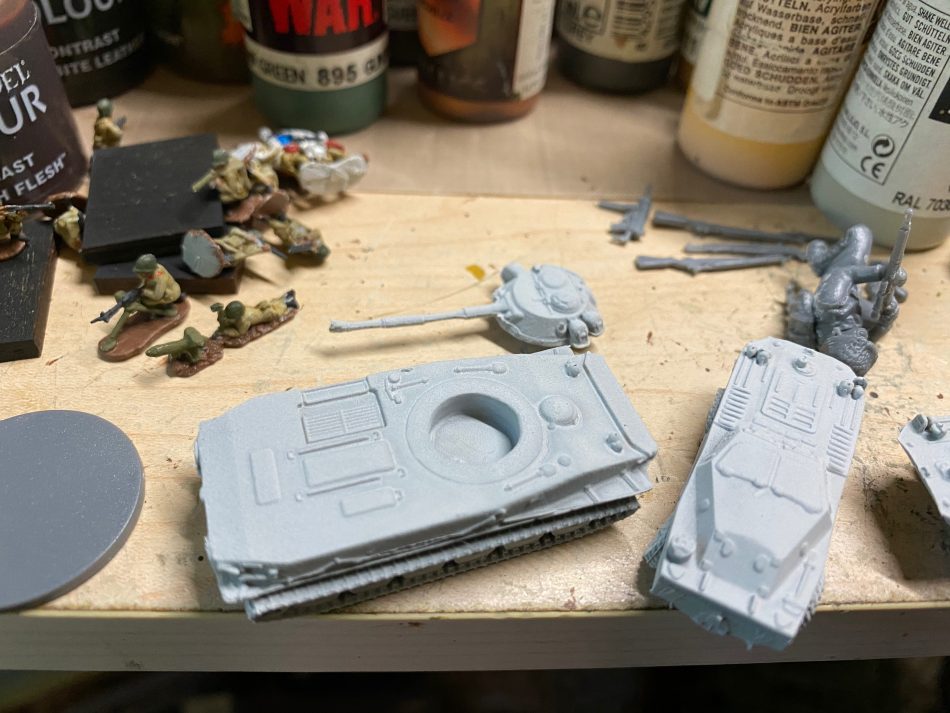
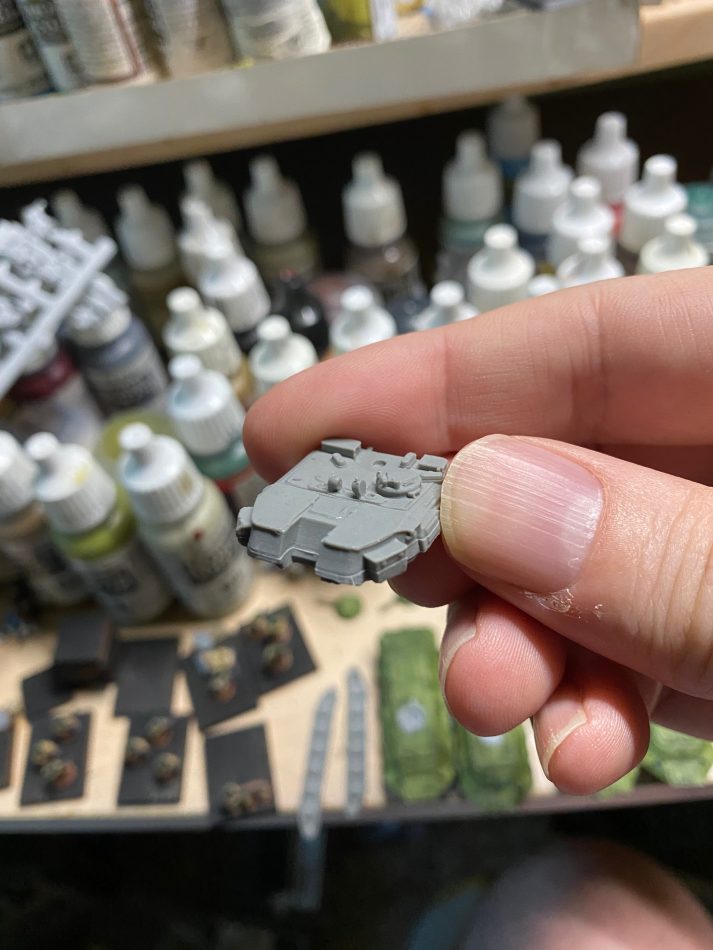
Next, let’s move on to the Shilka. There is a single model is in this bag. It’s also cast using Ultracast. The best part about the material is its flexible such that broken gun barrels look to be a thing of the past. Likewise, drop the model on the floor and I doubt you’ll see much damage as compared to metal miniatures.

For the 10mm scale, one of the characteristics you might be worried about is detail on the model. This is the Shilka body, you can see the pick on the front, rivets, and various details on the body. Ultracast delivers.

The Shilka turret is made up of four barrels with a radar dish that is mounted on the top. The PSC model requires you to assemble the barrels gluing them together and then attaching them to the turret.
Next, you’ll have to glue on the radar dish on top of the turret.
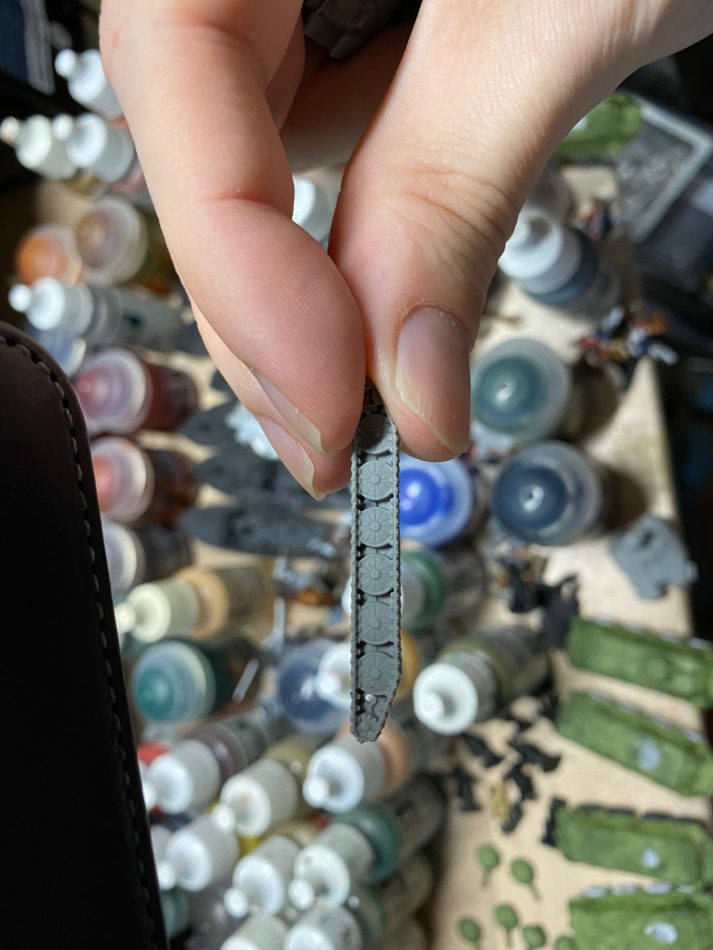
With that the model is nearly complete, the left and right tracks need to be glued on. If you’re keeping a tally that’s 7 pieces all total that make up the model. Within the bag there is only one Shilka so don’t forget to take a look at your army list and understand how many models you may or may not need.
For NorthAG, Shilkas might be part of your forward screen force or part of the main body. As a result, you’ll want one to three models to satisfy fielding either an Air Defense Battery and/or Air Defense Tank(s). Team Yankee you’ll need either 2 or 4 to field a company. I’d go with 4.
In the case of my Shilka, I decided to go with contrast paints. I primed with Games Workshop Corax White. Then I applied a layer of the Citadel contrast paint Militarium Green.
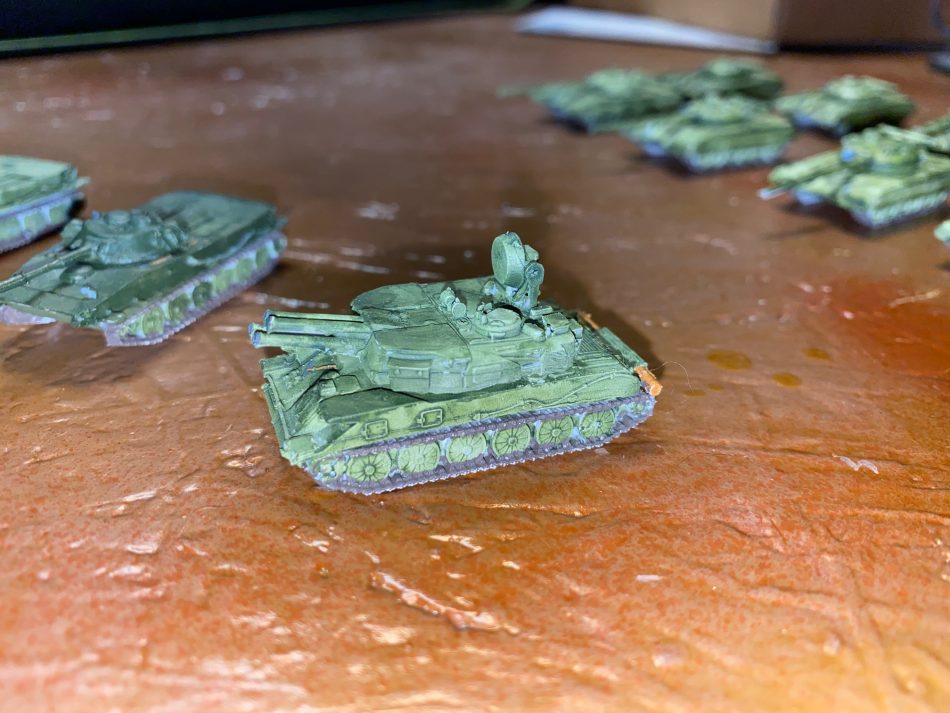
For the tracks I went with Vallejo 304 Track Primer, if I was at a larger scale then once this was applied I’d dry brush some gunmetal and call it good. At 10mm, I’m not sure the effect is quite worth the time. A dab of dark gray at the end of the gun barrels, and Vallejo 983 for the log on the very back.

Last I’ll close with a family picture. BTR-60s in front, T-64s next row back, then going from left to right, Shilka, BDRM-1s, PT-76s, and BDRM-2s. Next up we’ll look at painting and basing a Battlegroup Russian Infantry formation and then dive into the British Army of the Rhine, which will be matching up against these fellows soon!
While I very much like my 15mm hardware, the draw for 10mm is clear, it’ll make the same size game table feel quite a bit larger which for modern combat especially is an important quality to optimize for.