Battlefront Product Review: My Game Is In (City) Ruins
By Mitch Reed
Recently sent me some of their brand-new and I got around to finishing them just in time to make sure that they land on your holiday wish list. I usually do not collect too much terrain in 15mm however after recently getting a mat that looks like a torn-up battlefield, I decided to take this project on. Past buildings from Battlefront were usually one to three-story affairs made of resin and came pre-painted, these plastic kits are huge and very well done with five floors to expand your table upwards. Combat in urban terrain is one of the worst situations a unit can get into, and this I know from experience. The enemy has more places to hide out and while a building may only take up a few acres of space, they go vertical, adding to the problems of the attacker. In the recent Mid-War books that focus on the fighting in Stalingrad, Battlefront included a bunch of brand-new missions, played on a smaller table that focus on city fighting. These kits are a must to play those challenging scenarios.
 Building the Buildings
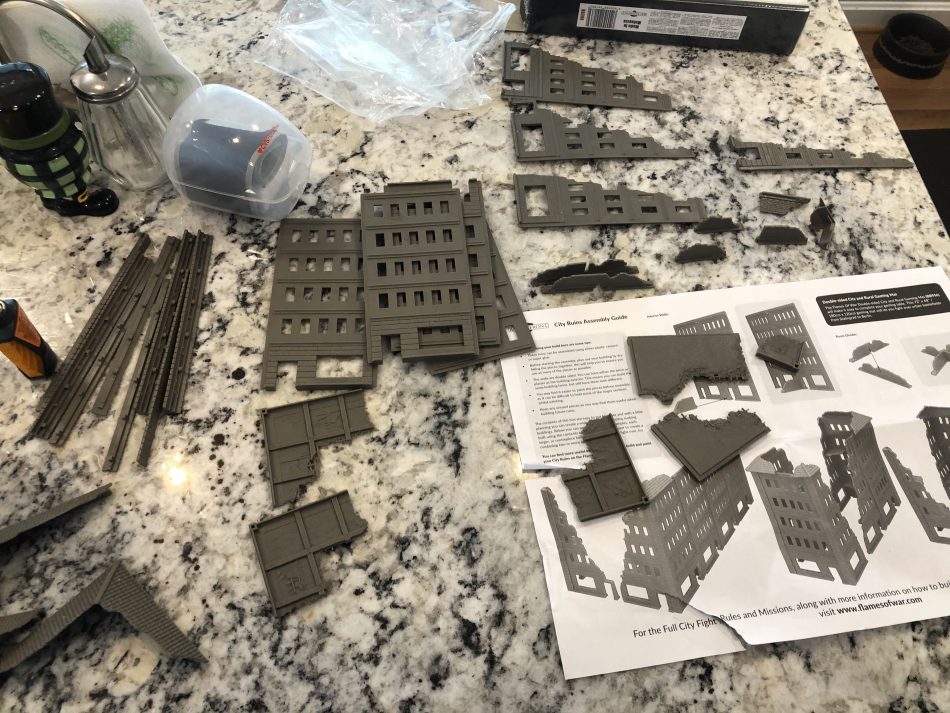
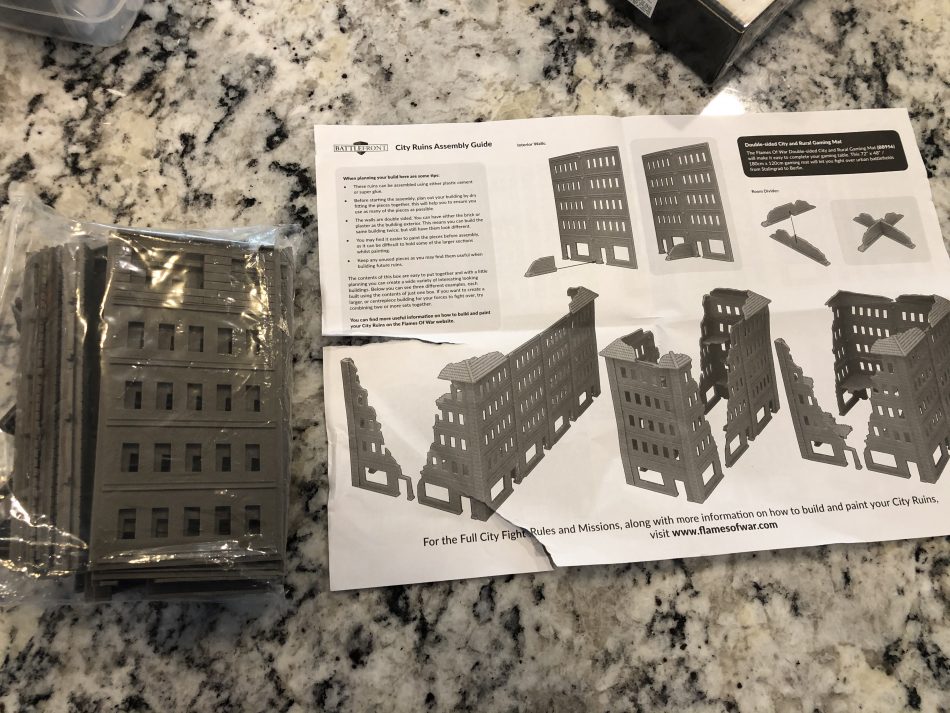
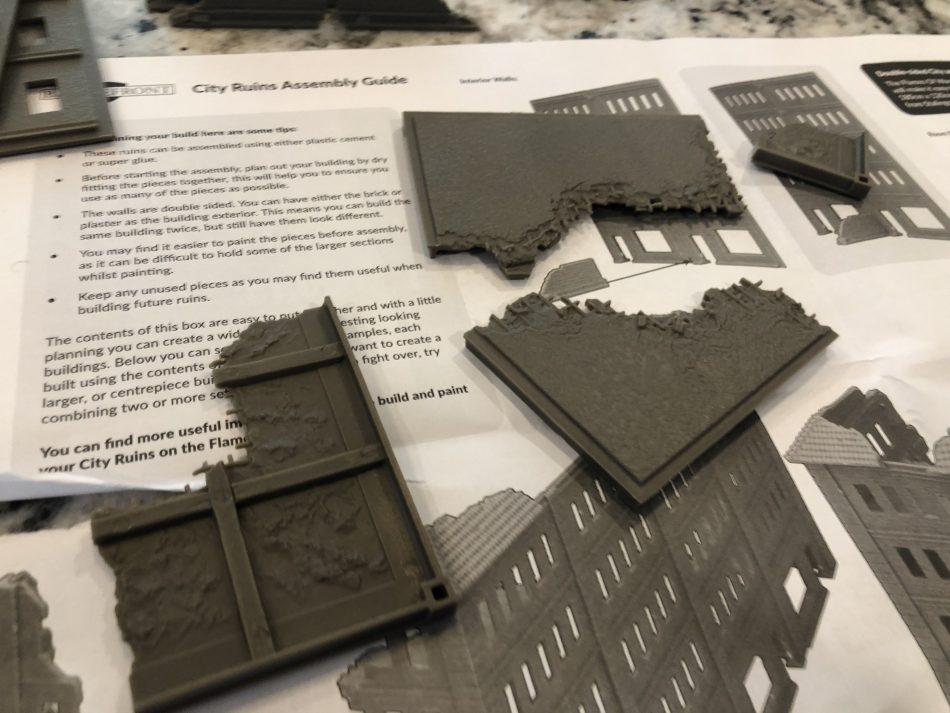
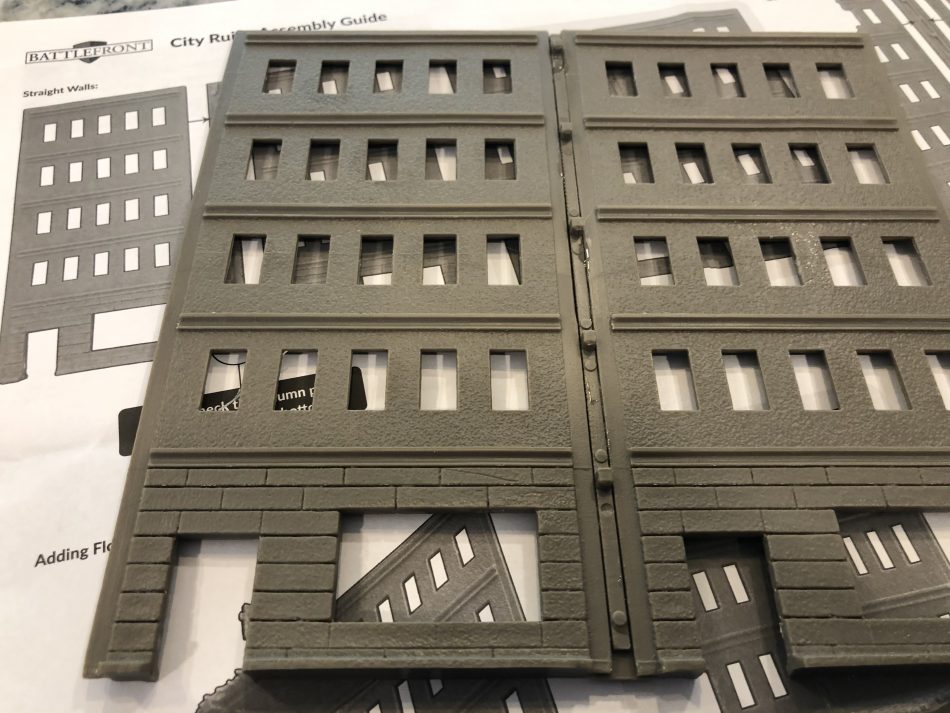
Despite the size of the box, this kit is one huge model. Each box has a set number of pieces that represent the walls and floors of a ruined building. As you open the box you will see that the box comes with detailed instructions, which I used to construct the first building.
 Glue gun and super glue in-hand I started putting the prices together. I first put together the sides of the buildings in sections with the thought of putting the sides together.
 I had to use some other tools around the house to hold the parts together which I also recommend you to do.
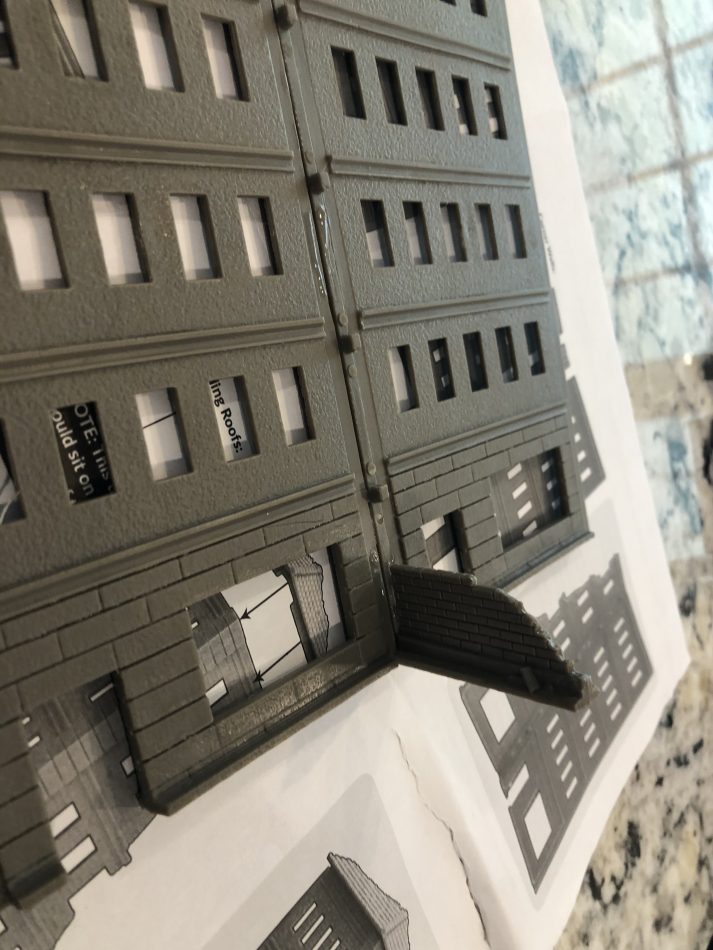
 Another thing to note is that the corner and wall supports have a bottom and top that you have to make sure you use correctly or you have to pull your walls off and re-glue the sections together again.
 As you start putting this kit together you will notice the model once put together has some “give” to it. A lot of this can be fixed by placing the floors in a position to reinforce the corners of the model.
 Another good tip is to plan and lay out your structure before you start to put it together if you do not want the building to be the same as what the directions show you to do.
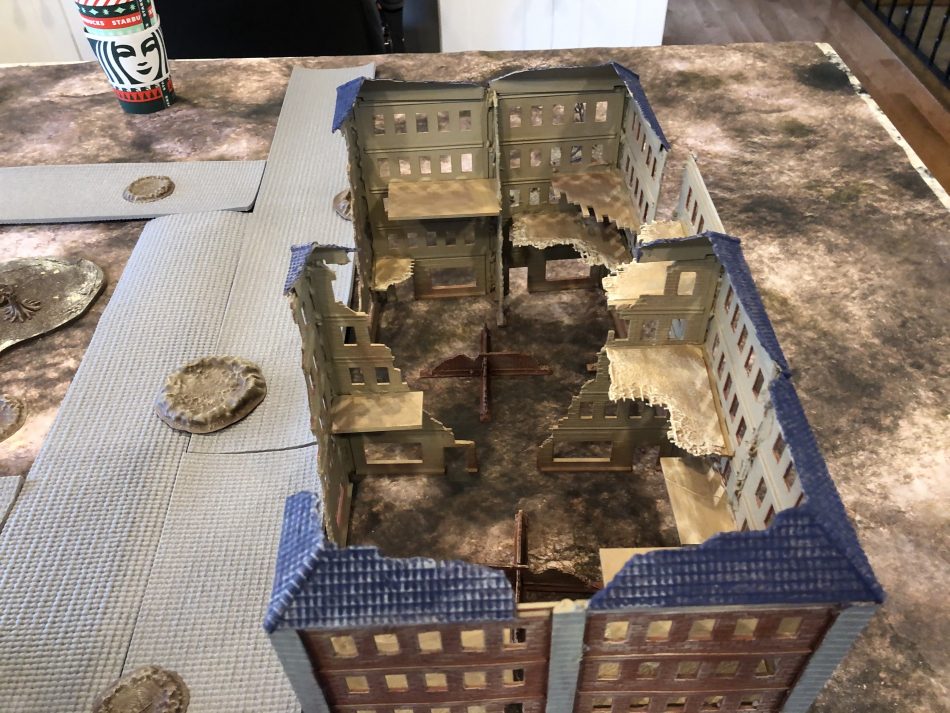
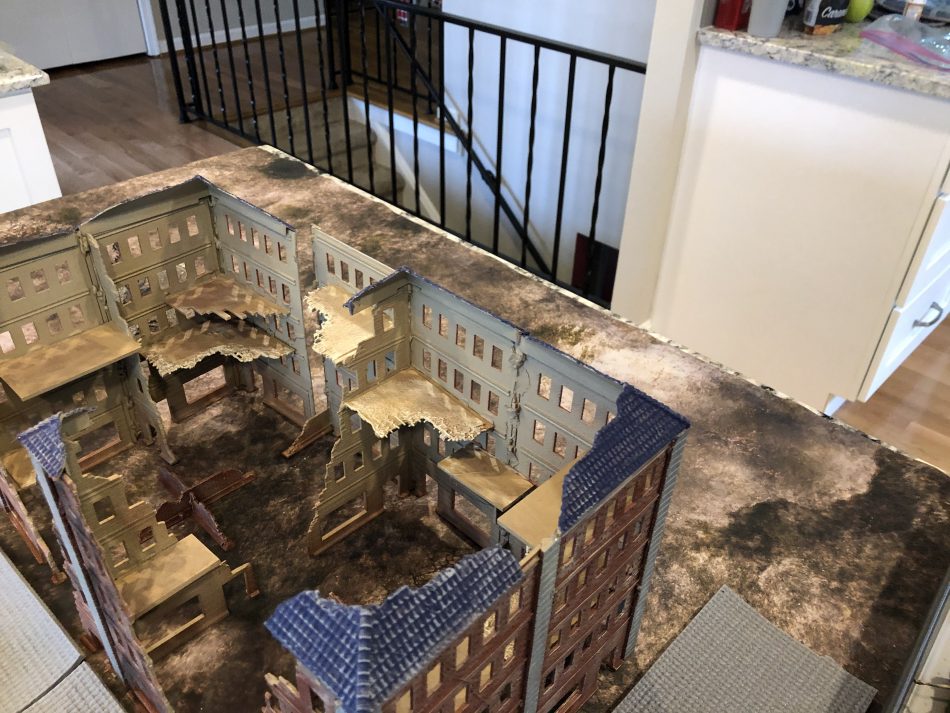
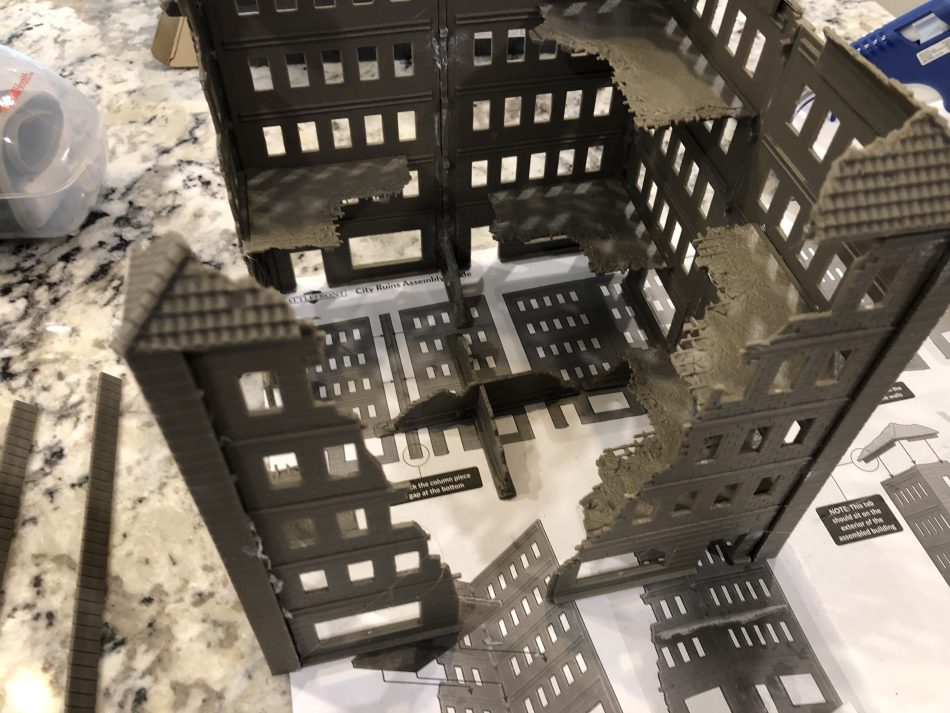 The single box gives you three sides of a building with the fourth corner being detached and stands alone.
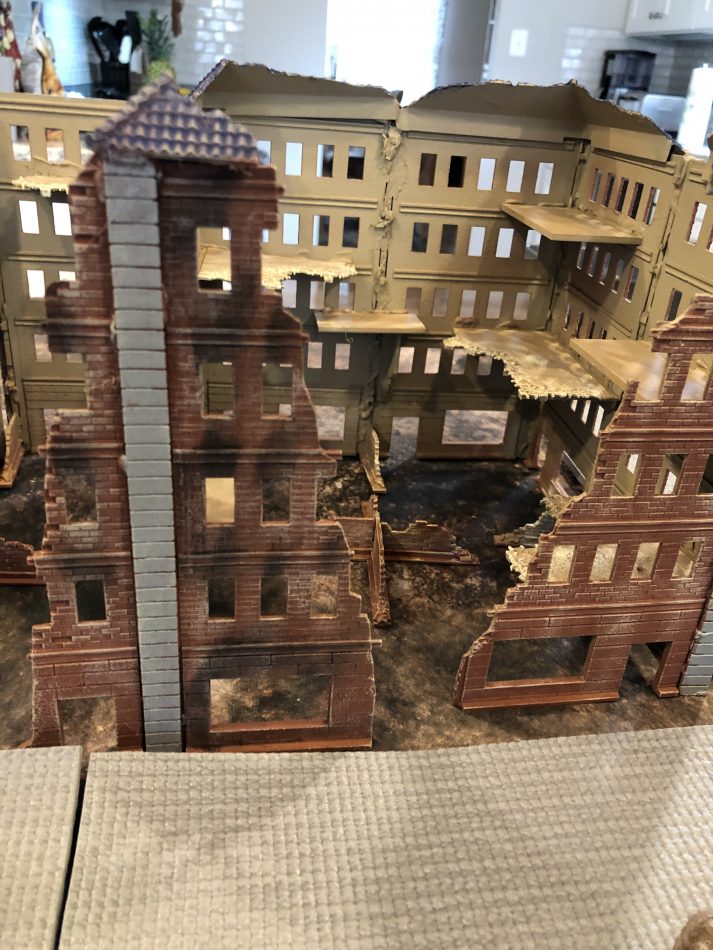
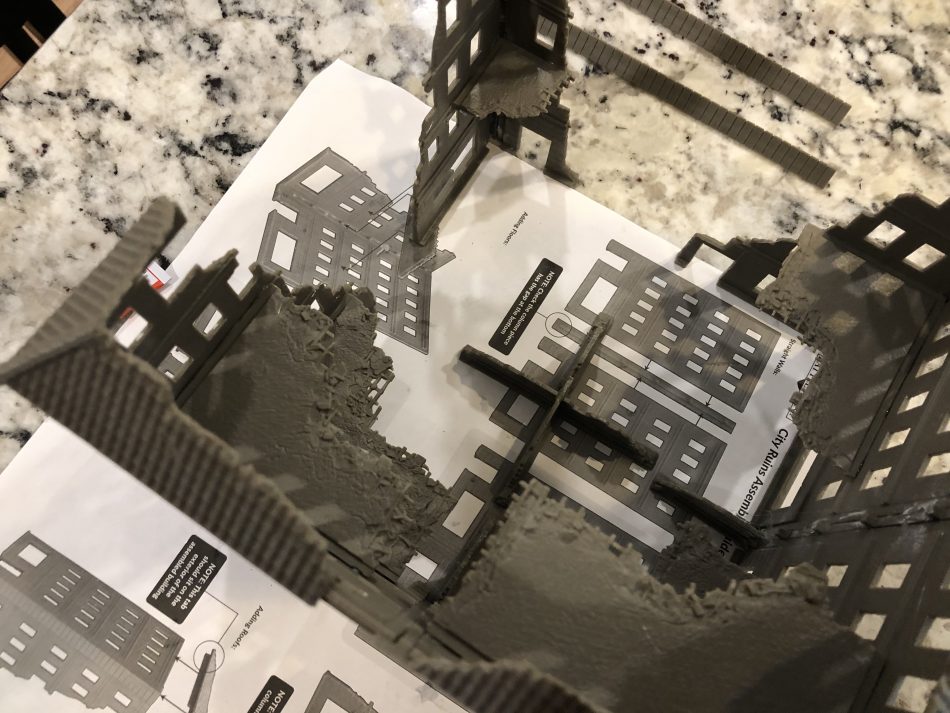 Since Battlefront sent me a few boxes I wanted to make a larger building with the remaining kits. This is easy to do, however, as I said, plan it out so you have all the outside walls the same.
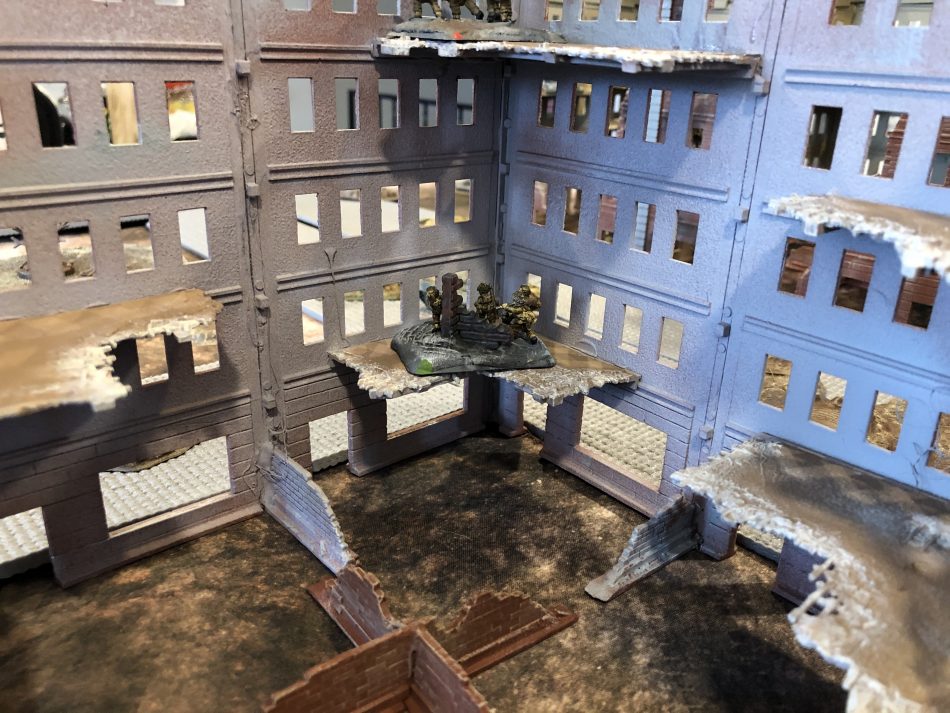
 With the larger building, I used some of the extra half wall parts as supports for the interior of the building. I also added some extra floors, this gave the model some support and some extra space to fight in.
 Painting
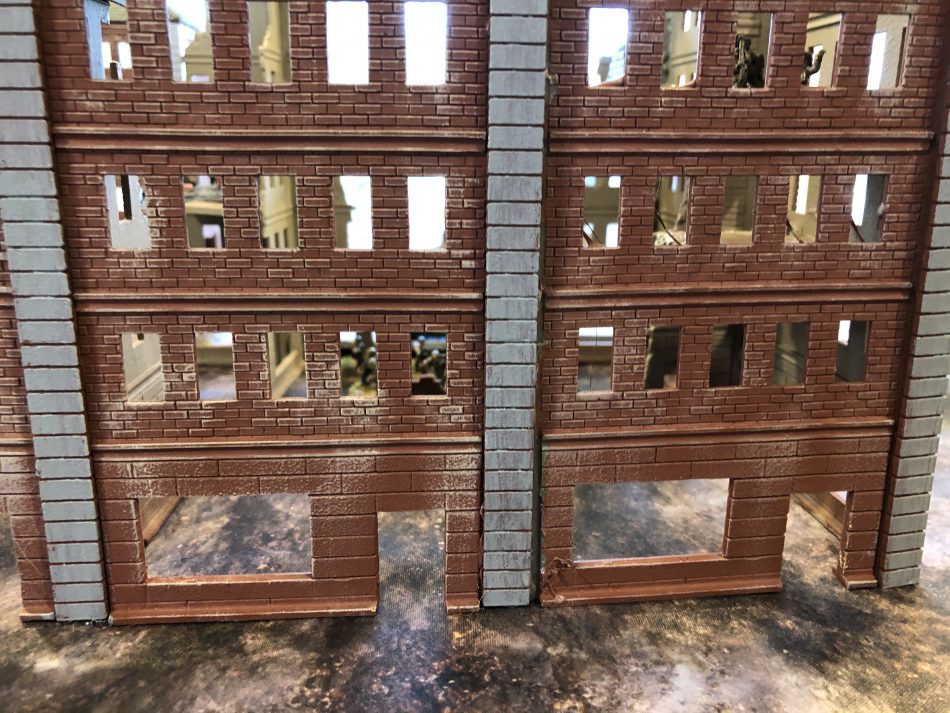
We all know I am not a great painter and I was a bit intimidated to paint these kits. However, using some sprays and contrast paints I was able to finish the buildings a basic finish.
 I decided not to give the interior of the building too much detail besides the basecoat and some dry brushing. I knew that these buildings would be a mess inside, so too much fine painting is not required.
 I do recommend giving the outside a dry brush of light grey or dark sand to represent the dust that would be present.
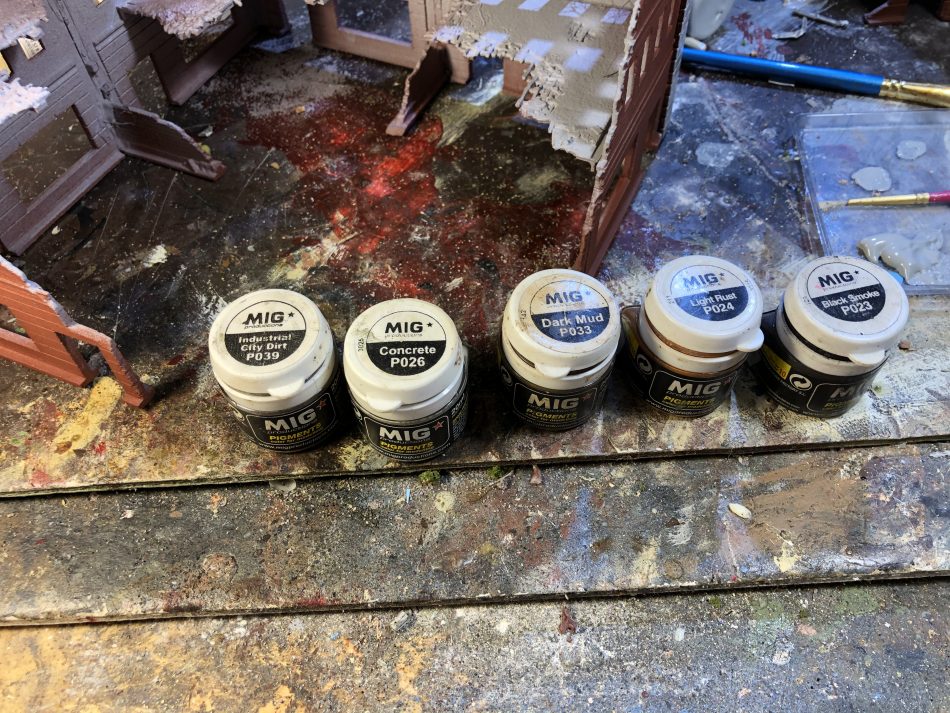 Another thing I decided to do is pull out some MiG pigments I had laying around. I rarely use these, but was able to give the outside an extra touch of destruction.
Making the Table
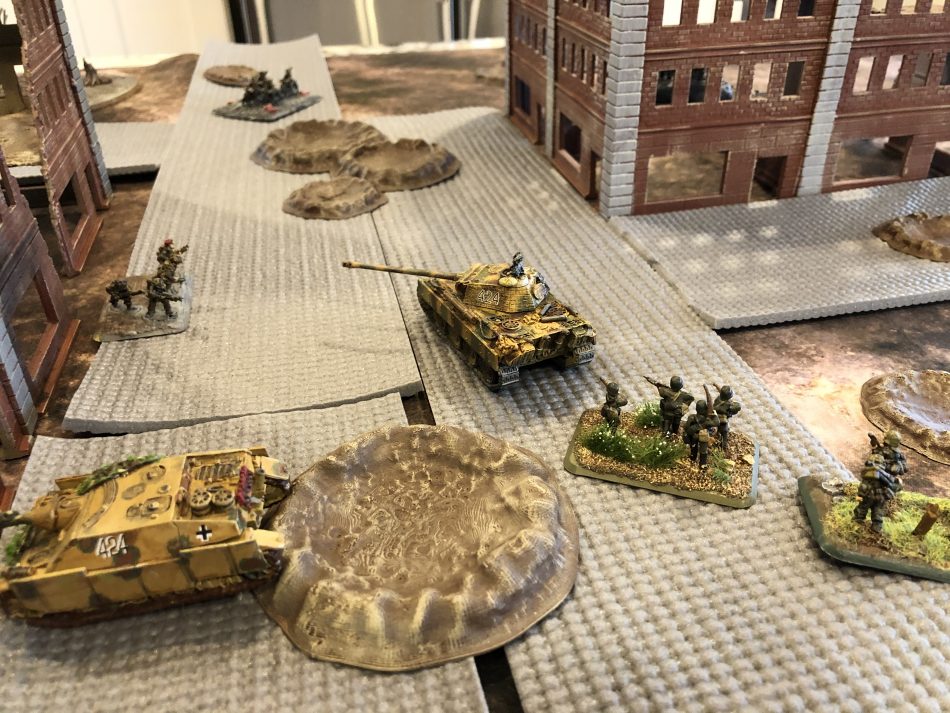
As I said previously, I do not have much in the way of 15mm terrain, but what I had around for 28mm filled in nicely. What is great about these kits is that they do not need an extensive collection of terrain to make a table look great.
 What is great about these kits is that they can be used for Flames of War, Team Yankee and even Flames of War Great War, as long as the conflict is in Europe you should be fine with them.
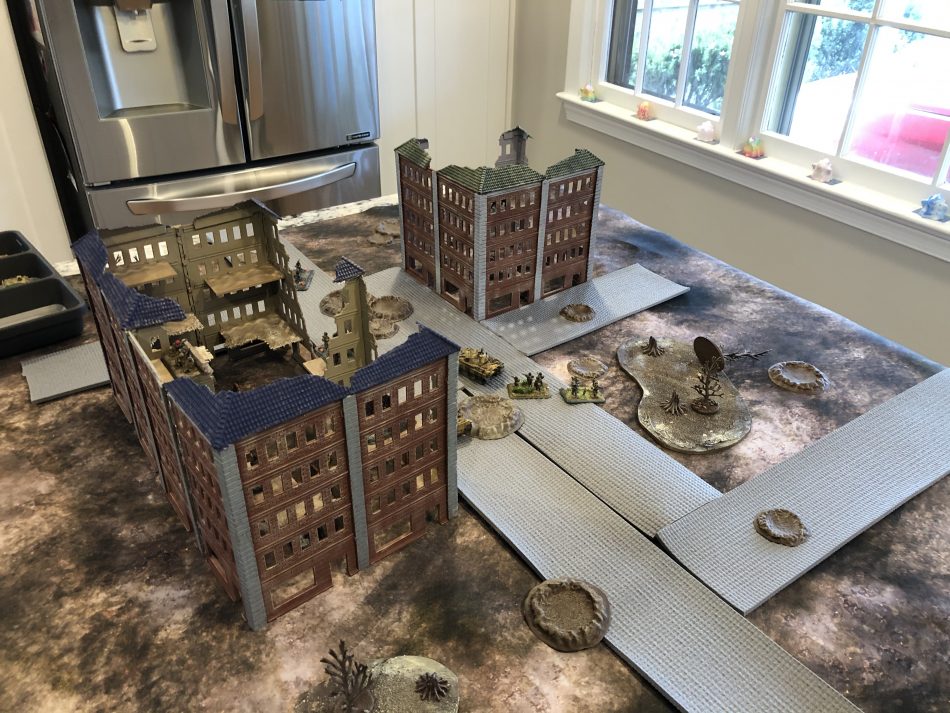
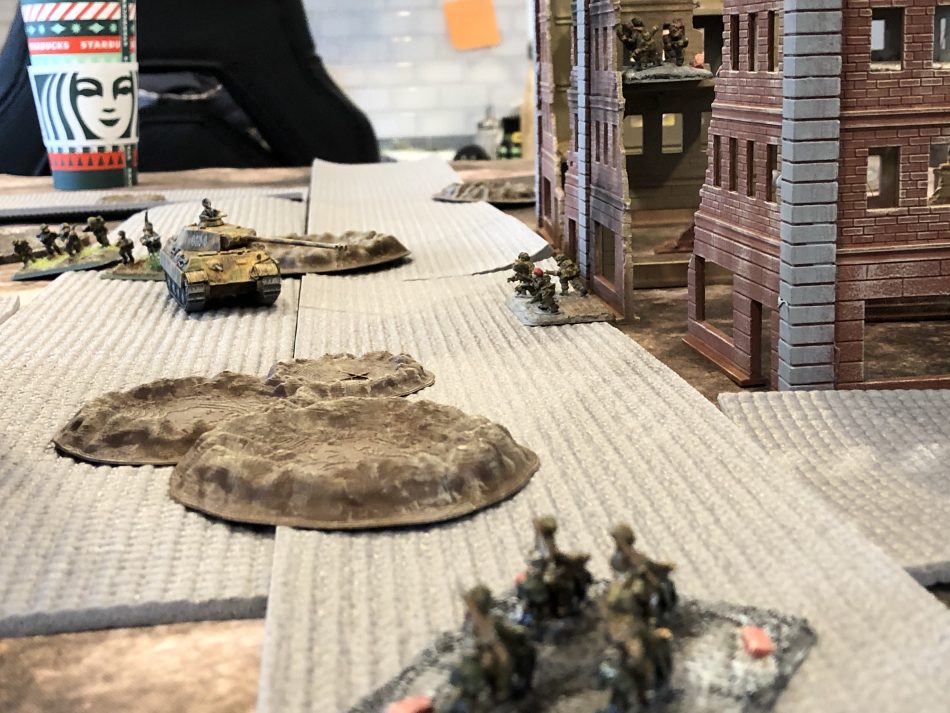
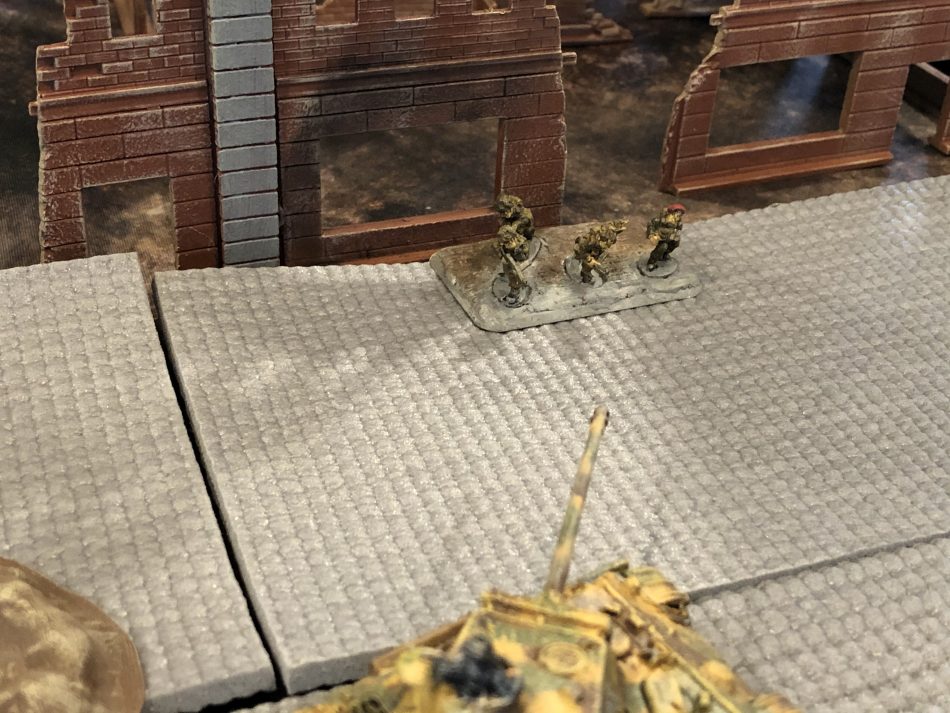
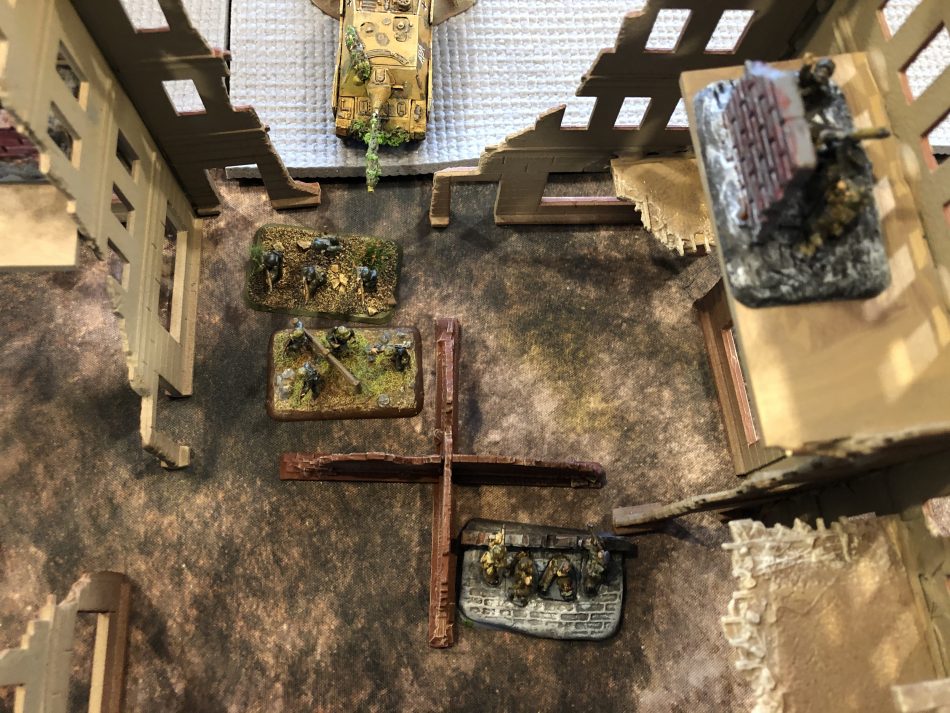
 I pulled out some of my collection to show you how these kits look in action. Since I do not have World War Two Soviets to display, I pulled out the second force I ever painted, British Airborne which I gave urban bases in honor of their fight in Arnhem.
 I also pulled out some Germans to root them out.
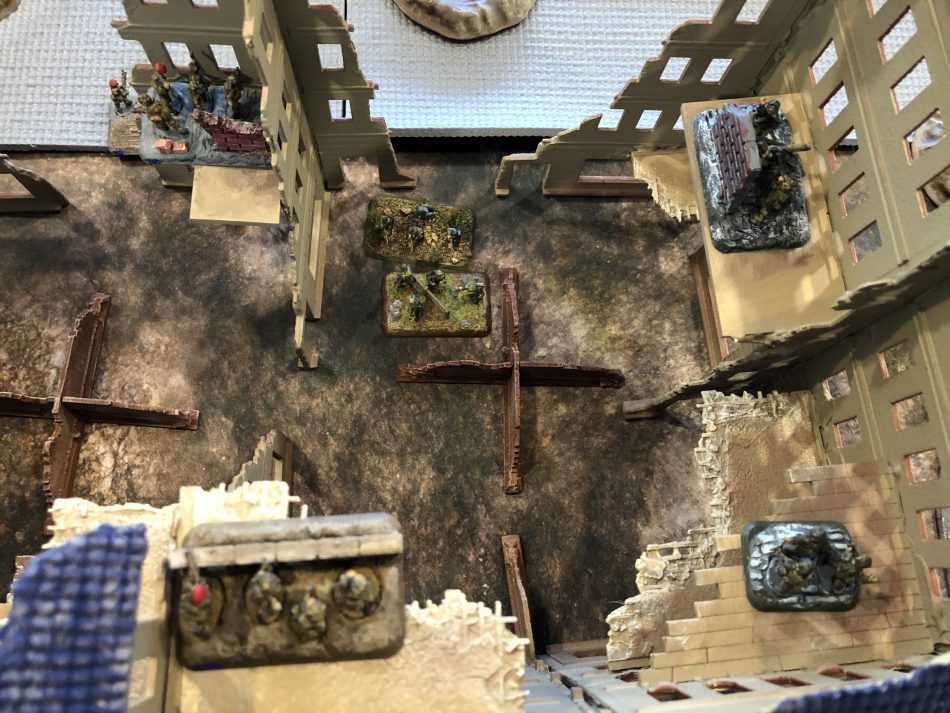
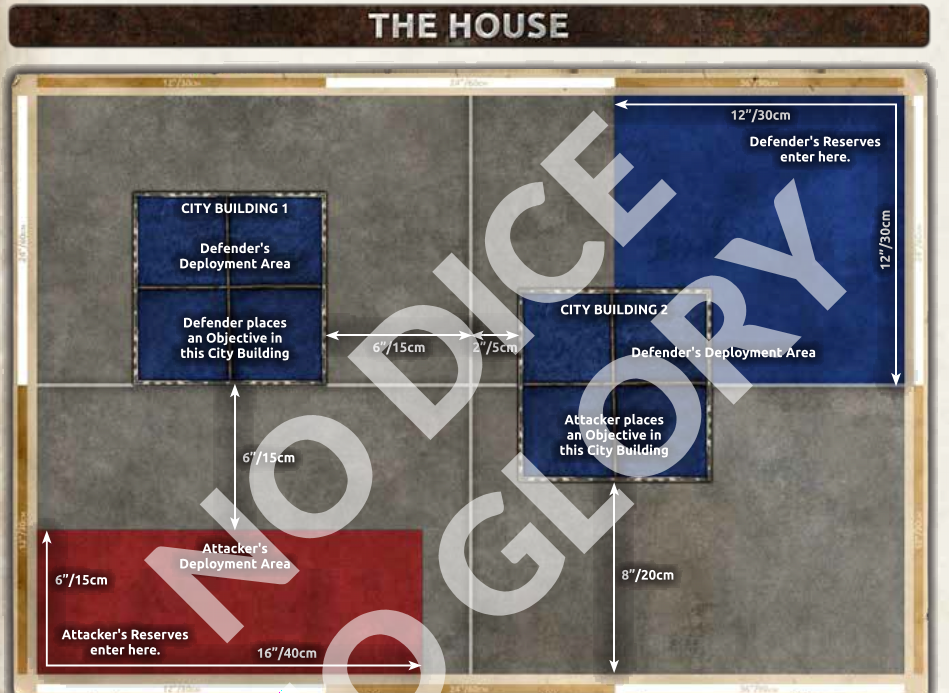
A key thing to note is how these buildings affect play. The Mid-War books Enemy at the Gates and Iron Cross have detailed sections on city fighting rules which I recommend you read no matter where your fight takes place.
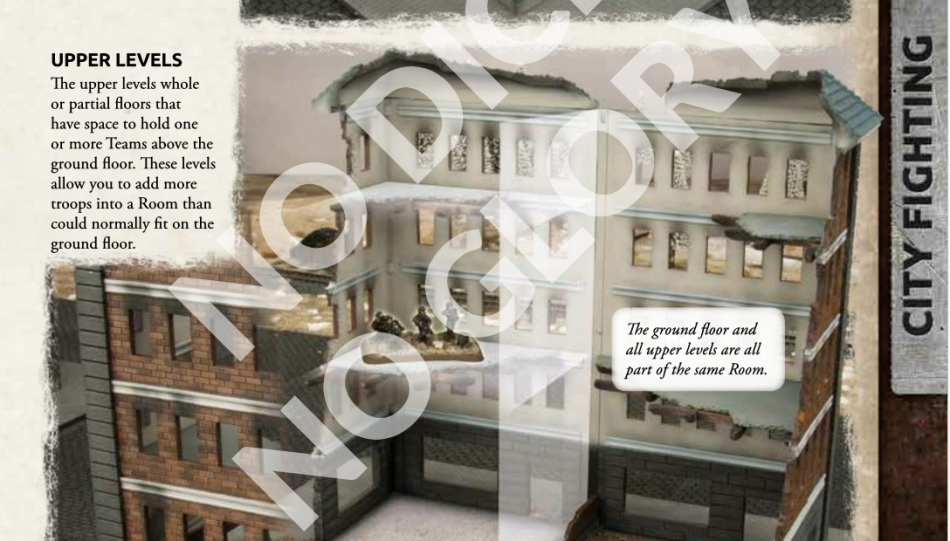
Both books also have a collection of four missions just for city fighting.
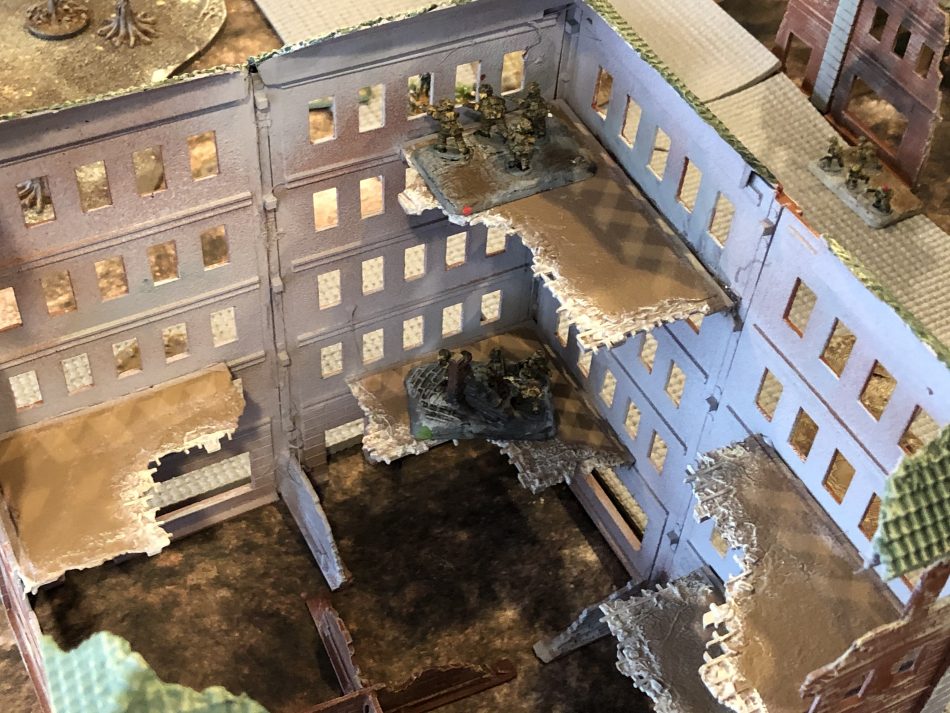
I like how these buildings came out and they look very nice with my troops fighting in them.
These models are huge and once built and a bit fragile. I recommend getting the base sold directly from Battlefront to keep the model more stable. These will not work for the larger buildings, so I plan to look for a base to keep these models together for the future.
Storage is also something to think about, they will take up some space.
Overall, I feel that you will love these kits. Being modular they can conform to whatever table you plan to use them on. They are also easy to build and as I have shown and easy to paint to a mediocre standard as I have shown.
I hope that a few of these kits end up on your table during the holidays.