How to win at Advanced Squad Leader Guaranteed!
By David Garvin
There are many people who are much better gamers than I. From them, I have learned so much. I have discussed elsewhere some of my education in gaming, especially in Advanced Squad Leader. Many of these lessons were learned the hard way. I have set up some units illegally, only to have them removed upon discovery. I have miscalculated the Dice Roll Modifiers (DRM) of an attack. I have done many egregious errors.
But none have been as bad as misreading the victory conditions for a scenario. Or, more accurately, misunderstanding them. A of mine here on No Dice, No Glory led to some great discussion out on the internet. One point that kept coming up was that in about one-third of all games, one side or the other will have an incorrect idea of how to win. This article will discuss what players ought to do in order to ensure a complete understanding of how to win their scenario.
Every scenario of Advanced Squad Leader – there are – will have as part of its scenario card clearly defined Victory Conditions. As in all things ASL, there are exceptions. In this case, the main exception is in any Historical Campaign. These will have conditions on how to win the campaign; however, every scenario is pretty much a free-range affair.
The players will decide what their conditions are for winning. In any case, the ultimate aim will be to achieve final victory. As such, the player may decide that for the upcoming scenario that he will win by preserving his force, taking a number of buildings, or even just killing as many enemy as possible.
That said, anything the successful player does will put his force that much closer to victory. As such, scenarios in Historical ASL campaigns won’t be examined here – the focus will be on the individual scenario.
Good news, lads! We’re in a HASL! No need to focus on Victory Conditions!When it comes to knowing how to win, the first thing to do is to read the Scenario Card in order, starting with the introduction. Note the date, in particular, the month. This may affect certain terrain rules. As an example, a scenario set in April or May means that grain is out of season and is replaced with plowed fields.
There are also many rules that change with the year. Is it November 1942 and you want to replace some of your leaders with commissars? Sorry, but that’s no longer an option. Is it 1945 and you’re doing a Panzerfaust check? Don’t forget your -1 die roll modifier (drm). There are many other rules that are date-dependent; however, most are tied to terrain.
The next part of the Scenario Card to consider is the Victory Conditions. Much care goes into writing these and this is the single most important part of the card to read. And understand. And the first thing is to know that there are several types of conditions. These are:
- Building Control
- Hex/Area Control
- Unit Based
- Line of Sight (LOS) based; and
- Casualty Victory Point (CVP) cap.
Of course, there may be any combination of any of the above
Next is to understand what these mean. The first concept to understand and how it interacts with the game, is control. The first thing any ASL player ought to do is to go to Chapter 1 of the Rule Book and flip over to rule 26, Victory Conditions. A26.1 to A26.162 are quite detailed in the concept of control and I’ll not attempt to summarize the rule in this article.
I will, however, point out that one ought to focus on what an armed Good Order Infantry MMC is. So, go to the index, and look up the definition of armed. Then look up good order. Now, look up infantry. Finally, look up MMC (Multi-Man Counter). Yes, it’s that specific. And it is that important. Finally, I’ll point out that a broken, wounded SMC (Single-Man Counter) is sufficient to deny an enemy from gaining control of a building.
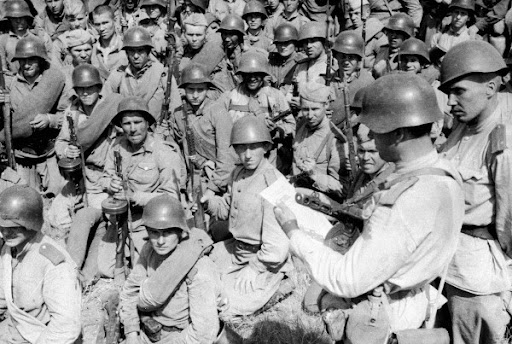
If we don’t kill that wounded 6+1, we lose the game!For Unit-Based Victory Conditions, this can be rather nebulous. In general, these are conditions listed that specify the state of units of one side or the other that have to be achieved. As an example, I will quote the Victory Conditions for ASL Scenario 170, “11th Company Counterattack”, from the 14th core ASL module, Hakkaa Päälle. “The Finns win at game end if there are no unbroken Russian MMC on board.”
There is much to unpack from this simple sentence. First, it tells how the Finns win. The obvious is that the Russians win if the Finns don’t achieve their conditions. As such, the Russian will aim to have at least one unbroken MMC on board at game end. If he has no unbroken MMC on board on the 2nd last turn, that’s ok. The conditions are based on the end of the game.
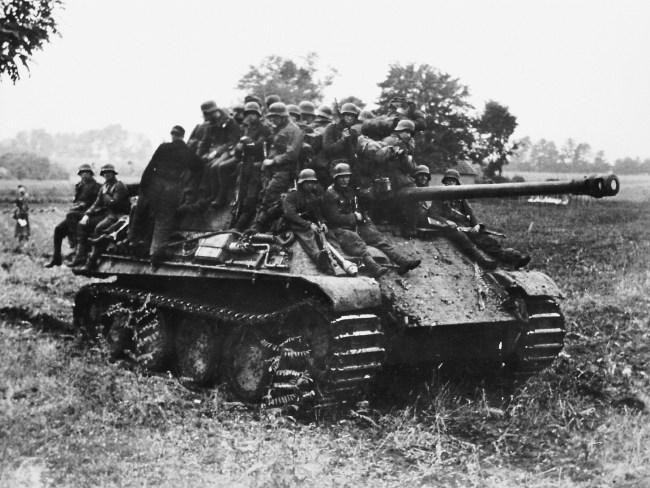
For another example, consider “A Misstep in Lorraine” by French third-party producer . The Victory Conditions state “The Germans win at game end if they have ? two Mobile AFVs with functioning MA on level 3 hexes, provided ? 4 AFVs have been Eliminated/Recalled/Captured.” So, off to the rulebook again!
This time, look up mobile (D.7), AFV (D1.2), MA (Index), Recalled D5.341), and captured (A11.52). The US player has his work cut out for him in this one as he faces off against 8 Panzerkampfwagen V G “Panthers”. But it’s not as bad as that. The onus is on the German in this one to seize the high ground with at least 2 tanks. And he has to ensure that 5 have not been eliminated, recalled, or captured. Yes, the German has 8 squads to start; but at the end of the day, all 8 could be lost and the German will still win.
The next two parts I’ll talk about are the Experience Level Rating (ELR) and the Sniper Activation Number (SAN). I will start by discussing the ELR. Irrespective of the quality of your units, ELR talks to their resilience. The highest rating is 5 and the lowest I’ve seen is 0.
Typically the ratings range from 2 (poor), 3 (average), and 4 (good). Essentially this speaks to the resilience of your units. The higher the ELR, the better your troops will retain combat power, even if they break. So, what does this mean? If you have a high ELR, then you can take greater risks. If lower, then less able to do so. That said, if the enemy has a low ELR, then it may pay off to make more low-odds attacks in order to put extra pressure on your opponent.
Make a fire attack with SAN 5, will you?But what of SAN? Without going deep into the rule, if you fire a lot when the enemy has a high SAN, then you are inviting trouble. Essentially, if you roll a SAN, then there is a one-third chance of a successful sniper attack against you. It is essentially a random event. But it can and ought to be mitigated. The rule of thumb is this: if the enemy SAN is high, then you must take as few shots as possible.
What this replicates is that an enemy has a good sniper force. When they do, then your force will keep its collective head down, probably subject to one-too-many close calls. In the game, the wise player will avoid suffering sniper attacks by keeping his head low, as it were, by taking as few fire attacks as possible. As well, the very good player will really know how to exploit rule A14.4, Sniper Check.
So there it is. There are many other lessons about how great players win. And this is but a side point, but if you happen to check the results of , you’ll see that some names appear quite often. In spite of this being a dice game, the great ones win in spite of that. So, if you don’t fully understand what you must do to win a game, you probably won’t win.
The key is understanding the rules. This may seem self-evident, but there have been many ASL players who have succumbed unnecessarily because they have not really understood what they had to do to win. I know this for a fact because I am one of those many ASL players!
There are tales of players winning without having a single piece on the board; the enemy failed to achieve the conditions of their success! Imagine a chess match where all your pieces are removed from the board yet you still win! Alas, it can be done, but it is all up to you. You just know have you have to do to win.
David Garvin is an avid board wargamer, with ASL being his favorite. He lives in Nova Scotia Canada and has been known to travel quite far in order to play ASL.