Pike & Shotte English Civil War Covenanters vs Montrose Irish
by Dennis ‘Matt Varnish’ Campbell
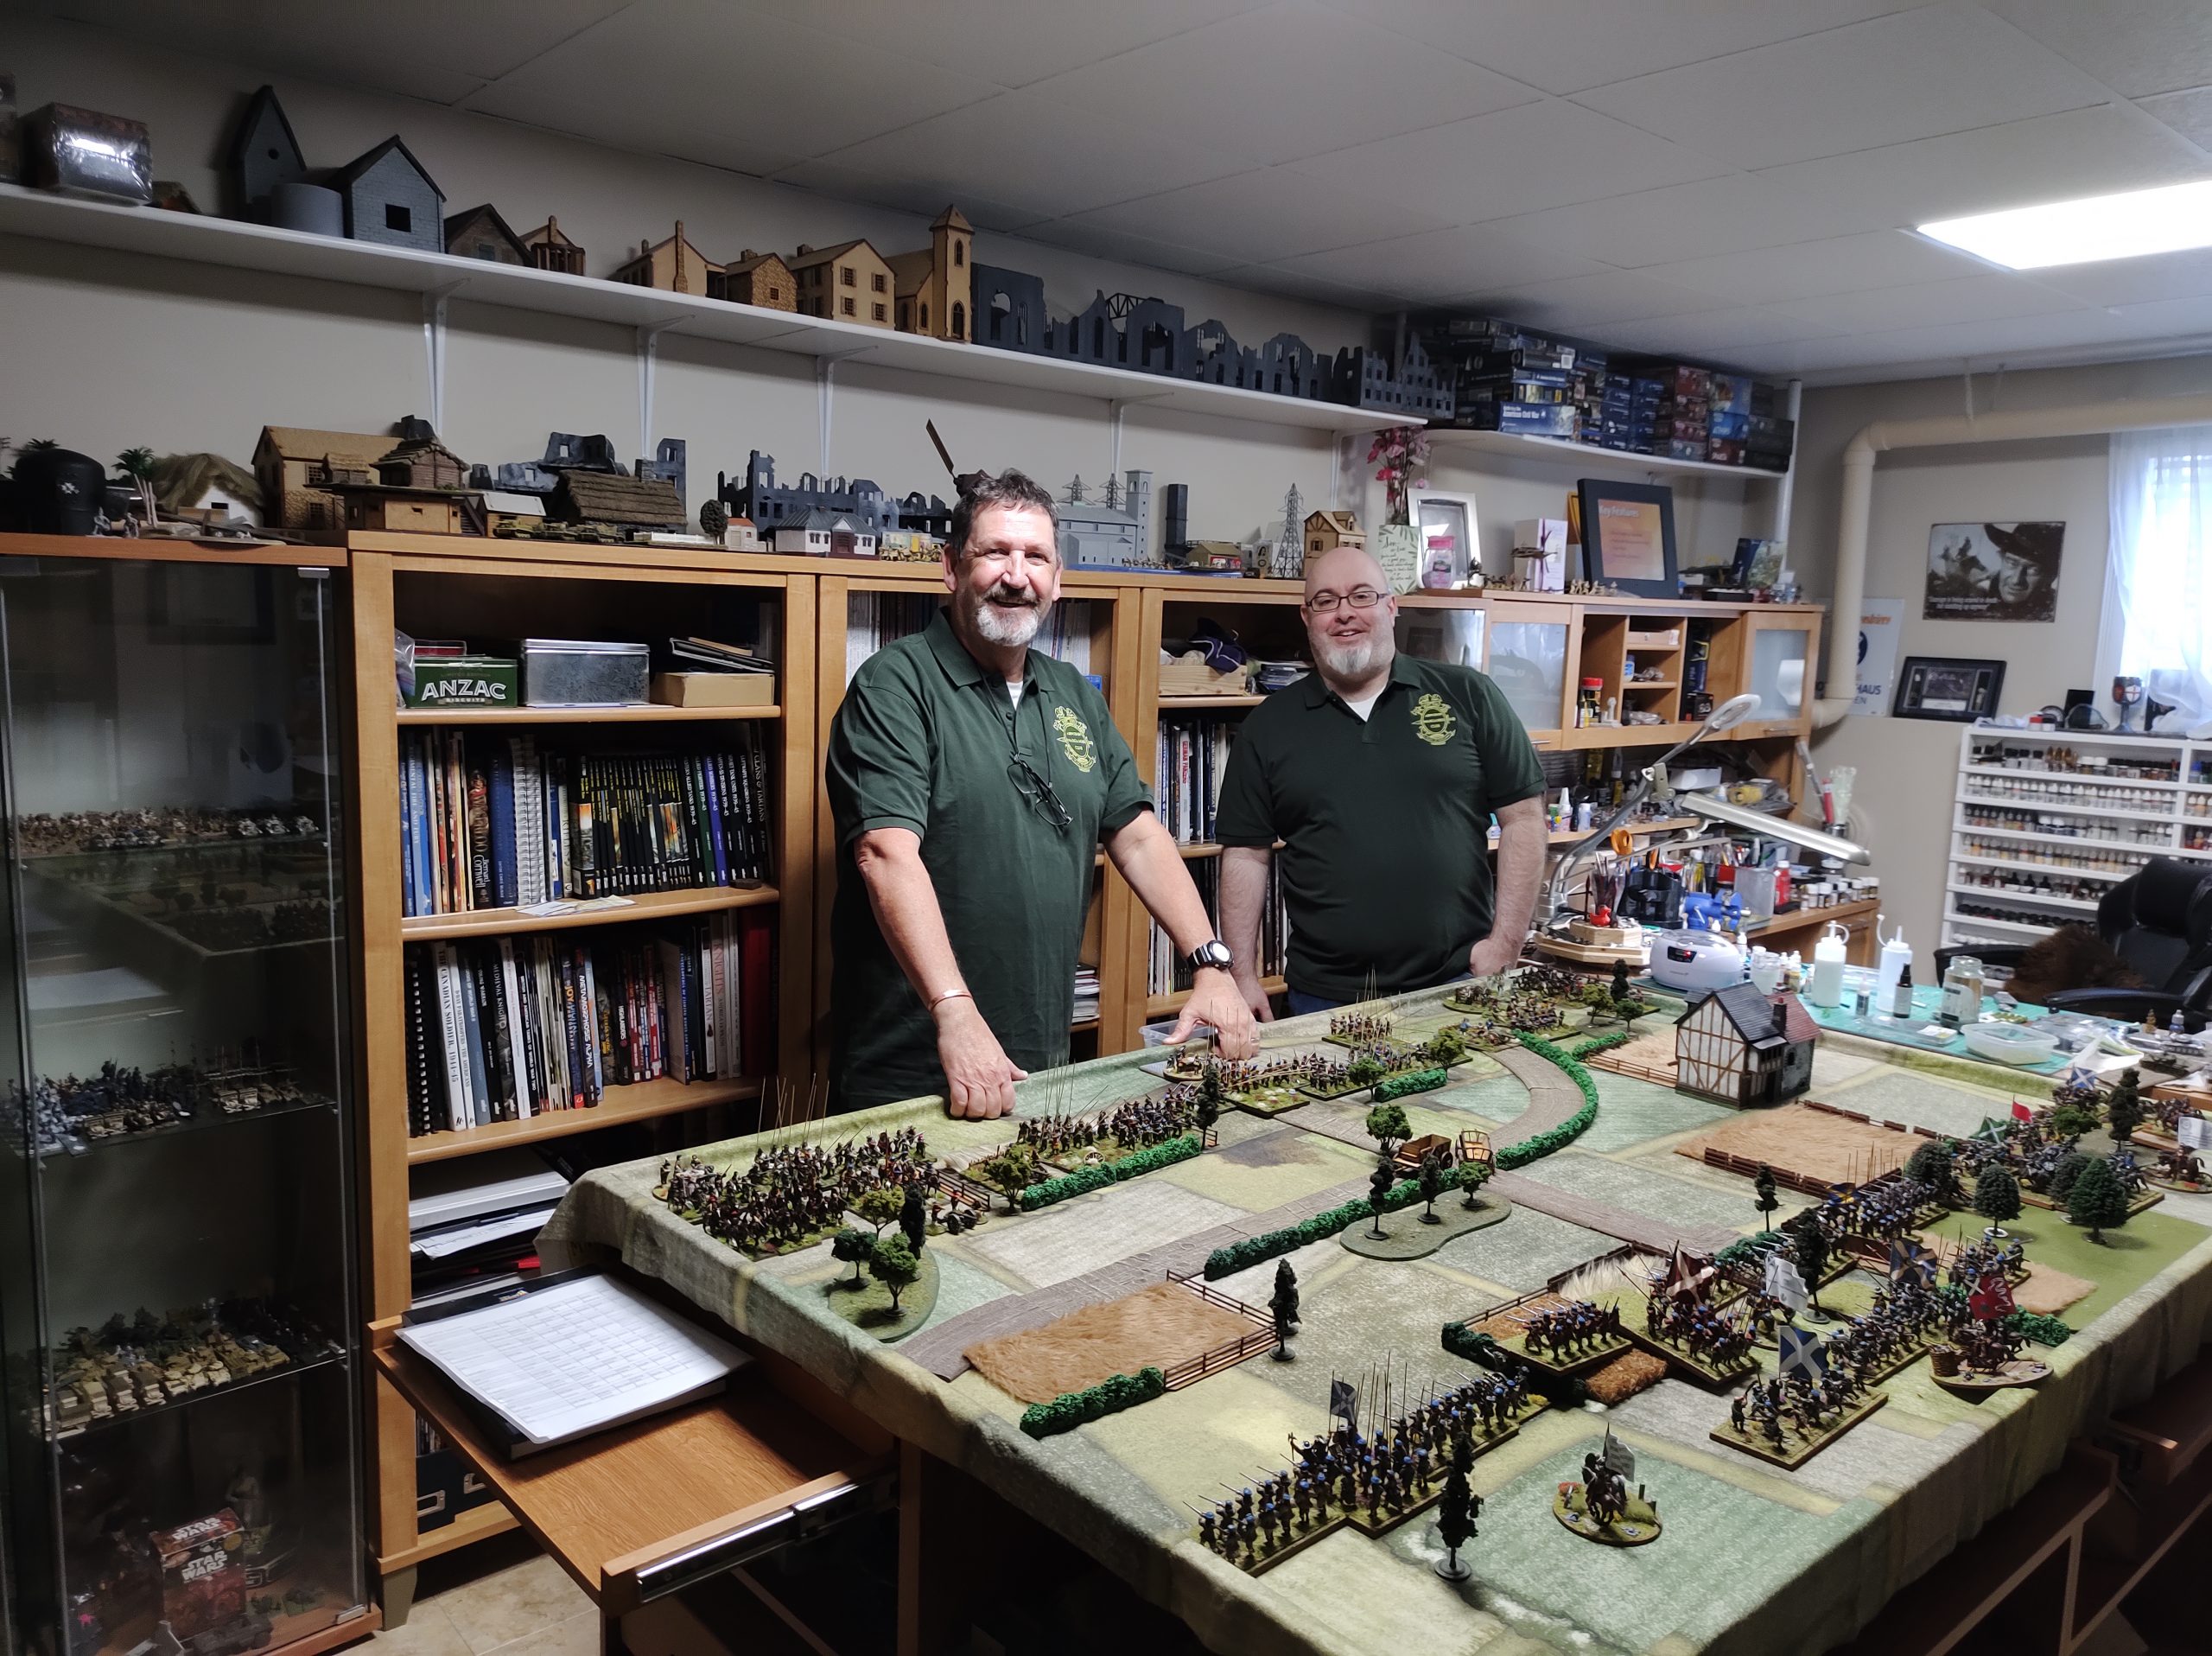
Here we go, another game of Pike & Shotte by Warlord Games. This time we ‘run what we brung’. In other words, everything we have painted hit the table in a pitched battle. Scott has even managed to base all his units (since we saw in the first game). He is just awaiting flags to finish the units.
Scott is freshly back from the UK, where he was deployed for about a year. He was a member of the Abingdon Wargaming Club while posted to the UK and brought us back some shirts!
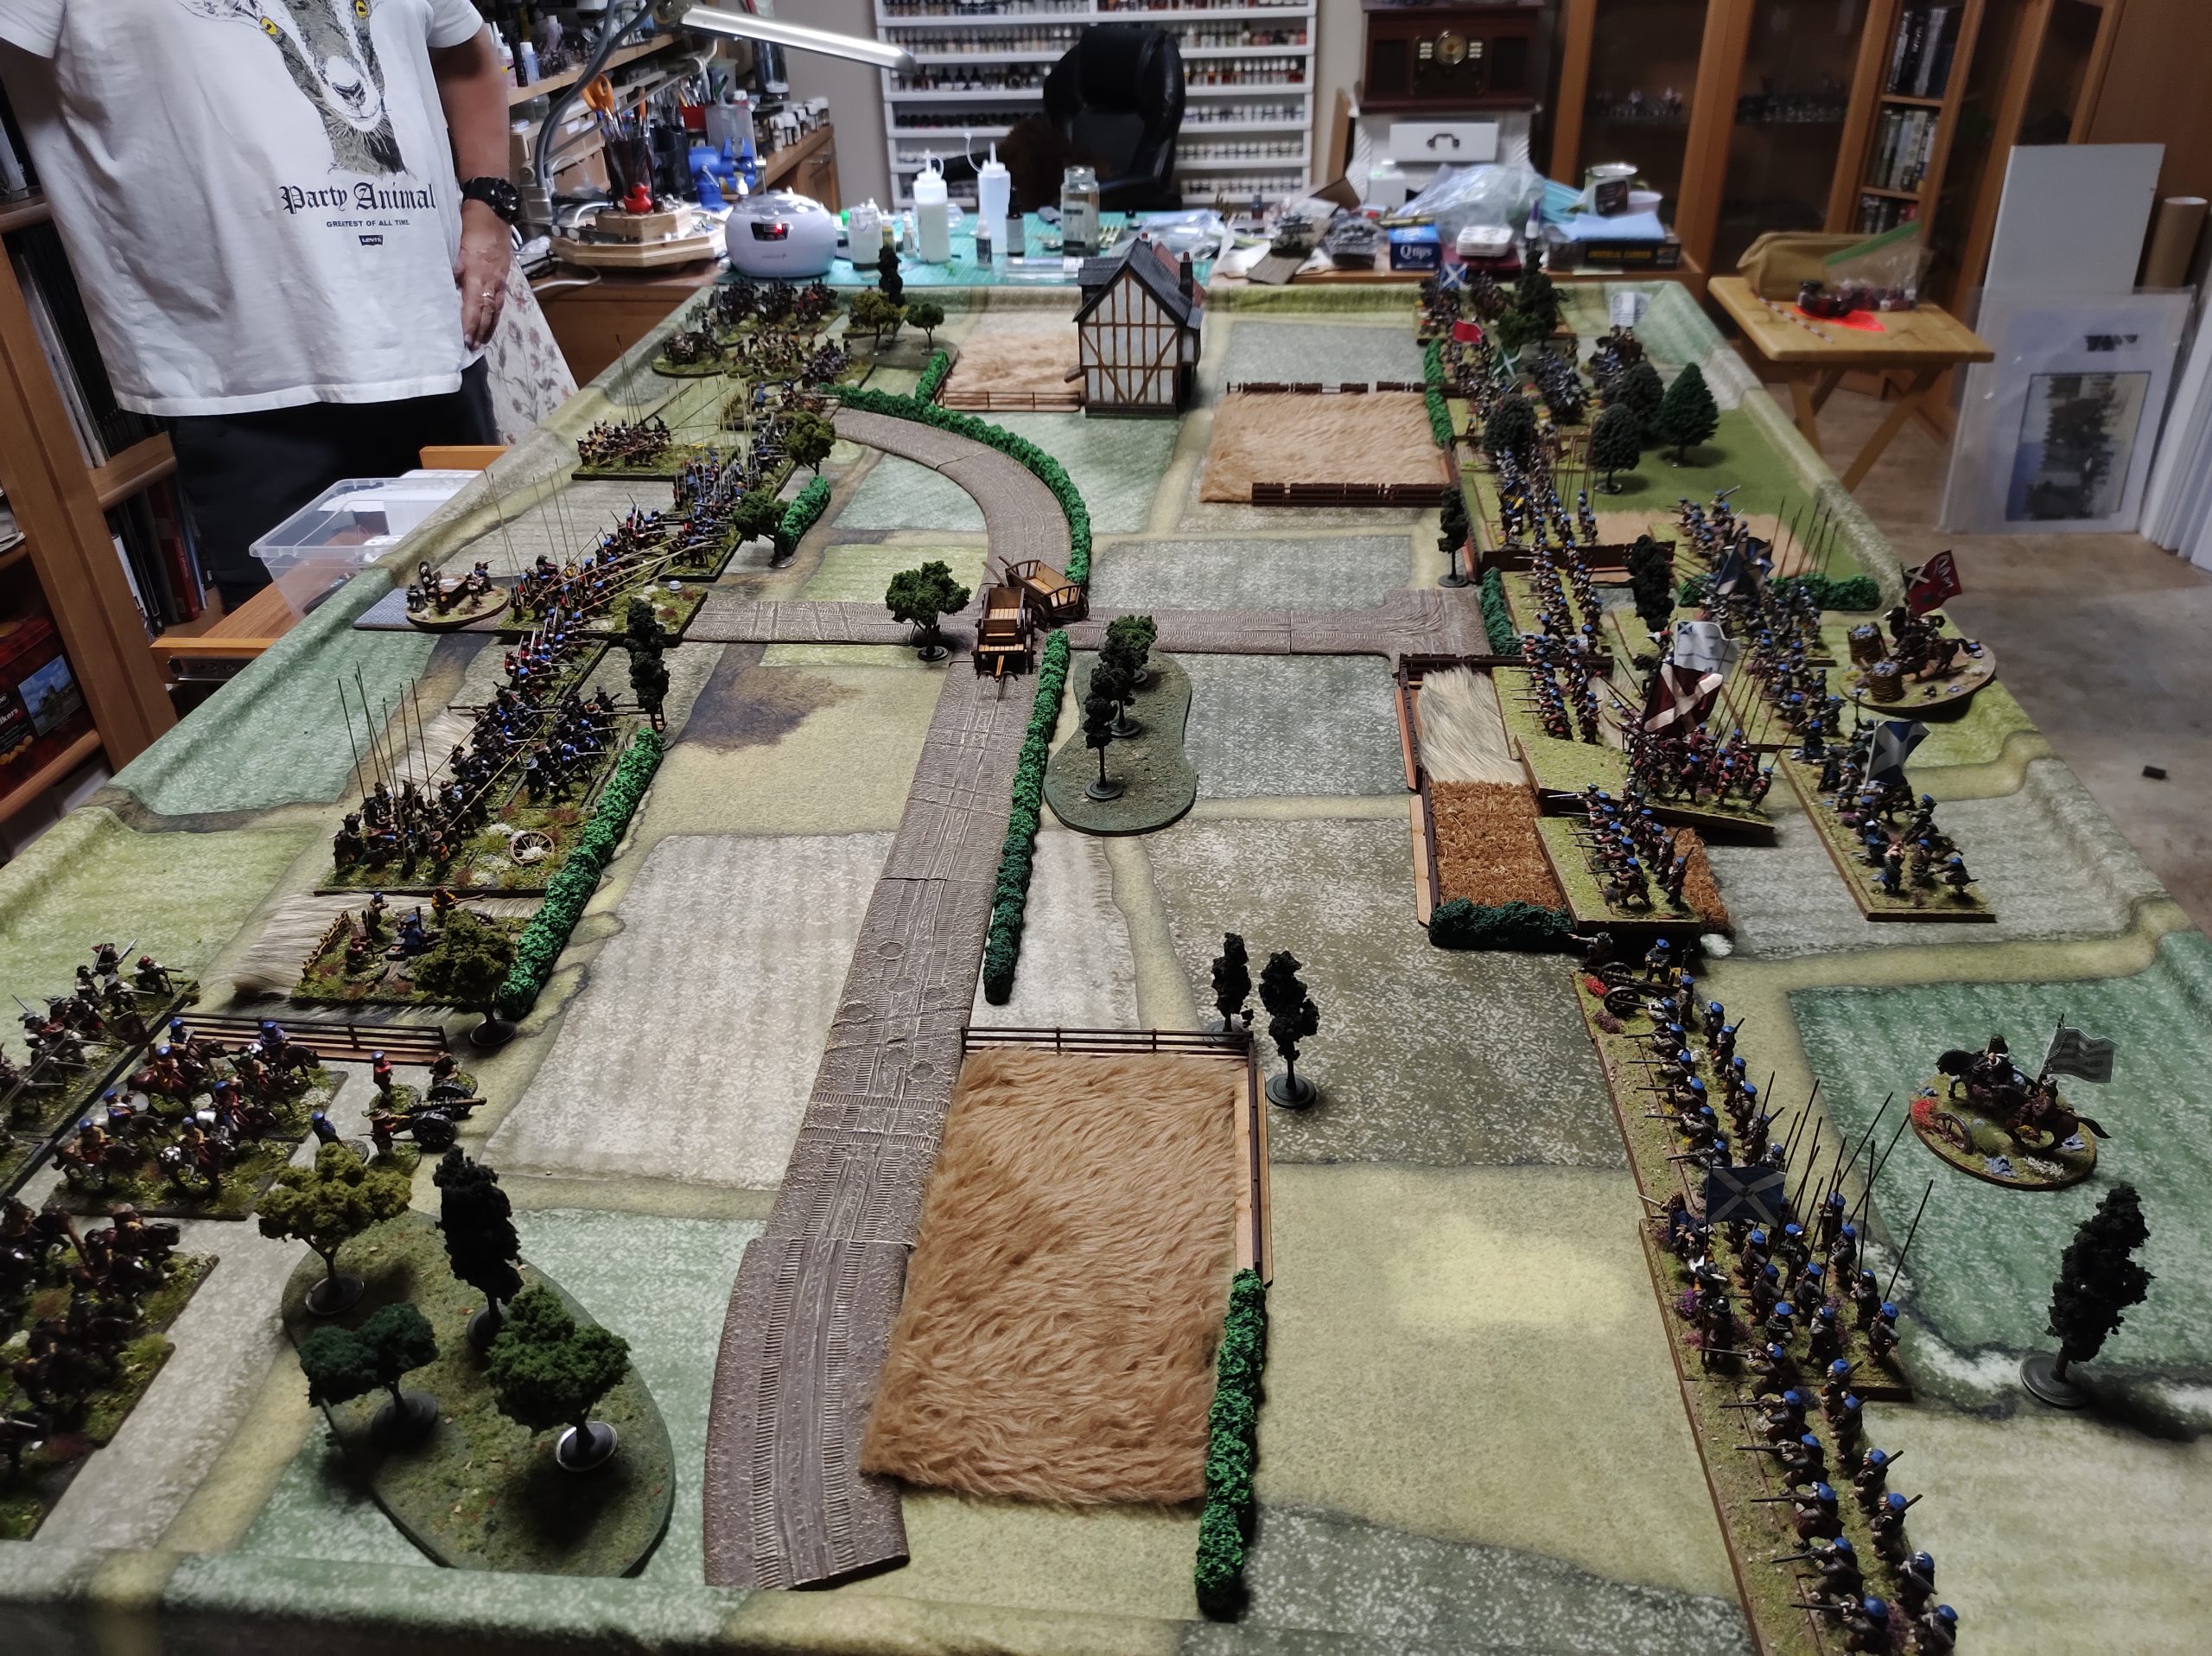
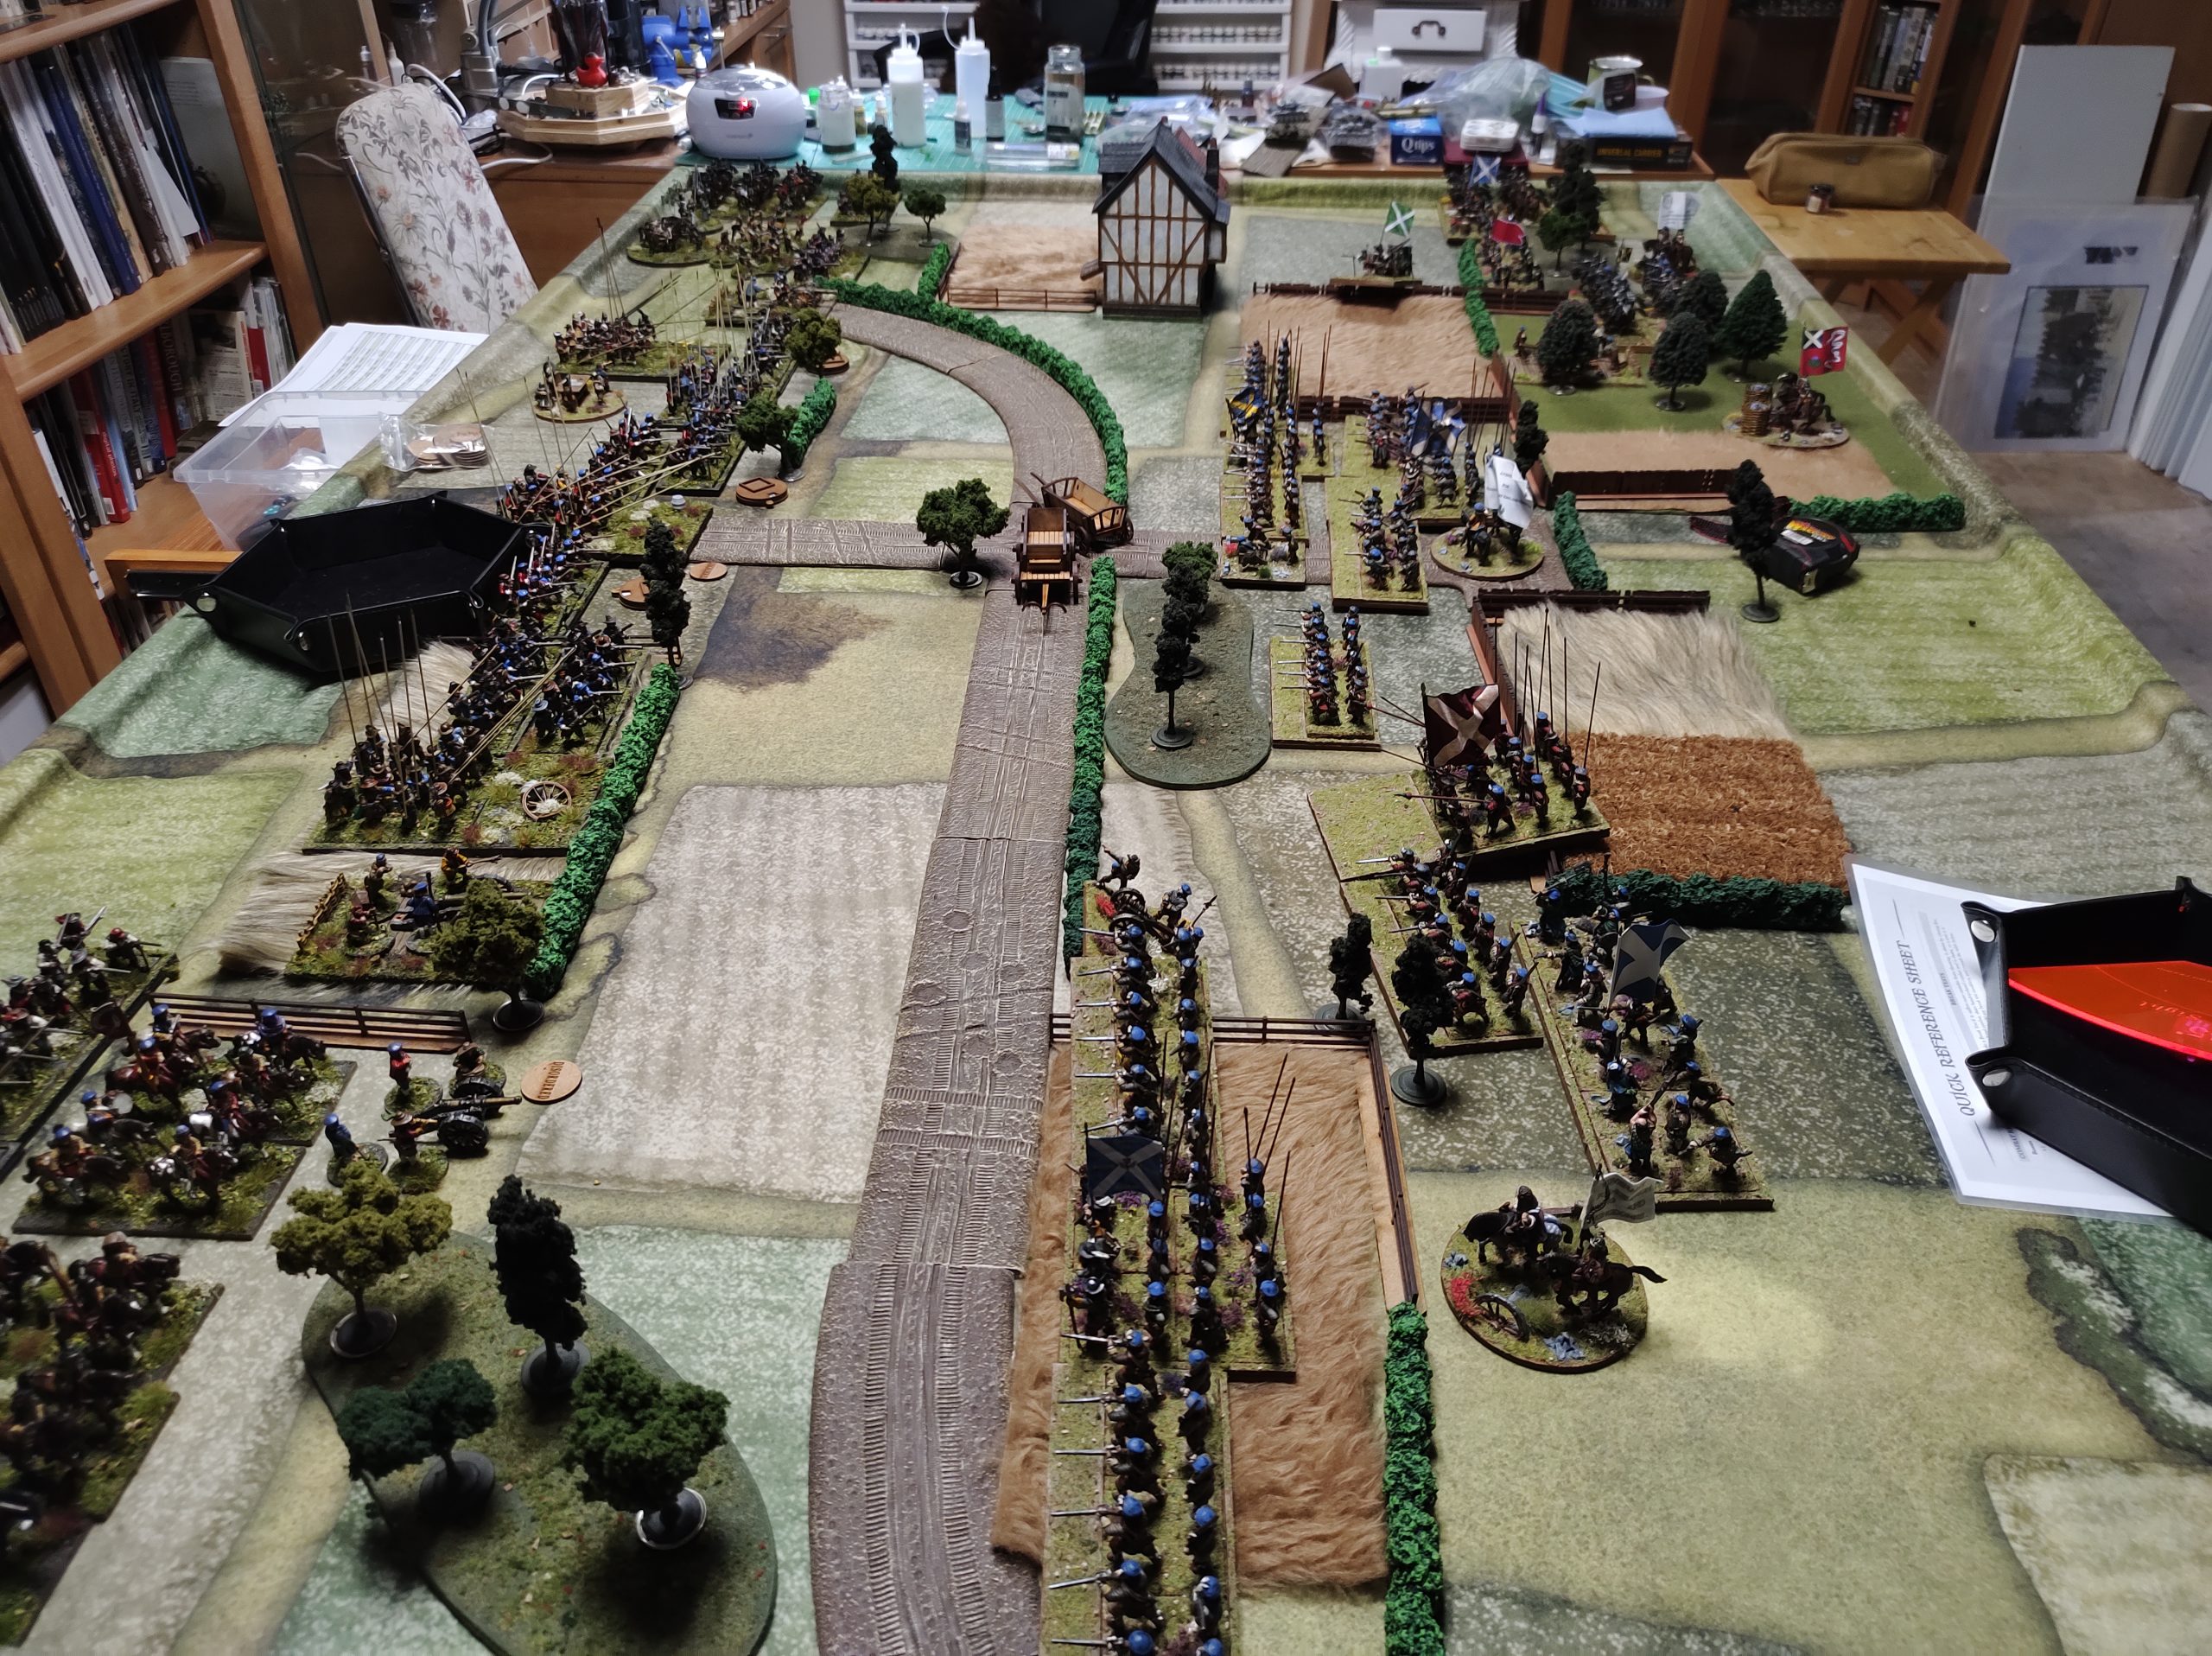
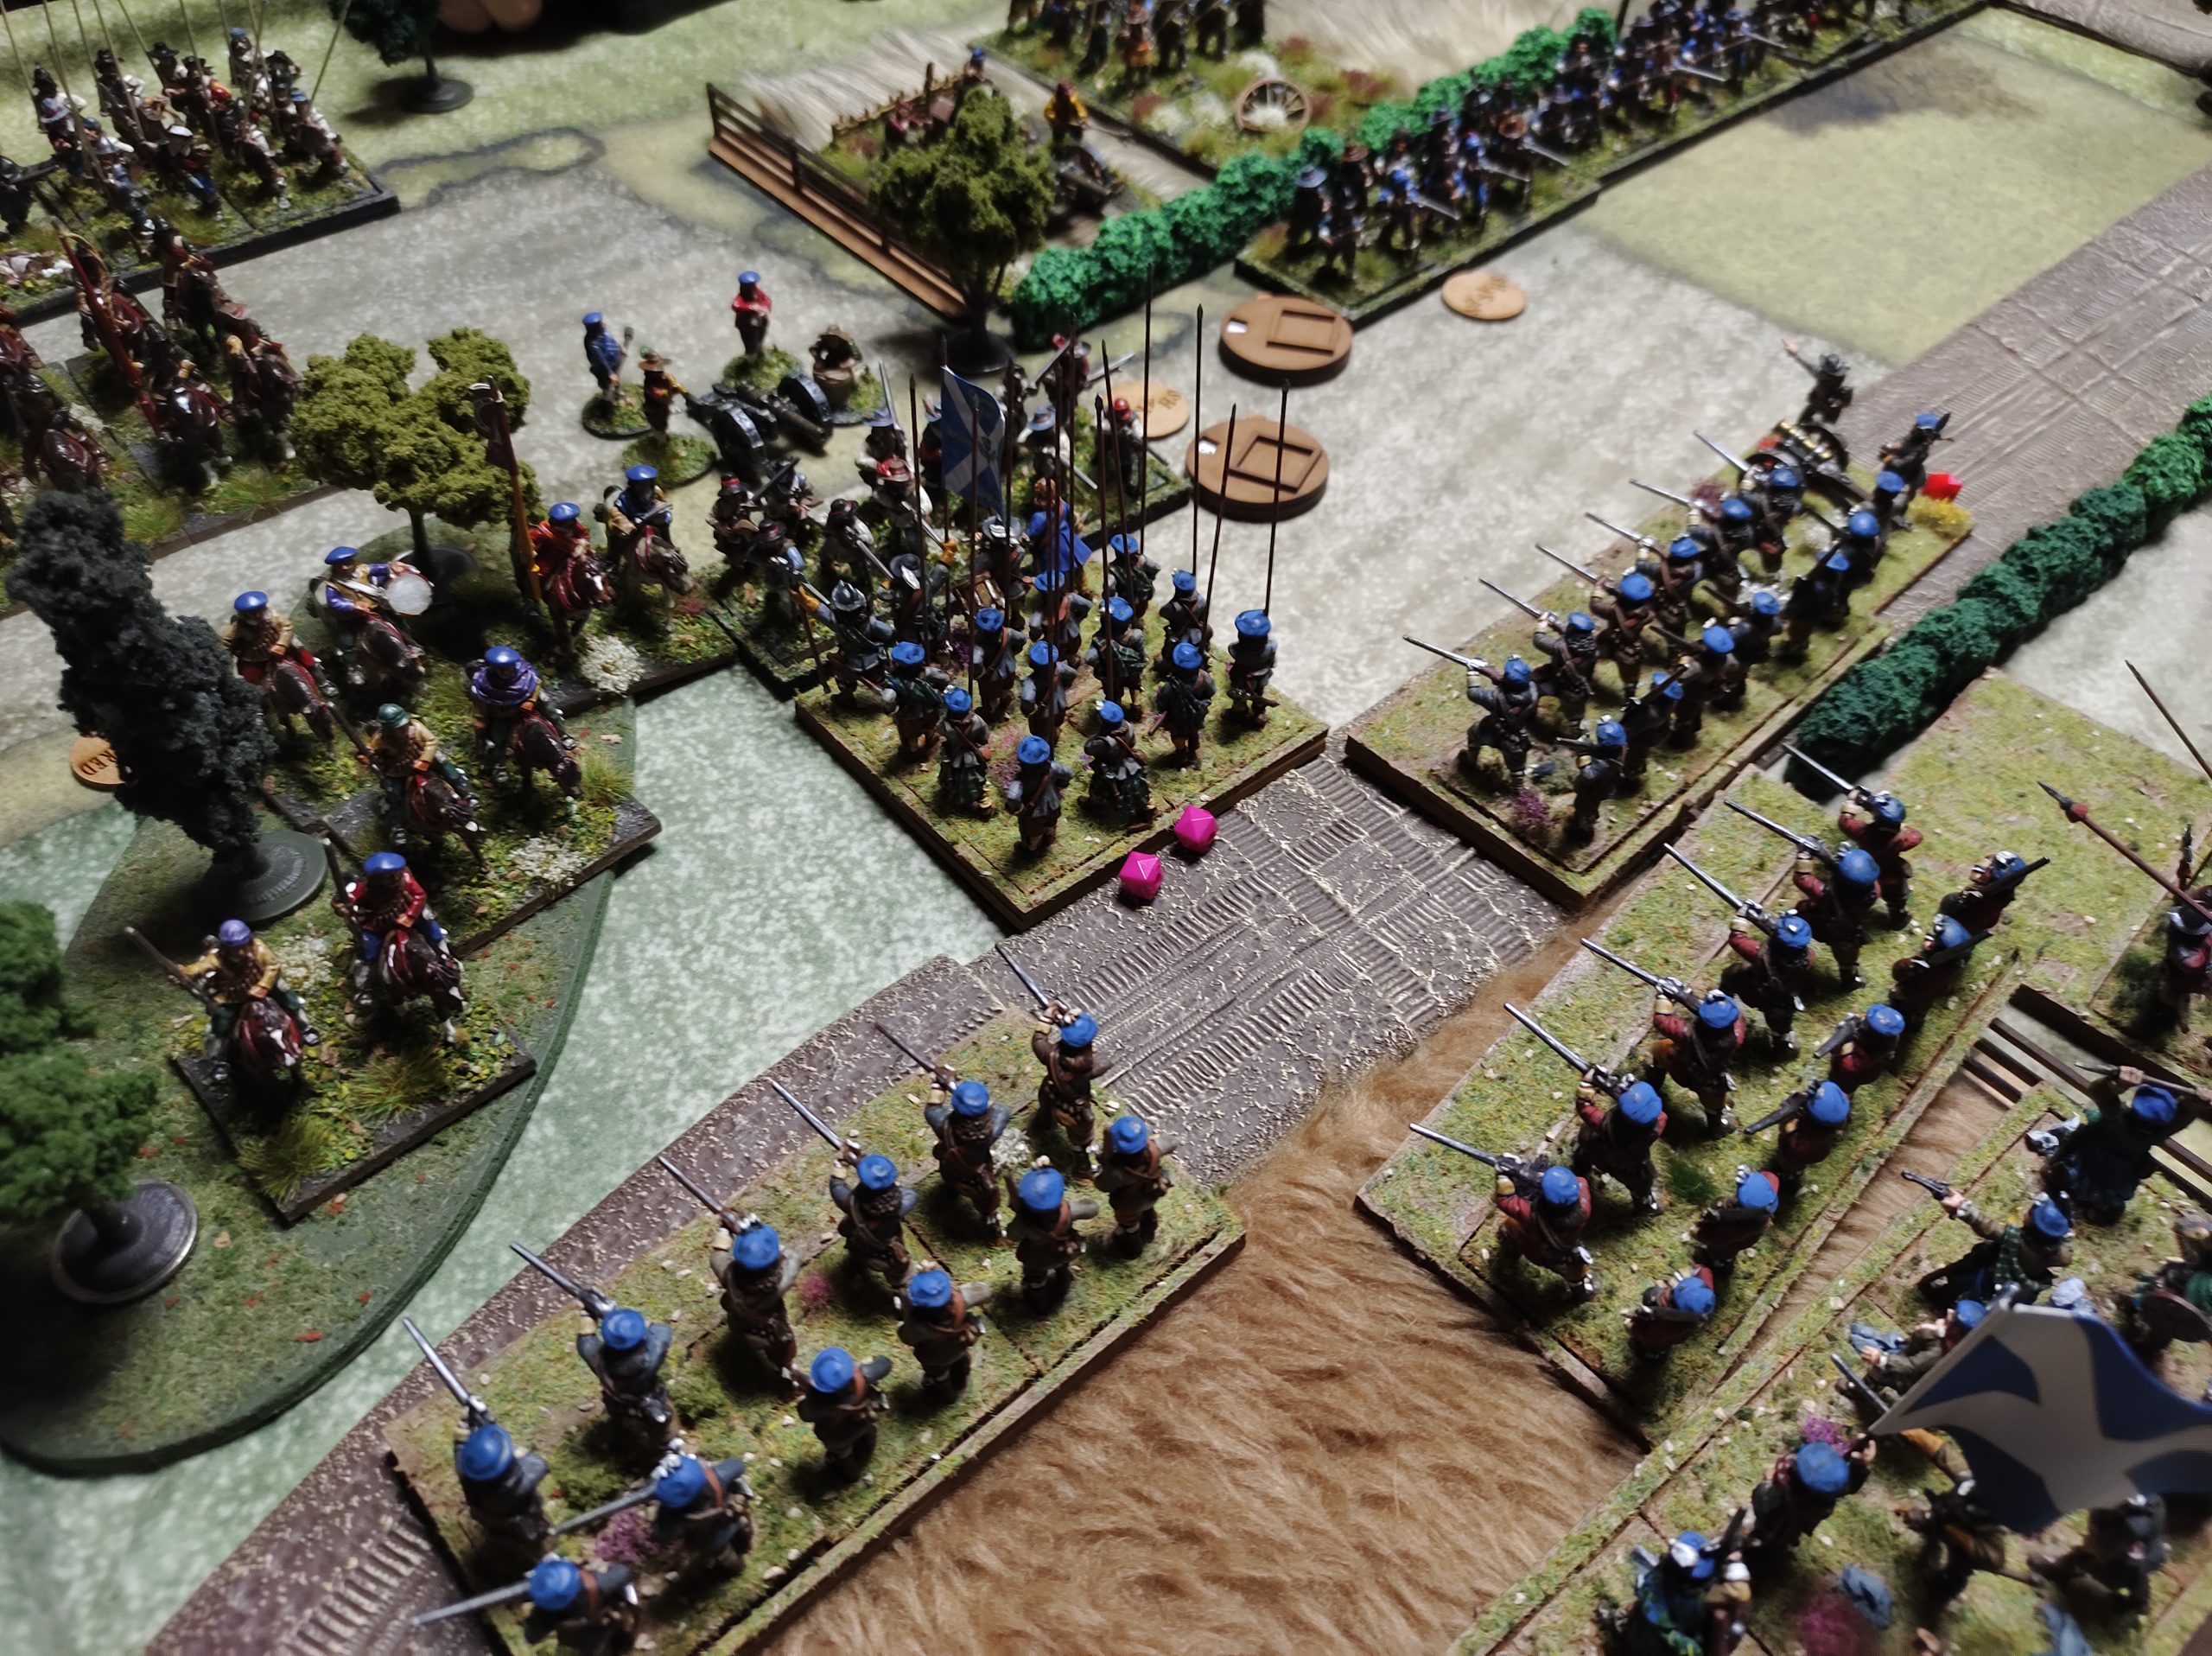
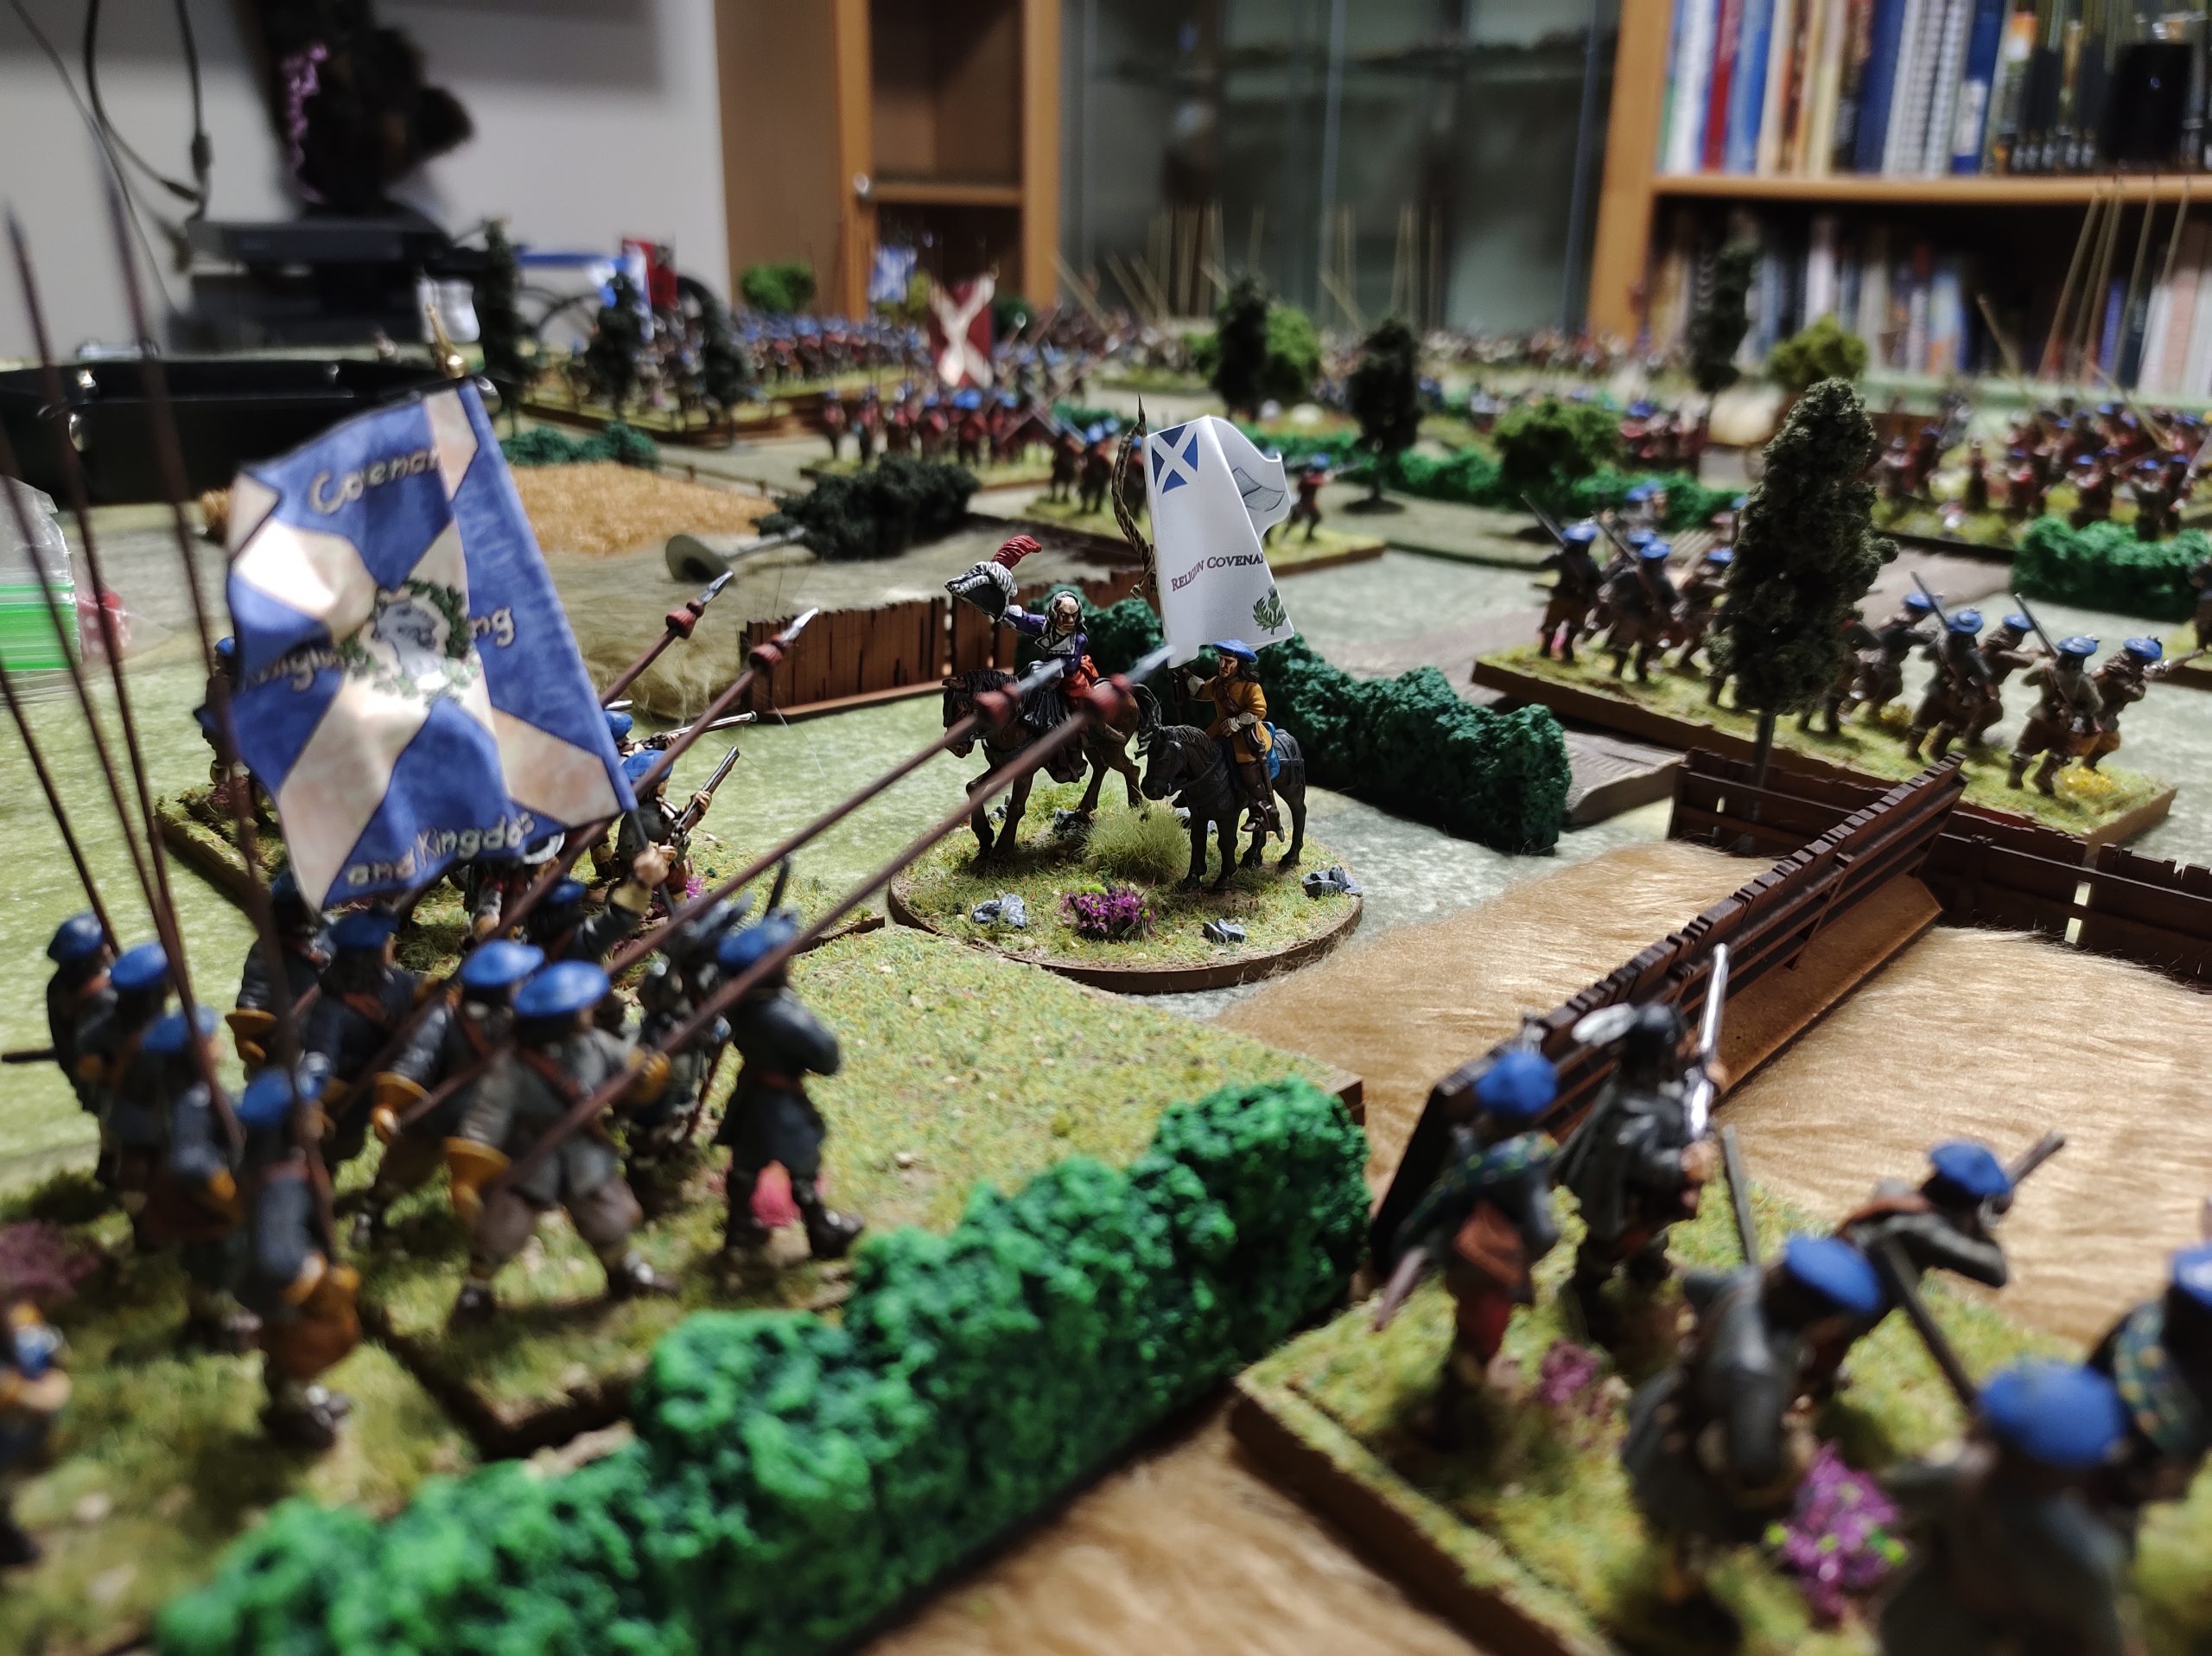
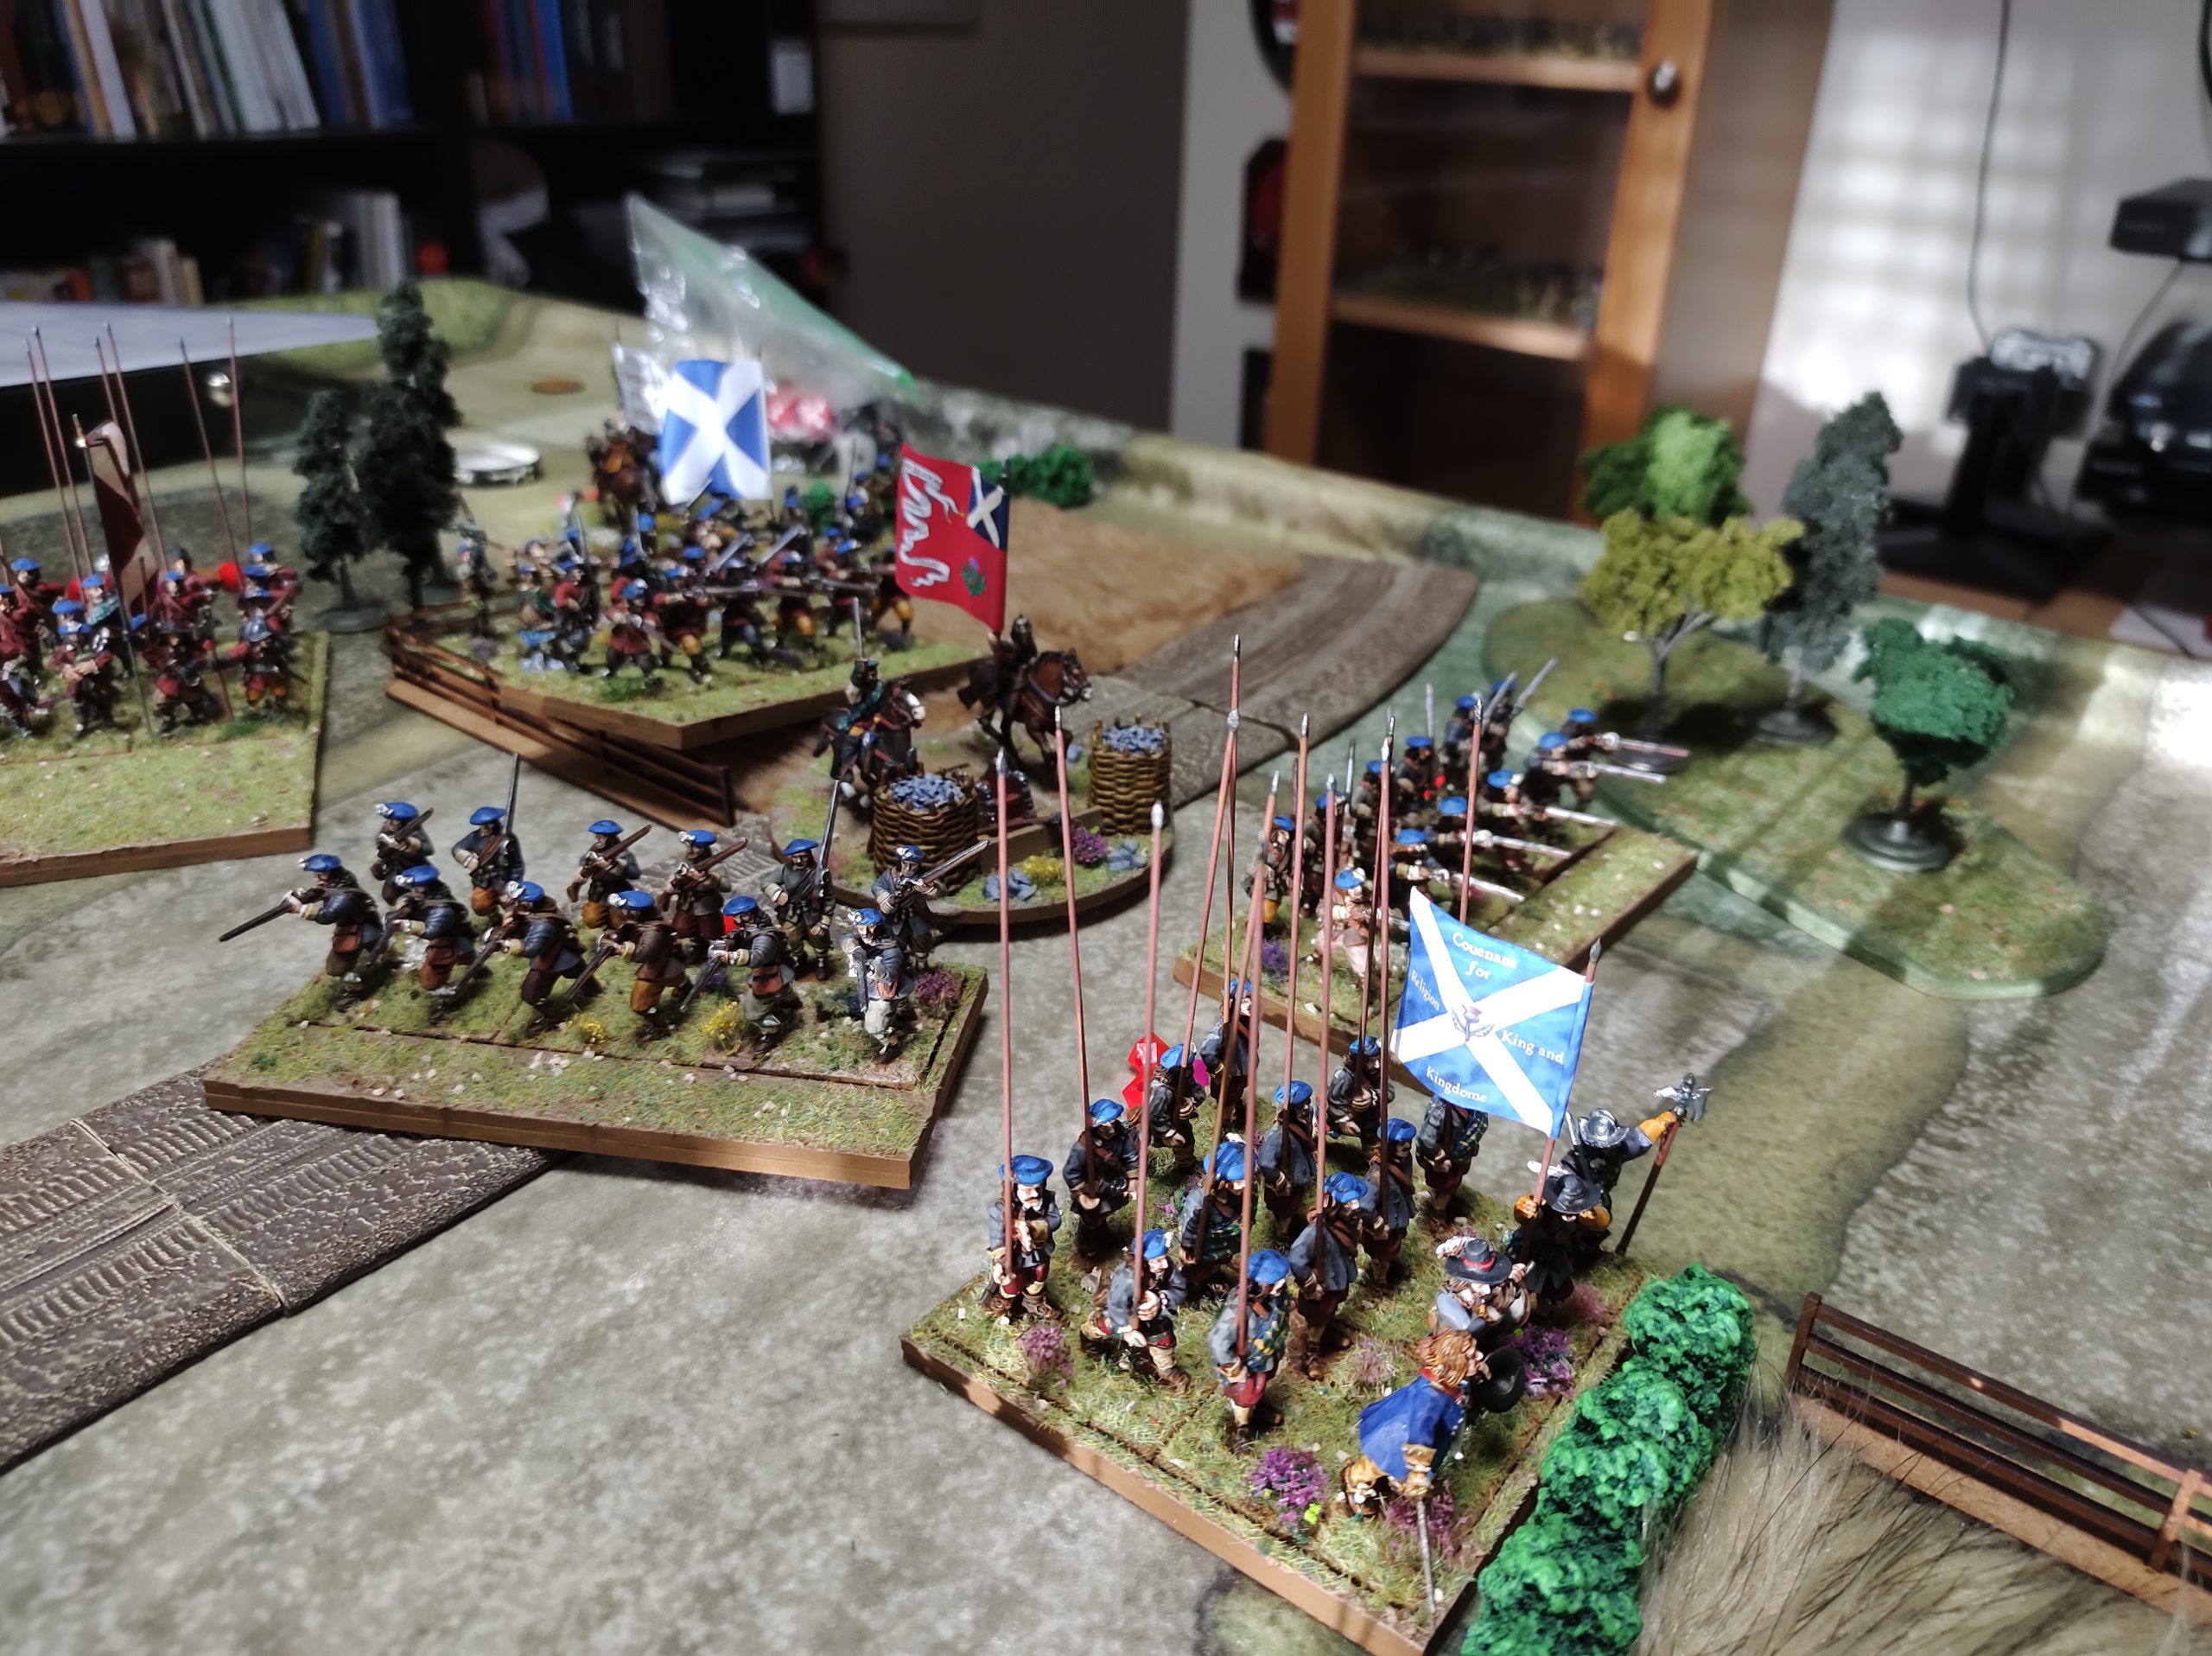
Here is the table: Montrose scum on the left, the heroic Covenanters on the right 🙂
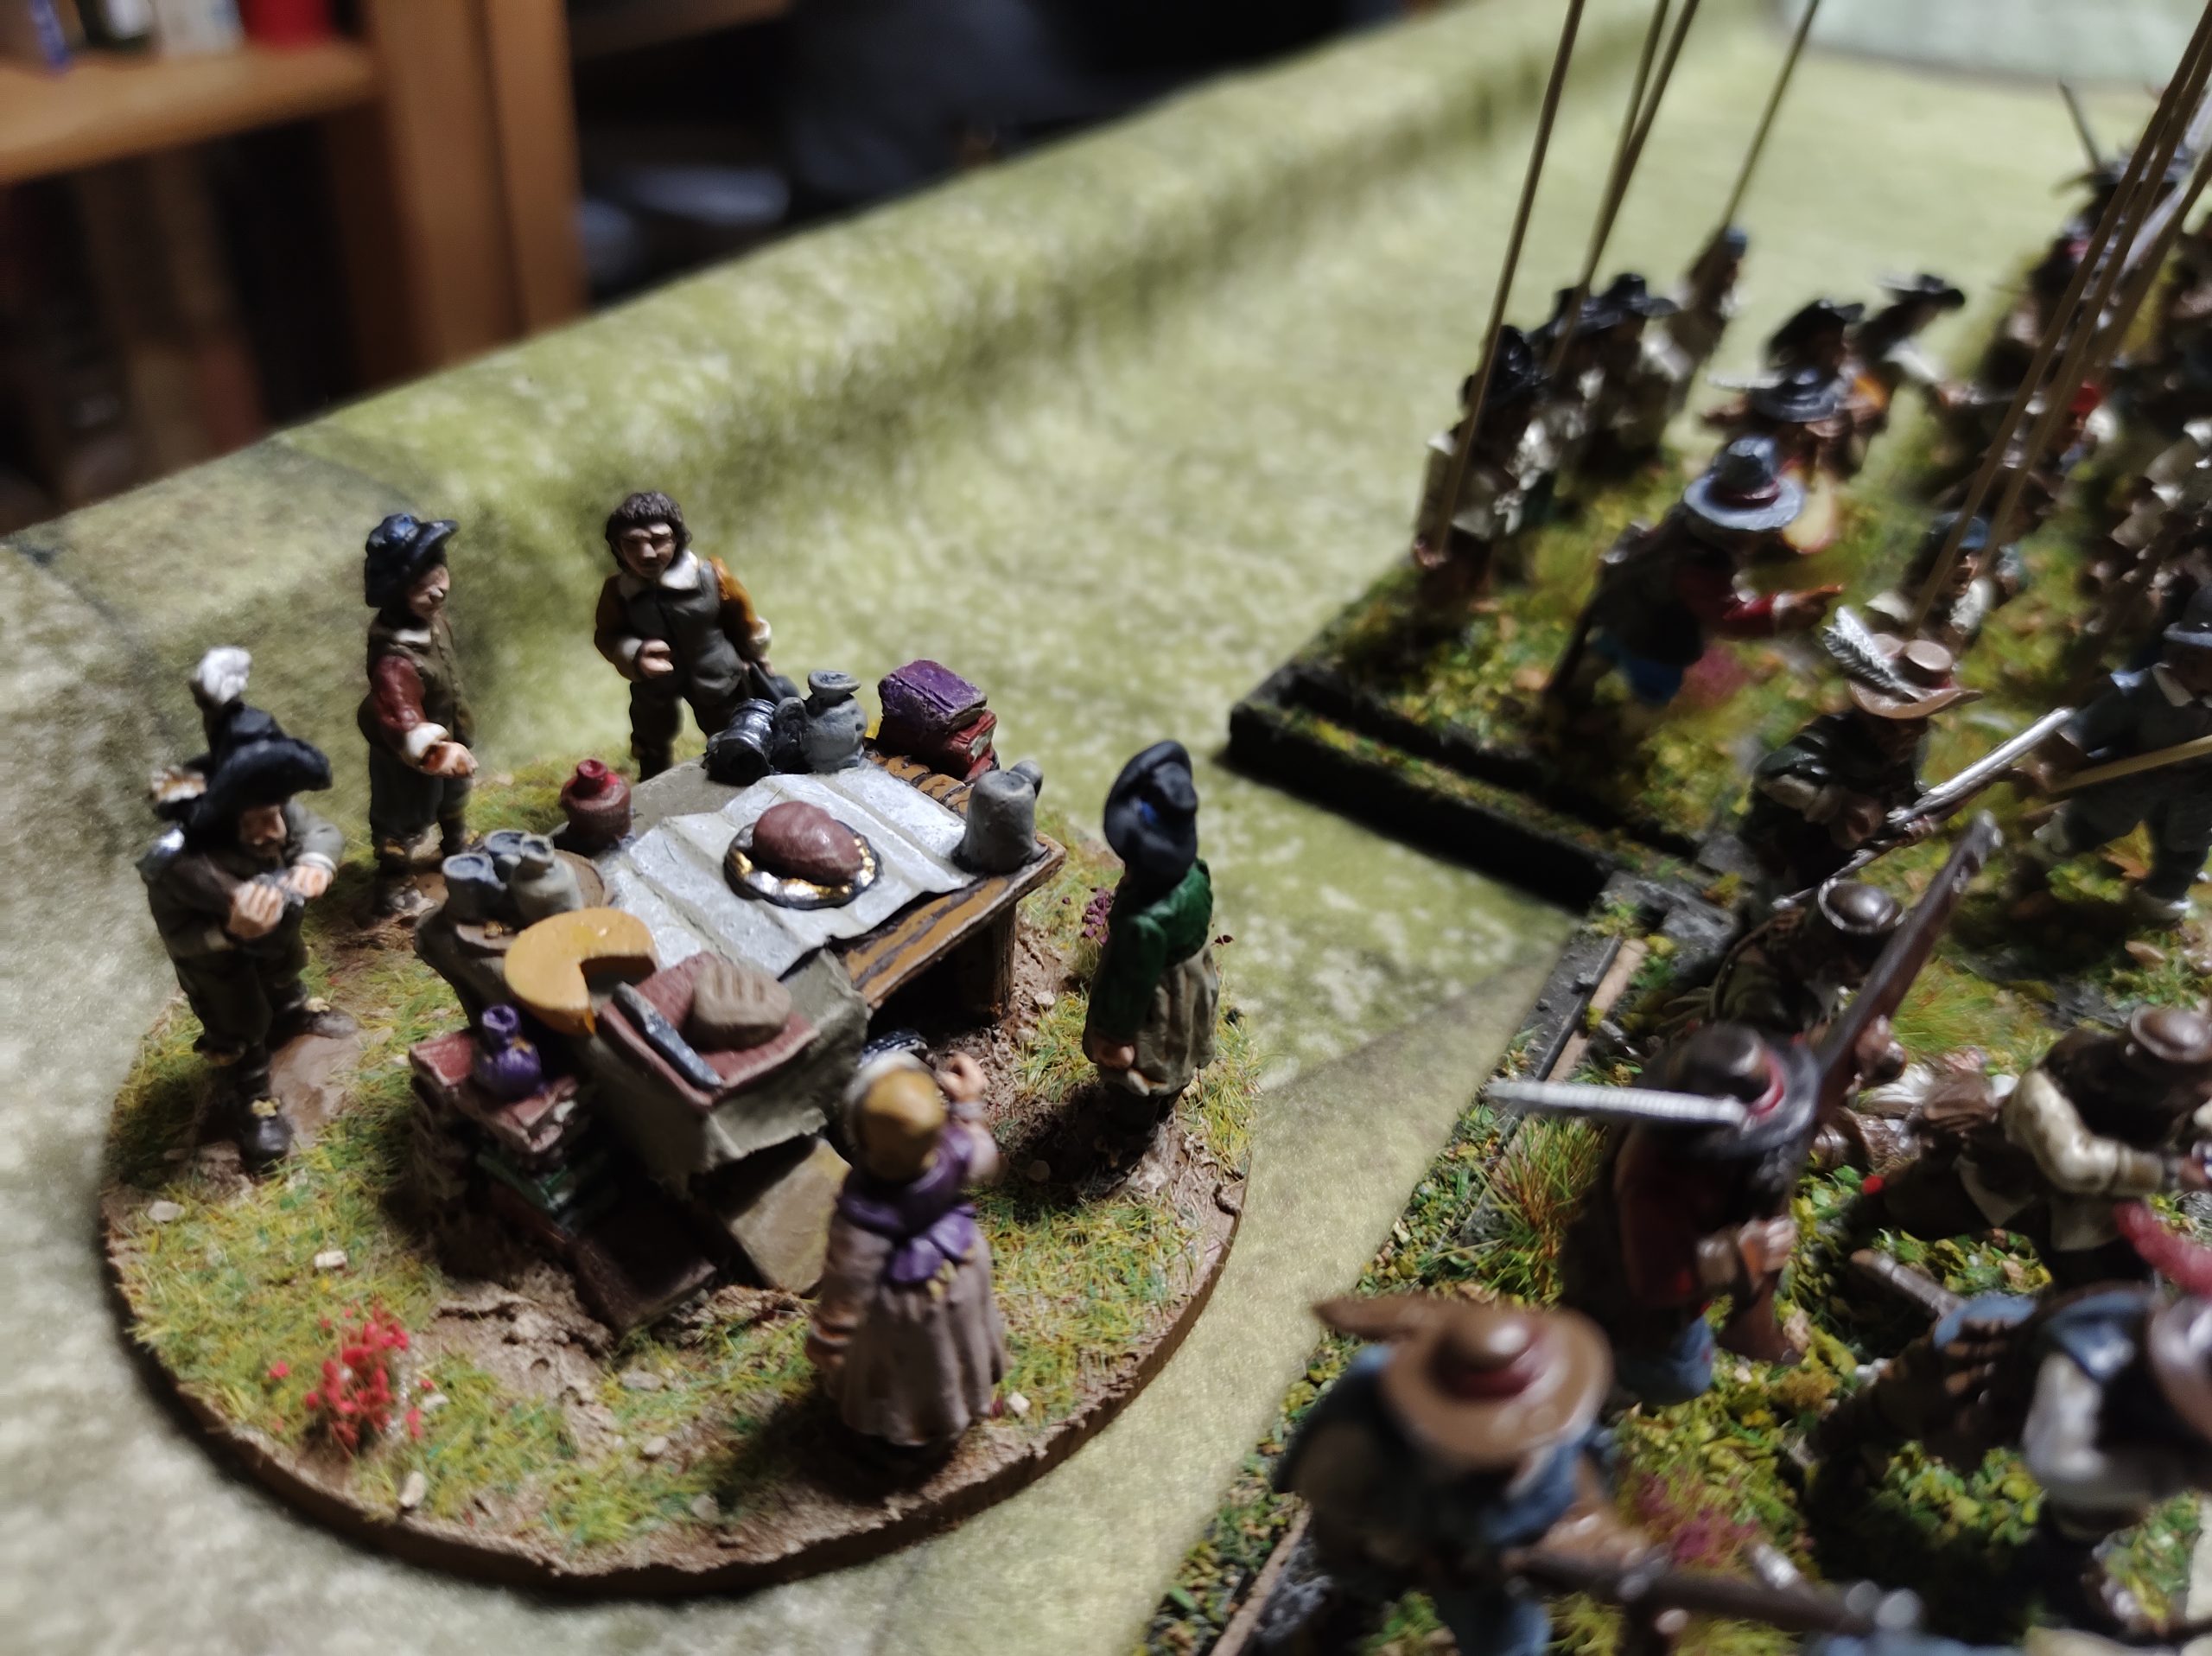
(NOTE, everything on the table terrain-wise, except the forests and buildings, are for show, do not block LOS or impede movement)
Scott’s rough list: Right Flank: Cavalry, Black Adder’s Dragoons, light gun, Irish Pike, and 2x Irish Shot
Center: 2x Scottish Pike and 4x Scottish shotte, 2x Irish Pike, 2x Irish Shotte, Medium gun
Left Flank: 2x Irish Muskets, Dragoons, Gordon Horse, medium gun
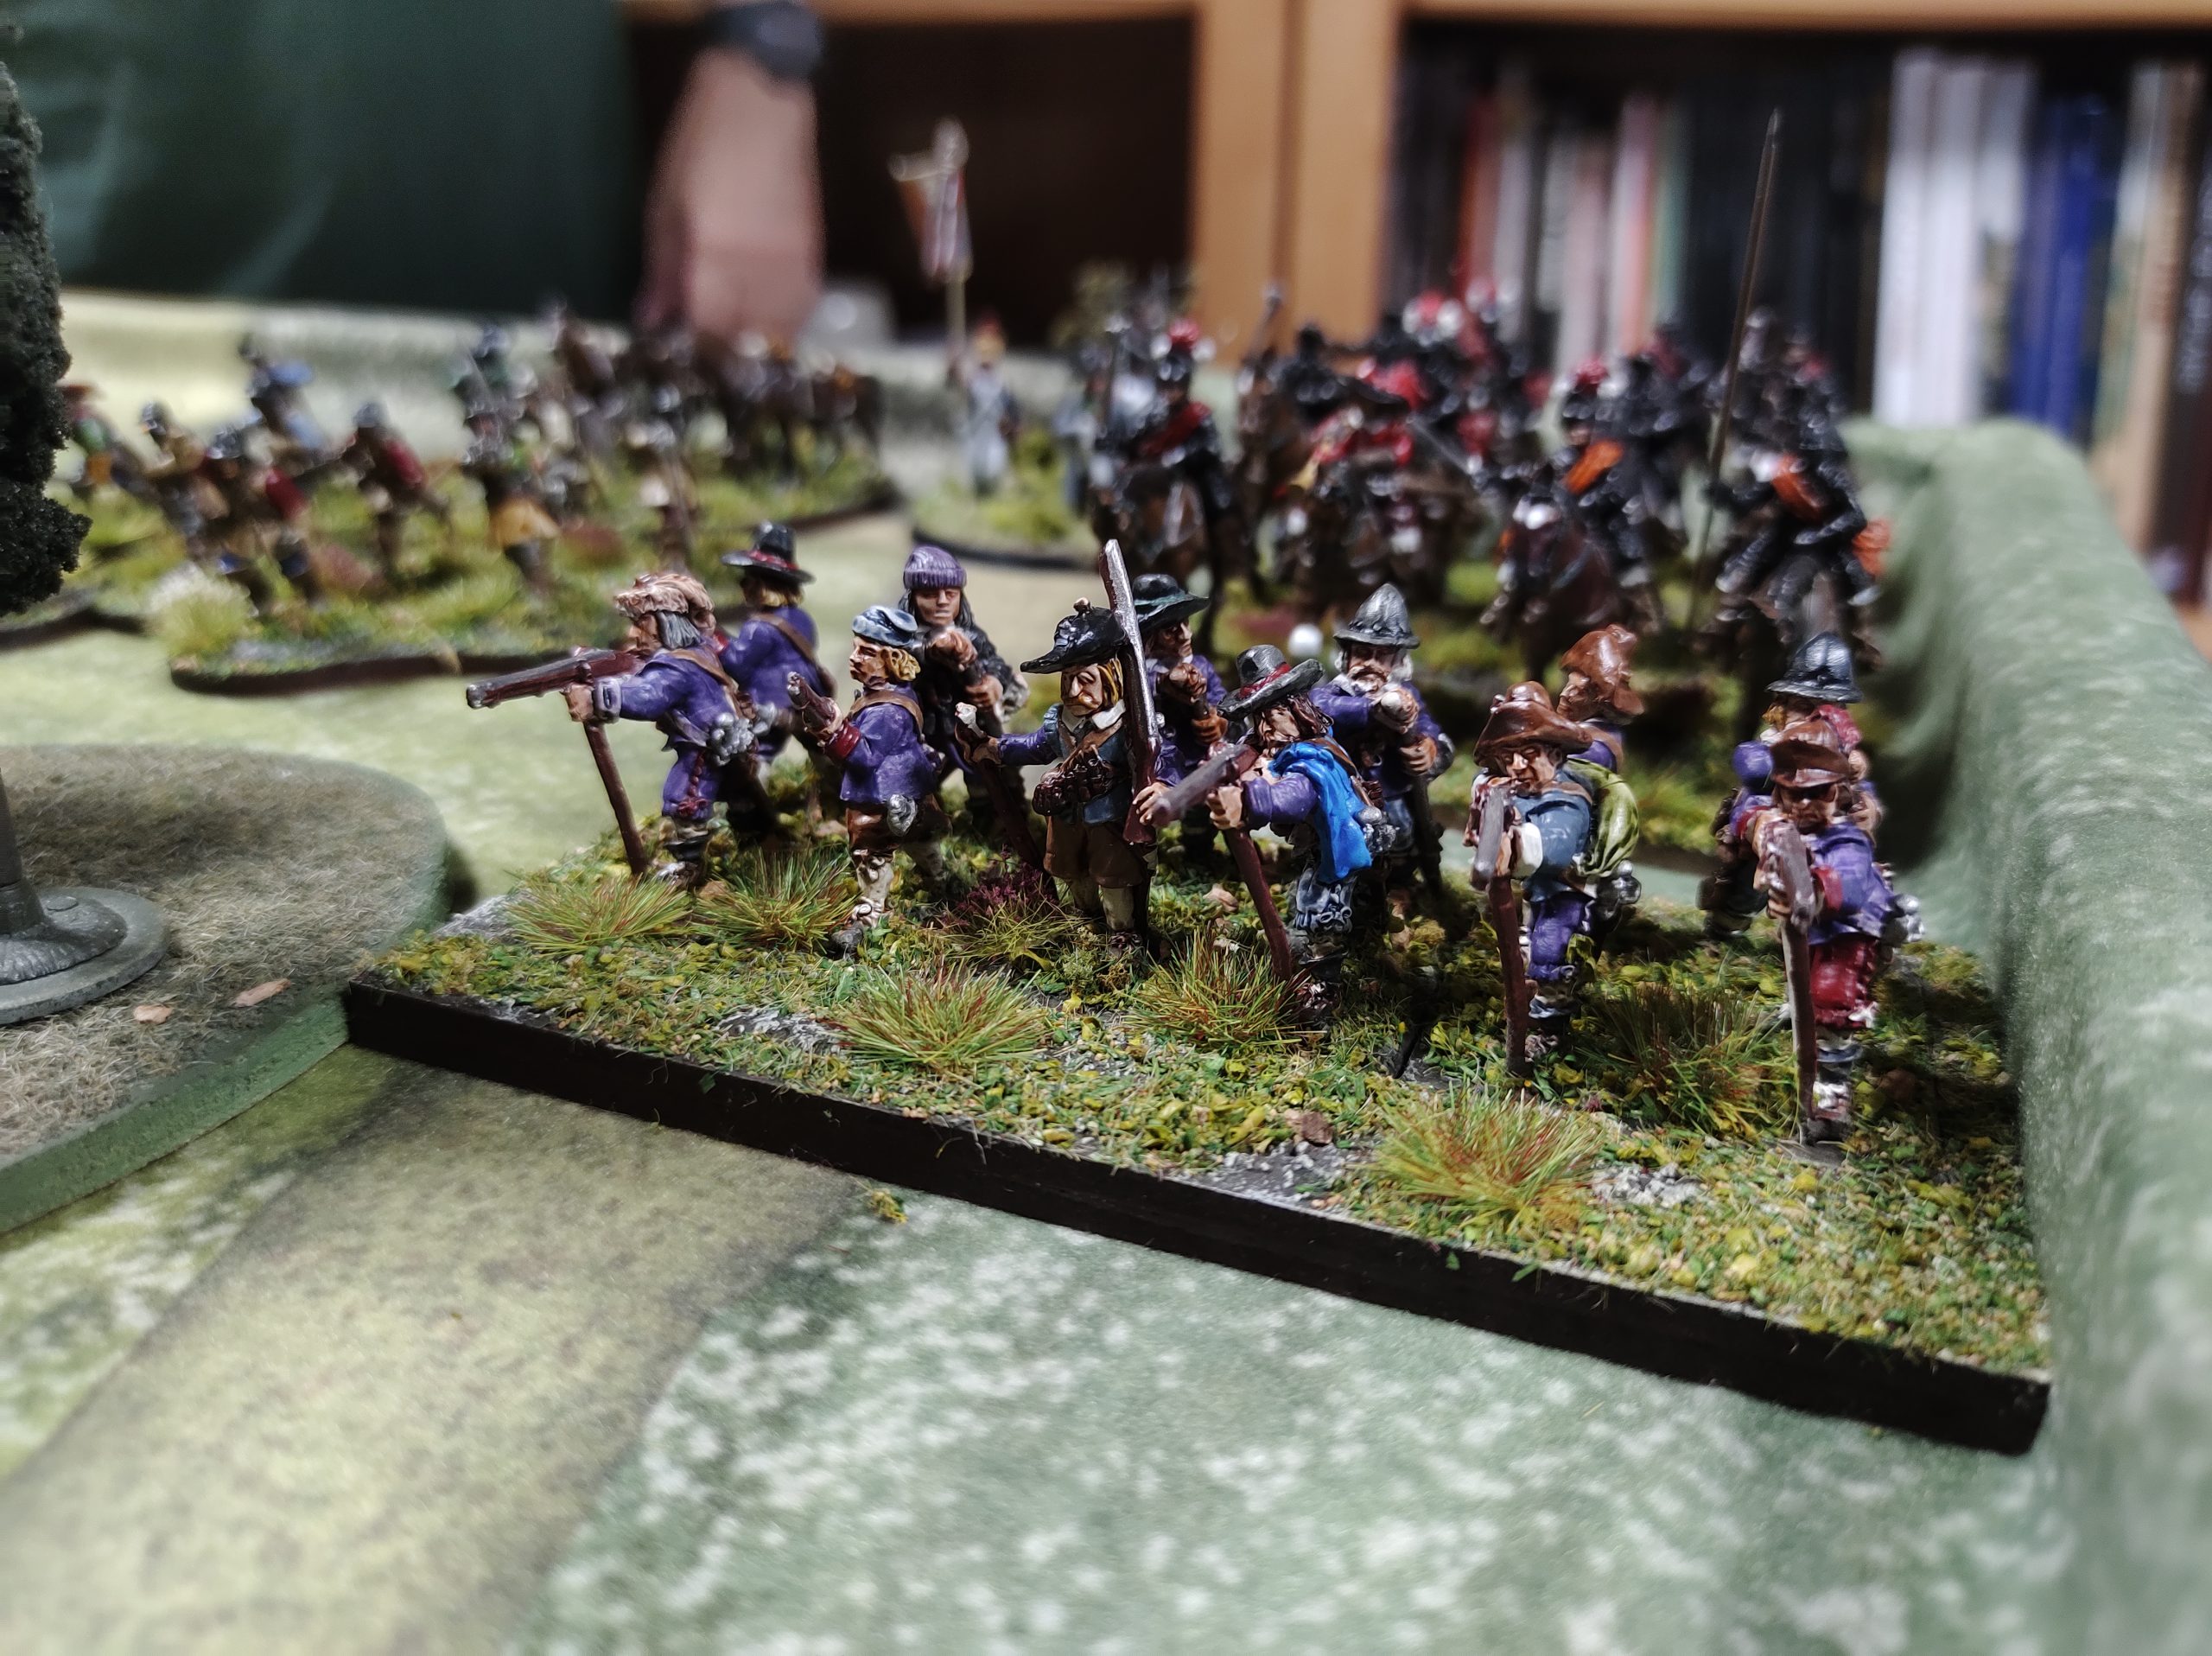
Oxford Muskets, playing the part of Irish Brigade muskets (who have considerably better stats)
Storming party playing the part of Dismounted Dragoons
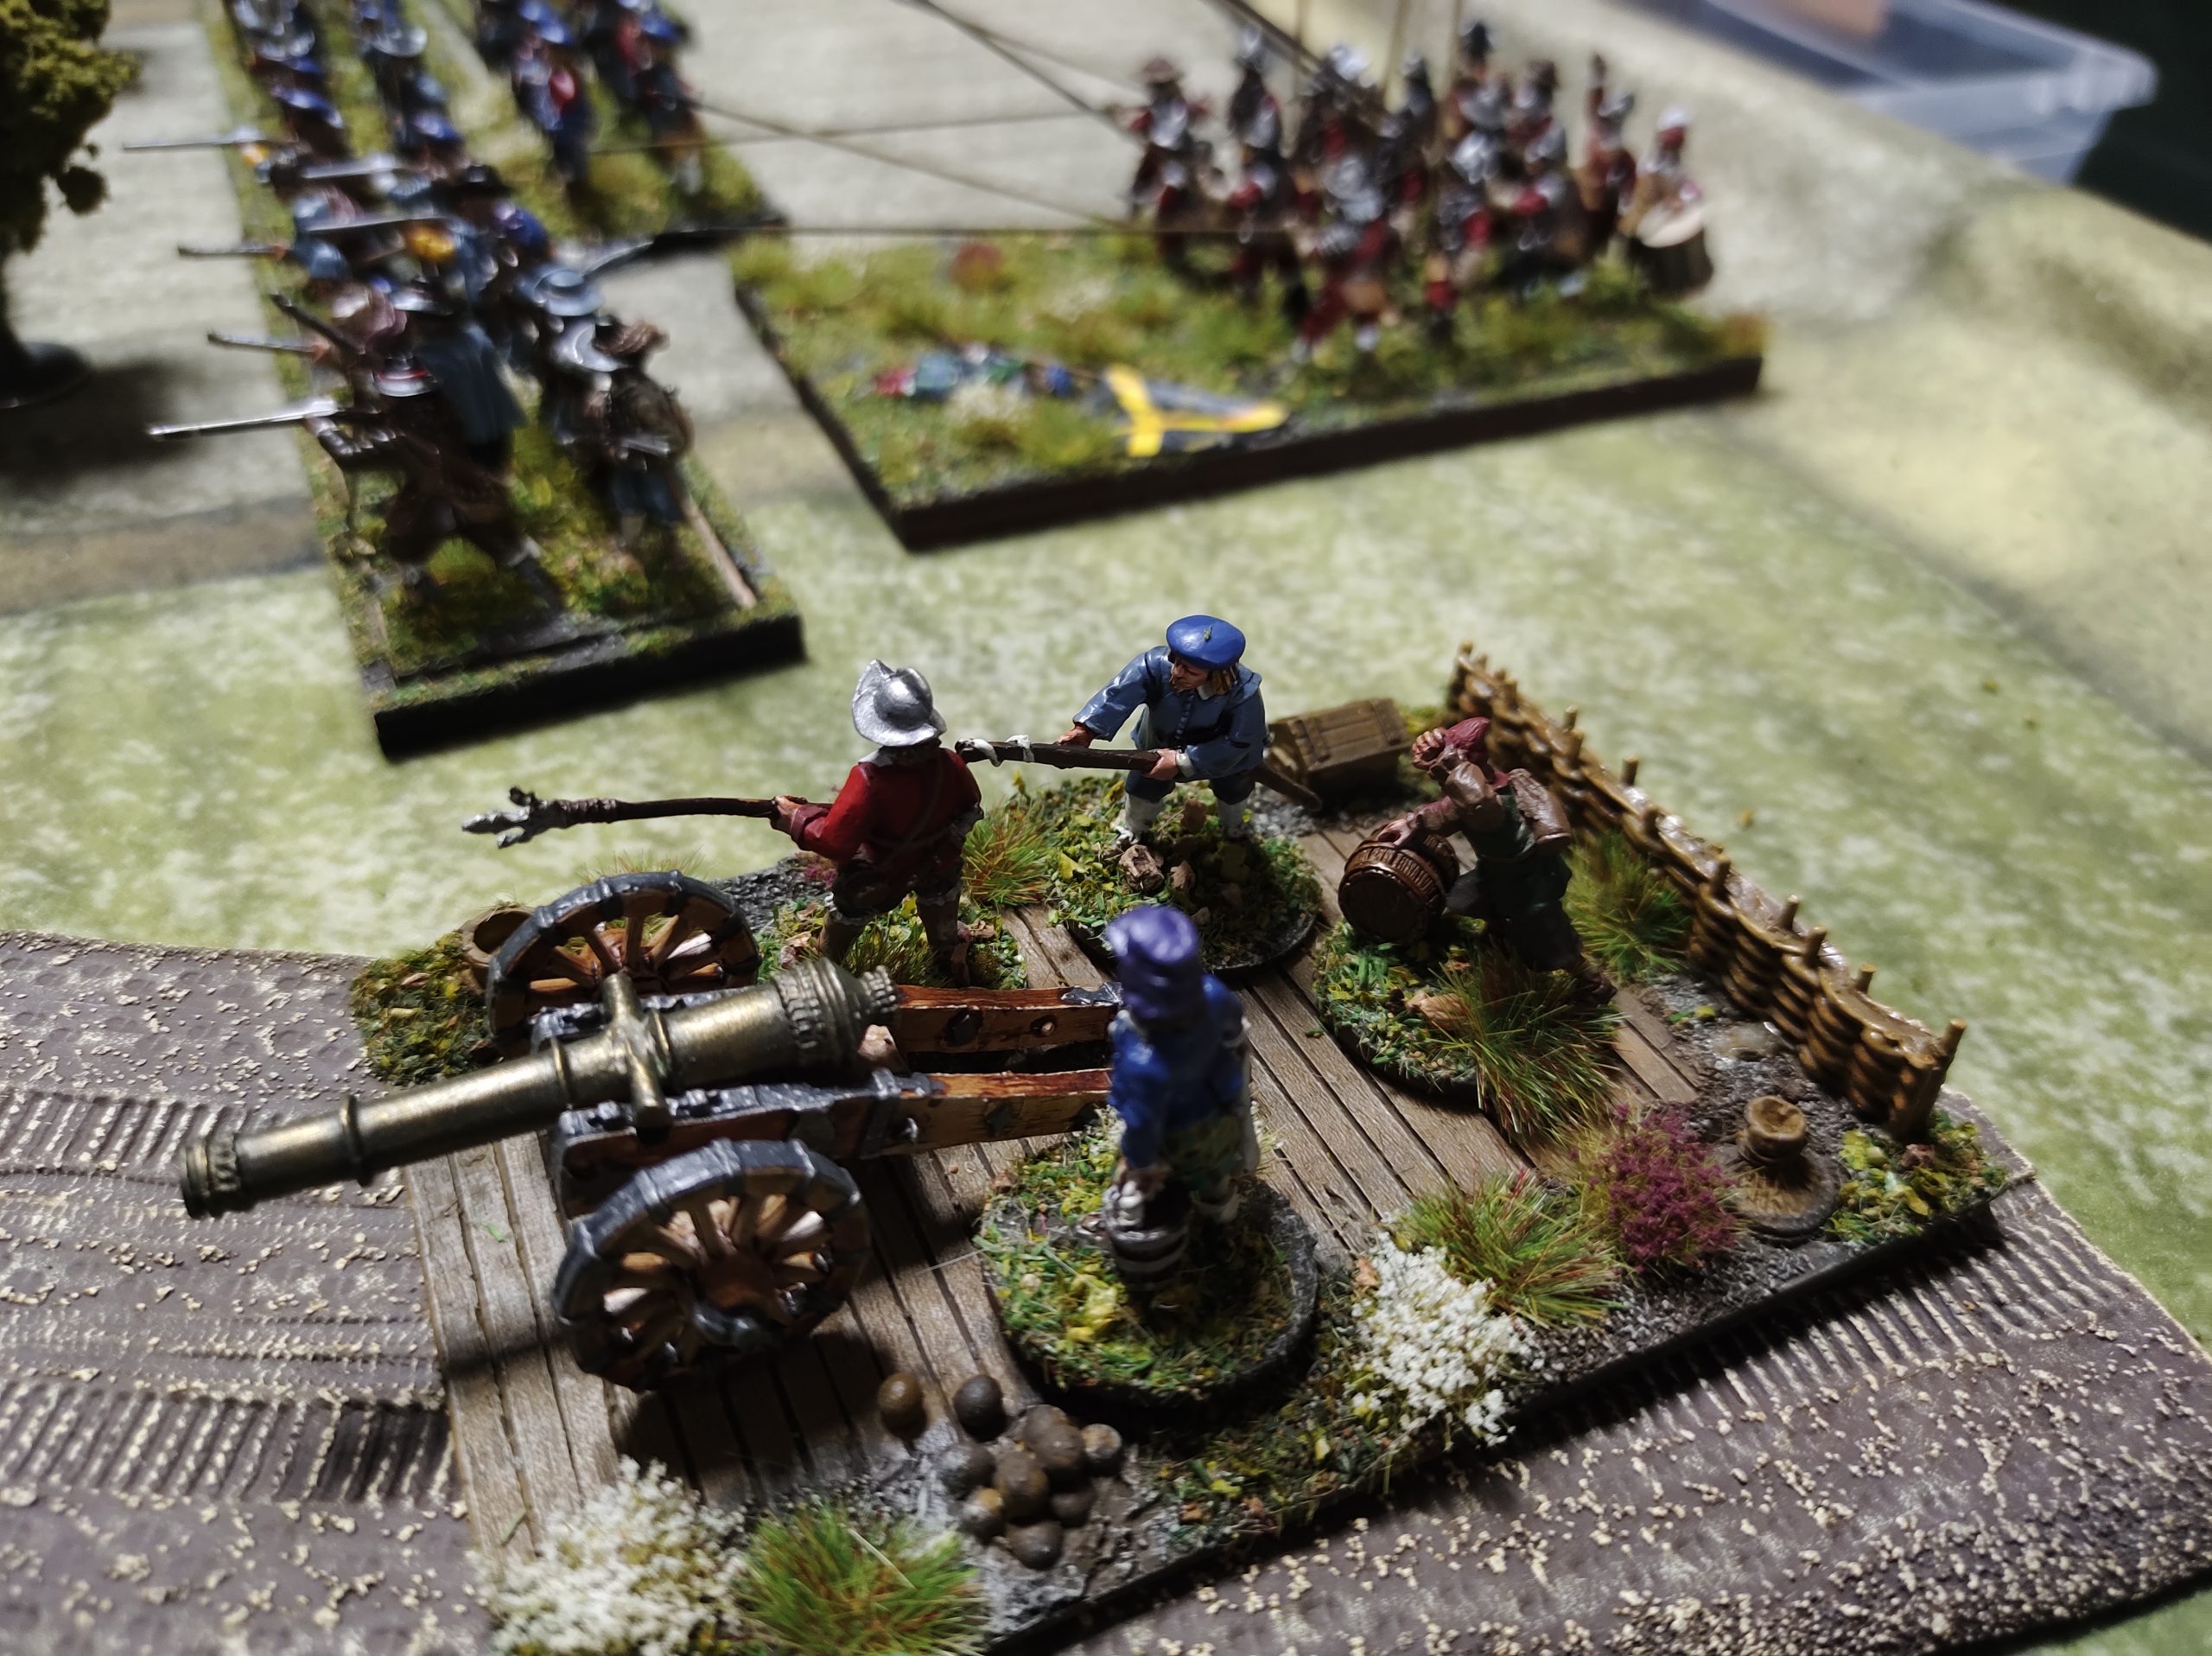
Saker Gun (Medium gun)

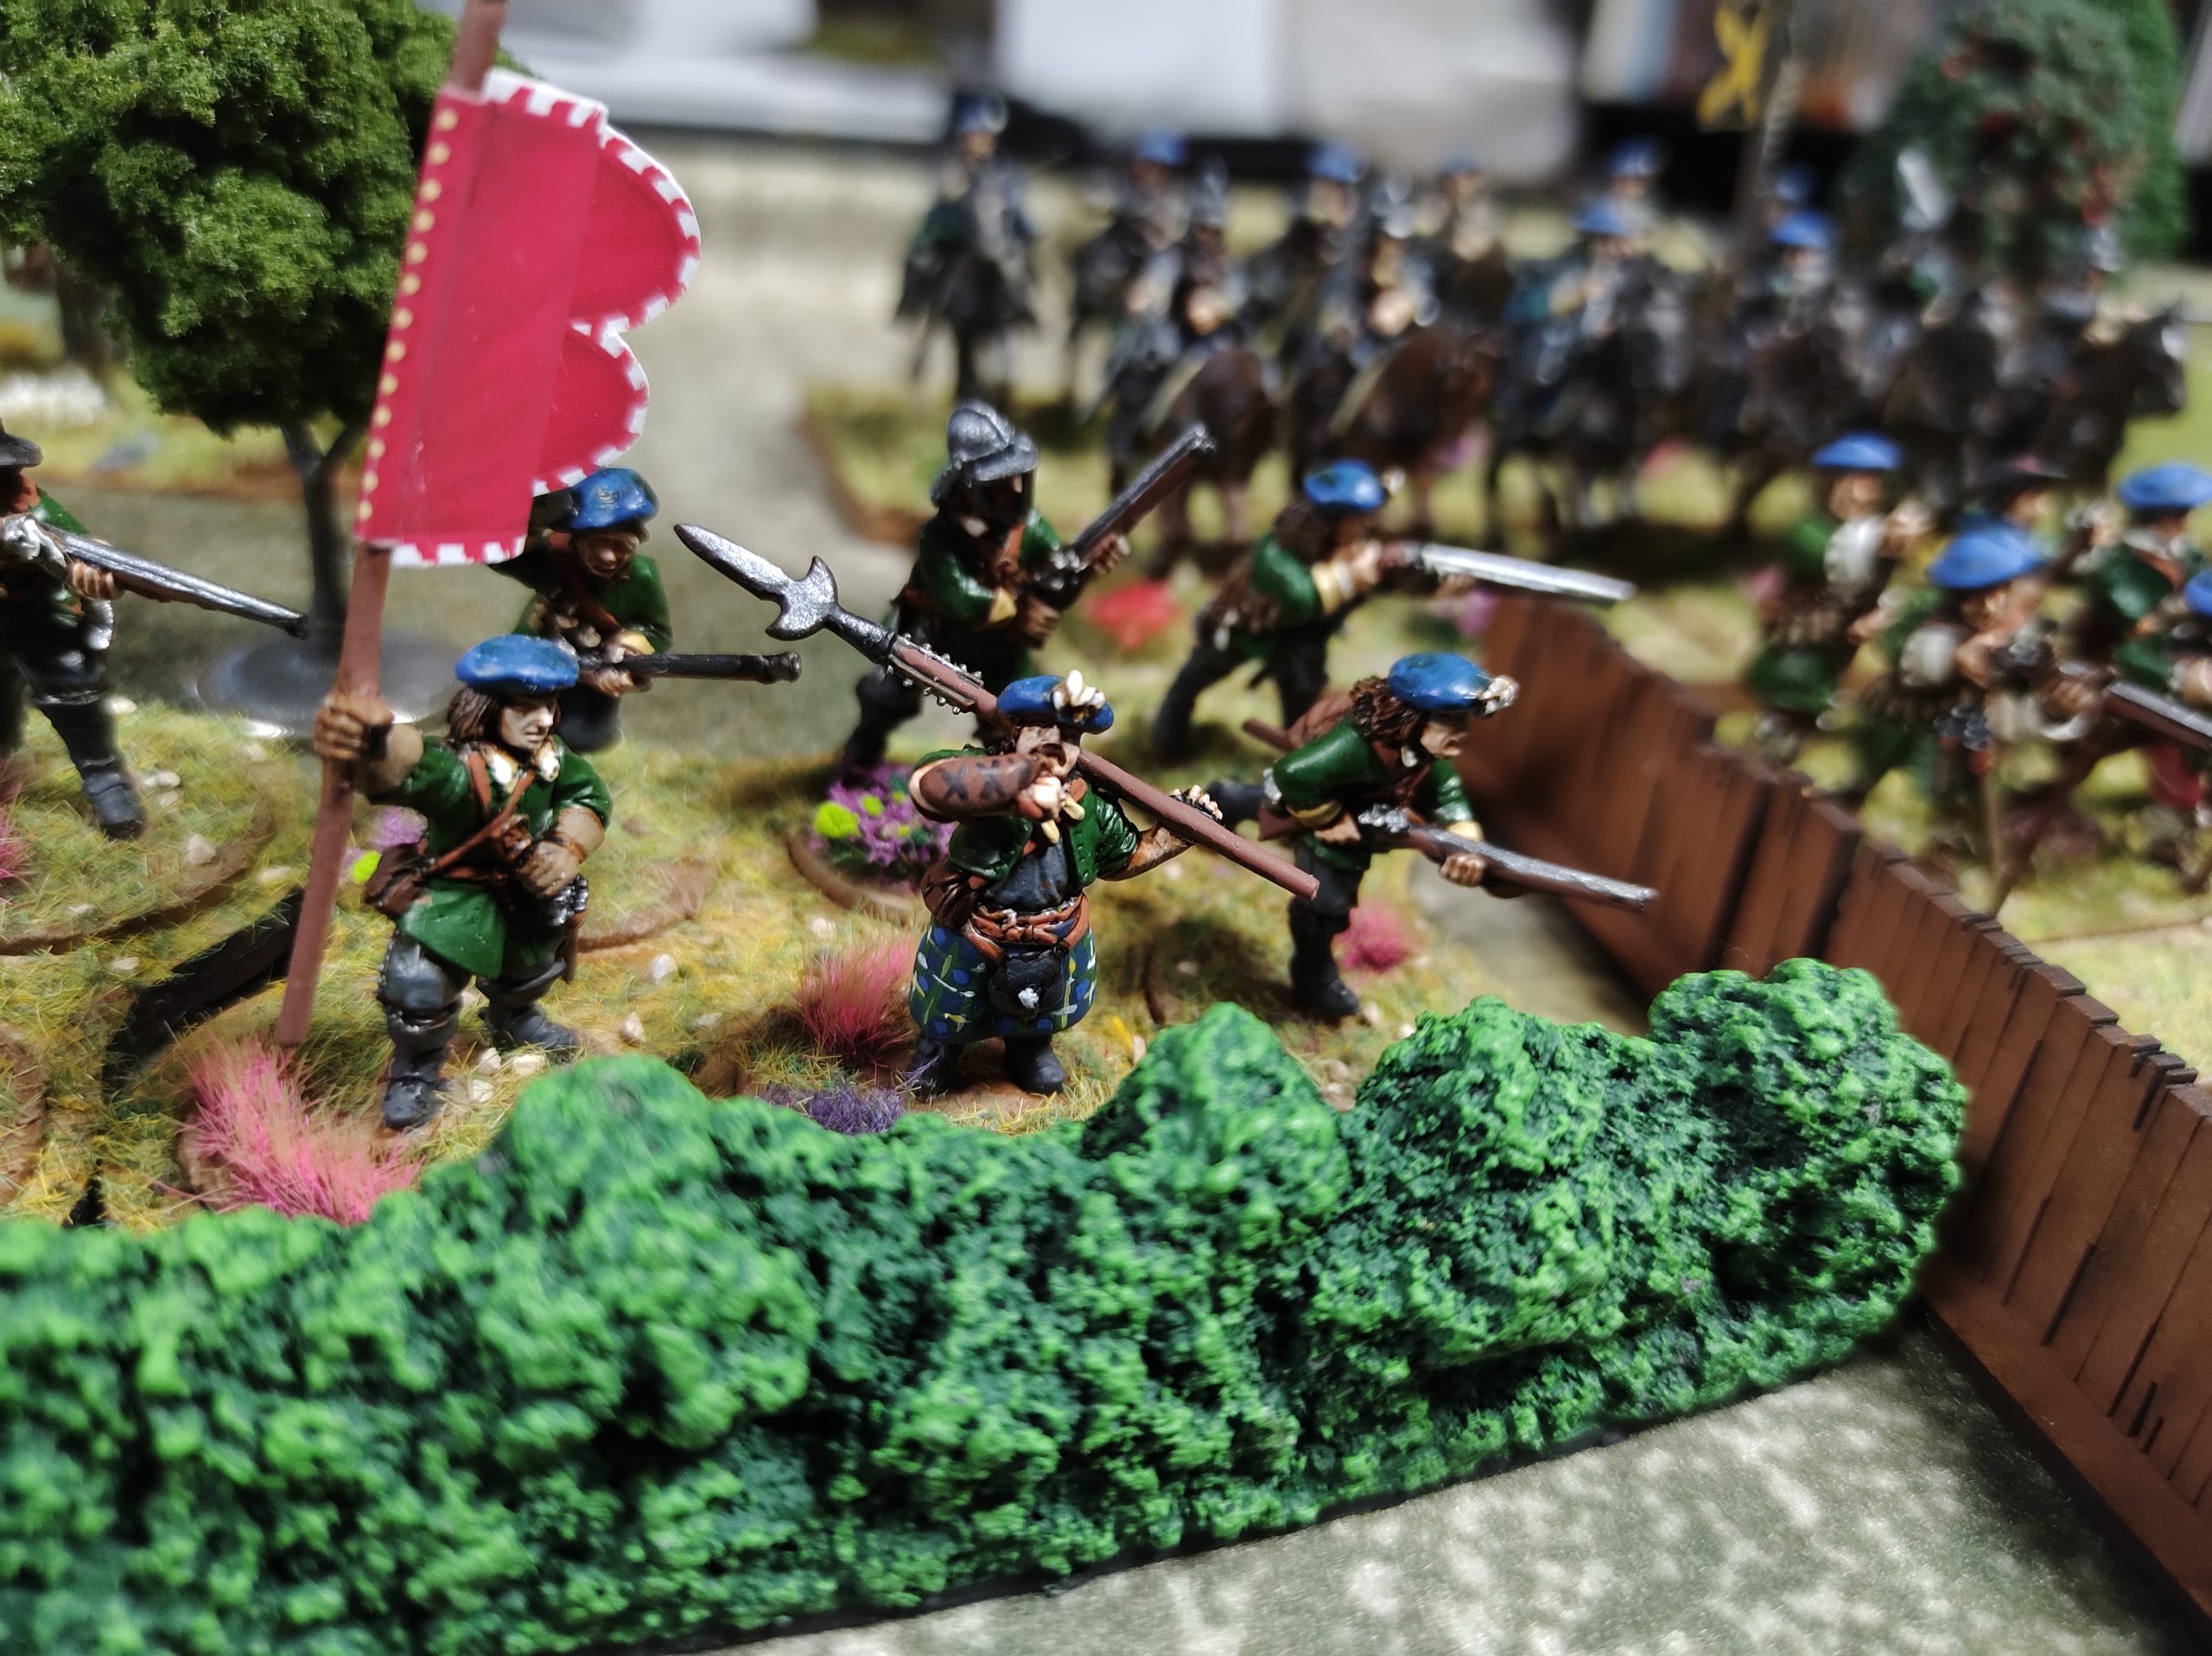
Yes, that is a Campbell (with proper tartan) flag bearer with the Argyll flag (Campbell) lying dead on his base… he of course cowardly held this unit back so I could not exact some justice!
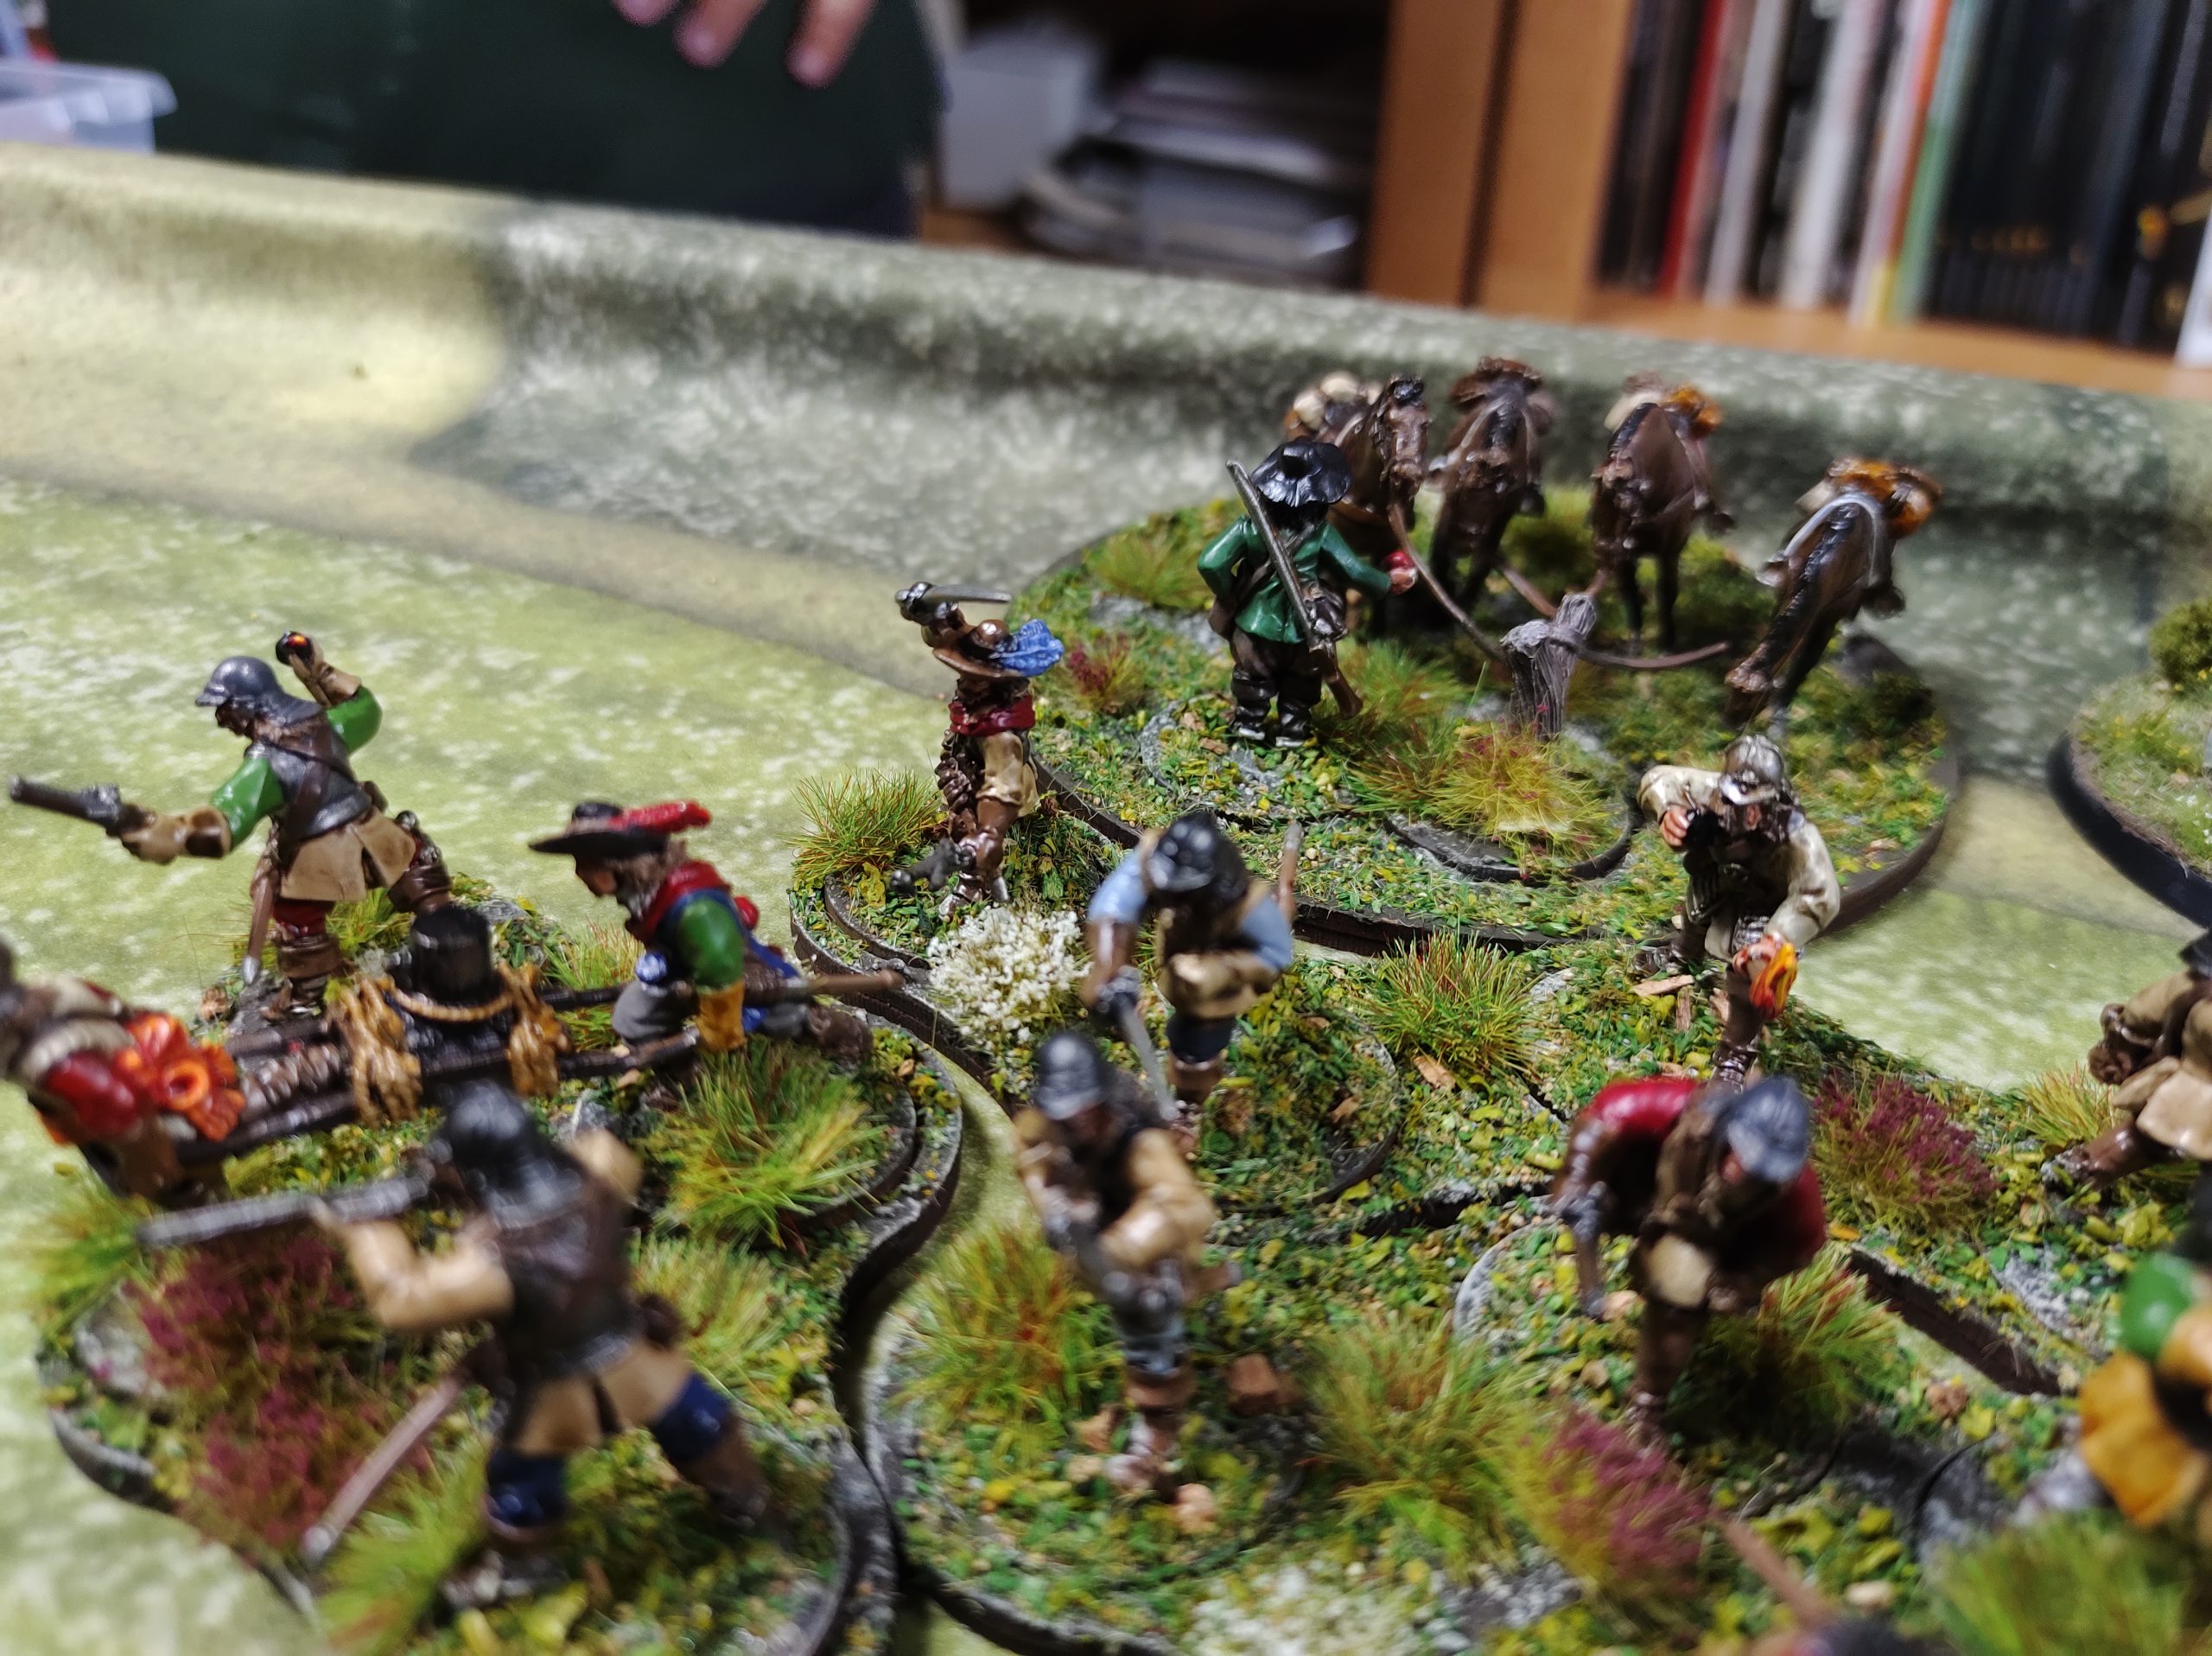
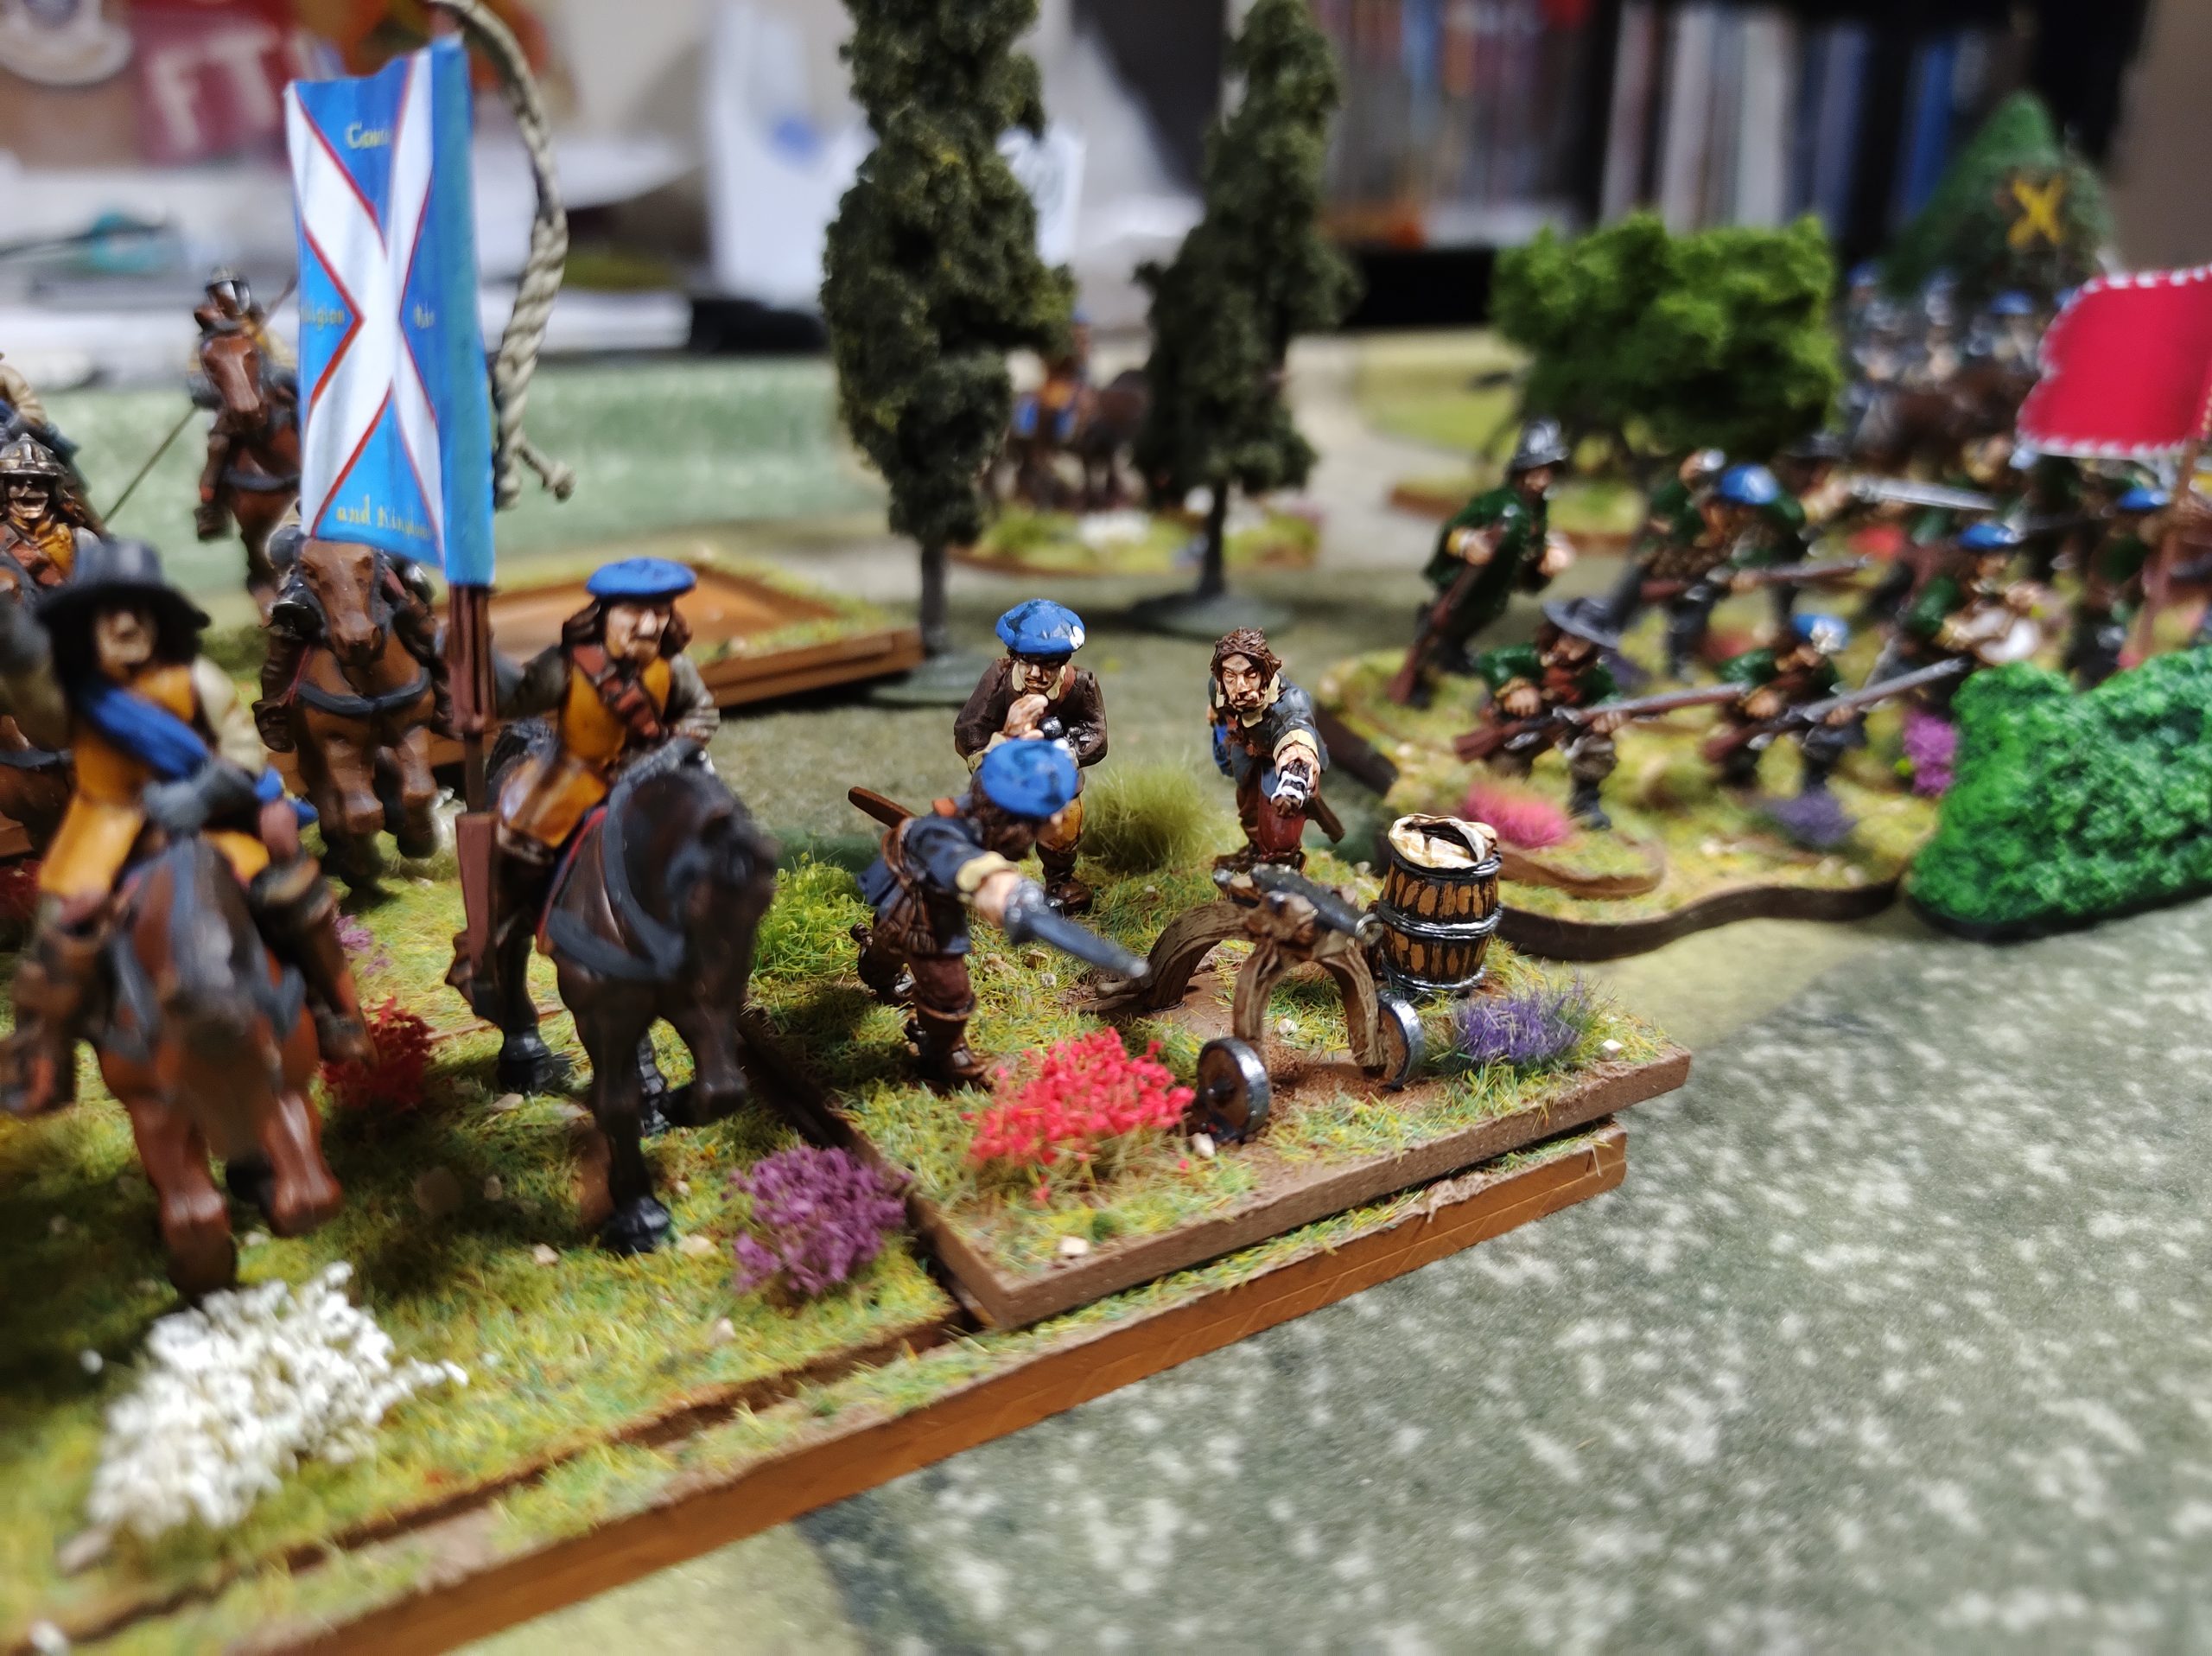
Black Adder’s Dragoons behind a light gun

Another Irish Brigade

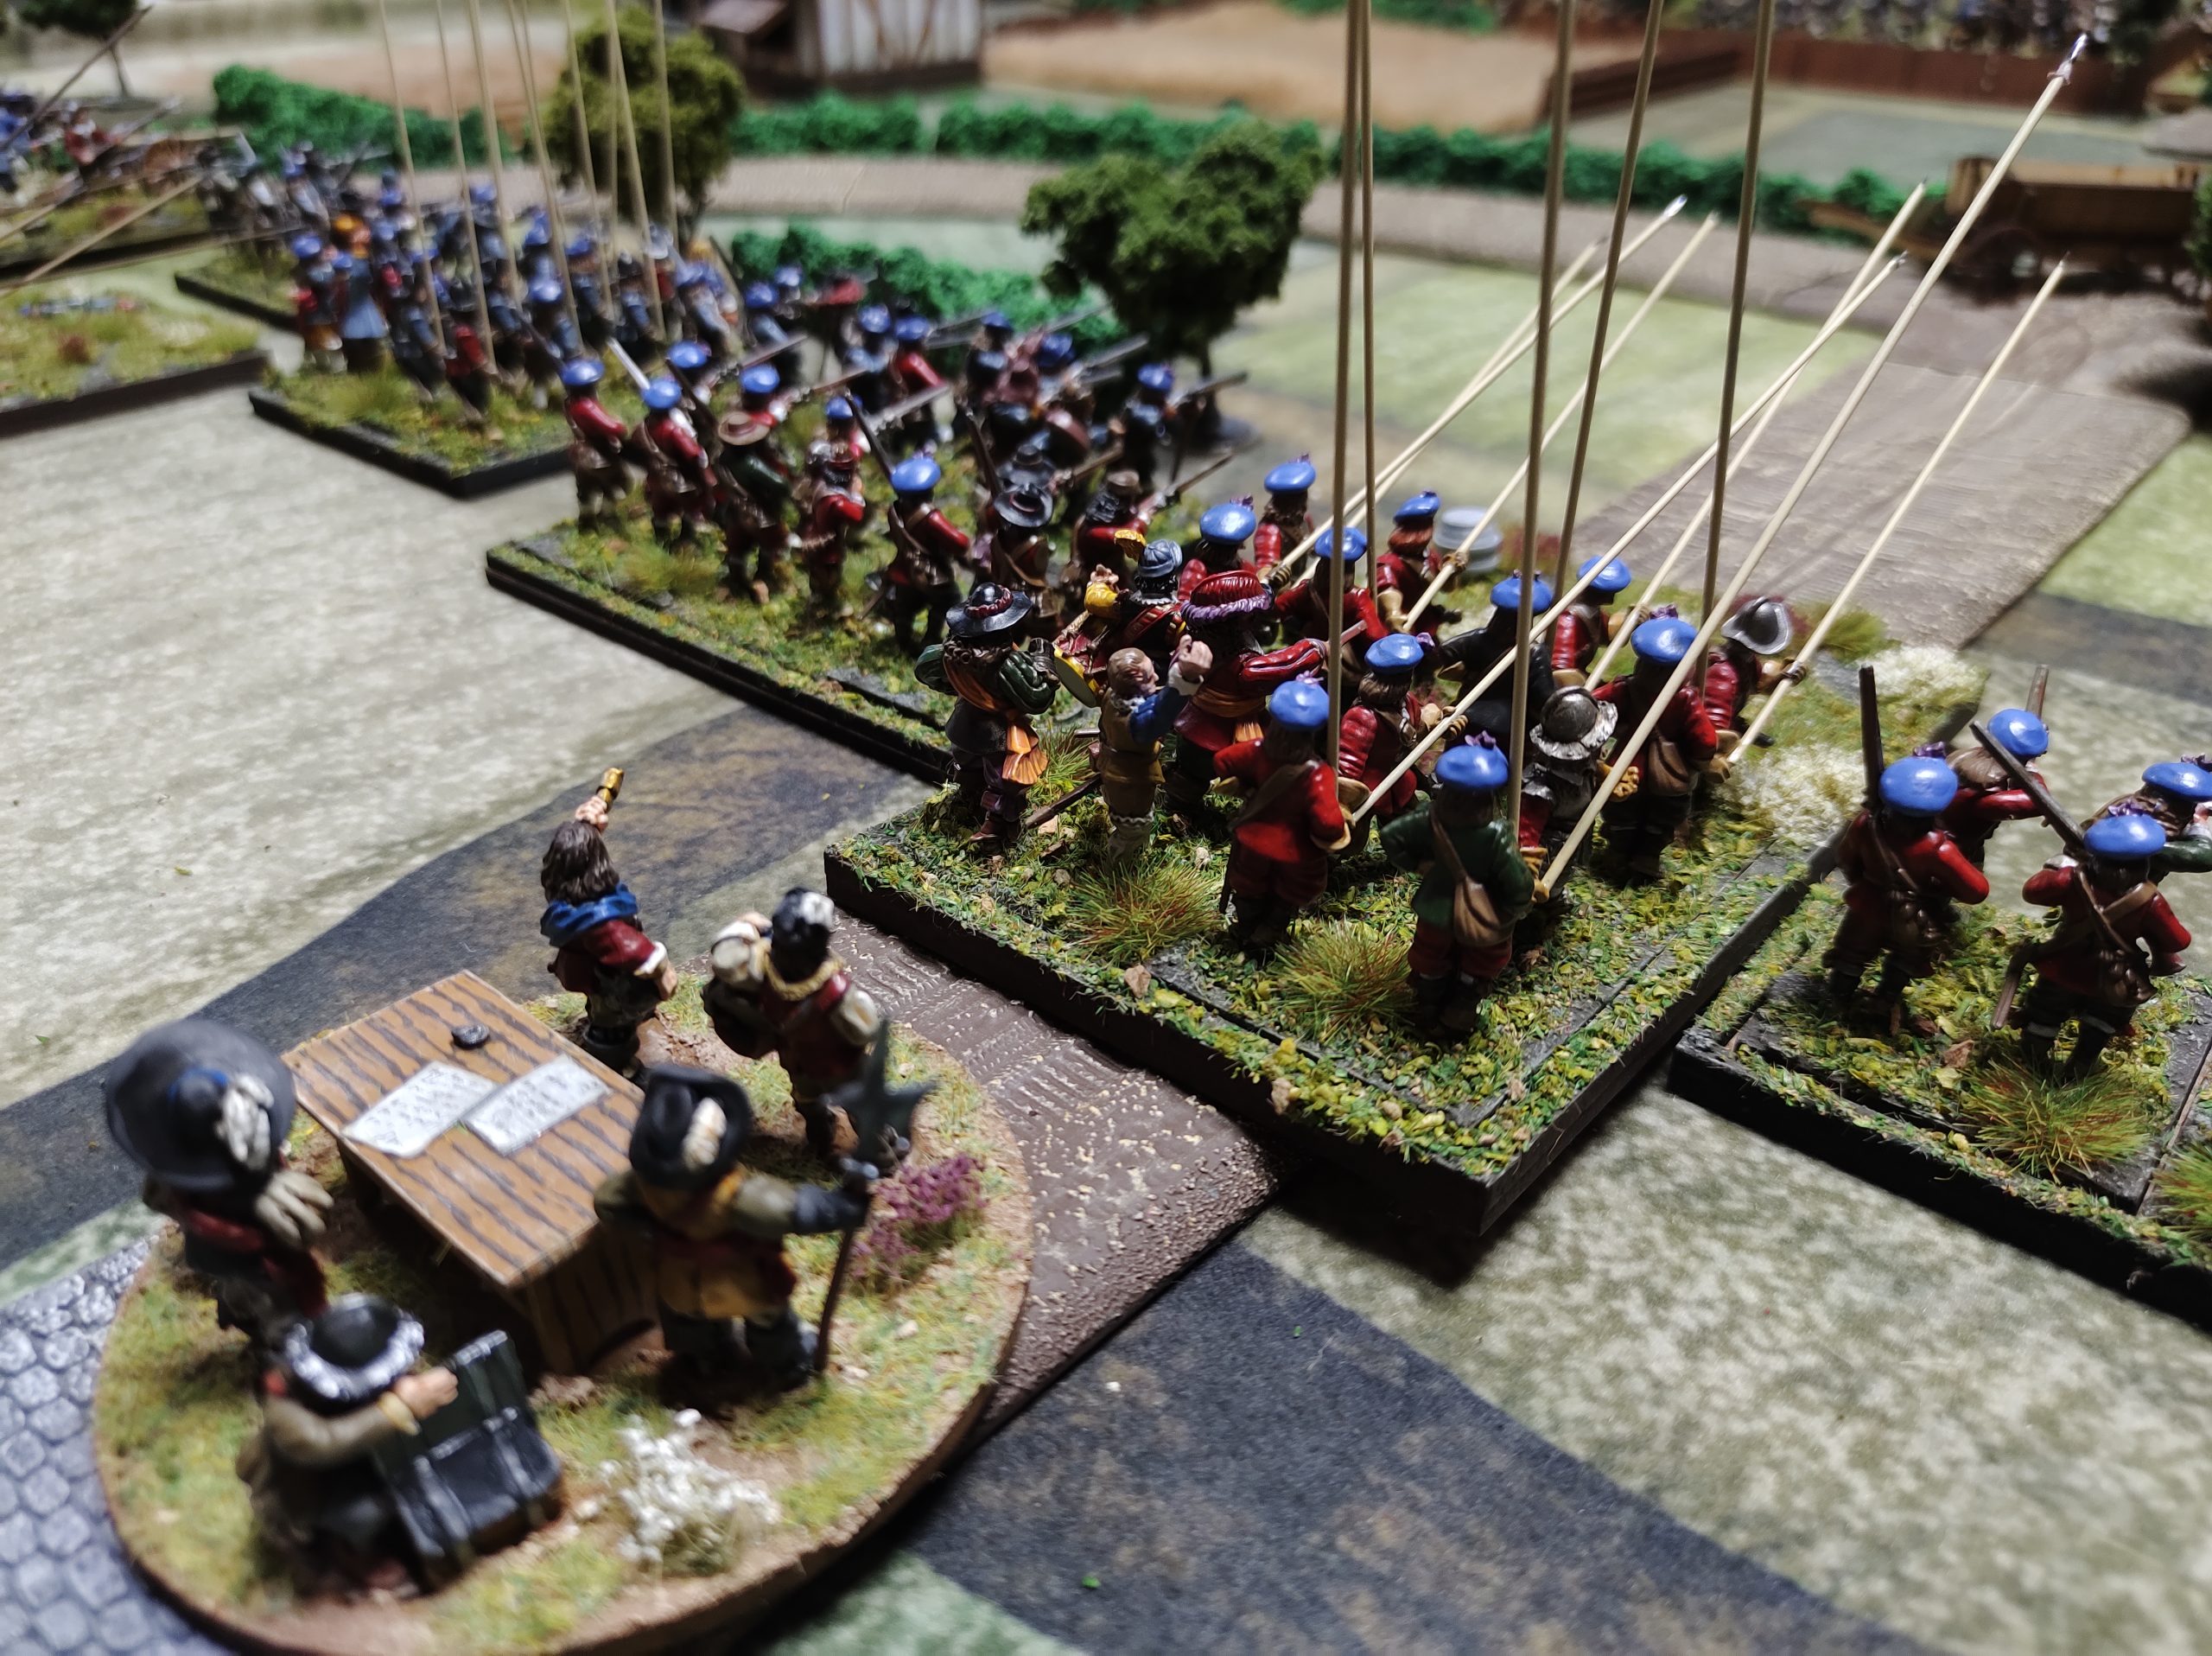
Scottish Pike and Shotte with the Ham and Cheese table as his flank commander (his commanders are awaiting flags to be complete)
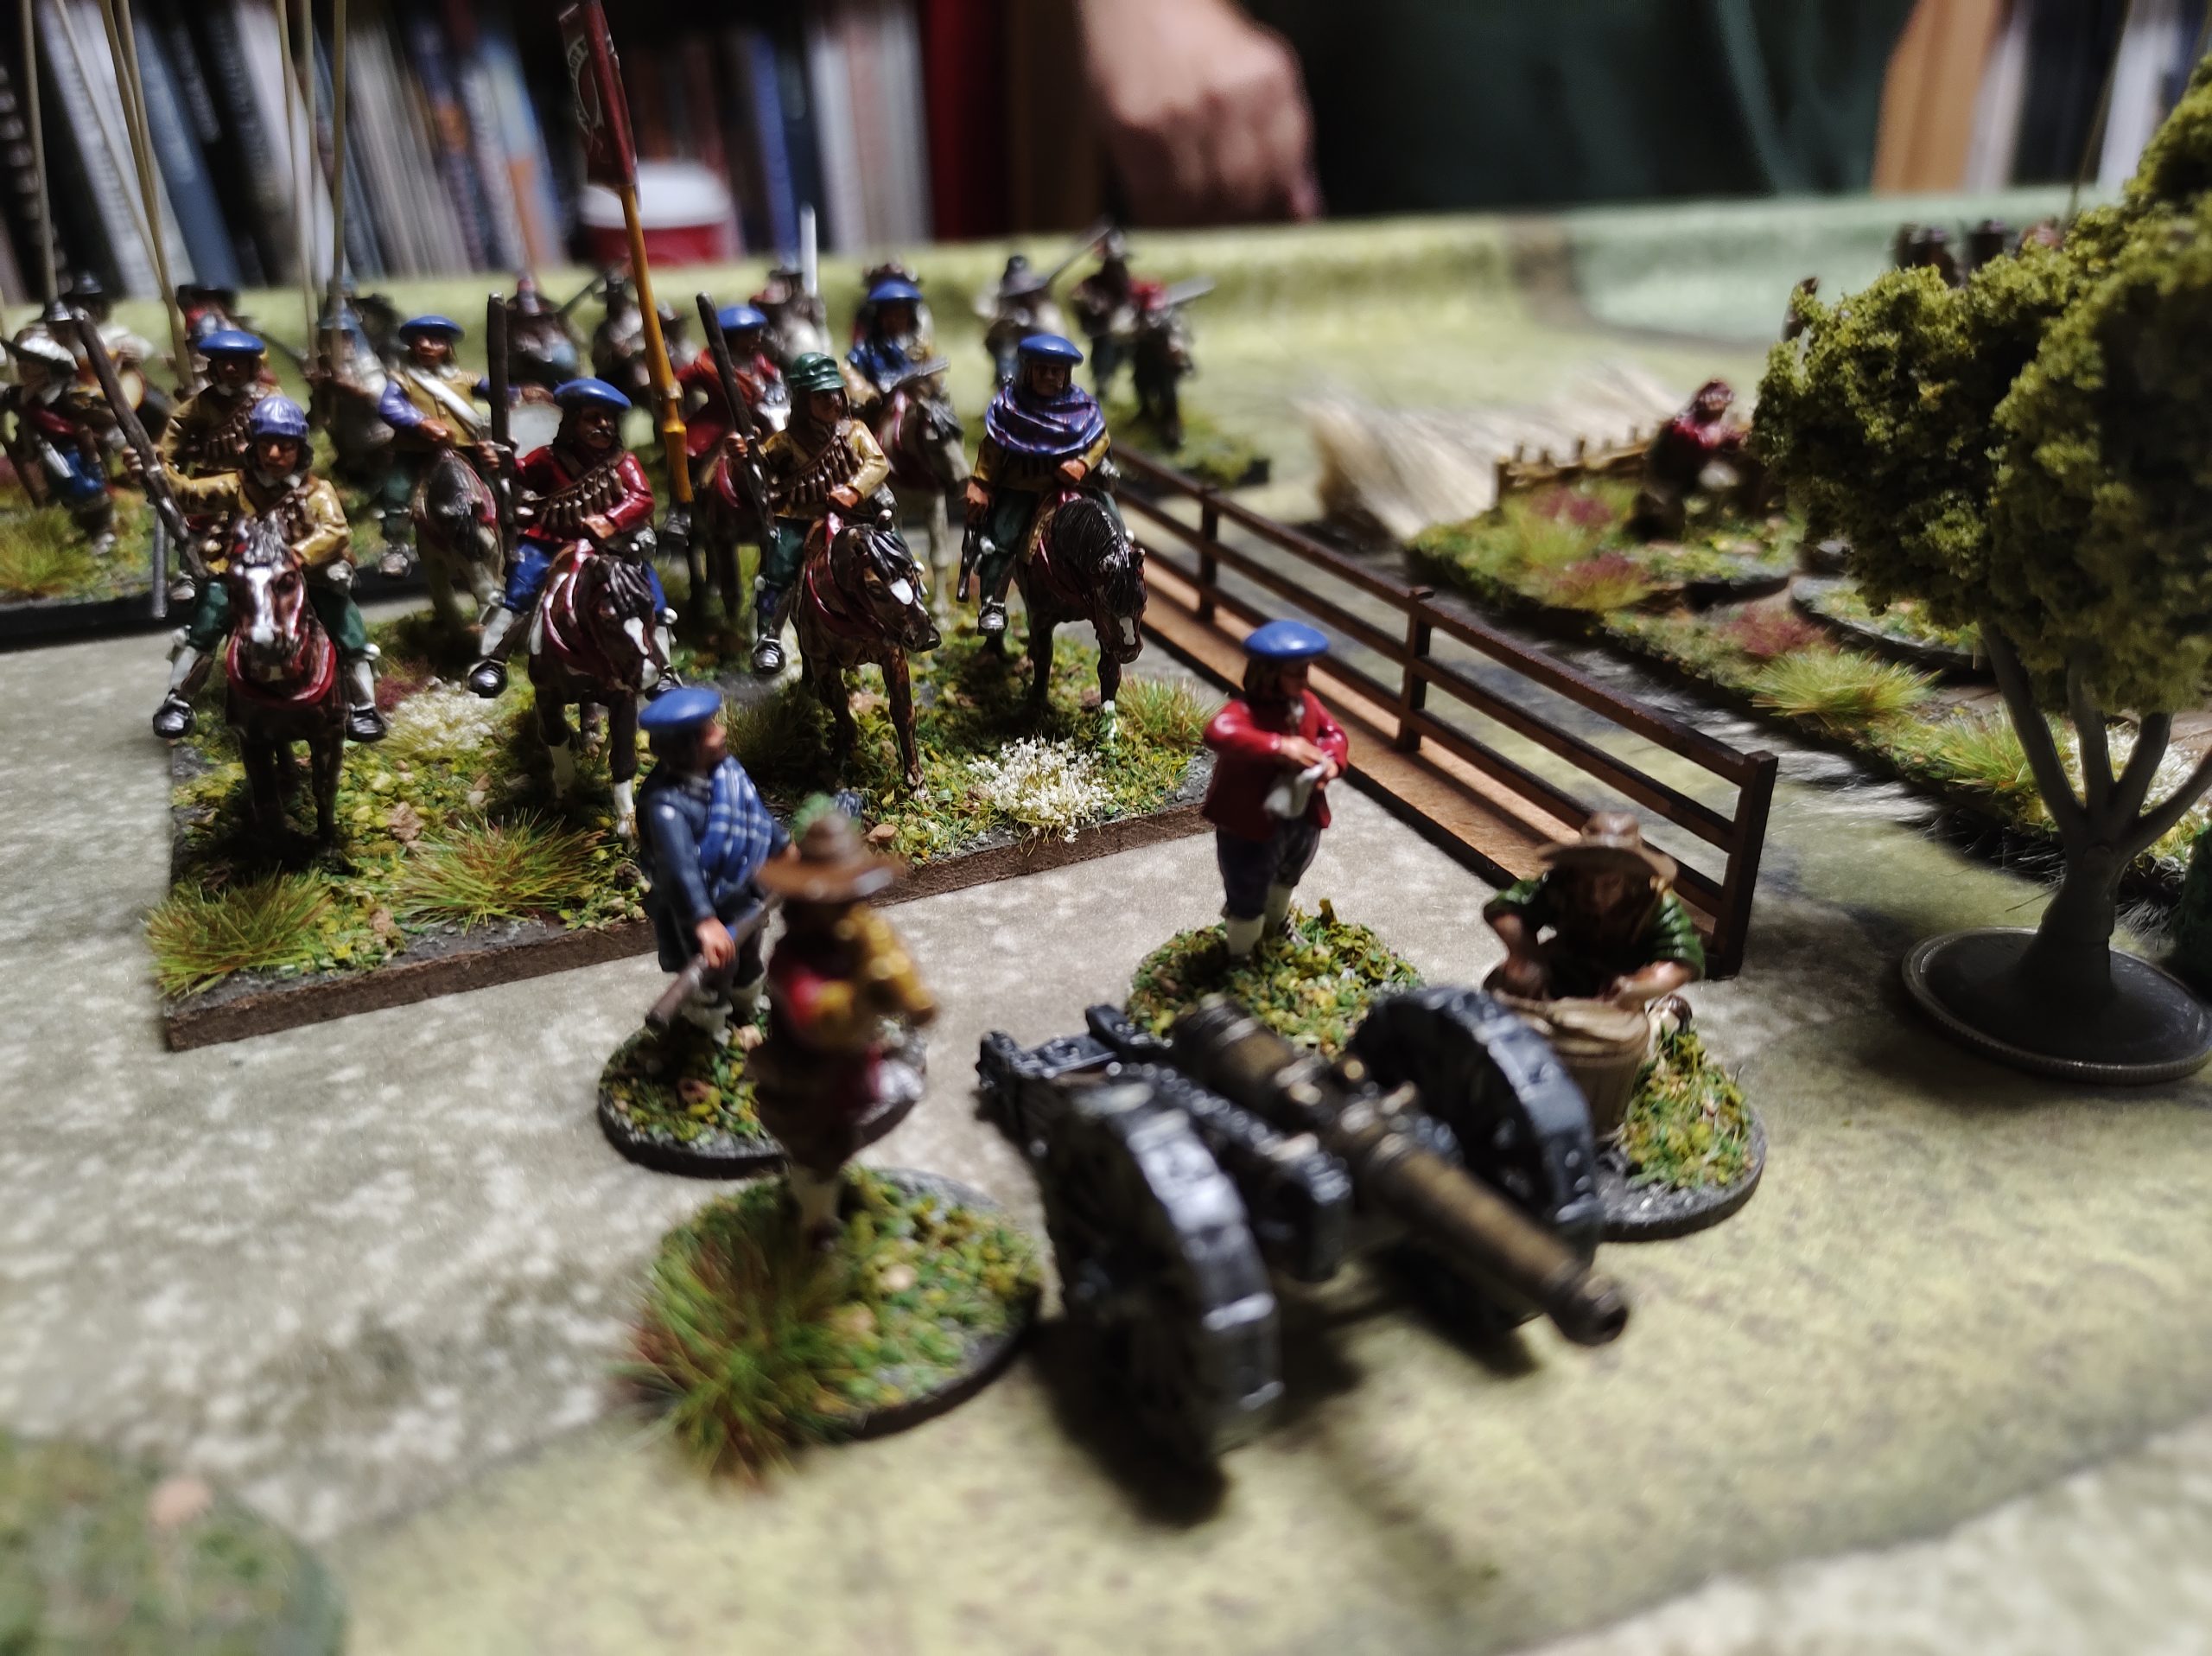
My rough list: Right Flank: Scots Lancers, Scots Reivers (light skirmishing horse) light gun, Frazer’s Dragoons, Frazer’s Firelocks
Center: Saker gun (medium gun) Seaforths, (1x Pike 2x Shotte) Campbells of Auchinbreck, (1x Pike 2x Shotte) light gun
Left Flank: Roche Regiment (1x Pike 2x Shotte) Sir Mungo Campbell of Lawers Rgmt (1x Pike 2x Shotte) Clan Campbell Highlanders, light gun.
Light gun (my first Scottish model painted years ago) next to the Scots Lancers
Frazer’s Dragoons (dismounted)
The infantry commander keeping an eye on the Roche Regiment… you can never trust those Roach’s.. yes I have a unit of Scott’ Roach’s potential ancestors in my force. They fought for the good guys and were outfitted in red!
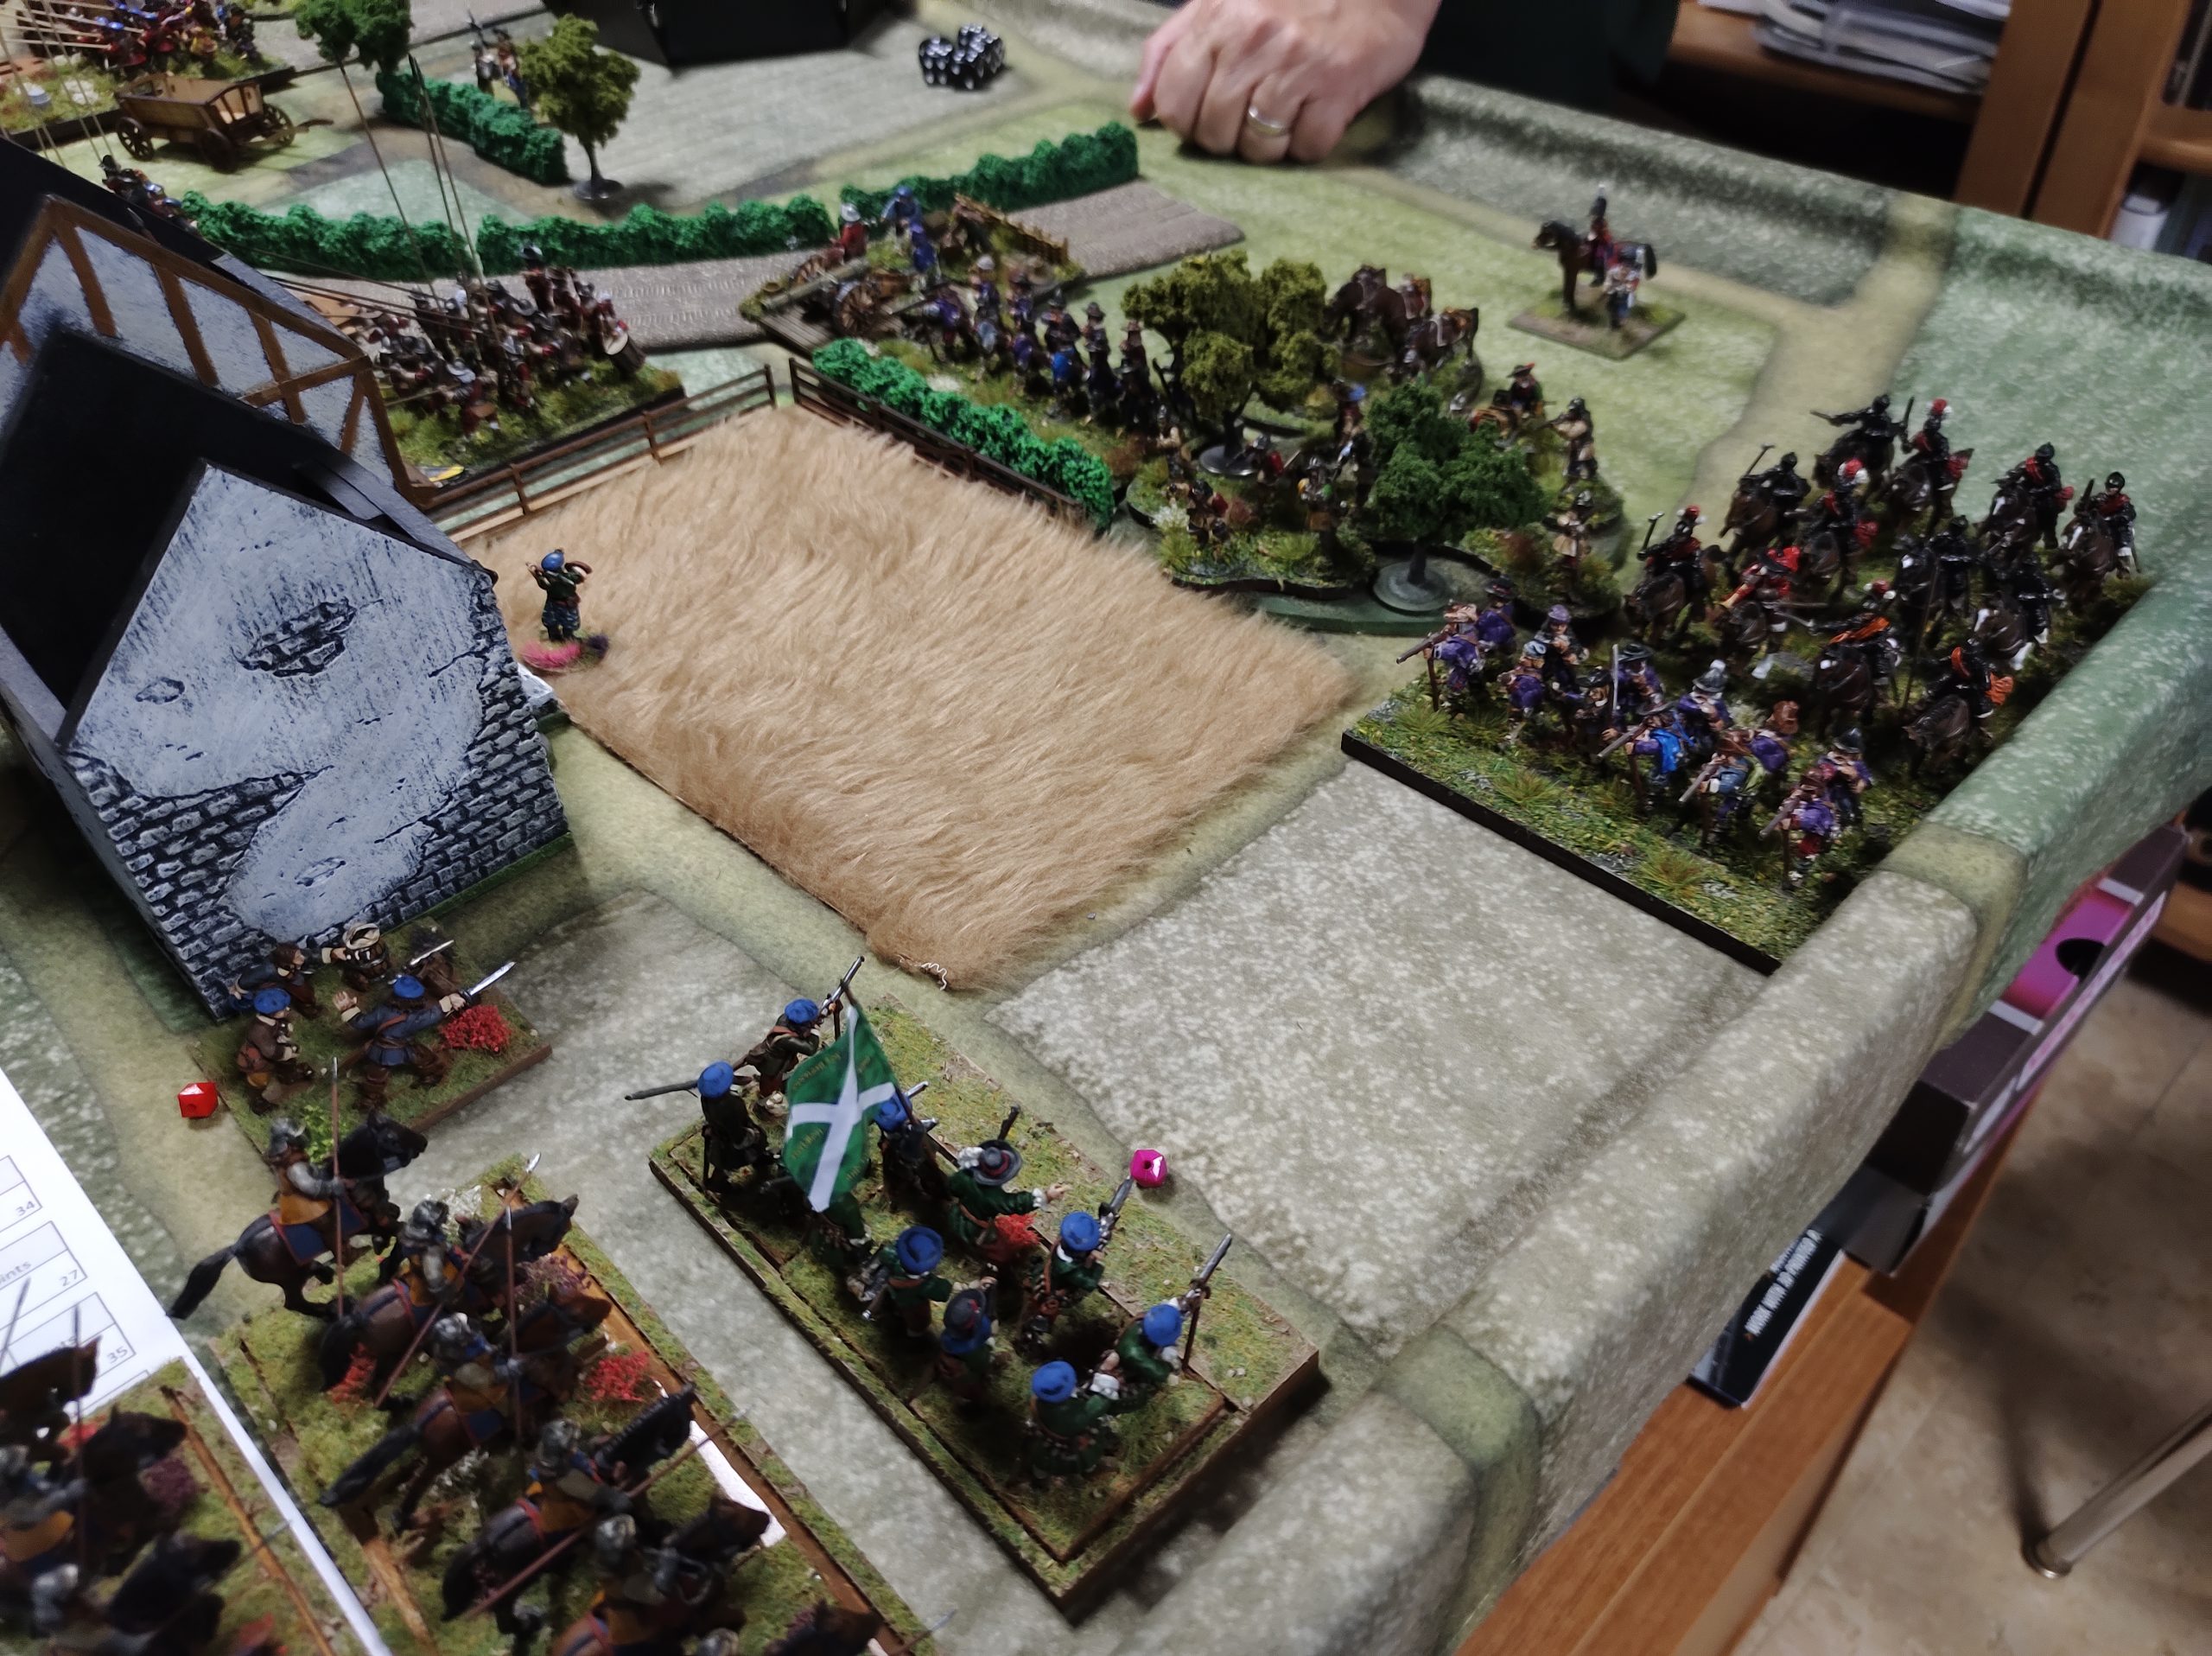
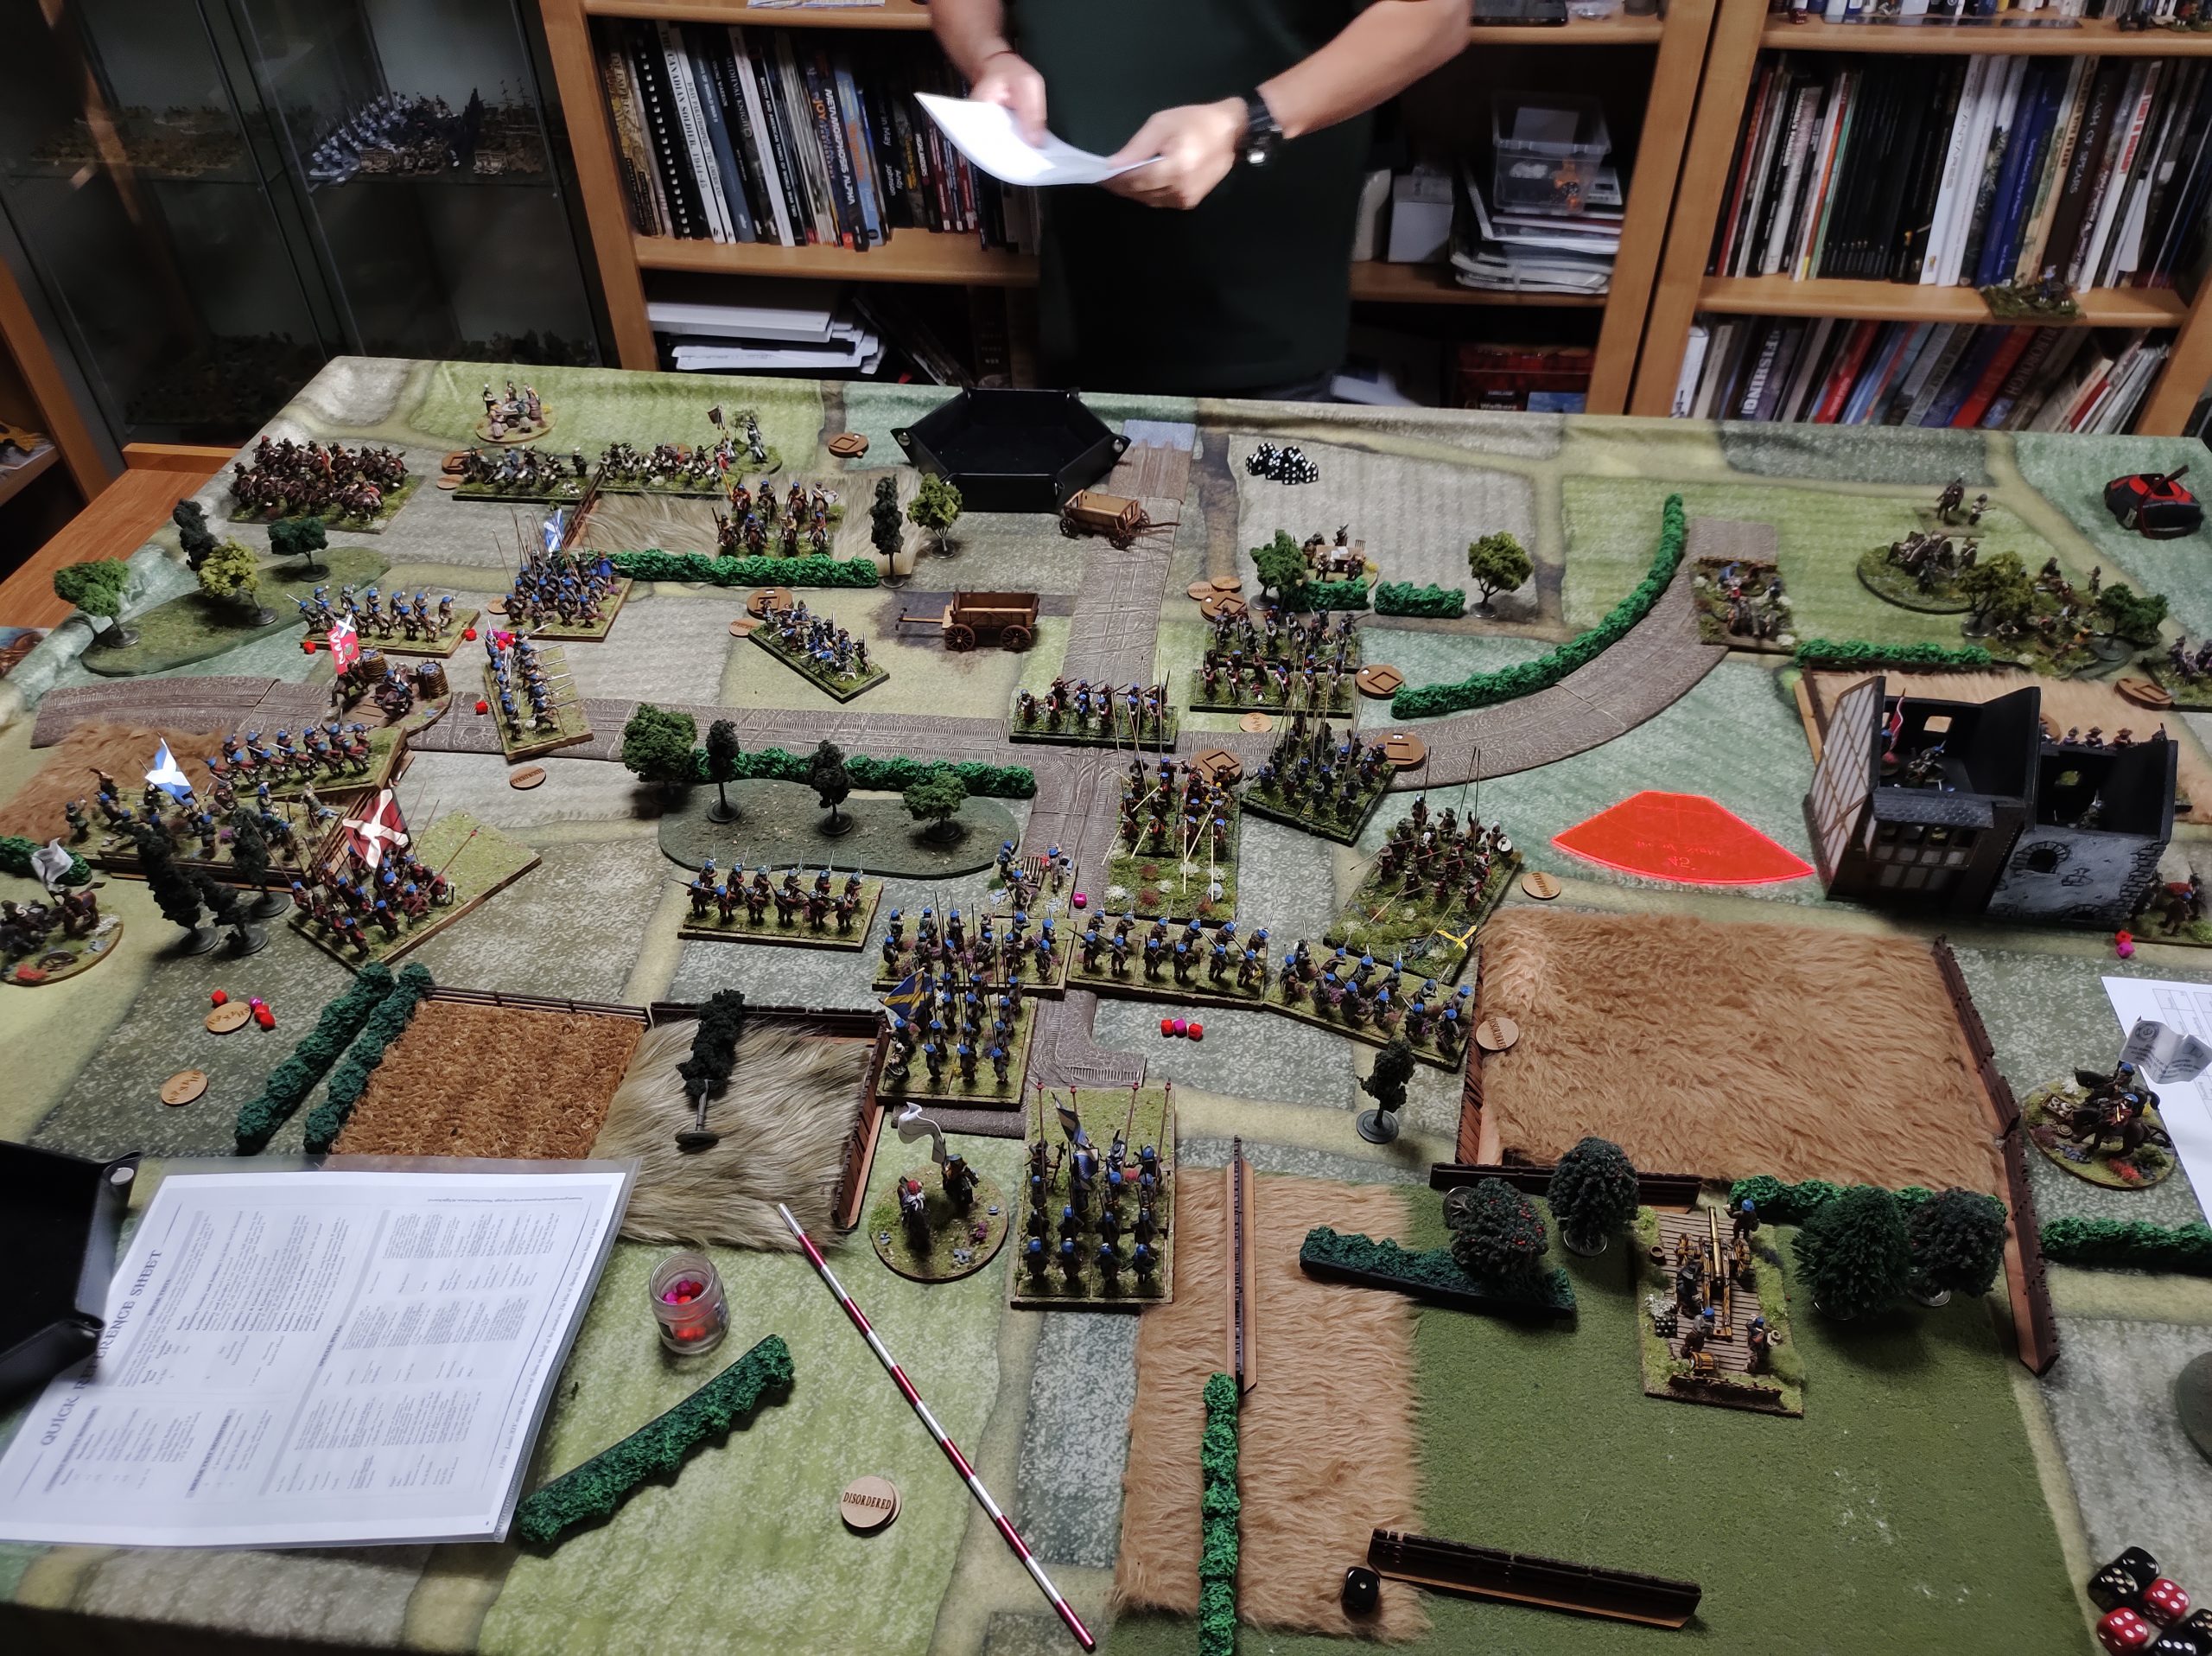
Turn 1, Mungo Campbells, and the Roche Rgmt of foot advance to the roadway.
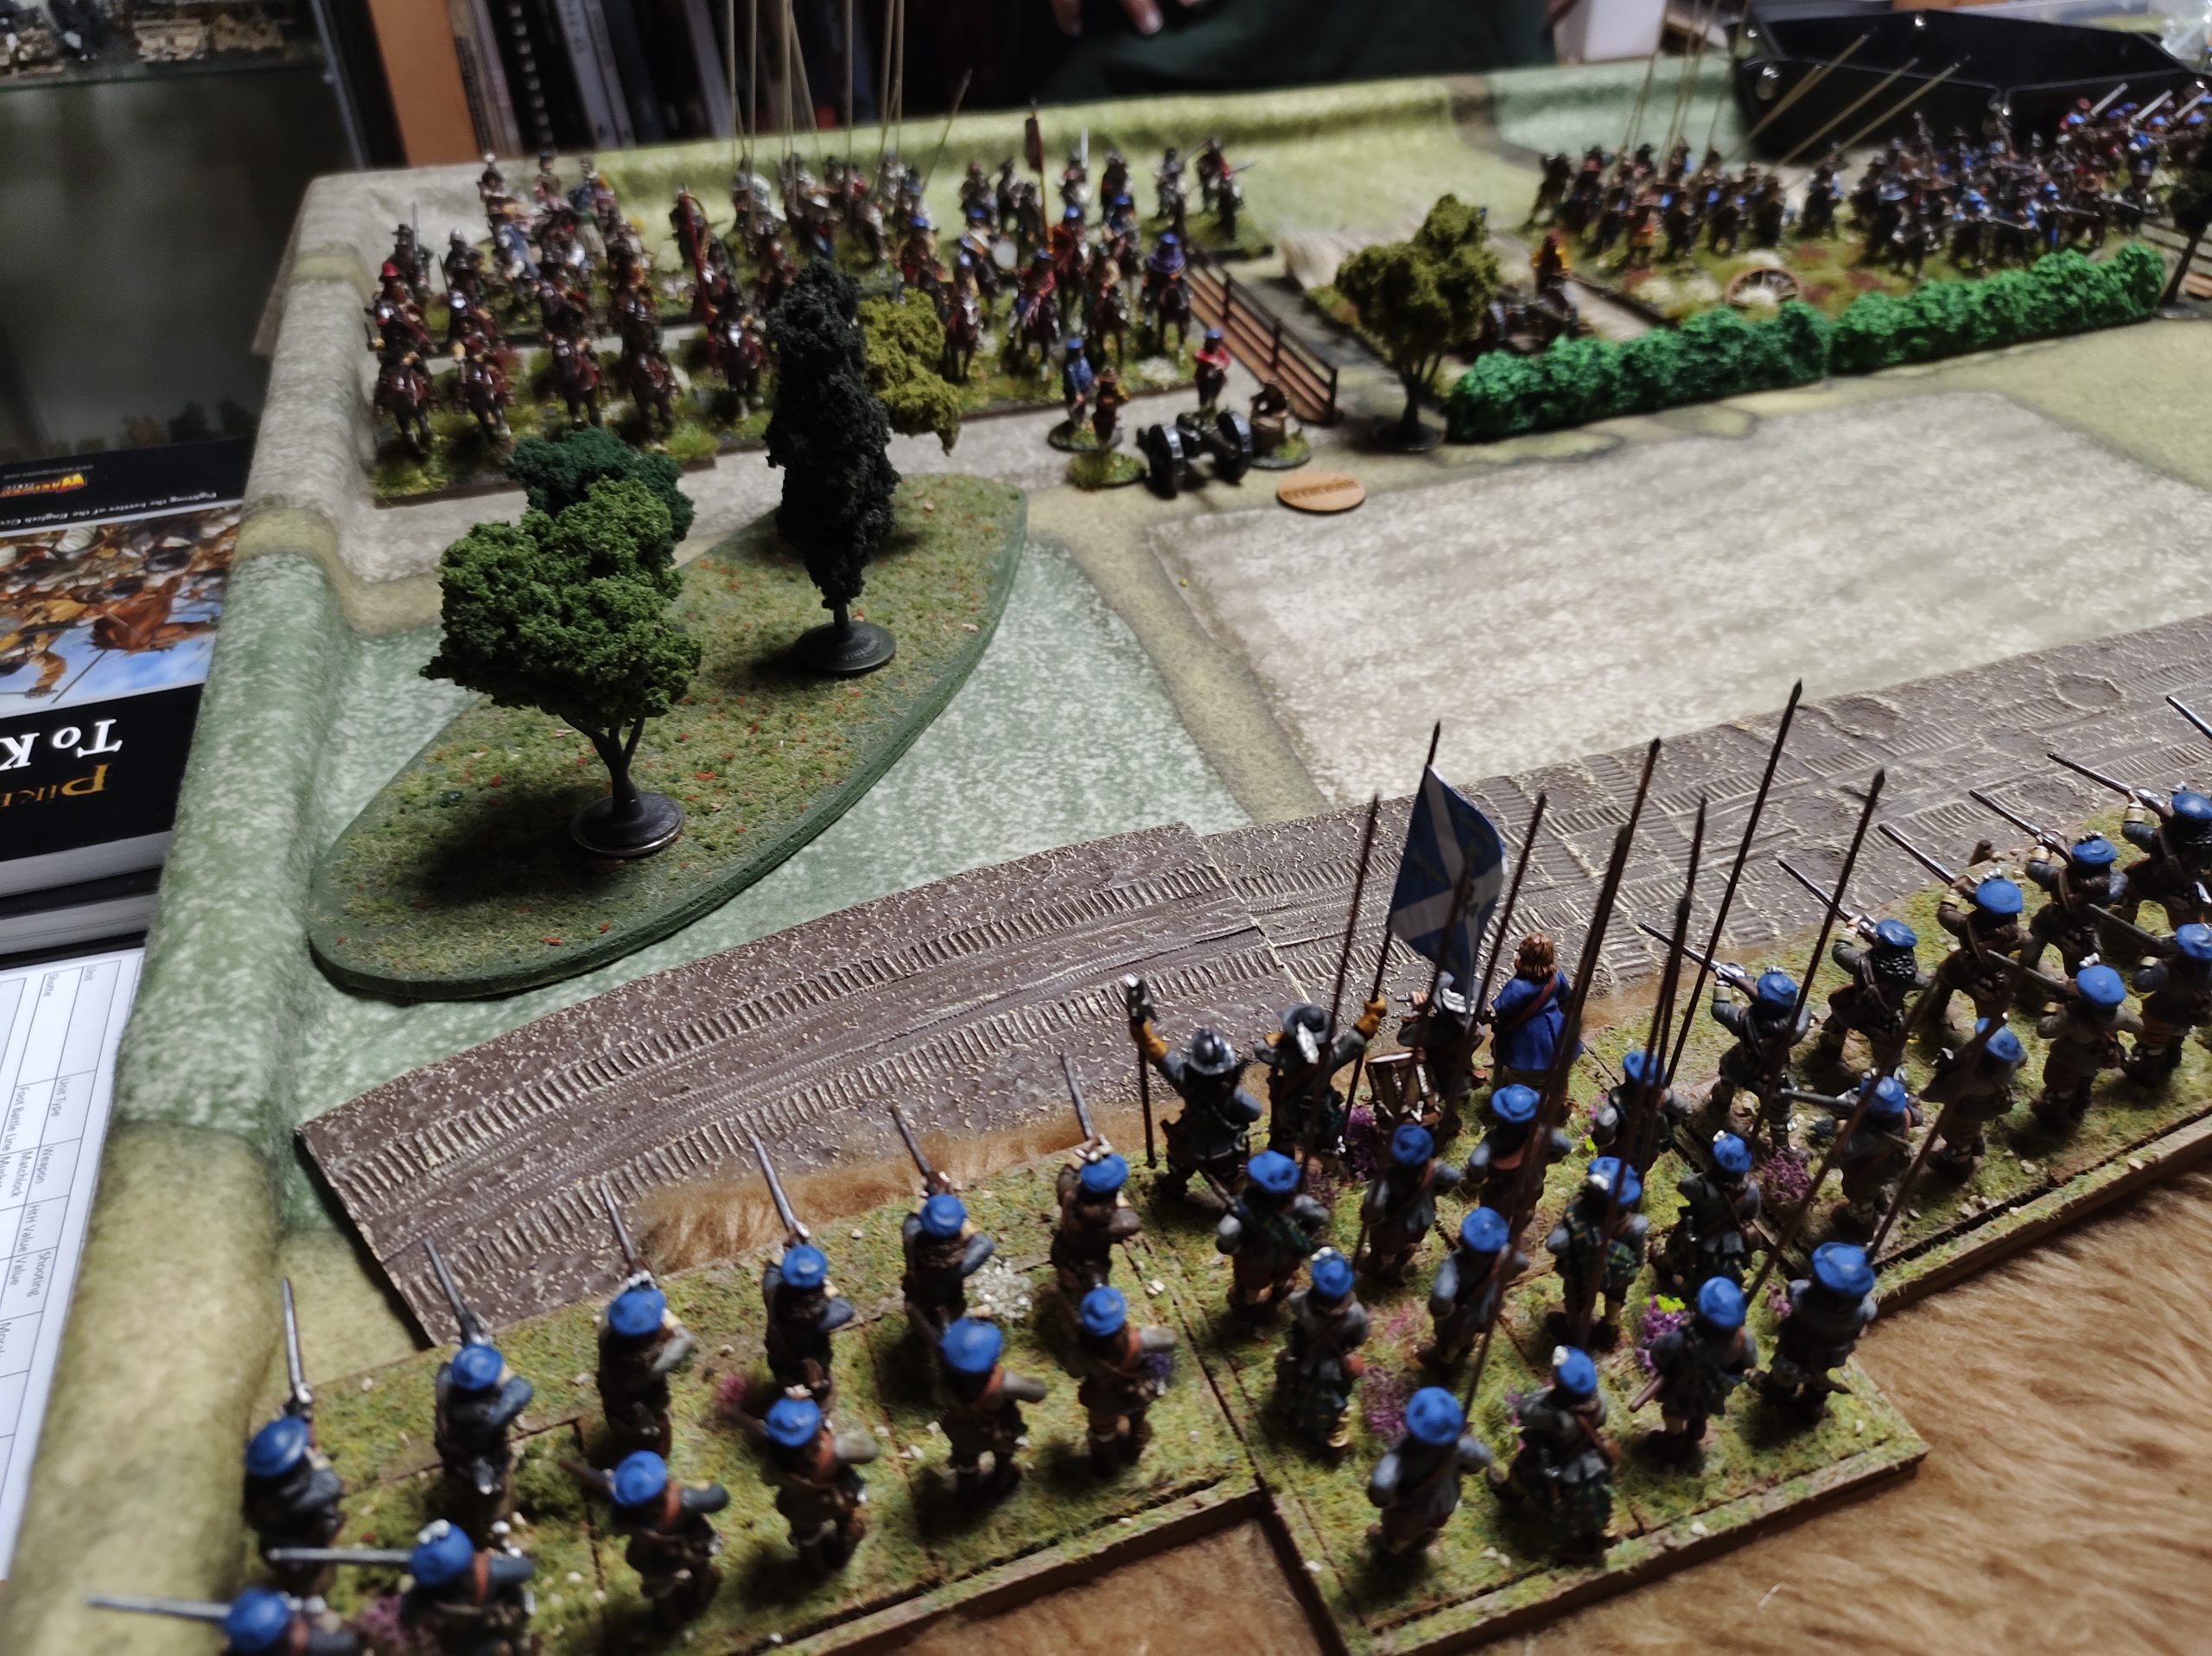
Firing their muskets and Disordering the Irish light gun.

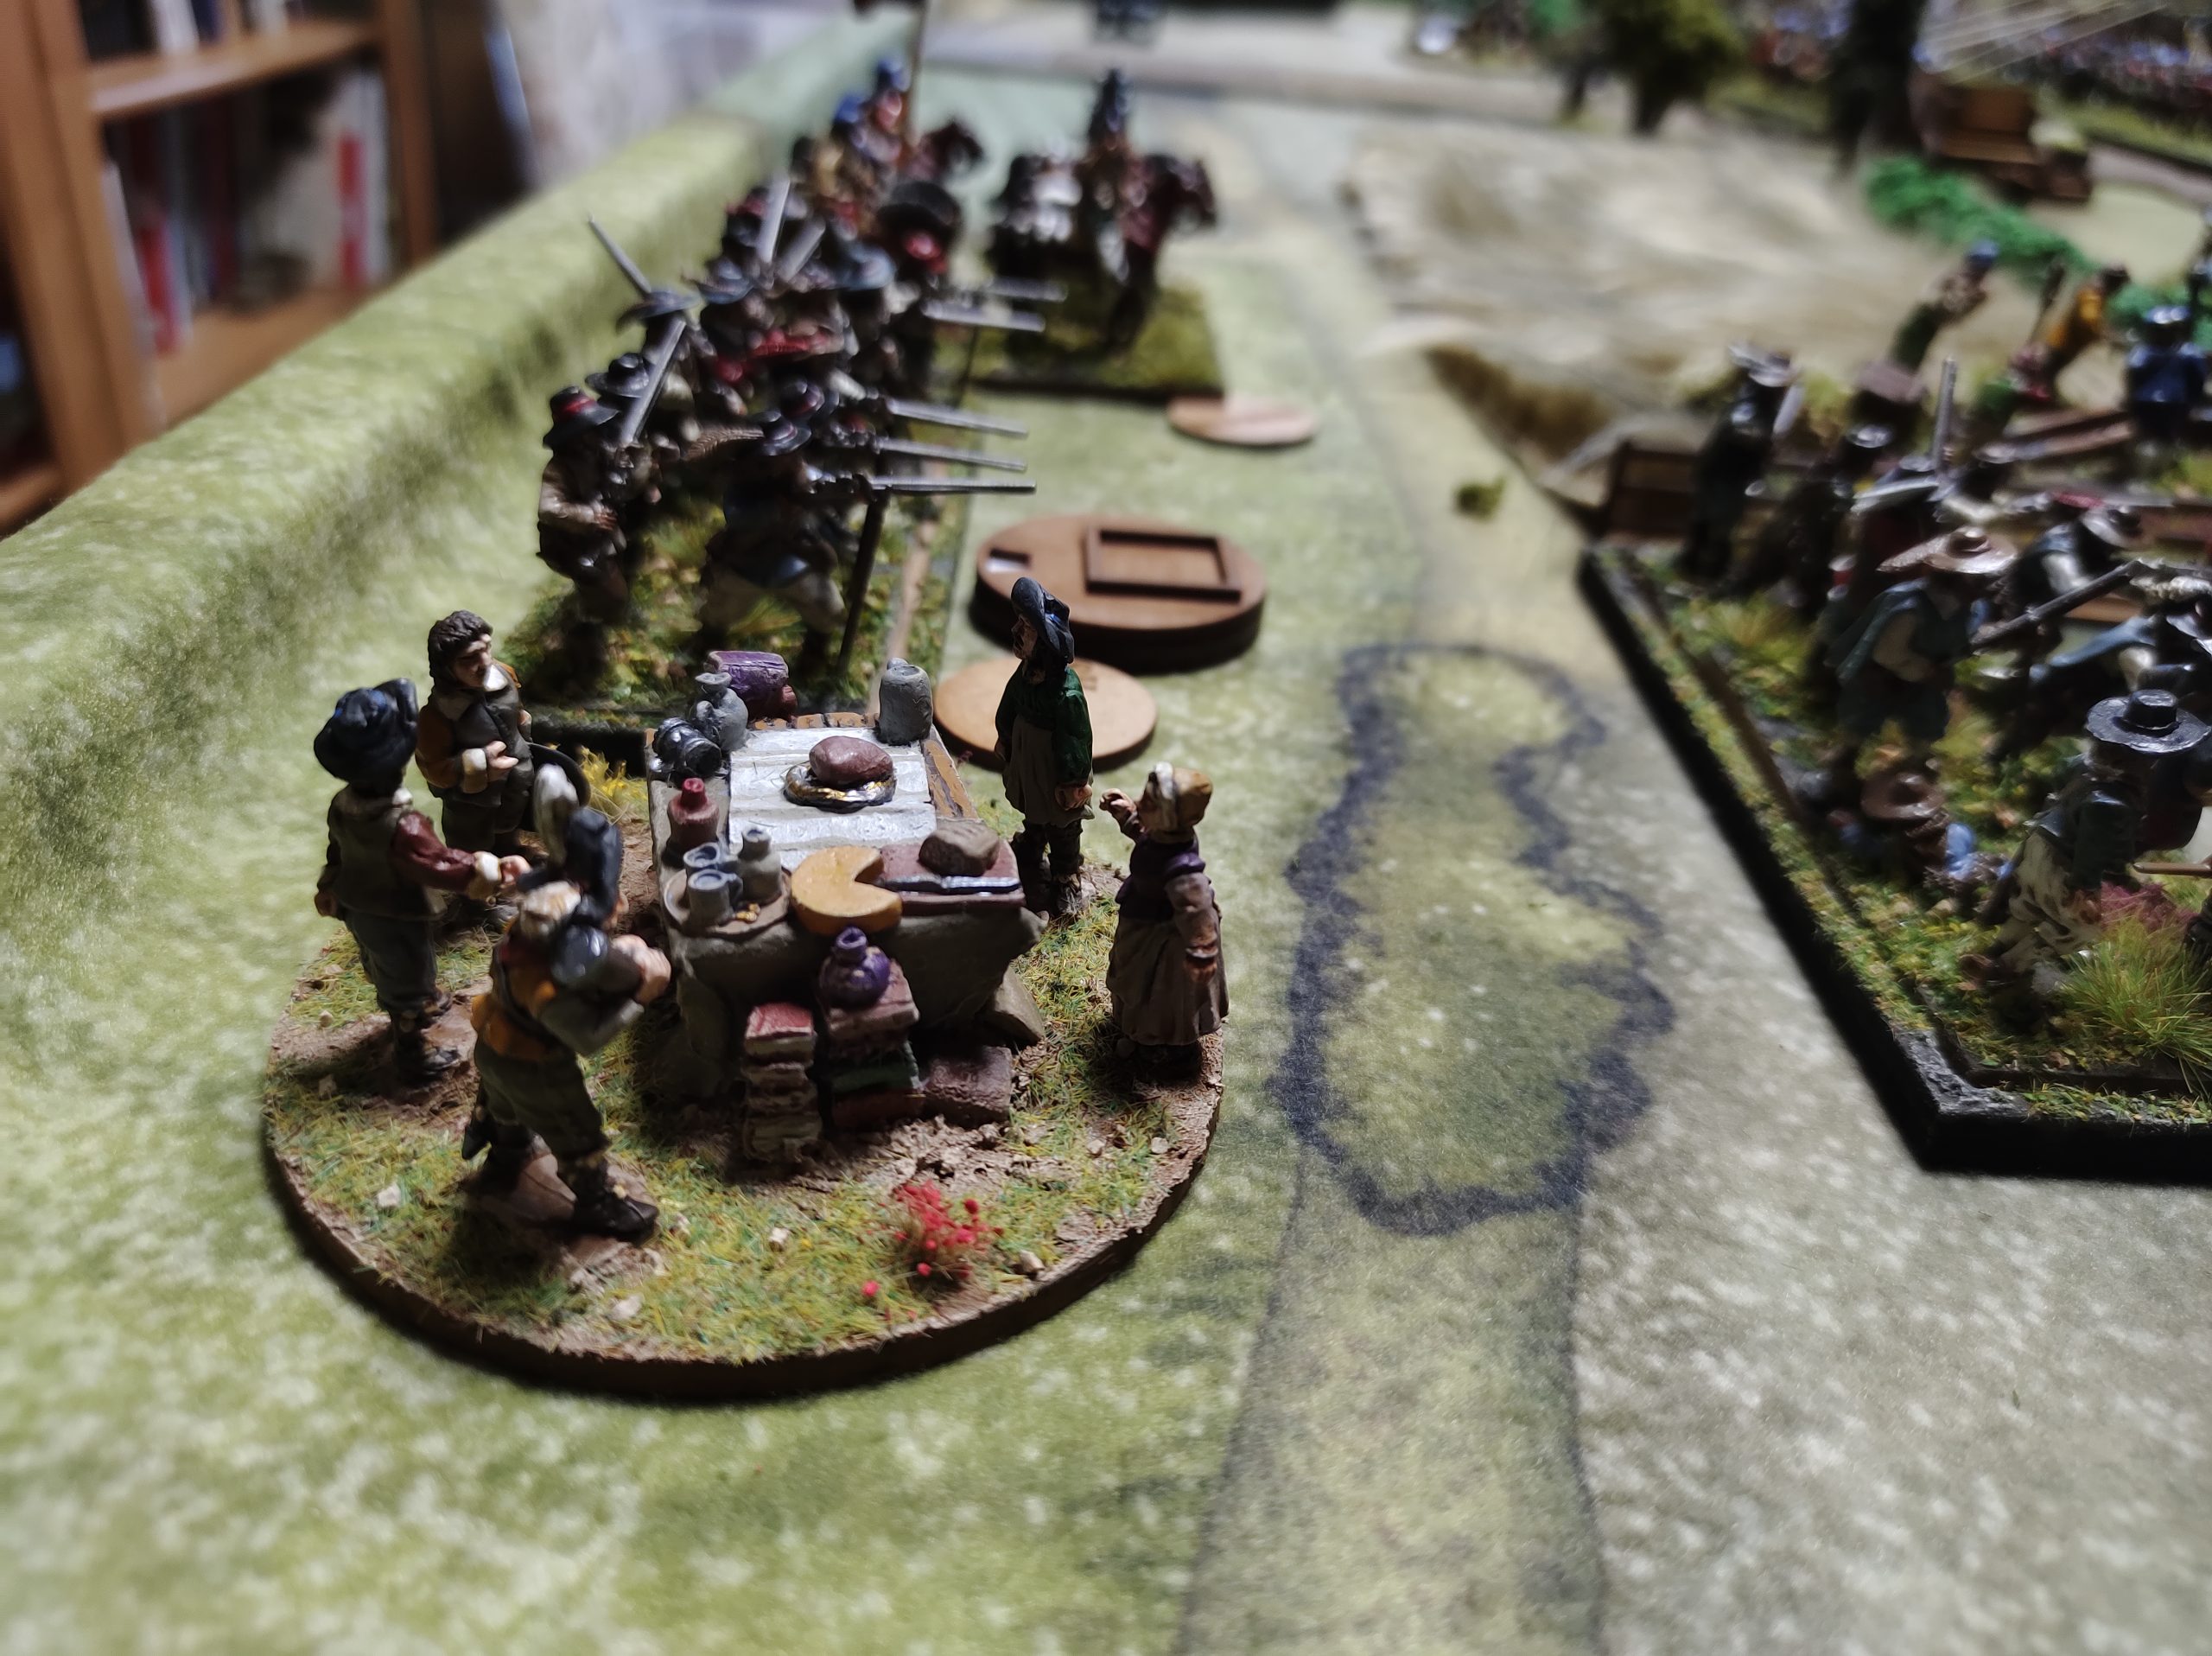
while the Seaforths advance as fast as they can towards the supply wagons. The Seaforth muskets and light gun caused quite a lot of disorders to the enemy.
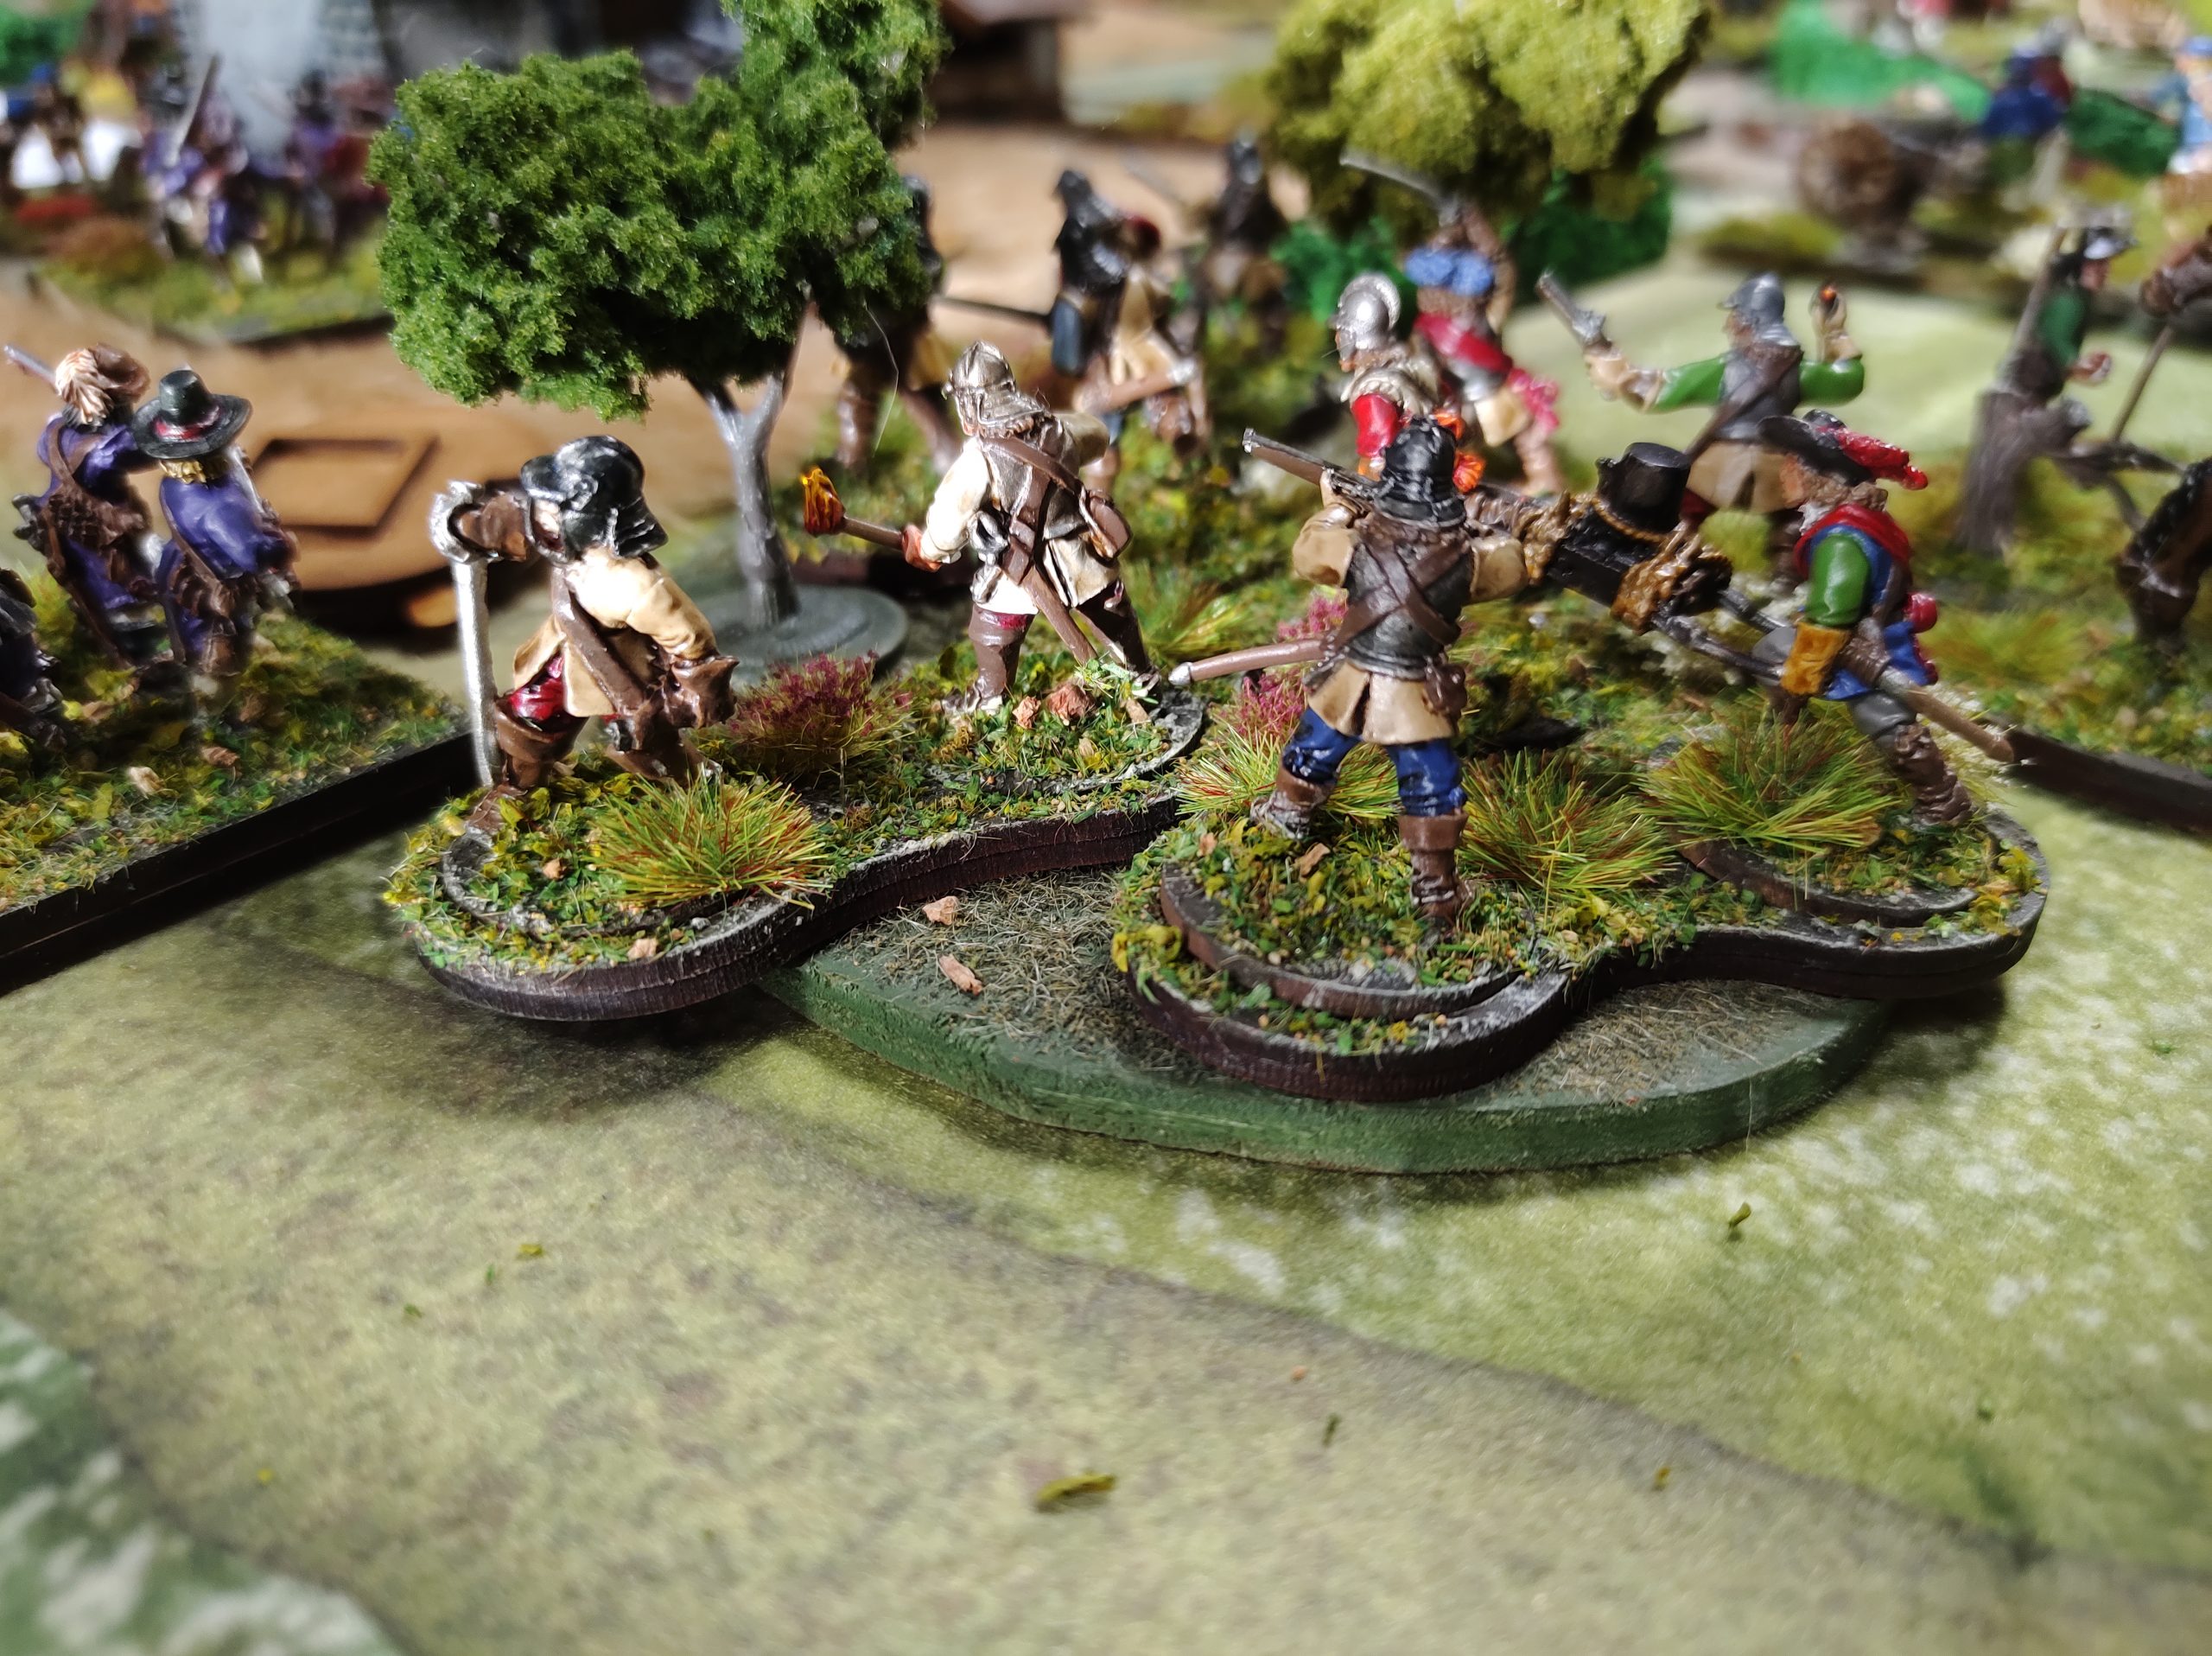
Meanwhile, my right flank staled out after the Frazer’s Dragoons confused an order advising them to take cover in the houses.

The Irish first turn, his dragoons ALSO fail to heed an order to take the same houses, stalling his entire left flank. His center stayed put and put out several good volleys despite being Disordered, breaking a wing of Seaforth Muskets and Shaking my
center light gun! His cavalry flank repositioned the Black Adder Dragoons into the woods and moved the Irish Shotte in front of his disordered light gun to prevent me from charging it with my Campbell fo Lawers Pike.
Turn 2, my Campbell of Lawers pike obliged and charged the Irish Muskets.
…however, the Campbell of Lawers Muskets attempted to move up in support and failed, causing the rest of the flank to stall out.
I draw the combat because of a lack of support (and superior Irish rolling of morale saves.) My dragoons finally advanced and occupy the buildings. In my Center, the Auchinbrecks Blundered at the sight of the Seaforth muskets getting killed and fell back two moves! My overall commander is able to Rally off one of the wounds of the center light gun, removing its Shaken status.
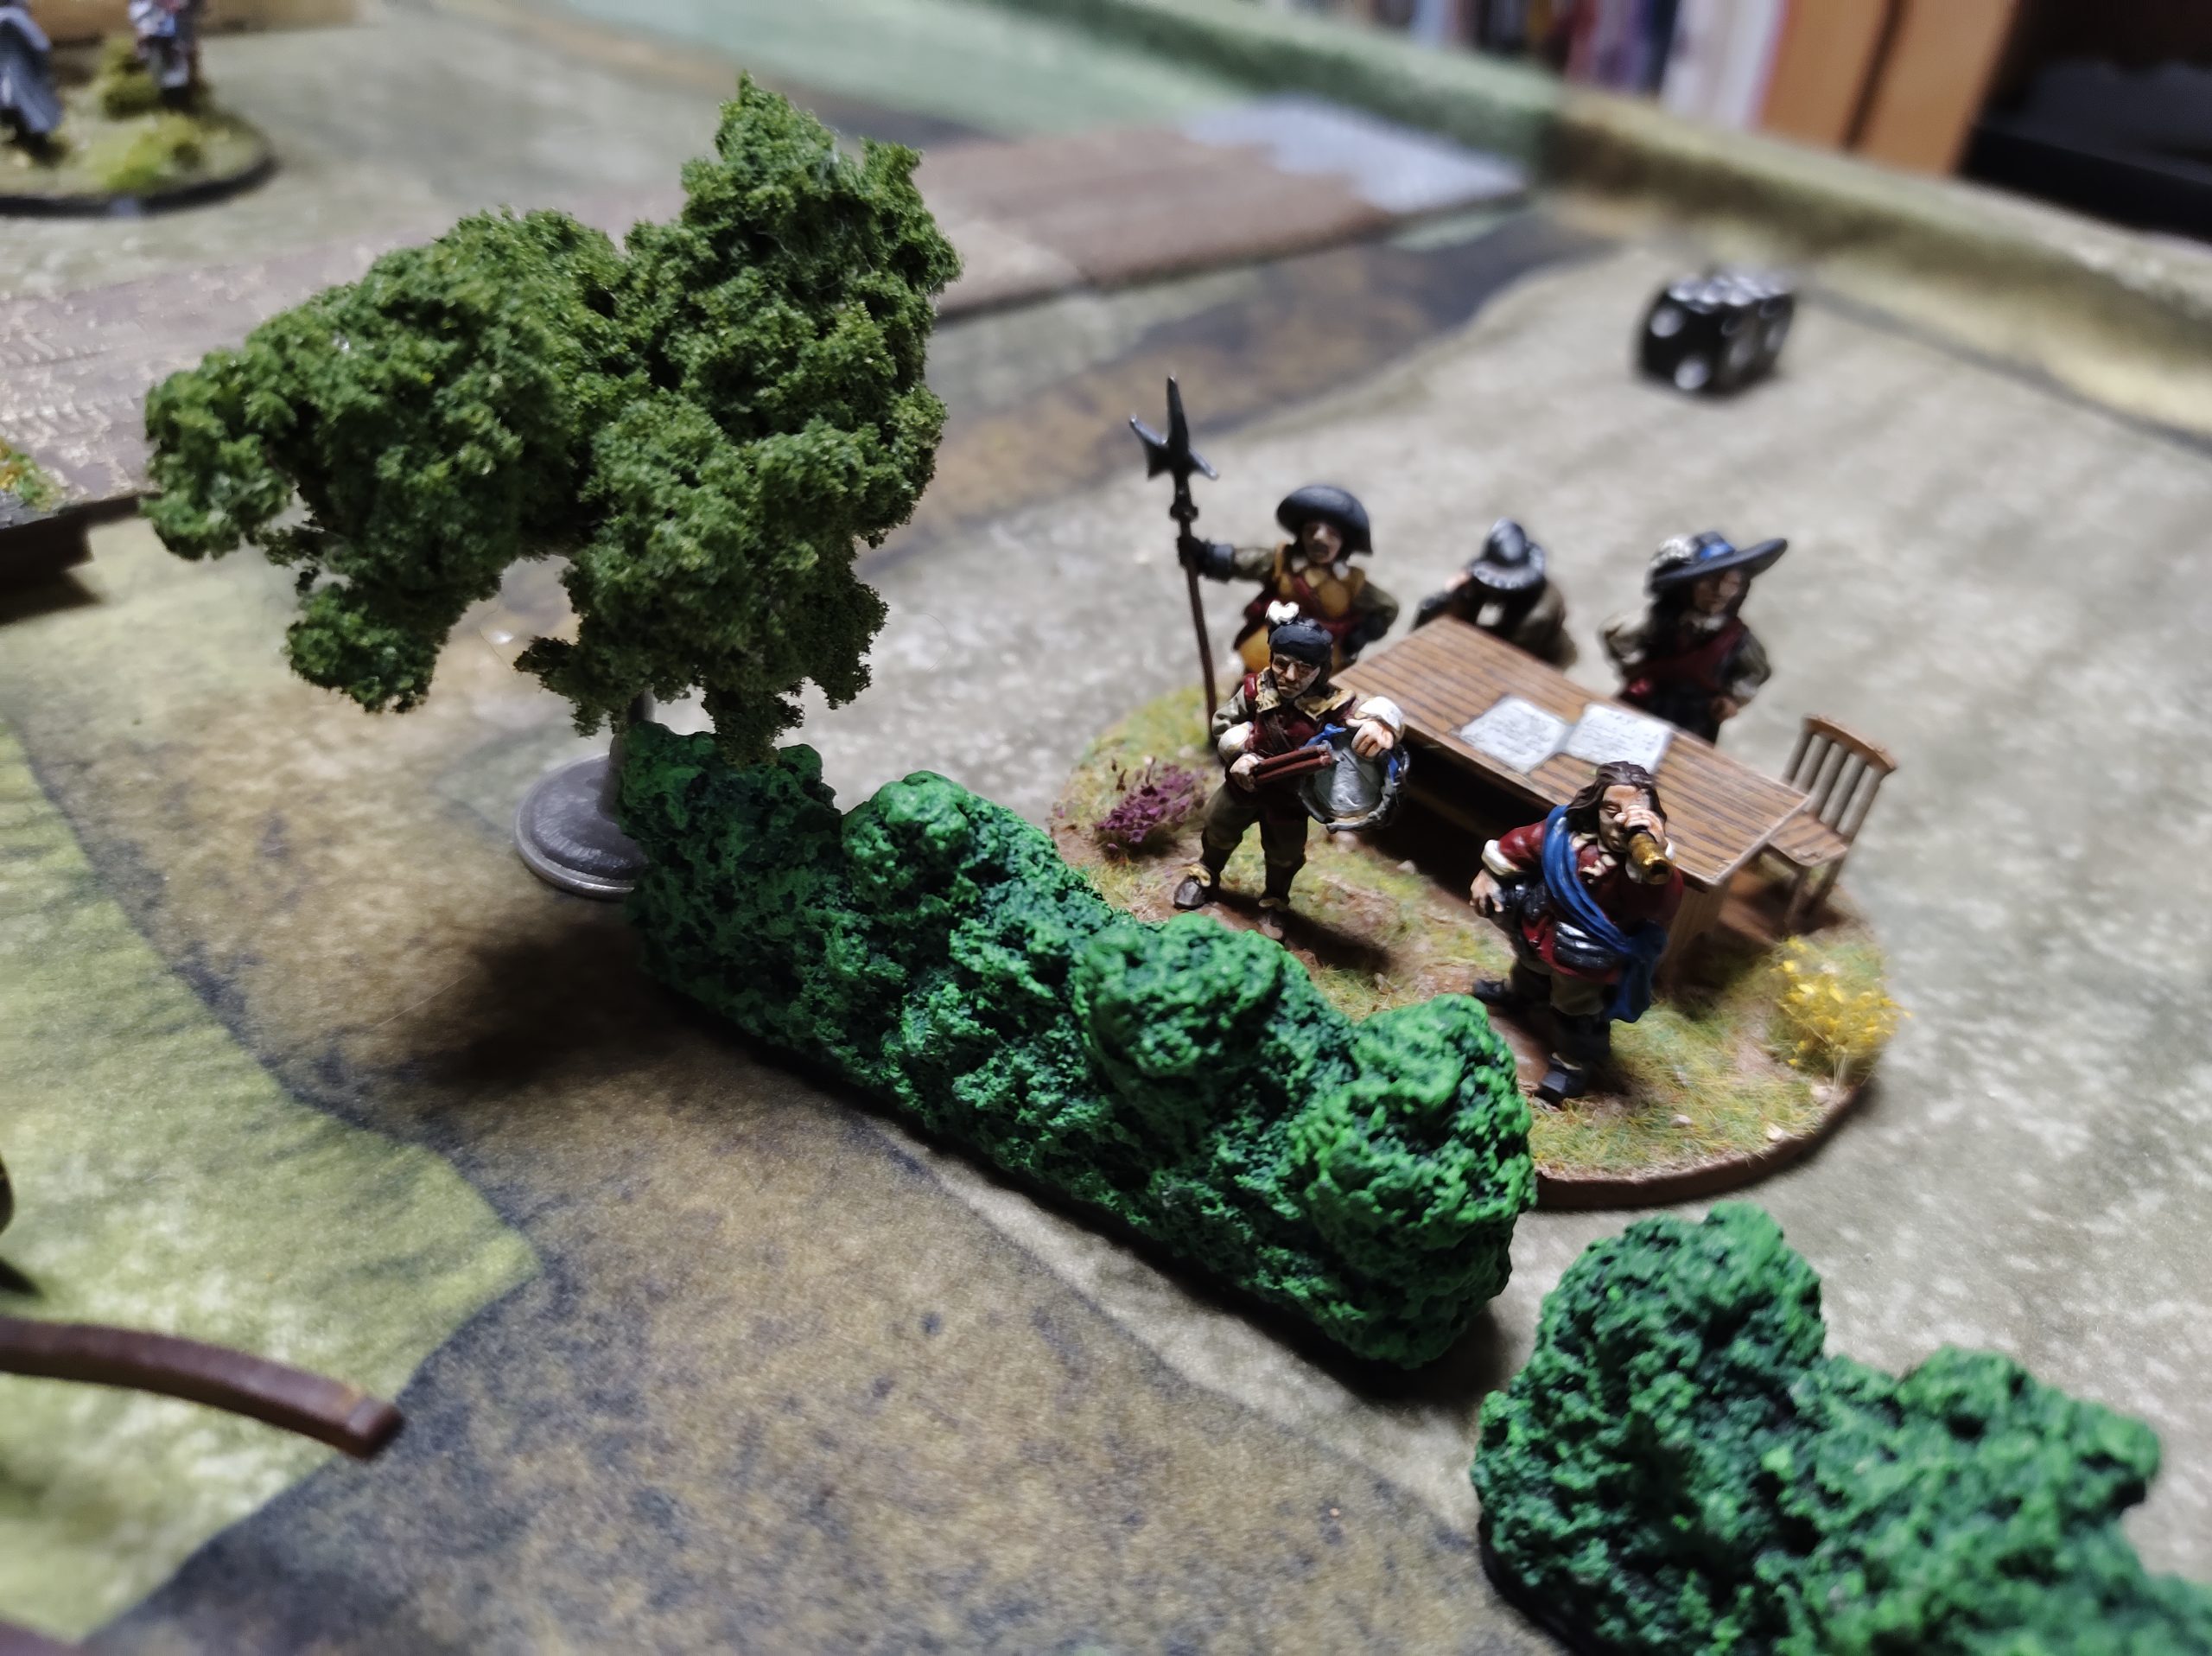
Sad state of affairs, The first blunder of the game! Officer looking through his spyglass “where have all my troops gone?”
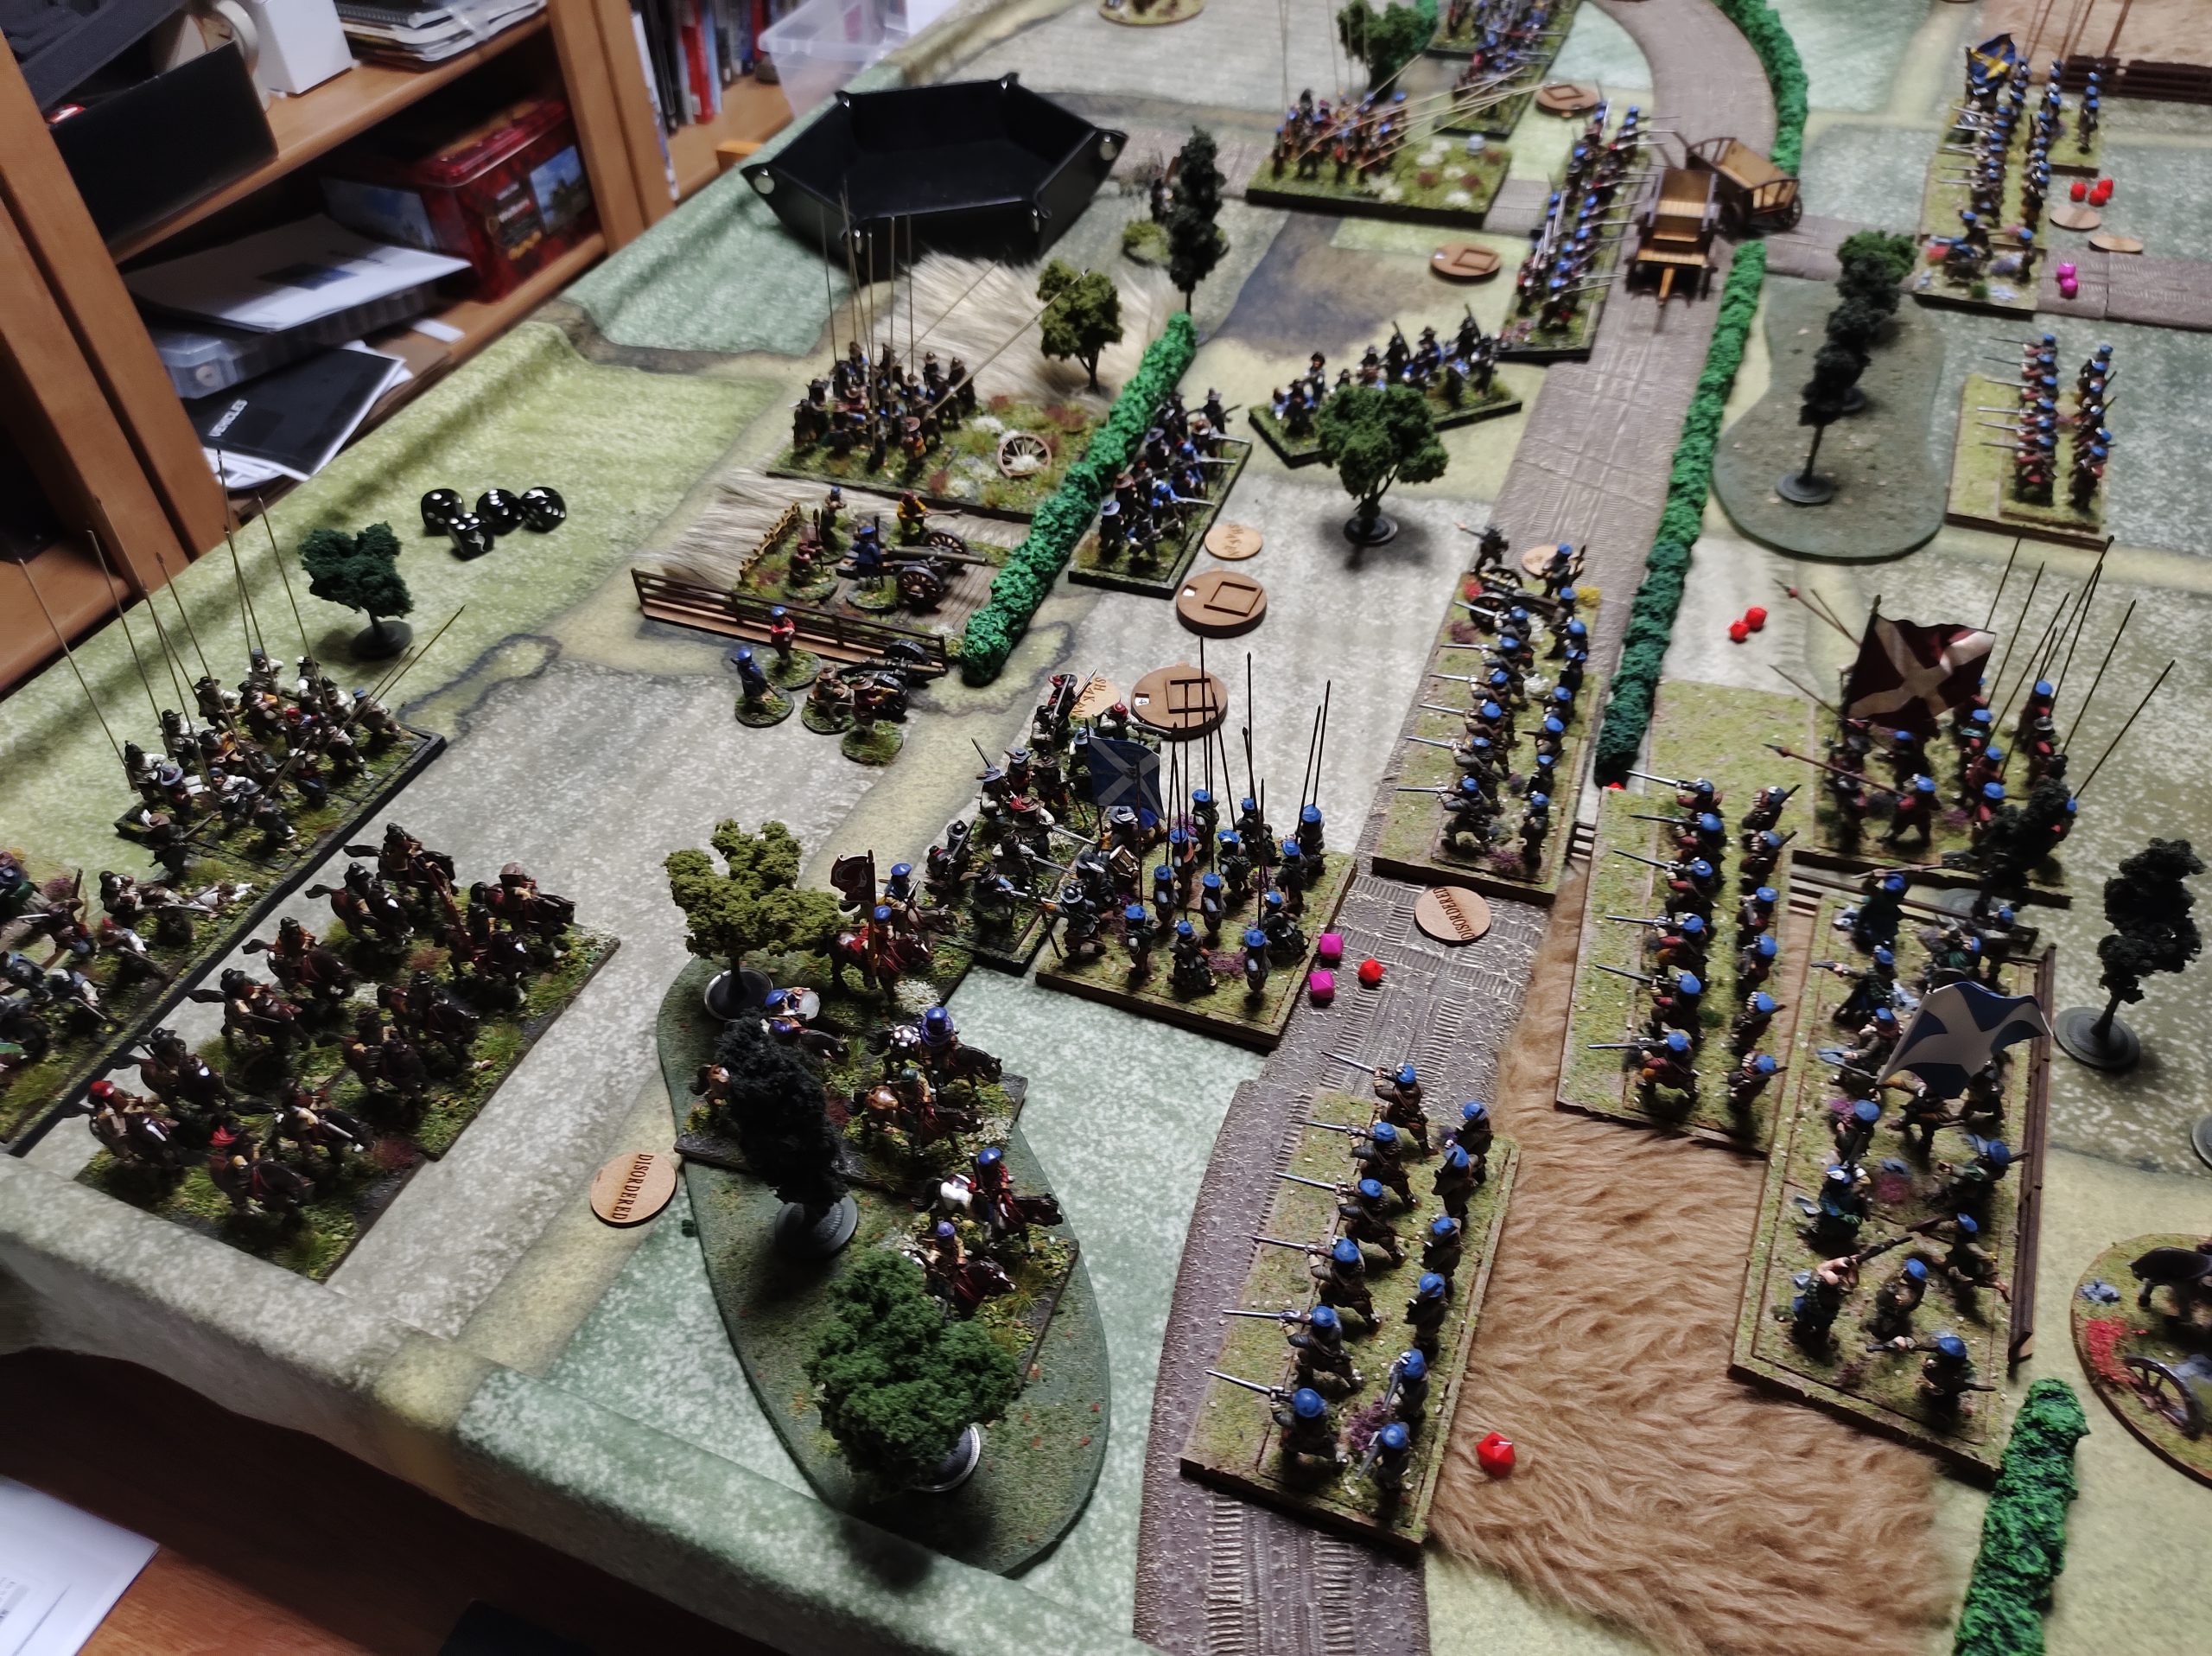
Scott advanced his Irish up to the roadway, unfazed by Frazer’s Dragoons since there is a distinct lack of windows on that side of the building to shoot from! His center Scots Muskets advanced and pivot to fire into my light gun. He also failed to charge his pike into my musketry, ending their moves. The center muskets did, hover, manage to shake my light gun AGAIN, and also shake and disorder the last surviving Seaforth muskets. His left flank muskets managed to disorder my Reiver cavalry, as they were about to charge his medium gun!

Turn 3: I charged the dismounted Black Adders with muskets. This caused them to evade back. Now that I had the support advantage, the combat vs the Irish swung my way. Huzzah for Campbell of Lawers! Auchinbrecks failed the order to move up after they had Blundered, stalling my center once again, right flank
I moved my lancers up next to the building to hold the line vs the Gordon horse and Irish shot. My light gun was able to break a unit of his Scottish muskets. My commander again rallies off a wound to the now-twice-shaken light gun, who is hanging on by a thread!
Scott’s turn 3 sees him Iniative-moving his shaken Irish Muskets back from their stinging defeat at the hands of the Lawers pike, while he moves his Irish Pike forward to plug the gap in his lines. He manoevers his center muskets and shoots a light gun shattering their morale.
His Cavalry are just positioning for a charge, and shooting, hoping for disorders.

Turn 4: I charged with the remaining Seaforth’s hoping the lousy Auchinbrecks can pass an order and support me. They, of course, did not, and thus I lost that combat since Scott’s infantry are lined up at the roadway granting full support. However, I managed to roll high enough to stay in place.
I charged my Lancers into disordered Irish muskets, and still managed to lose because his dice were SUPER HOT. Scott made so many saves despite my Lance -1 morale save modifier. Elsewhere, I manage to disorder the Irish Pike with shooting and manage some more disorders along his lines with shooting and guns. But without support, I cannot press into the statistically-superior Irish units or I’ll be thrown back.
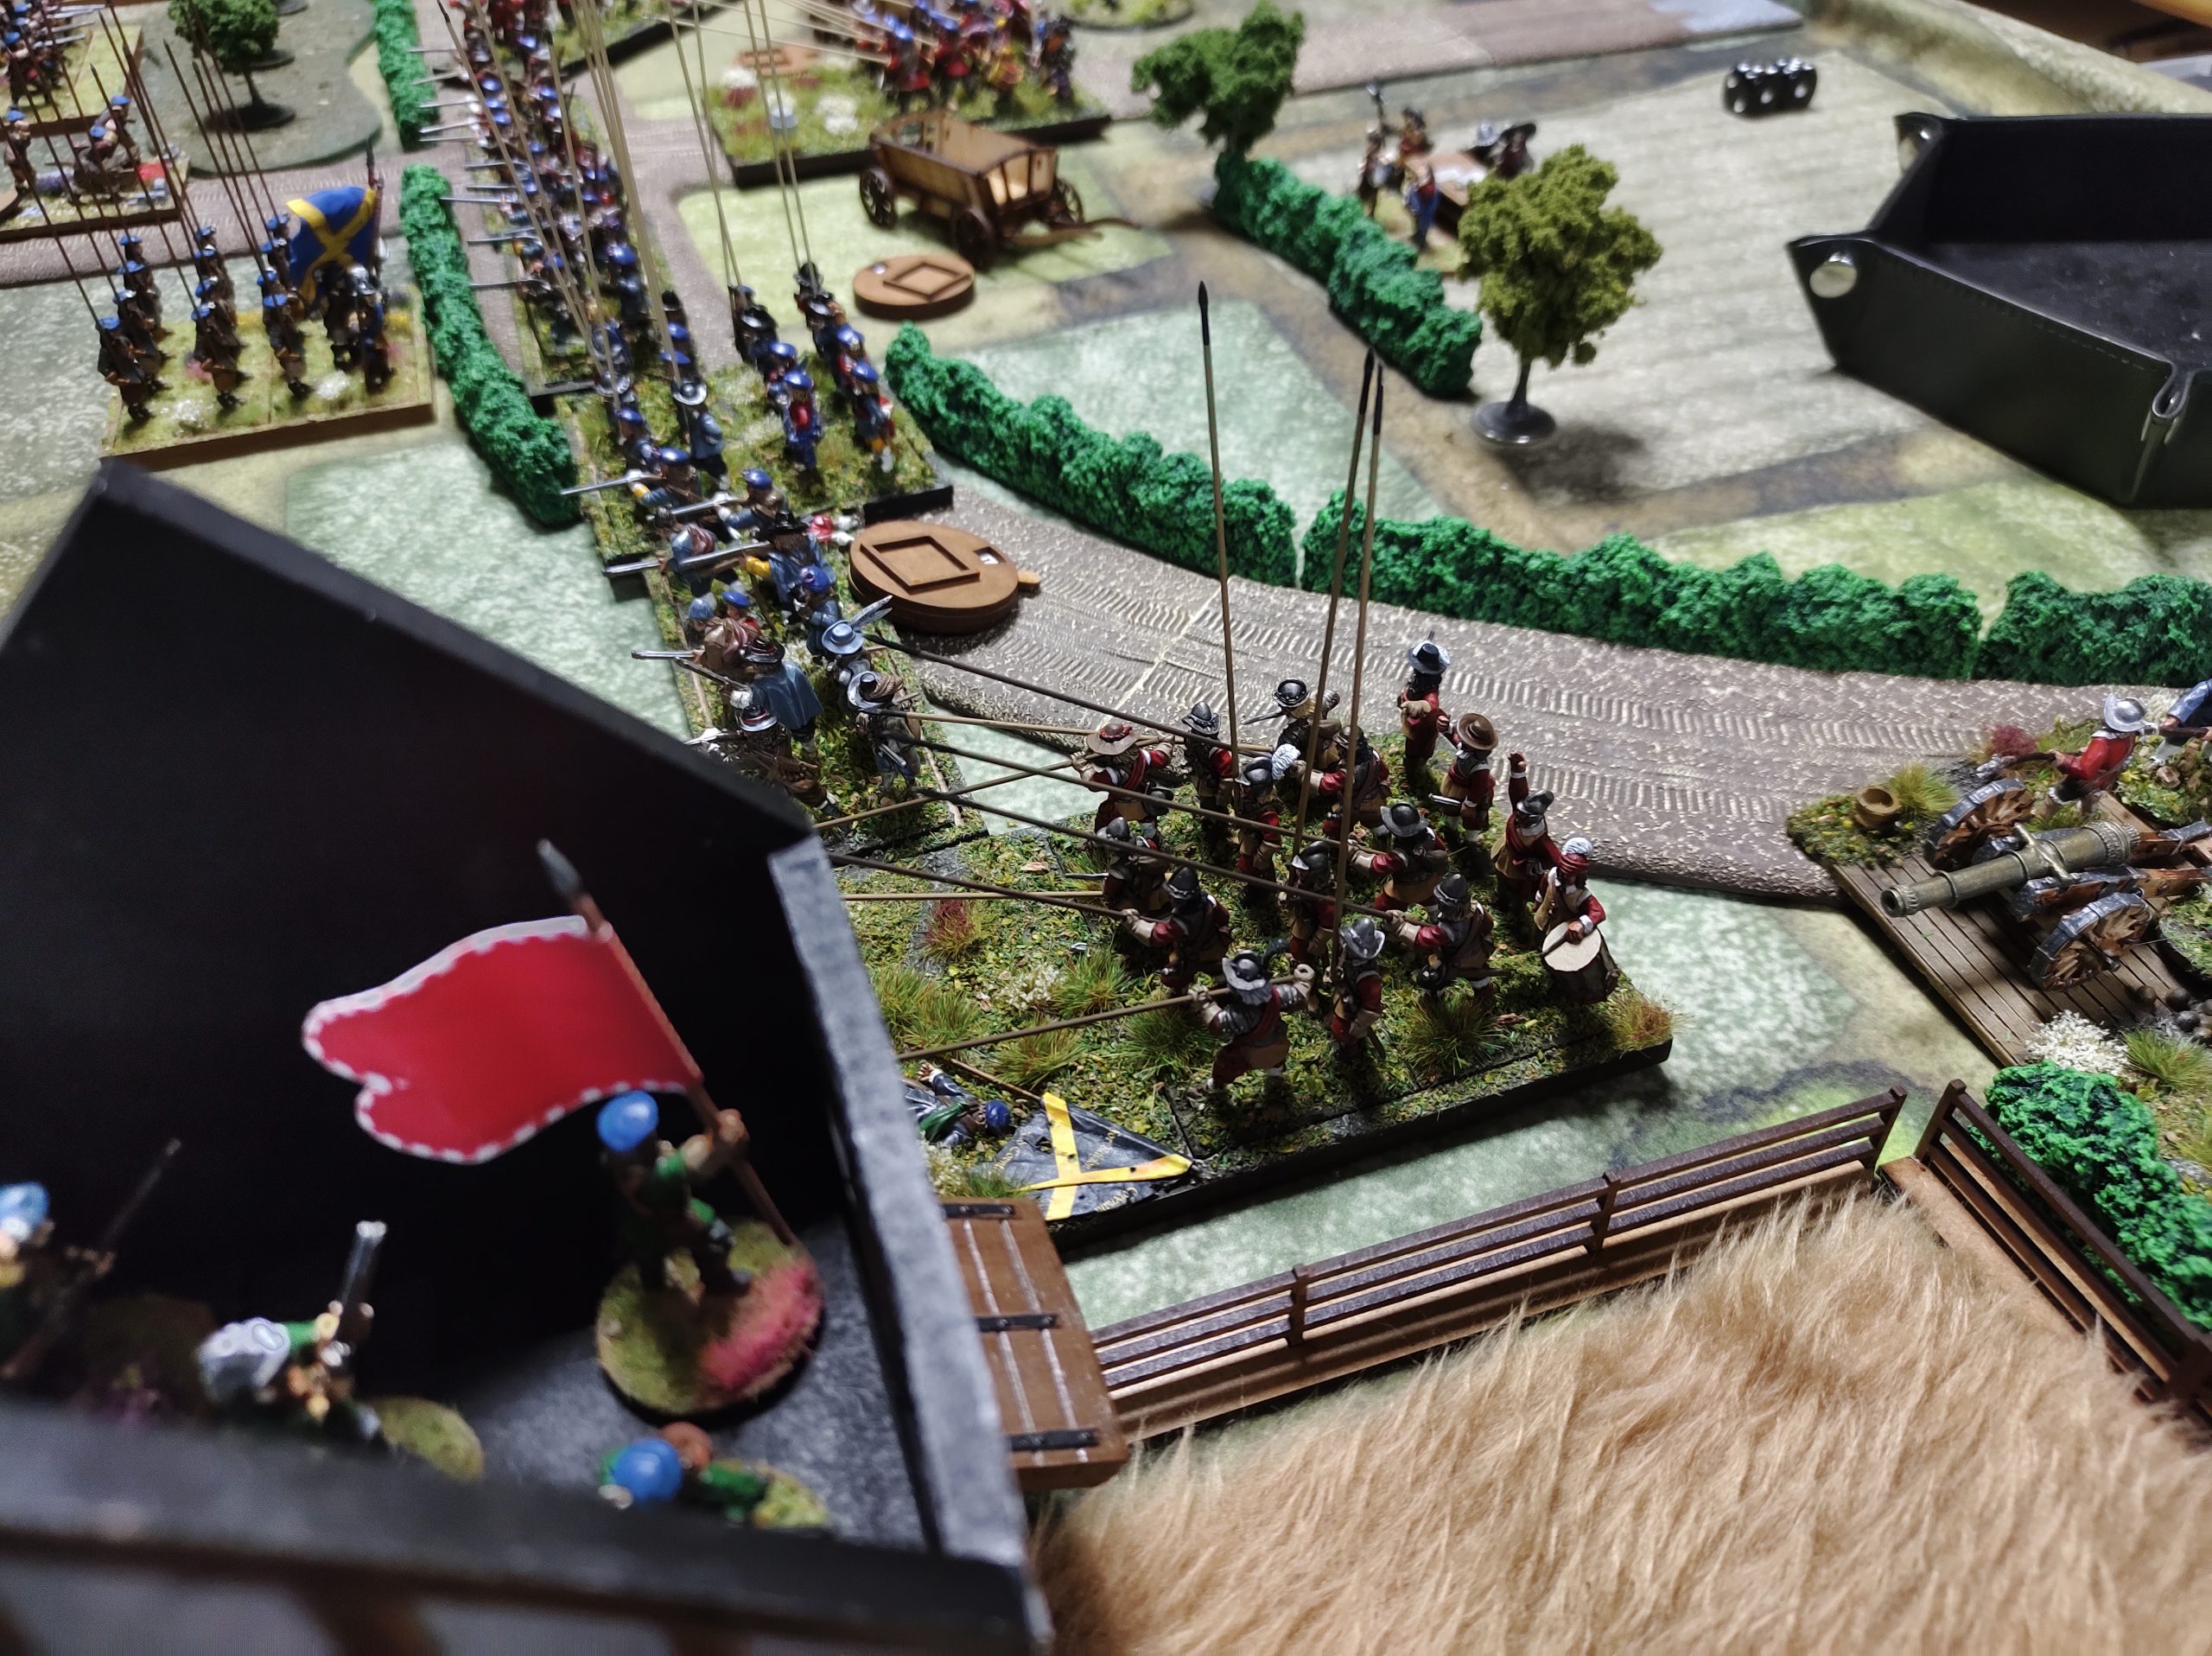
Scott’s turn 4 sees the general advance of all forces. The Irish pike charge into Mungo Campbell of Lawers, and are defeated and broken! He attempts to charge in with Scottish pike and fails. His light gun rolls two ones trying to shoot and blows up! The Seaforth ground the musketry down some more, this time I win the combat and his muskets manage to stay and fight.

Turn 5: (Turn 5 is brought to you by: Maker’s Mark Kentucky Bourbon!)
The Bourbon is starting to affect my decision-making skills. I figured Campbell of Lawers could easily defeat the medium gun in combat, but they were disordered by close fire. I then rolled poorly and he managed to win by one due to the support. The Roche regiment charged the pikes, and destroyed them.
Shockingly the Auchinbrecks finally managed to advance and provide support to the Seaforth Pike. They, however, fell back, showing how much value they place in the Auchinbreck’s dubious ‘support’! Meanwhile, my Lancers attempted to once again charge disordered Irish Muskets and this time did not even pass the order test!
Scott’s Turn 5, the medium gun finally gets crushed under the weight of the Campbell of Lawers’ pikes, his center all failed their movement orders, however, the Gordon horse charge my Frazer’s Firelocks and I fail to disorder them with Closing Fire, and they break. He then Sweeping Advances into my Lancers (no choice, Galloper rule) and I am able to countercharge and meet him in the middle.
I failed to inflict many wounds DESPITE my -2 lance morale modifier. Scott rolled many 6s for morale, and the Lancers were shattered as well! Now my right flank is on the verge of collapse. All I have left there are Dragoons in a building, a shaken light gun, and skirmishing Light Rievers!
Turn 6:
I initiative-Moved the Roche regiment back as it was Shaken and Disordered. Campbell of Lawers failed to charge the disordered Irish units in front of them. I guess they were done with close combat after all the successes they had?
My center’s shooting was able to shatter one unit of musket and force another to fall back disordered, and on my right flank, I moved the Reivers within six inches of his Gordon horse, HOPING to disorder them with handgun fire. I scored a hit but not a Disorder. My light gun on that flank manages to Disorder the Irish Musket but not shake them (again, if they were normal Shotte, they would have tested, but the extra stats of the Irish keep them in the fight).
Final turn, Scott goes for broke. He declares charges up the center. Two pike units manage to make it. The third needed to score two moves, and was just short when Scott rolled enough for only one move. He also charged his Gordon Horse into my Reivers.
I manage to disorder one of his charging pike with my fMuskets, and hold both of those combats because I FINALLY HAD SUPPORT from the Auchinbrecks Johnny-come-Lately units!
Against the Gordon Horse, my Reivers decide to try and Fire and Evade, hoping for a disordering shot. But they manage to roll a 6 to disorder, and they fall back as part of the Evade, meaning the Gordon Horse cannot swing and kill the light gun. They instead opt to shoot pistols at it, and the Irish Muskets also fire at it, but my gun survives, Shaken, Disordered, but survives!
The game ended with no clear winner. Scott’s right flank was crumbling (Campbell of Lawers supremacy and Roche and Highlanders following up). Our center was in a grinding stalemate, and my right was collapsing under the Gordon Horse.
Still, we learned a TONNE by playing a second game, and by the time of publishing, we will have played our third game (all before new years).
It was a great game, with a lot of back and forth, showcasing the strengths of the Pike & Shotte rules. I have the video Battle Report of this game here if you like.
Cheers!