Building My First Display Board

By Kreighton Long
At this past April’s Operation Roundup Tournament I eagerly competed in the Best Painted Force finishing towards the top but not high enough to place. The category that hurt my score the most was my lack of a display board. Historically, I’ve avoided building a display board as I would rather invest the time, energy, and resources into painting miniatures and terrain.
Humbled, I decided that I can’t win unless I play the game and this game requires a display board. Driven by spite I committed myself to investing some of my summer break into building my first display board. As this is my first attempt at a display board the unofficial motto from the start was “good enough”.
The first step was to plan what I would need to build the board. Arts and crafts stores sell preassembled plaques that when laid flat make a cheap and ready to use board. I found a 10.9 inch x 16.9 inch x 1 inch pinewood plaque and said “good enough”. With the idea of building some depth into my board I hunted for some suitable foam to carve into and found 0.6 inch x 11.9 inch x 11.9 inch foam sheets. The rest of the materials I foresaw needing would be scrounged from my existing hobby cache.
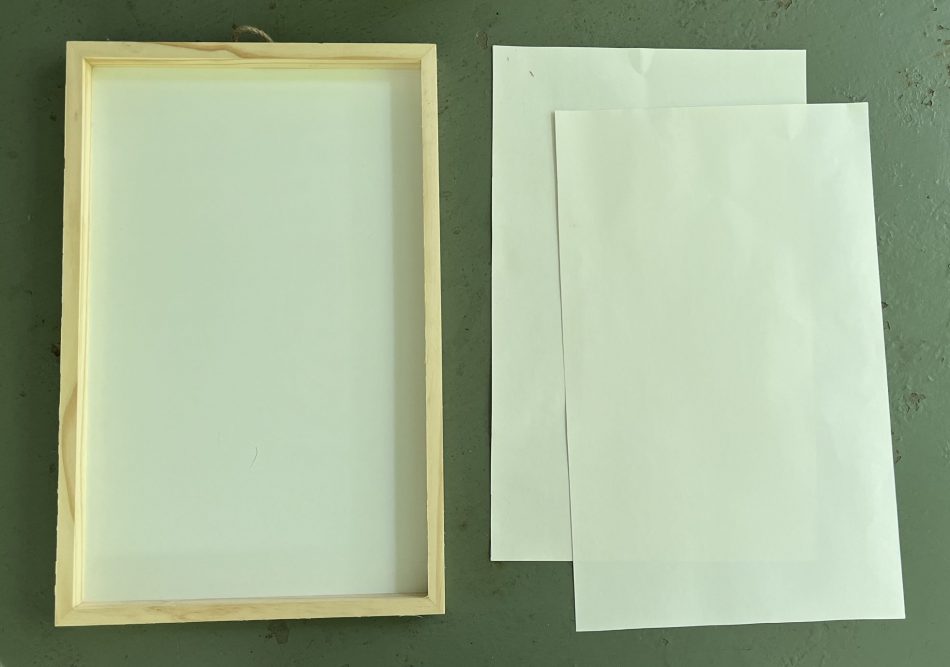
I started by cutting sheets of paper to match the inside of the plaque. These papers would be where I sketch out and edit the design of my display board.
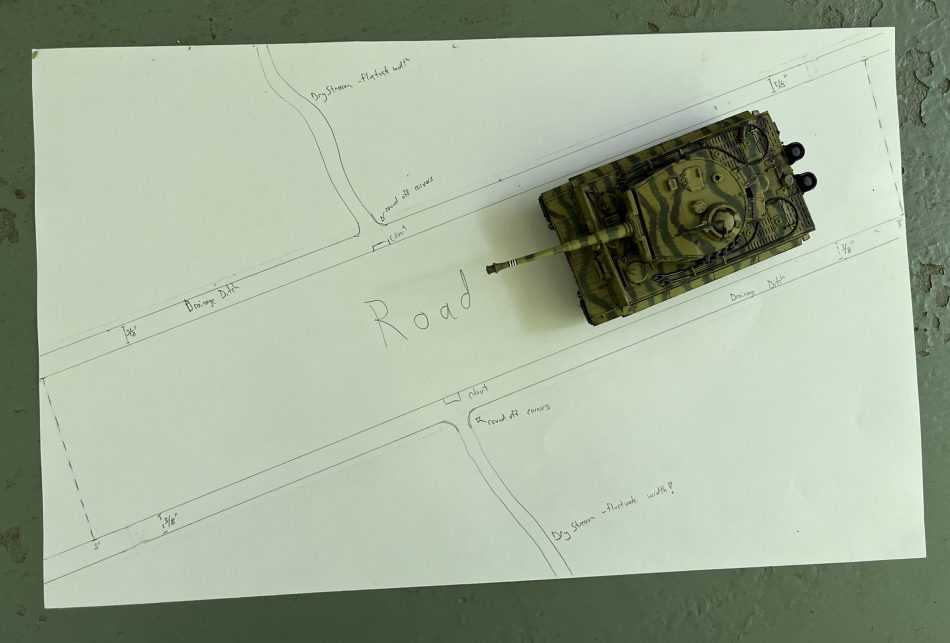
Using my larger vehicles for reference, I sketched out a road running diagonal across the board, drainage ditches flanking the roads, a dry stream running diagonally across the road., and a culvert under the road. Pictured here is my sketch after a few adjustments were made.
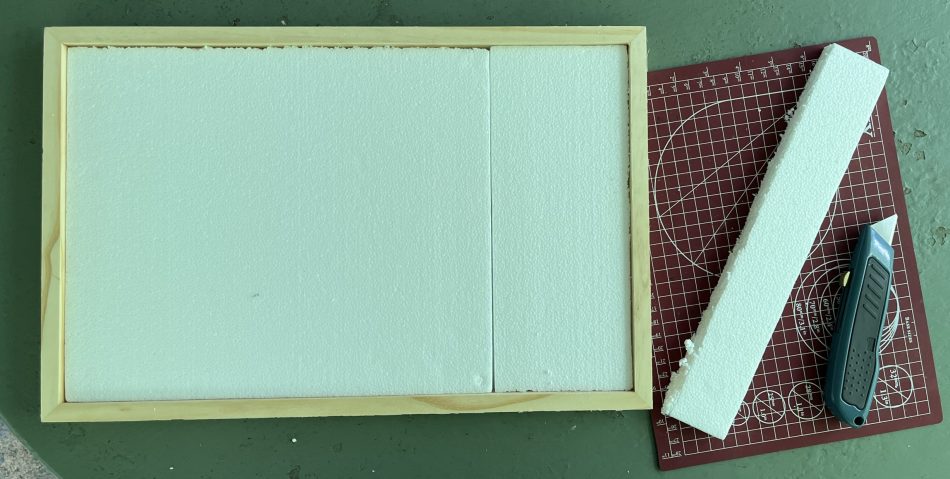
Then I measured the dimensions of the interior of the plaque and onto the foam and cut out what I needed with a box cutter. The foam came from Michaels and measured 0.6 inches tall which fit within the 1 inch walls of the plaque with an acceptable amount of wall remaining.
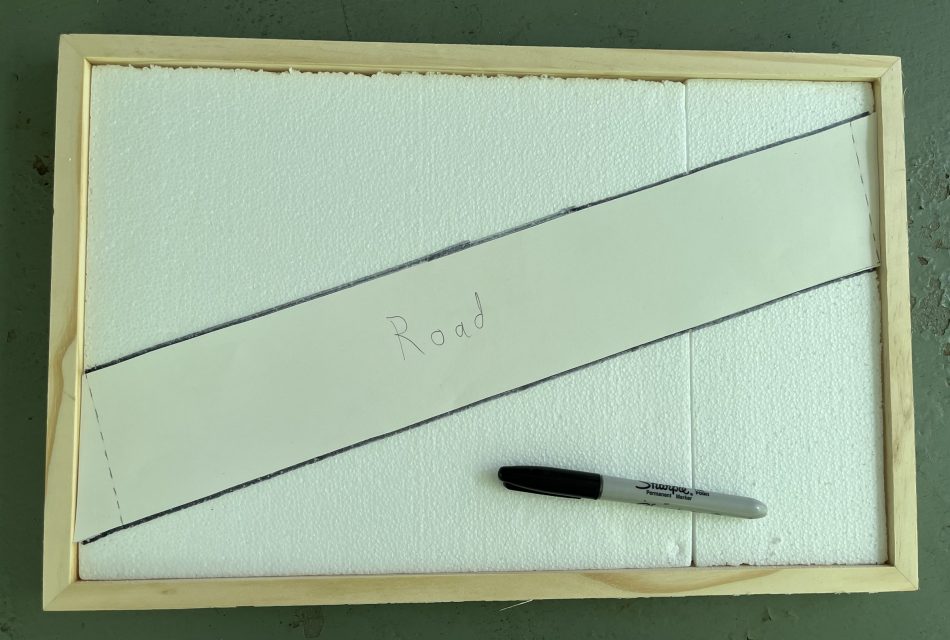
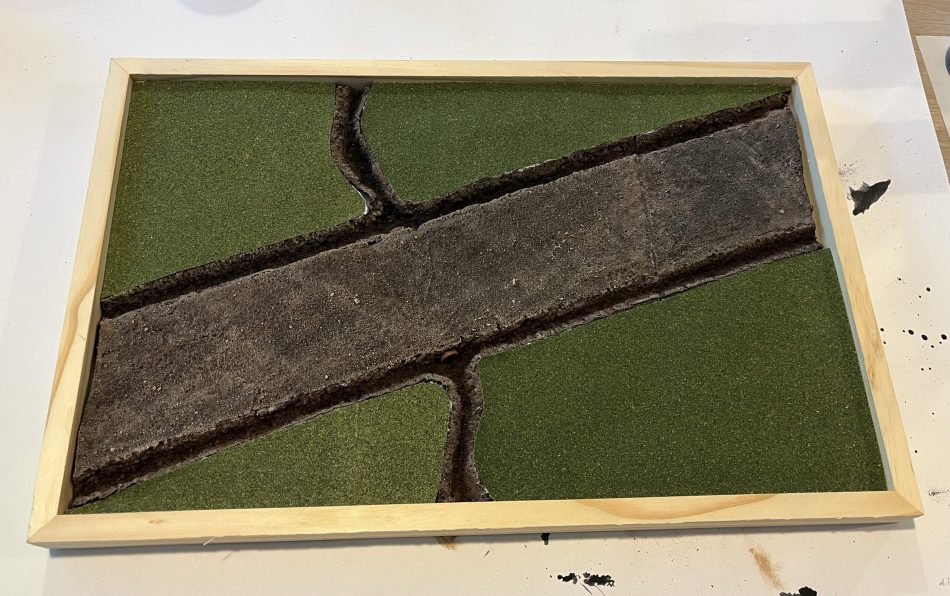
I cut out the road from my draft and traced it onto the foam with a Sharpie.
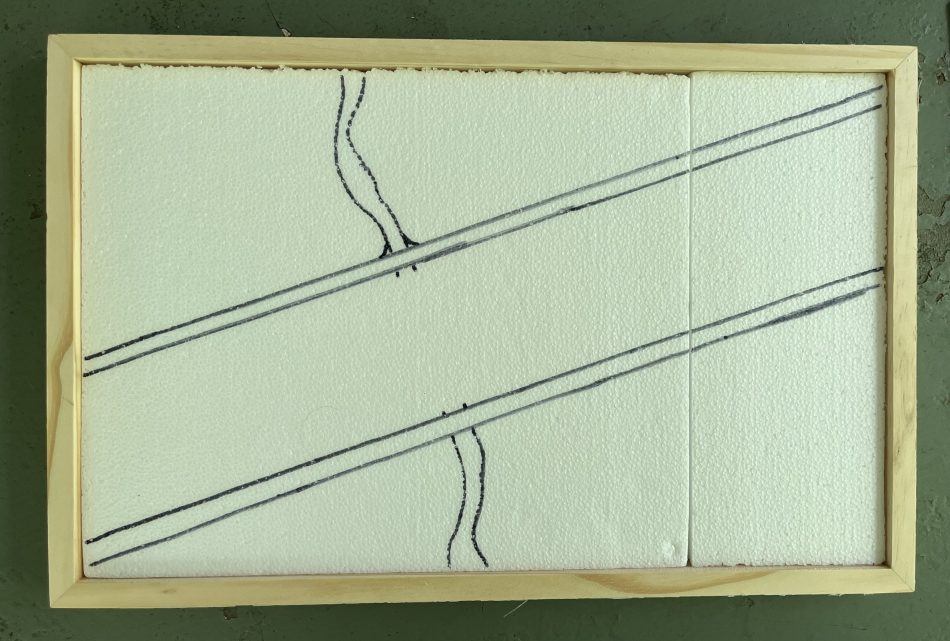
I added the drainage ditched, stream, and marked where the culvert would need to be added.
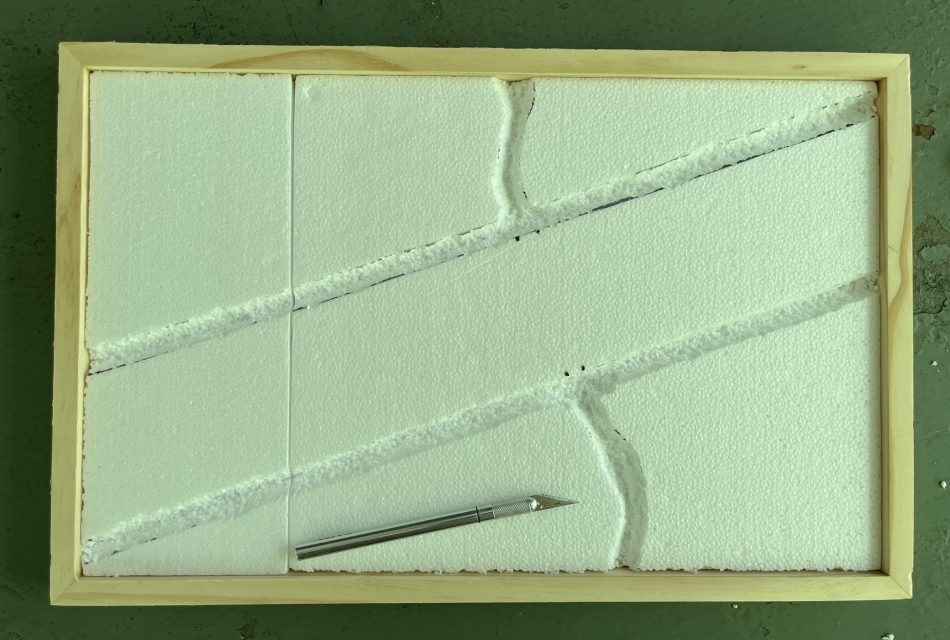
Using an hobby knife I cut out the ditches and stream. I did what I could to make the cuts look organic and natural by allowing them to be less than perfectly-straight. After a few rounds of my wife poking me to make it more organic I came to a place I was content with.

Next I glued on a layer of sand with a 1:1 mix of PVA glue and craft paint. I ended up having to glue on the sand in shifts so avoid the glue drying too quickly and creating bald spots.

Then I did something I should not have done. I primed the piece with black spray paint. When I came back to check on it I noticed that parts of the foam appeared to have melted from the spray paint.
[Editor’s note: yes, the propellant in rattle-can spray paints eats foam
It’s tricky to see here but the foam at the bottom left and bottom right of the culvert intersection have depressed. Fortunately the glue and sand layer remained untouched. My wife, always ready to say my work is too clean and artificial, smugly commented that now my board was more organic looking and that was progress. If you’re using this process to build your own board I would strongly recommend you do NOT spray paint your foam without researching what kind of spray paints were safe to use with foam.
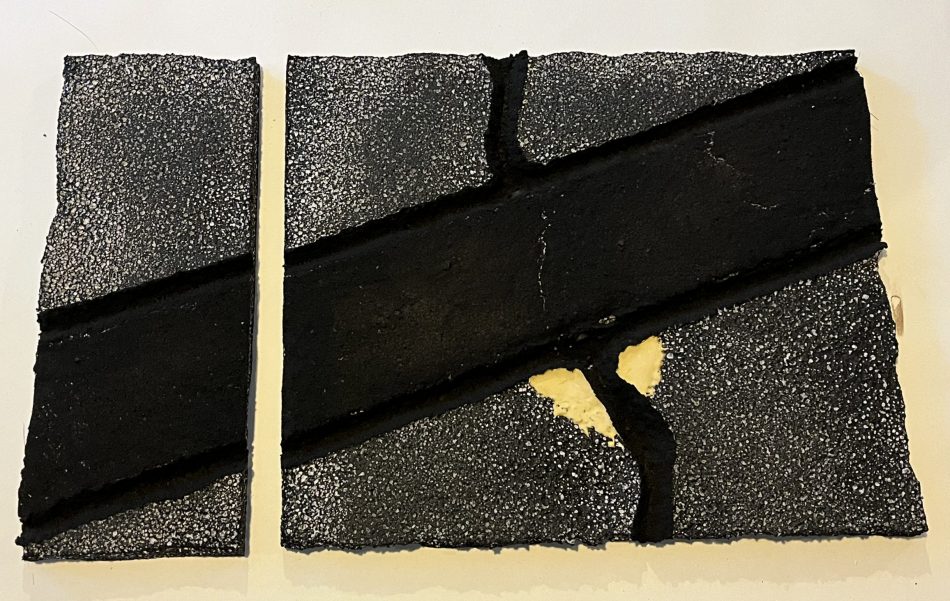
I patched the worst of the depressions with water putty, said “good enough”, and moved on.
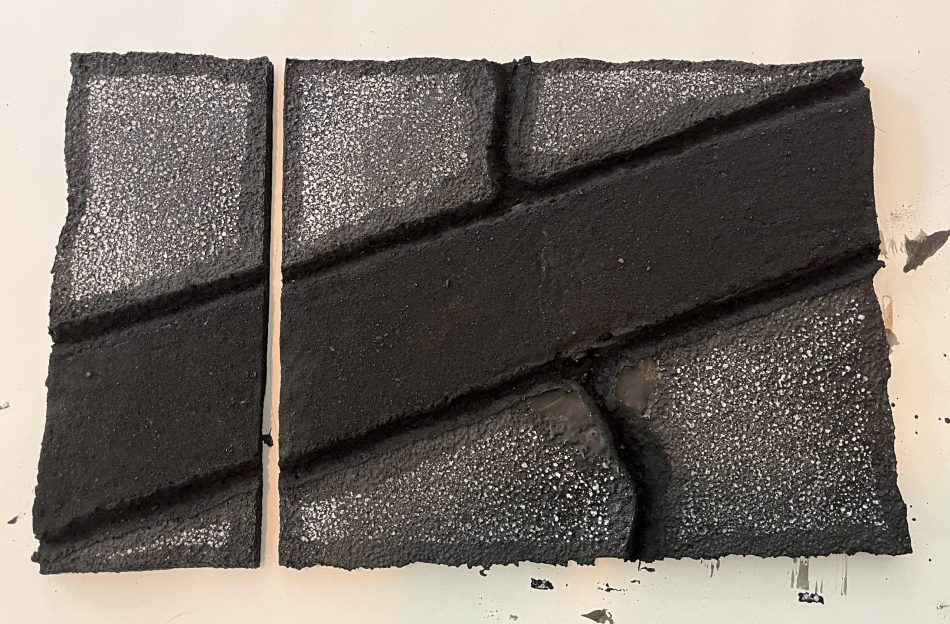
Using black craft paint I painted over the sand and the edges of the Styrofoam.
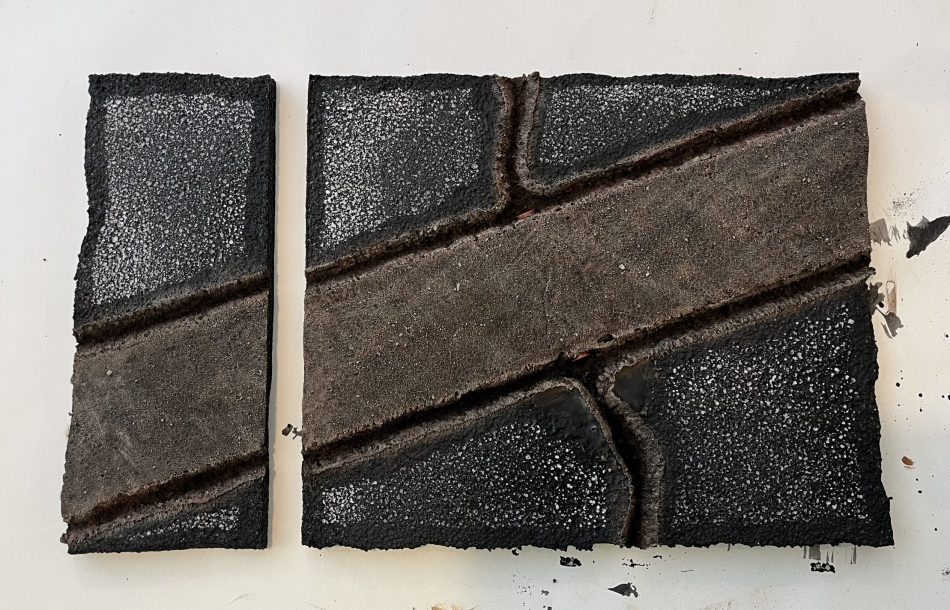
Next I dry brushed the ditches and the road.
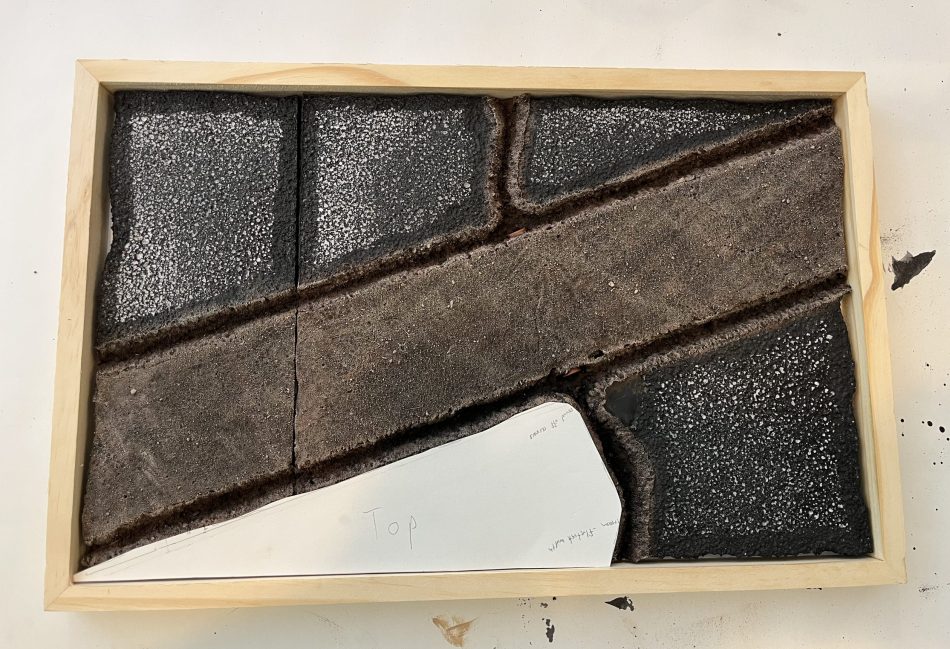
I glued the Styrofoam pieces into the plaque. The shrinkage from the spray paint was painfully obvious here but my plan for the grass helped compensate for the sloppy edges. While the glue dried I cut pieces of scratch paper to fit where the grass will be placed. I trimmed these and test fit them multiple time until they were as close to what I needed. These templates will be used to cut the sections of grass for the display board. I marked the top and bottom of each to make sure I used the correct side when cutting the grass.
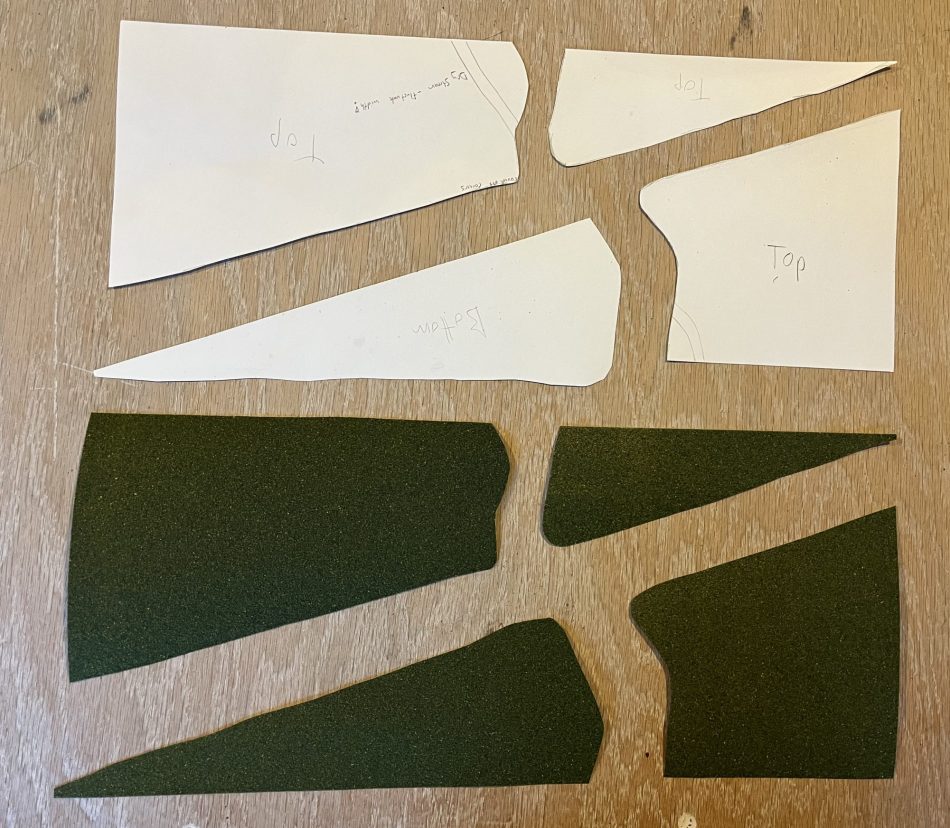
I took a short cut and bought a grass mat at Michaels. The bottom of the mat is paper and that’s where I traced the templates from the previous step. Once the grass sections were cut out they still required some minor adjustments but the templates saved time in the end.
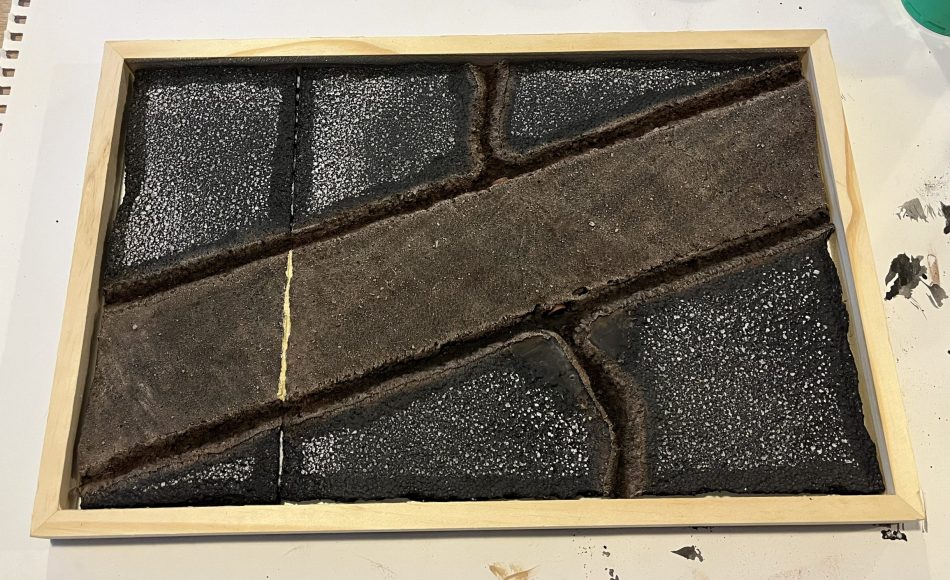
With the Styrofoam-plaque glue mostly dried I patched the seam in the road with water putty. After the putty dried I added a layer of sand and dry brushed it to match the road.
I made final adjustments to the grass mat pieces and glued them to the board.
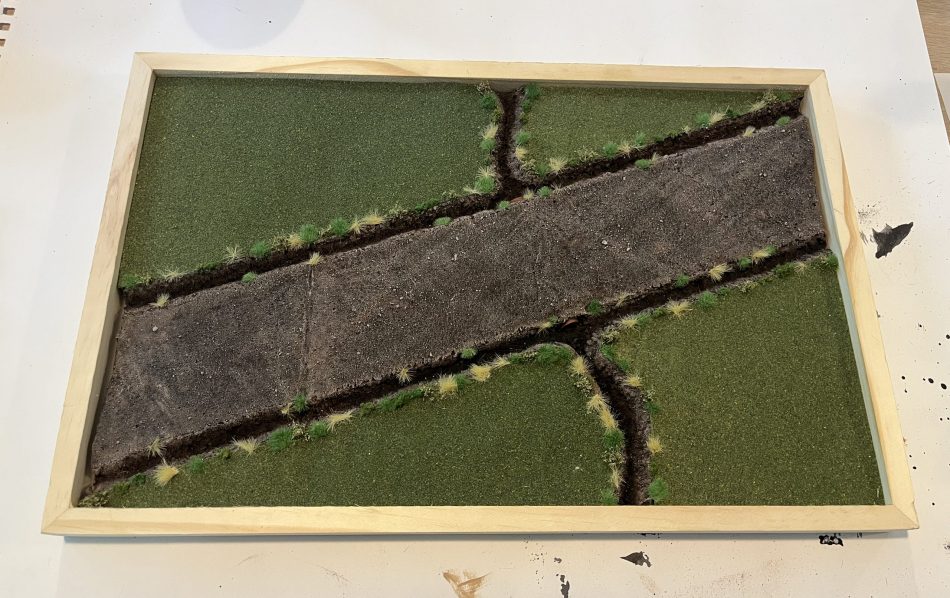
Finally, I glued an assortment of tufts from my basing drawer along the sides of the ditch. Larger tufts were used to cover unsightly gaps between the sand and the grass mats.
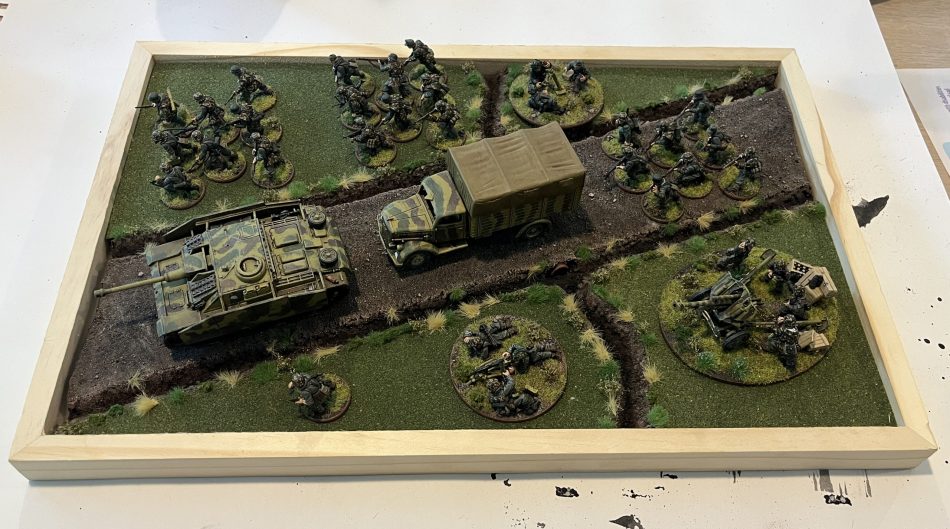
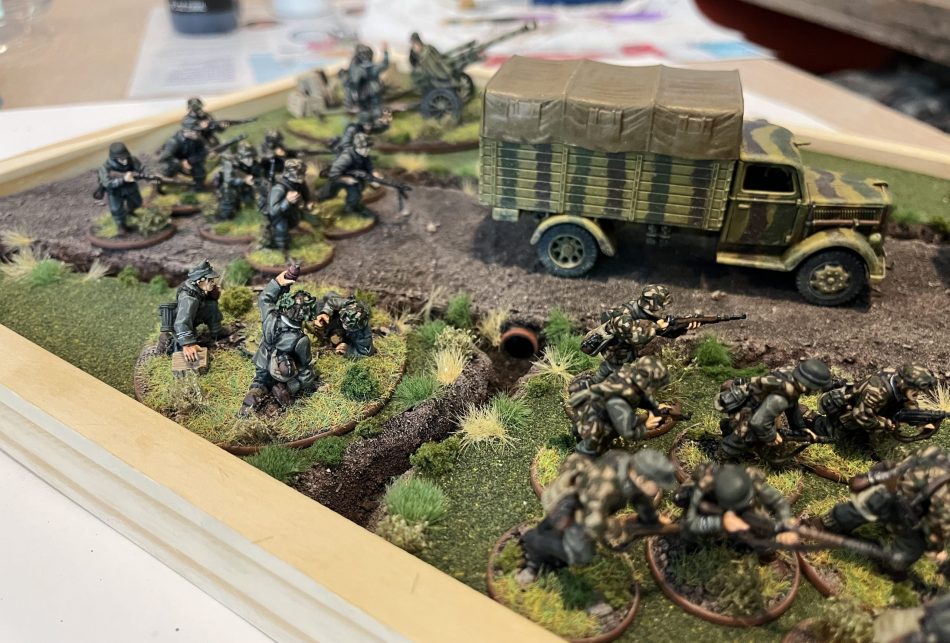
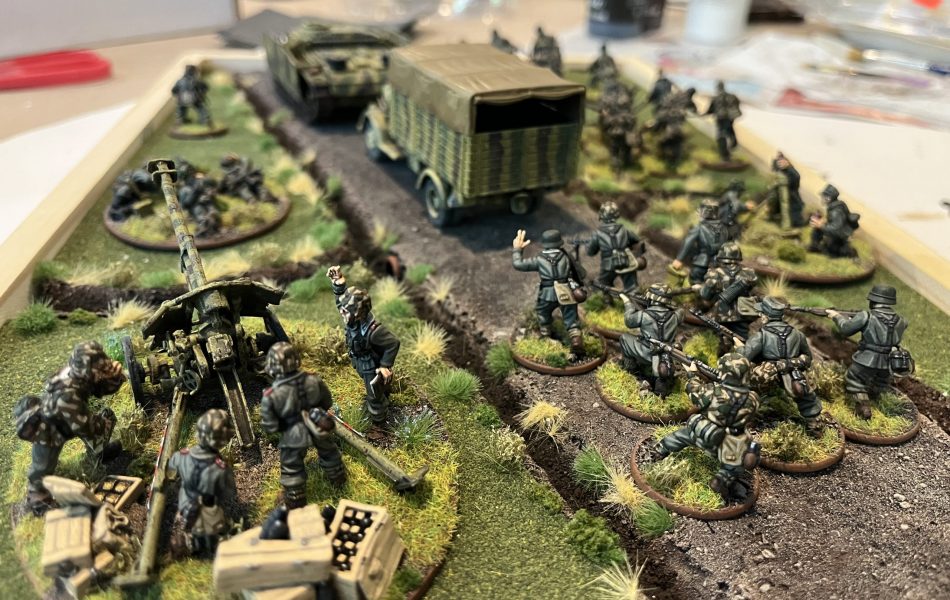
And voila! I couldn’t help but throw down some units from my display case to see how the whole display board came together with a few units on it. I think the results are “good enough” for a first attempt.
Happy painting!