Canadian Leopard 1’s
This is the latest of my articles on painting and modeling the Canadian Forces for Team Yankee.
When 4 Canadian Mechanized Brigade Group was moved from Westphalia to Lahr on the Rhine frontier with France, some policy-makers apparently sought to do away with Canada’s tanks entirely. For some years, the brigade continued to use their Centurion tanks, an excellent tank in its day but one that could not be used on long road moves.
In 1975, the Canadian Prime Minister, Pierre Trudeau, visited Germany to ask the Chancellor for his support for getting Canada special trade status with the European Common Market. He was told to come back to discuss the matter once Canada had replaced its antiquated tanks. The contract for the Leopard tank acquisition followed quickly.
Consideration had been given to totally rebuilding the Centurions with new power pack, as the Israeli army has done with their Centurions. Before the order could be delivered Canada negotiated a deal with the German Government to lease 35 Leopard 1A2’s to train their crews on the new tanks. The first rented Leopards showed up in the spring of 1977. They were German leopard 1A2’s that were surplus and sitting in operational German stock. The Royal Canadian Dragoons went on to win the Canadian Army Trophy for Tank Gunnery in June of 1977, with the rented Panzers.
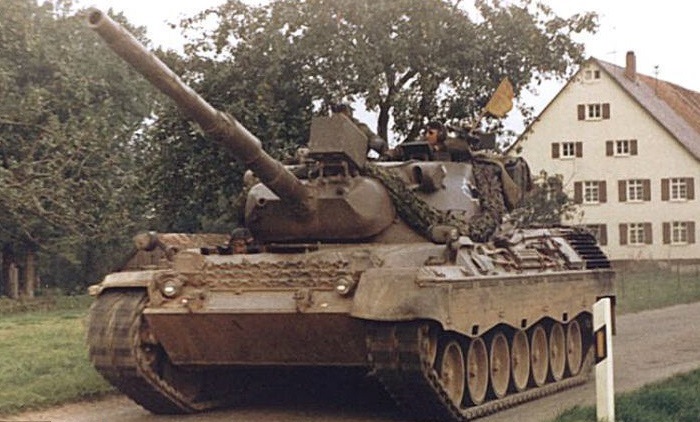
To replace its British-supplied 105 mm armed Centurion MBTs, Canada selected a modified version of the German Krauss-Maffei Leopard 1A3 fitted with the Belgian SABCA computerized fire-control system. The Canadian order comprised 114 MBTs, six bridge layers and eight armoured recovery vehicles and was valued at C$187 million.
The first Leopard 1A3s, called the C1 by Canada, were handed over in June 1978 by Krauss-Maffei and, under the terms of the contract, Krauss-Maffei took back the entire fleet of Canadian Centurion MBTs. Some of the Centurion turrets, complete with 105 mm L7 guns, were subsequently purchased by Austria for use in the static defence role.
By the middle of 1979, Canada’s NATO forces had 114 their Leopard tanks. The first unit that received them was the Royal Canadian Dragoons, stationed in Lahr, then West Germany. These tanks arrived painted German pea-green colour with Canadian black maple leafs stenciled on the side of the mantlet.
The Canadian C1 Leopard MBTs and variants were deployed in Canada and in Germany, but in 1993 the C1’s were returned to Canada following the withdrawal of all Canadian Forces from Europe.
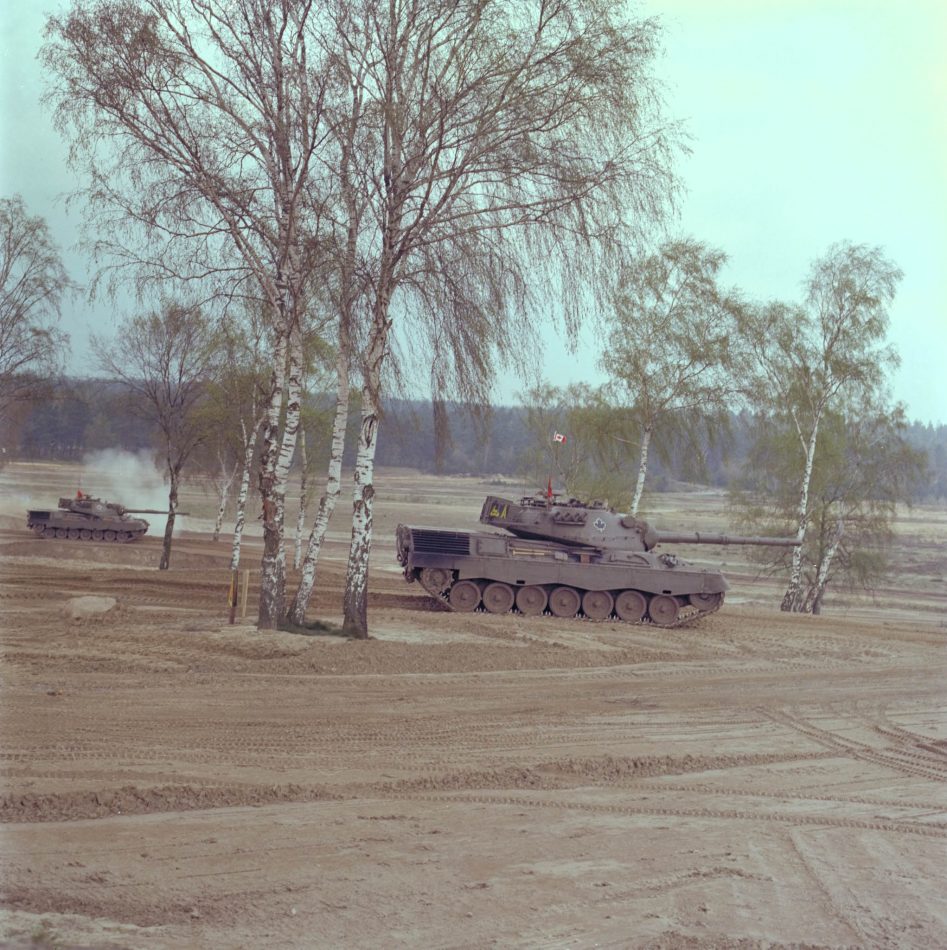
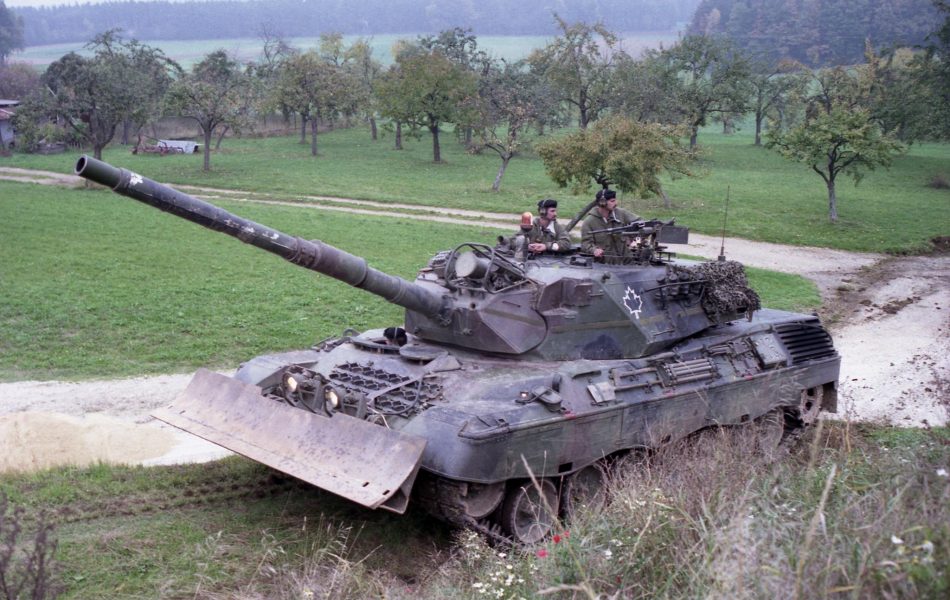
Most of you are familiar with the Canadian Leopard C1. And you’ve probably only seen it painted German Gelbolive green with a white outlined black maple leaf on the turret. In fact, there are several different Leopard 1 “looks” in Canadian service:
- Leopard 1 (loaner) in German Gelboliv
- Leopard C1 in German Gelboliv
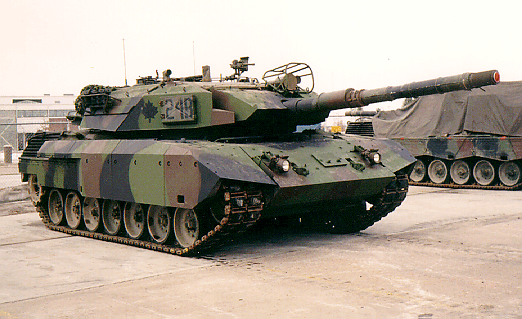
- Leopard C1 in Nato 3 colour camouflage
- Leopard C1 with Mexas armour
- Leopard C2
- Leopard C2 with Mexas armour in Afghanistan
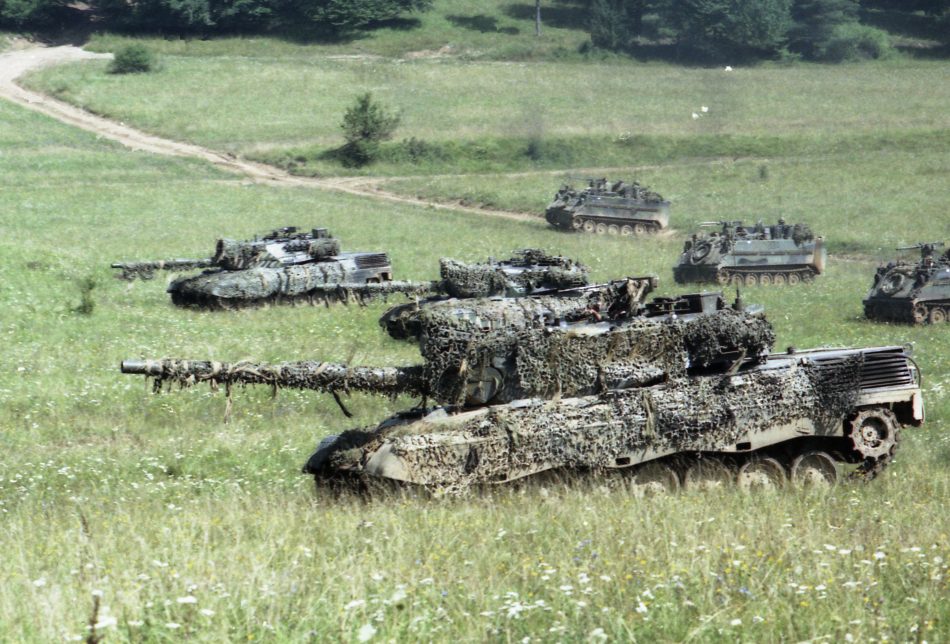 Combat team attack. Even the M113s are a mix of Canadian three colour and Nato three colour.
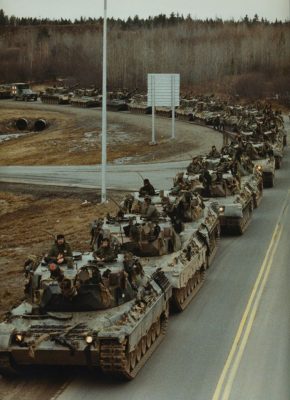
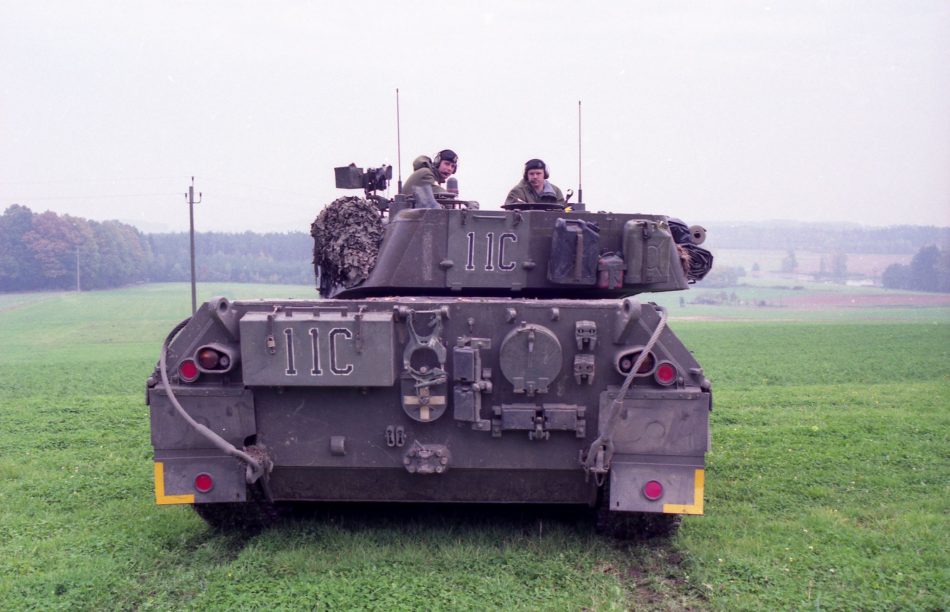
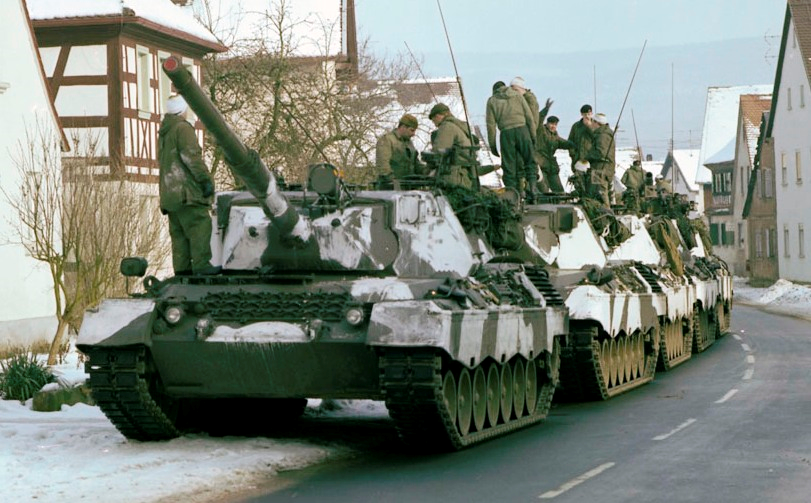
Painting and Modelling
I’ve shown photos of the different Canadian Leopards but I’m just going to show you how to paint the two most common versions of the Leopard C1. The original C1 painted in German Gelboliv and the Nato three colour pattern. Modelling the other versions requires some scratchbuilding work that I may attempt in the future. Having said that, the loaner tank, Leopard 1A2 would be easiest to build. Just build the turret without the additional add on armour that would make it a 1A5.
German Geloliv
Assemble the model as per the instructions making sure to use the Canadian fire control system on the turret and the Canadian machine gun. I then airbrushed this recipe onto the entire tank, 4 parts Tamiya XF-51 Khaki Drab, 2 parts Tamiya XF-74 JGSDF Olive Drab and 1 part Tamiya XF-57 Buff. If you don’t like mixing, XF-74 by itself isn’t too bad. Another option is AK Real Colours RC087 – Gelboliv (Late) RAL 6014.
I then sprayed the entire model with gloss varnish, then I applied the decals and used Games Workshop Nuln Oil in the recesses (or you can use your favourite wash). Then matt varnish and a light dry-brush.
Nato Three Colour
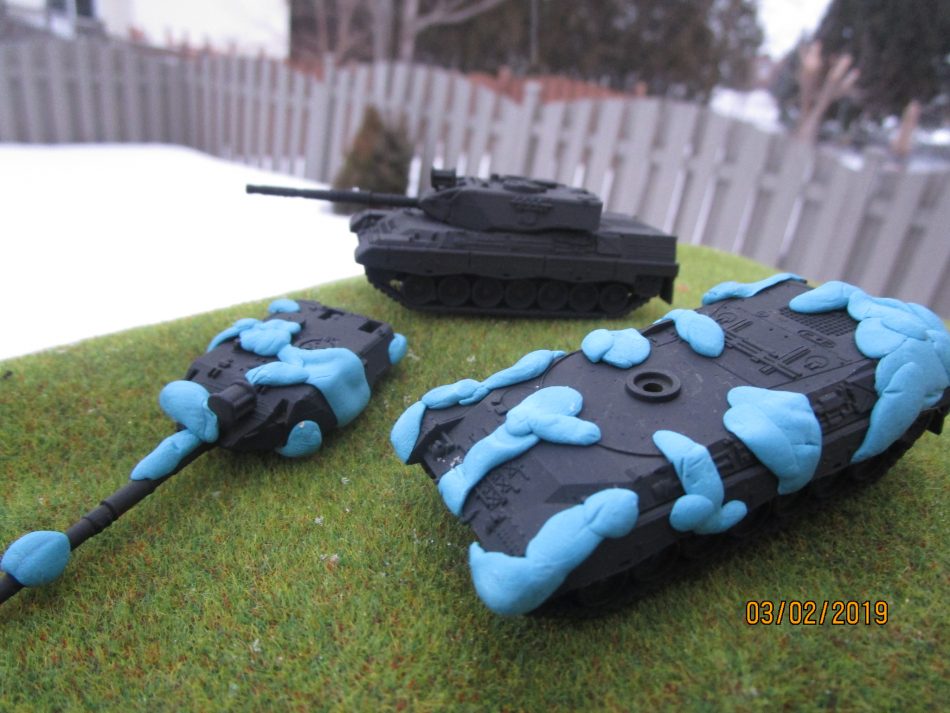
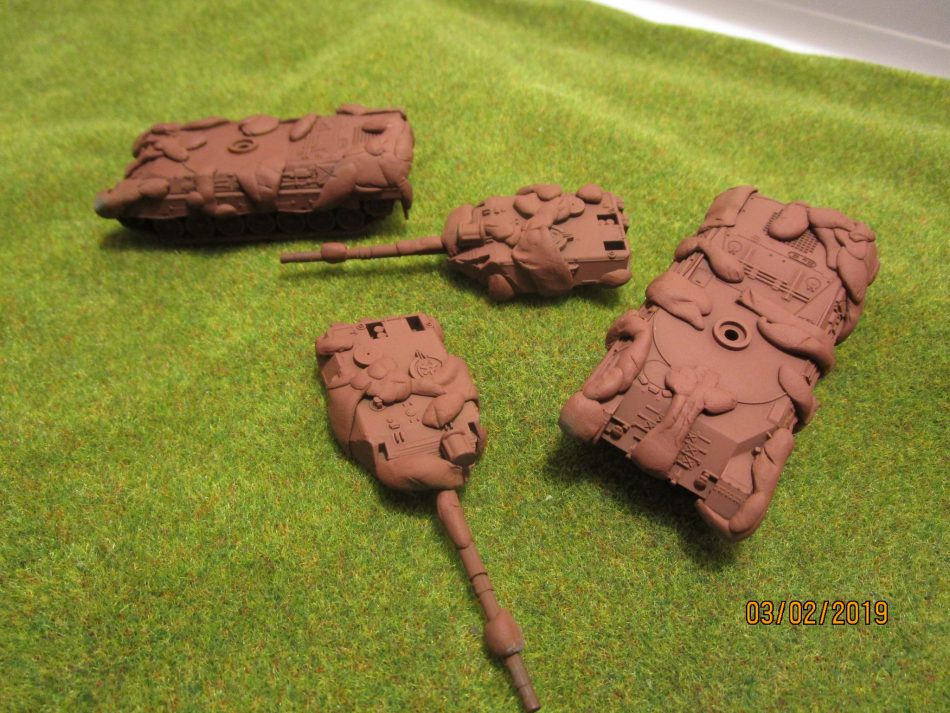
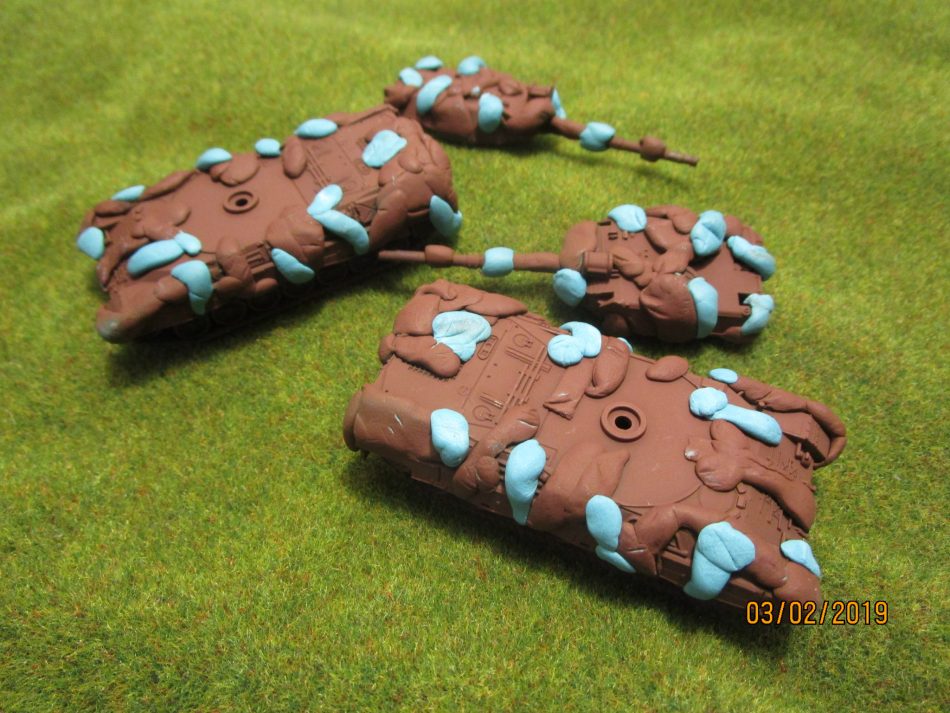
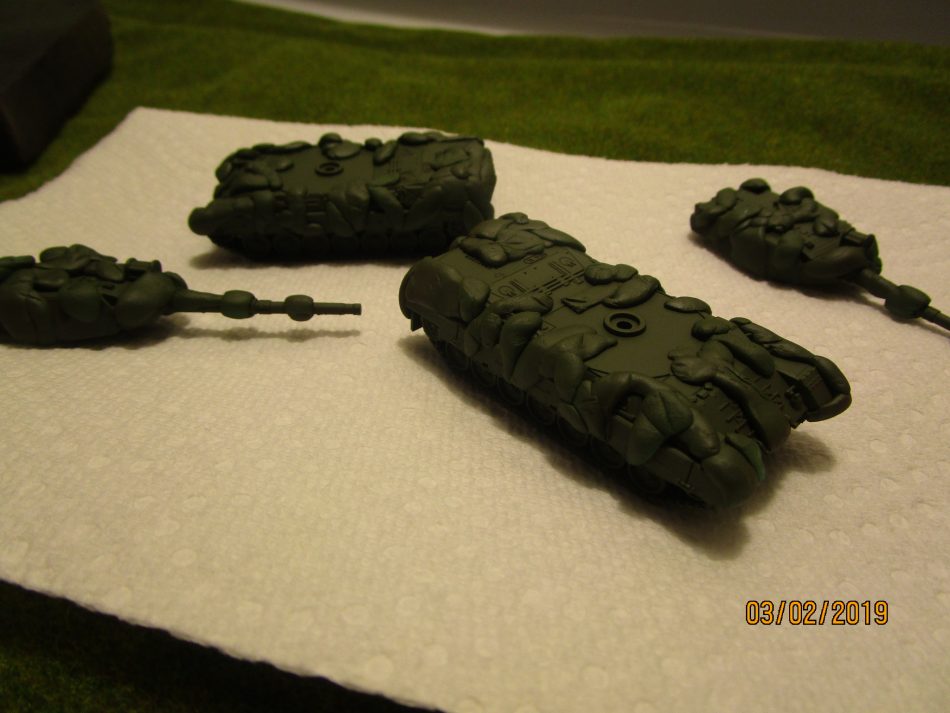
After many years of use, the tanks were sent to re-fit. As part of the re-fit they were re-painted in the Nato three colour pattern. Assemble the model just like you did for the C1. I used the Blue Tac method as I didn’t have a very good airbrush at the time and I find that at this scale the spray edges are not too sharp and not too soft, so they really do look like a 15mm scale airbrush applied the paint. I start off by spraying the model with Tamiya Nato Black XF-69. Then comes the first application of Blue tac by covering over the areas that should be black.
Once dry, spray the whole tank Tamiya Nato Brown XF-68. Now cover the areas that should be brown with Blue Tac. Allow to dry (and Tamiya is a very quick drying paint) and paint the whole model with Tamiya Nato Green XF-67. You could use AK paints RC080, 081 and 082, but I prefer Tamiya. I’ve noticed that AK paints are not quite as accurate as Tamiya. Once everything is dry, you just pull off the Blue Tac and the pattern will appear. Then as above, gloss varnish, decals, nuln oil (or any wash), matt varnish and some light dry-brushing.
Here is one source for the pattern: http://www.panzerbaer.de/colours/a_relaunch/bw_kpz_leopard_1a3.htm
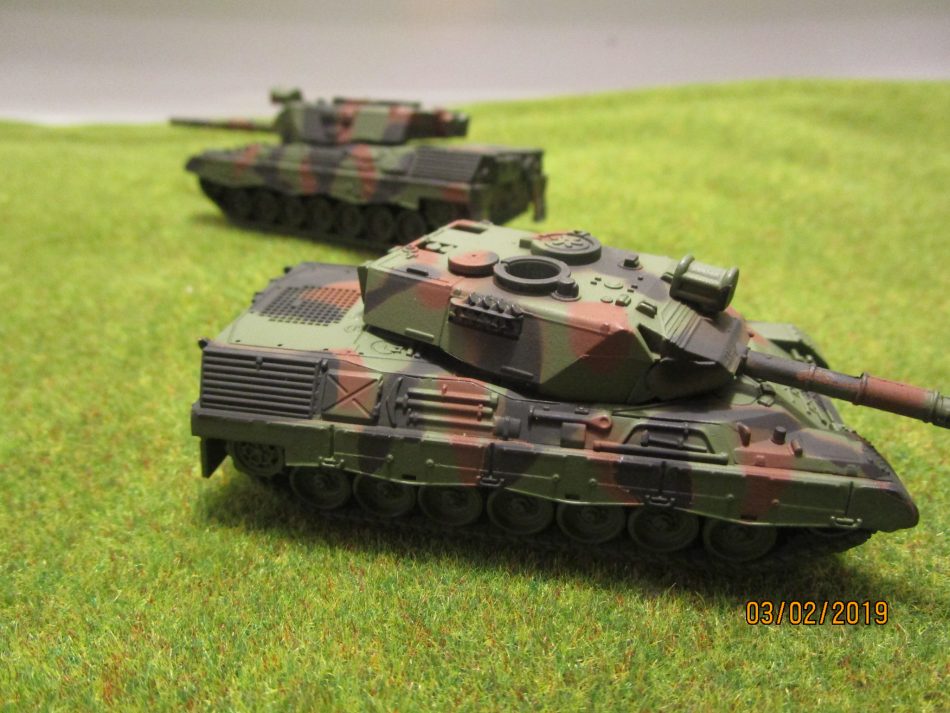
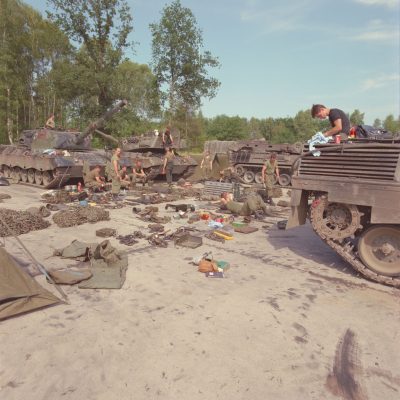
The two photos below show that squadrons could be equipped with Leopards in both Gelboliv and Nato 3 colour.
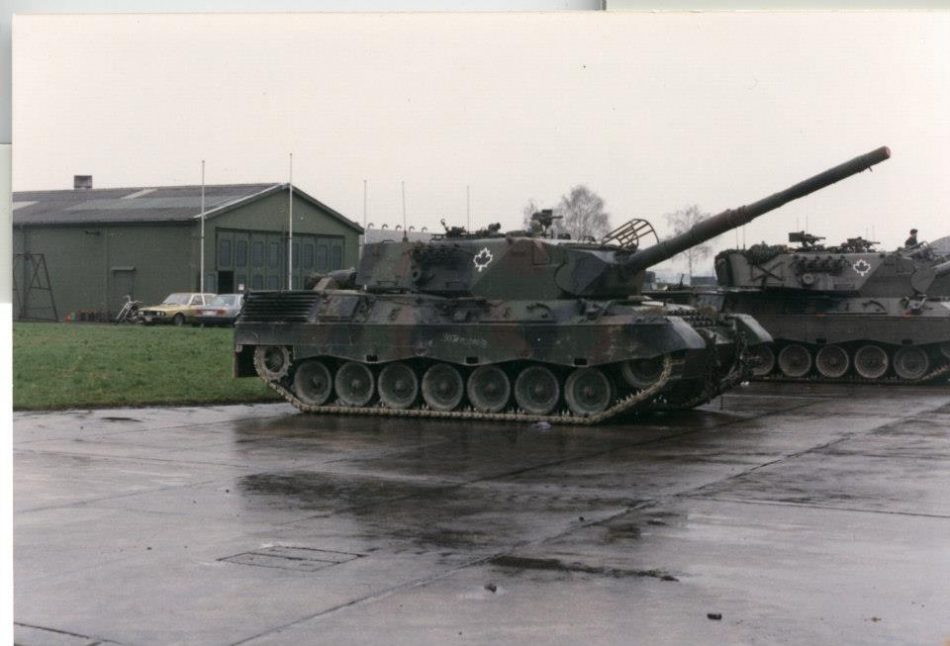
C1 Mexas
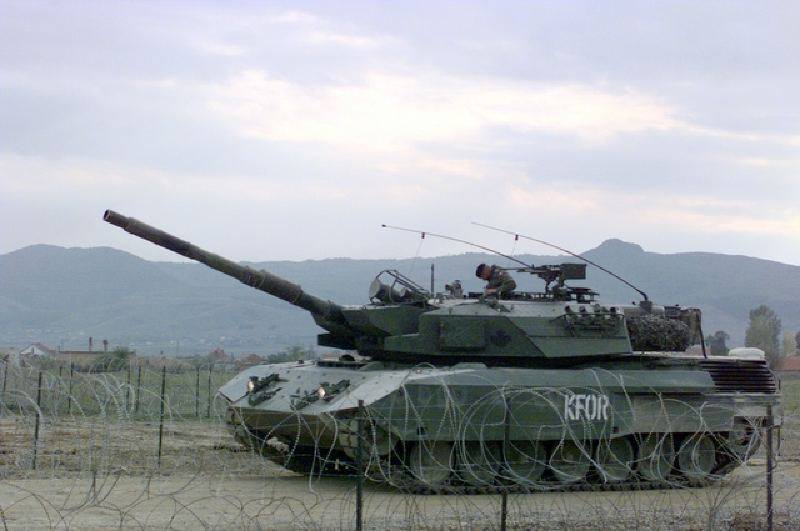
There were only 5 Leopard C1s sent to Kosovo. Third troop C Squadron from the Lord Strathcona’s Horse (Royal Canadians) with an administration troop was deployed to Kosovo with their Leopard C1 MEXAS tanks as part of the 1 PPCLI (Princess Patricia’s Canadian Light Infantry) Battlegroup between August and December 1999, they were relieved by a troop from the Royal Canadian Dragoons. This would make a nice project down the line.
The Modular Expandable Armor System (MEXAS) is a composite armour system developed by the German company IBD Deisenroth Engineering. MEXAS was introduced in 1994 and has been applied on over 20,000 combat vehicles worldwide.
 Finished Models
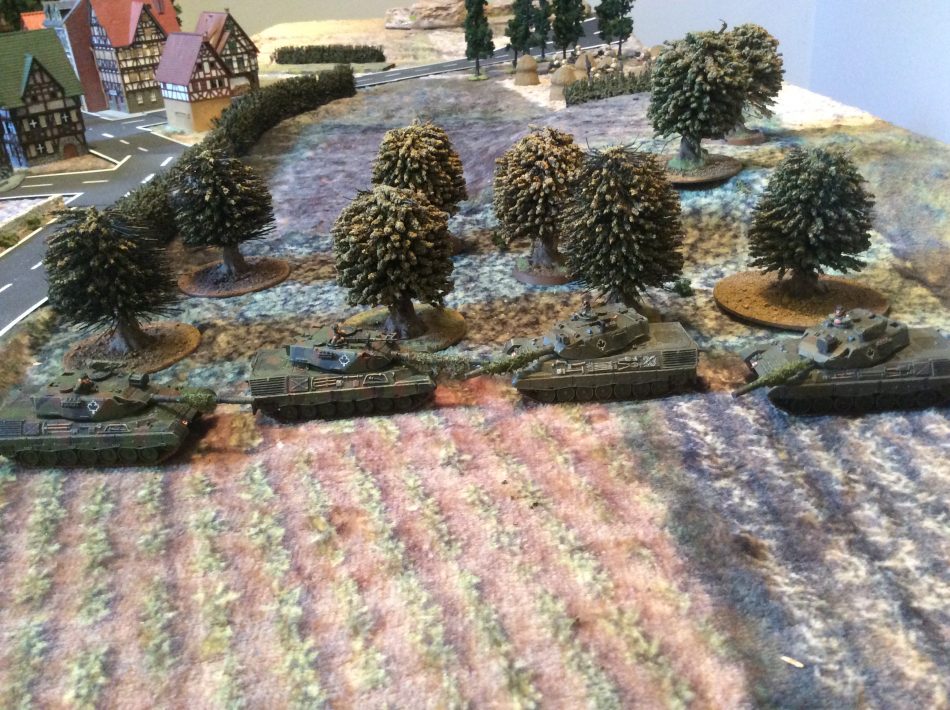
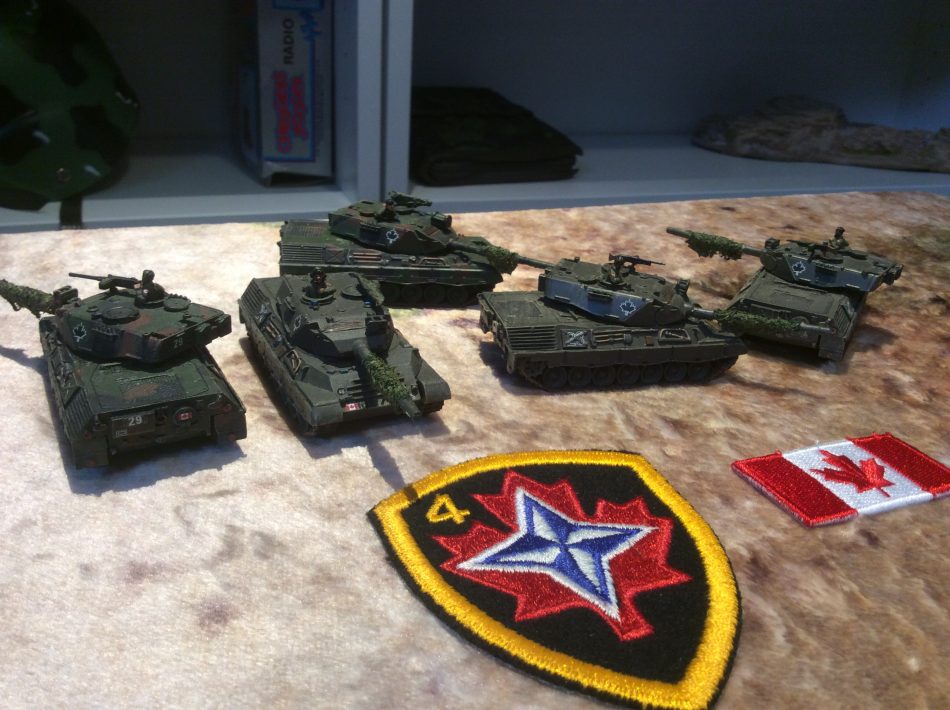
Two of these are plastic and two of these are resin. Hard to tell isn’t it? Notice that two are in Nato three colour and the other two are in German Gelboliv. Note that two of them are sporting the machine gun covers and one cheeky crew has managed to add a 50 cal. I don’t have any info that this ever happened, but I added one to my squadron commander’s vehicle.
 Leopard C2
Late in 1996, it was announced that the Canadian Forces were to carry out a major update on their fleet of C1 MBTs which involved the replacement of the existing turret with the complete turret of the German Leopard 1A5 . The Leopard 1A5 turret features the STN ATLAS Elektronik EMES-18 computerized fire-control system which incorporates a Carl Zeiss thermal imager. A total of 123 Leopard 1A5 were purchased which enabled all of the 114 Canadian C1 MBTs to be fitted with the new turret, but only 66 were completed.
The Leopard C1 retrofitted with a German Leopard 1A5 turret with improved (thermal) sights, as well as composite add-on armour, was now known as the Canadian Leopard C2. The thermal sights allowed for operation at night and in battlefield visibility conditions obscured by smoke, dust or fog. The upgrading of the Leopards into C2 configuration began in 1994 and was completed in September 2001 at a cost of $139 million.
These could be painted completely in Nato green or with a Nato Green turret and the Nato three colour pattern on the hull.
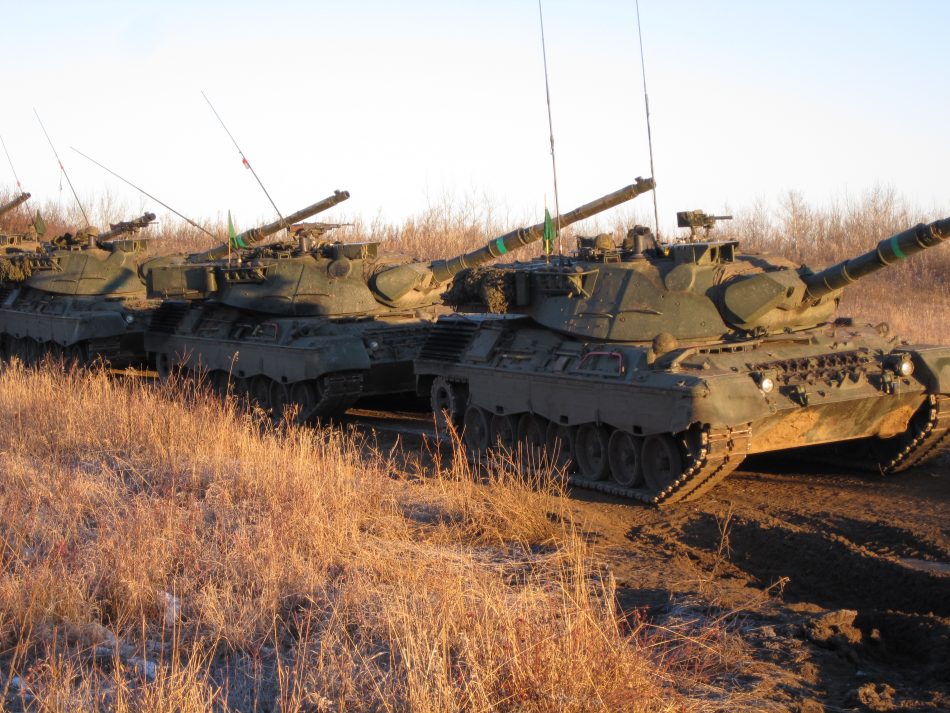

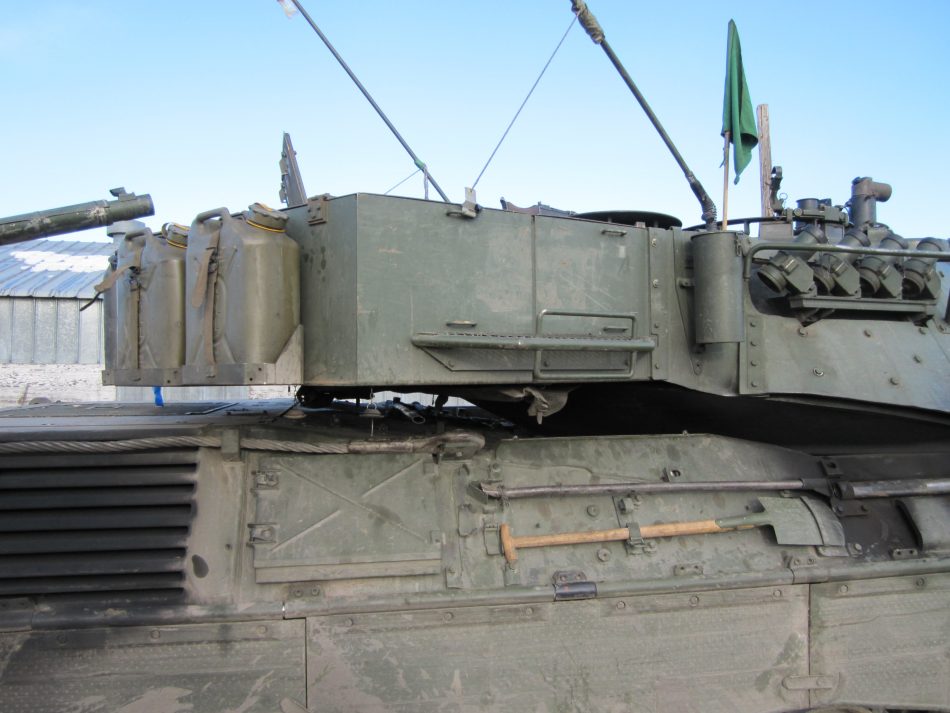 The most noticeable modification for Team Yankee fans is the longer turret.
Leopard C2 Afghanistan
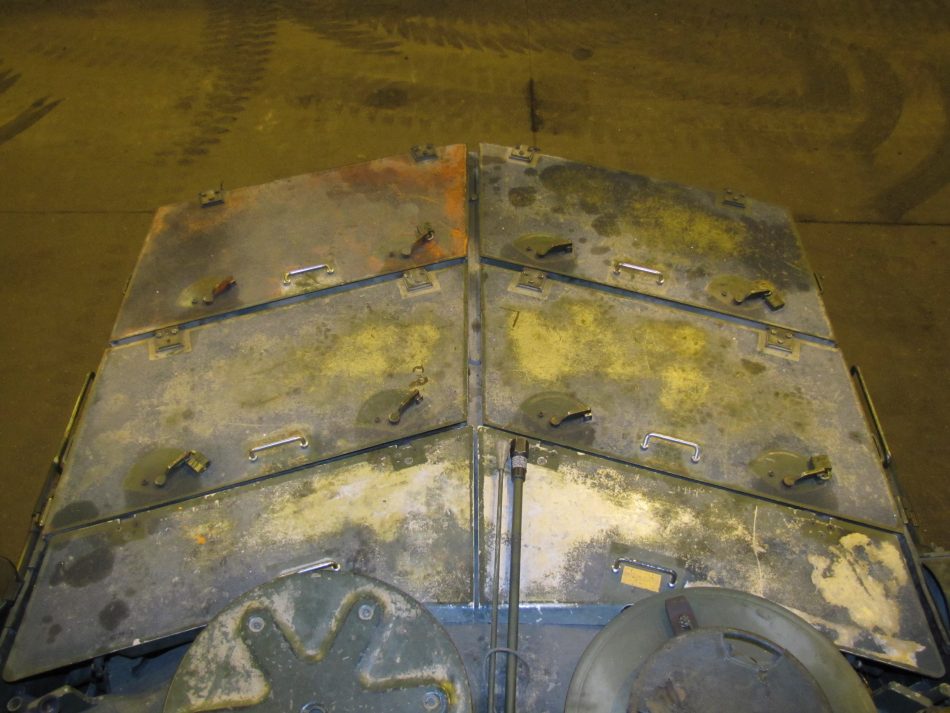
17 Leopard C2’s fitted with MEXAS armour, deployed to Afghanistan, Oct 2006 until completely replaced by Leopard 2s in 2011. Note the barrel rings to mark which troop they belong to and cooling blankets for the turret and driver’s station. And of course, all the extra dust.
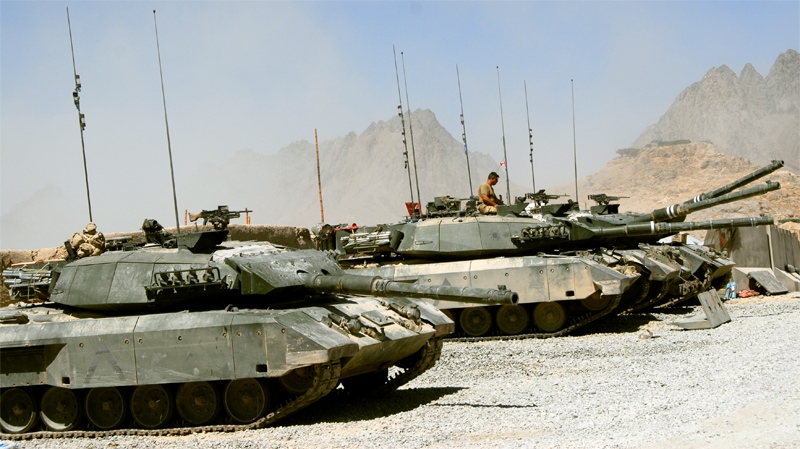
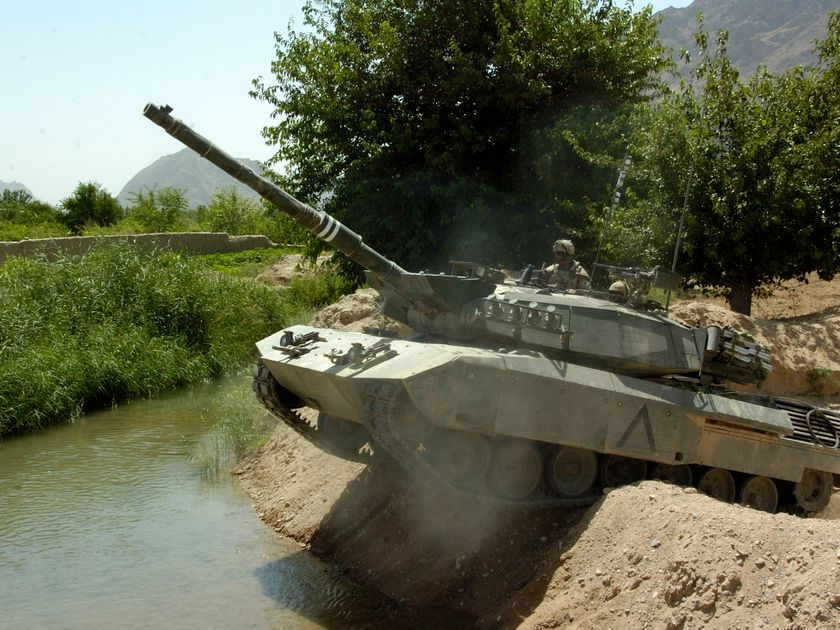
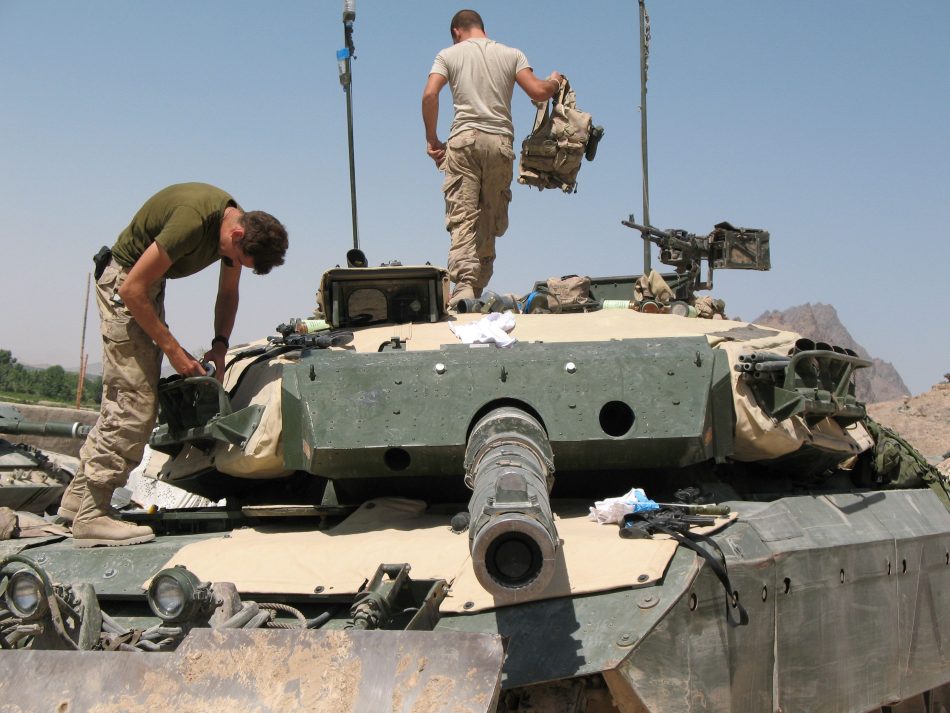 Brand new cooling blankets being installed (before getting very dusty)
Tank crewmen.
Back in the day, the army wasn’t as concerned with safety as it is today, so the tank crews wore black berets instead of protective crew helmets. They also wore one-piece olive green crew suits. I use Vallejo matt black with Vallejo Brown Violet 887 over it. I then highlight with Vallejo Russian Uniform 924. If you are real keen, you can lightly paint the zippers brass or bronze. Make sure you paint a small Canadian flag on each shoulder. It’s not easy, but it really shows that the figure is a Canadian soldier.

On the loaner tanks, you would use the German MG3 as the AA machine gun. For every other Canadian tank, you would use the Canadian C6 General Purpose Machine Gun (aka FN MAG 58). Most of my tanks are the original resin models and they didn’t come with the Canadian machine guns. I got some of the right machine guns from the Lav 25 sprue. For the rest I used the German machine guns but covered them in paper towel that was soaked in water and white glue. I then painted it an olive green colour. It was quite common to use a tarp machine gun cover when out of contact with the enemy.
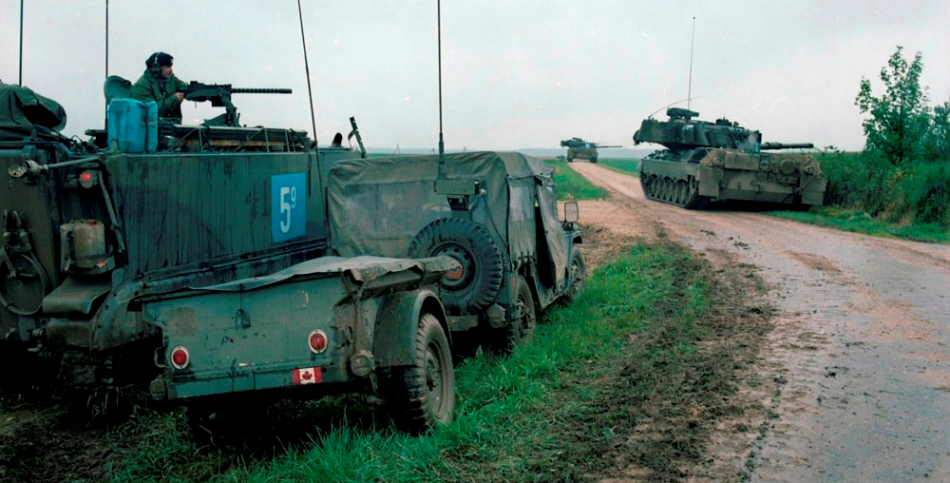
Markings and decals.
Dan McLean on what call signs to give your tanks. The actual call signs can be in solid black or black with a white outline. They can be usually be found on the side and rear hull toolboxes and the rear of the turret.
Simply putting the big black and white maple leaves on the turret sides is sufficient, but for fun, I added two small Canadian flags. One on the glacis plate between the fender and the lights on the driver’s side and one on the rear hull, right side on the circle piece of equipment.
that I use for all of my Canadian projects. They make the best black maple leafs. You just have to watch out that you have the white-bordered ones and not the all-black ones (not that it wouldn’t be incorrect).
Its tough with the decal sheet background to tell them apart.
The black call signs are a bit big, so you might have to look elsewhere. If your German is half-decent you can look through their site and find smaller letters and numbers in black or white. Or you can use the white ones from Battlefront. I believe the white outlined ones I used on the sides of my troop commanders came from a German set.
I think the only Canadian topic I haven’t discussed yet is the M109. Or is there anything that the readers would like me to write about?
Further reading on this topic:
http://silverhawkauthor.com/4-canadian-mechanized-brigade-group-19571993_366.html
http://leopardclub.ca/LeopardLists/1-refs/
Facebook group Modern Canadian Vehicles https://www.facebook.com/groups/582323348889761/
https://www.chapters.indigo.ca/en-ca/books/the-price-of-alliance-the/9780774835183-item.html
Anthony Sewards, a retired Canadian Army tank commander produces a series of excellent DVDs full of photos on Canadian army subjects. They can be bought from Anthony himself on Facebook or through Trackjam Models https://www.trackjam.com/orderform.htm

Rob – well done. You’ve certainly gone the extra mile. Cheers
Excellent work! Really enjoyed reading that and I really miss my old Armiesarmy range of Canadians!