Painting PSC 10mm Russians for NorthAG with Contrast paints
By Tom Gall
PSC’s new line of 10mm figures for Battlegroup: NorthAG is beginning the reach the hands of those who ordered. We’ve looked at in the past so let’s take some time to look at some of the hardware PSC makes for the game and paint it up.
, contains 10 T-64, gobs of infantry (>100), 10 BTR-60s, and 2 BDRM-2s. Everything comes on a sprue, so you’ll need to snip them off, and file a little excess as normal.
At 10mm scale, the first thing I noticed was the material, which isn’t hard plastic, but not exactly a soft plastic either. PSC calls it ultracast. It’s quite pliable, surprisingly so, bending a comparable metal or plastic gun barrel, you’d be looking at some amount of damage. This material impressively takes it no problem.
I’ll note that for the infantry contained within the box, there are no bases included, so you’ll have to supply your own. Between MDF, plastic, washers, pennies, there are a number of good options you can turn to for mounting them. NorthAG is flexible.
For this article, I’m just going to be working with the T-64s as found in the starter box. They are made up of just four pieces. Body, two tracks, and the turret. A little glue and the tracks attach easily. Watch for alignment as you need to make a solid connection against the side.
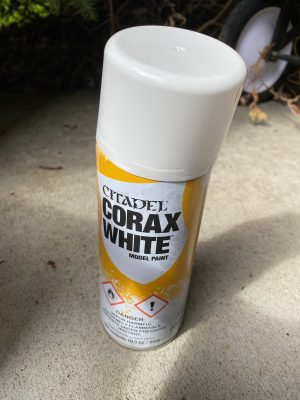
For the base coat and knowing in advance, I’ll be using contrast paints I usually use either Corax White or a Gray of some sort. Black? Positively not.
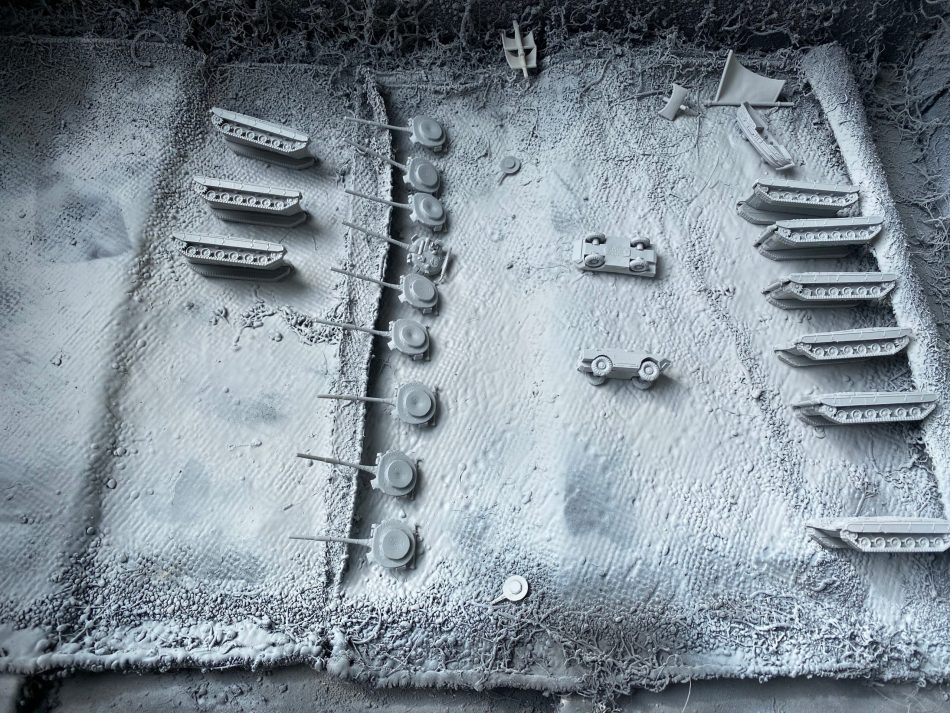
Using a rattle can, I have a “paint” box I use for priming. Coat, dry, turn, coat, dry and so on until complete. You want good coverage, but it doesn’t necessarily have to be exactly perfect. Don’t overdo it, especially at smaller scales. If you go too far, you’ll see bubbling or other less than great surface effects which will just make the resulting model look less than great. The one downside to rattle can priming is given the lack of weight in the model, you have to be a little careful or the pressure from the stream of paint can push things over.
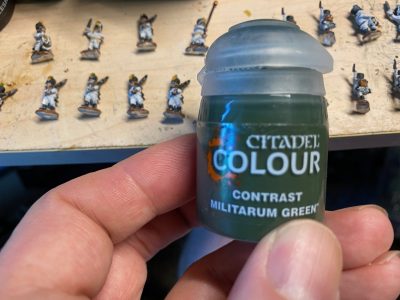
We’ll turn to a Militarum Green which will be the majority of our paint job. When you use contrast paints one of the most important things to do is shake it to mix it up. Not 5 seconds. Not 10. A new bottle off the shelf or one you haven’t used in a while, go for 60 seconds. If you don’t you might end up with blotches.
With 1980s Russians, camo patterns weren’t exactly in use so a flat coat is all we need. I use a fairly larger blush to spread an even coat and being mindful to fill the cracks.
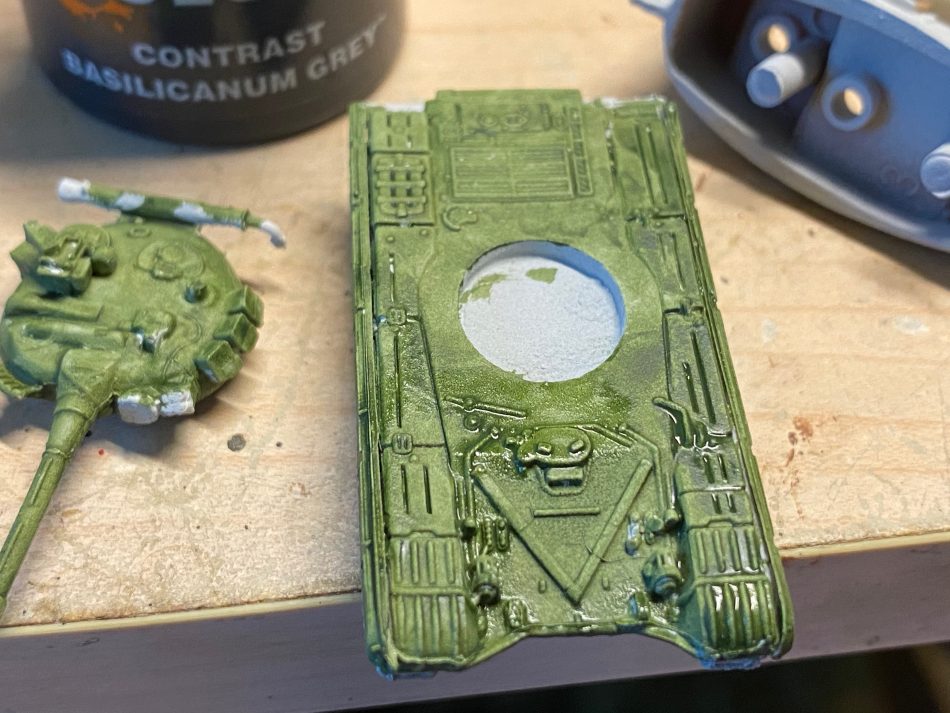 Here we have the first coat. Don’t worry if it’s not perfect. With contrast paints, touch-ups here and there, or a second coat aren’t anything to worry about. You’ll see how the paint has filled in some of the cracks to give a nice effect. In the end we do want a vehicle that looks like it’s been out in the sun quite a bit with variations in the paint. I want something that looks used, not something ready for a parade in Red Square.
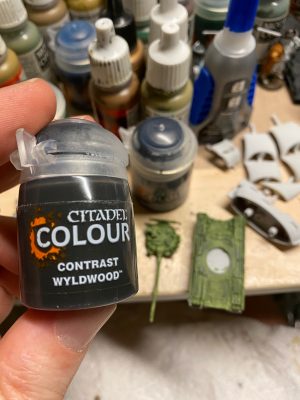
For the next color, we’ll turn to wyldwood, which we’ll use to cover the pole hanging off the very back of the tank.
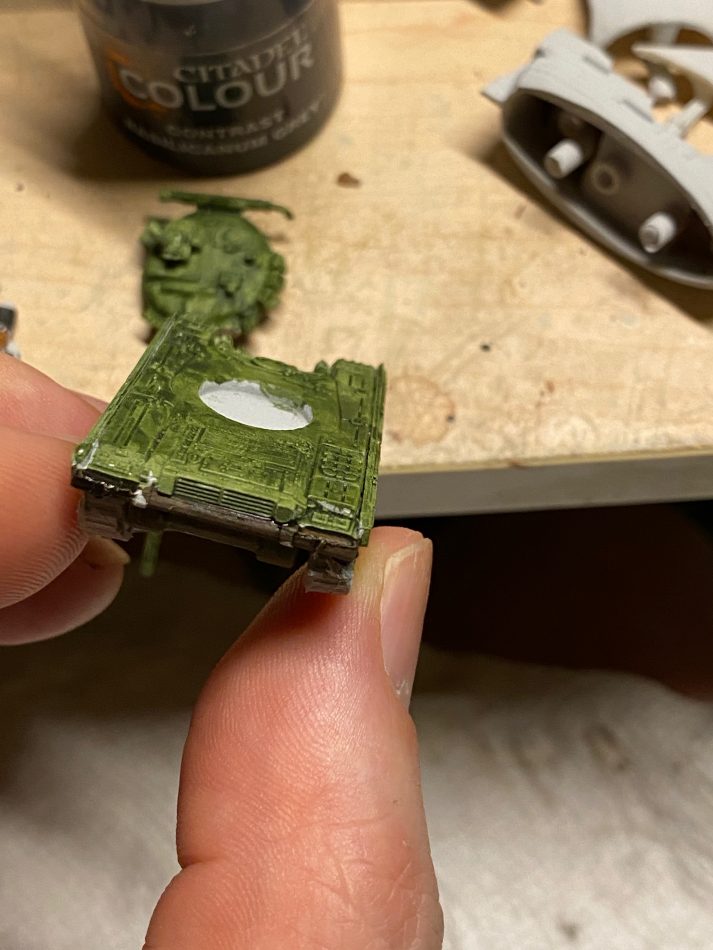
You’ll see we have a couple of attachments that we’ll need to go back and paint green, a few places to spot fix in free, but otherwise, you get the idea. For spot-fixing, I generally go with Vallejo 894 (Russian Green) instead of going back to a contrast paint. Vallejo is thicker, so if you need to cover up a dark area it’ll work better. If you’re covering white/gray then contrast.
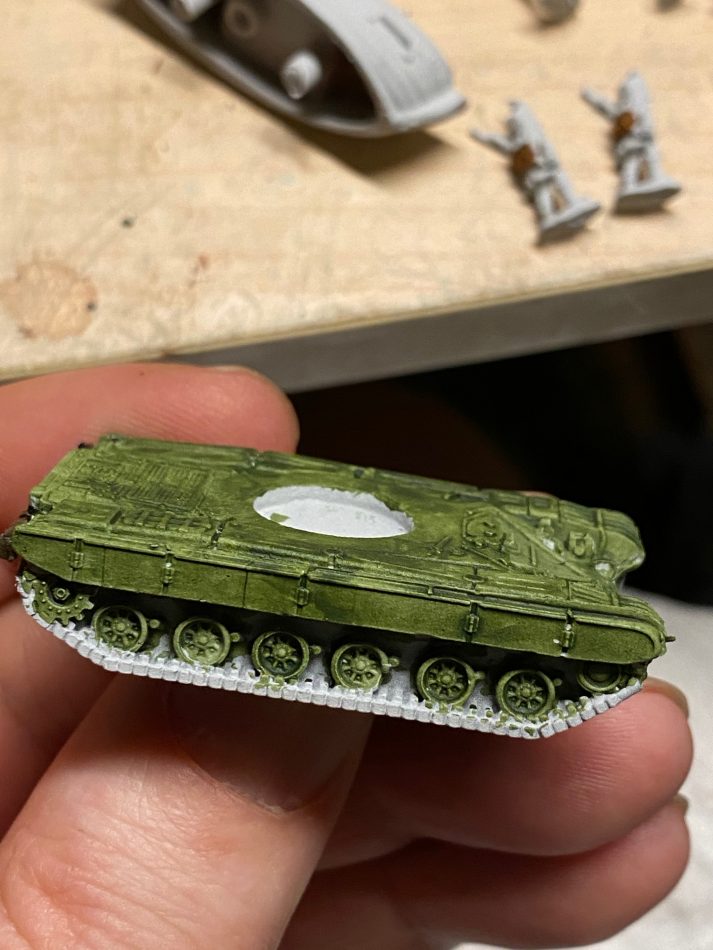
Now we need to start on the tracks and the hull just inside of the road wheels. For the hull, I paint that a darker gray. Most times it won’t be generally visible, going for a darker gray will work with the shadow. For the tracks, I turn to a non-contrast paint to start.
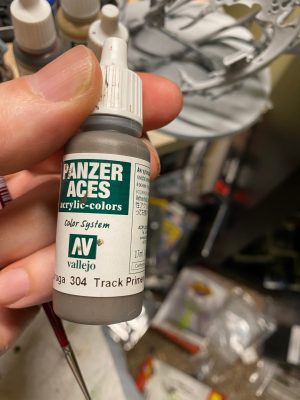
I like to use the Vallejo track primer 304. Leaves a sort of mud look which can be left as is or ready for a dry brushing of something like gunmetal to give that look of metal track showing through a layer of dirt.
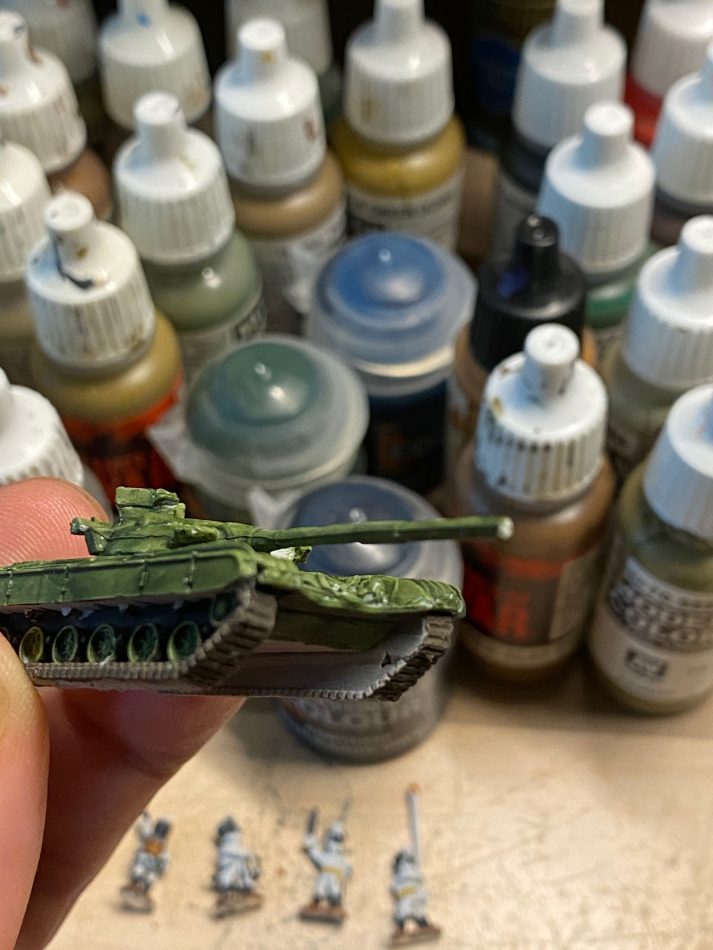
Next time for some lights and sensor equipment as well as the smoke dischargers. The smoke dischargers I paint the ends black. Next the end of the gun barrel, again black.
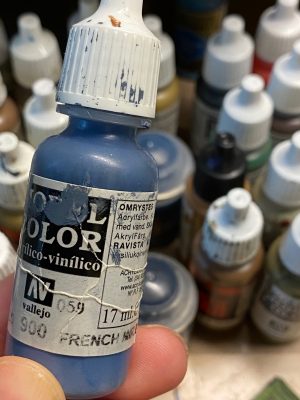
For lights, I use a Vallejo 900 which is a nice blue/gray and also serves as a great color for WWI French should you ever find the need.
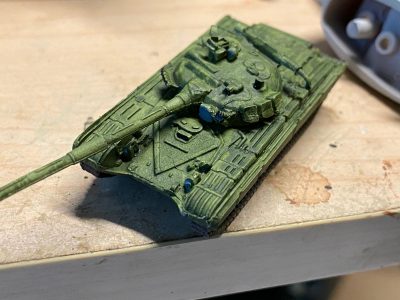
Last I go back over the model to touch up any white that might be left showing through. Contrast paint when it dries will sometimes do weird things leaving a little dab of white showing, Fixing these and our model is complete.
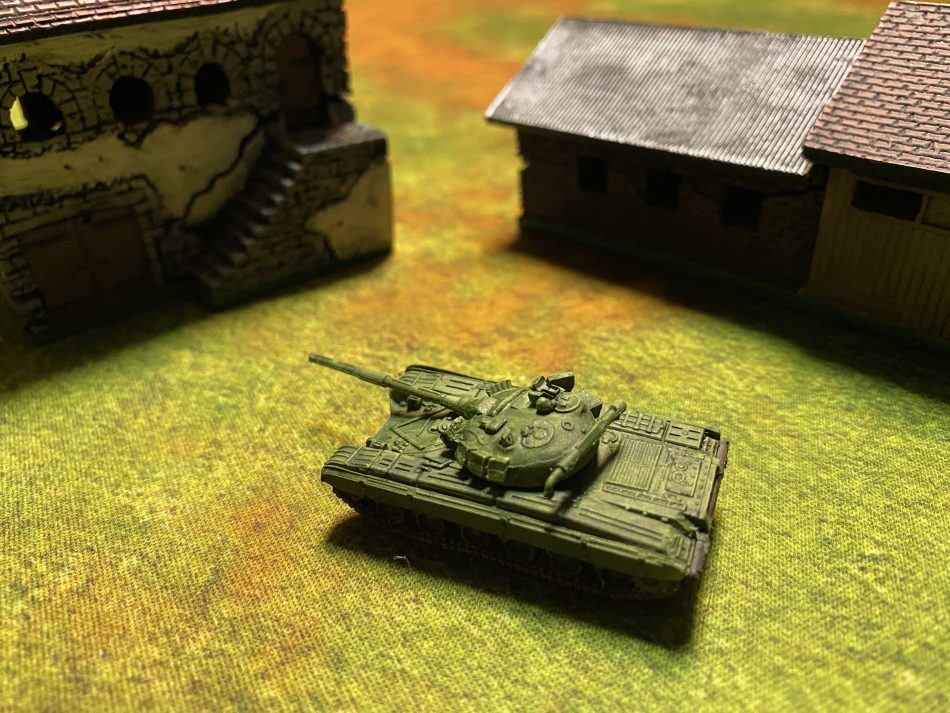
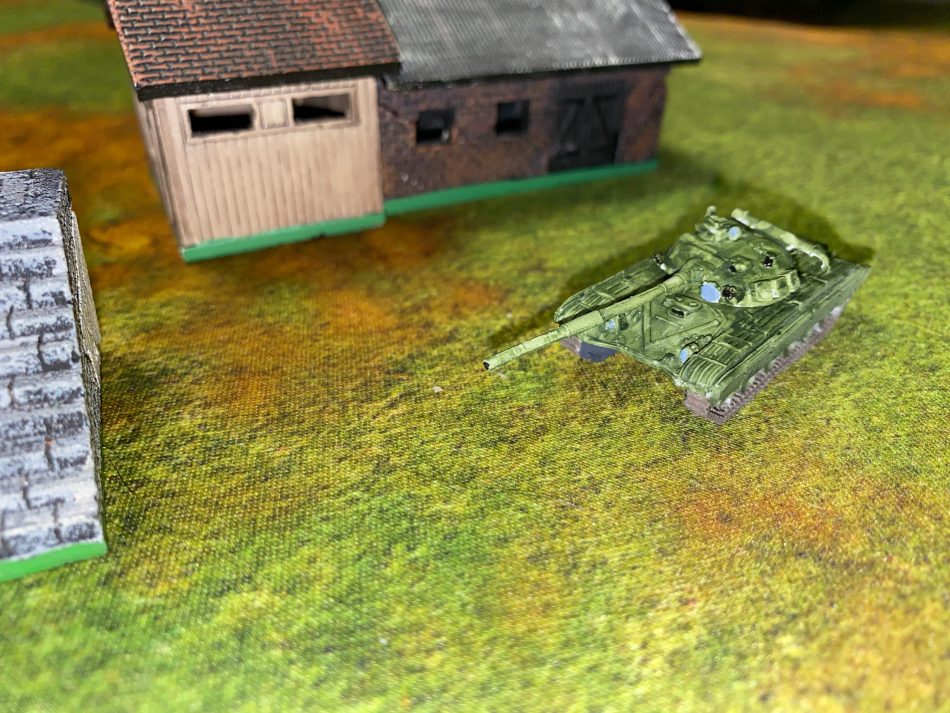
There we go, complete. I’ve taken a normal and overexposed shot which should hopefully give you an idea of what it’ll look like on the tabletop. Contrast paints offer a great way to cover a model and use the technology in the paint to create the highlights that otherwise would have had to come from detailing. At this scale, that’s a great deal of time saved which gets you on the tabletop faster. Painting 5-10 tanks with this method in an evening is quite possible. The downside to contrast paints is there needs to be more variety. for the range.
Note the buildings are from the Miniature Building Authority 15mm range. Originally I had thought with 10mm hardware none of my 15mm buildings would work and I’d be starting anew with a collection of terrain for the scale. Thankfully that appears to be not the case. While Gale Force 9 buildings for Team Yankee look great, they are just too big for 10mm scale, these work great.
As far as the quality of the models, ultracast is a good technology. At this scale, the concern with bent or broken gun barrels fades away due to the nature of the material. Once off the sprue, the majority of the models I didn’t have any major amounts of flash/extra to clean prior to priming. What I did have to do I consider within the norms I’ve experienced with other ranges. A little time with a file or x-acto knife and you’re good to go.
If you go with 10mm, I think you’ll be pleased with what PSC has to offer. It’s a good scale and will allow you to run larger games without things turning into a parking lot. For the price, you’ll end up with more models then you would have at 15mm. It’s always great to have options and PSC has released a fine range of new models.

Look great. I will post some of my Soviets in the forum. I just used Vallejo 4BO spry primer as a base coat.
Nice looking models. One question I have about the NORTHAG rules relates to my experience with the WWII Battlegroup game. When introduced to the rules we found that there was no index in the rule book. Thus it was hard to find answers to questions we has about weapons and their use. Do the NORTHAG rules have an index?
Nope. That said, I think it’s rare for rulebooks to have an index. The Table of Contents is pretty detailed though.