Firestorm Gazala Turn 2 Battle 5 AAR – Steel Wall at Point 171
By Ed Hall and Tom Burgess,
In Turn 1 of the Campaign, Ed’s combined German/Italian forces attacked Point 171. defended by an Indian Motor Brigade. Ed chose Maneuver in that battle and we ended up playing Dust Up () which ended up as a German win. For the next try at Point 171, he choose Attack and we ended up with No Retreat. So we slide the big hill, i.e. “Point 171” to the British side of the table and had them try to hold it from the combined German and Italian attacks.
Forces:
German: Ed Hall, Afrika Rifle Company and Italian Rifle Roman Legion Company (80 points)
Firestorm Units: 200th Infantry Regt., 90th Infantry Division (11pts), Italian Rifle PLT (9pts)

British: Tom Burgess, Motor Infantry Company and Crusader Armour Company (50+30pts)
Firestorm Unit: Indian Motor Platoon (10pts)

Scenario: No Retreat: German/Italian attacker
Reserves:
German: None
British: Crusader Formation, Mortar Section, the 2 scout Patrols, and HQ (36pts)
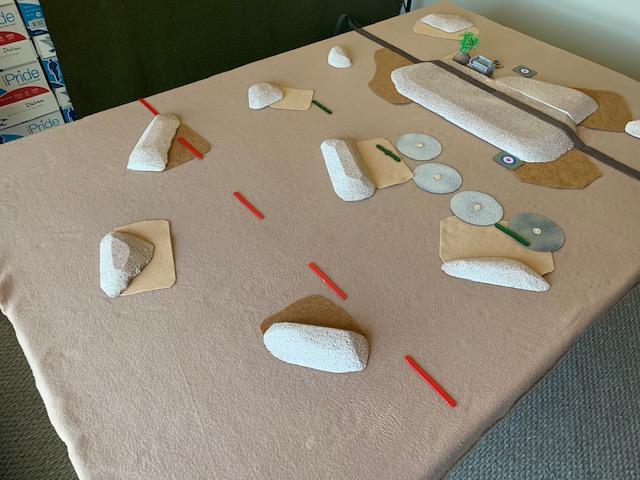
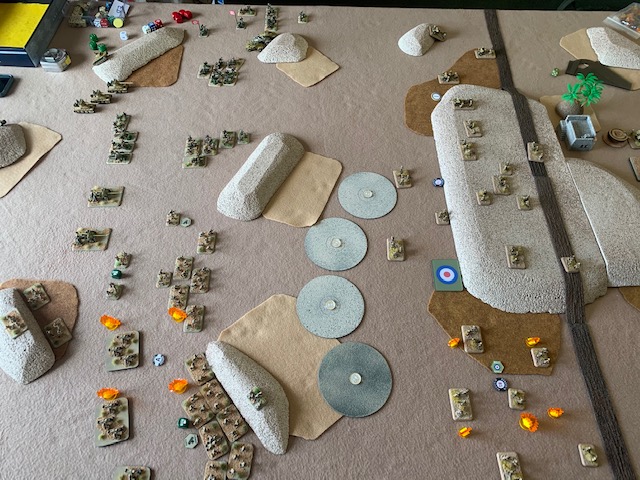
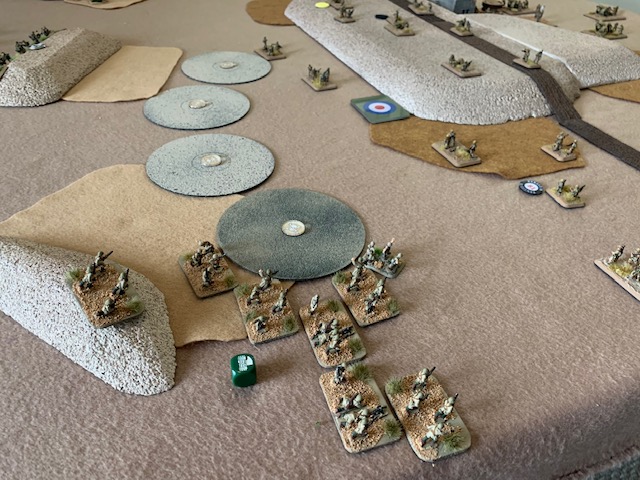
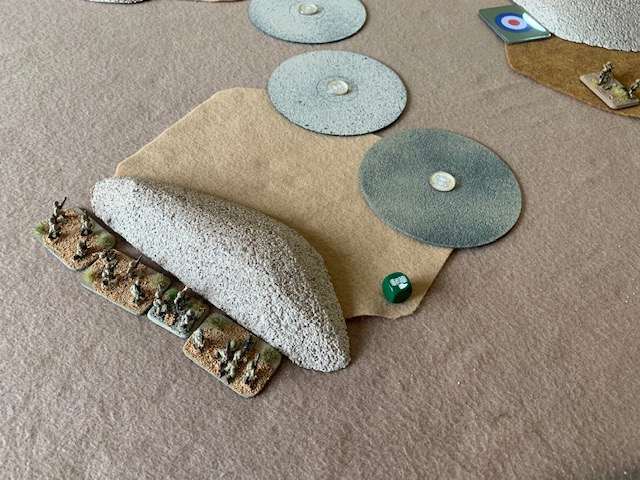
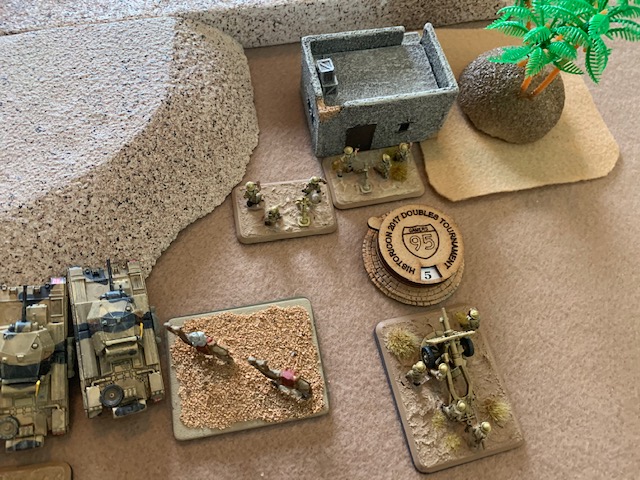
Set-up: British set up defending the hill. Infantry on the British Left around the forward objective. HQ in the center and 6lb AT PLT on the British Right. The 25 pdr battery was placed behind the hill. Tom decided to place the Vickers MMG platoon in Ambush.
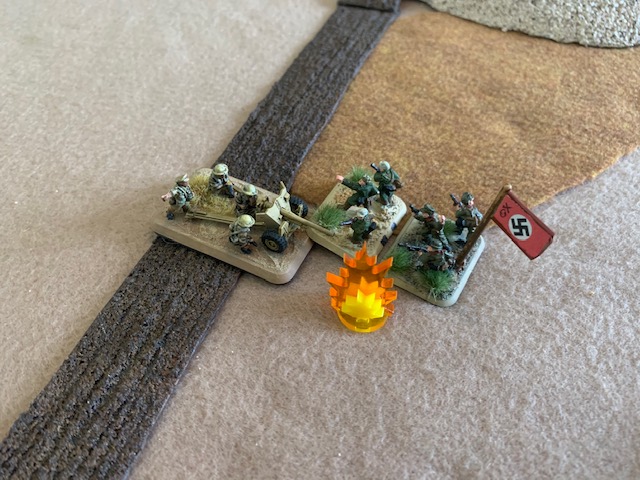
Ed chose to place his large horde of Italian infantry facing British Left, and the smaller German units facing the British Right. The German 50mm AT platoon would provide support in the center. The Italians had Mortar support, and the Germans had Schlepper Battery support.
Turn 1:
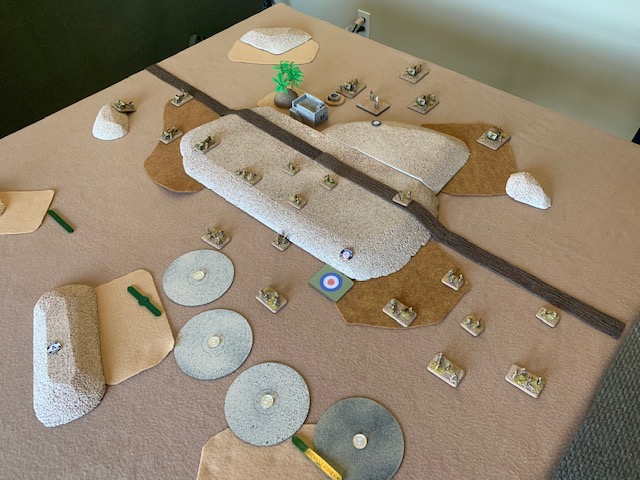
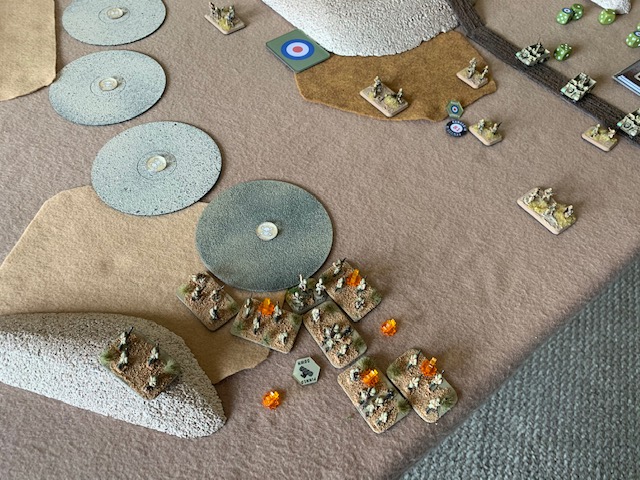
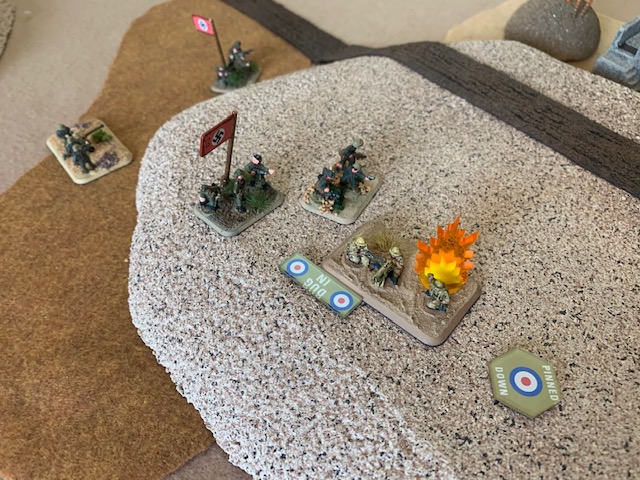
Like the Zulus in the 1800s, The Italian and German Infantry charge the, what appeared to be the thin British line. The Italian mission was to breach the minefields and take the close objective on the British Left. The Germans would drive deep on the British Right and take that objective. The main effort was with the Italians. The artillery and the mortars both range in, but achieved no kills this turn.

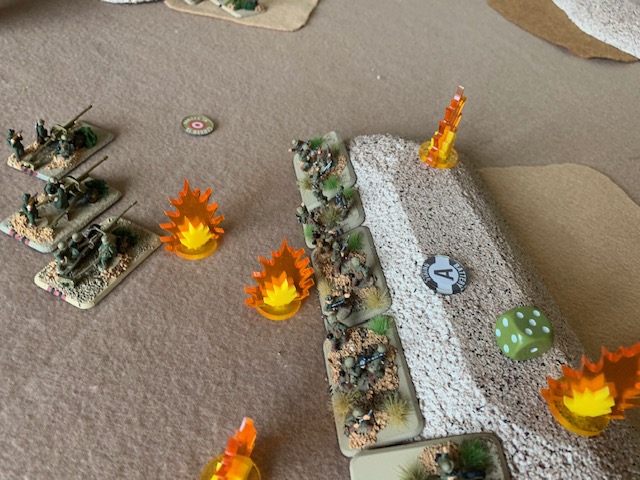
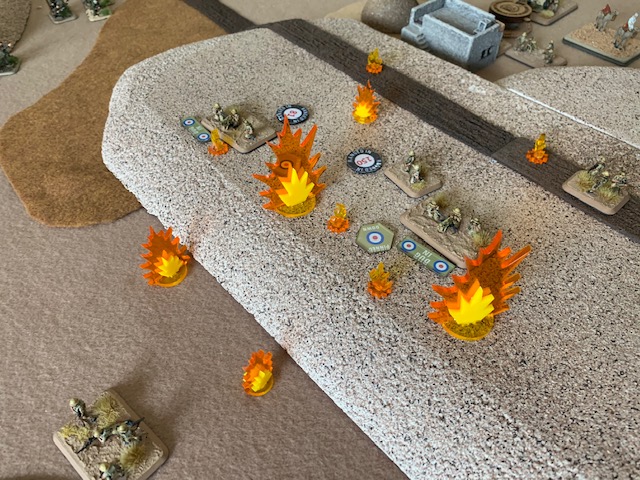
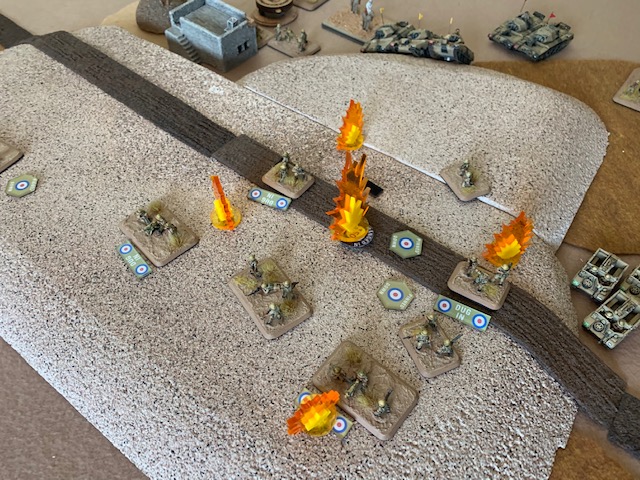
No reinforcements this turn. Tom saw the need to pop the Vickers ambush and placed them on the center and left side on top of the hill facing the Italians. Between the MGs and the infantry platoon, four Italian infantry teams were killed. Three of those teams were part of the 5-team platoon of the 3rd Infantry platoon. The 25 pdrs ranged in between the German 2nd and 3rd Infantry platoon and killed three teams which included the HMG team. These were heavy losses, and the carnage was just beginning.
Turn 2:
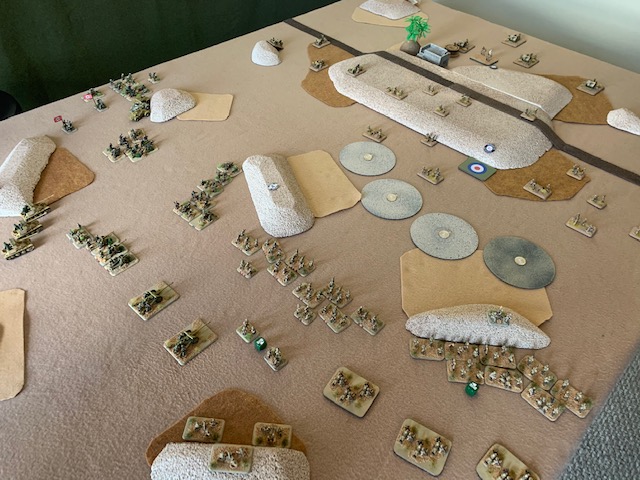
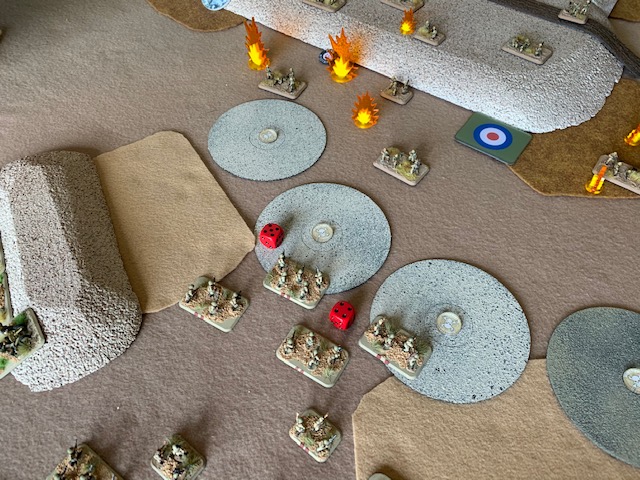
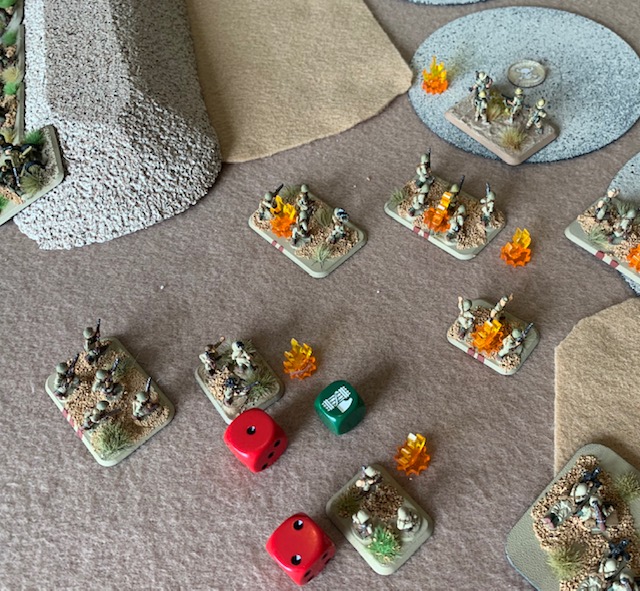
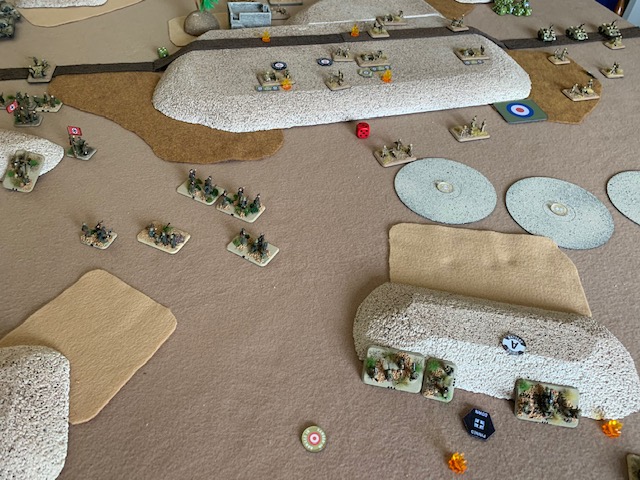
Both German Infantry platoons unpin with the aid of the Commander. The Italian 3rd Platoon unpins and decides to stick around. The large 1st Platoon remains pinned. This would be a critical failure! The Italians decide to press on with the 2nd Platoon, Assault Mortars, and the HQ section. 2nd Platoon moves forward and enters two of the minefields. 3rd platoon fails to dig in and instead goes to ground.
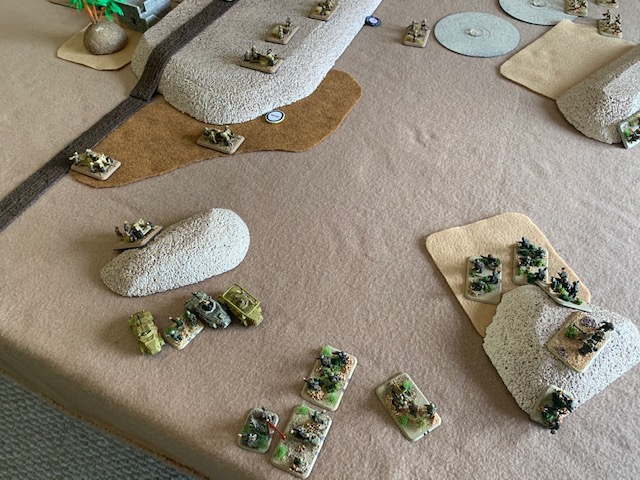
The German infantry and the AT Platoon move forward. Third platoon, now with no HMG, moves to the center dune in order to give support to the Italian advance. The German 1st and 2nd Platoon continue to push forward on the British Right. 1st Platoon and the Recon Platoon assault a single 6lb gun. The Recon platoon is repulsed with a bailed vehicle, but the Infantry destroys the single 6lb team. Artillery pounds the hilltop and mortars hit the infantry. The results this turn were: Infantry and HMGs pinned. Losses were: two 6 pdr teams and three infantry.
The British receive the HQ section and the 3-inch Mortar section from reserve. All units unpin and open up on the enemy. No German losses, but four of the five teams from the Italian 2nd Platoon killed, both teams of the Italian HQ section and 2 or 3 Assault Mortars killed.
Turn 3:
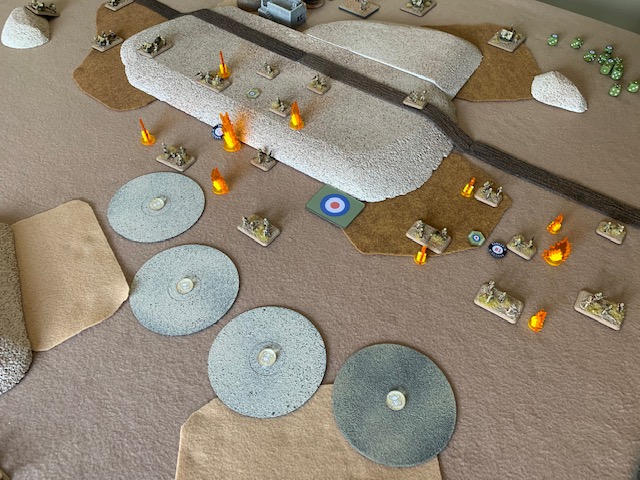
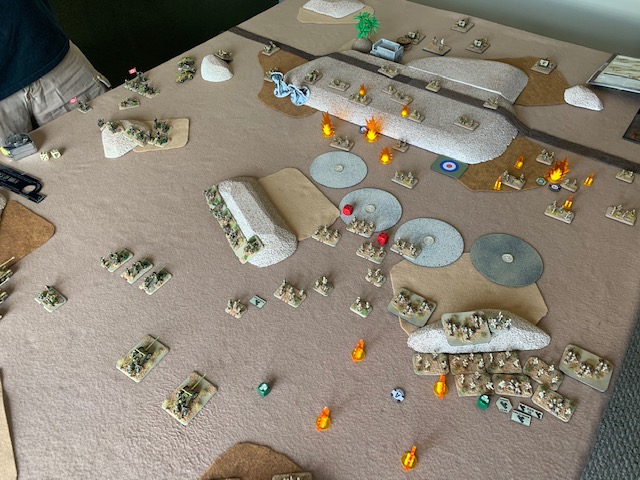
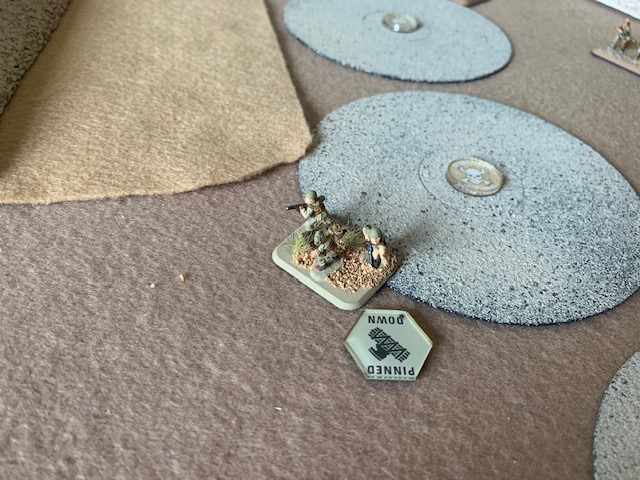
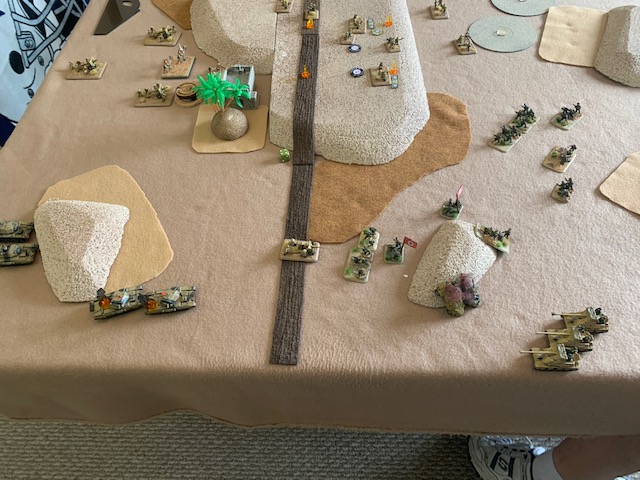
The Italian 2nd Platoon and the Assault Mortars fail morale and run. The 3rd platoon passes morale and moves away from the line to a position behind their mortars. However, the Italian 1st Infantry Platoon (Firestorm) unpins and charges around the south edge of the minefield. The 222 Recon Armored car did not remount. The Schlepper Battery wanted to fire smoke to cover the Italians but realized they did not have any. Instead, the artillery kills 2 teams on the hill pinning the Vickers, and Mortars kill 2 Infantry teams. The Marders and the 50mm move forward to support the German advance.
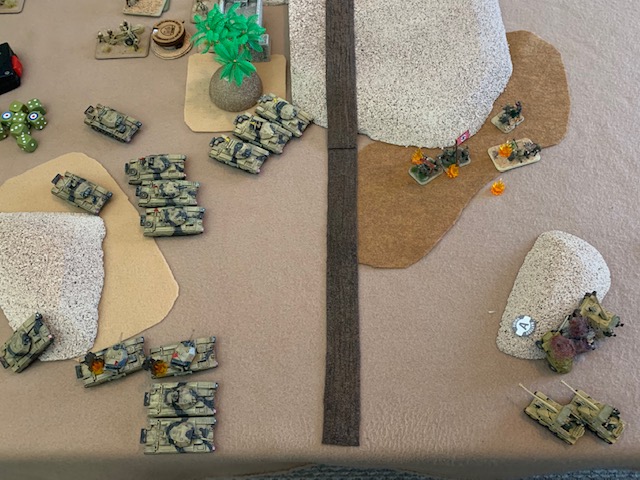
The British receive the HQ Crusader Platoon and a Scout Platoon. The tanks move to the British Right to stop the German advance. The Scouts moved to support the British left and possibly stop the Italians if the breakthrough. British units unpin except the Vickers, but the infantry gets many hits on the Italians, killing four teams, half of the unit. The Crusaders hit the German Recon. Amazingly, one round bounce off the armored car, but the other one does not. The artillery kills two more teams of the German 3rd Platoon in the center of the board.

Turn 4:
The German Recon Platoon fails morale and runs. The Italian 3rd Infantry Platoon fails morale and runs, and as a result that breaks the formation and the Mortars run away as well. The pinned Firestorm 1st Infantry platoon unpins and runs for cover behind a dune. The Axis left has been broken. Even with the Italian failure, the Germans press the attack. It is now or never! Charge! Watching the Infantry run the wrong way, the German infantry push on along with the Marder Platoon. The HQ and the Infantry assault the last 6lb gun and destroy it, but lose the XO. The artillery kills another team on the hill and pins the HQ, and Vickers platoon. The Marder Platoon destroy 2 tanks from the Crusader HQ platoon.
The British get one more Crusader platoon from reserves. The British Infantry platoon on the far left (Firestorm unit) unpins and continues to protect the objective. What is left of the Infantry platoon on the hill and the Vickers platoon remain pinned. The tanks and artillery engage the Germans and kill several teams in 2nd and 3rd Infantry Platoons leaving them with two teams each. One Marder is bailed.
Turn 5:
The German 2nd and 3rd platoon fail their morale check and run. The Italian Infantry dig in behind the dune on the British left. The German heroes of the fatherland continue their charge. The CO and the 1st Infantry platoon move to assault a Vickers team and are successful, but lose another infantry team. The Marder Platoon takes long-range shots at the 25lb artillery battery and destroys one gun. The Schlepper Battery kills another Vickers and infantry on the hill.
The British receive the last of their Crusader Formation from the reserve. The Vickers platoon fails its morale test and runs. All crusader tanks charge the exposed remaining German infantry in front of the Marder Platoon. The Crusaders concentrate fire on the infantry. The German infantry amazingly dodged the bullets and made the saves, but the CO dies at the very end.
Turn 6:
The Platoon leaders of the 1st Infantry platoon fails his morale test and as a result, the German Formation is broken.
Conclusion
The game was a British Victory: 7-2. The battle felt a lot like the American Civil War battle of Antietam. Some lucky early British shooting disrupted Ed’s units’ timetables so that they ended up coming in largely in piecemeal. The hero’s of the British “Thin Red Line” was the Vickers MMGs. Their long-range and great rate of fire did huge amounts of damage to the attacking Italians and German infantry. So for now..the Indian Brigade retains Point 171 and tells Rommel “Not in my house!”