A little while back a follower of mine on Instagram asked me how I base my miniatures so I put together a little tutorial to share with anyone curious.
There are two parts to a painted miniature when it’s on the gaming table. There’s the miniature itself, then there’s the base.
Depending on the scale and how the miniature is represented in the game both parts are essential to a jaw-dropping gorgeous army. Most of us may be able to recall instances of walking around convention halls, tournament tables, or gaming clubs and seeing that almost gorgeous army. I say almost because every so often one of the two aforementioned parts is a bit below the standard set by the other part.
Taking a trip down memory lane I’d have to say that more often it’s the bases that suffer at the expense of the miniatures themselves. Fair enough. The miniature is typically where observers focus their time and energy, complimenting the painter appropriately on a job well done. Nice bases tend to be an afterthought.
Speaking for myself here, that’s the order I prioritized my focus when I began painting miniatures — miniature first and basing second. For those of you looking to take your basing a step further, I humbly offer my process in the hopes that someone out there can find it helpful. The process below is how I base my armies for temperate climates.
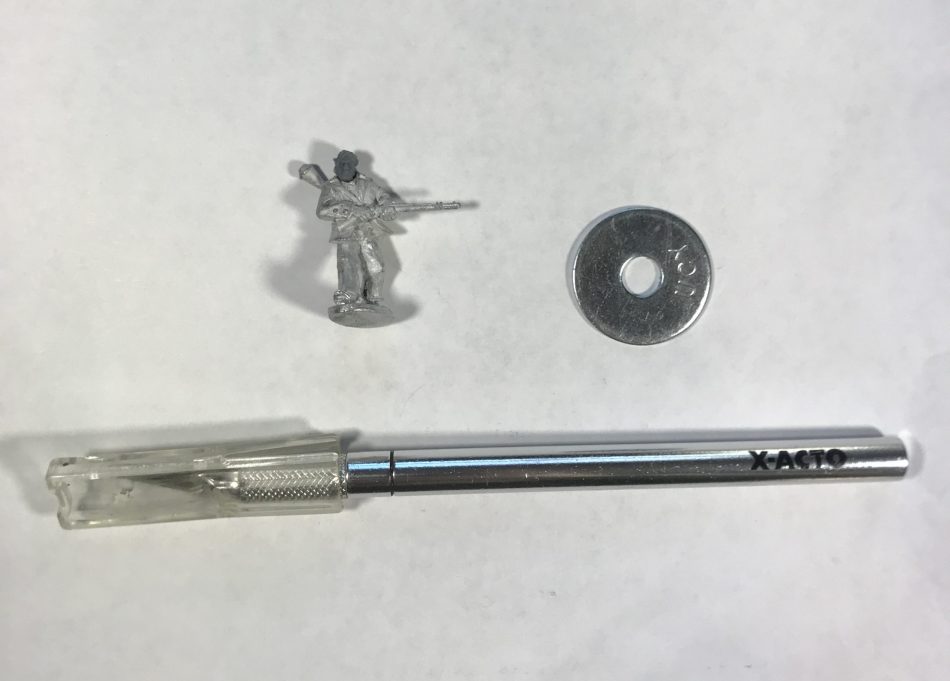
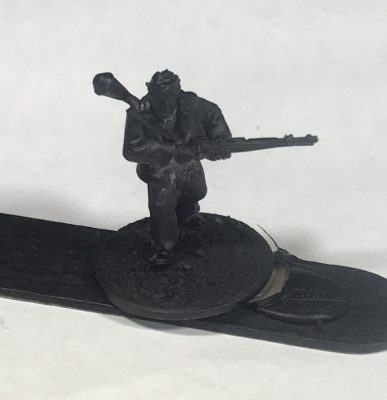
To start you’ll need your miniature, an x-acto knife, and your base. For my metal figures, I use a 1″ fender washer for the stabilizing weight and it’s magnetic for easy transportation with a compatibly magnetic tray.
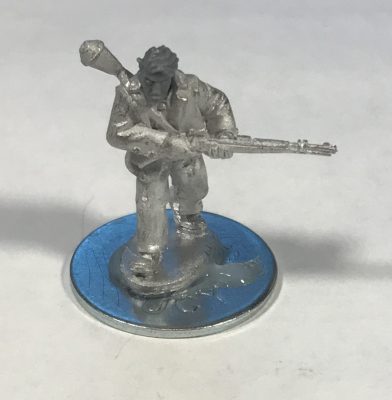
Score the base with the x-acto knife and attach the miniature to the scored base. I typically use hot-glue for my metals because it’s more cost-effective that super glue but I have used super glue as well in the past. Both should work.
Apply a layer of water putty around the metal bit the miniature is standing on. Ideally, you want the putty to lie flush with the metal bit beneath the miniature. I used Durham’s Rock Hard Water Putty and cleaned the edge of the washer with a paper towel. Allow ample time for the putty to dry.
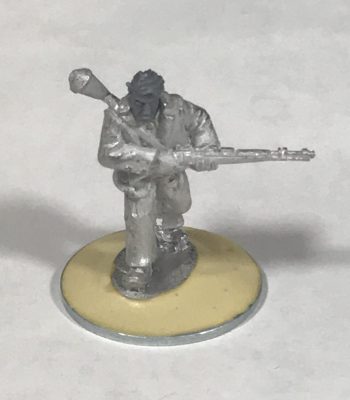
Combine a 1:1 ratio of PVA glue and cheap black paint and coat the base with the mixture. Apply a layer of basing sand to the wet paint and give it time to set. After the sand sets, clean off the loose sand.
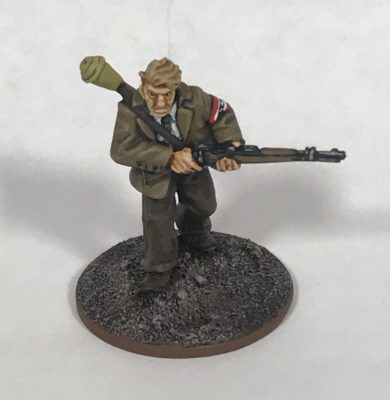
Spray paint the miniature and base with flat black spray paint as part of the priming process. In this picture you can see that I gently hot glued the base to a popsicle stick for extra control when painting and to keep my fingers as far from wet paint as possible. After painting your miniature go ahead and apply a clear coat to protect it.
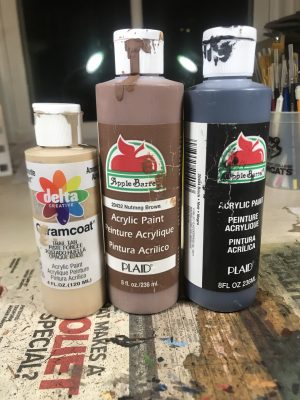
The three paints I use when basing my miniatures. The brand is not important so I say go with whatever is cheap. You’ll need black, brown, and beige/tan.
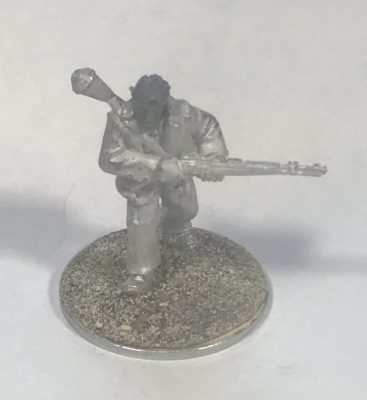
Paint the base black to start. I wet my brush more than usual to help the paint seep into the cracks and crevices for a thorough base coat. Allow ample time to dry.
Dry brush brown over the sand. I’ll call this a “medium brush” because we’ll be using a lighter drybush in the next step. You should still see some black after drybrushing on the brown. I also paint the edge of the washer brown to frame the base.
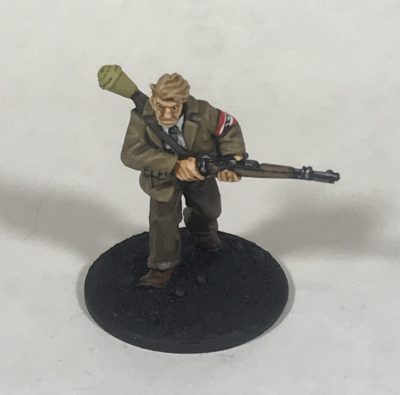
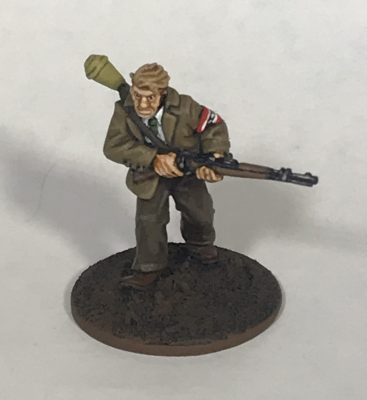
Apply a “light” drybrush with the beige/tan color over the brown. Keep it light so the brown remains visible underneath. By this point you should see the three colors stacking to give the base more depth. The sides of the washer may need touched up with brown after drybrushing the third layer.
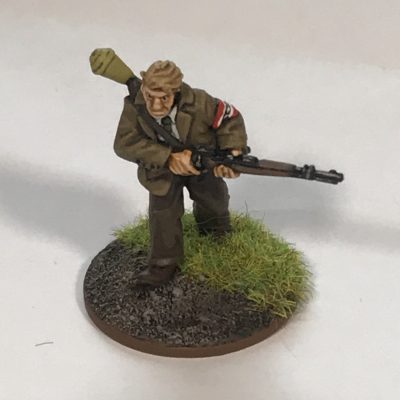
Using a 2:1 mix of PVA glue and brown paint, apply patches of glue to the base and toss some static grass over the wet mixture. In this example I used summer static grass. Allow ample time for the glue to dry. I typically aim to do this step in the evening and allow it to dry overnight.
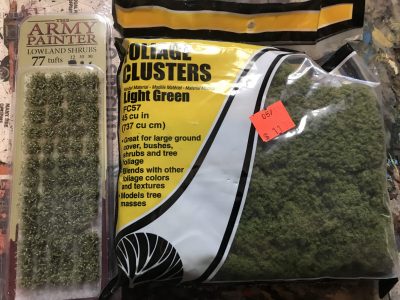
Next you can add some tufts of foliage to add some diversity to your bases. Here I used Lowland Shrubs from The Army painter and Foliage Clusters from Woodland Scenics. I mix and match the light green, medium green, and dark green foliage clusters for a healthy variety on my bases.
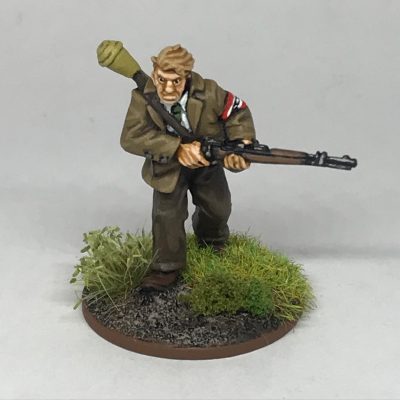
Using superglue, attach some greenery to the base and that‘s it. Happy gaming!
Great article. I use “Nutmeg Brown” too!