River Crossing – A Bagration Special Mission AAR
By Tom Burgess
My good friend Ed and I have been playing the campaign for the last couple of months. With our sixth game of the campaign we matched up for the River Crossing mission from the Bagration: Soviet book. Ed had bought which would give us the special pieces we needed for this mission. We played at 105 points.
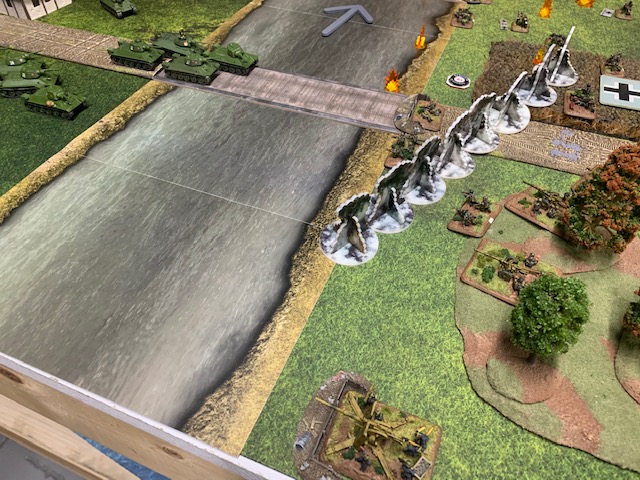
The River Crossing Mission is much like the No Retreat…with a wide river down the board center. To balance the attacker’s difficulty of having to force a river crossing, the defender does not have an ambush in this mission and instead of having immediate reserves, they are delayed.
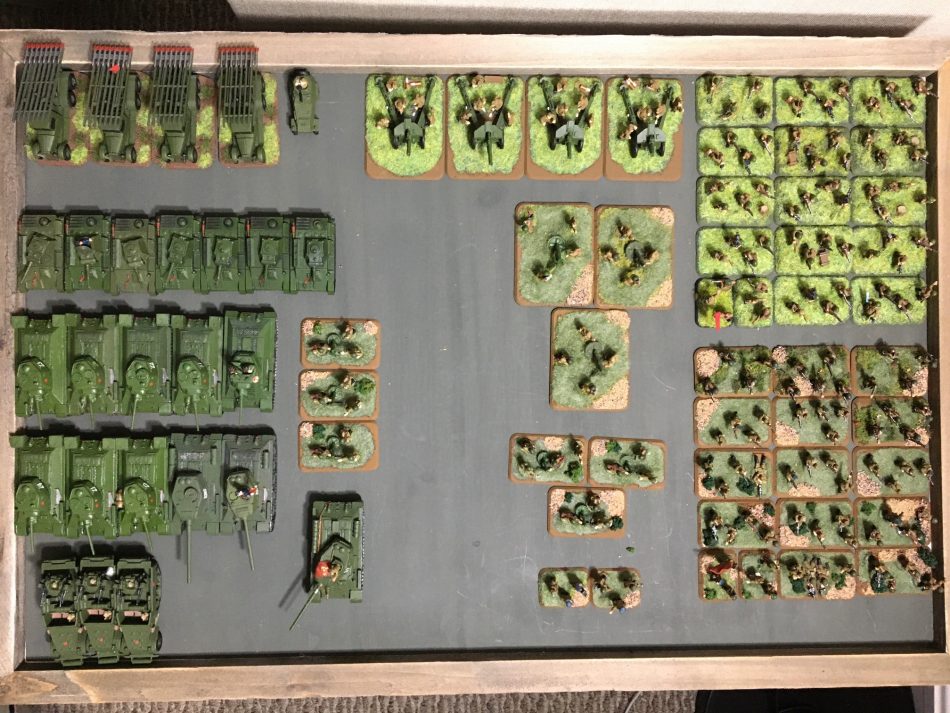
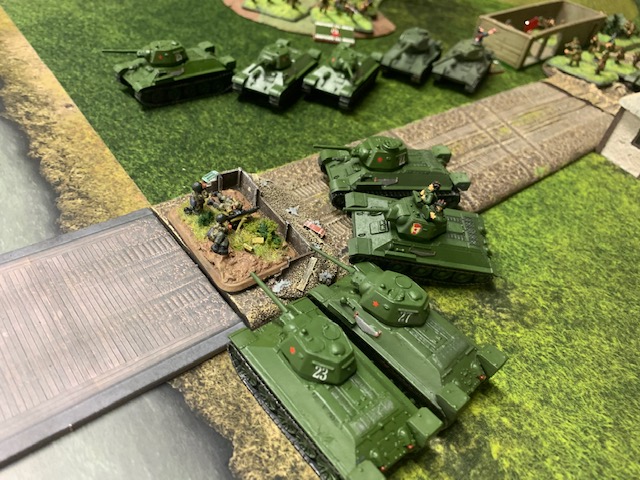
Ed ran a two formation force for his attacking Soviets; a T-34 Tank Battalion and a Rifle Battalion. He had an obnoxious amount of fire support with two 82mm Mortar platoons, a 120mm Mortar platoon, a Katyusha rocket company, and a 122m howitzer battery with the Under the Cover of Smoke card. He almost did not need to assault in the game as his artillery alone might win the day for him with devastating bombardments.
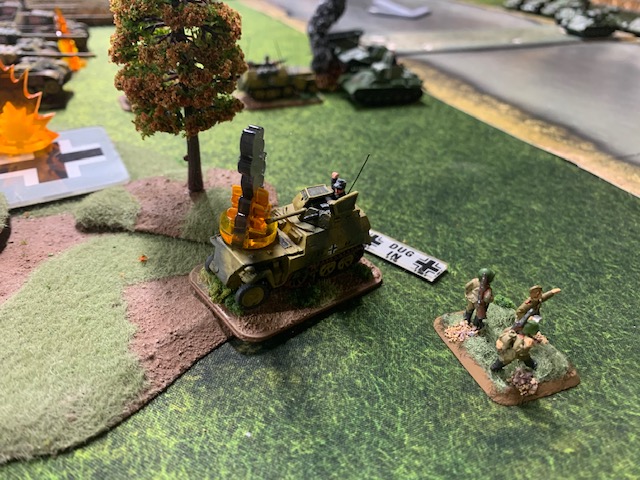
I would be running the trusty Waffen SS Panzergrenadier company that I have been playing for all previous five games of our campaign. Notably, I took the HMG Nest and PaK Front command cards. I also took the 17th SS Panzergrenadier “Volksdutch” command card which lowed the coast of my core formation units but also reduced the Last Stand of those units to just a 5+. This was going to cause me big problems later. My five SS Panthers would be my sole reinforcement unit.
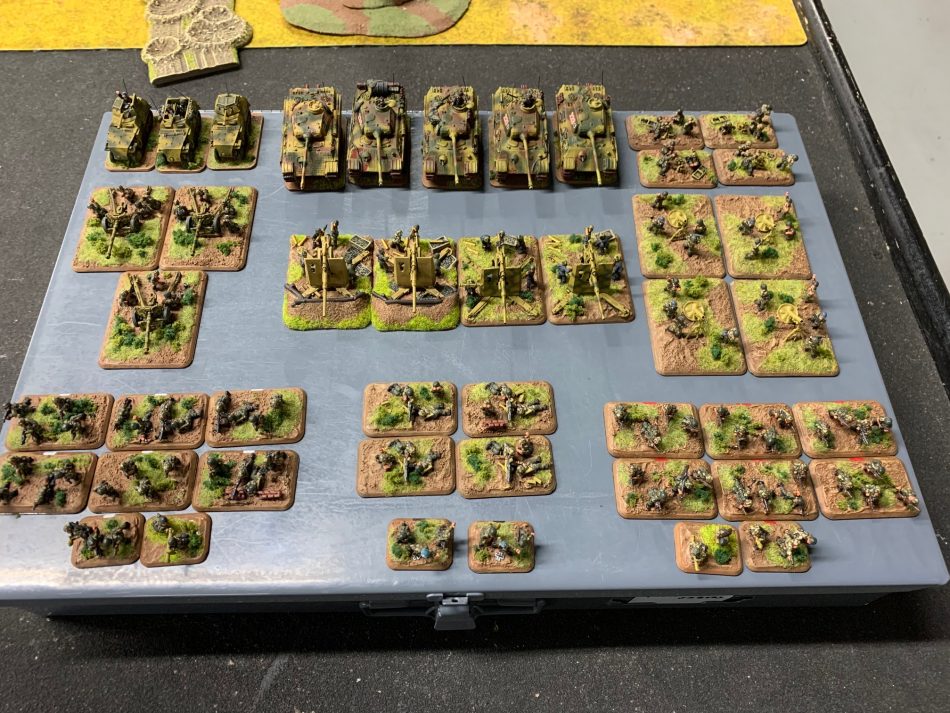
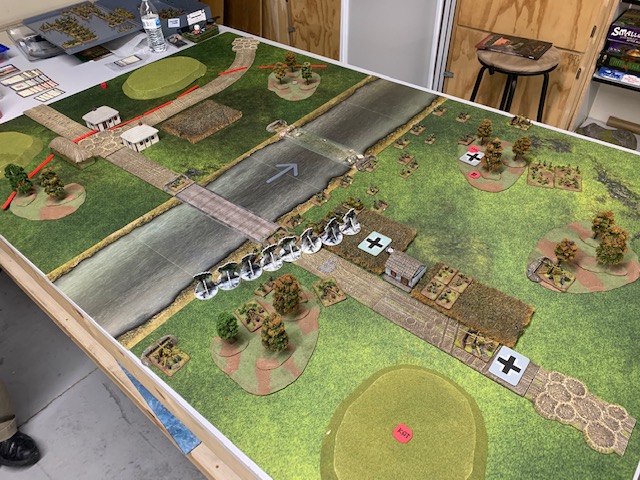
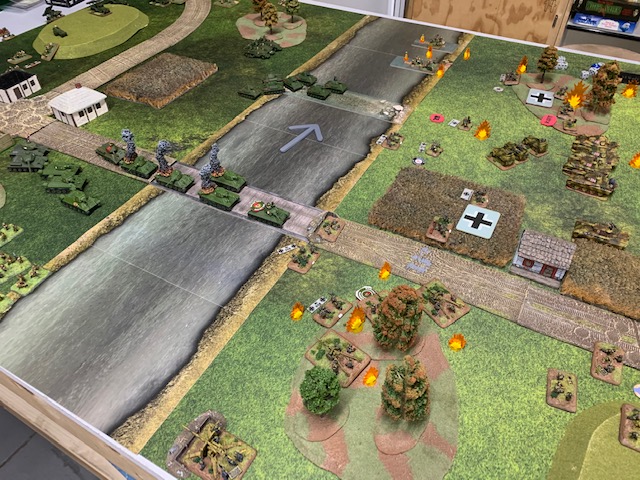
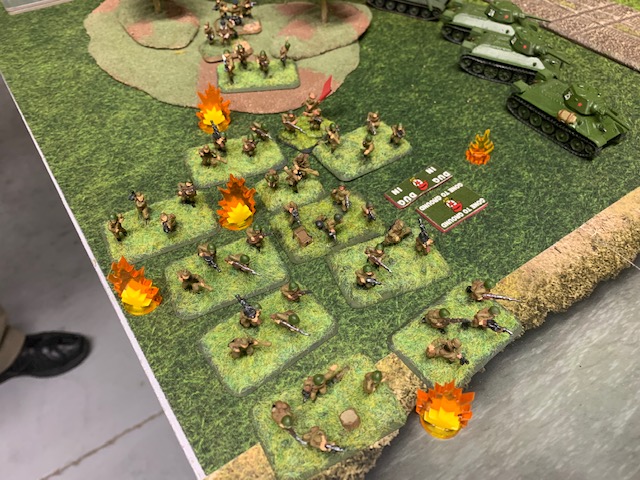
I decided to place my HMG nest at either end of the bridge and the ford. As per the special mission rules, this would push Ed’s deployment zone back 16″ from these teams, otherwise he would be as close a 8″ to his side of the river. These would not last long, but I was hoping Ed would have to assault them to get rid of them so they might slow him down a bit as he came across those crossings. On my side of the river I set both Panzergrenadier platoons on the banks and the PaK Front 88’s with one far left, one far right, and two in the center. My mortars tried to stay back as far as they could while being still being close enough forward to be useful. The five SS Panthers I would be praying would come out of delayed reserve on the first try.
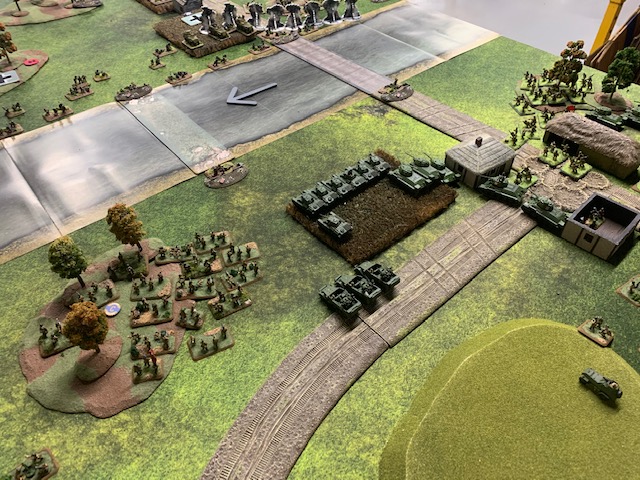
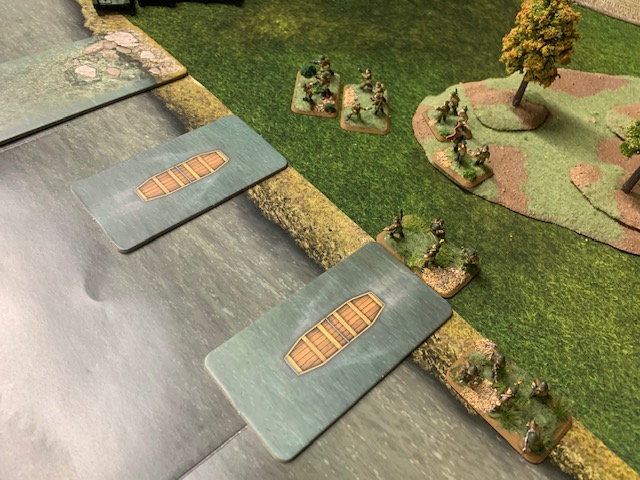
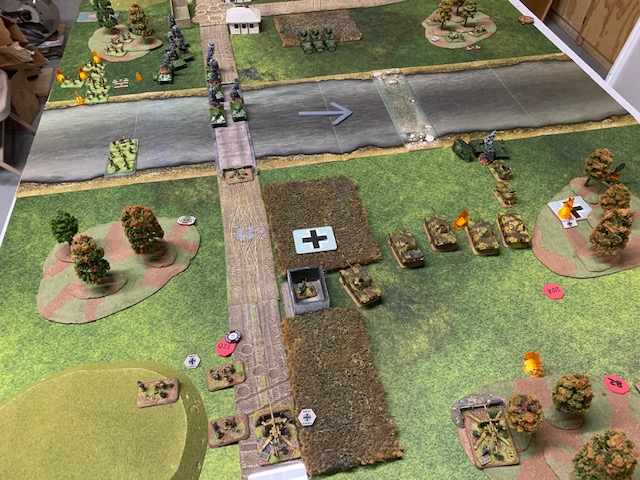
Ed’ deployed with one of his Rifle Companies on each flank. These were the regular Rifles who only save on a 4+ rather than the Hero Rifles. They would attempt to cross on assault boats to turn my my line from each end while his Tank Battalion was set up in the center to storm across the bridge and ford simultaneously.

Turn 1
The placement of two HMG Nests on each end of the crossings really helped limit how far Ed could get on Turn 1. He had to deploy either 8″ from the river or 16″ from my teams, so these two bunkers had an immediate effect and survived his turn one fire meaning that they would continue to help delay Ed just a bit more next turn,
Ed’s massed fire support started to have an immediate effect along the German side of the river banks.
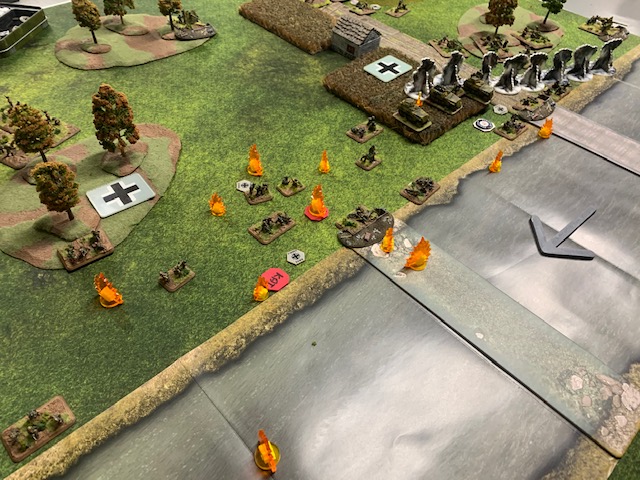
The Germans in turn one failed to range in any mortars and the long range fires from the PaK Front 88’s only managed a single bailed out result on Ed’s tanks. My HMG Nest on my left did manage to pin Ed’s Rifle Company on that side and in the next turn they failed to rally. Anything that helped slow his forward movement would help.
Turn 2
Ed was able to deal with both far side HMG Nests in Turn 2. One he destroyed with shooting and the other had to be assaulted by his T-34s to open up the bridge.
On of my flank PaK Front 88’s would score the first kill of the game for the Germans.
My 81mm Mortars helped thin the ranks of Ed’s rifle company on my right.
 Turn 3
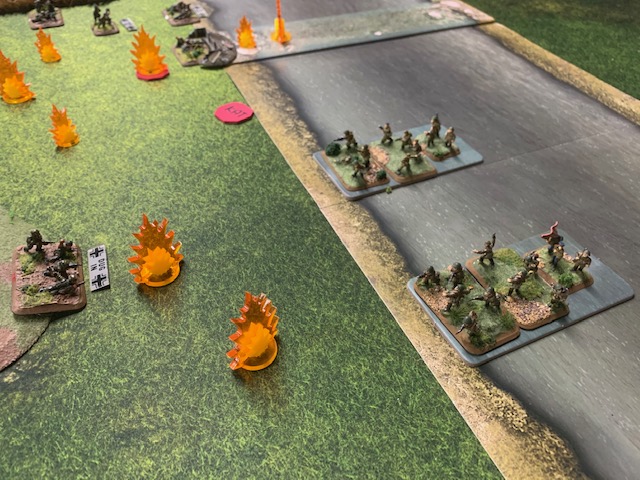
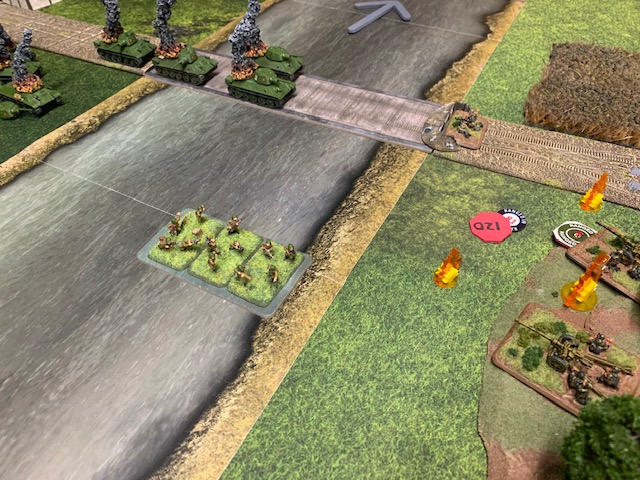
Ed rallied the Rifle Company on my right and started getting is assault boats into the river.
The first Soviets to reach the German side of the river were Ed’s Rifle Company on my right. I would hit them with mortars and Machine-gin fire, but he’d still have three teams left and meanwhile his artillery and mortars would continue to thin the ranks of my forces.
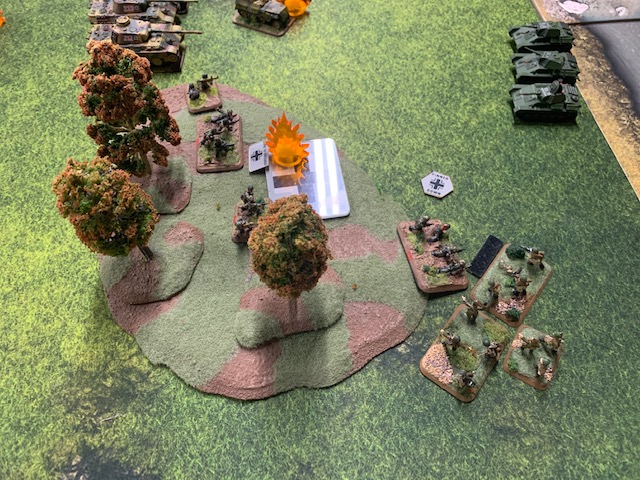
In Turn 3 my SS Panthers did arrive from reserve. Ed was pressing my right so hard and I had so little there to stop them. So the Panthers had to forgo shooting and instead dashed as far as they could to the front.
 Turn 4
On my right Ed crossed the ford with three T-70’s. The 4+ cross check of these hung up his other four T-70’s on the Soviet side of the river. His unit leader was in the three tanks that crossed, good news for shooting those T-70s but this would cause him morale issues for this unit later. Ed also got his remaining three rifle teams on my right into combat, destroying one of my MG teams and forcing the Panzergrenadiers further back into his Katyusha bombardment.
On my left, the 17th SS Volksdutch command card came into play when my left platoon broke under the heavy bombardment.
My 120mm mortars ranged in on the Soviet Rifle company on my left that was preparing to cross the river. Fortunately for Ed failed to roll to return his assault boats in this turn and this company would spend another turn on the banks.
I my part of Turn 4, I shot at and assaulted Ed’s Rifle Company on my left, I took it down to one team, but that team held its ground and was contesting the right objective. My SS Panthers made short work the three T-70s that had crossed the ford, leaving the four T-70s on the German side without a leader and now in Poor Spirits.
 Turn 5
Ed’s valiant Rifle Company on my right finally broke, which was a good thing because his Katyusha bombardment would finally break my right Panzergrenadier platoon. Now both of those platoon were gone.
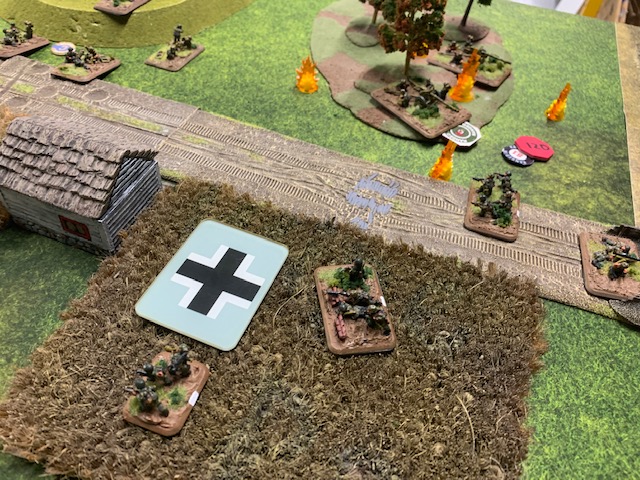
Ed finally got the lead elements of his other Rifle Company on my left across the river. But it was too late for him to be within 8″ on an objective at the start of his next turn.
The leaderless T-70s on the Soviet side of the ford broke.

It was not necessary for me to play my Turn 5. It was already clear that Ed would not be able to continue the mission on Turn 6’s beginning and he had already destroyed enough units; two Panzergrenadiers platoons and my PaK-40 platoon to earn his three victory points.
The game was a very bloody 6-3 for my Germans. Ed reduced my core formation to just four mortar teams and my HQ. This game was so close. If his Rifle Company on my left did not stay pinned for one turn or more T-70s had crossed the ford in Turn 4, then I have no doubt he would have put my formation in poor sprits with all that artillery in Turn 6. If my SS Panthers did not arrive on Turn 3 when the first could, then I have no doubt that his T-70s and Rifle Company would have been able to secure the right objective. Ed had gutted my force, but I was able to slow and whittle down his force just enough to hang on to a narrow win.
I have never faced so much artillery before in Flames of War. Five templates, with one of them being a salvo template meant that Ed was able to get a template of just about everything in my force every turn. It was brutal, but it was an exciting game. We have our finale game in the campaign coming up soon. I will have to attack, for the first time in the campaign in this last battle. I hope to share an AAR from that game with h you in a few weeks.
Thanks for a good and exciting AAR. Why Ed chose to go regular Rifles when he only took small size platoons is a mystery. For a point cheaper he could have taken Hero shock Rifles that save on 3+ with 13 stands vs 15, but the chance to save a hit increases 33%. I am looking forward to the last AAR to see how you will do on the attack. Keep up all this FOW content. Thanks again.
Great content thanks for writing. Looks like a fun mission!