Hail Caesar Battle Report: Beware the Ides of March, Pyrrhic Greeks vs Romans
by Dennis ‘Matt Varnish’ Campbell
Fresh off our earlier review of the updated Hail Caesar book, Scott Roach and I have played our first game of the new rules.
We decided to run three Divisions for around 500pts each side, and are opting for the classic orders procedure and not the simplified procedures.
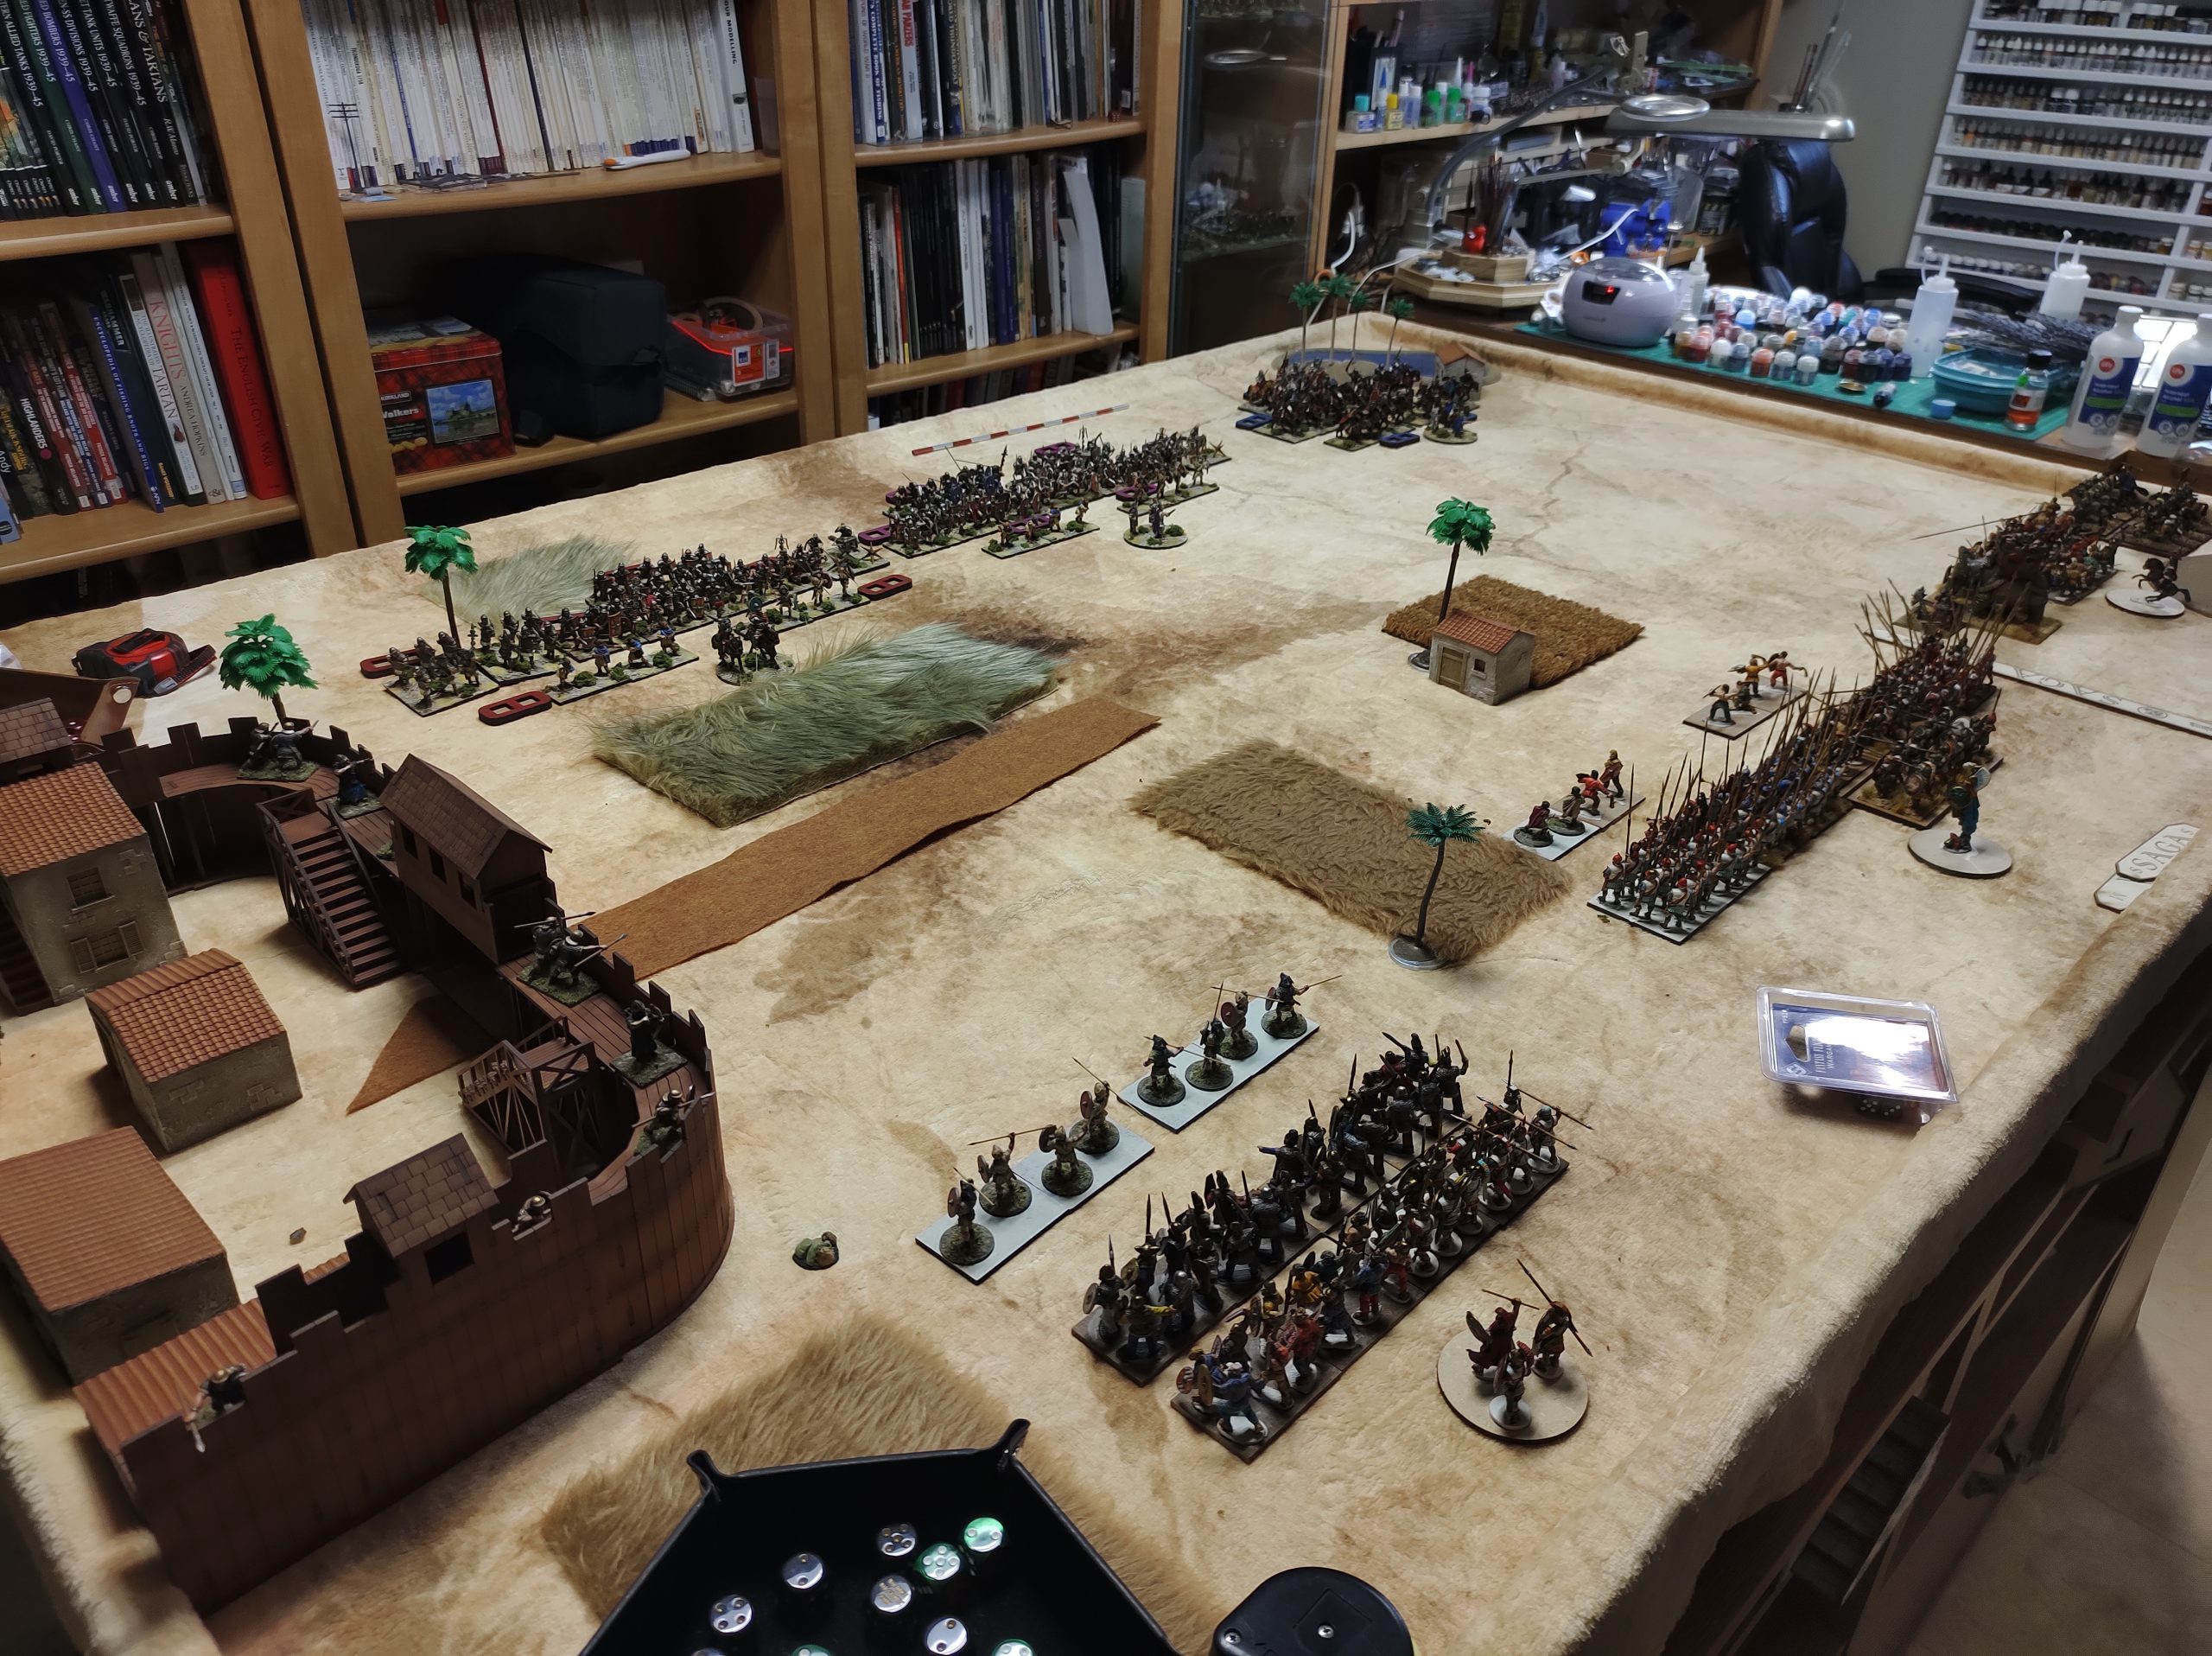
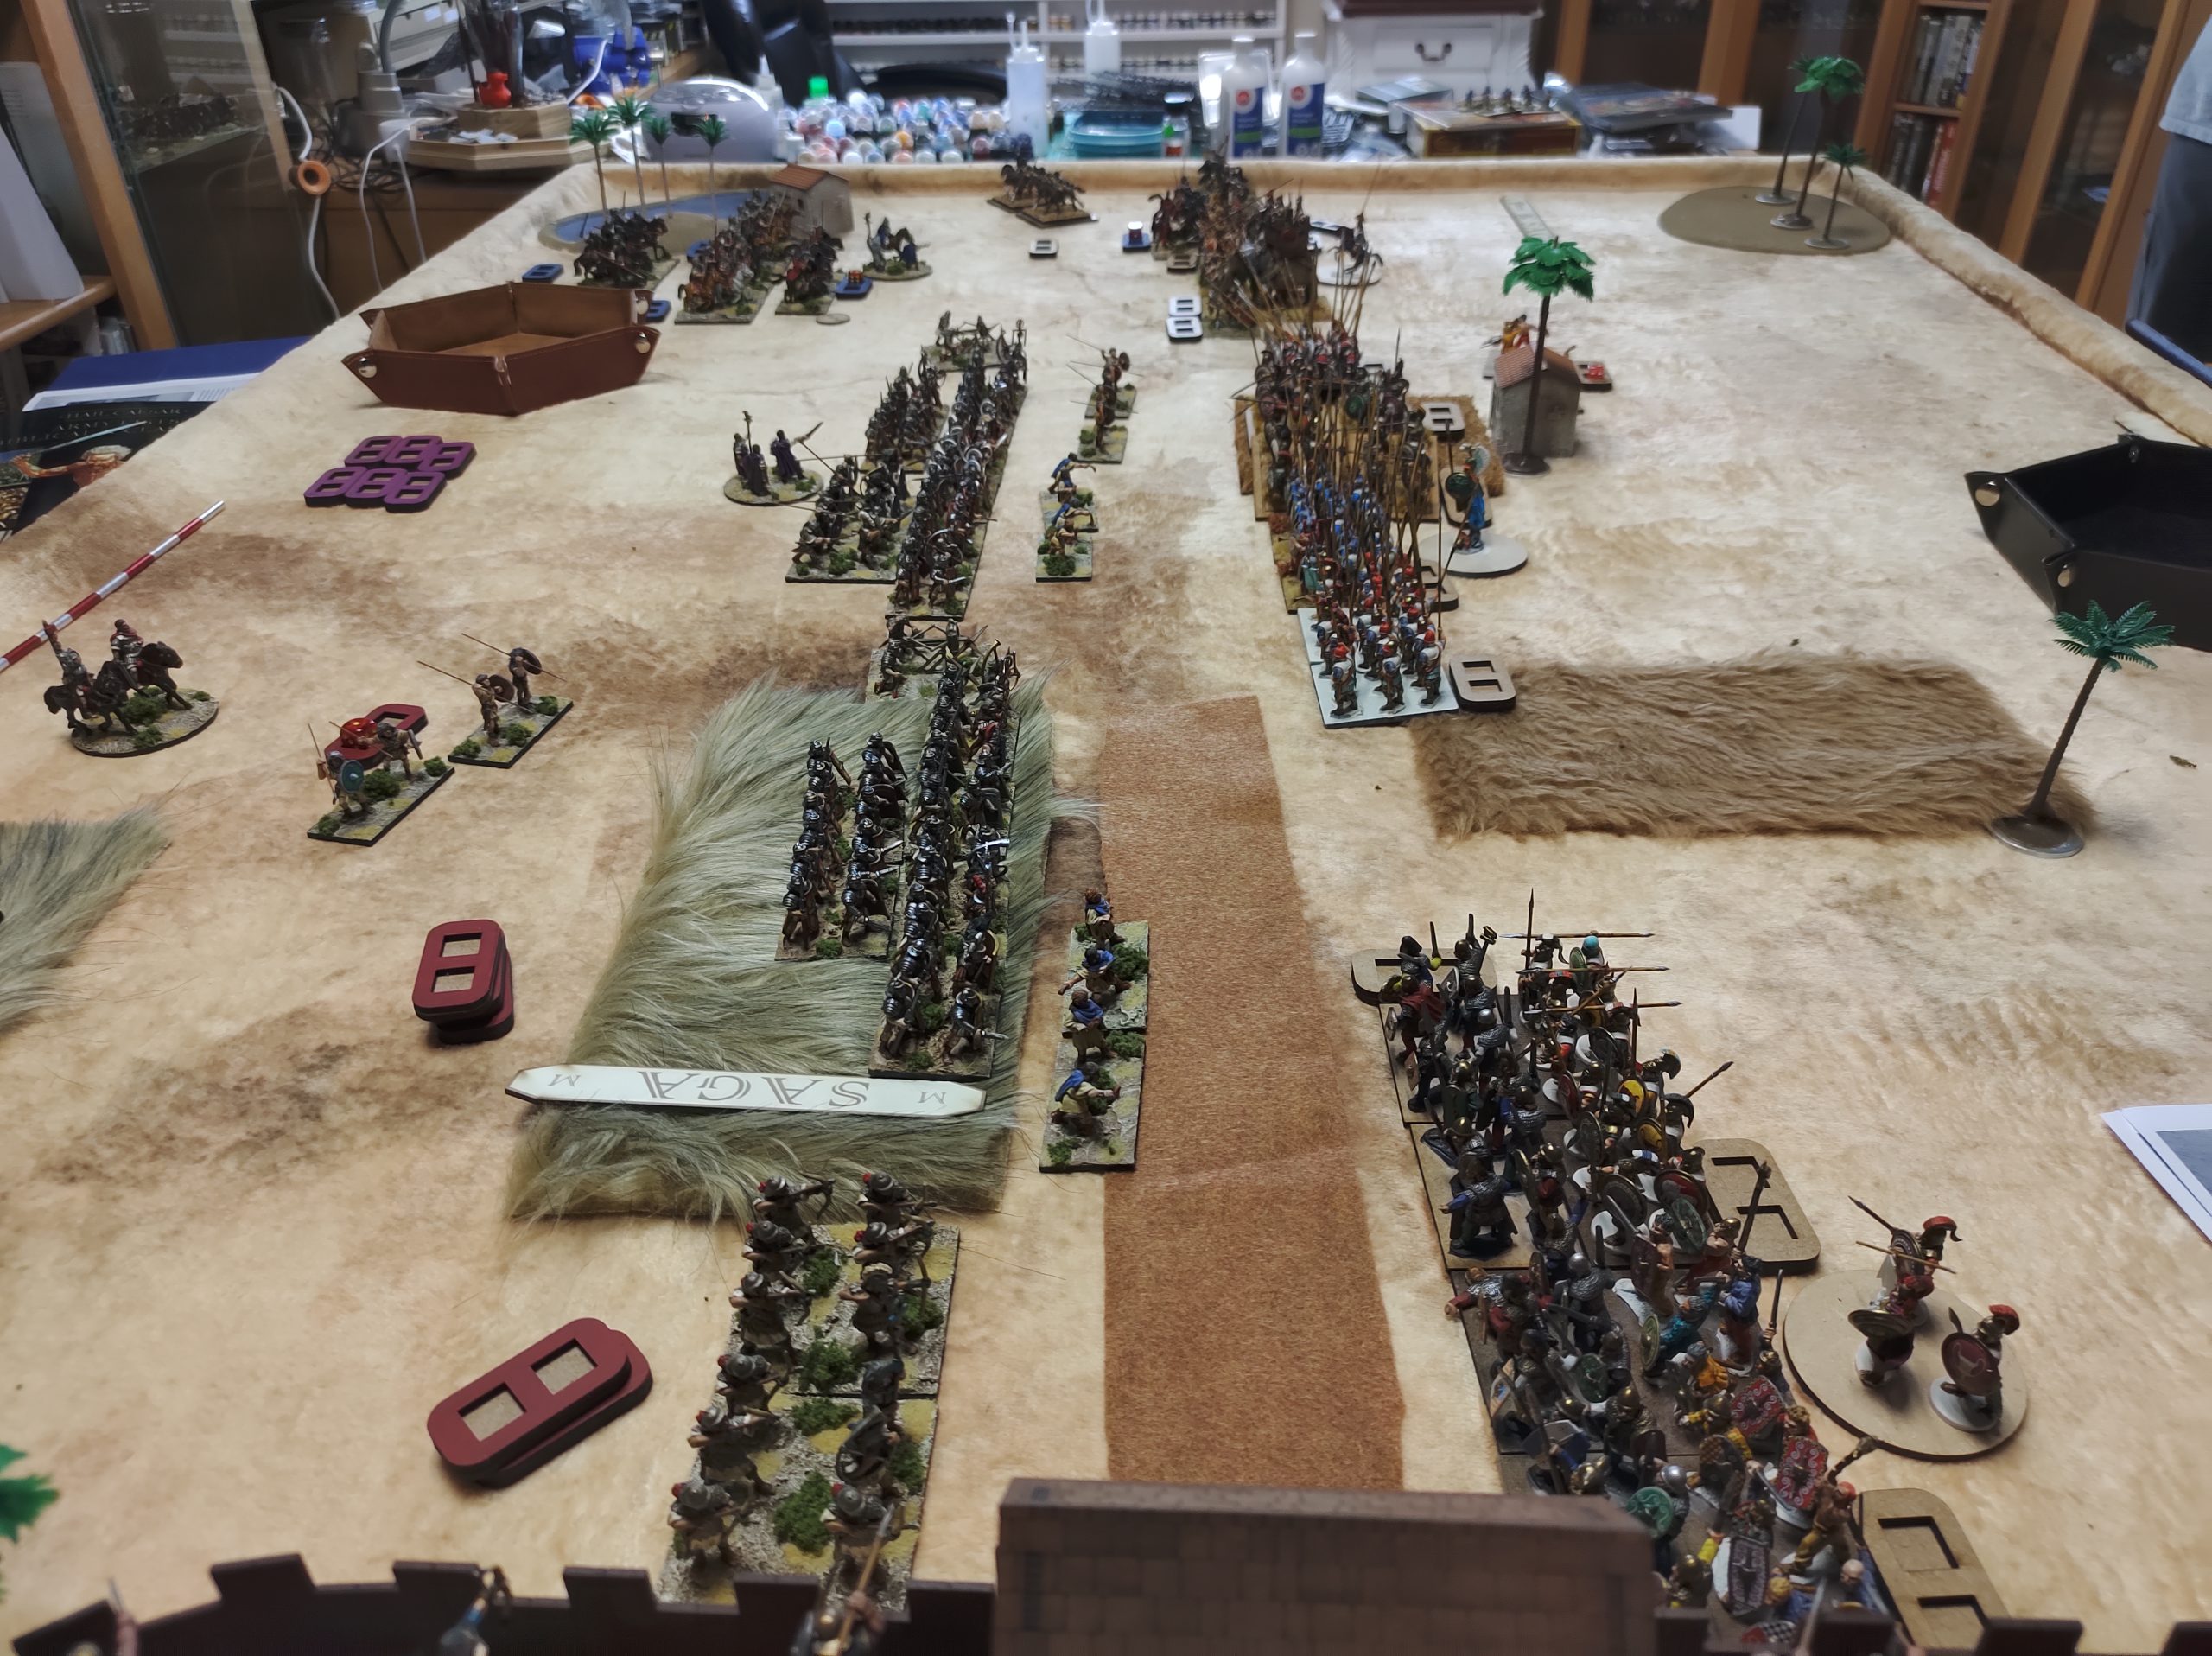
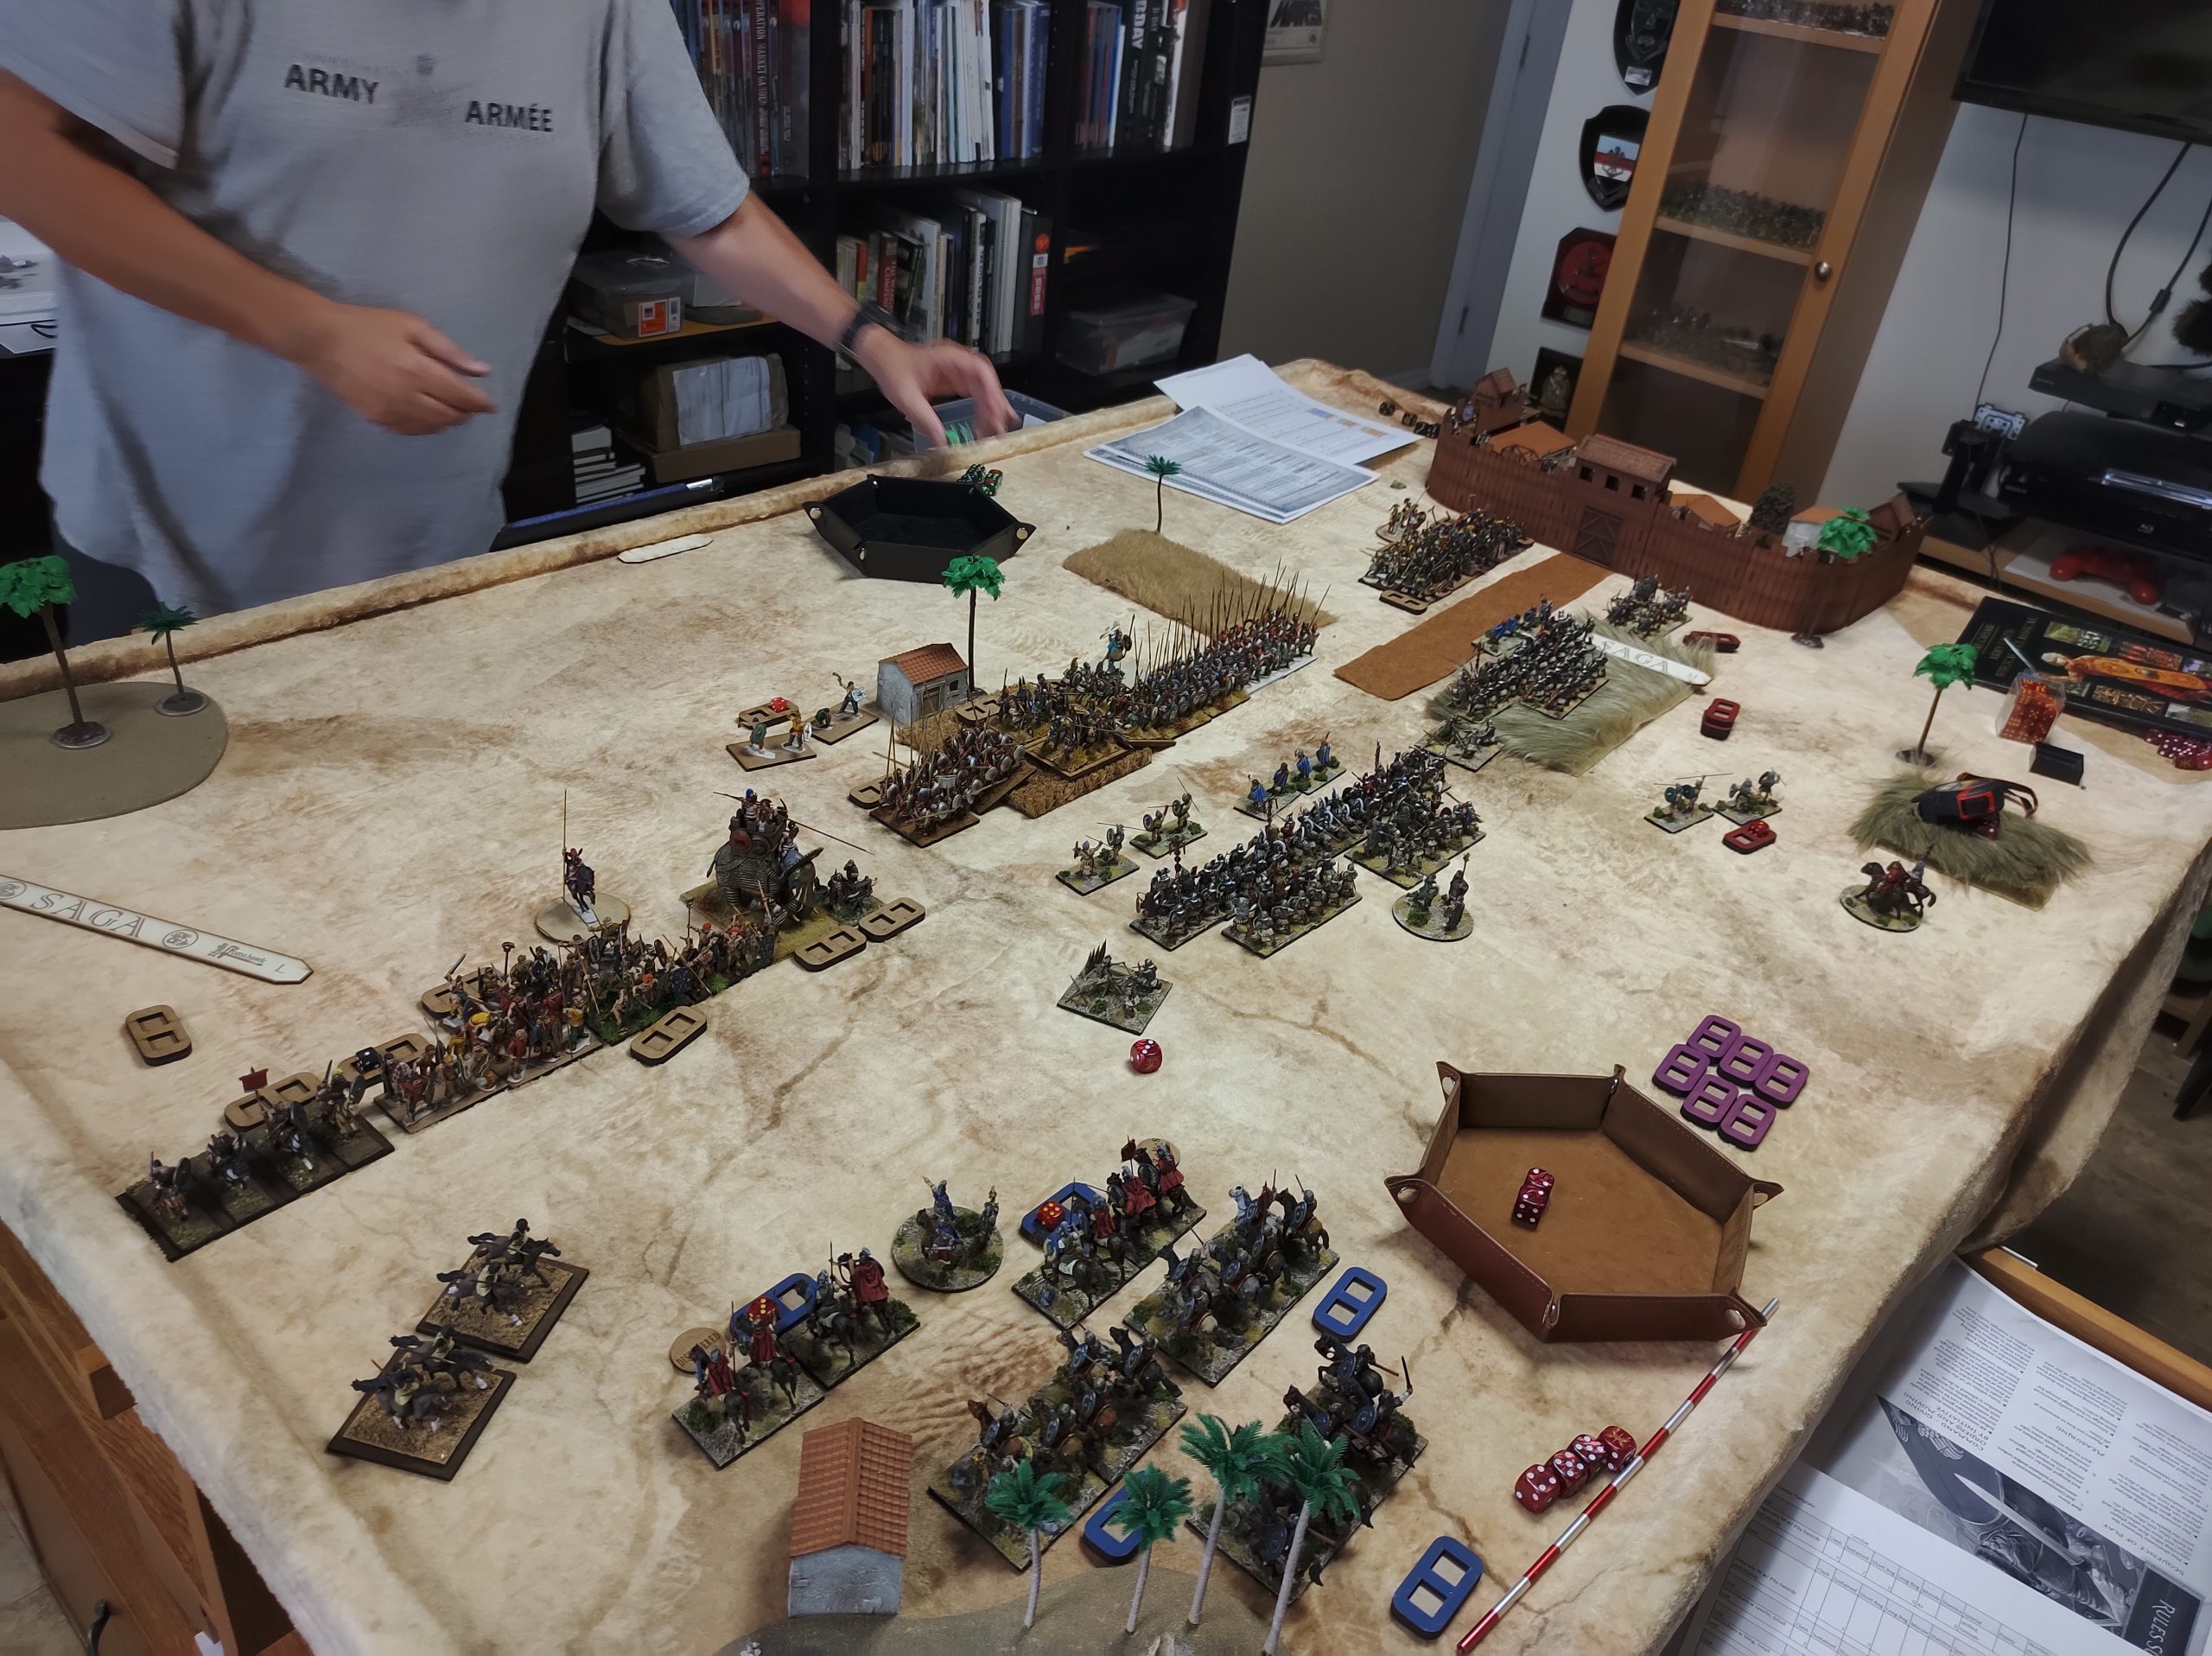
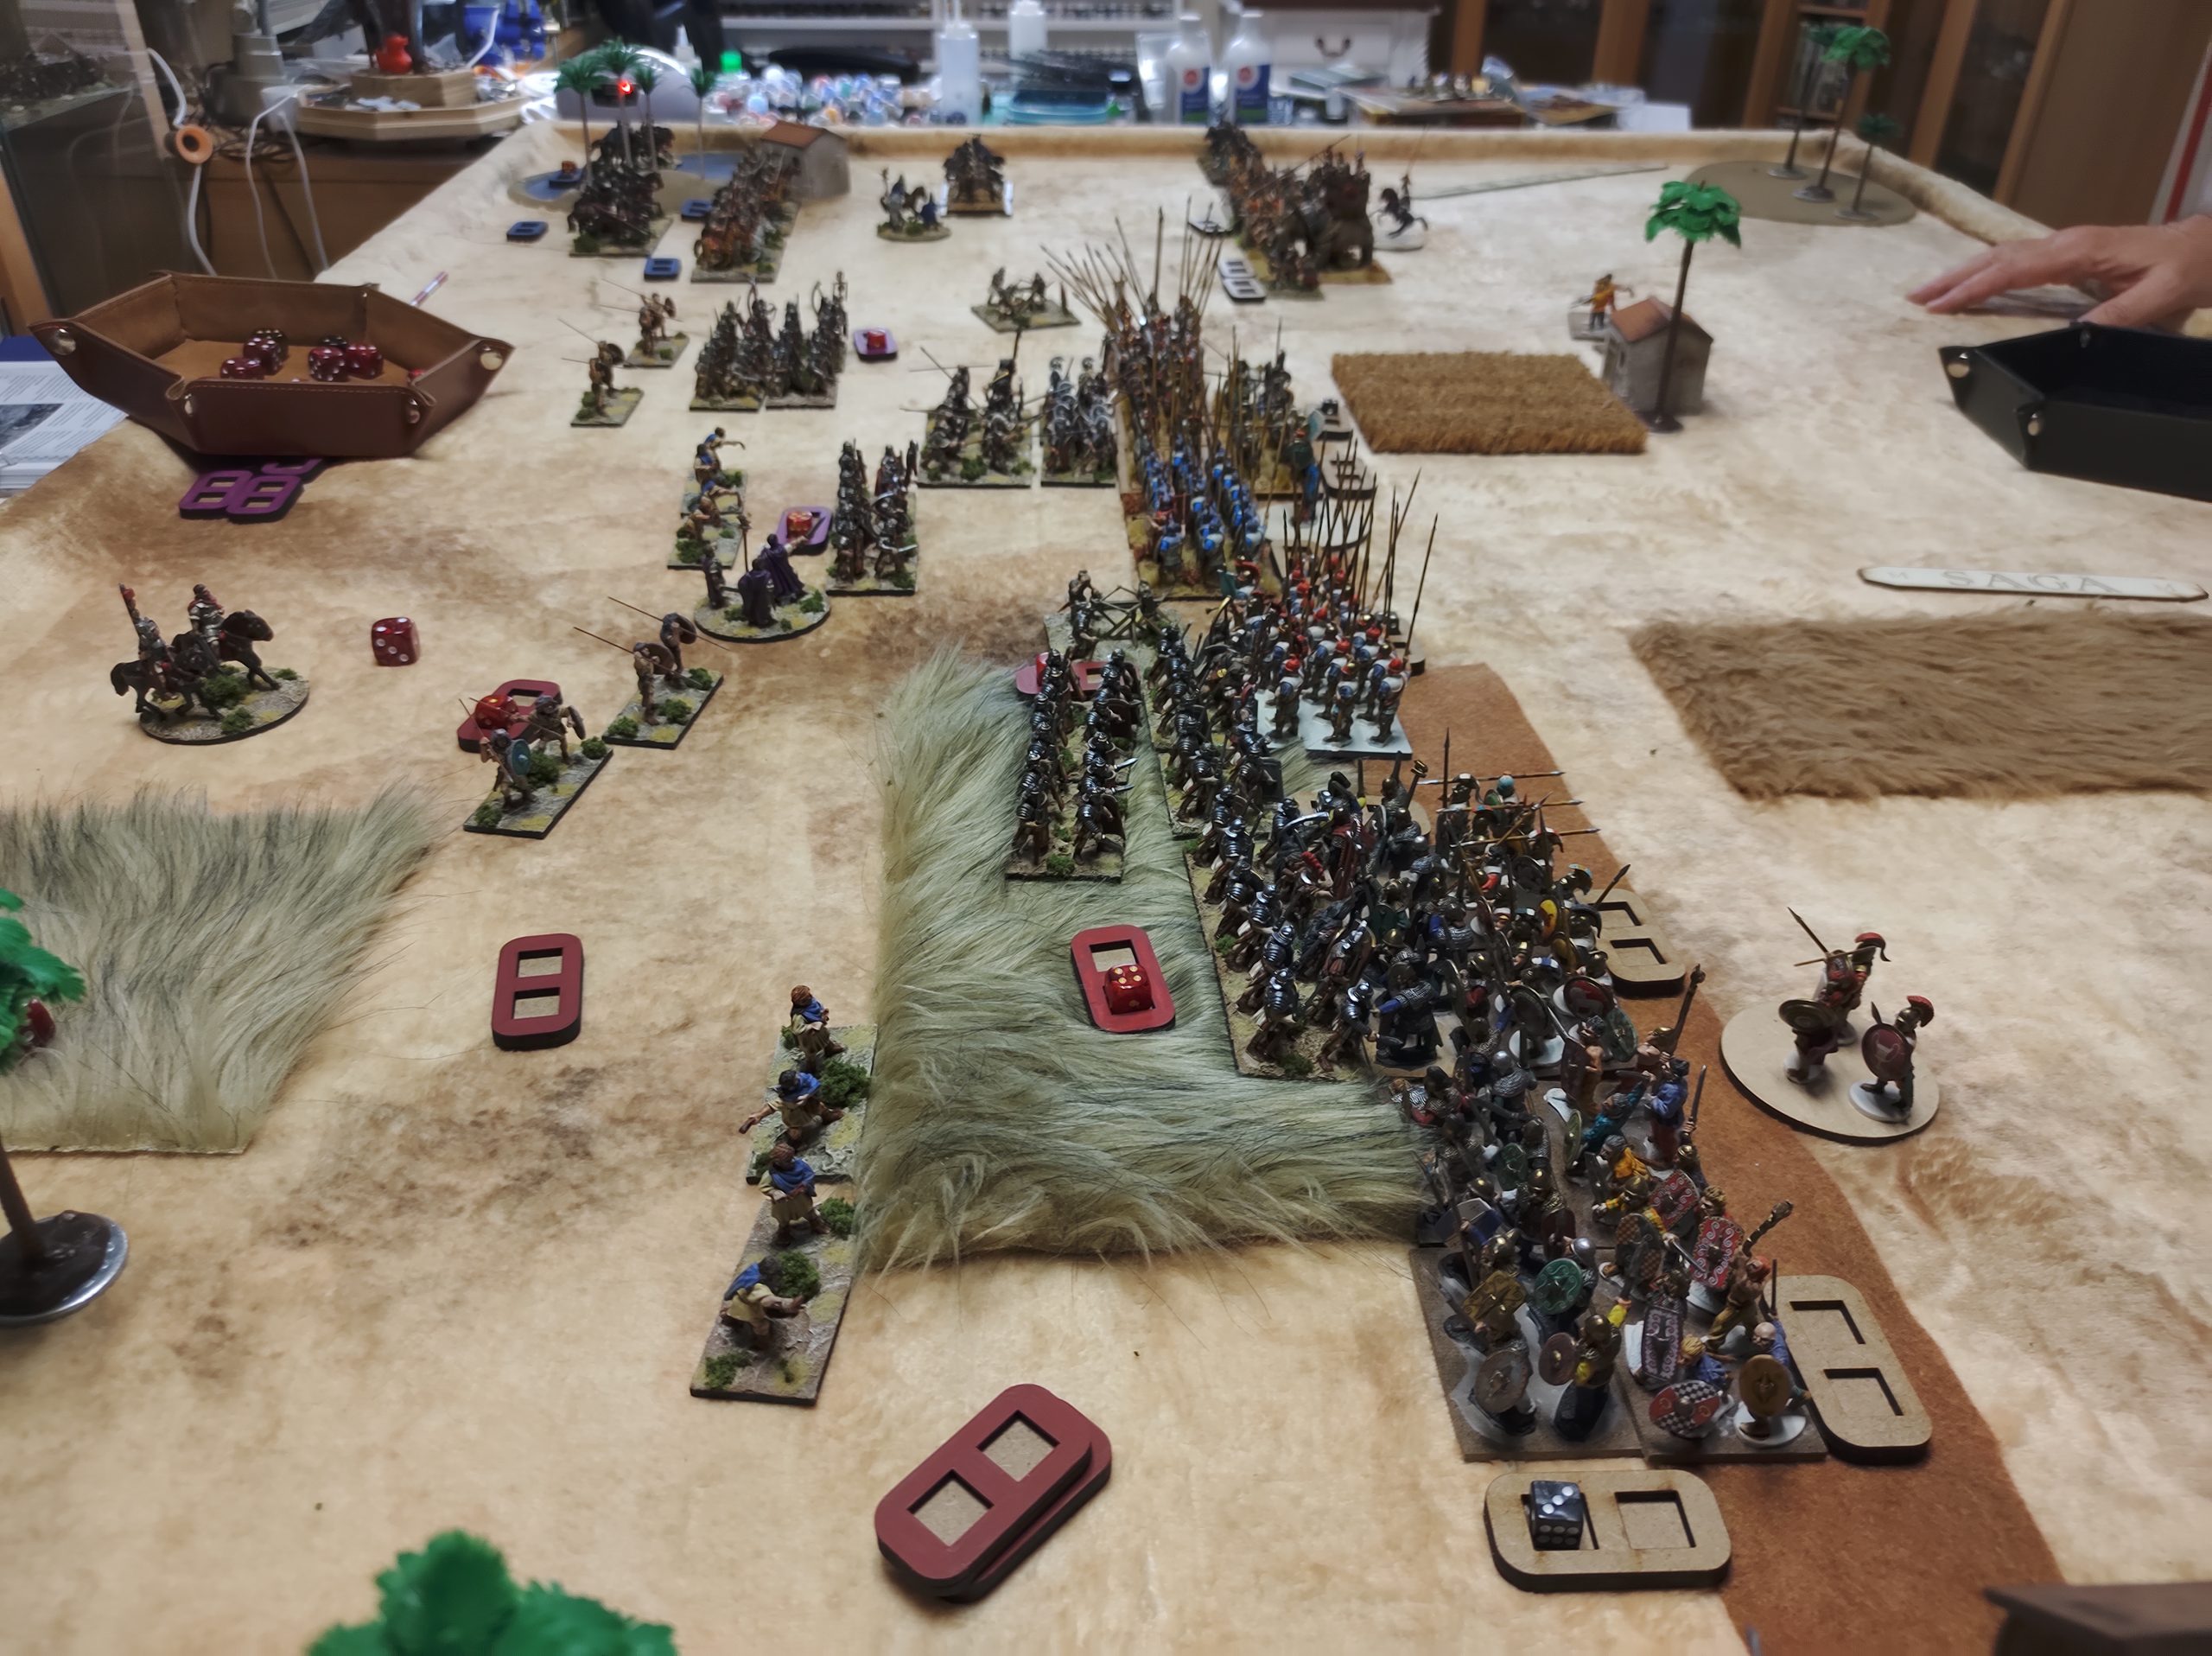
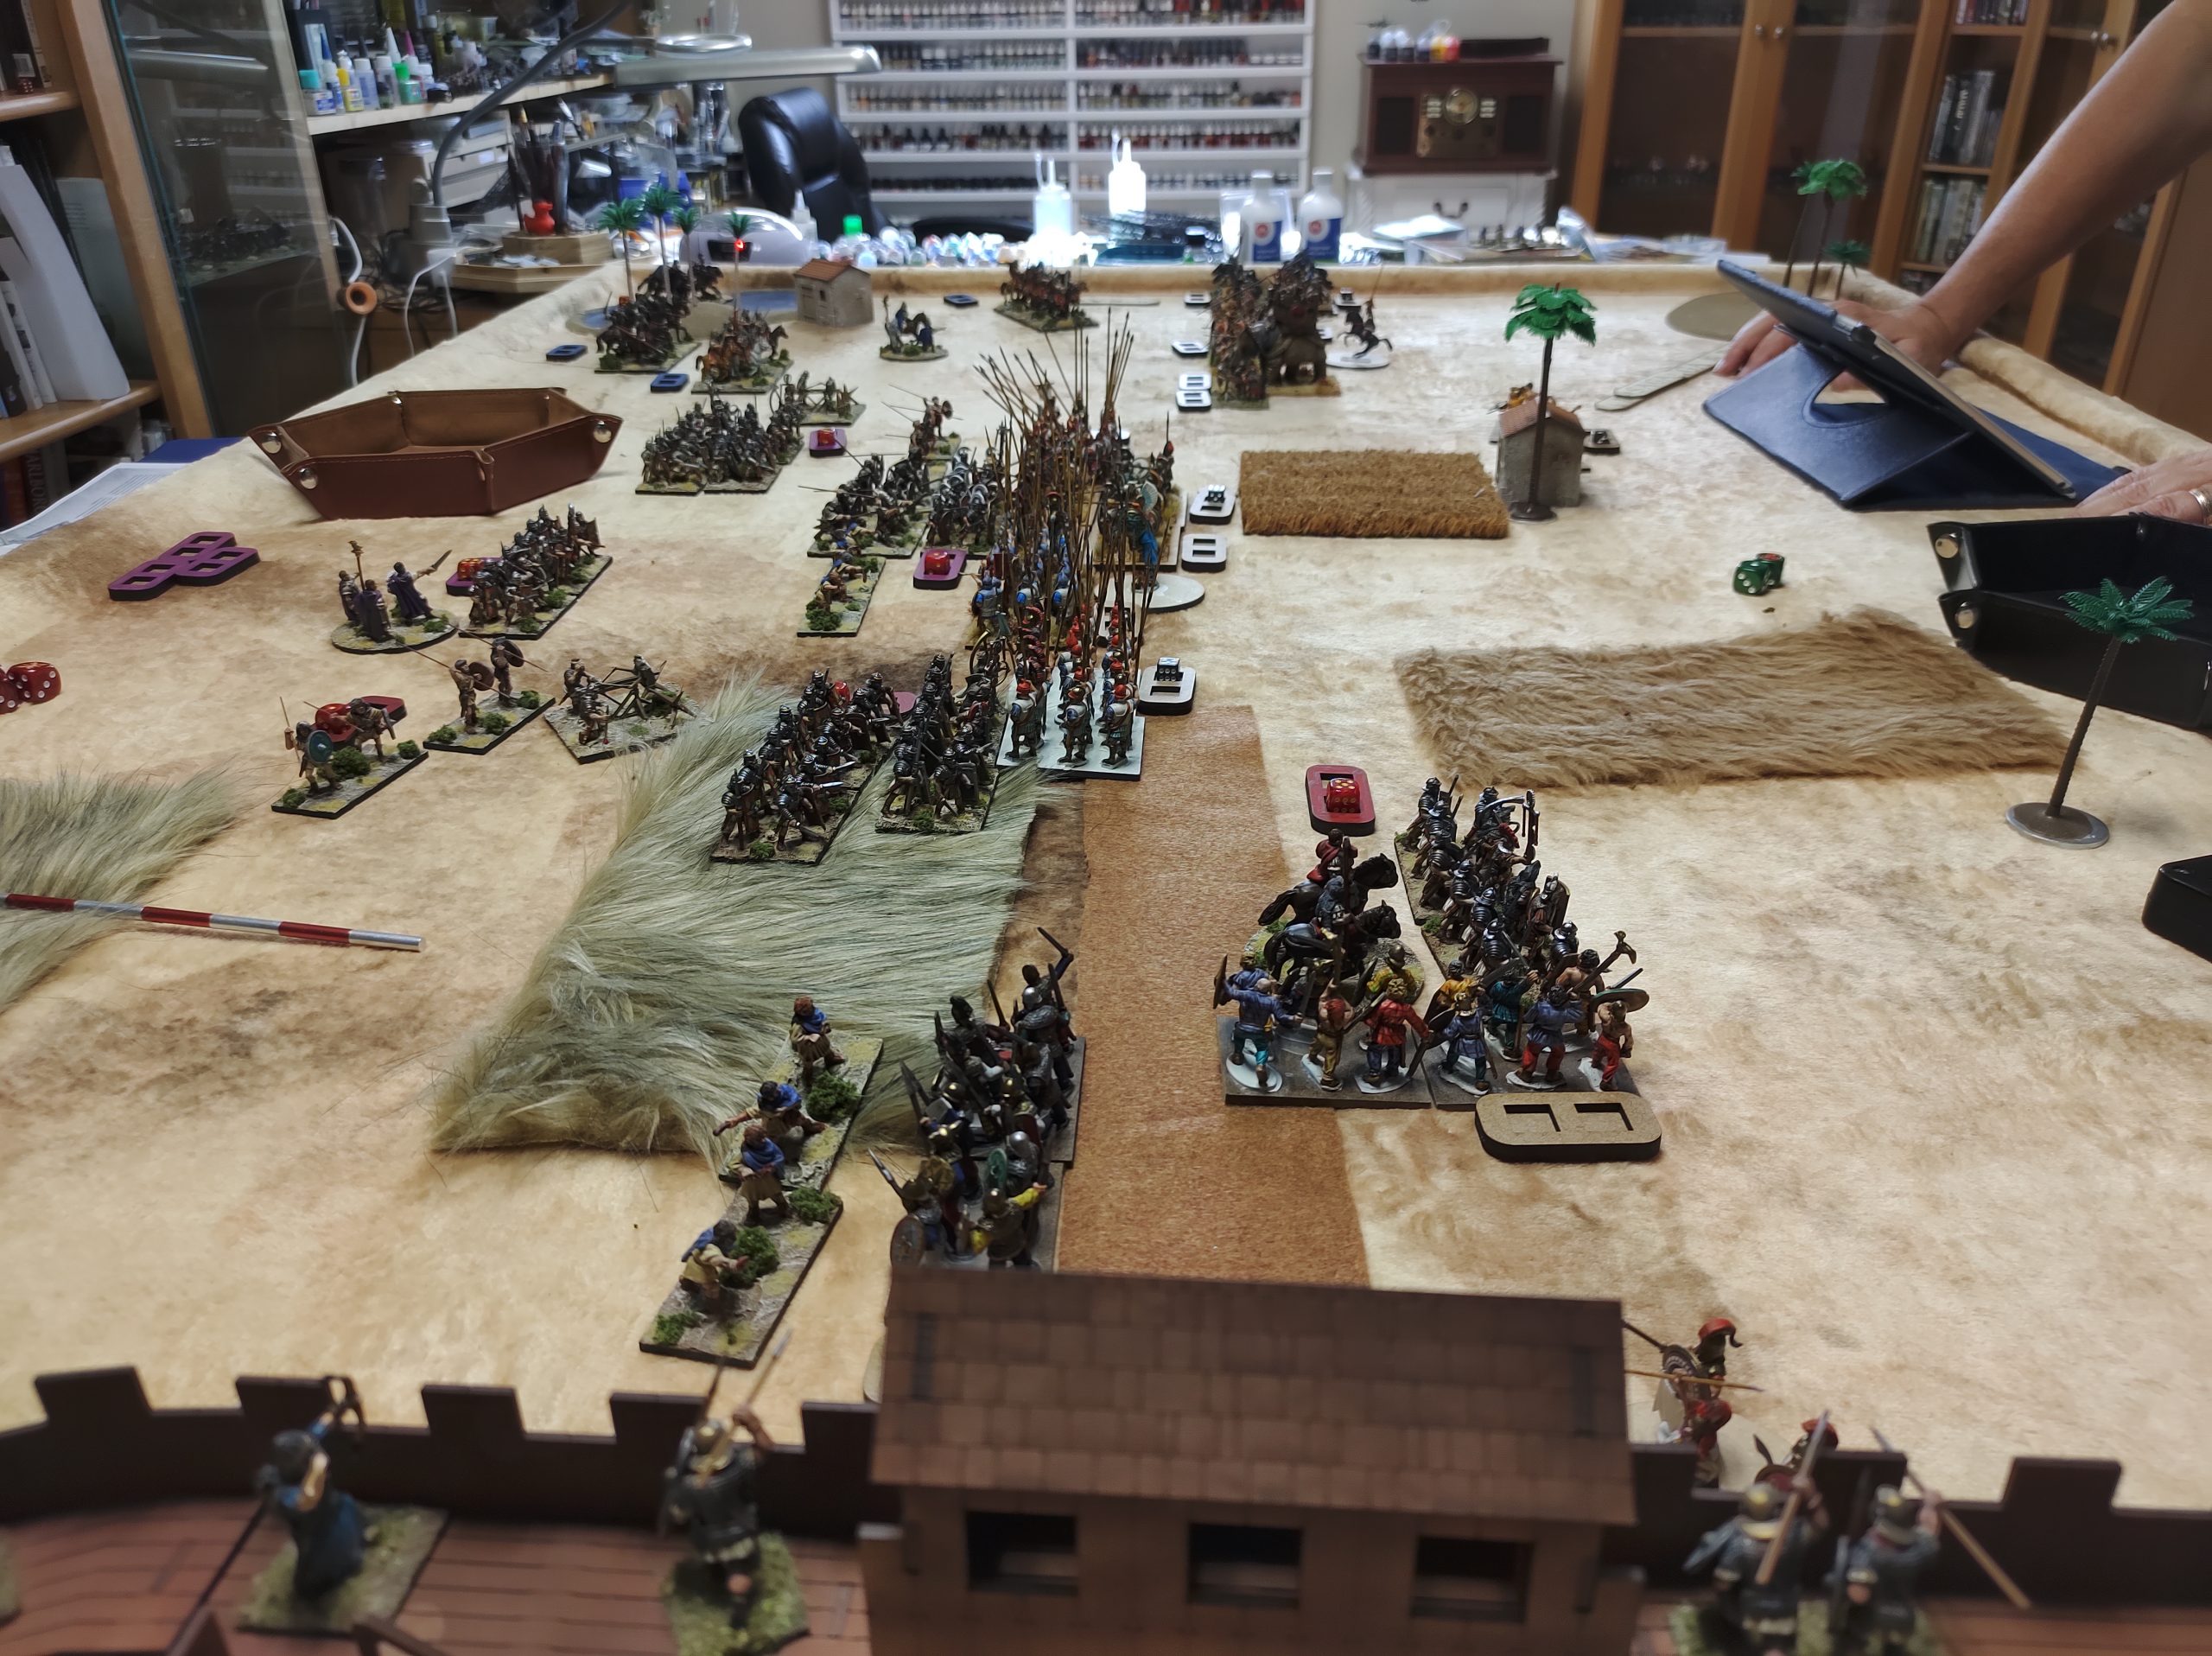
Scott had this lovely table set up (above) with a sweet Roman Fort that I would be defending in front of the main gate, whilst his Pyrrhic Greeks would be marching from the Sicilian beaches after debarking from their galleys.
The fort and occupants are just for show.
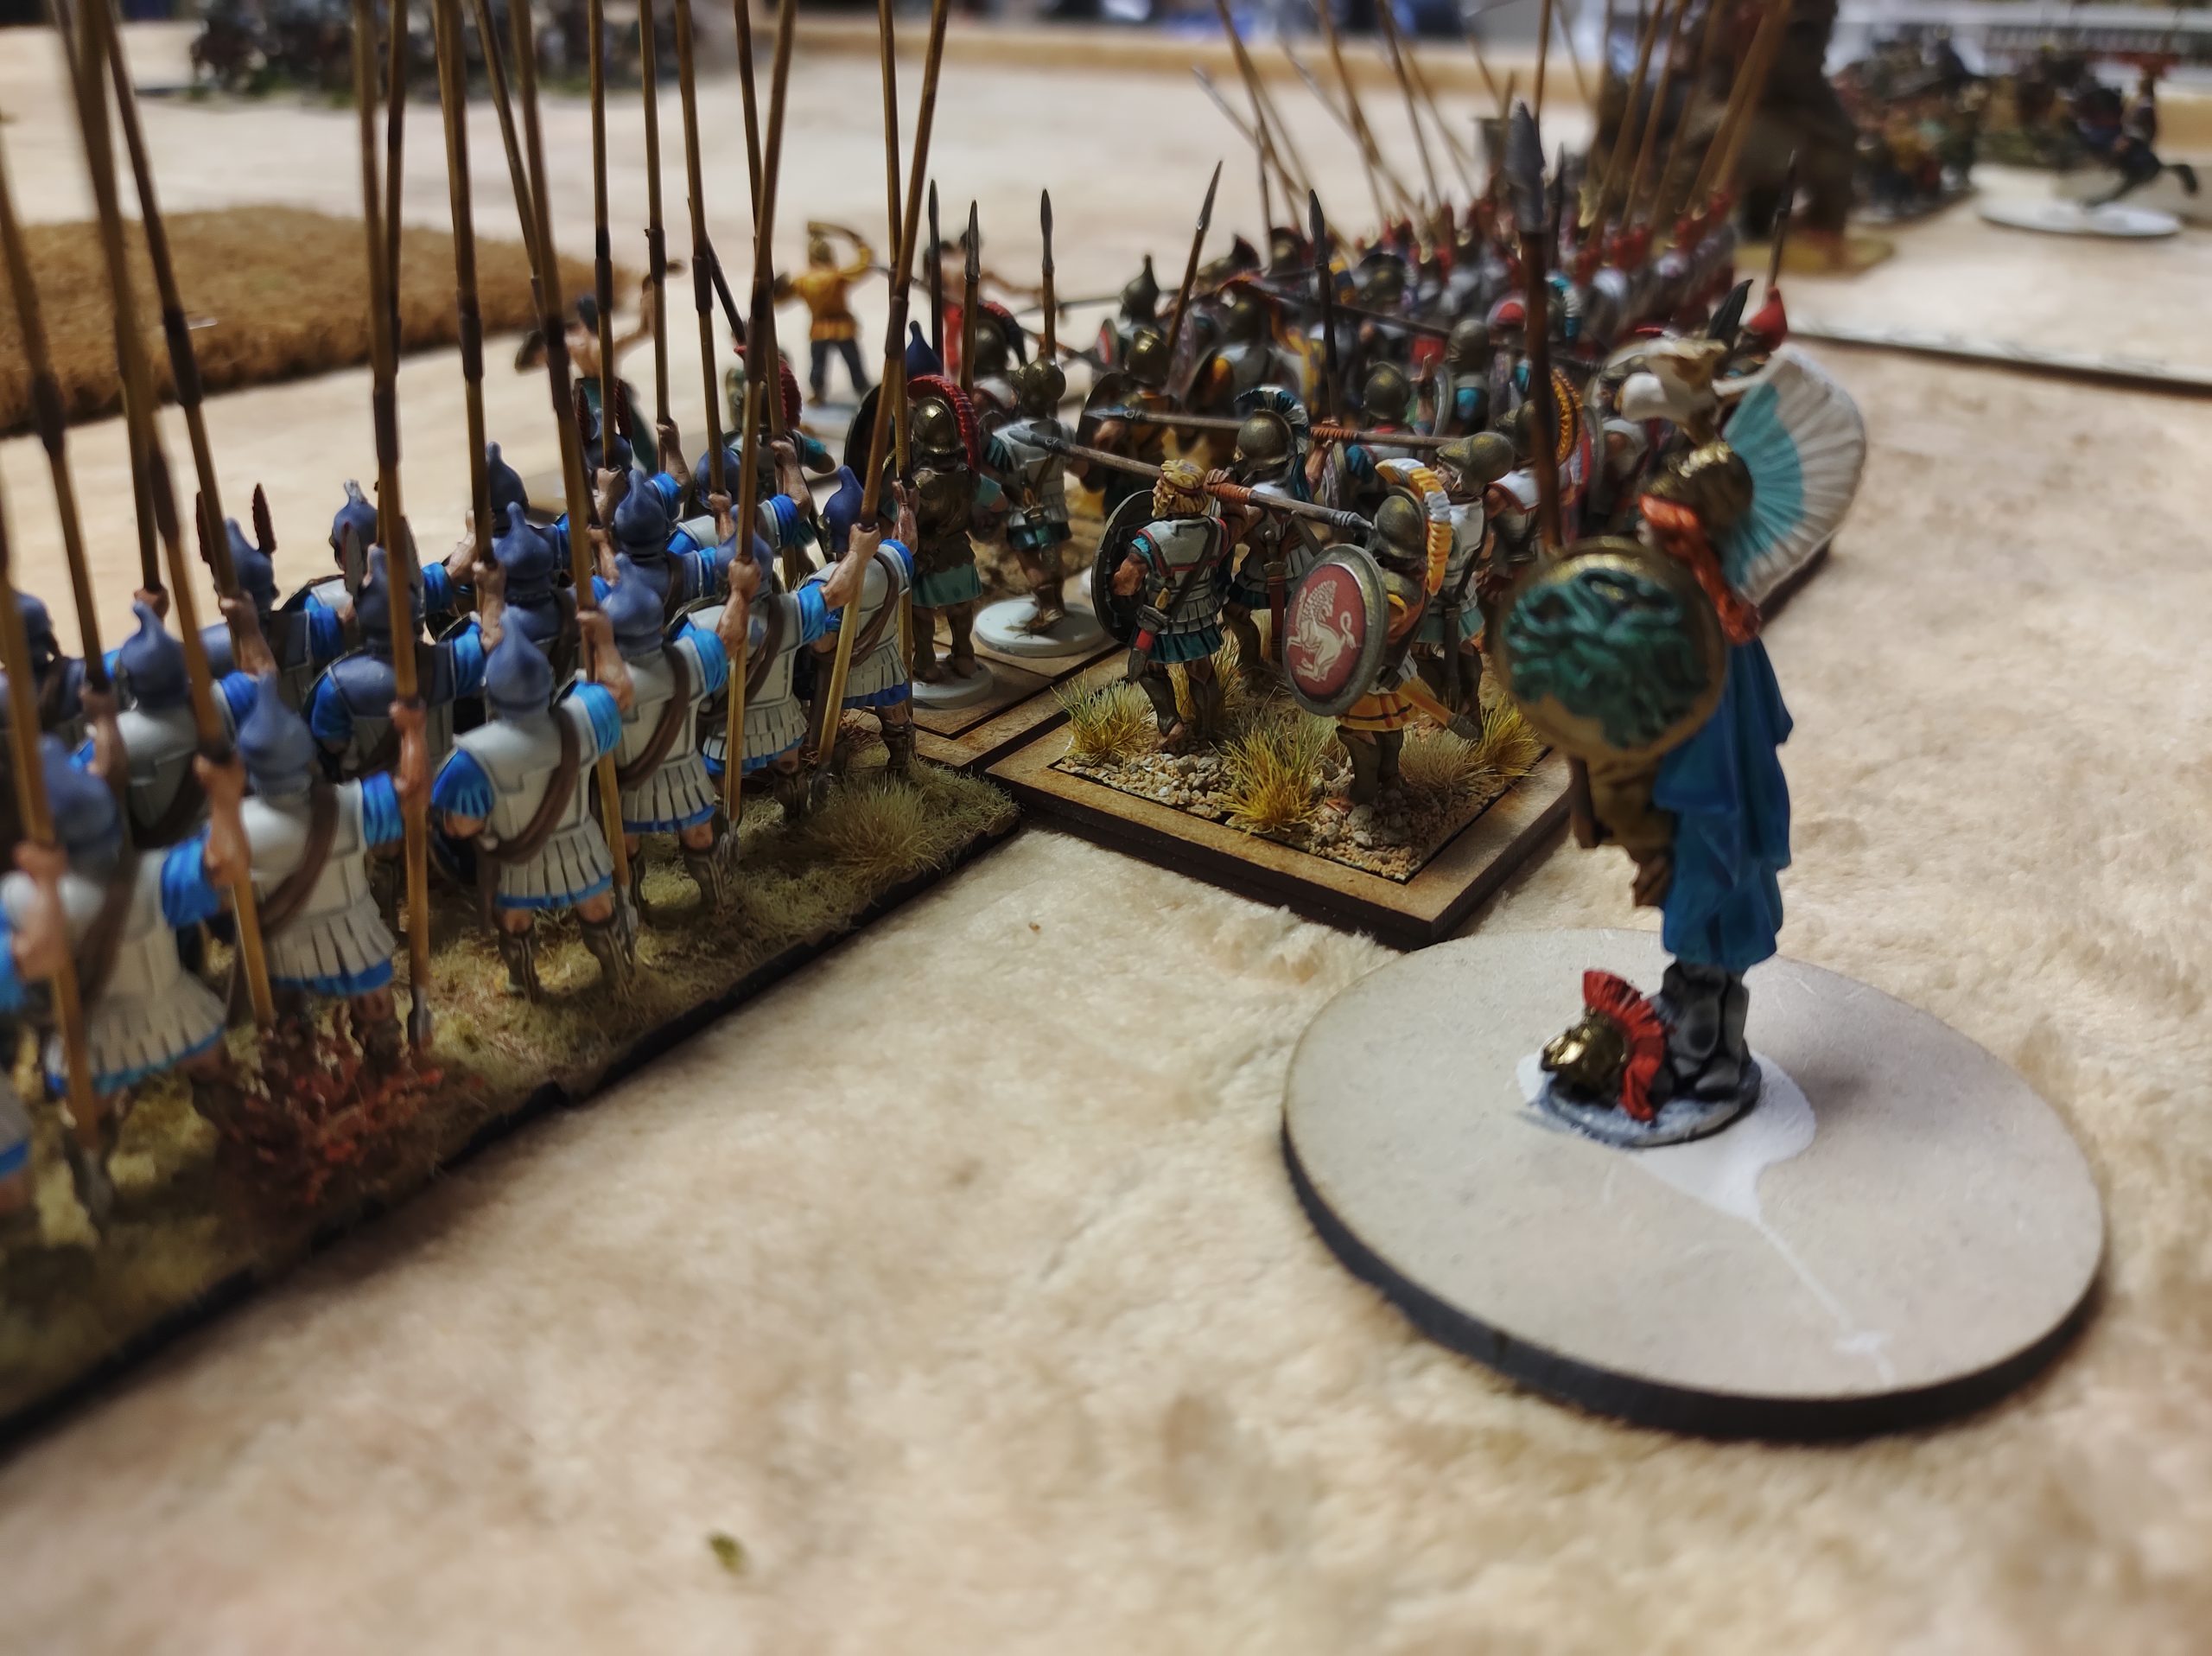
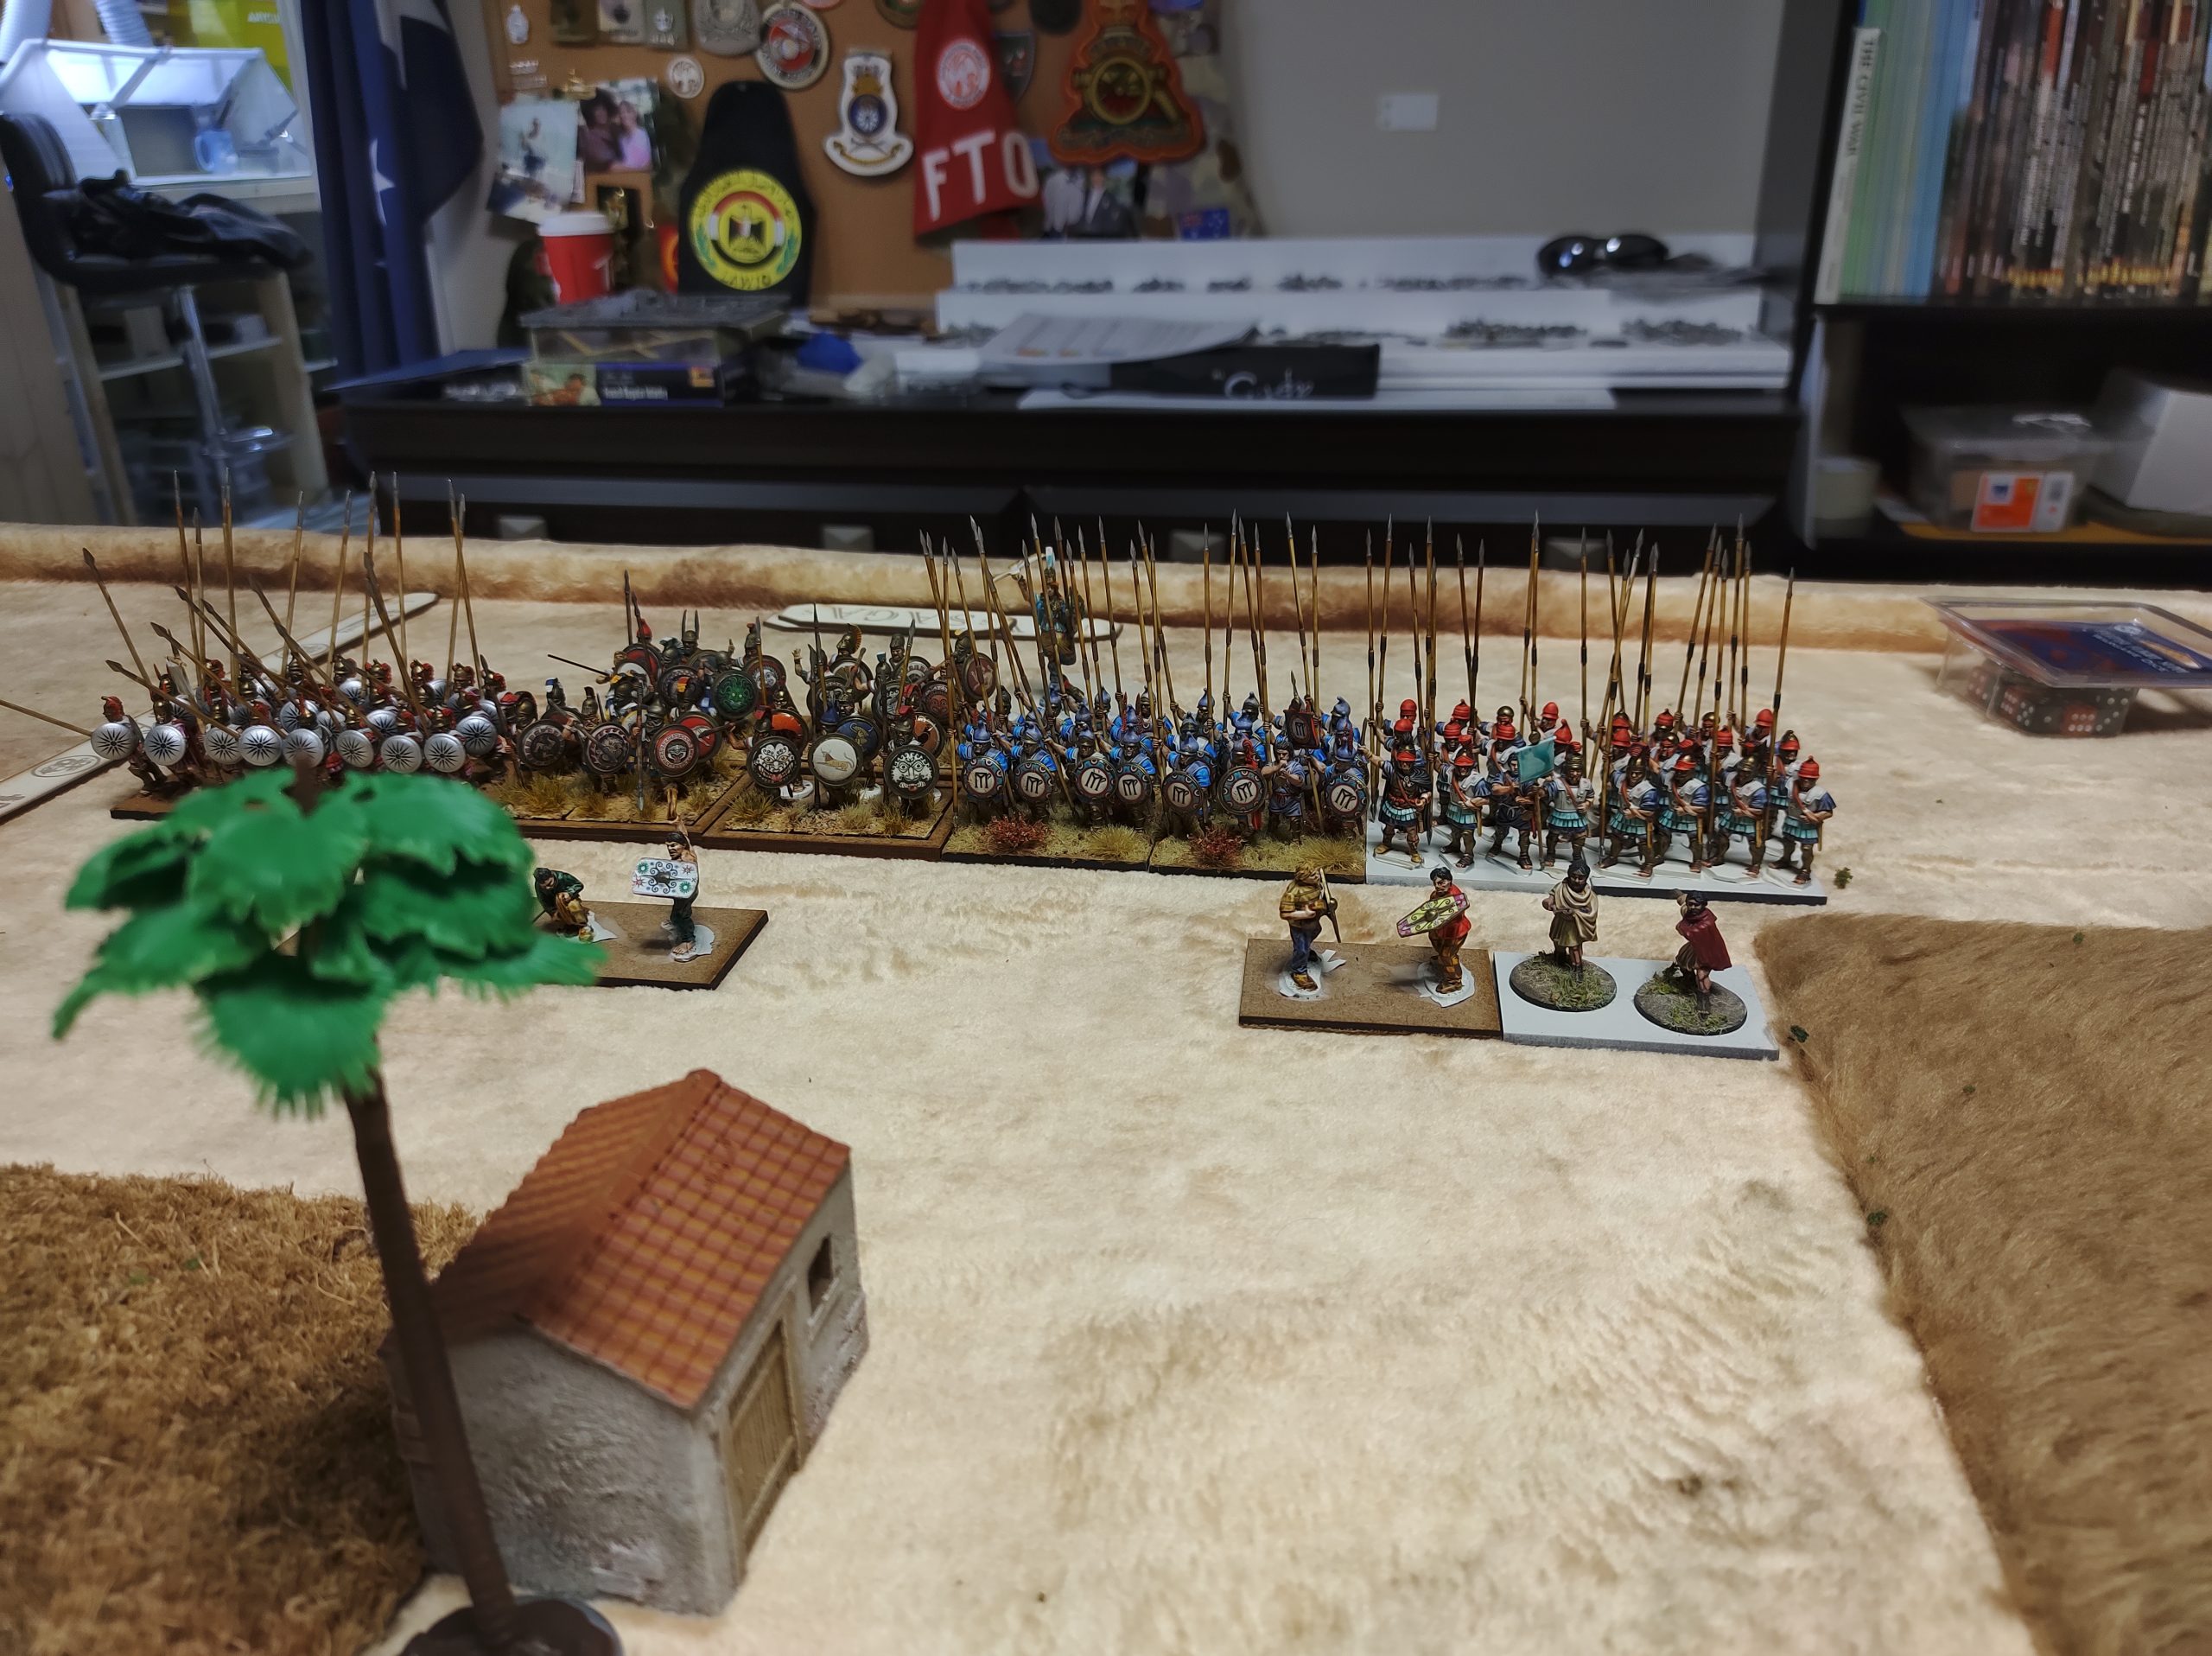
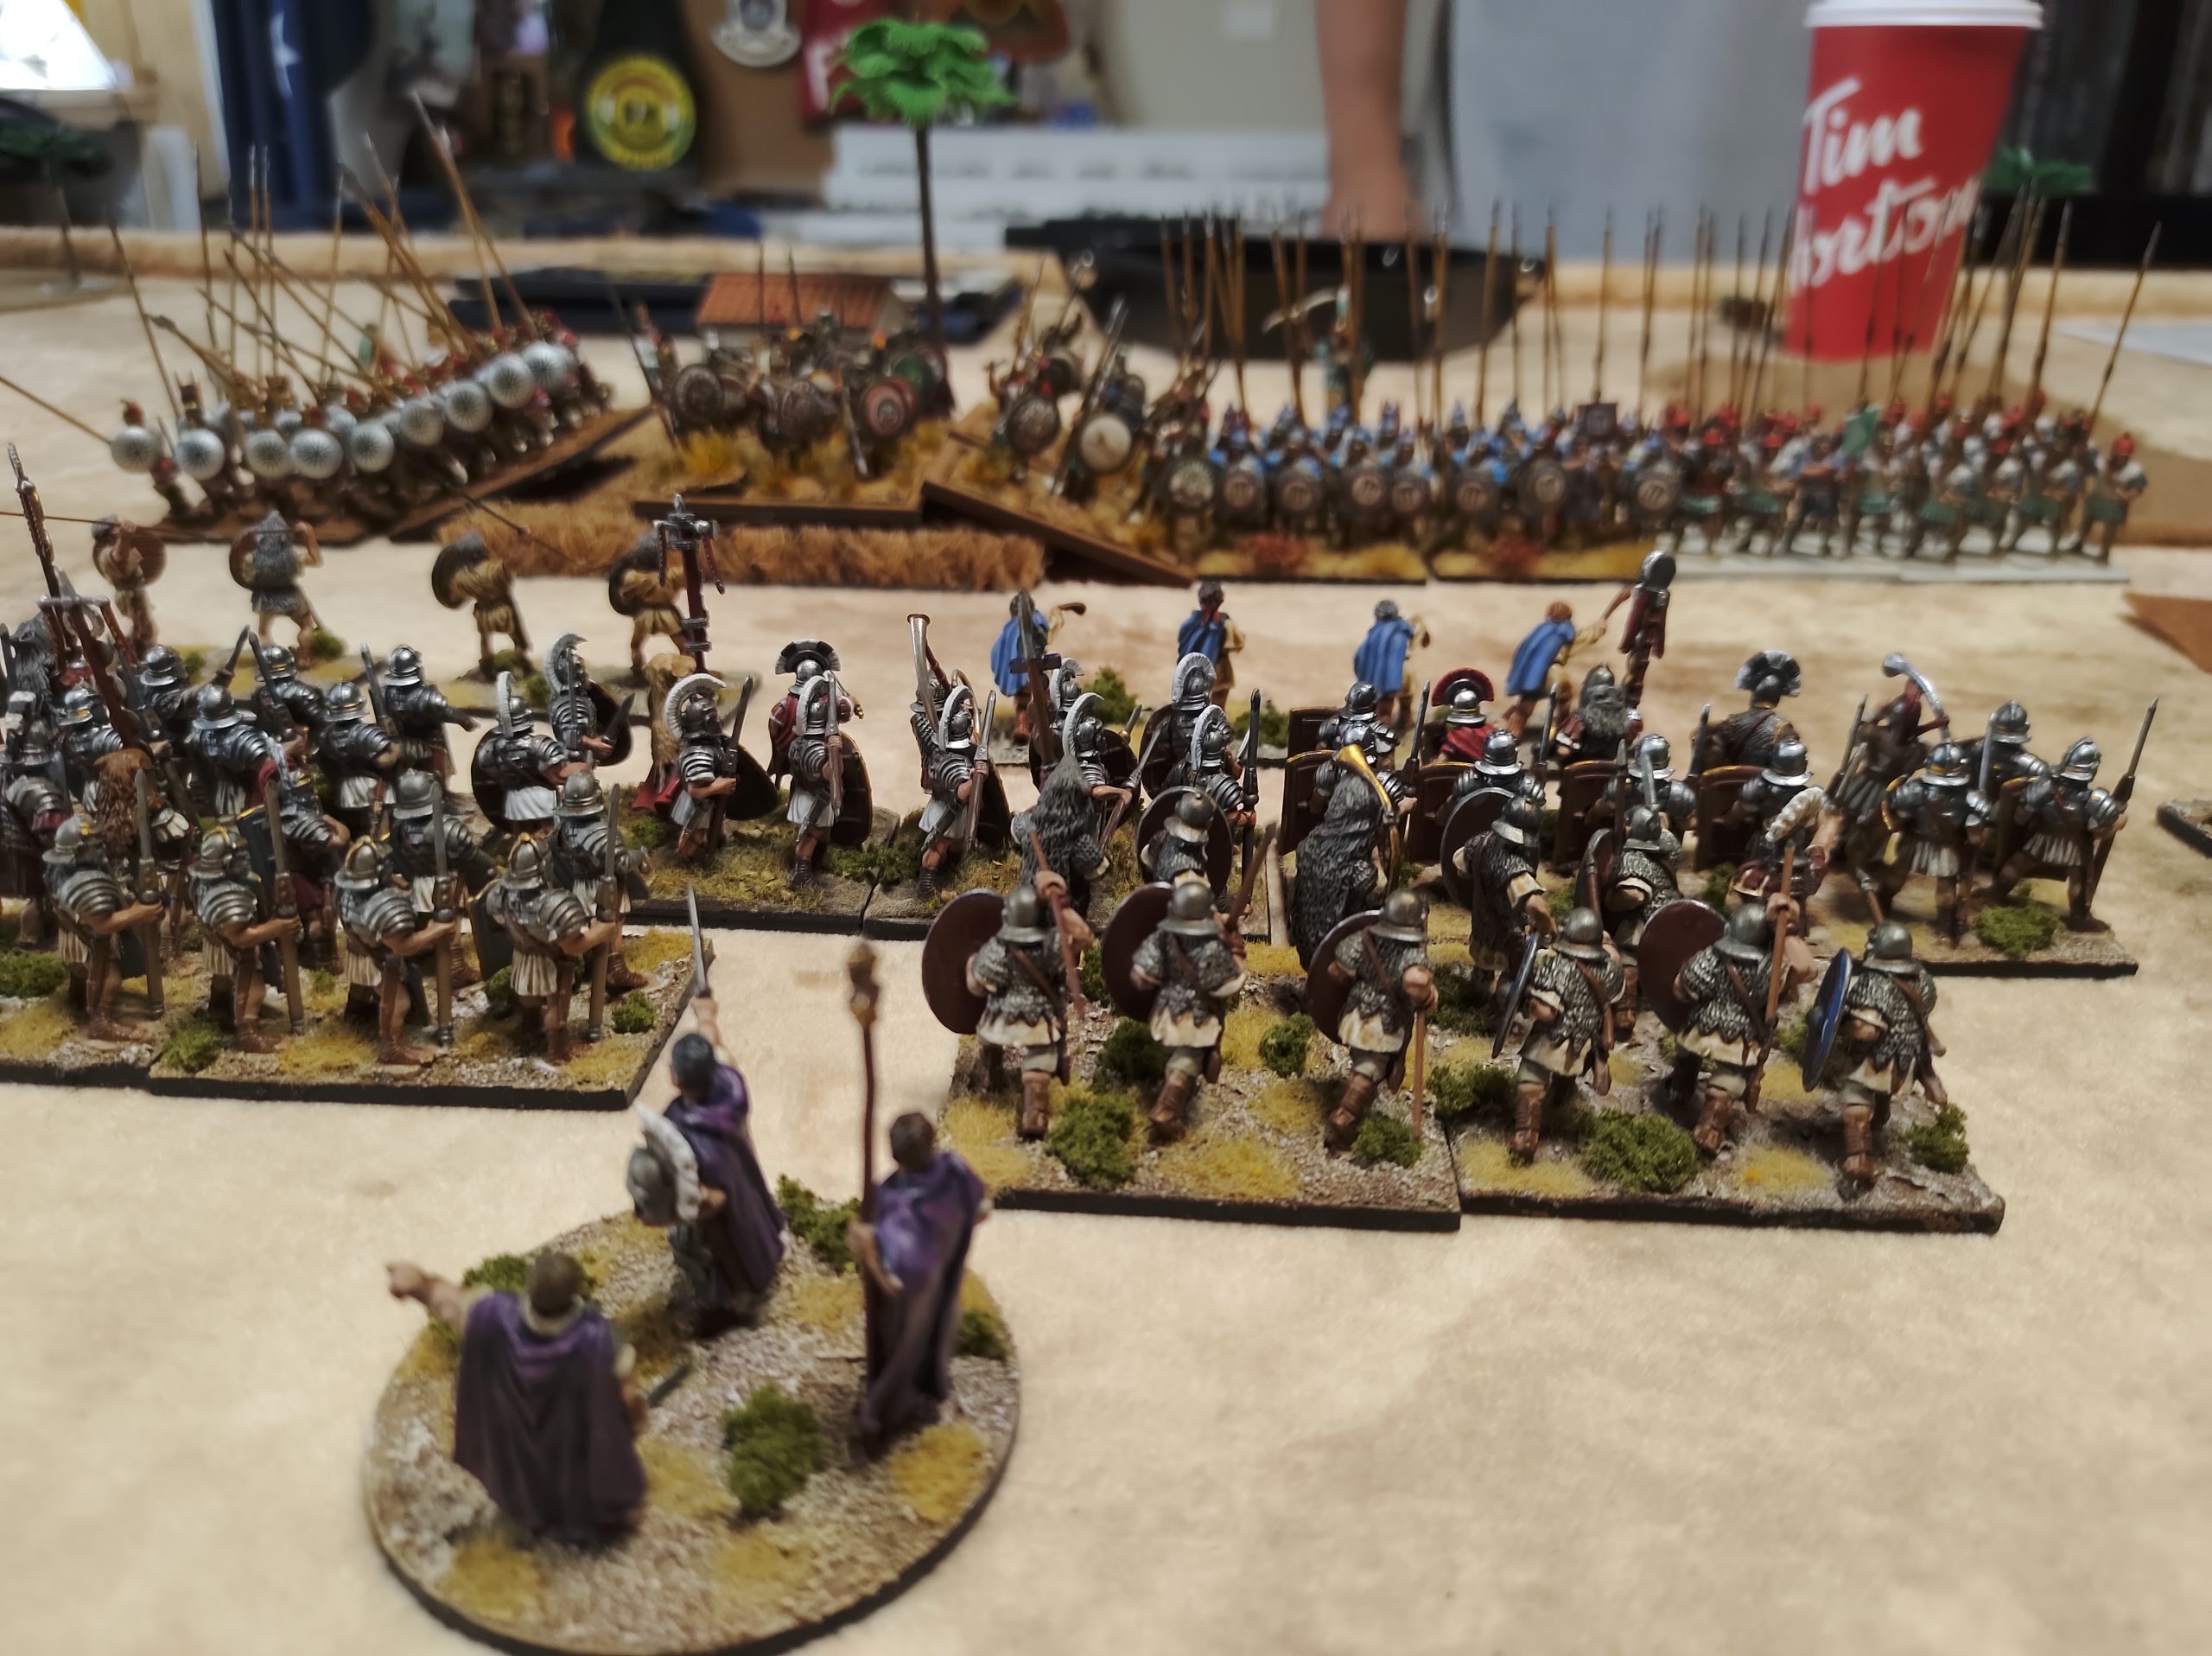
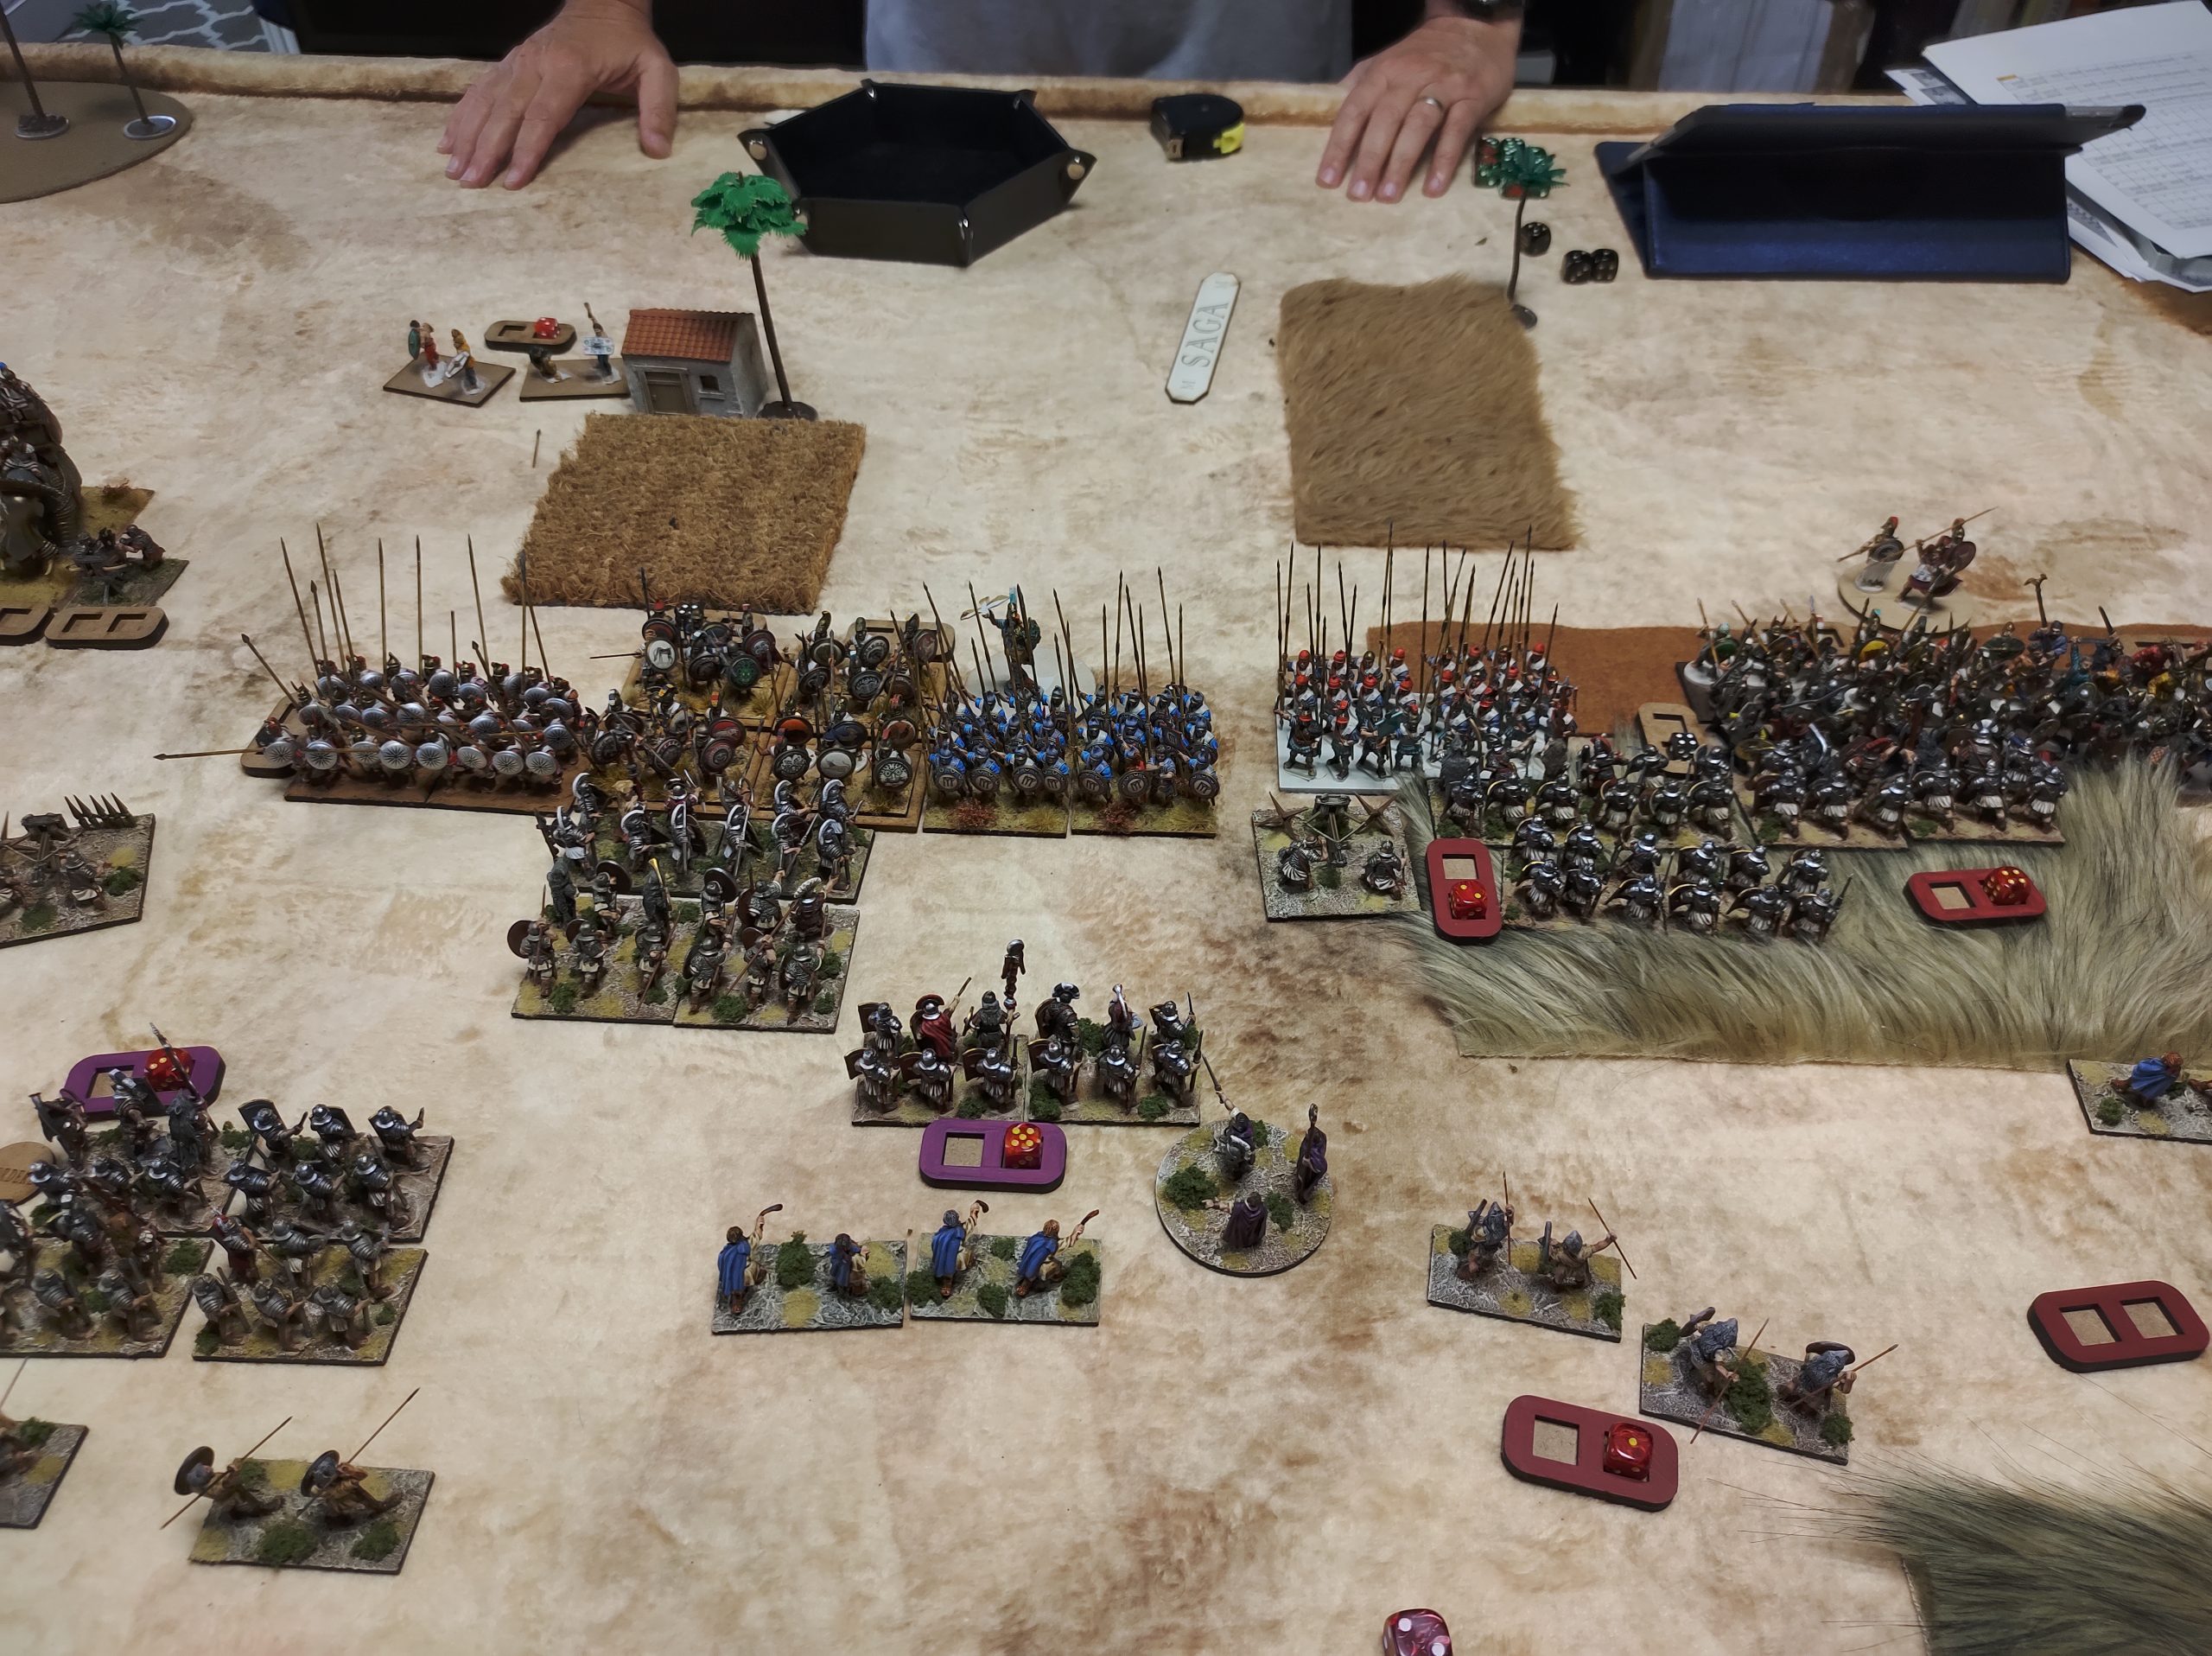
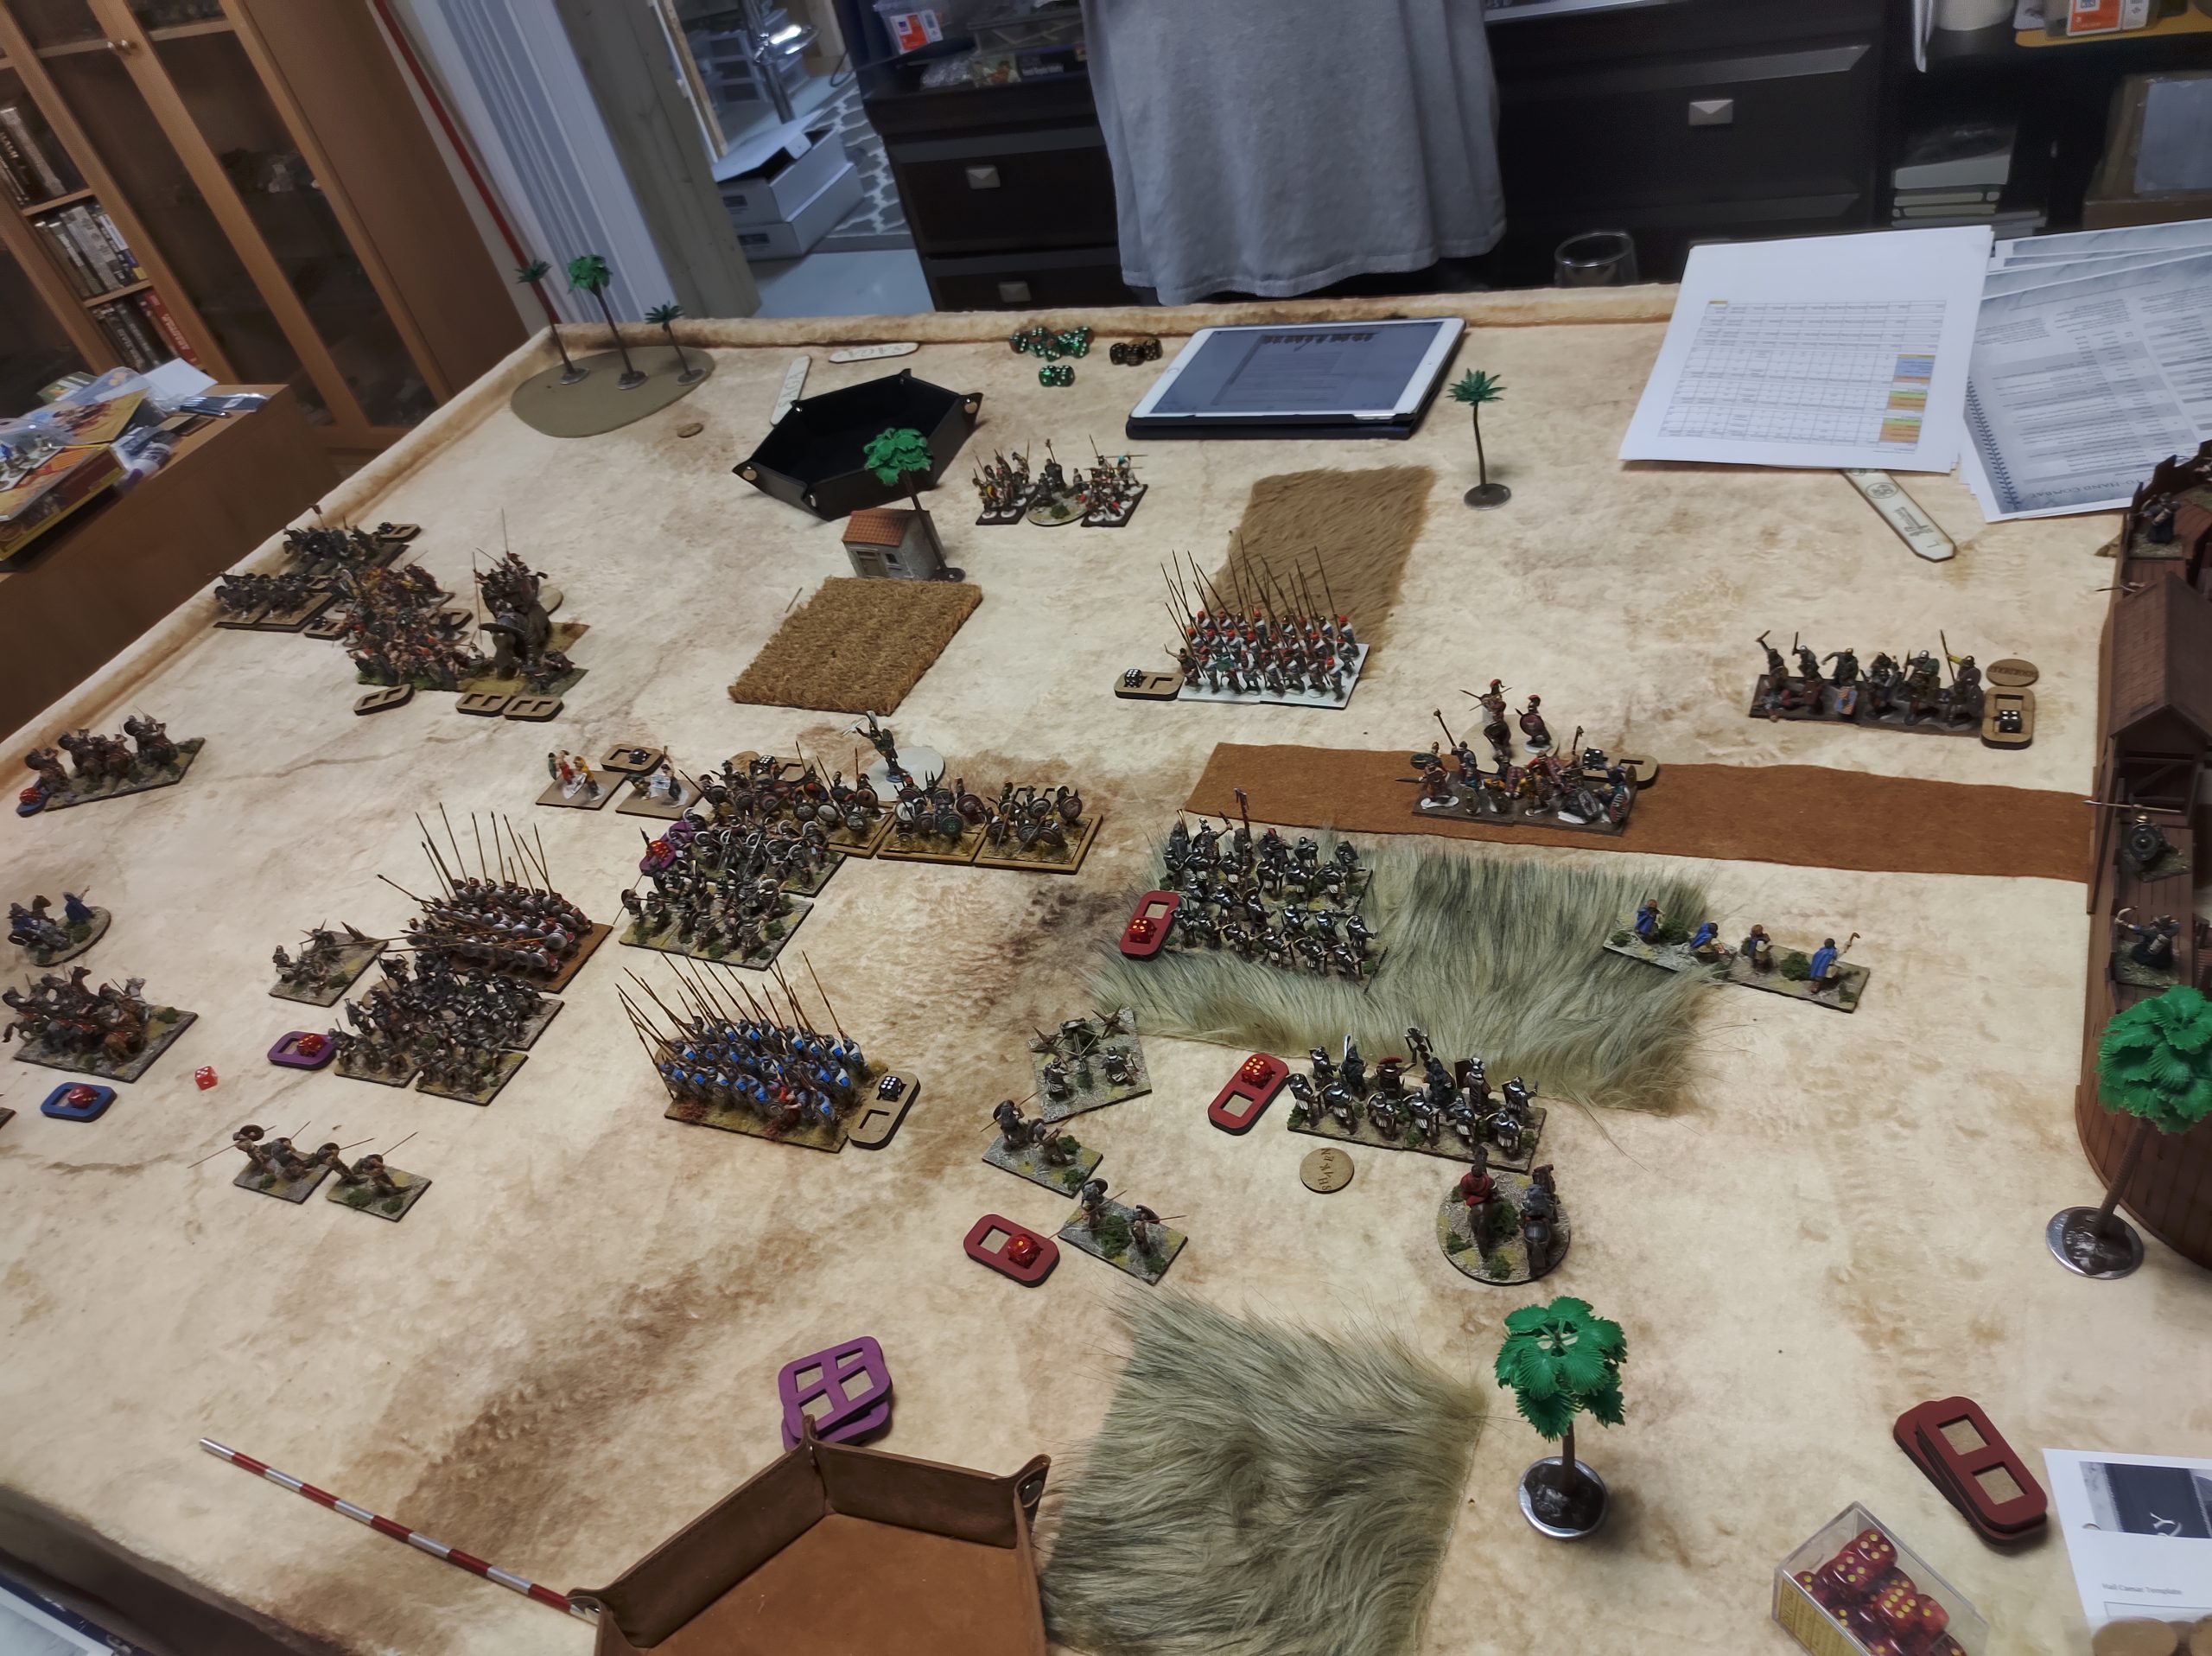
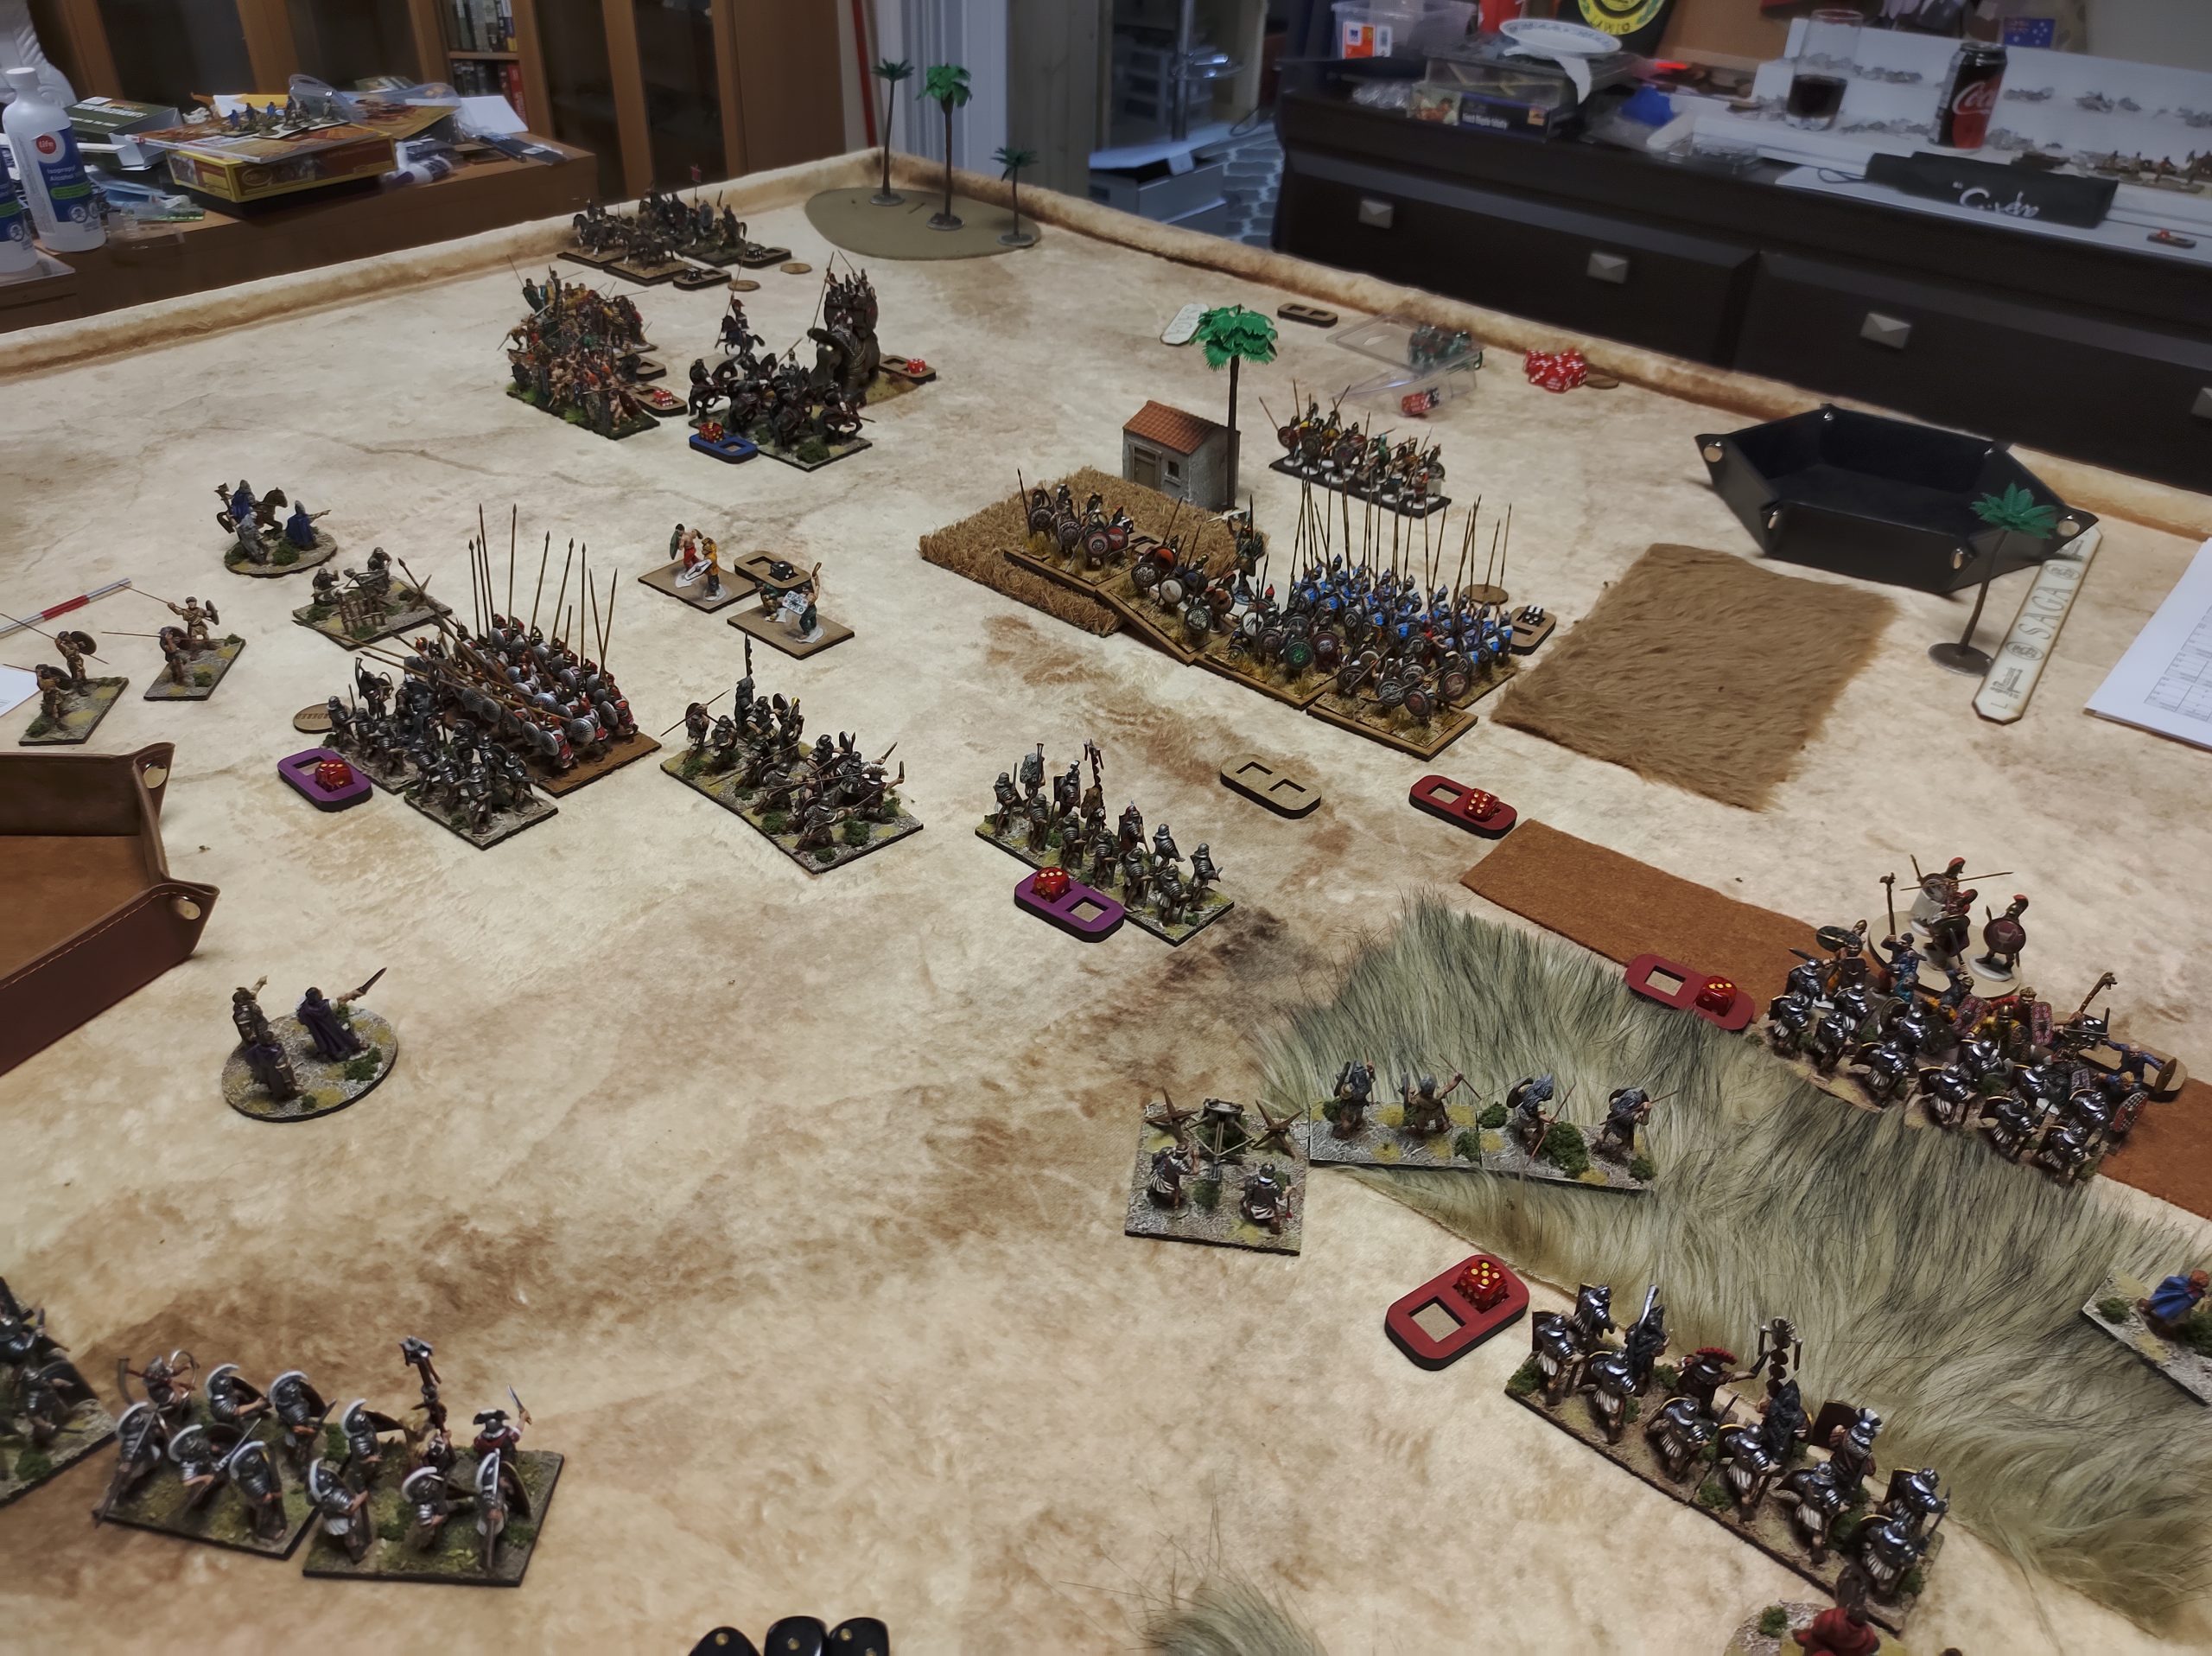
Scott’s Center division was led not by a mere mortal but by the Goddess Athena herself! Defending Athena are two units of Hoplites, two units of Phalangites, and the elite phalanx Silver Shields.
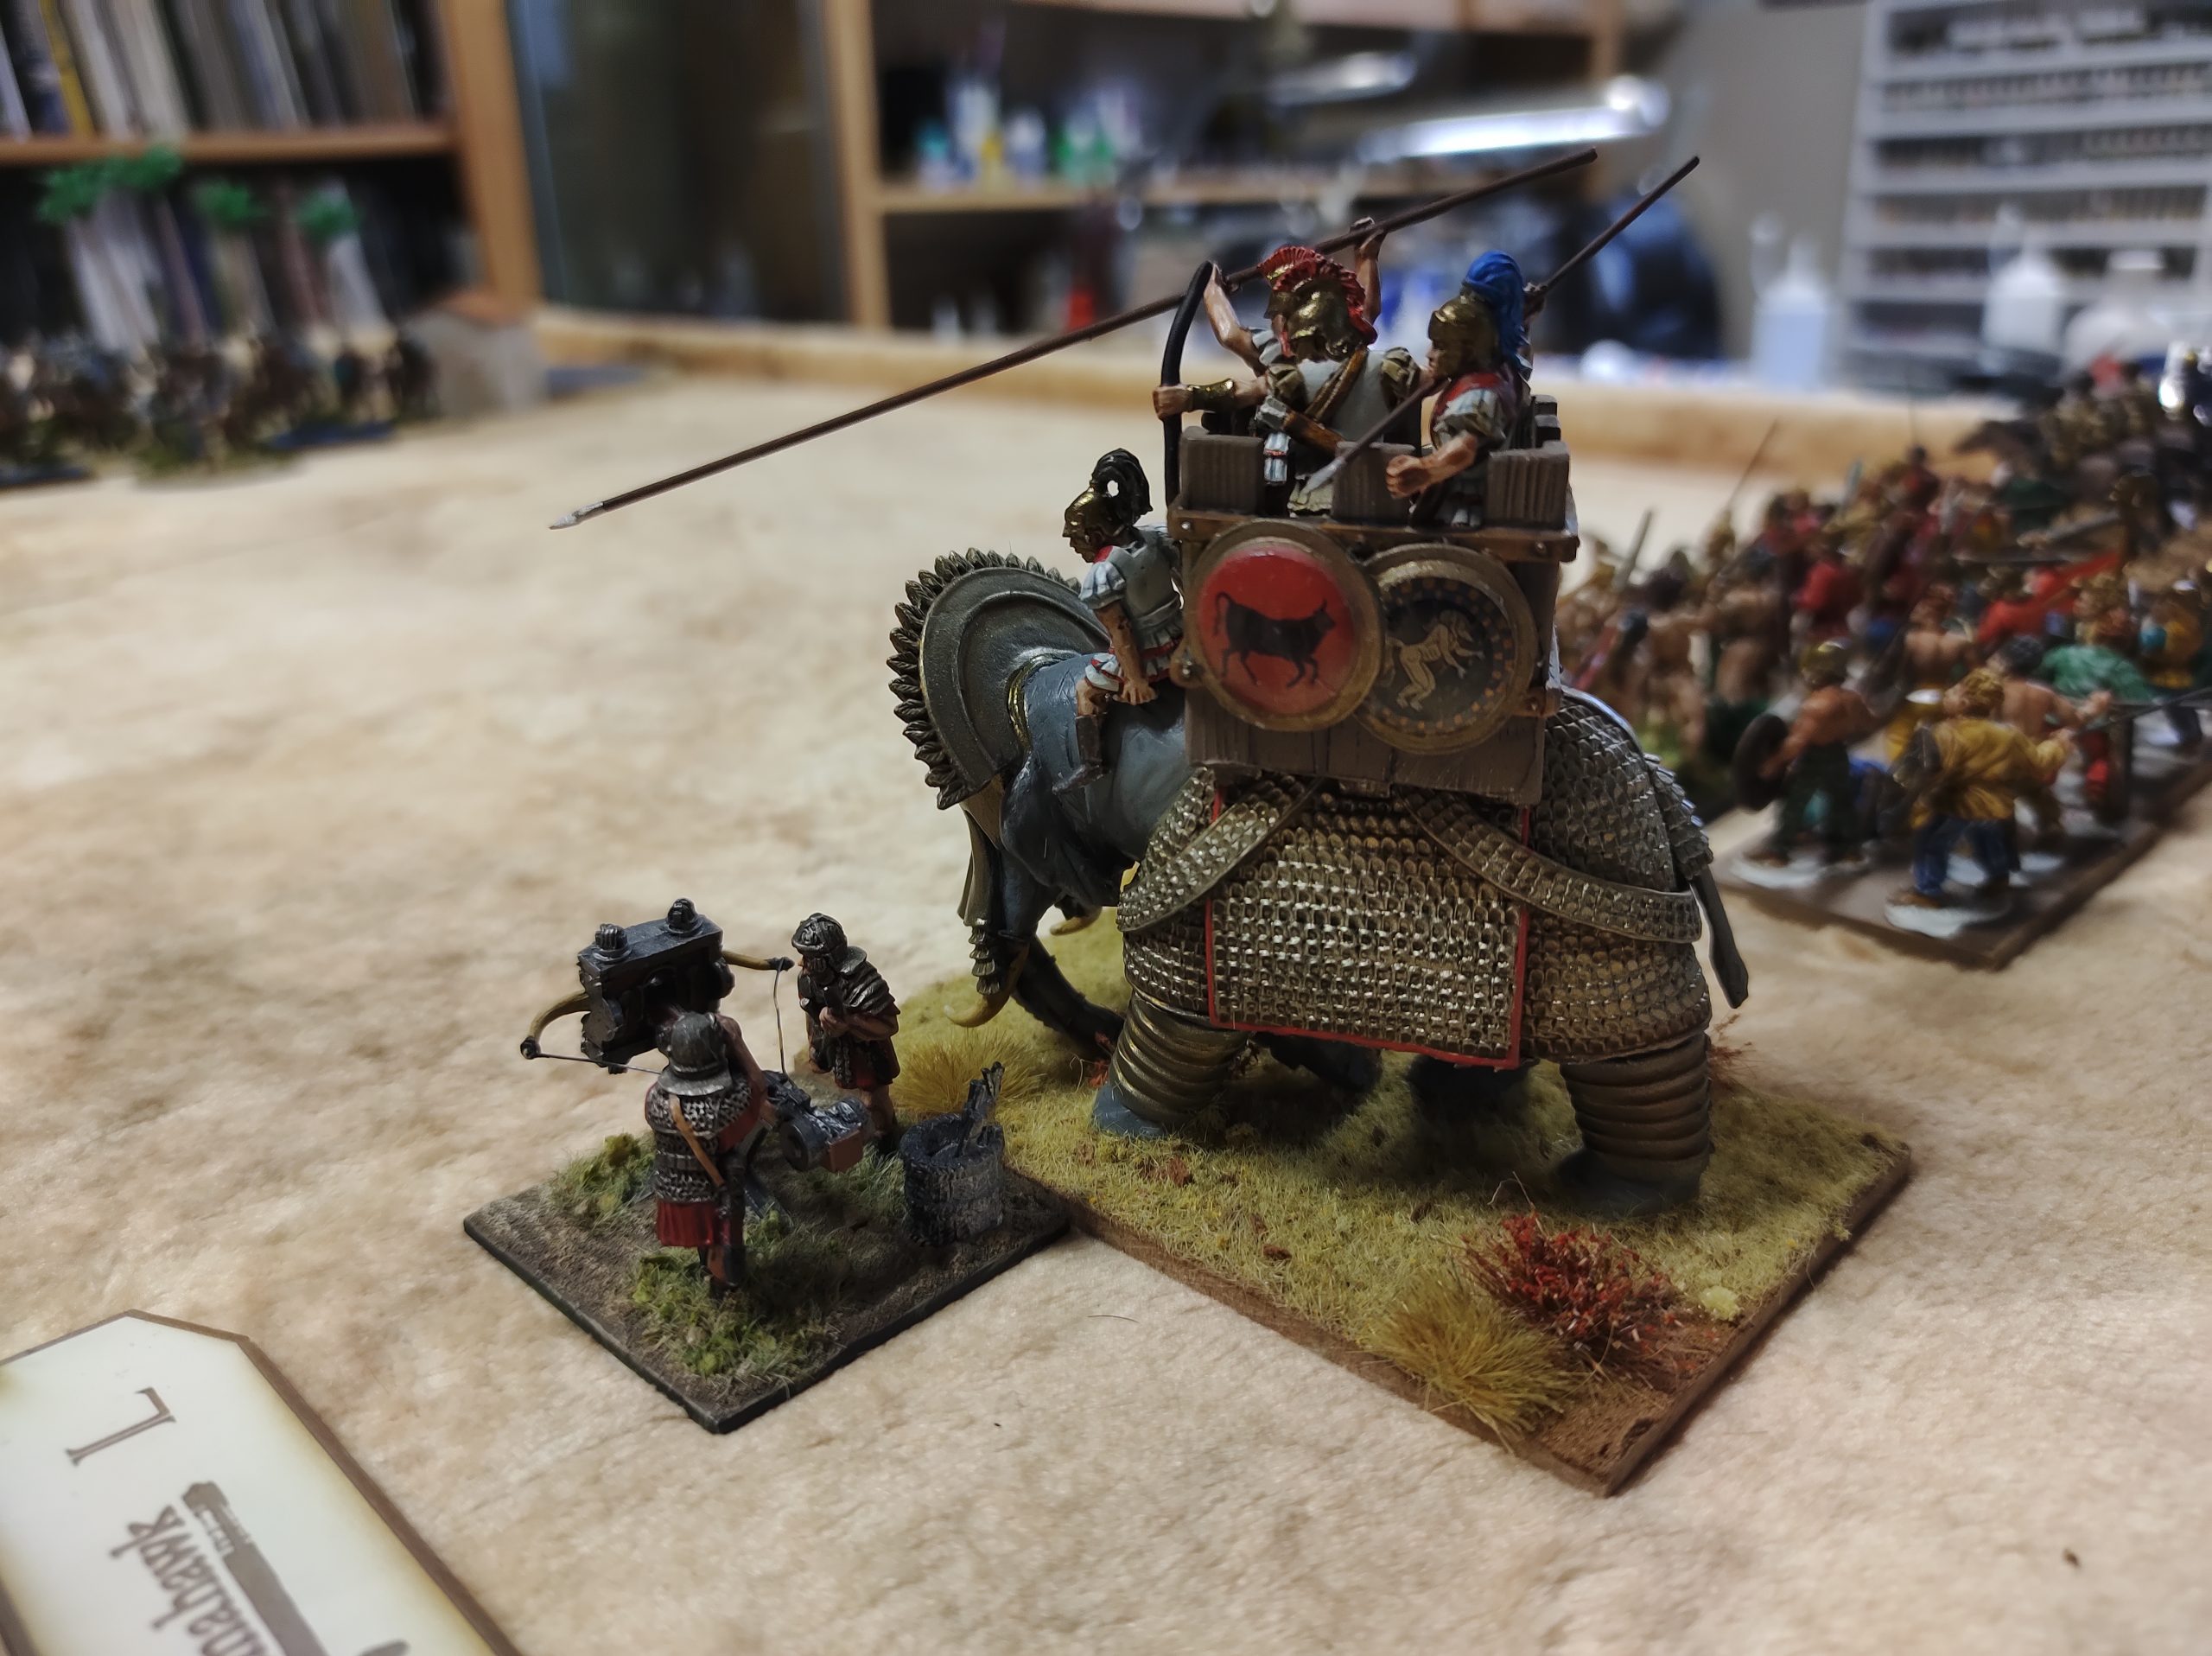
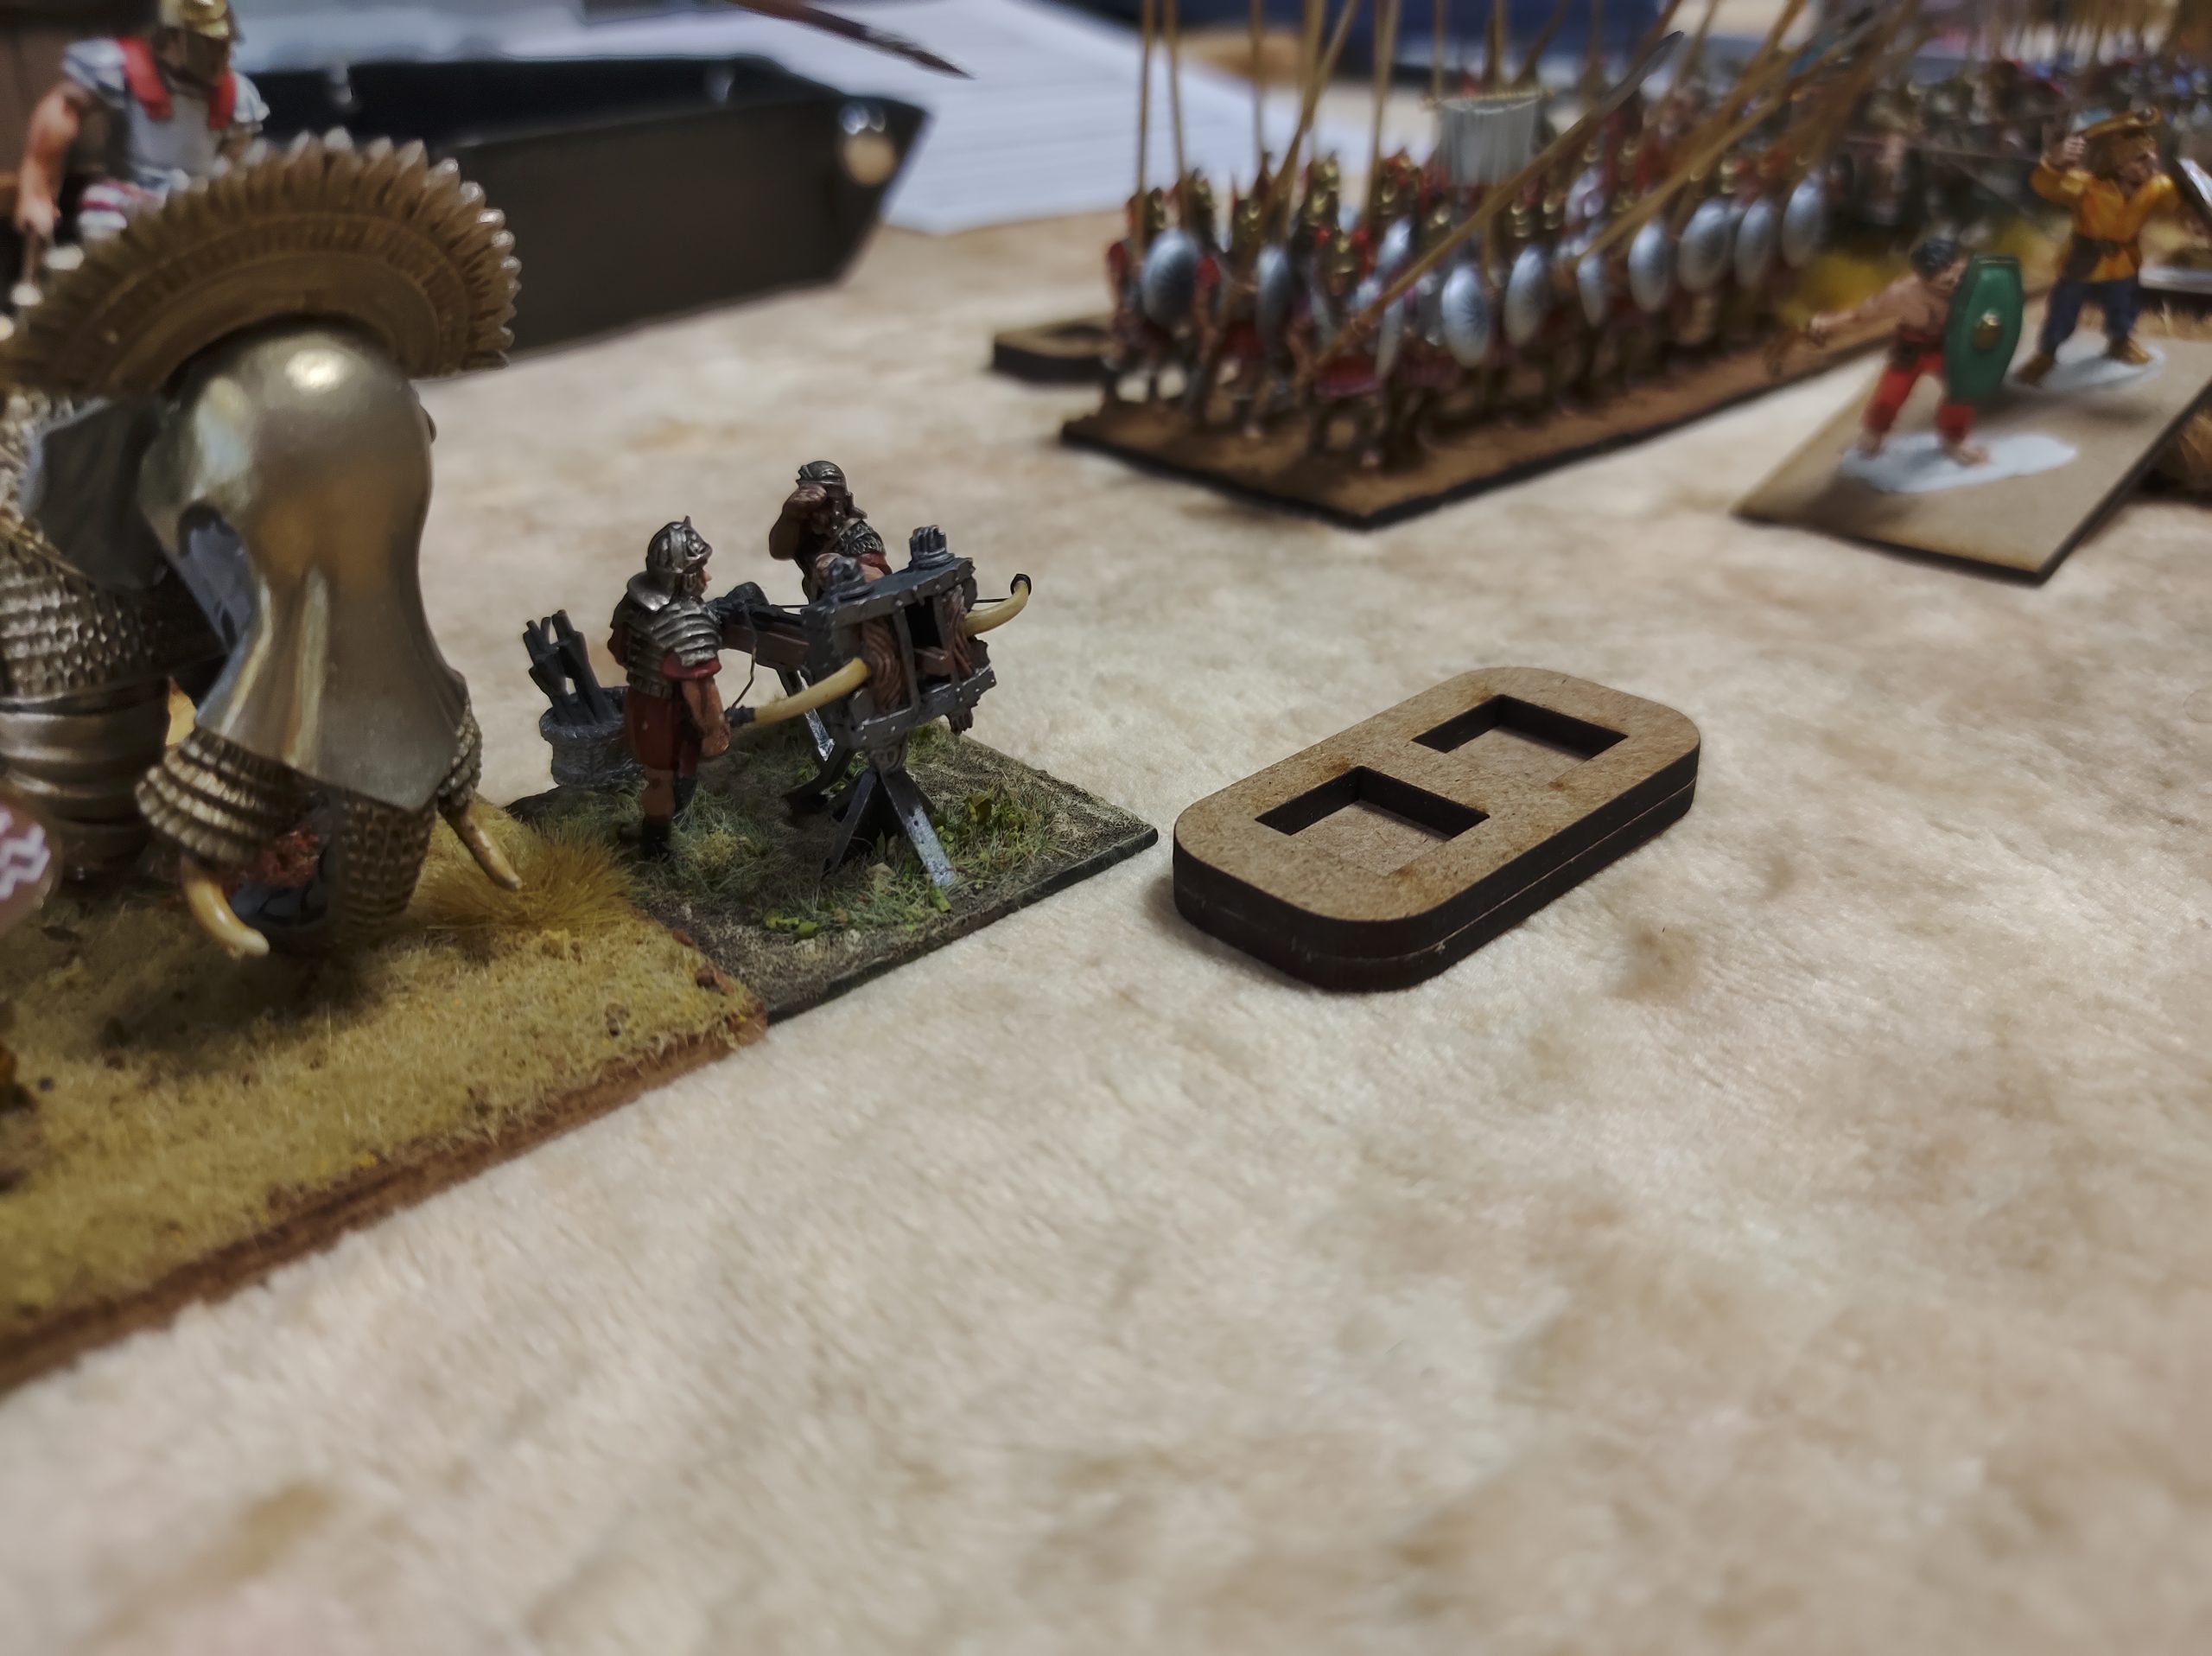
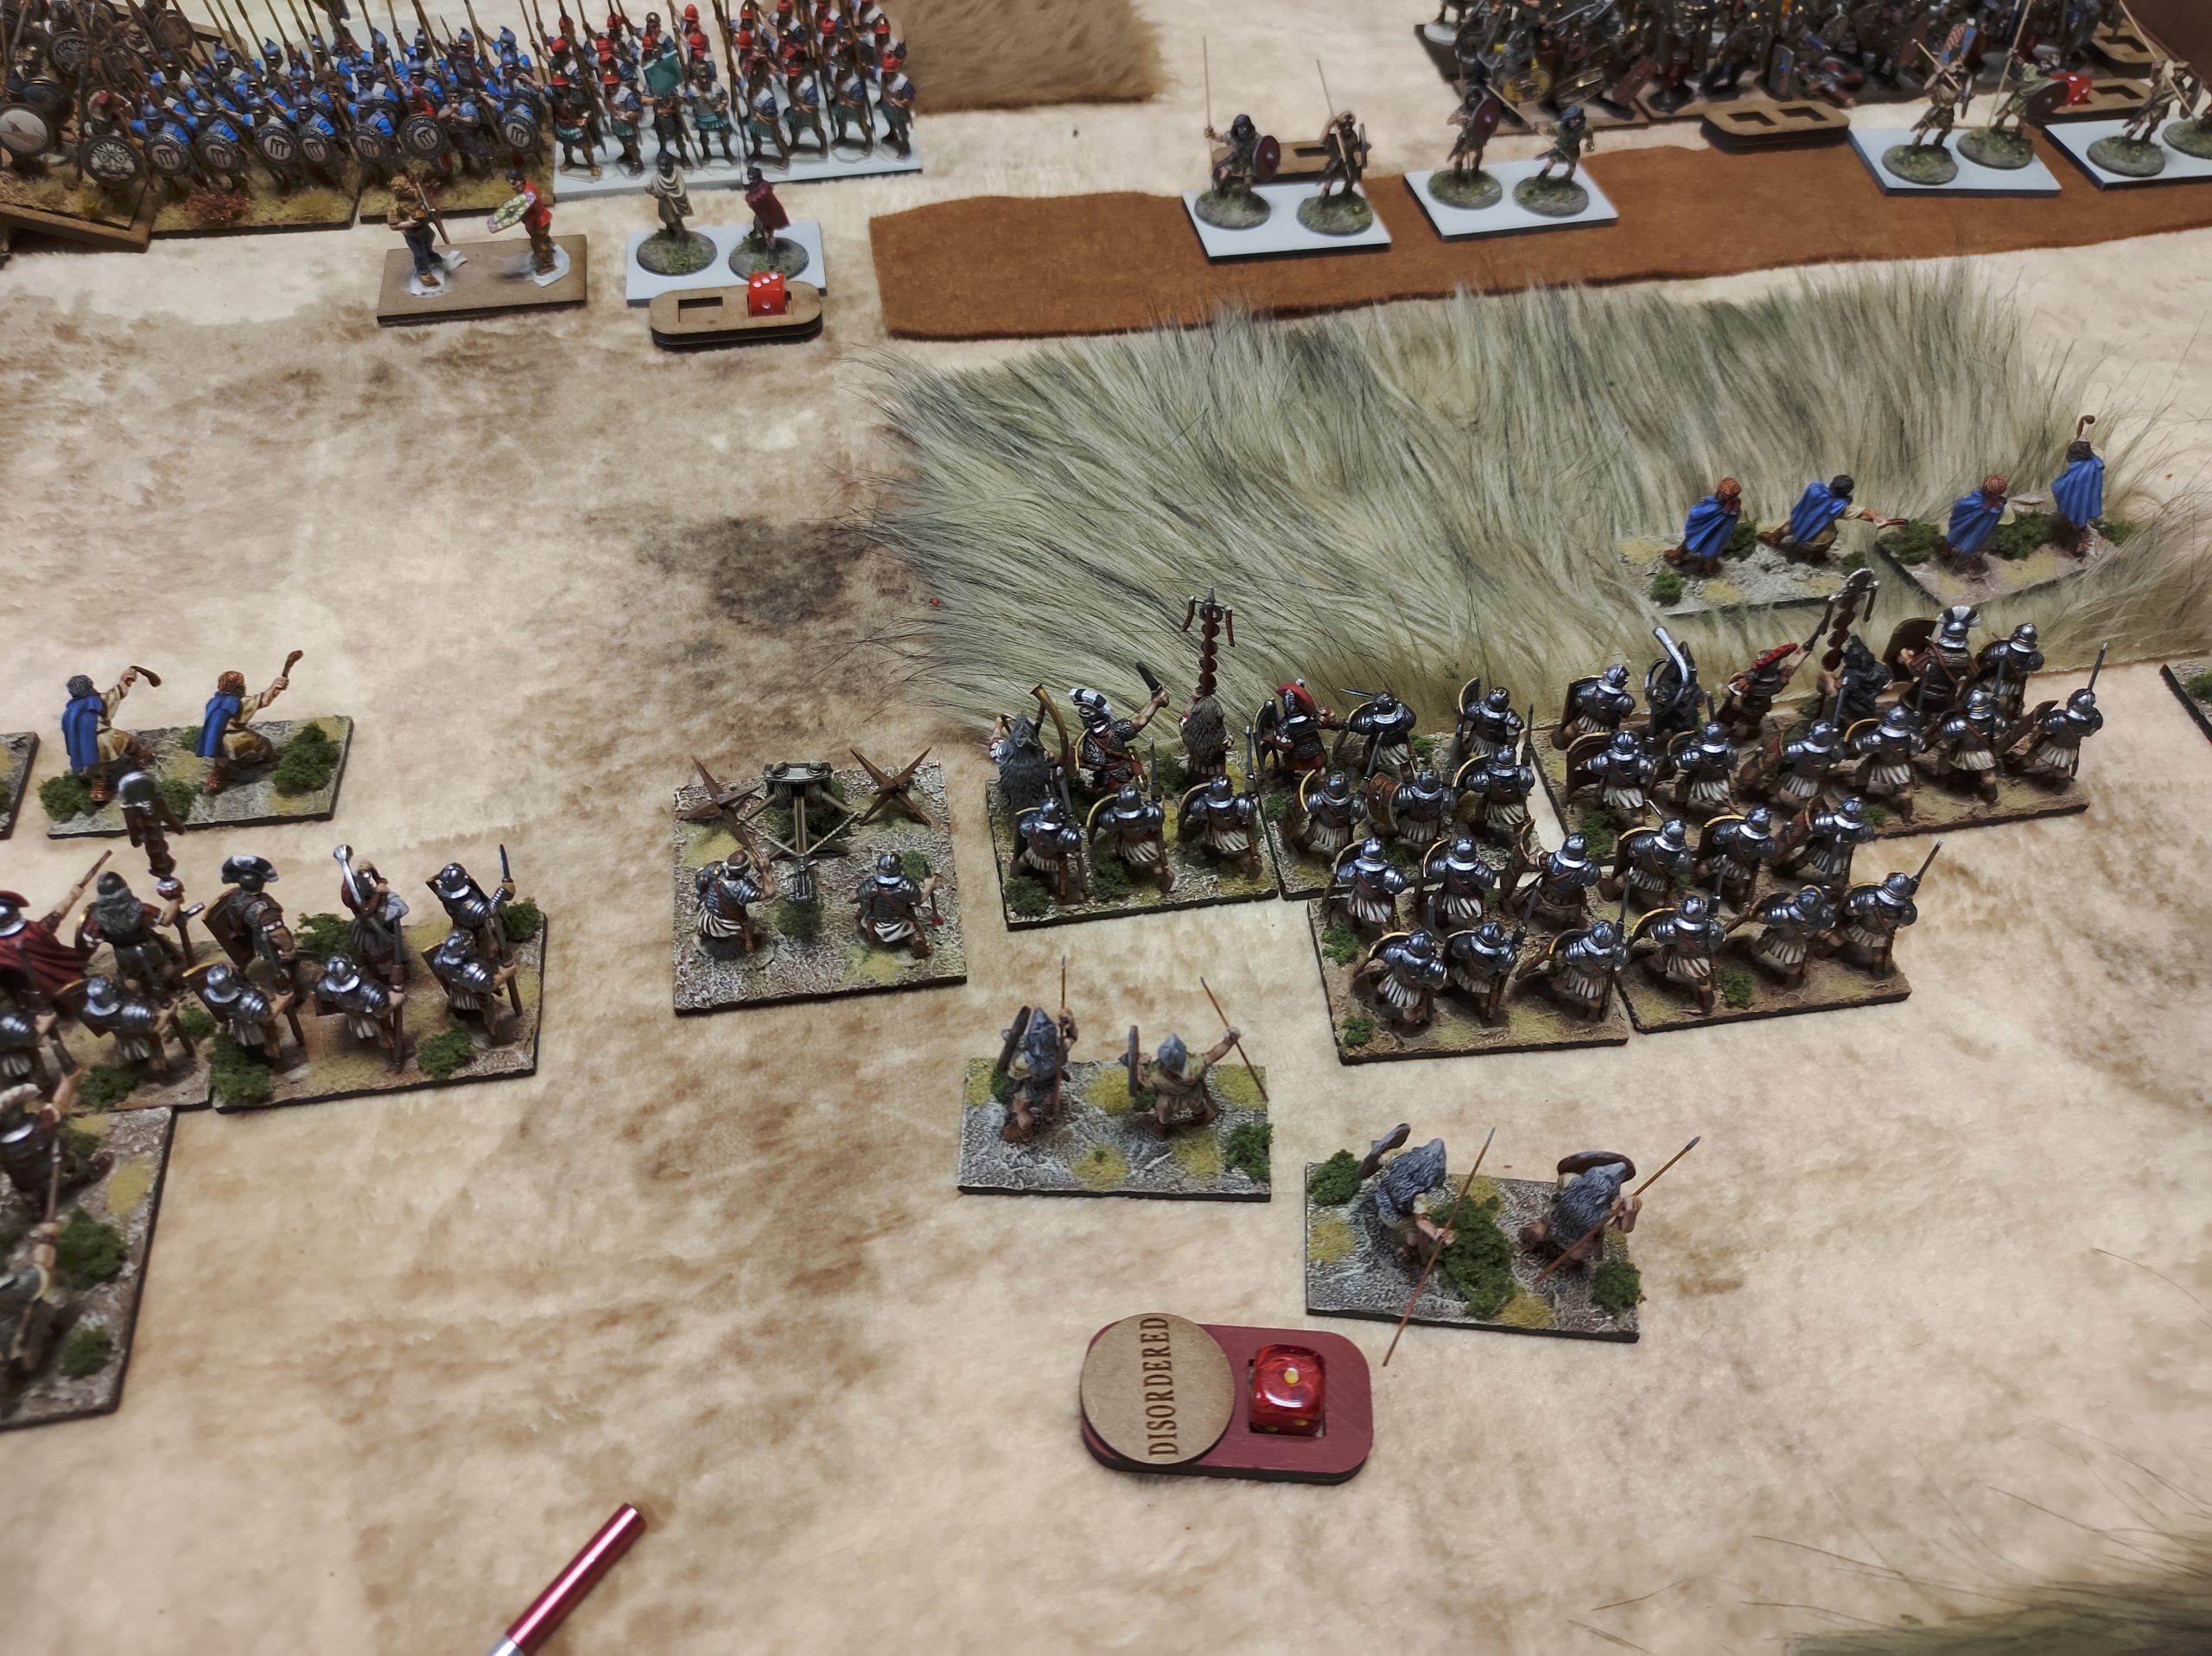
His right division has some Celt-Iberian warbands, Numidian cavalry, a war elephant, and a traitorous Mercenary bolt thrower under the pay of the Greeks, led by a general who greatly resembles Alexander the Great Quo Vadis.
Finally, his left division was mainly Galatian warbands with some Hoplite support, ably led by stout old Philip of Macedon.
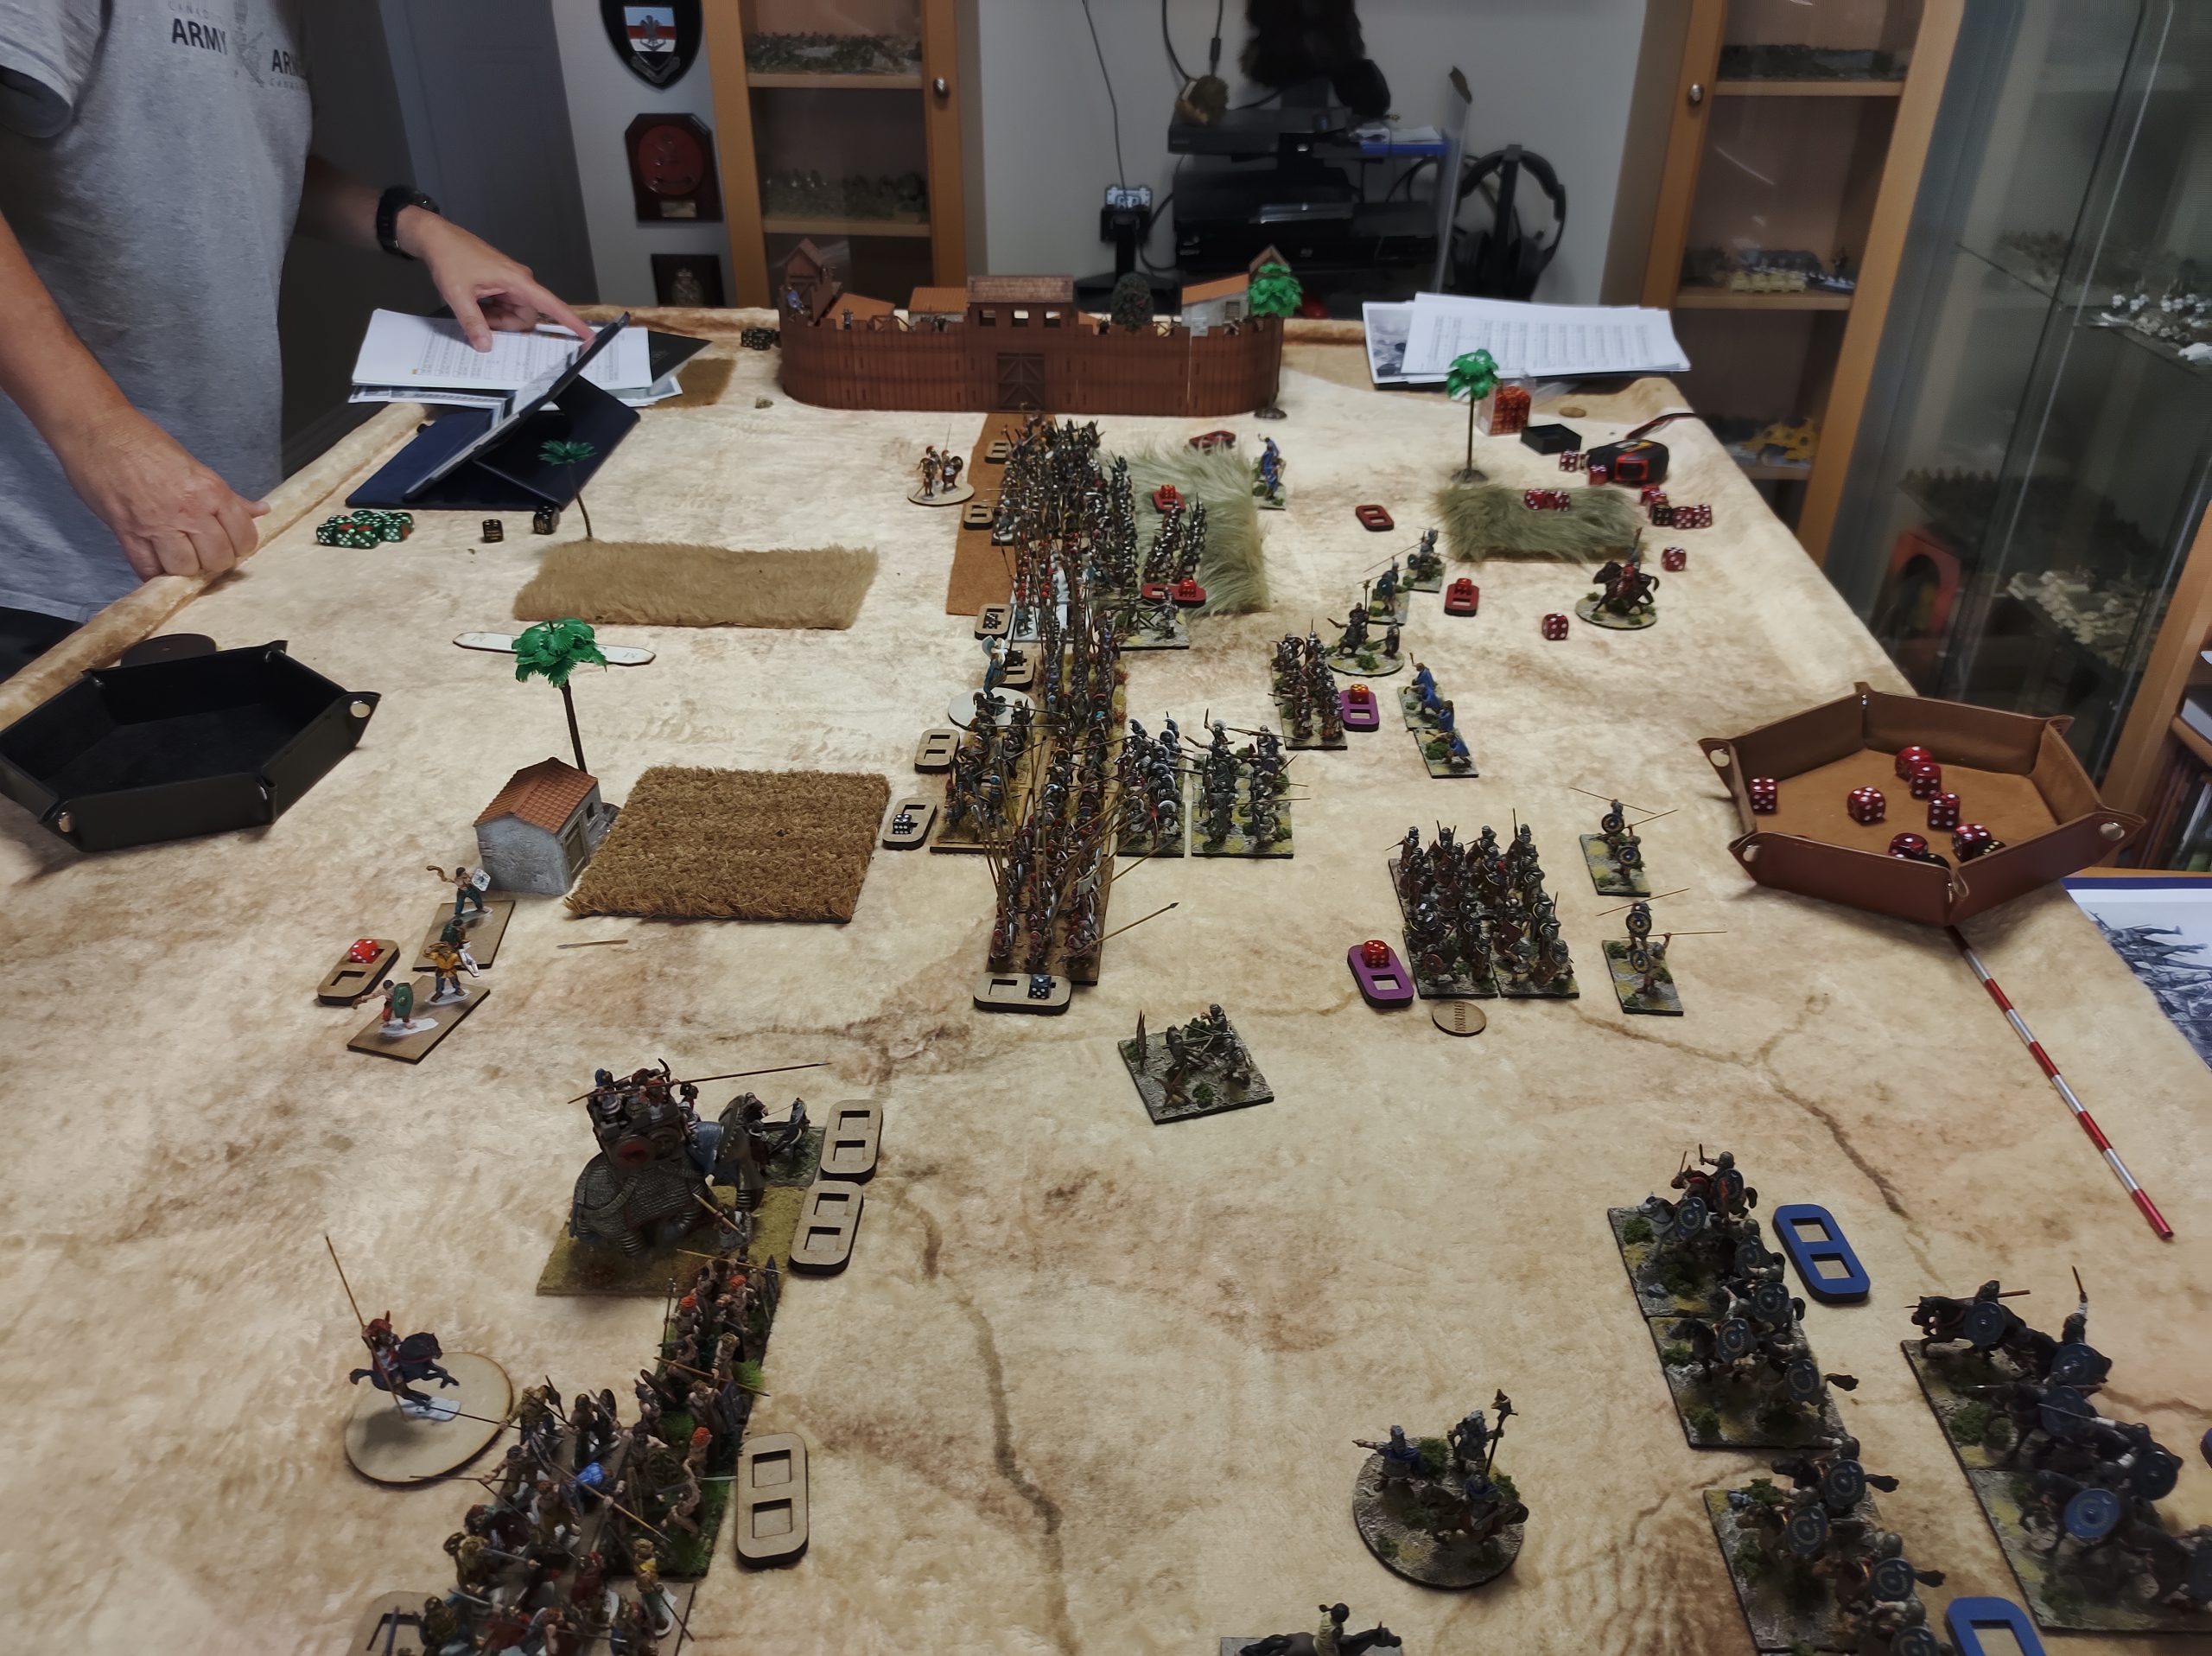
His center division, deployed near the farm huts in front of the roman fort, light infantry at the fore.
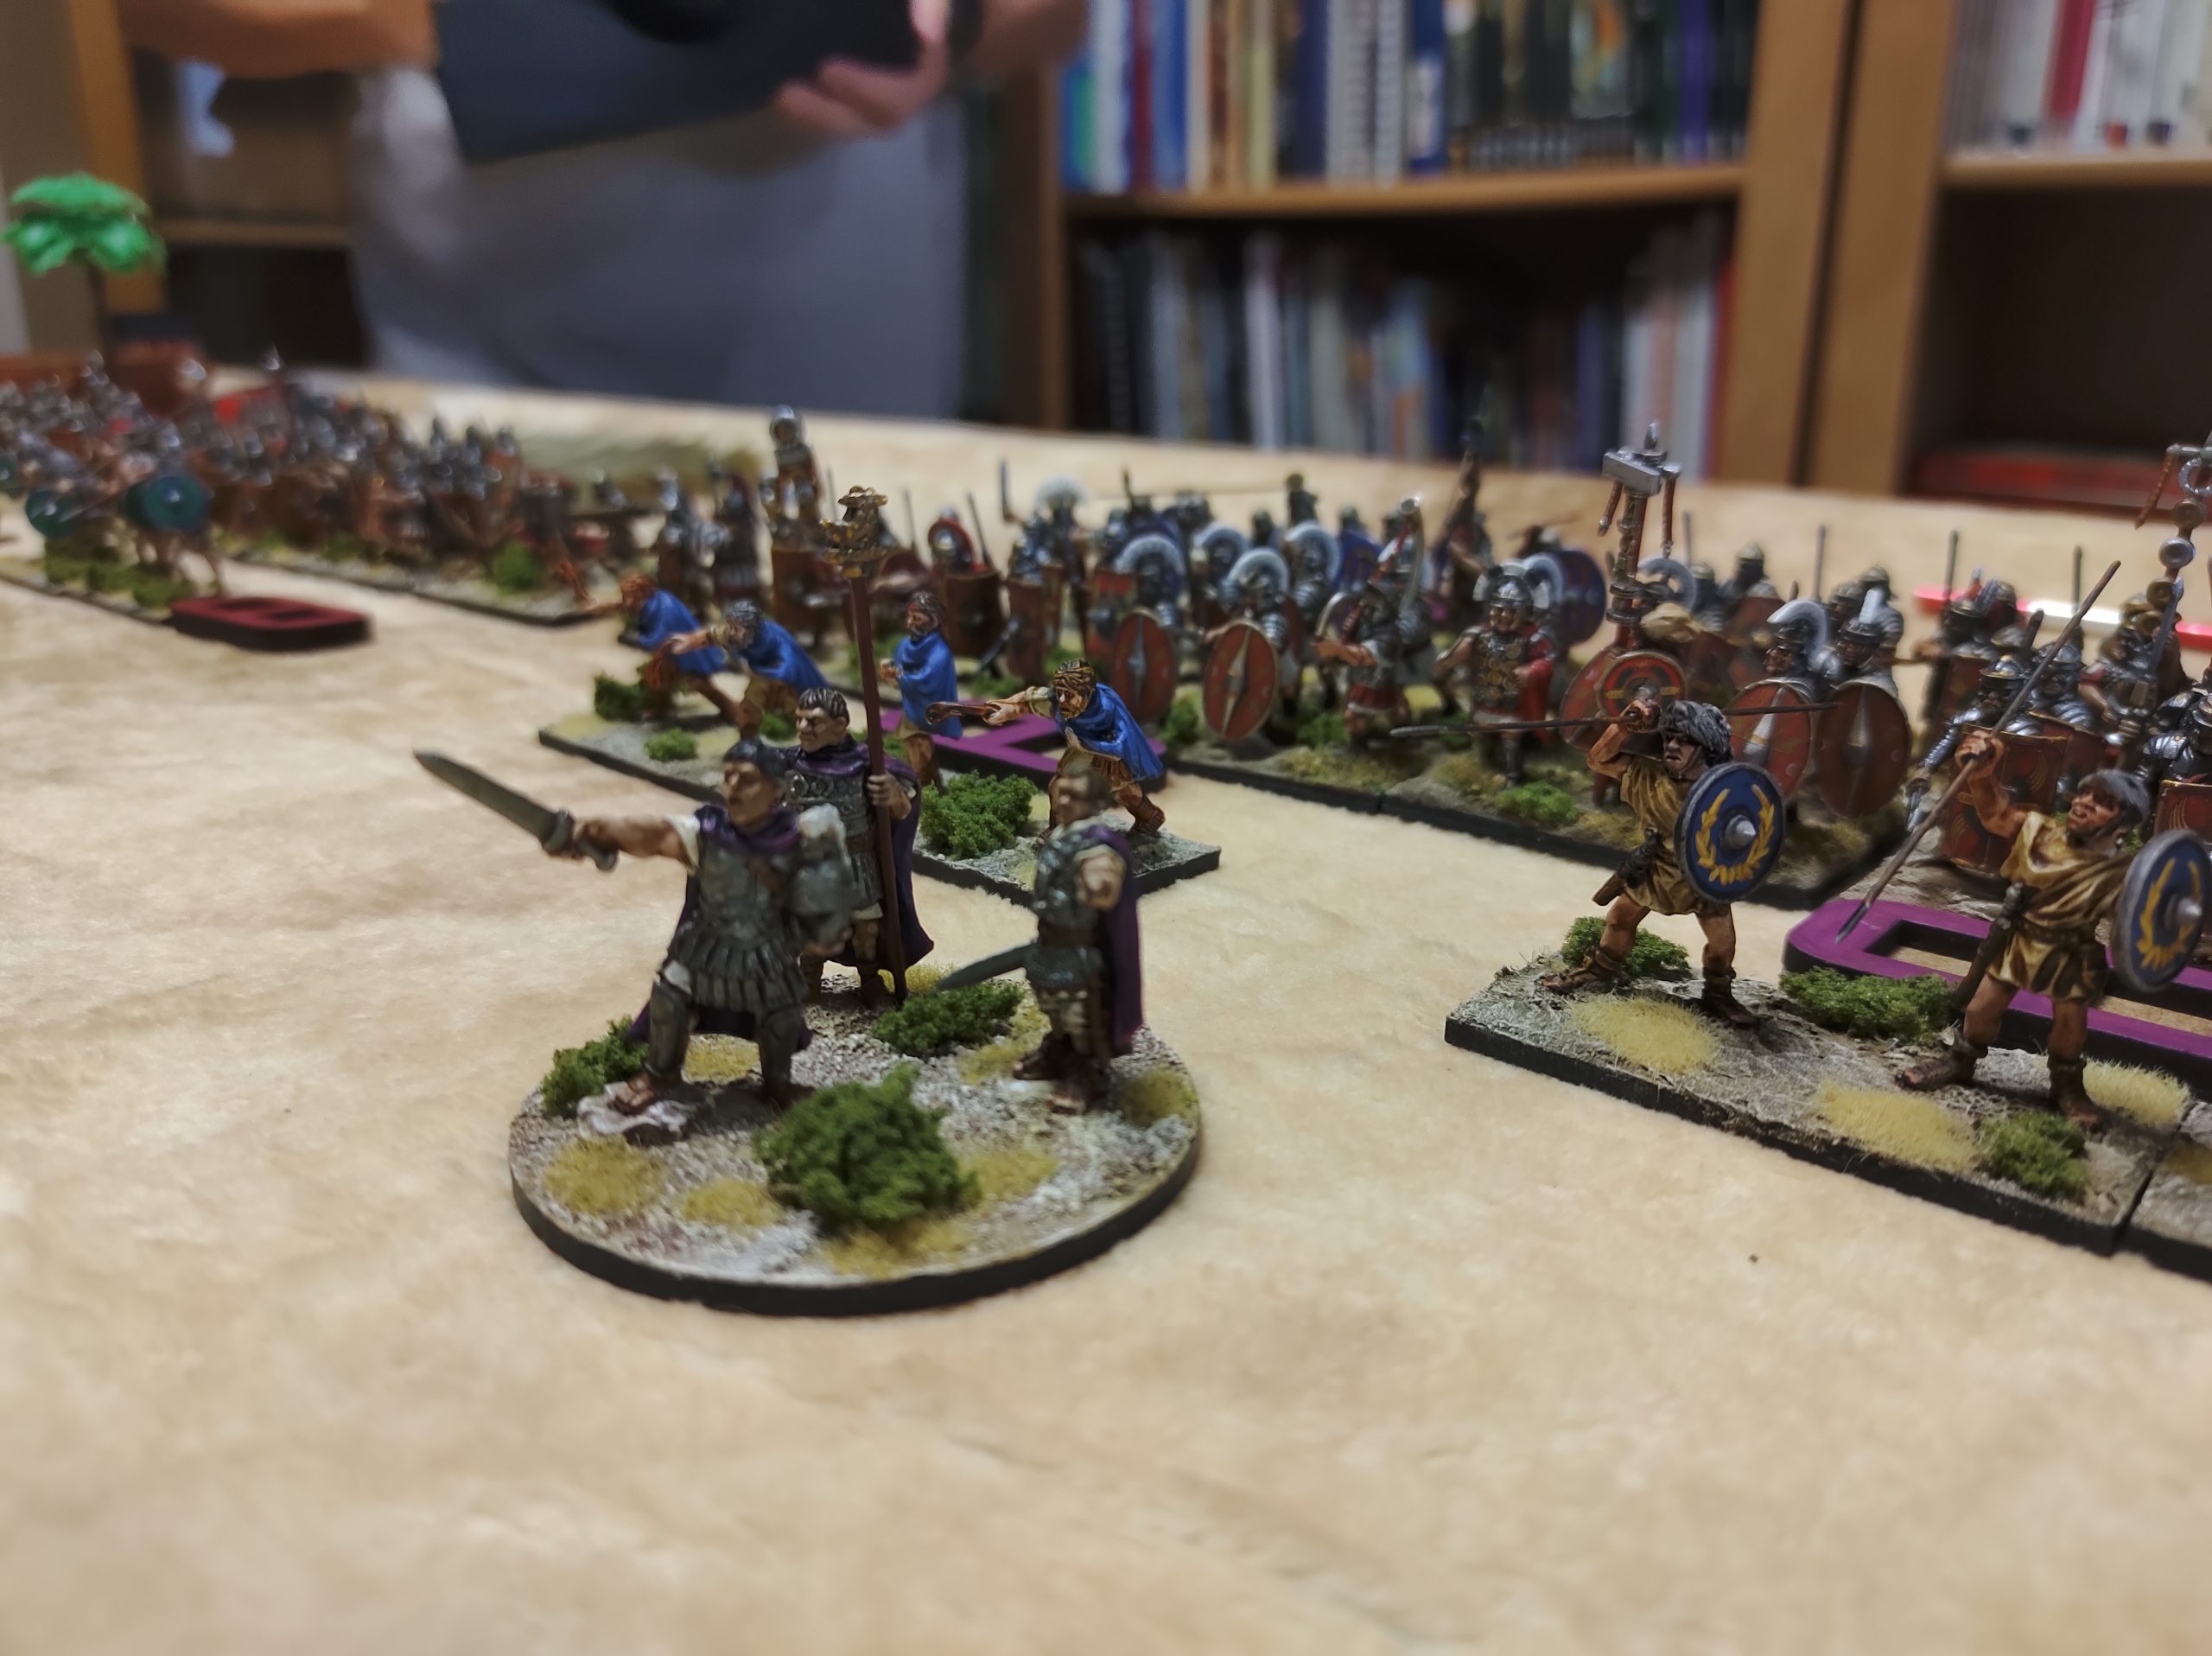
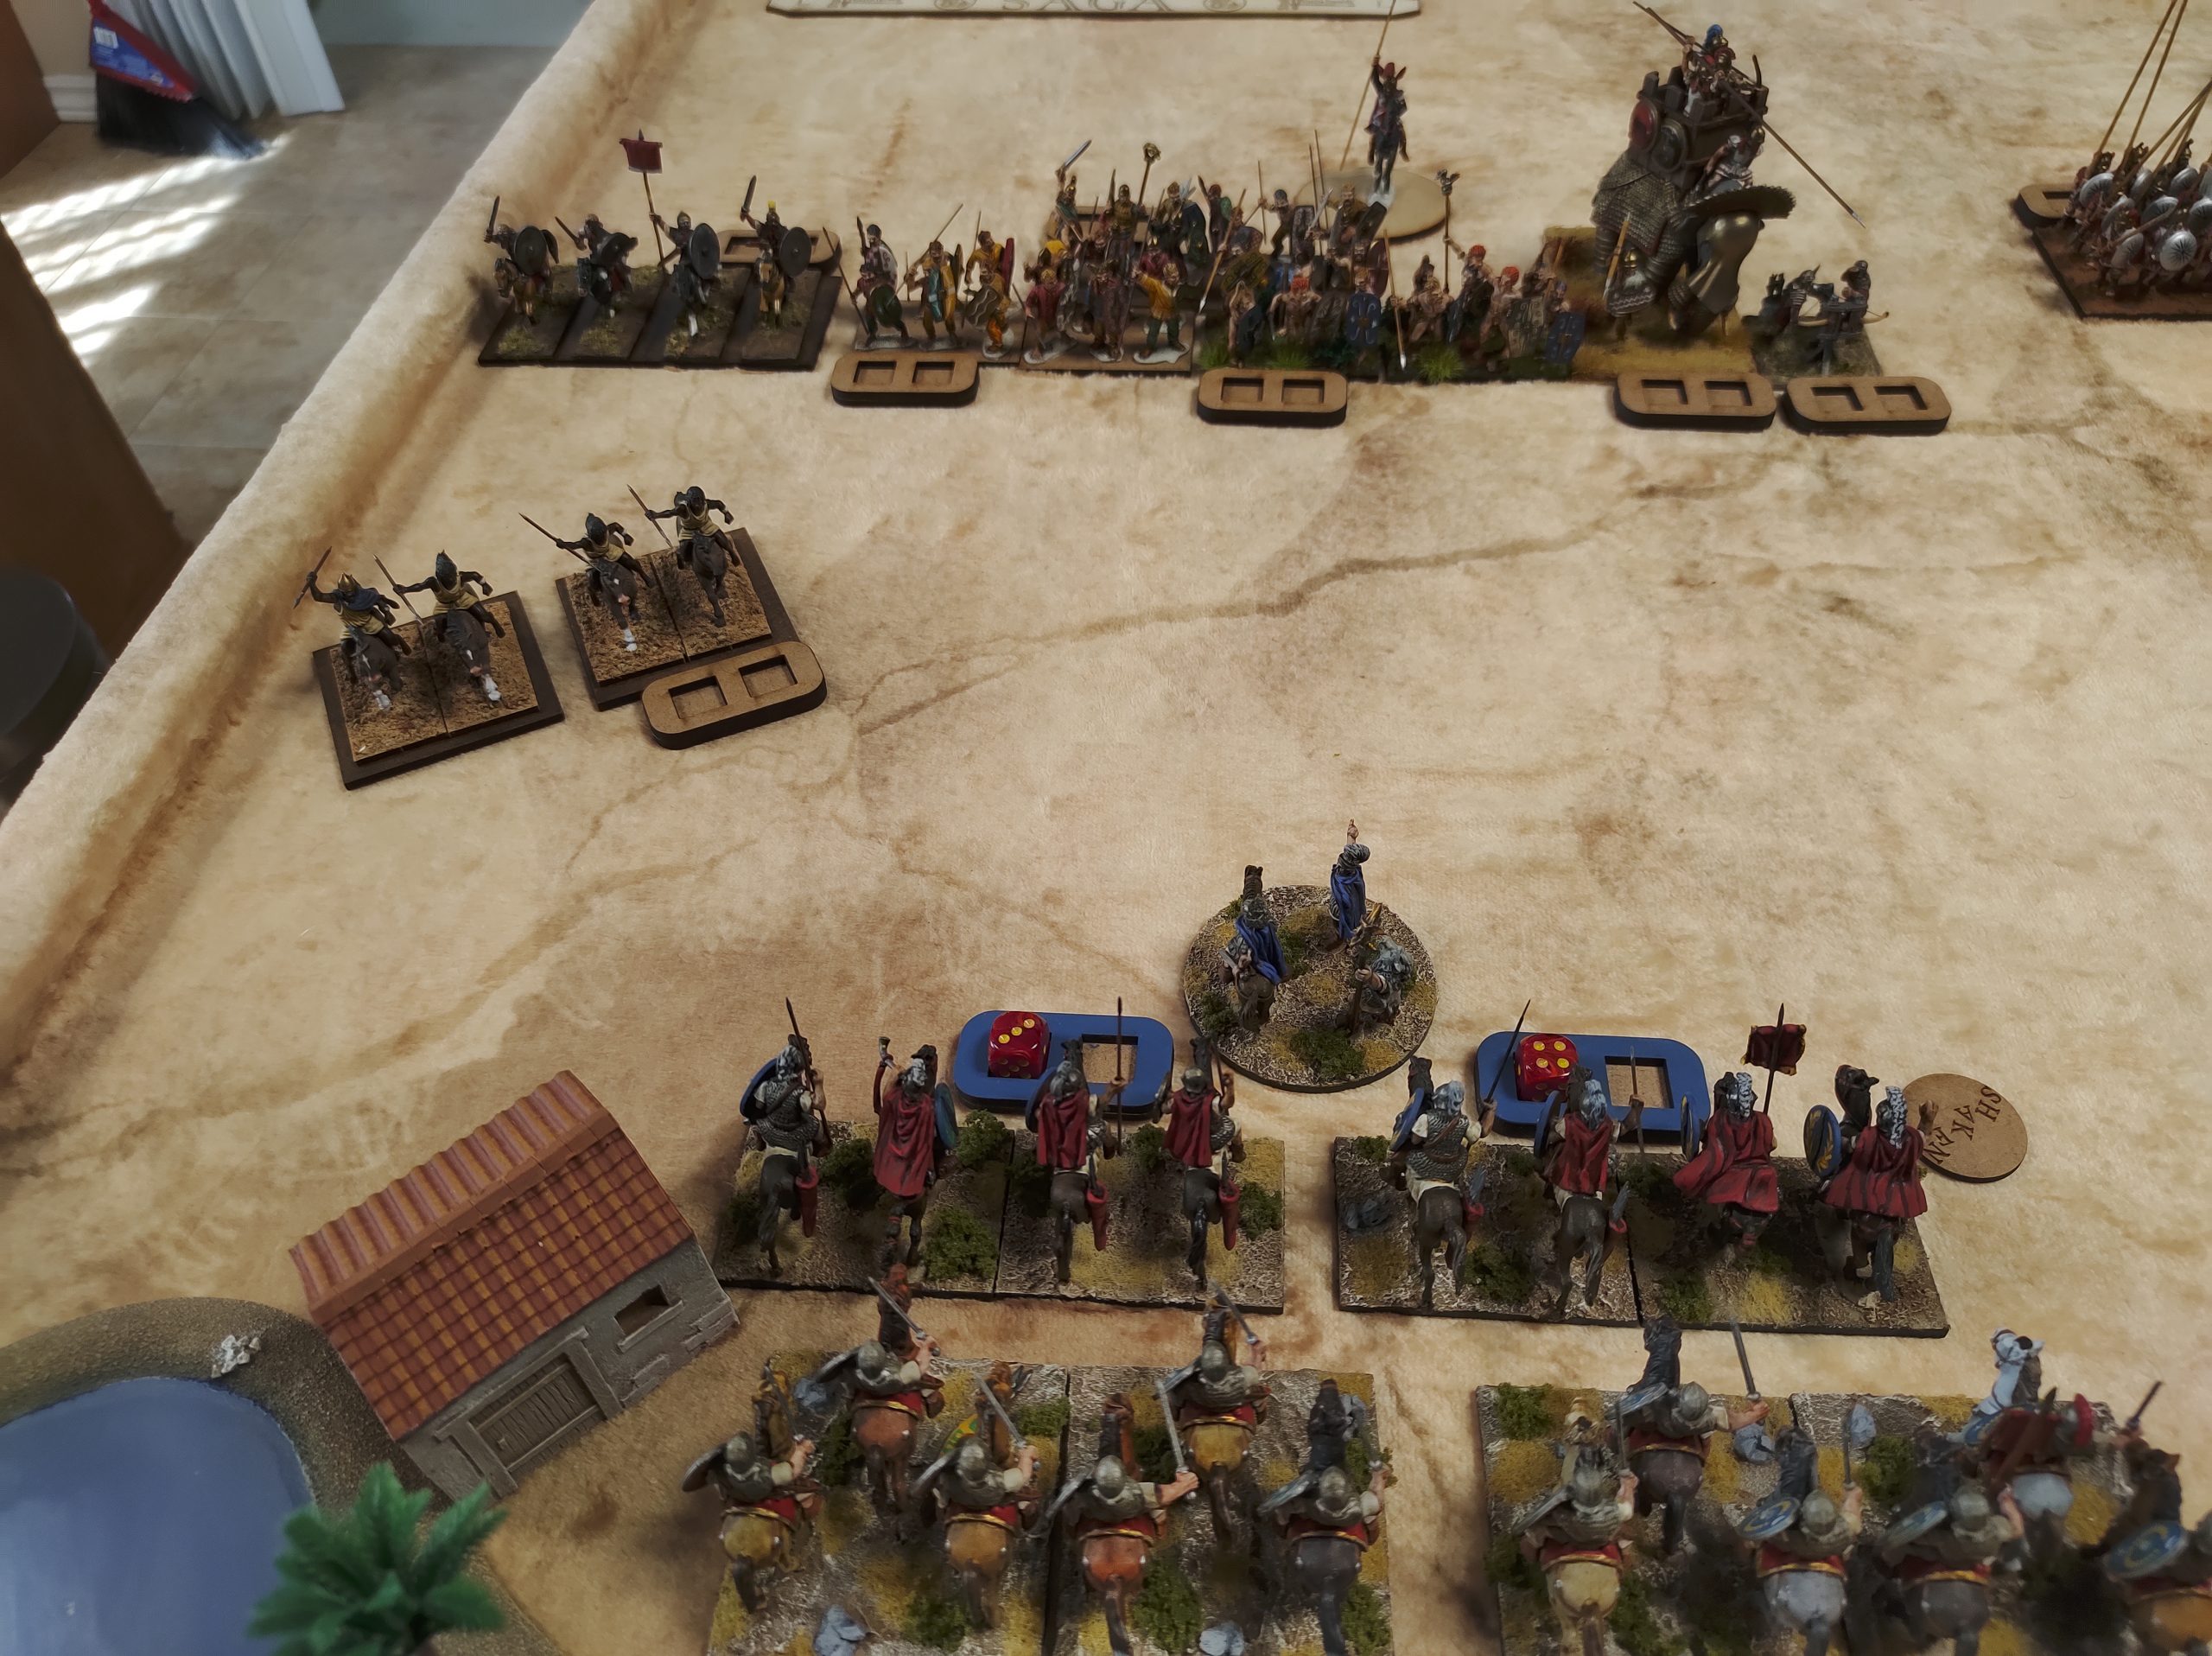
My center division was led by Julius Caesar and his retinue. I had some Velites in front of three cohorts of Legionnaires, a bolt thrower, and a unit of veterans (wearing praetorian guard shields)
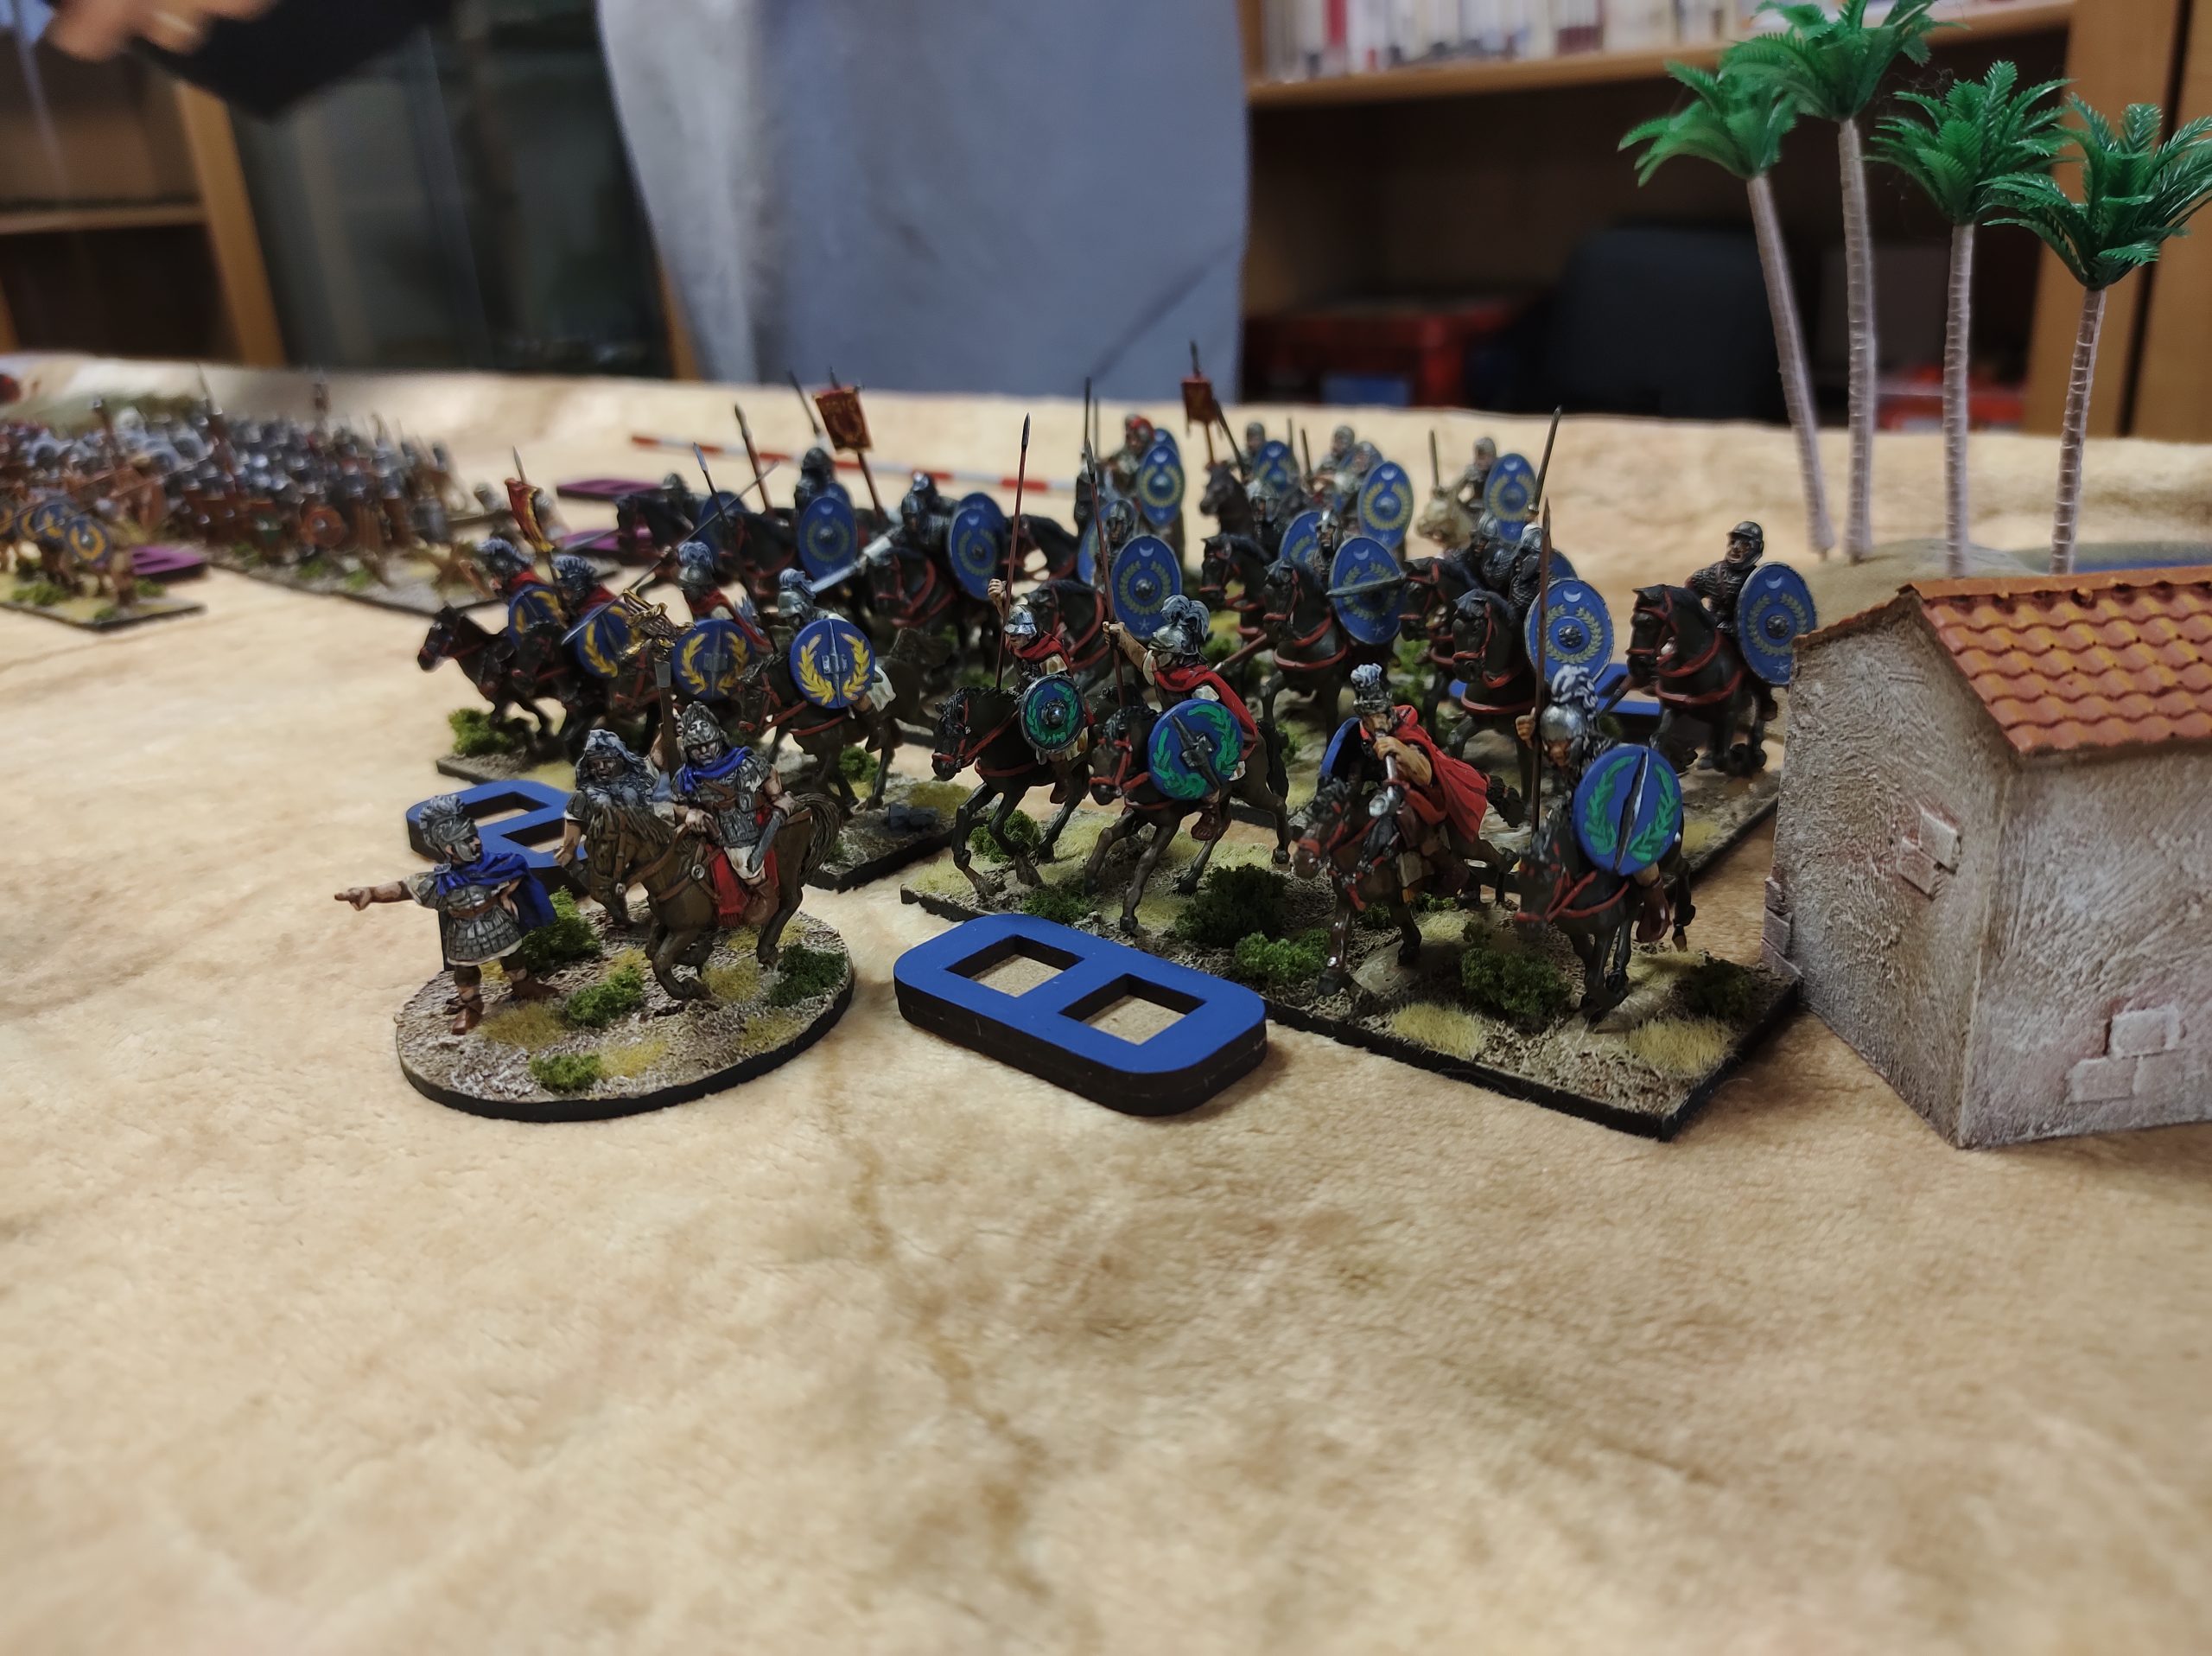
My cavalry division consisted of two units of light horse, two units of medium horse, and one heavy horse above. My other flank was more legionnaires backed up by a second bolt thrower and two units of auxiliaries. Yes, I am a huge fan of Bolt Throwers.
Scott still has some units to paint up for them to be of standard Hail Caesar size, so we are playing with two bases representing a standard unit for now, and with the size of the table, this works out nicely.
Turn 1, Greeks use the new order “Advance!” where the army general, in this case, Athena, stands in front of the army, and the whole force moves forward one move. His only shooting was the mercenary bolt thrower rolling double sixes and immediately killing off two light horse!
How dare they!
Elsewhere his Slingers dealt a wound to my Velites and force a break test by getting a 6 to hit. Of course, my Velites flee behind their lines, exposing my main force. I took more of a gamble and ordered my entire cav division up to threaten his flank… and… order failed. The center and right divisions just advanced one move into the center.
Turn 2
The Greek light horse advance and the dreaded traitorous bolt thrower AGAIN does two wounds to my light cavalry unit, making them Shaken. But they hold after taking their break test. Elsewhere his lights charged mine, and I elect to evade them back, the idea being I can now charge his front lines with them out of the way.
In my turn 2, my center and right divisions advanced and force his lights to evade, leaving me in charge range of the Greeks. My bolt thrower, of course, does nothing to the elephant, the other along with the auxiliary archers and my own lights break or make retreat three units of skirmishers back, so that was a success.
On my left, my grand plan was to Charge his warbands with wild fighters rule to force him to waste his rerolls on my lights so that I could later charge with my mediums and heavy. One light cav made it into combat… and then I failed the next command role. So the light cavalry went in unsupported. Shockingly, I only lost that combat by one despite 12 dice coming back my way, I was able to save some wounds and fall back Disordered But I was able to make a unit of Galatians waste their rerolls.
Turn 3 The greeks Charge
His Numidian cavalry charged my light cavalry that had fallen back, forcing me to fall back again. The elephant failed to charge my bolt thrower. Scott’s entire center charged my lines after sweeping away my Velites. With the Silver Shields forcing my cohorts back into disorder, my veterans held the center line. My right-hand cohort fell back in good order after Julius Caesar challenged Athena herself in combat.
On the right I had a cohort win the combat, but not by more than two. Thus the phalanx rule meant his Hoplites stayed and count the loss as a draw. The Celt-Iberians and my auxillia with spears fought to a draw. Finally, my archers, facing warbands with wild fighter rerolls, were shattered completely.
My cavalry division was in a perfect position to charge. Of course, they fail their order roll to charge and just stood there. On the right, I once again won against the phalanx but not by two, so the fight remains a draw. I moved my red commander up to rally off a wound before the combat, blast through the Galatians, and sweep into their supports. They broke, but not before an axe finds its mark and wounded my red commander! He can no longer fight in combats.
In the center, I moved Velites up to protect the flanks of my veterans who were able to deal many wounds to the Hoplites, but they rolled double 6s to heroically stay in the fight.
Turn 4
His cavalry and Celt-Iberians charged my cavalry, who countercharged and force them back in good order. The elephant is still afraid to charge my bolt thrower. In the center, his Silvershields charged and fought my cohorts to a draw. My veterans finally shake the Hoplites, but still, they hang on. I have now lost a cohort fighting the other phalanx. We were both shaken, but I failed my break test while Scott passed his test.
On the right, his phalanx fell back disordered. His Galatians flank charged my Romans, and I only fell back,
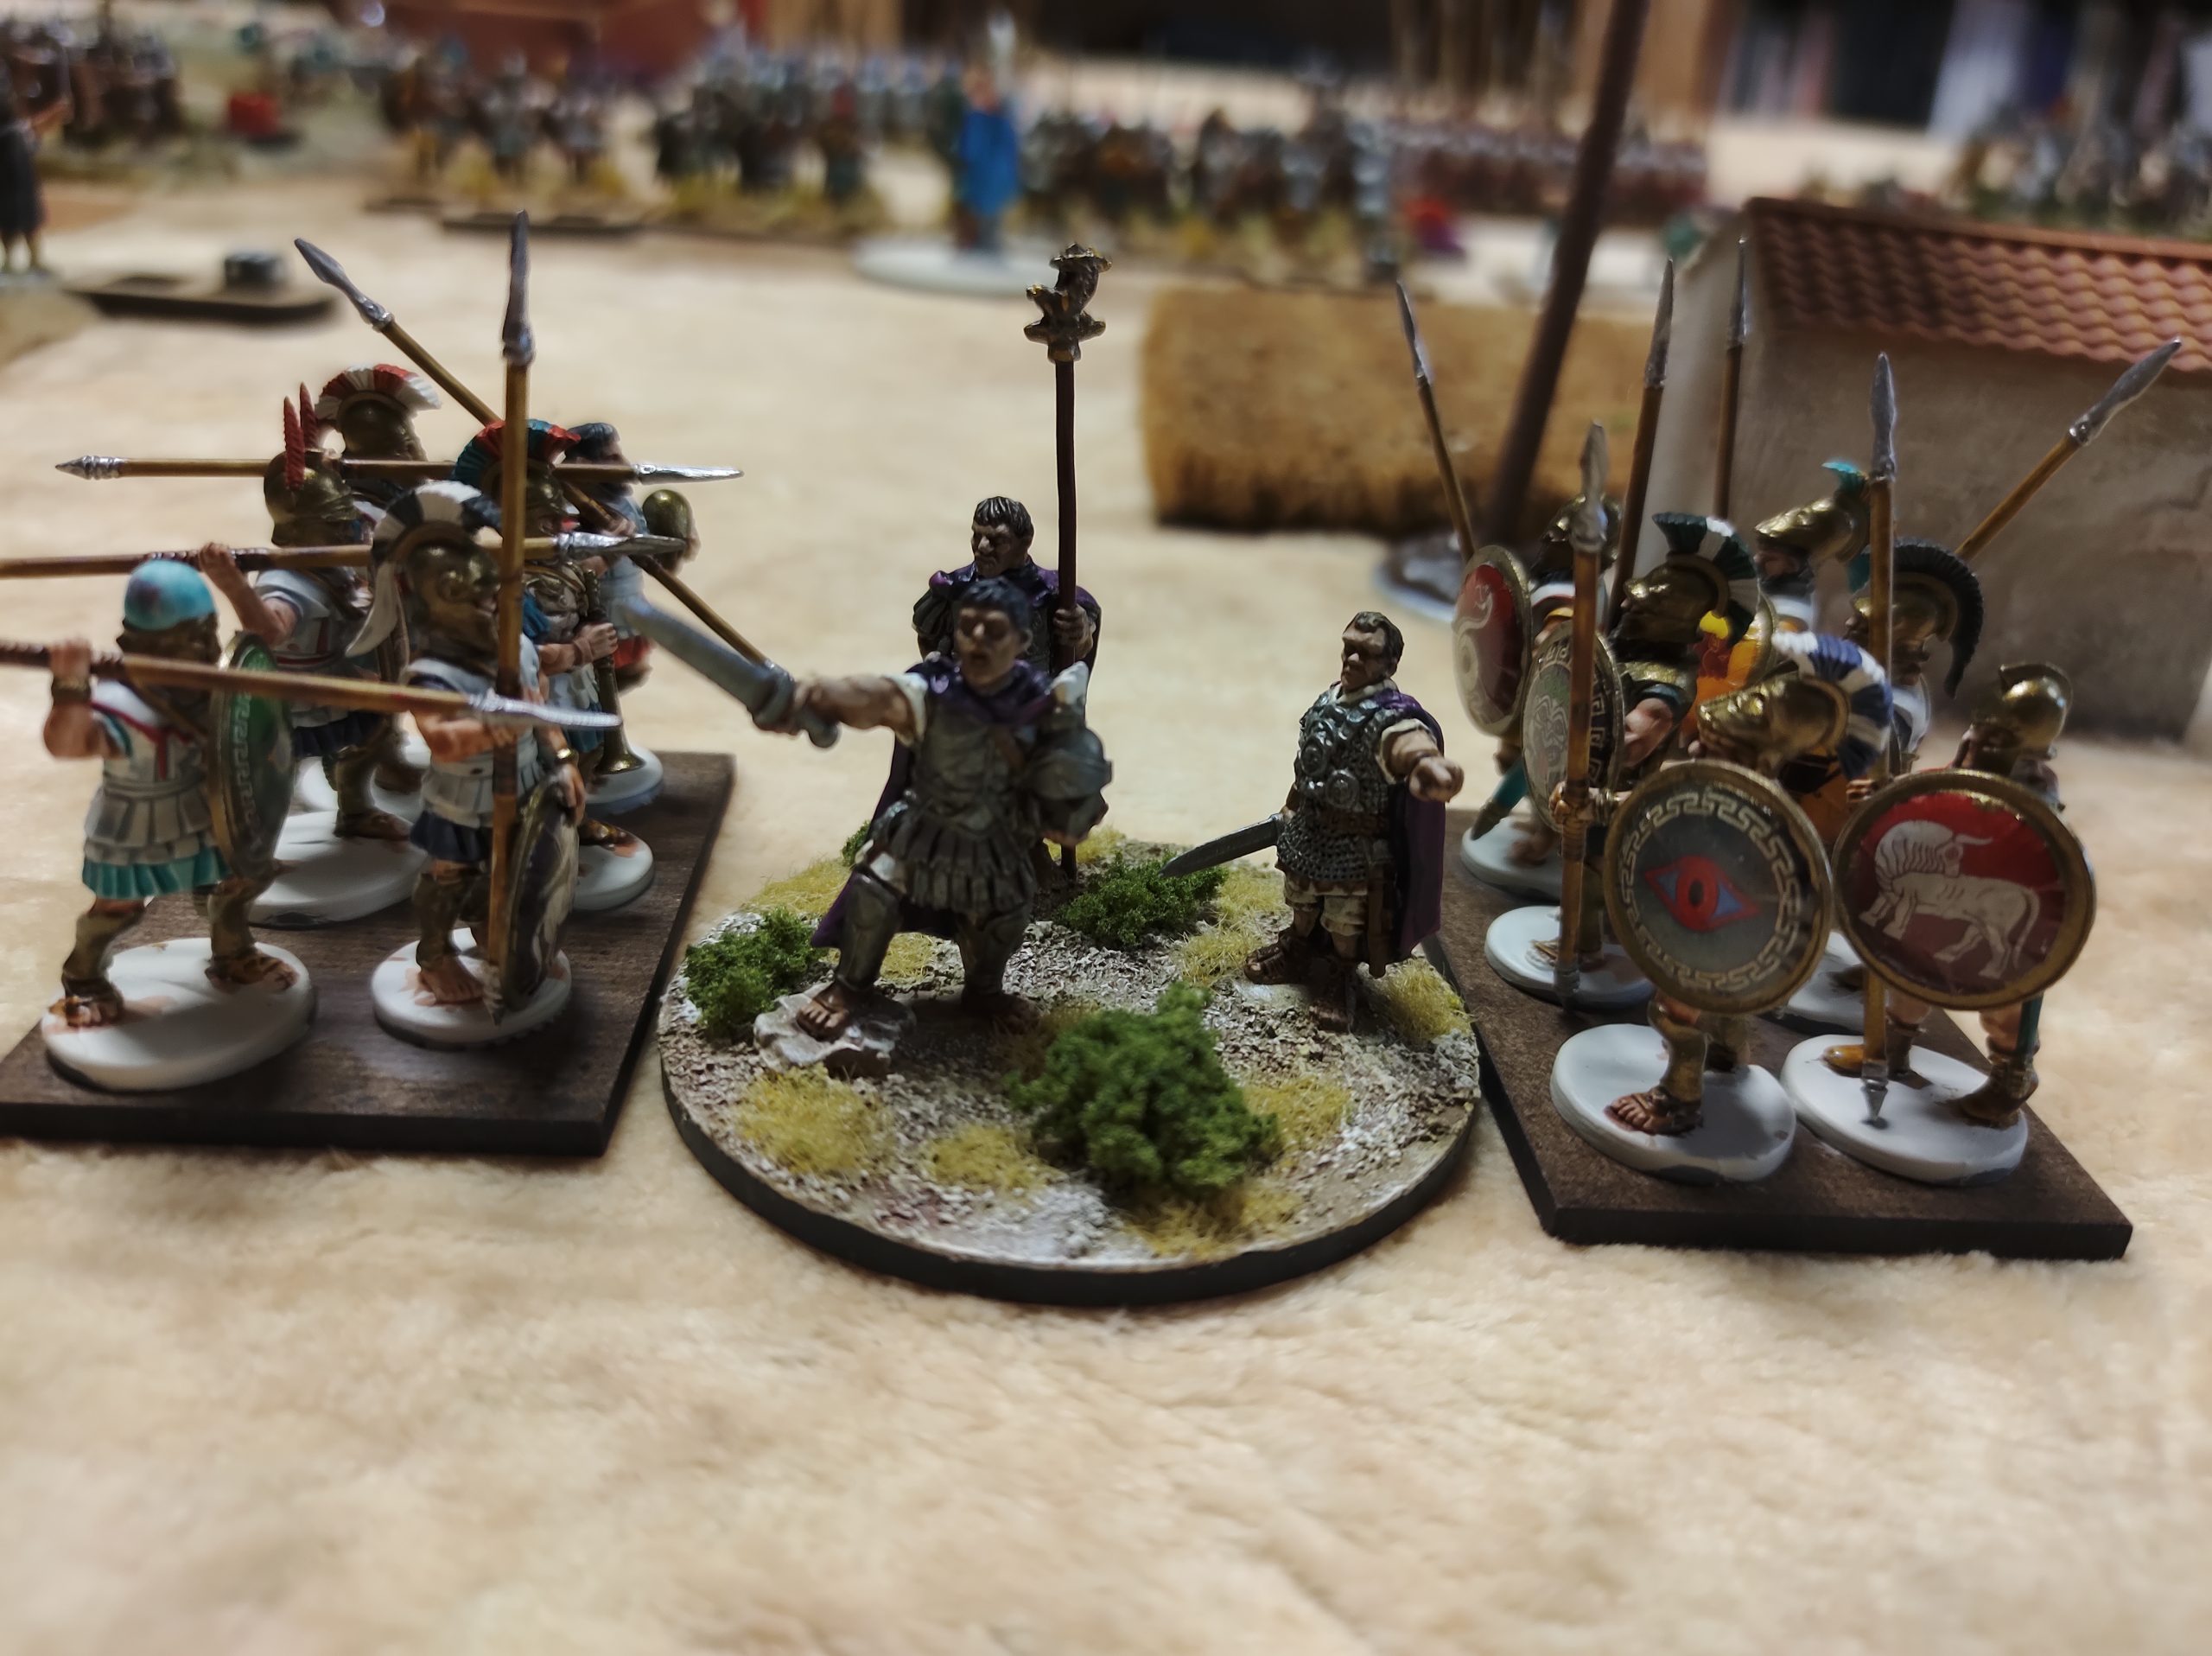
BUT DISASTER! In the middle, the combat between Athena and Julius Caesar goes badly. Julius TAKES A WOUND and is KILLED! Scott rolled an 11 on two dice to see if Julius gets hit, then the six needed for the kill. The shame!
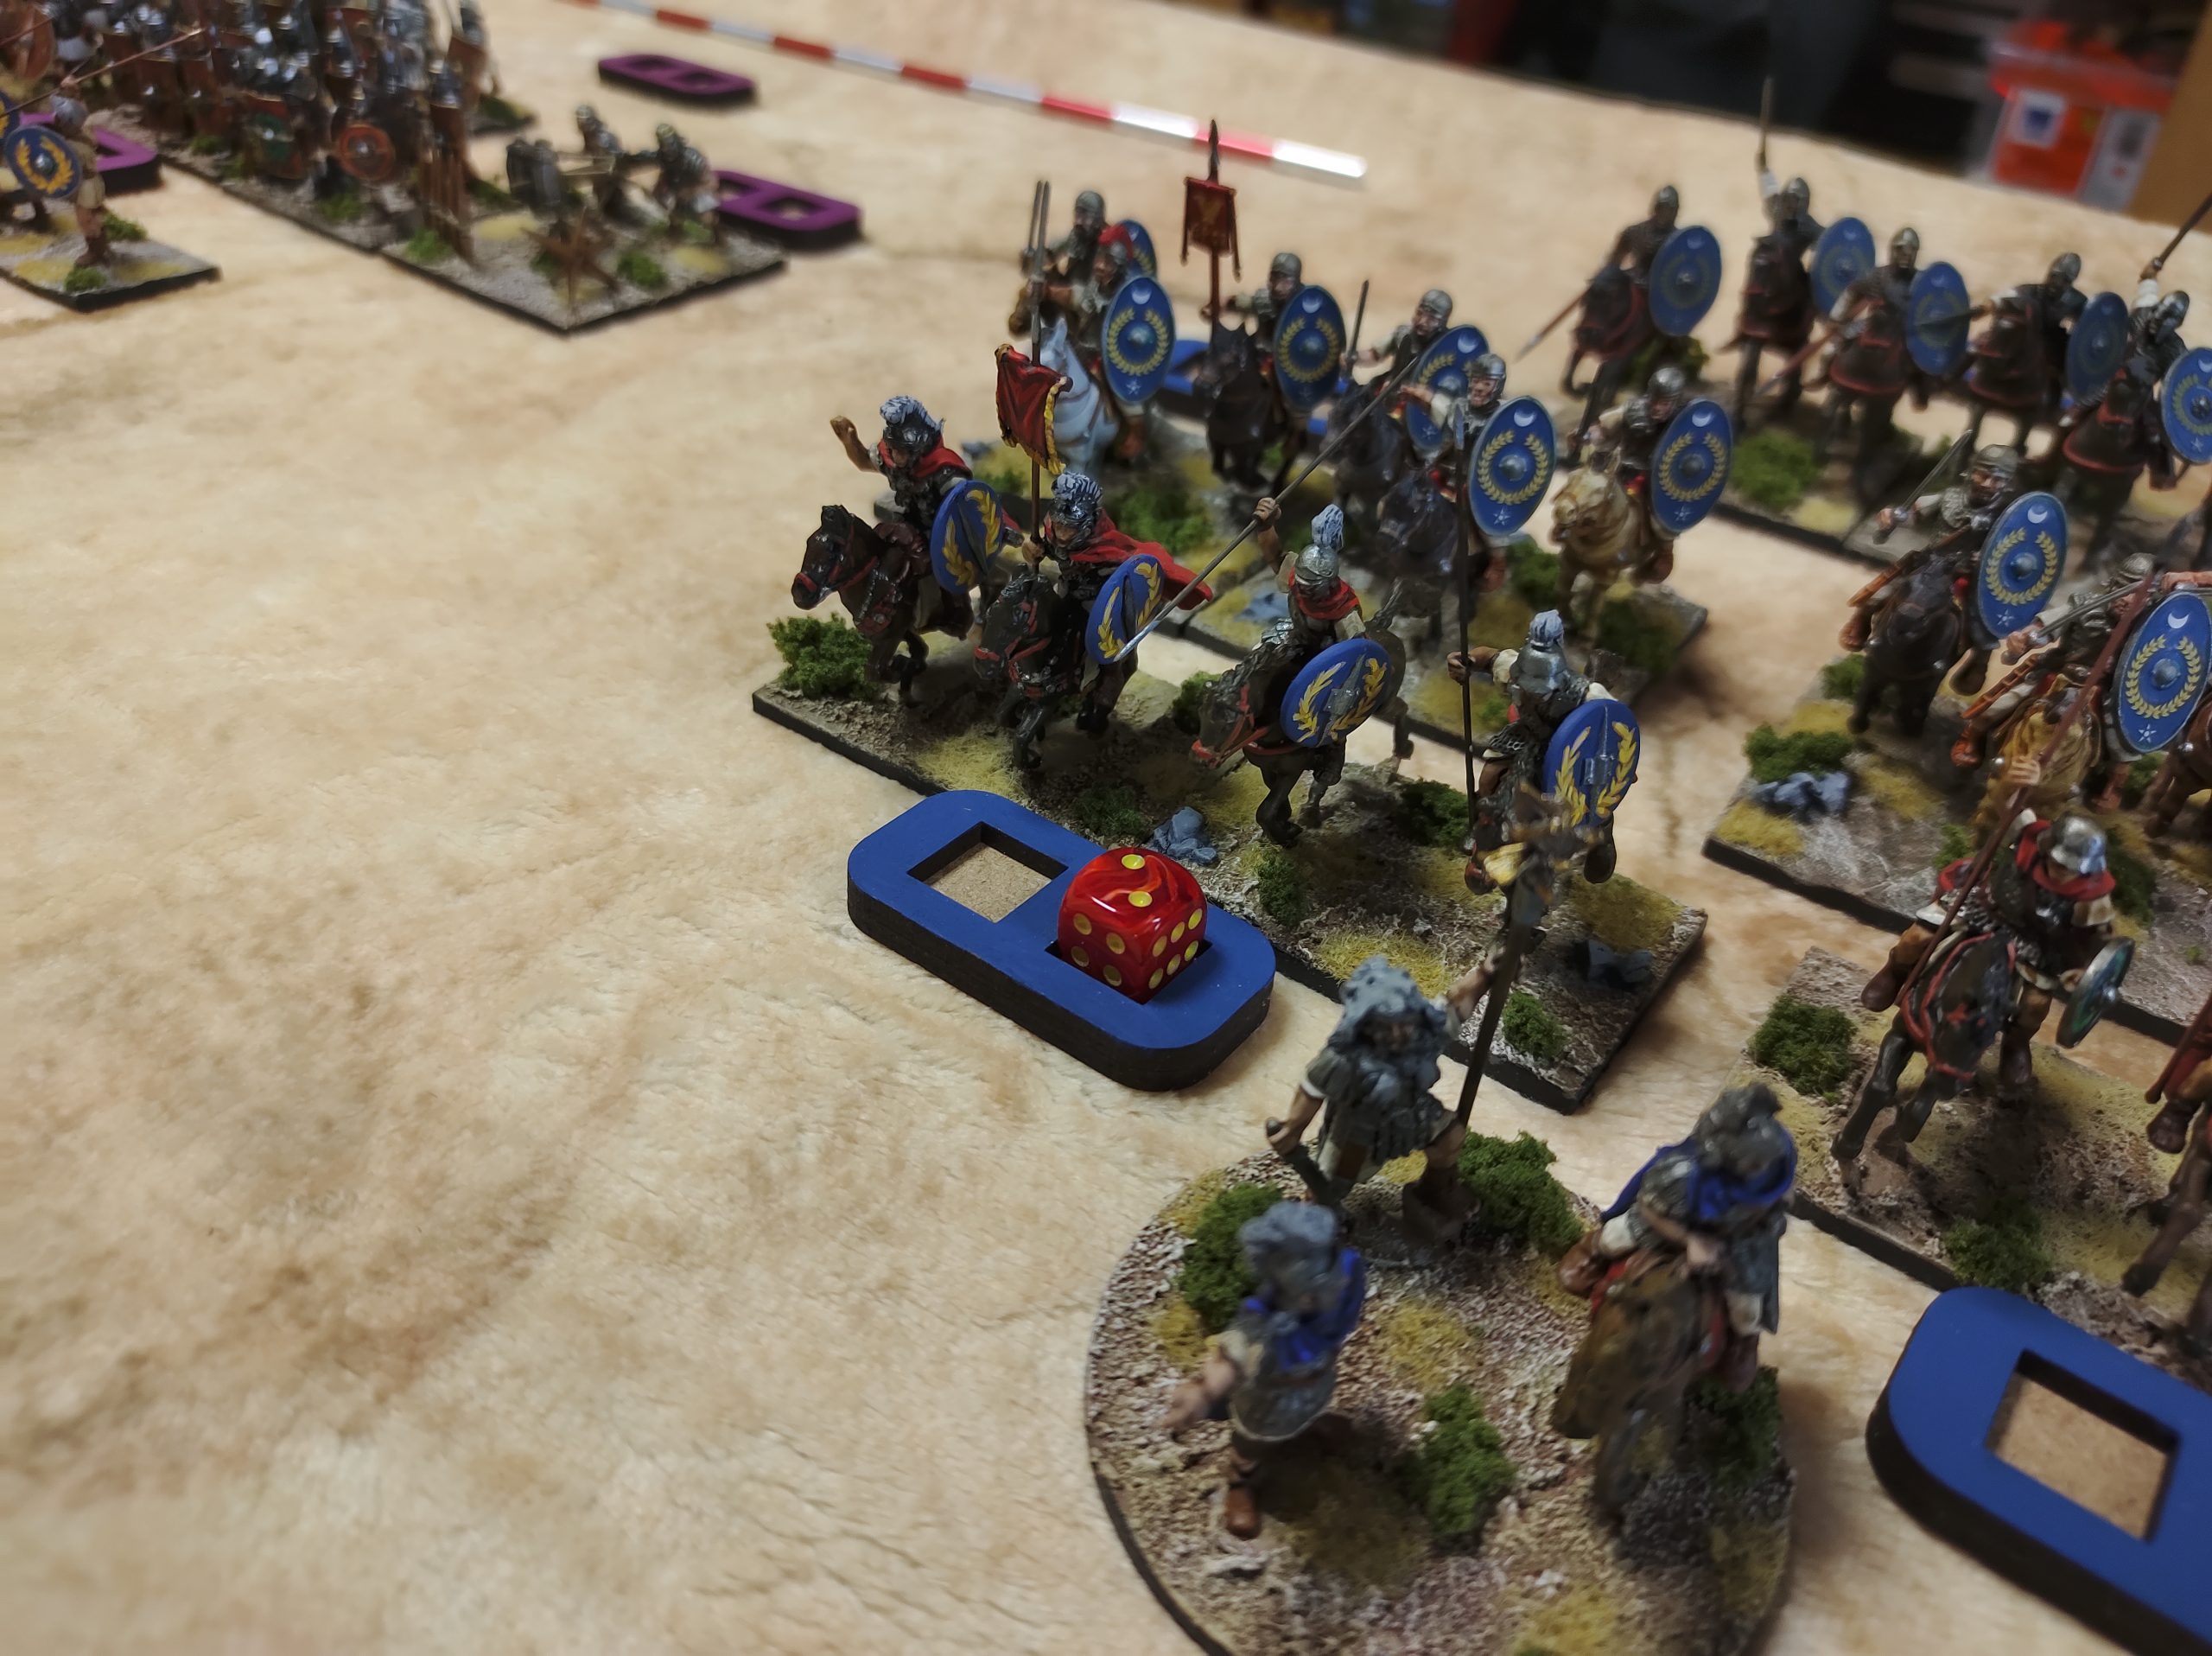
Deflated by the death of Caesar, the cavalry commander finally came to his senses and realized that this was his time to shine. He successfully in ordered everyone to charge in! The heavy cavalry managed to charge both the elephant and the pesky bolt thrower. They destroyed the bolt thrower and almost kill the elephant as it retreated.
My other cavalry charge forced back two units of enemy cavalry. The enemy cavalry passes their tests, but I fail mine, so my cavalry is shaken.
In the center the veterans finally won, pushing their opponents back. My force ends up shaken and–you might be detecting a pattern here– my force failed and broke. Scott passed his morale test.
At the end of the day, I lost too many units with failed break tests, while Scott passed a lot of his. This proved to be the turning point. That and the staunch refusal of my cavalry commander to do anything until the final turn. He has been demoted to the reserves, he is lucky to not be decimated!
The game ended with me losing one division. Scott’s force was on the brink of breaking, but hung on… a Pyrrhic victory indeed!
It was a great game, and after playing Black Powder, Pike and Shotte, and now Hail Caesar I find myself really liking Hail Caesar. This is because the combats are more decisive. I like that supports throwing dice instead of being a ‘plus 1″ to combat resolution. The extra risk of losing commanders is fun too despite losing Julius in combat.
As ever, I have a video Battle Report of the game here.
Will Julius Caesar come back from his demise for the next game? Stay Tuned…