Great 28mm Buildings from Micro Art Studios

By Tom Gall
Terrain in the form of buildings for the tabletop has evolved over the years. The technology for what makes for a great building continues to evolve. Scratch builds, plastic model kits, cast resin, pre-painted resin, MDF, 3D print just to name a few. Depending on how long you’ve been around you might have a variety of samples from from technology stage.
I was especially happy many years back when Miniature Building Authority and Battlefront/Gale Force 9 offered pre-painted terrain called “Battlefield in a box” that once the packaging was open you had something to use on the tabletop. It was nice to not be adding to my paint queue for a change.
Old favorites like Novus Design while great kit still had a “you must paint it” step. They just recently retired from the business and will be missed.
Micro Art Studios recently released a line of Normandy-themed buildings with “pre-painted” MDF in 28mm. This article takes a look at the line.
I game generally in 15mm and 28mm scales. My favorite buildings have been Miniature Building Authority with their great buildings for Blood and Plunder as well as for Europe for WWI/WWII. I was pleasantly surprised at AdeptiCon Micro Art Studios had traveled all the way over from Poland to sell products and am I ever glad they did. I’m a fan and I think you will be too. I picked up a number of their kits and eagerly started construction.
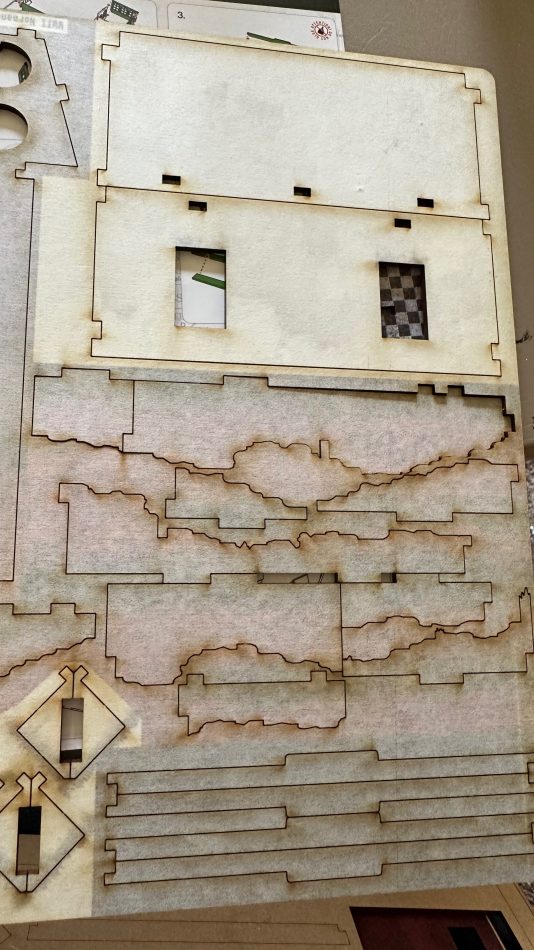
Their buildings are MDF. When opening the packaging you’ll be presented with something like this, MDF laser cut and covered with a sort of tape to protect the “paint” job of the building. It’s easy enough to push out with your fingers. There are a few smaller end pieces you have to be careful with else risk bending the piece.
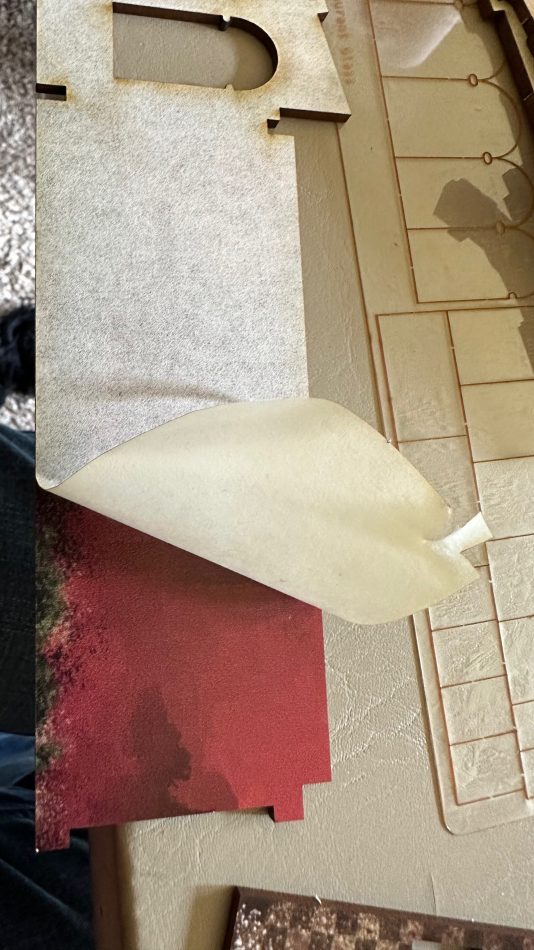
Here is what taking off the layer of protective tape looks like. It’s fairly easy to remove, just be slow and gentle.
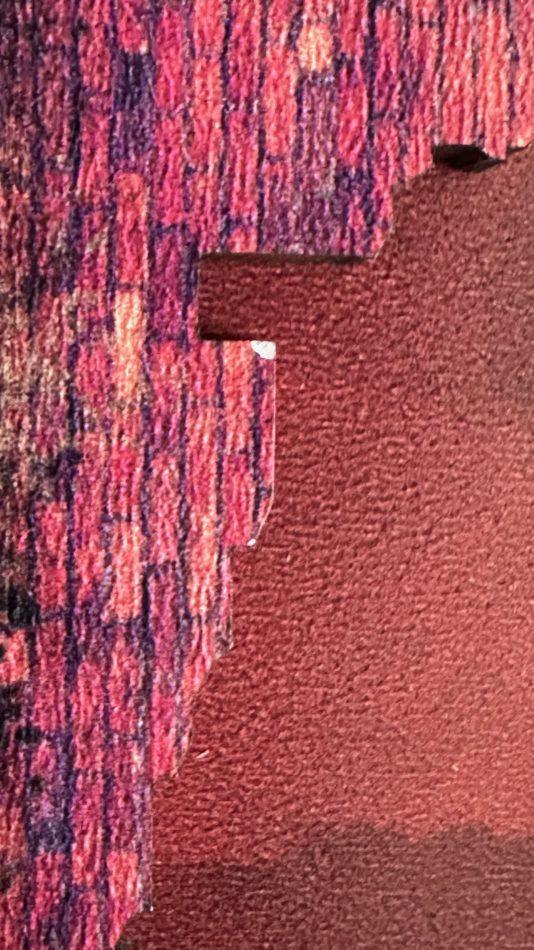 You can see here in this picture where the tape as it was being removed took a bit of the material and thus gave us a bit of a white spec. The packaging does warn against the problem. As these issues tend to be quite small, either a small dab of paint or even a marker will cause it to disappear. No big deal in my book.
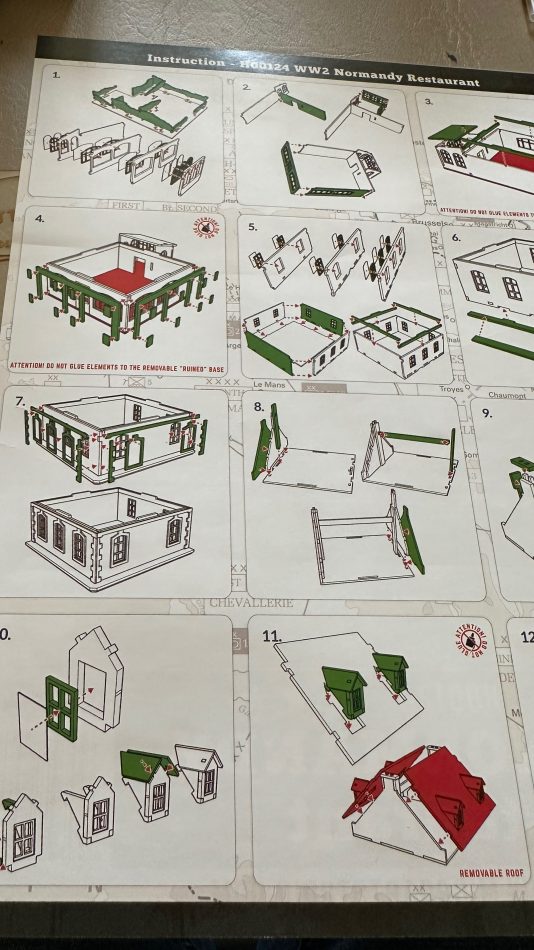
These are part of the instructions from one of the kits, they’re all similar to this with step-to-step guidance as far as what pieces you’ll need and how to assemble them. The lower floors of all the buildings offer a “destroyed” version so the building can either be complete or destroyed.
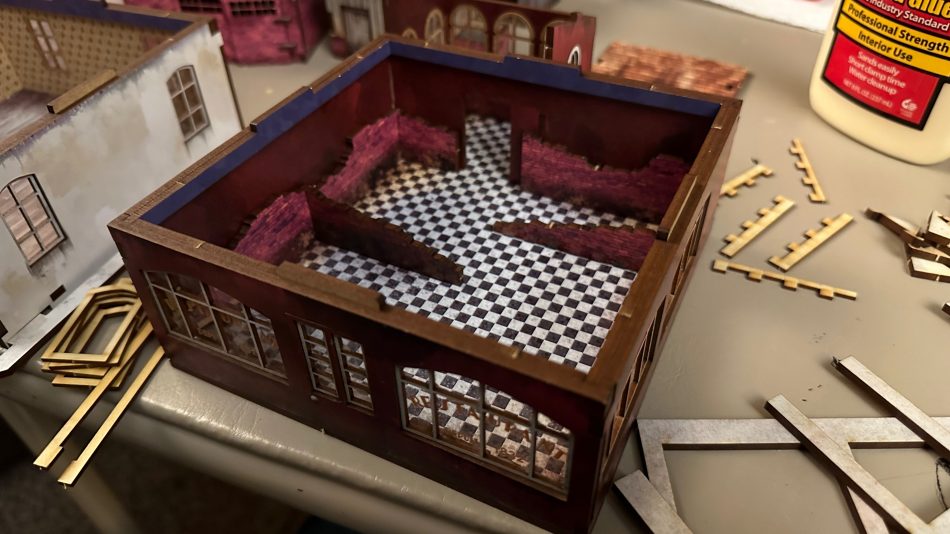
Here is the cafe with the destroyed walls installed as well. The outer walls lift off so you can just use the destroyed version. You do need to be careful that you don’t glue things in place such that you can’t lift off the walls unless of course you never intend to use the building except in one configuration.
The picture also illustrates the gorgeous interiors of the buildings. Inside things are painted floors are tiled, or wood or what have you. I’ve never owned buildings with this kind of detail where suddenly I feel the very real urge to buy scale-appropriate furniture over which to battle.
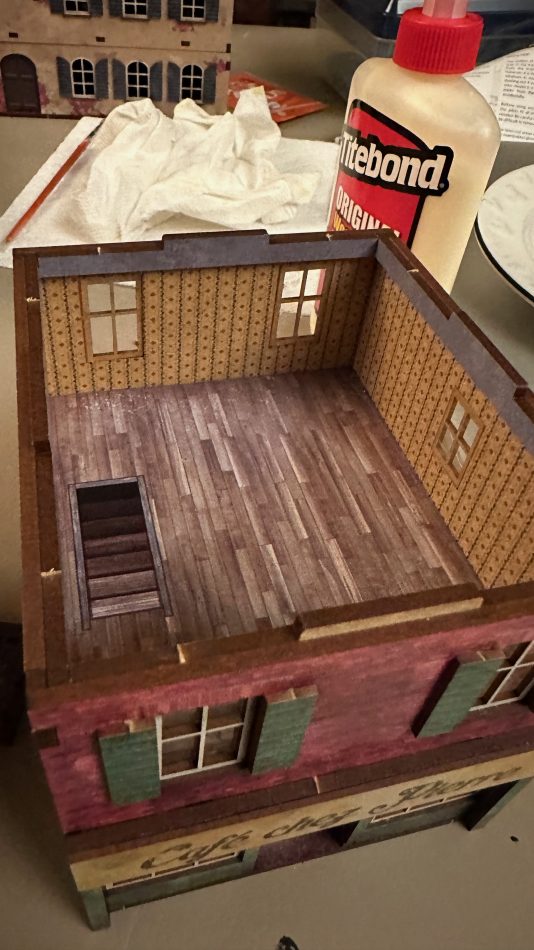
Here the second floor of the cafe is coming along, once again you can really get an appreciation for the details both outside and inside the building. While you might not be able to quite see it here, the windows do have actual see-through panes! The stairs are just painted on, it’s not an actual stairwell. You can also see the notches where the next floor will fit into place. This makes the buildings easy to get into any floor.
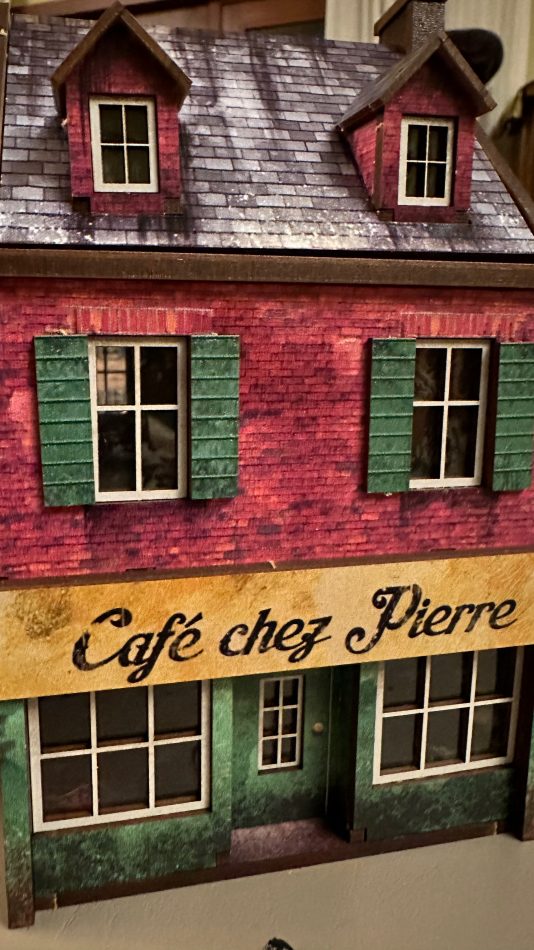
A better show off the front of the building with the roof on top. The roof lifts off, giving you three floors to use for this building.
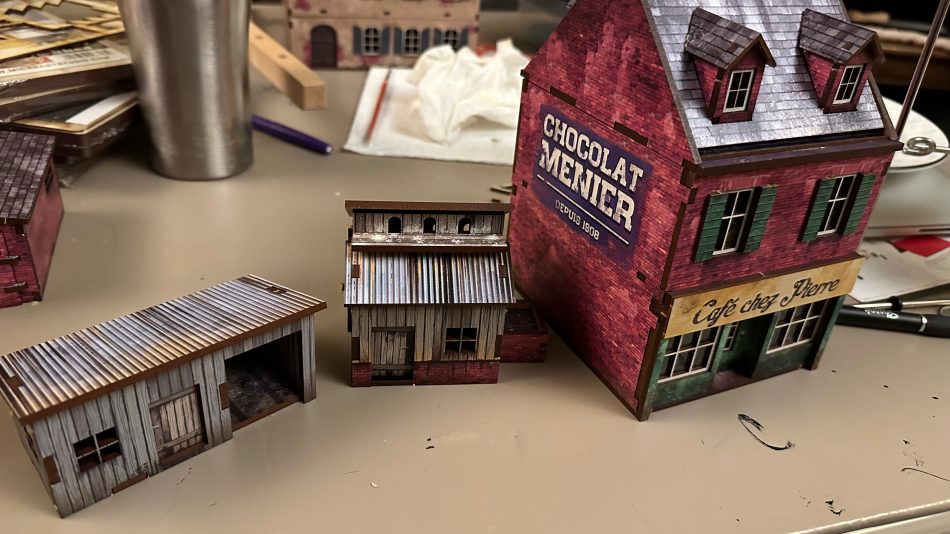
A side shot this time and with a couple of tin shakes from another kit. It’s nice to have some outer buildings that are representative of a town – but not the nice central area. These builds are like the cafe where the roofs lift off for easy access.
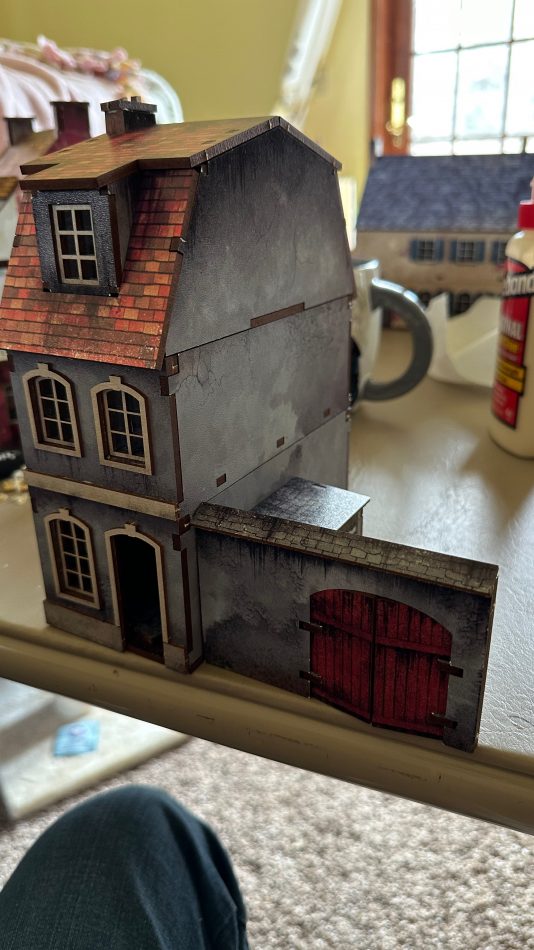
Here is another one of the kits this time fully assembled, lots of character in this one. With the wall and door it’s meant to be connected to another structure for best effect.
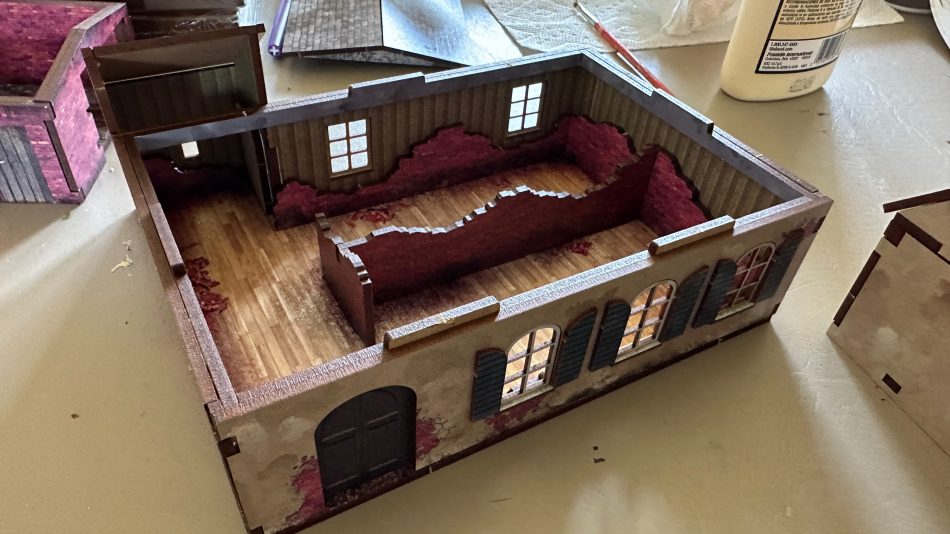
Yet another kit from the Normandy townhouse series. As before the first floor lifts off for either a destroyed version or a normal version. In my case I have both the destroyed walls on the undamaged version in the picture. I can remove either to configure the building as I like.
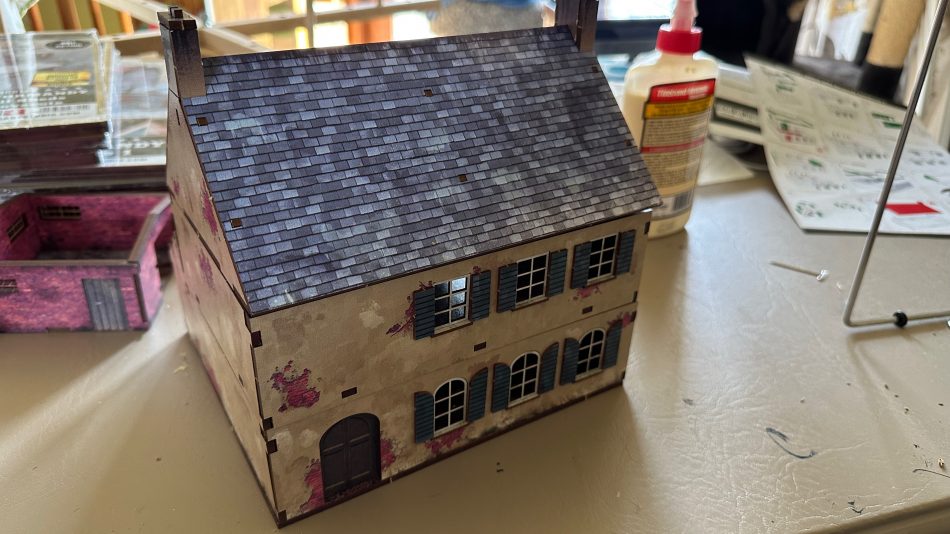
Here is this townhouse nearly fully assembled, with just a bit of trim missing. The average assembly time for a building was on the order of an hour or so for me. Your results might differ. I was generally using PVA glue to hold it together.
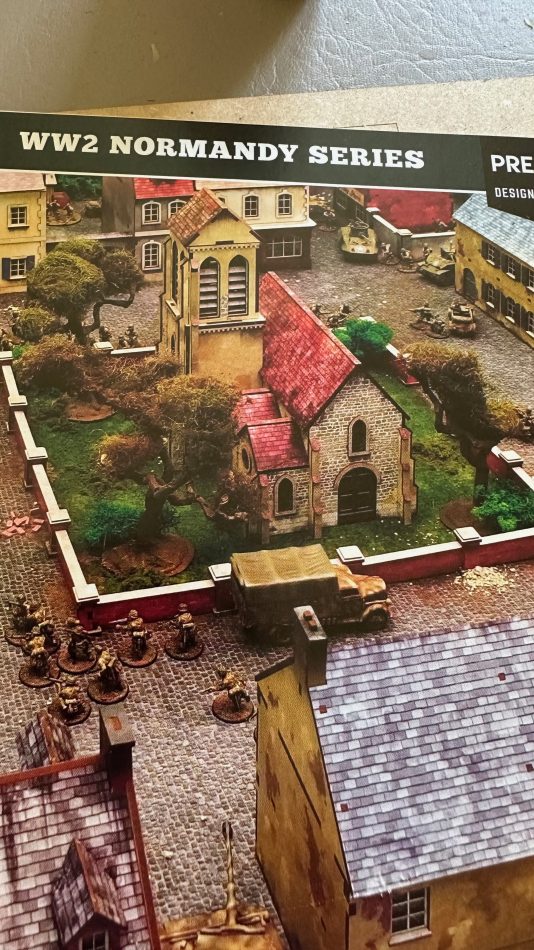
One structure I didn’t buy at AdeptiCon was this church. I sure regret not doing so. Given how great all of these buildings have turned out, I was hoping I’d be able to purchase it when I was over in Europe on business as I knew Micro Art was going to be at Salute50. They were there, but they didn’t have anything for sale at the time.
SAD PANDA.
When I got home, I placed an order. Since it’s shipping from Poland, it’s hard to estimate how long it’ll take to arrive but so it goes!
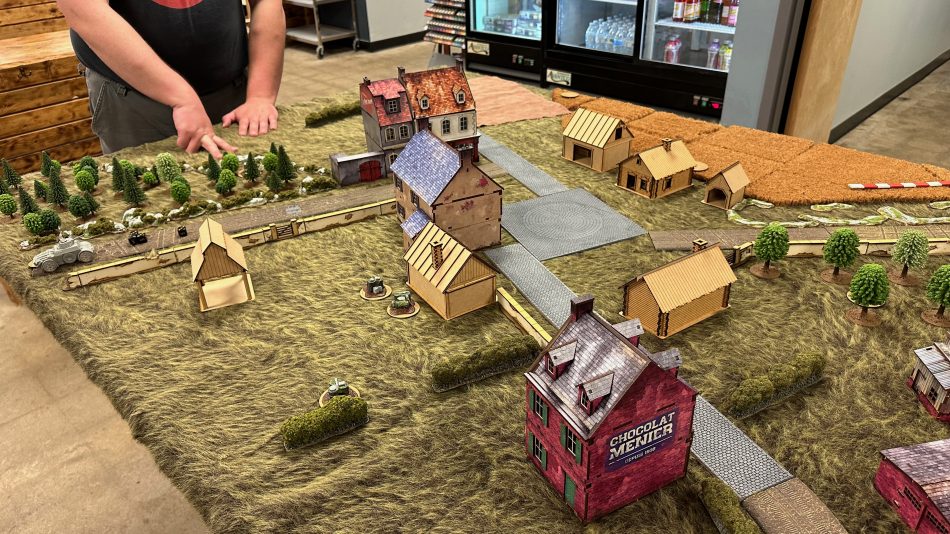
Here is a recent Chain of Command game with the buildings intermingled with another set of MDF structures that a friend has. Great building sure makes the table look all the more great.
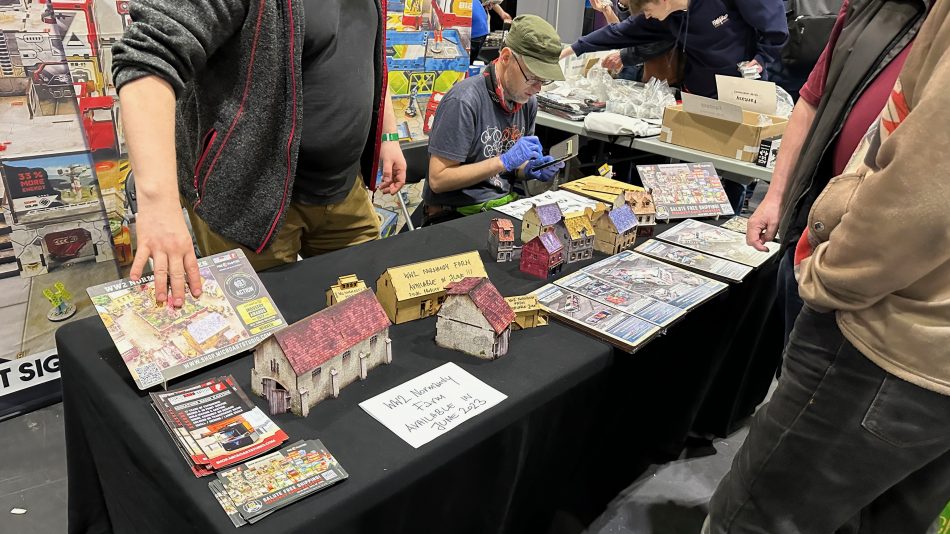
While I was at Salute50, Micro Art Studios was showing off their next set of Normandy Buildings, they aren’t available quite yet but just another month and they will be. This is auto-buy territory for me!
Additionally, you can see on the table they will be selling 15mm versions of their current buildings too. That’ll be in the next few months. I do wonder how well these buildings will work with games like Flames of War or Team Yankee and their stand-based systems. Miniature Building Authority 15mm buildings were a little awkward to use with Flames of War/Team Yankee as the stands don’t always fit.
I’m really pleased with the historical product line from Micro Art Studios. They make a great addition to your tabletop for 25-28mm scale games. I give them a strong recommendation.
