Flames of War US Masters 2018 – A Player’s Experience
by Keith Gilmour
On October 3rd, I was super happy to get my second ever invite to . The invite started all sorts of list noodling and planning on what I was going to bring. The Masters tournaments all have some sort of twist to make them interesting. This year, it was an escalation theme where you had to bring three lists of 62, 88 and 104 points that need to be built on different formations and each would be played twice.
Part 1 – The Lists
Here are the three lists that I chose –
Iron Cross Armored Car Company – 62 points
Armoured Car Company HQ 1
Sd Kfz 221 & 222 Light Scout Troop 2
Sd Kfz 221 & 222 Light Scout Troop 2
Sd Kfz 231 Heavy Scout Troop 2
Panzergrenadier Platoon 10
Panzer-knacker Card 2
5cm Tank-hunter Platoon 12
Support
Marder (7.62cm) Tank-hunter Platoon 16
15cm Nebelwerfer Battery 9
8.8cm Heavy AA Platoon 6
At the 62 point level, the only way I could think of to get a decent formation was the armored car company. I was pleasantly surprised by how crunchy you could make the formation by adding a PanzerGrenadier platoon and some Pak 38s. It would take some work to for the enemy to break this formation and make me run, while still leaving me plenty of points for the obligatory Marders and some Nebs for artillery support. I figured that the Marders and AT guns would take care of any enemy tanks, while the armored cars and infantry could push an objective if needed, or dig in tight and hold ground. The Nebs were there to kill enemy infantry and guns.
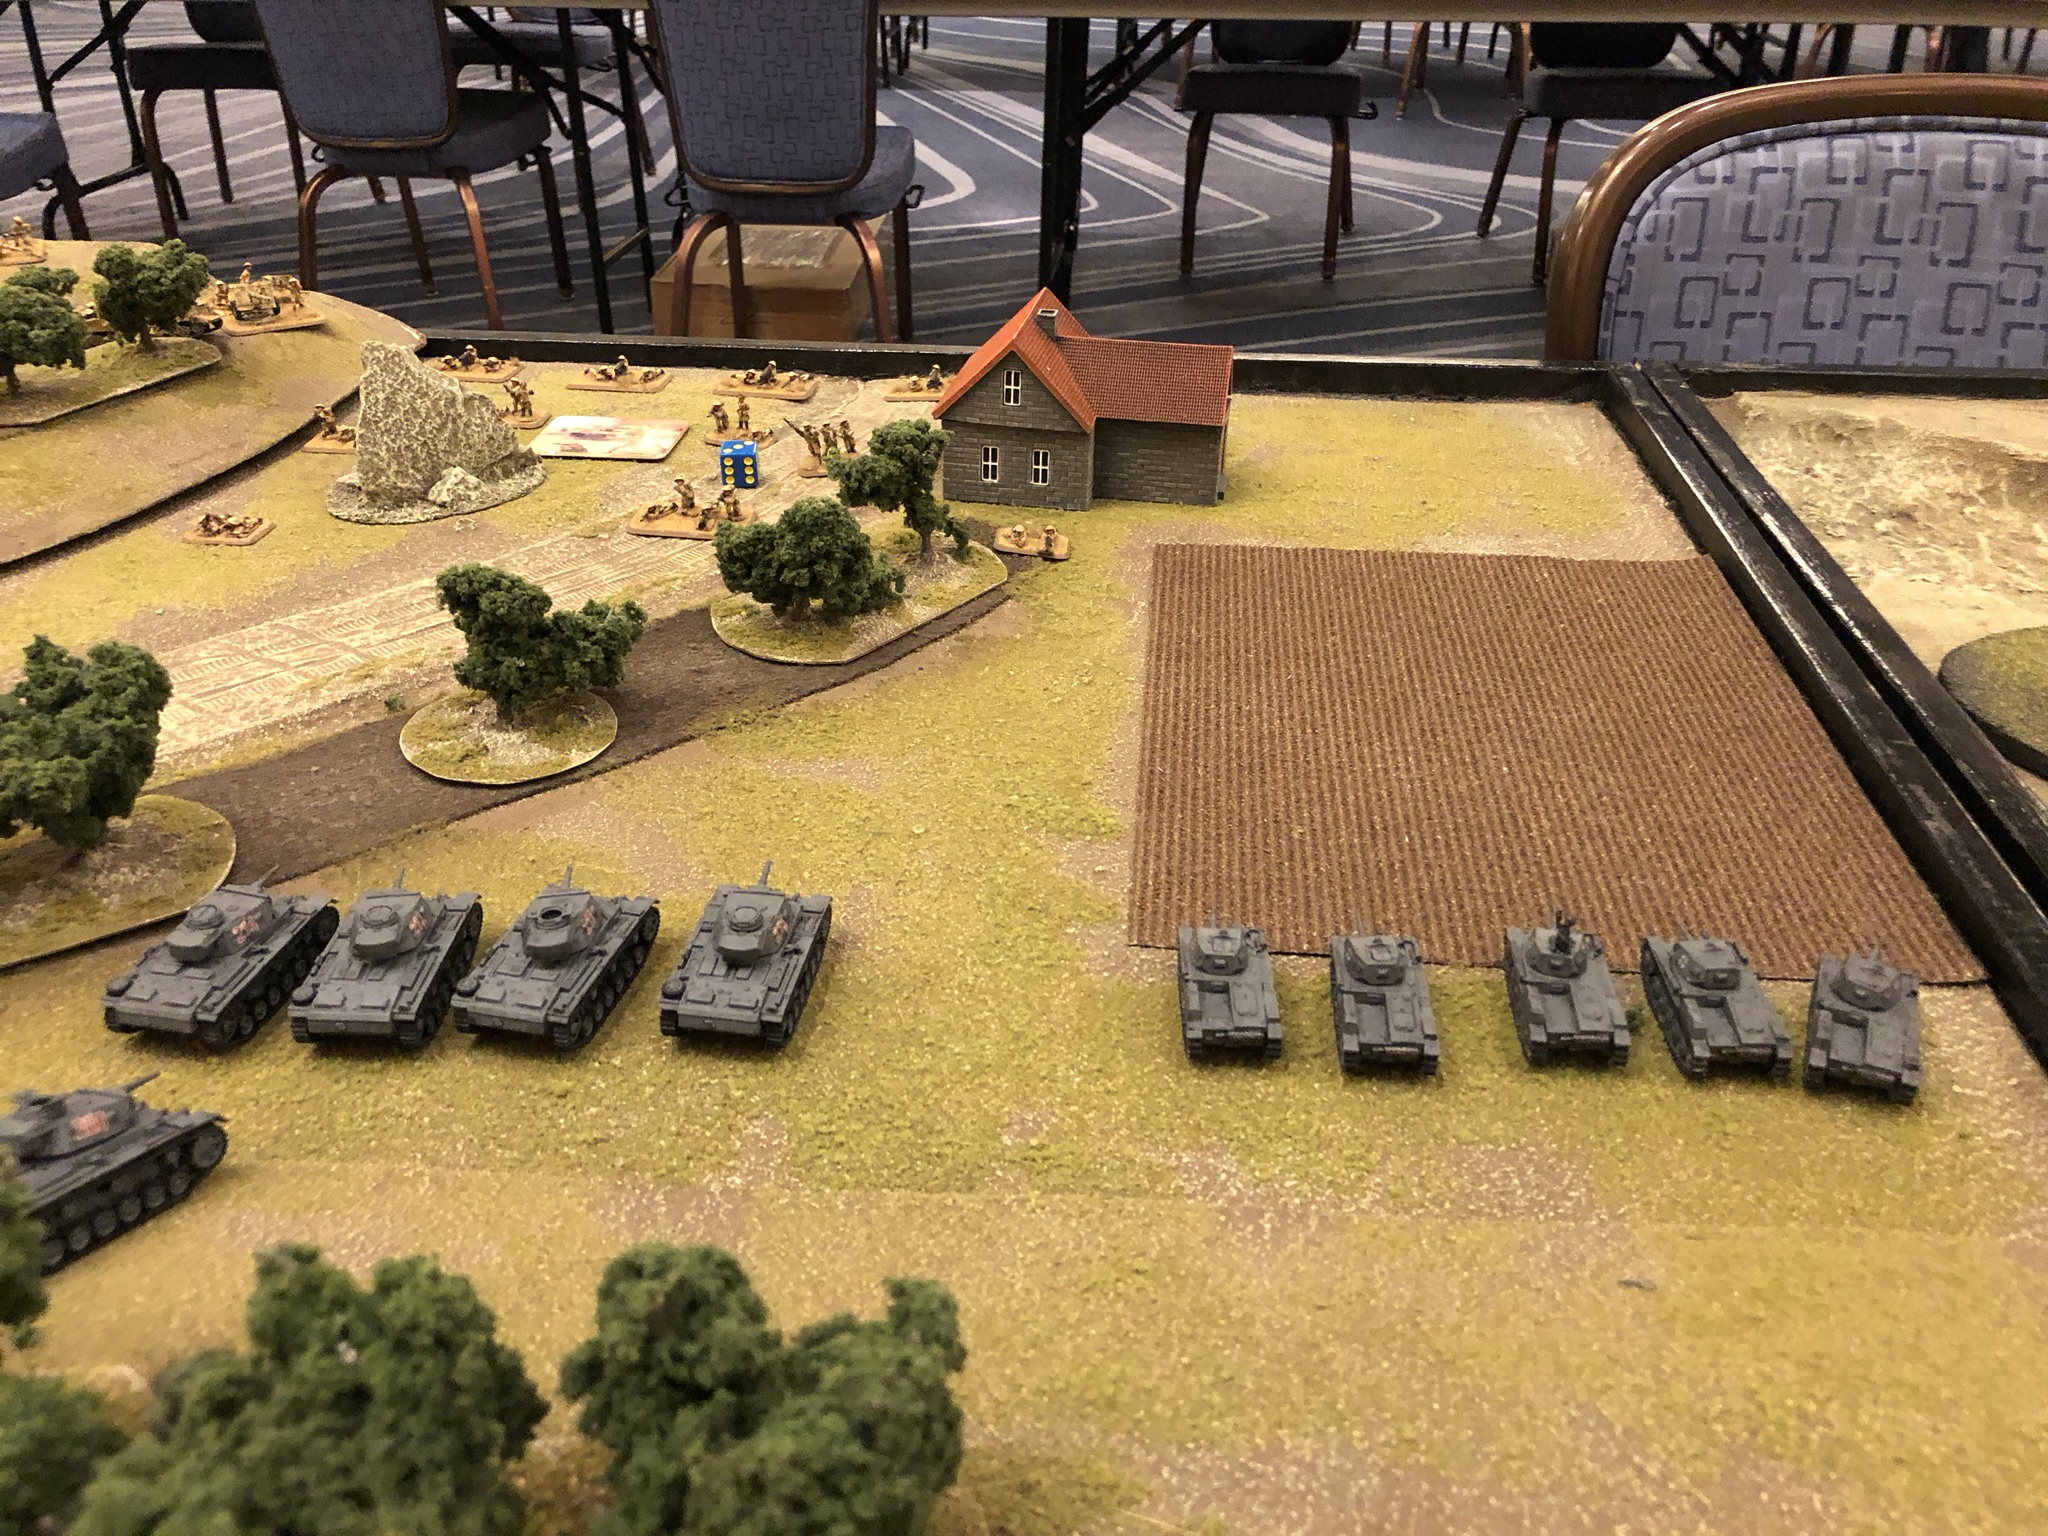
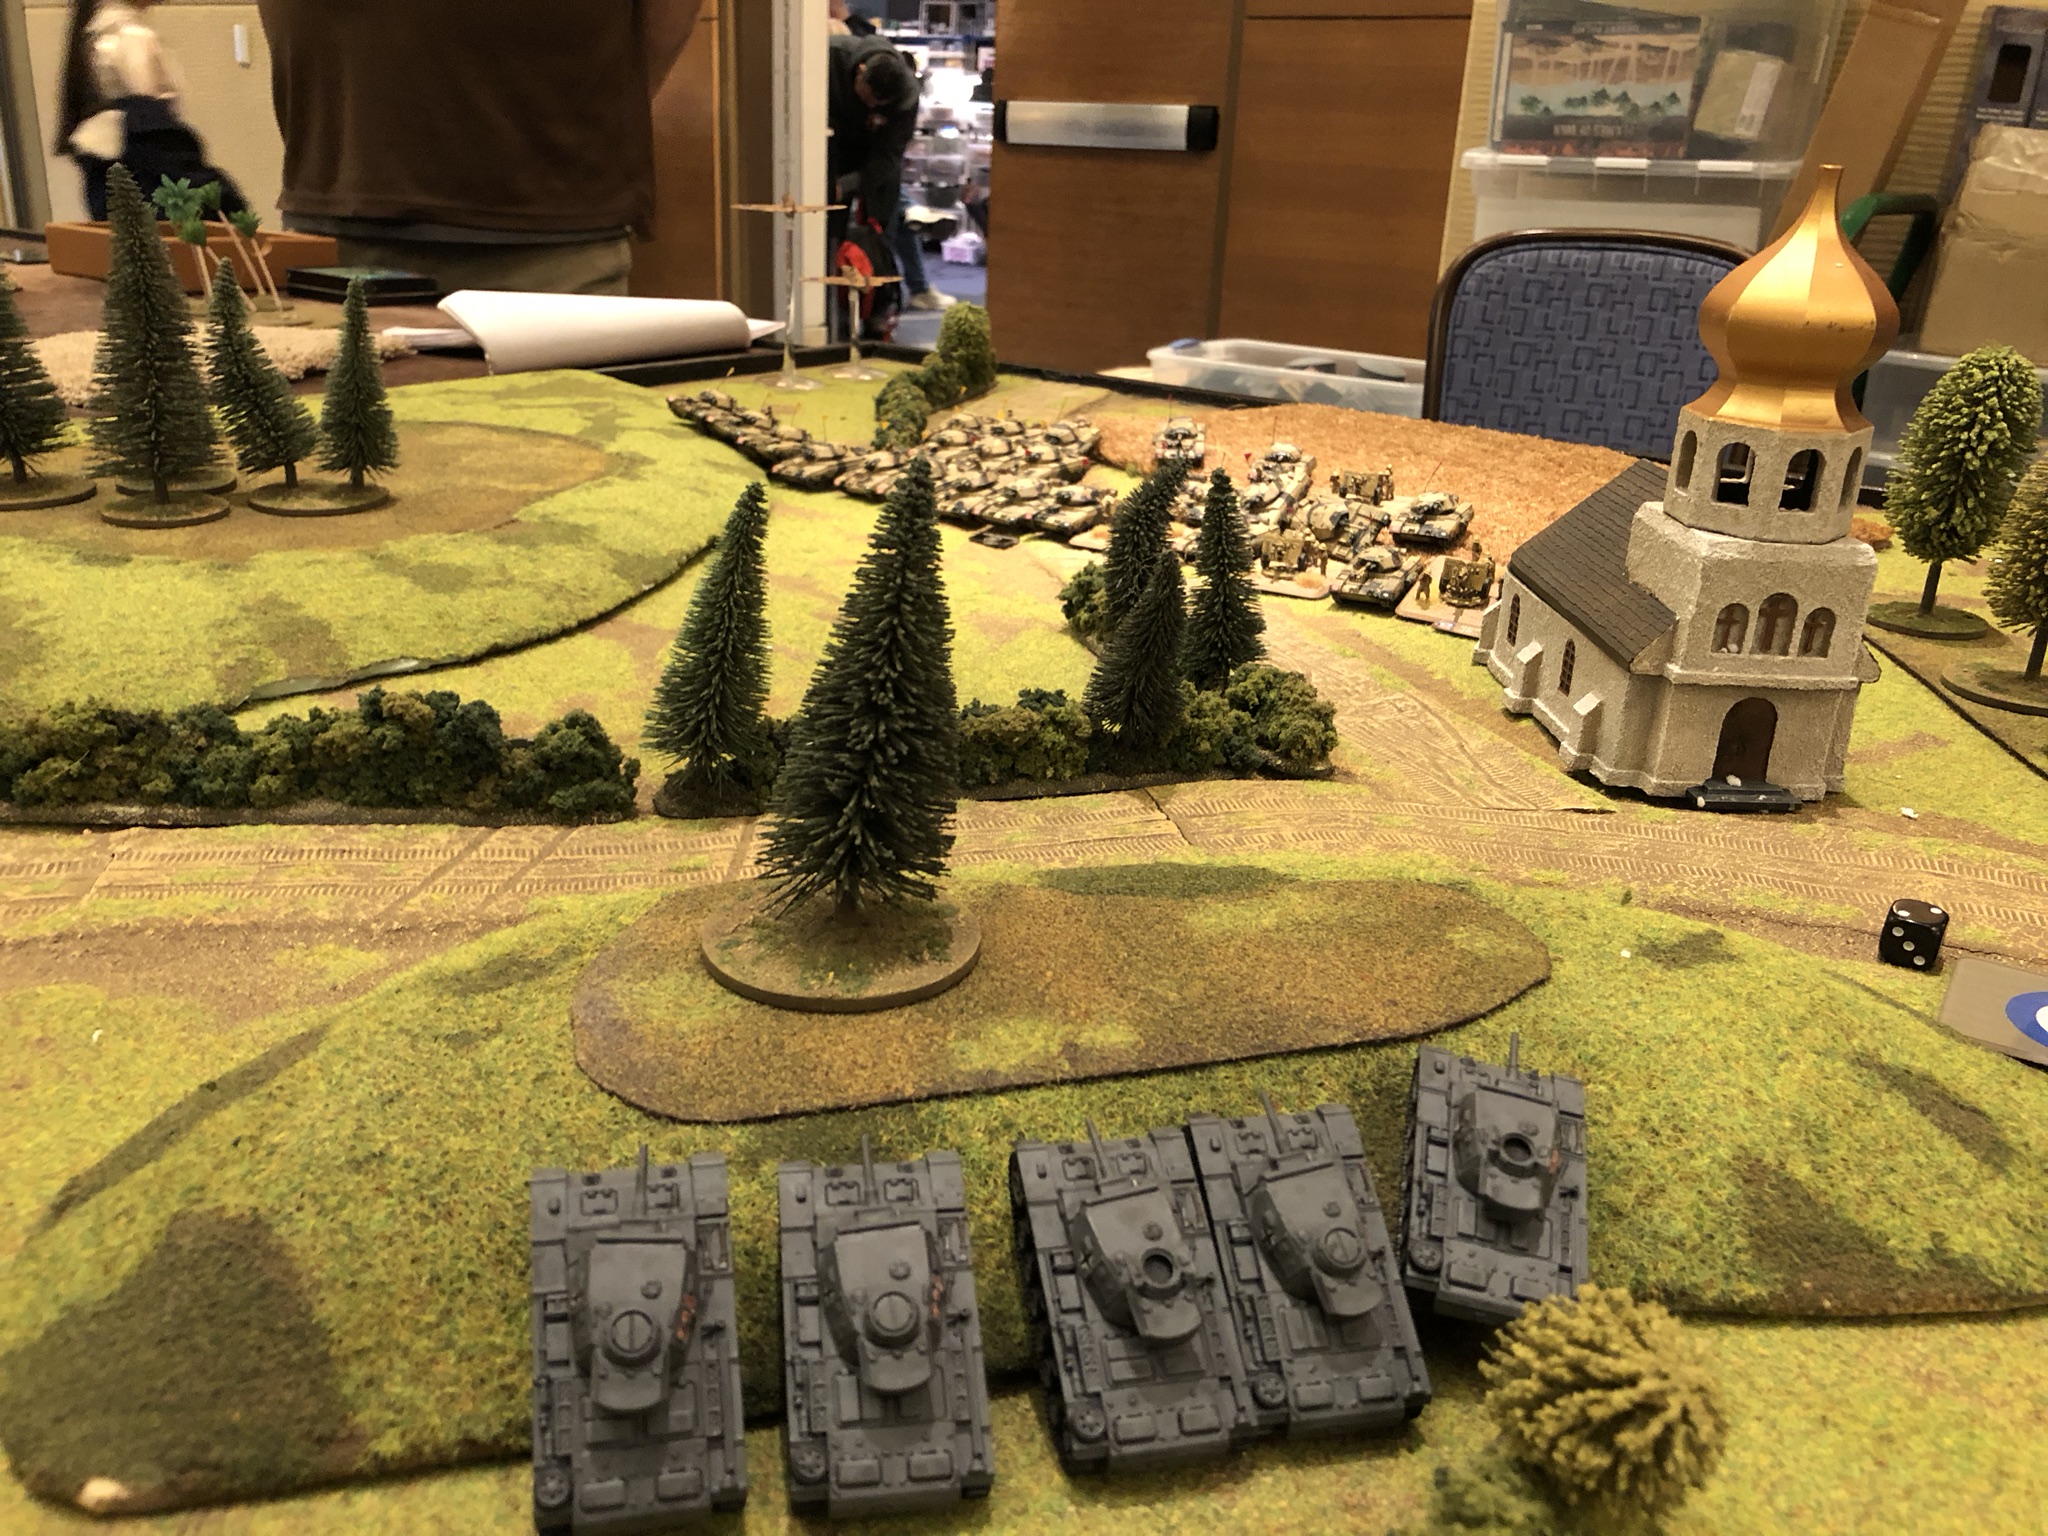
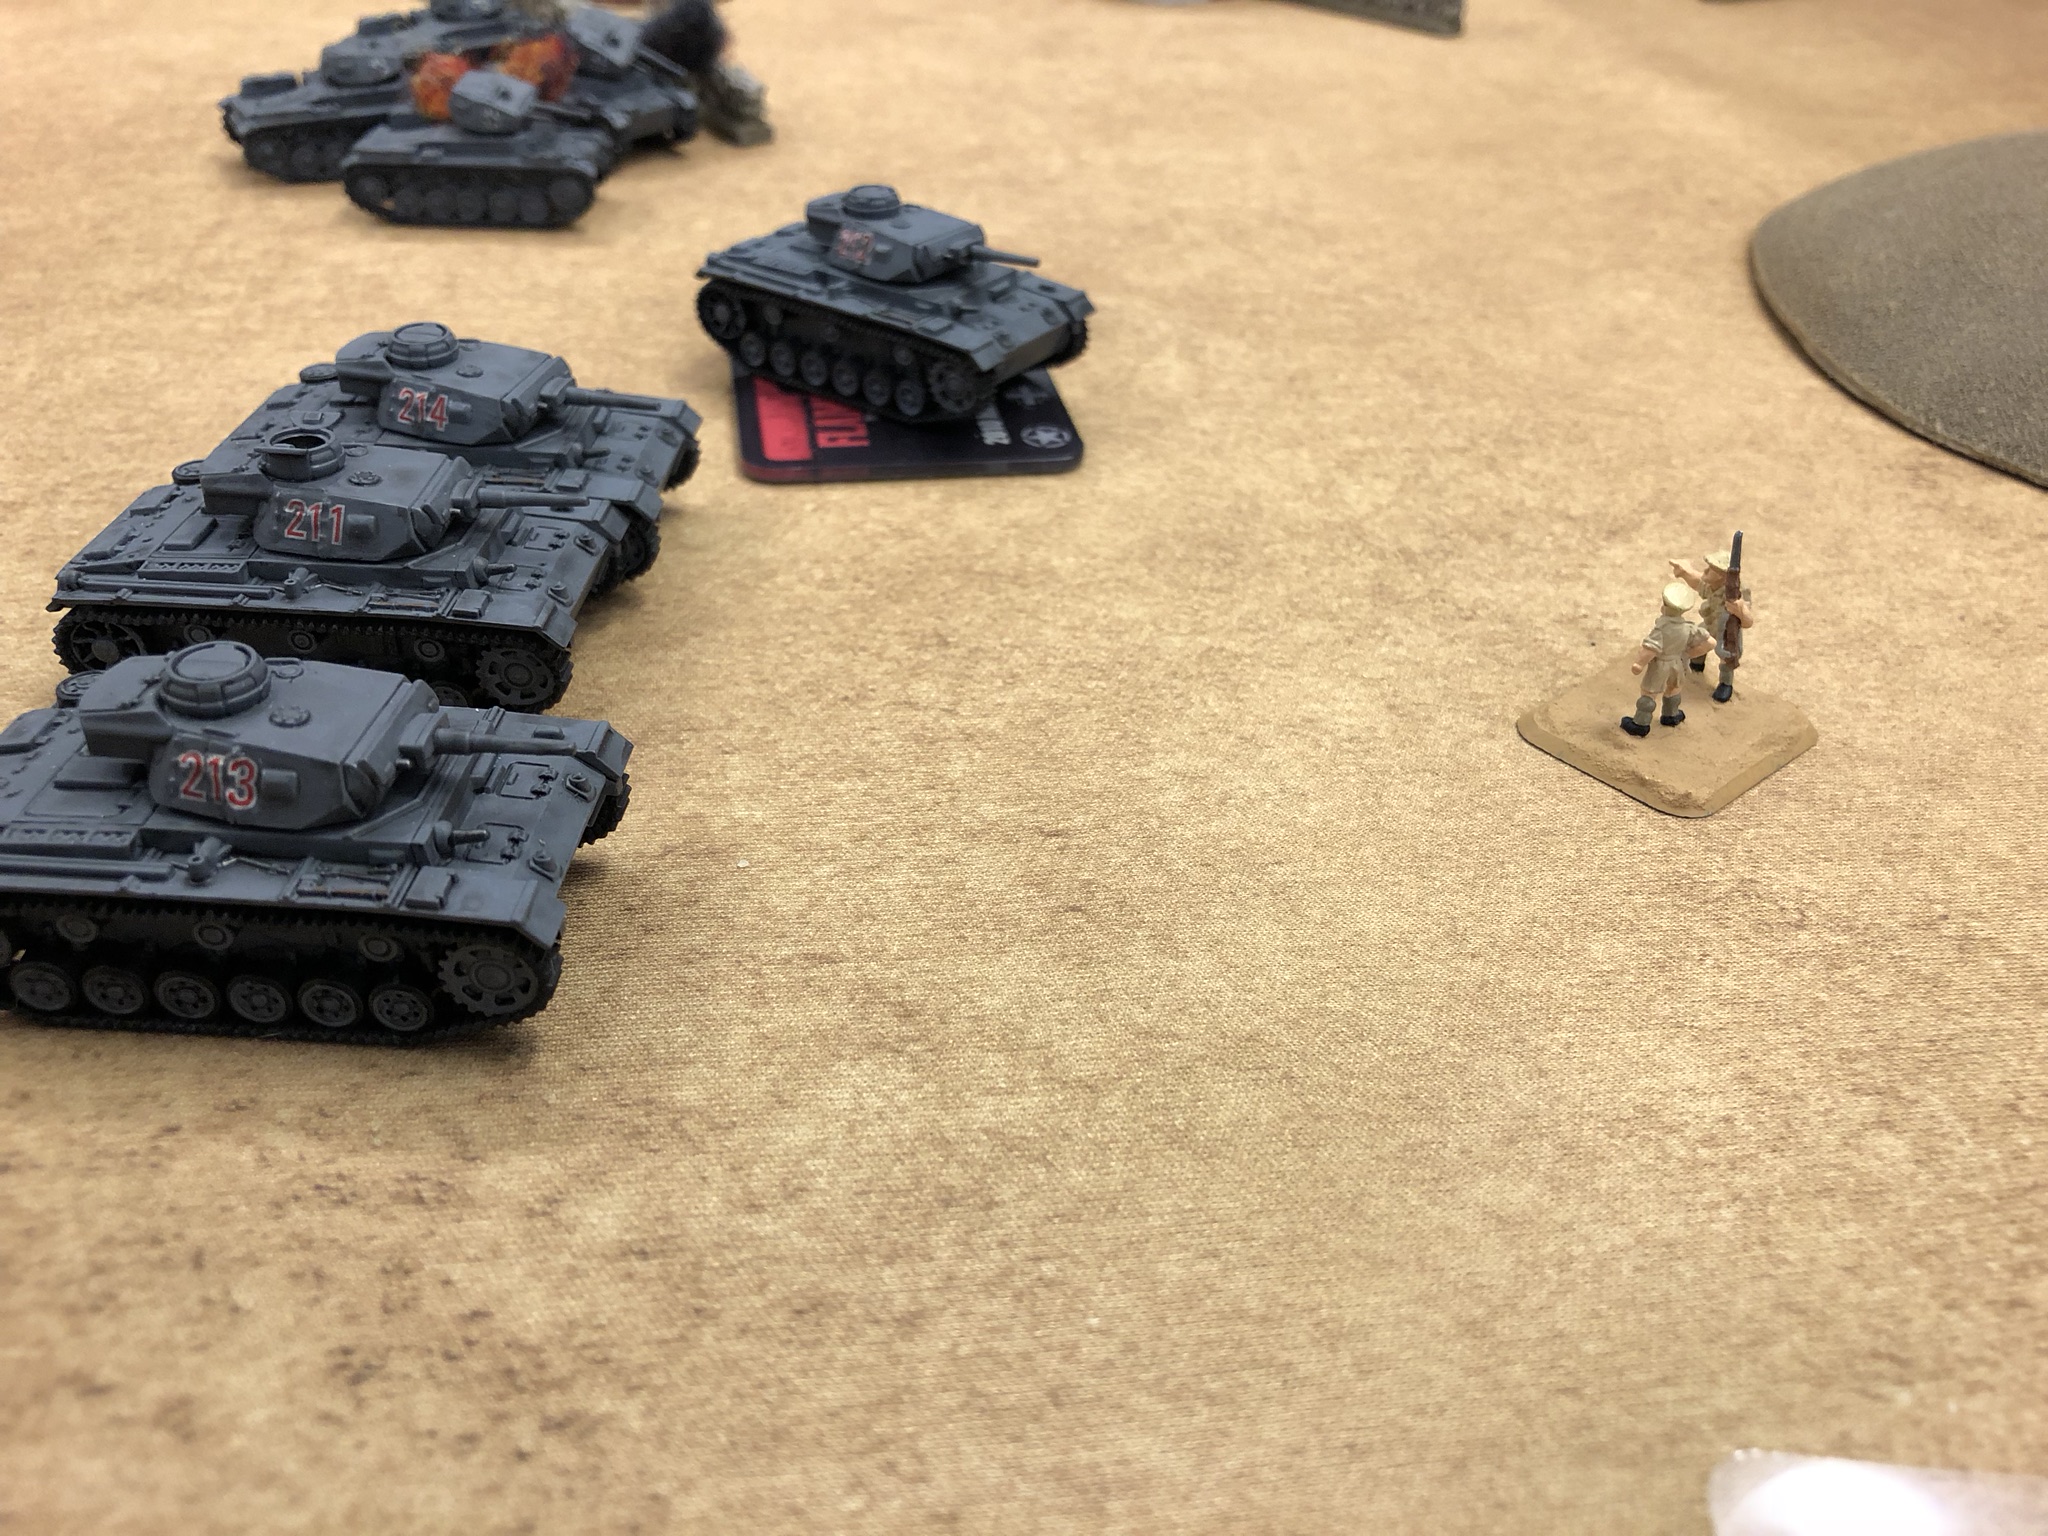
Afrika Korps Panzer III Company – 88 points
Panzer III Tank Company HQ 5
Panzer III Tank Platoon 20
Panzer III Tank Platoon 15
Panzer II Light Tank Platoon 10
Support
Marder (7.62cm) Tank-Hunter Platoon 16
Sd Kfz 221 & 222 Light Scout Troop 2
15cm (SF) Lorraine Schlepper Artillery Battery 12
Panzer II OP Observation Post 2
8.8cm Heavy AA Platoon 6
This is the list that I was most familiar with. Panzer III’s have been my go to list since V4 came out. You have to be a little careful with the formation, since you only have three units plus the HQ, but German tanks are ridiculously resilient with their 3+ remount and 3+ last stand. I am always a little nervous to have a list with no infantry at all, but the Schleppers with their 2+ firepower are there to clear any infantry that occupy buildings, along with deleting dug in AT gun platoons. Using them to remove any threats to the tanks is the key to making this list work.
 Iron Cross PanzerGrenadier Company (with supporting Armored Car Formation) – 104 points
Panzergrenadier Company HQ 2
Panzergrenadier Platoon 10
Panzer-knacker Card 2
Panzergrenadier Platoon 10
Panzer-knacker Card 2
sMG34 Machine-gun Platoon 6
5cm Tank-hunter Platoon 12
Armoured Car Company HQ 1
Sd Kfz 221 & 222 Light Scout Troop 2
Sd Kfz 221 & 222 Light Scout Troop 2
Sd Kfz 231 Heavy Scout Troop 2
Support
Marder (7.62cm) Tank-hunter Platoon 16
7.5cm Tank-hunter Platoon 15
15cm Nebelwerfer Battery 9
Brandenburger Radio Intercepts 3
Looted KV-1 10
I wasn’t super happy with how this list came together, but it was the best I could do with what I had available. I really wanted to get the 7.5 infantry guns in the formation, for an extra template and the added direct fire AT, but since they hadn’t released them in time, I couldn’t bring them. I also tried really hard to get a Tiger in there somehow, but I couldn’t really make it work, so made do with its cheaper cousin, the Looted KV. I added the secondary, bare bones Armored Car formation to give the list some staying power in case they went after the infantry too hard, since most of my big hitters are in support. (I would like to note here that while I was working on getting a bunch of stuff painted for the last list, I came down sick in the week before the tournament and couldn’t get it all done so I had to negotiate a Lend-Lease deal to get the troops I needed. Thanks Patrick for the loaners!!!)
Part 2 – The Games
 Game 1 was against James Copeland (the overall winner) at the 104 points level. He had a Crusader formation and an NZ Div Cav formation. It came out to eight Honey Stuarts, four units of Carriers, 16 Crusaders, three Valentines and four M10s.
I chose Defend, since I didn’t want to have to advance into all those MG shots, and he chose Attack. We ended up with Bridgehead and me as the defender. I put the KV, Marders, one unit of PanzerGrenadiers and two units of Armored Cars into reserve. I was able to use Spearhead to keep him back in his deployment zone on my flanks, surrounded one objective with minefields and HMGs then put infantry and Pak38’s on the other. I had a nice hill in the center of my deployment zone for my Pak 40s to show up from ambush and was pretty happy with my setup.
What I should have done at this point was re-read the mission, but for some reason, I got it into my head that I had Delayed Reserves instead of Immediate. This would eventually cost me the game.
He loaded Crusaders and some Carriers on one flank, Stuarts, Valentines and the rest of the Carriers on the other with the M10s in overwatch in the center and basically advanced everything forward at tactical speed and threw about a million MG dice at me, trying to take out AT guns on the way in and lining up assaults by turn three.
I was able to hold out until turn five (when my first reserve showed up), but without the rest of my force, he pushed me off the objectives for the win. IF I had rolled for immediate reserves and gotten some Marders or more infantry in there, it would have made all the difference. I killed off four of his platoons for a 6-3 loss for me.
The highlight of the game for me was the turn that he tried to assault the PanzerGrenadiers with two units of Universal Carriers and they were able to force the assault back, killing two of them from each unit. (Interesting side note – this is the second year in a row that I played the overall Masters winner in the first round and had close games)
Game 2 was against Joe Lewis at 62 points. He had a US Rifle Company with two full platoons, T-30 assault guns, four Lees and Kittyhawks. I chose attack and he chose defend, giving us Rearguard. Unfortunately, the terrain was really in his favor as there were a line of buildings on his side of the halfway line and he was able to close most of the gaps with Minefields.
I setup heavily weighted on my left (the more open side) with some armored cars on the other side to keep him covering both objectives.
There were two key moments that decided this game. For the first two turns, my nebs did not range in (needing a 4+) allowing his infantry on the objective that I was pushing to survive an extra couple of turns and then my infantry were pinned by his artillery for two turns, delaying my assault. If either of those two had worked out better, I would have taken this one, but as it was he was able to hold on till turn nine with one infantry platoon and two assault guns (having passed a last stand check the previous turn because I had bailed one of them) left in his formation.
His air was able to pick off my Marders one at a time until he withdrew them and the buildings gave him plenty of places to hide from my 88. This was a lot of firepower (and over a third of my points) he was able to avoid. He was able to withdraw his platoons before I could kill any of them, so it ended up as an 8-1 loss for me.
 Game 3 was against Kevin Morris at 88 points with an Italian Weapons Company. He had two full weapons platoons, a 47mm AT gun platoon, Semoventes, four guns of 100mm artillery, airplanes, four Armored Cars, a Lancia and a unit of three Italian 88’s. Yes, that is four AT 14 guns facing my list of all tanks…….
So, here is where the Battleplans went awry. I did not really want to have to attack into all those big guns, especially with him having the chance to have the unit of three in ambush so I chose Defend (which I assumed he would pick) to force a meeting engagement. He wanted to force me to have reserves so he chose Attack. We ended up with Rearguard having me defend.
This was about the worst case I could think of. I would have to remove some of my very expensive units and really hurt my defense while he could pick me apart at range. Worse still, he was able to put an objective in a town where he could hide in buildings and I couldn’t assault him out.
I was able to mostly cordon off the town objective with minefields and basically went gone to ground with most of my units for the game in the face of basically four 88s. The Schleppers did their job on turn one, killing off two artillery guns, neutering those. But then on turn two, after ranging in on one of his platoons in a building I completely missed six 4+ rolls to hit for two turns in a row!!!
After withdrawals, I was down to one platoon of PzIII on each objective and he was able to get side shots with Semoventes to bail out one of the platoons which gave him the win. Unfortunately, I only killed one of his platoons so it was another 8-1 loss.
Three losses and five points after day one was not great, but that just meant that things could only get better on day two…….
Game 4 was against Richard Hurchinac with a German Grenadier Company (88 points). He had two Grenadier platoons, six mortars, four Pak38s, three Marders, two 8-rads and a Tiger. We both chose Attack and ended up with Encounter for the mission.
He put the Tiger and an infantry platoon in reserve and setup with the infantry on one objective, the AT guns on the other and the Marders centrally to support either.
I put both PzIII units in reserve, deploying the Marders and observer tank on my right objective opposite his infantry, the 88 in the middle and the Schleppers and PzII on my left. After a turn of chasing Marders, my Schleppers did their job by killing the AT guns over two turns, opening up the left objective. His reserves all arrived on that side, while mine were split. But, crucially he moved his Tiger towards me, allowing me to move in and machine gun then assault the newly arrived infantry to take the objective.
I completely ignored the Tiger in this game and just moved my tanks around it to get to the objective. Over three turns of shooting, he only got one bail on my tanks, so I think that this is probably the best way to deal with a Tiger. I did not lose any platoons in this one so it was an 8-1 win for me.
 Game 5 was at the 109 point level against David Vigor. He had a Grenadier company with two infantry platoons, four mortars, four Marders, a Tiger with an escort PzIII and an allied L6-40 company of 14 tanks. His base formation was very weak with only the infantry and mortars, so I planned to try and break his formation.
I chose Defend and he chose Manoeuvre giving us Breakthrough with me defending. I put an infantry platoon, the KVs, Marders and some armored cars in reserve, with the Pak40s in ambush. He sent one platoon of infantry and one L6-40 platoon in Flanking reserves.
There was a big town in the middle of the board and he put one objective as close to his deployment zone as possible. I covered that one with one PanzerGrenadier platoon and the HMG’s.
He attacked the town with his HQ and infantry while he sent the armor around the town to get to the far objective. I was able to wipe out the infantry in the town with the Nebs, HMG’s and an assault, missing the one swing that would also have wiped out his HQ. The Pak40’s held up the armored assault (Tiger, Marders and L6/40s) basically for three turns on their own before I was able to get the Marders in to help them. I got infantry and armored cars onto the other objective so had that one locked down pretty well. When his infantry arrived from reserves, I got them down to three stands, which with the single HQ stand he was able to hide and keep his formation on the table to time out for a 1-1 tie.
Game 6 was against Jim Bodine with 19 Crusaders, three Grants and three Universal Carriers (at 62 points). We both chose Attack and ended up with Dust Up. This meant my Marders had to go in reserve along with the Nebs.
I locked down one objective with the infantry and Pak38s and the other with the 88. He spearheaded into the adjacent quarter, so I countered with some armored cars into a wheat field to hold him back a little bit. Turn one, he moved up and machine gunned the 88 with one platoon. He hit five times on nine dice (needing 6s). I failed two saves and he rolled two 6s. Dead 88 and an open objective. Not a great start.
I was able to contest with armored cars and danced around till the Marders made it on. I had him down to a Last Stand check to break his formation, but he passed it and on the next turn assaulted my infantry off their objective. I failed to unpin and nothing else was close enough to contest to hand him the 6-3 win.
When the dust settled, I finished up with 17 points, in 15th place overall and with a 10 hour car ride home the next day to think it all over.
 Part 3 – Final Thoughts
My Lists –
The Armored Car Formation is a great way to get a cheap yet solid formation on the table to deliver all those expensive support units for the Germans. My 62 point list would be a good basis to add a unit of two Ferdinands and bring it up to 100 points along with another couple of 222/221 platoons. I still really like my PzIII list. I think that I would convert it to Iron Cross, add a PanzerGrenadier platoon and replace the Schleppers with Hummels to get it to 100 points. But it does need to be tested against the new Kursk Soviets. They get higher AT tank hunters and heavy tanks that could be hard to deal with.
I think the PanzerGrenadier list shows some real promise. They can put out enough shots to look after themselves against infantry and can get enough support to make them hard to shift. I would probably swap either the Nebs or the Pak38s for the 7.5 infantry guns in the formation. The KV would go and that would make it around 100 points. The Brandenburger card that lets you remove a ranged in marker is expensive at three points, and even worse if you fail the skill check, BUT it lets you remove the marker at any point in the game so it might still be worth it. Also, taking them from the Ghost Panzers book, you can get the armored 7.5 infantry guns which is basically a half track with the 7.5 gun from the upgraded PzIII. AT9 with HEAT at 24″ range for only 2.5 points each (4 for 10 or two for 5). These will be a must take in my book……
Other Random Thoughts/Things I Learned –
- Practicing with your lists is REALLY important. I did not get to practice with either my 62 or 104 point list. It hurt my results.
- The humble SdKfz 222 is actually a reasonably good little vehicle against anything up to and including Crusaders.
- The Armored Car company can be a solid formation for holding ground once you add the PanzerGrenadiers and the AT guns.
- Keeping your HQ close is important for those crucial unpinning rolls. A couple of my games would have gone the other way if I had just positioned my HQ better.
- Pak 40’s are legit!!! One unit of three single handedly held the flank for three turns against four Marders, a Tiger and PzIII and five L6-40’s. The 3+ save combined with high AT makes them a must take in any Iron Cross/Ghost Panzers infantry list.
- I think three is the optimum number for AT guns platoons, especially with large bases (like Pak 40s). It is just too difficult to fit four in the 6″ command distance without giving up too easy an artillery target or getting in each other’s way for line of sight.
- The Nebelwerfer salvo template might make them look like a good idea, but the 4+ firepower makes them not that great. Schleppers or Hummels with the 2+ firepower are much better, even with the smaller templates. Anything that fails a save is basically dead.
- Of the new German infantry, PanzerGrenadiers are the better buy. They put out a ridiculous number of shots, even when pinned. MG shots kill way more things than I expected. I had always just used MG’s for the pinning before, but with the large numbers of light vehicles showing up on tables, MG’s are doing real work.
- Captured KV-1’s are not worth it. They are a cheap way to get a hard to kill heavy tank on the table, but the fact that they cannot contest an objective and they are super slow with overworked makes them hard to use effectively.
The US lists did not show up too well at this event despite being played by some of the top players. I think that the format that forced them to take three different formations hurt, since the best US formation is the Armored Rifles and could only be taken once.
Thanks for the write-up. I’d be interested in ways to make the Pzr IIIs work.. preferably using only DAK-theatre equipment, since despite what Phil says on Facebook, I’m not using Eastern Front gear in the high desert 🙂
I am always happy to talk PZ III lists.
Pz IIIs are definitely still a viable list, when supported correctly.
I will start a thread in the Army Lists section to discuss.
Nice breakdown. Good insights.
Best Sr
Pete Zerphy and I gad a pretty goid run with US equipment. I’d be curious to see how you’d gave done against the mixed Tankovy lists.