Historicon 2025, Let’s Bolt Action!

By Paolo Paglianti
When I found out I’d be attending Historicon 2025 for work again this year (as I am Head of Comms at the videogame company Slitherine), I went straight to check the list of wargaming tournaments. To my surprise, there were no Flames of War or DBMM events—the two games I play the most, WWII and ancients/medievals respectively.
However, I was happy to discover tournaments for both Art de la Guerre (which I’ll write about in another article) and Bolt Action. Since I had a British army sitting in my garage waiting to be painted, it seemed like the perfect chance to finally learn the game and get some 28mm figures painted—usually, I paint in 15mm.
For some reason, I’d never played Bolt Action before—despite several friends and fellow NoDiceNoGlory contributors constantly telling me I should. Historicon 2025, the wargaming event tailored for historical gamers, gave me the perfect opportunity to fix that gap. Here’s how it went!
First, I read the rulebook—very well-written and clear—and managed to squeeze in two or three games at my local club in Milan. Thanks to Fabrizio and Nicolò, I got through three intro games and began to grasp the basics. I also started pestering some friends online, and got in touch with Cleon-Bodean “Cobra” Jackson, who gave me some very useful tips about my list. Huge thanks to all three of them for their patience and help.
The format for the Bolt Action tournament at Historicon 2025 was a bit unusual: three games, no order dice limit, 1775-point armies with at least 775 points spent on an Armoured Platoon. So bigger armies than usual (the standard on both the Old and the New World is 1250 points), and lots of tanks on the field.
After some experimenting, here’s my 18-order-dice list.
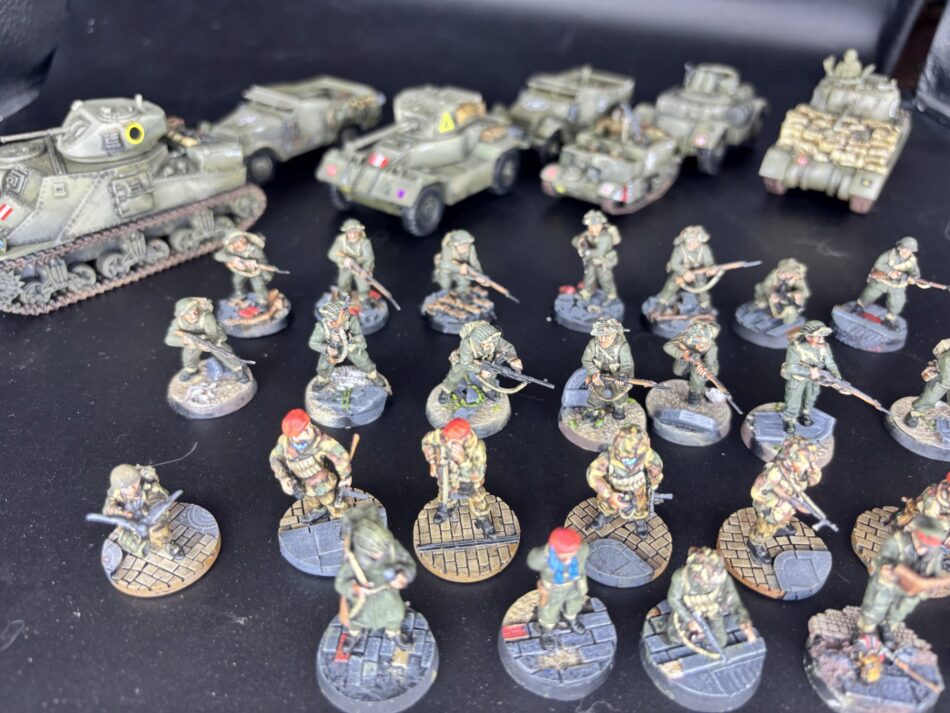
A sneak preview of my army – I will write an article on how I painted these royal guys!
The Rifle Platoon
This included two 9-man regular infantry squads, each with an LMG. Their job: hold objectives and provide a solid firing line. I added a veteran officer with two assistants, all armed with Stens, to react to enemy attacks, two Inexperienced 2″ mortars (better keep them hidden well), and a PIAT team. I also included a sniper team for good measure.
The Recce Platoon
Tasked with assault roles. Two veteran paratrooper squads (what else?) and a veteran officer with two assistants, all carrying Stens—great for short-range shooting (2 shots each) and unaffected by movement penalties. I added a second PIAT, knowing the tournament would be tank-heavy. The whole platoon could ride in two regular M3 White Scout Cars, wheeled (so very fast), and with handy sneaky Recce rule.
The Armoured Platoon (all Regular)
The commander rode a Lee IV with a medium and a light gun, an AEC Mk II provided support fire with its medium gun, and an Staghound AA brought six MG shooots to deal with infantry. And of course, never leave home without a Firefly and its awesome gun when you know you’ll face Panthers and Tigers.
Lastly, the Veteran Formation Commander, an extra Sten-armed soldier to provide that vital 4+ morale in clutch moments.
I painted everything in a bit of a rush—I hate playing with unpainted minis.
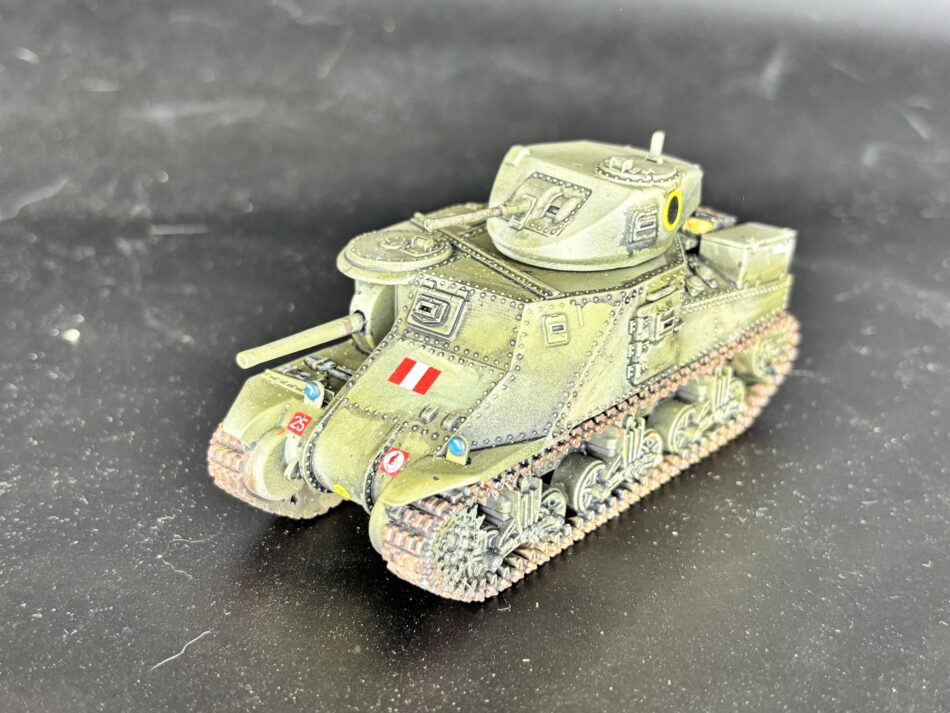
Despite the awkward steampunk design the Lee is one of the best tank with its double cannon. Hey Panther, you need to watch out twice!
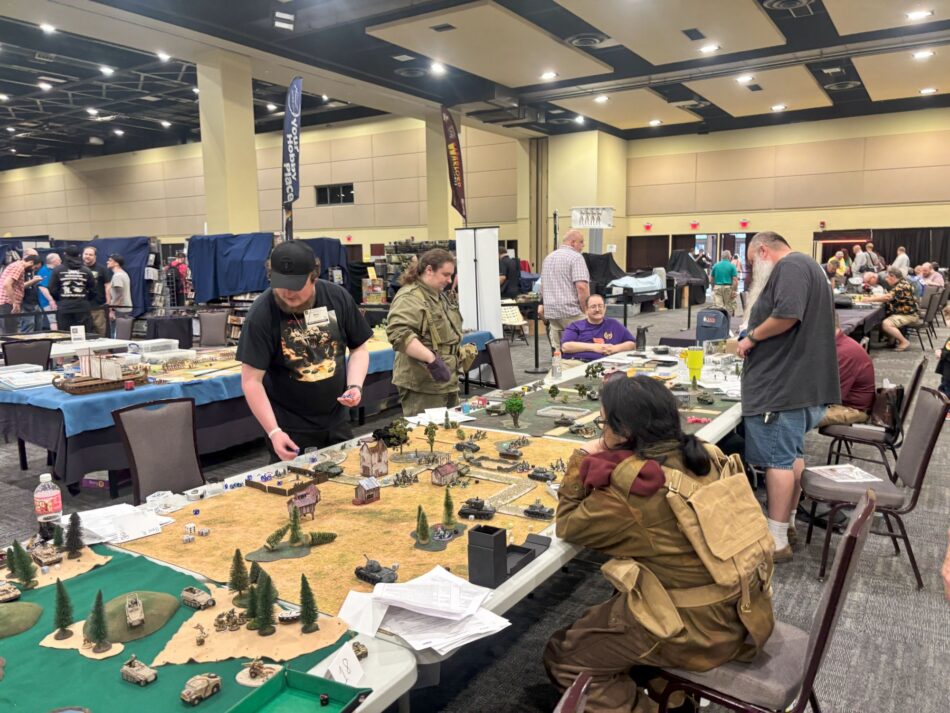
Let’s see how the tournament went! There were three different scenarios, same for all players, with 2.5-hour rounds.
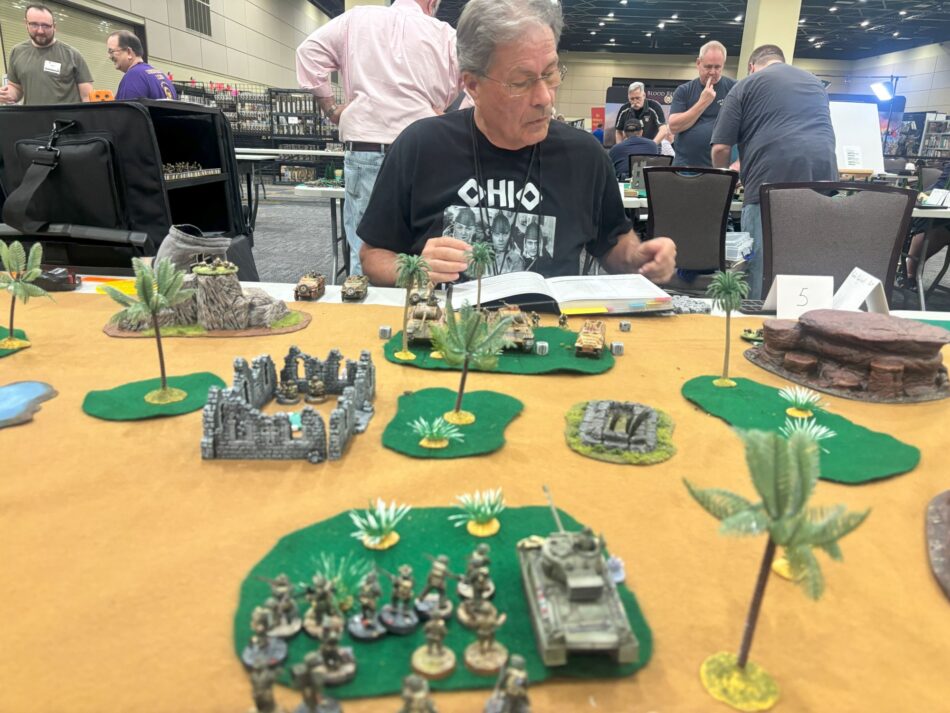
Game 1: Bob Boggs and his Germans
The first mission was a meeting engagement with five pre-placed objectives, using infiltrators, reserves, and outflanking.
Bob brought two Panthers — my Firefly would have its hands full!
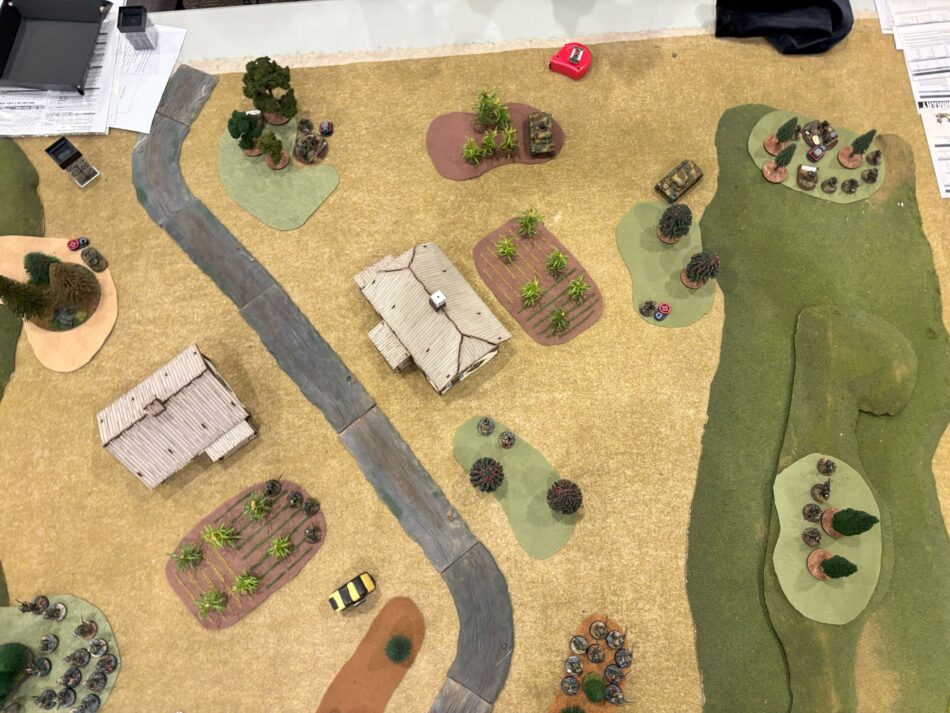
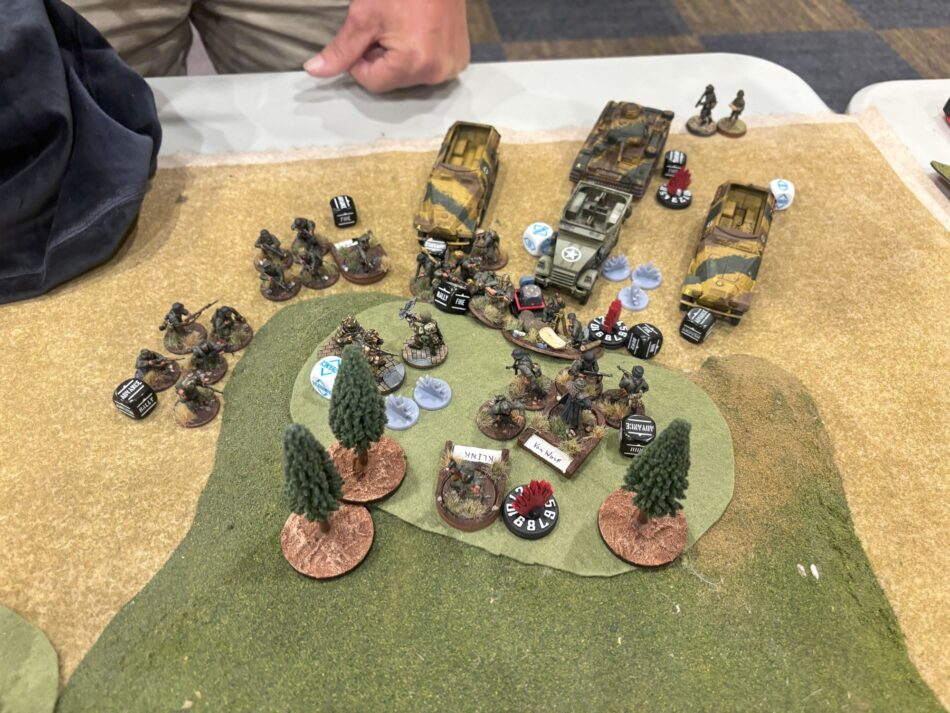
Here’s the battlefield after deployment:
I missed the left flank, with the other objective, my Lee and faithful Stughound.
Bob placed both Panthers in the central woods, supported by an SD KFZ with a 5.5cm gun for anti-infantry. Behind them were mortars and HMGs, with three SD KFZs in reserve — each carrying a command team, a 5-man Veteran squad with Panzerfaust, and a 2-man flamethrower team.
I infiltrated my Sniper into the central ruins to grab the first objective. Behind him in the woods were my Firefly and a Rifle section. One White Scout Car with paratroopers and HQ took the left objective.
Off-camera: the Lee on the far left and the Staghound, plus a PIAT and a mortar. On the right, I had the AEC, a 9-man Rifle squad, another PIAT and mortar. The other White Car with HQ and Paras was in reserve.
The plan was simple: control the three central and left objectives, and force Bob to sweat for the other two on the right, forcing him to commit his formidable assault reserves there.
“I’m alone, but the King told me I can win” – the Firefly kept repeating to himself in front of two Panthers.
Turn 1: Panthers and Firefly exchanged fire but missed. My Lee started flanking left, aiming for the less armoured flanks of the Panther. The Rifle section sprinted right to claim the flank objective. The Panther commander fired at my AEC, but thanks to Recce, it darted behind a rock, untouched by the 88mm shell.
At Turn 2, things got spicy. Bob deployed an SD KFZ with Veterans and a flamethrower on my right flank, annihilating my Rifle squad and taking the objective. I moved the AEC to retaliate, killing a couple of his Veterans. My Formation HQ and Rifles entered the ruins to help defend the central point.

A hill with Paratroopers shooting on Veteran Germans and a view on the table next to ours! This is the bloody right flank where Bob is going to win the objective, at cost.
Turn 3: I sent my White Car in outflank toward the Veterans holding the right objective. Paras dismounted and wiped them out. Bob sent another SD KFZ with a flamethrower and Panzerfaust. Over the next two turns, he eliminated my Paras, HQ, and AEC. But not before my brave Paras took out the second Vet squad!
By now, Bob was out of heavy hitters on the right. My Firefly immobilized the 5.5cm gun and my Lee got lucky and destroyed the Panther commander. On the left, Bob threw in his third SD KFZ. His flamethrower scared off my Staghound (my fault — I overextended pointlessly the movement), and the Panzerfaust killed the Lee.
My strike force on the left, ready to conquer the most important objective and be utterly wiped out the next turn.
Turn 4: Bob led 3–2 on objectives. Time to All-in anything. I sent my surviving White Car into the melee on the left and unloaded my Paras and Formation HQ, who wiped out the Veterans and flamethrower team with their Stens. Only the German command team remained on the SD KFZ near the objective.
The Firefly blew up their transport with a very well aimed shot, but the commander survived — hiding just close enough to contest the objective. Then the White Car shot him down, securing the third objective and winning the game.
Game 2: Jeff and His Panzer III/IV Force
Second scenario: Fog of War — no objectives, just kill full units and dice. Reserves can enter from any board edge starting turn 2 (unless you’re fighting Hungarians, who limit you to your own edge).
Both of us kept our assault troops and heavy tanks in reserve. Jeff deployed just two Panzer Is with small autocannons, two infiltrator squads (4 Veterans each), and a couple of mortars with their commander and observers.
I deployed both Rifle squads, a command team, two mortars, and the Staghound.
In reserve: both White Cars with Paras, two more commands, both PIATs, the Firefly, AEC, and Lee. All the most powerful units were out of the table, ready to enter from every side!
The two four-man platoon on the brown camp on the left and the wood on the right are German infiltrators I outshoot from the start. The corner on the far right seems very quiet, but it is where the action will happen
Turn 1: I focused fire on the infiltrator squads — one wiped out, one down to two men. Jeff ranged in his mortars on my right Rifles and moved his Panzer Is toward my central Sniper.
Turn 2: I sent a White Car at his mortar — two crew down but still operational. He brought in an SDK FZ with Veterans and HQ, mowing down my Paras. I responded with the AEC, targeting his Vets. Jeff brought in three Panzers to totally crush my infantry. I countered with the Lee and took out one Panzer with a lucky shot, but keeping it at distance from the infantry twin Panzerfausts. Big brawl in the right corner — Jeff had the upper hand, but lost three units. My stubborn Paras took out his HQ before dying. Other Paras entered behind his second mortar and killed it.
Troops mounting the battles. This happens a lot with Fog of War Scenario, I bet.
Turn 3: My PIATs arrived from reserve and took out a transport near his Panzers. Things looked good — until I failed a movement order, and his last surviving mortar rolled a 5+ and killed five of my infantry, causing a failed morale check.
The Firefly destroyed one Panzer I, while the other fled away. Jeff then declared he’d bunker down and not leave the corner where half his army sat. His remaining Panzer I eliminated my last Para squad.
We’d both destroyed the same number of dice — bringing us to a well deserved draw. To win, I’d have needed to flank around with my Firefly and Lee — but without infantry support (just one 7-man Rifle squad left), it wasn’t feasible. Jeff is a very good player, also ended up Best Axis Player, so I was very happy with the result.
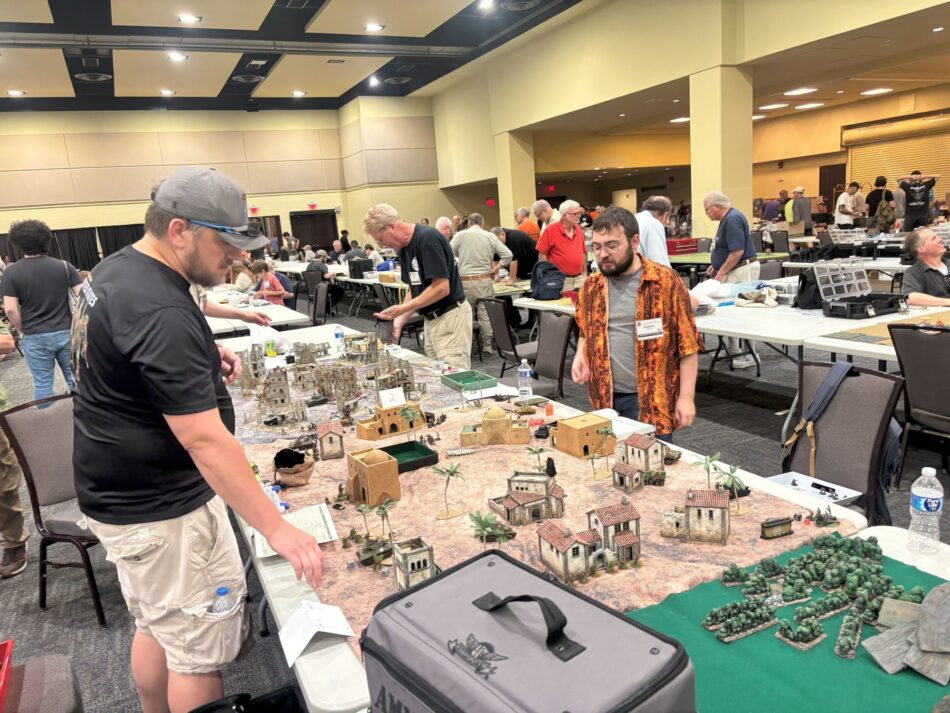
Game 3: Don Skovara and His Afrika Korps
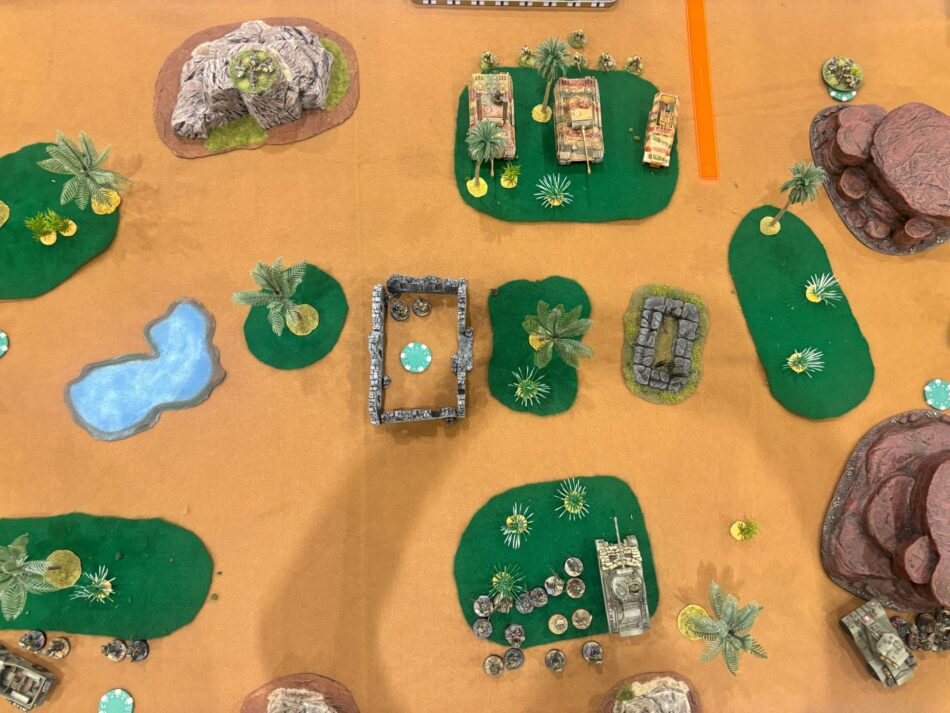
Third scenario: Prepared Bombardment + Seize Breakthrough — score points by exiting units off your opponent’s board edge. Don’s force included a fearsome Tiger Ace, a Panzer III, and tons of infantry (22 order dice!). But I noticed — apart from one truck, no fast vehicles. So it would be hard for Don to exit enough units to score big.
My plan: load small units (2–3 men) into the White Scout Cars (they can host up to 8 men each) — which can move 24” and are Recce — and sneak them past the enemy once the coast was clear.
I placed two PIATs, two mortars, the Formation Commander, and the Sniper in the bottom-right ruins, ready to load up and dash out. But Don saw it coming. With more dice than me, he had the last deployment — placing his Tiger right in front of my planned exit path on the extreme right corner.
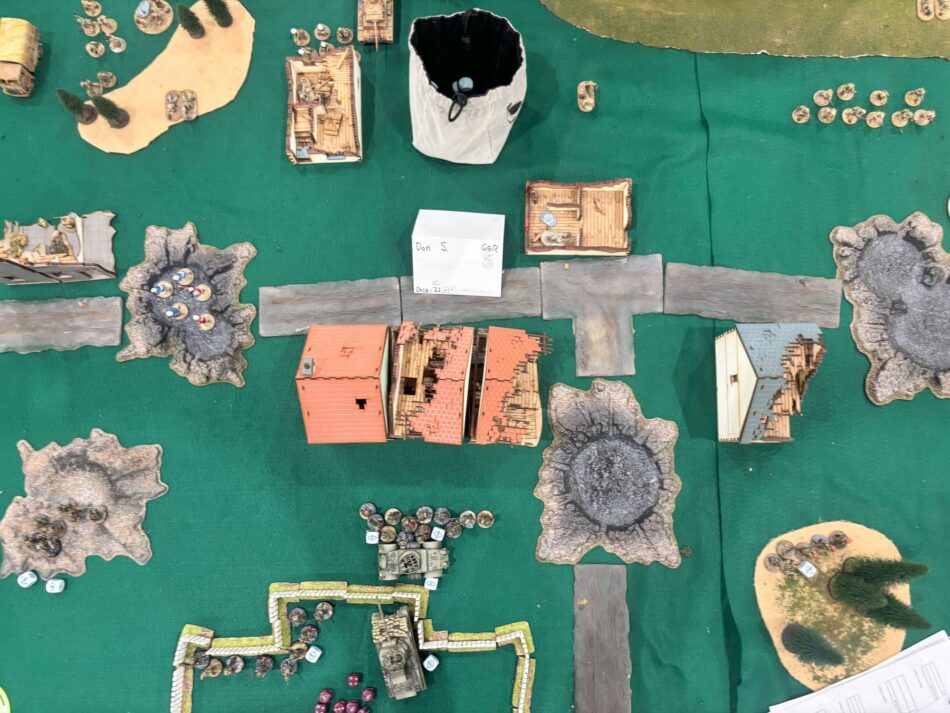
I missed the Tiger ace on the right far corner, and it’s not even a small tank!
The bombardment went better for me: I knocked out a couple of his squads and pinned the Tiger and Panzer III. I just received some Pins around, without any serious damage.
At the start of the game, I hid the Lee from the big Tiger gun, loaded my small teams into the transports, and shifted them toward the center to find a new way out. The Firefly failed twice to hit the Tiger and nearly fled the board from pins — I barely recovered it with the help of the nearby Commander.
By Turn 2, I totally abandoned the right flank. The White Cars repositioned to center. The Firefly lost its duel and got blown up, despite shooting first. I deployed the PIATs into the house in the center of the table, while my AEC tried to open up a path on the right, where Don had no AT weapons (historical DAK — no Panzerfausts!).
Turn 3, In realized the only viable route was the center. My PIATs advanced — one hit and blew up the Panzer III. Then, I dashed a White Car (with a command team, mortar, and Sniper) to the table center.
At the beginning of the next turn, Don tried to shoot it with the only nearby AT rifle, but the Recce vehicle immediately escaped off the table — scoring 4 units exited, 3 points each.
Don shook my hand and conceded — there was no way he could match my breakthrough score with his powerful but slow army.
Final Results
I placed third among the Allies and won a $50 prize from Badger, which I immediately spent on some pre-painted MicroArt Studios buildings for my home Bolt Action table!
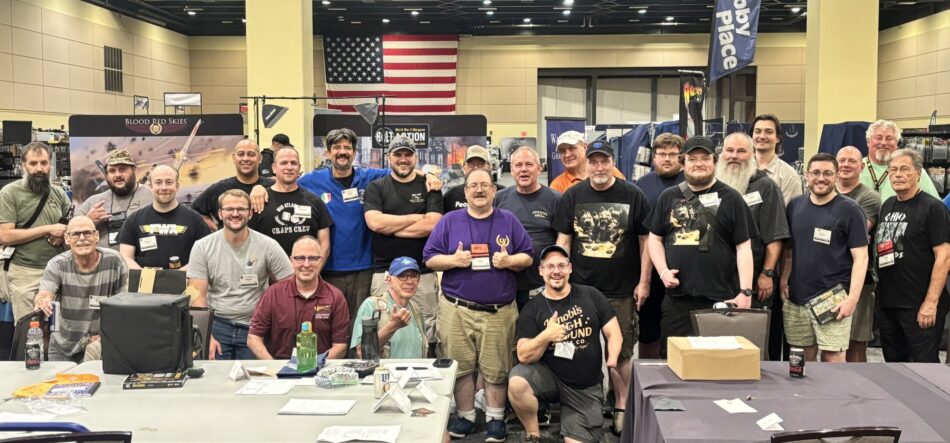
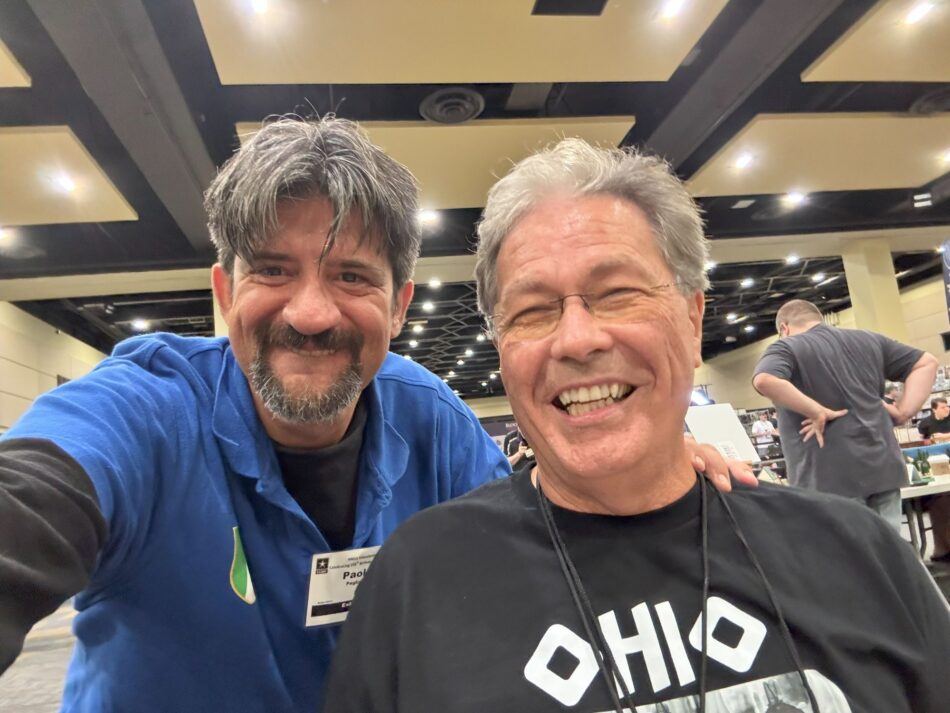
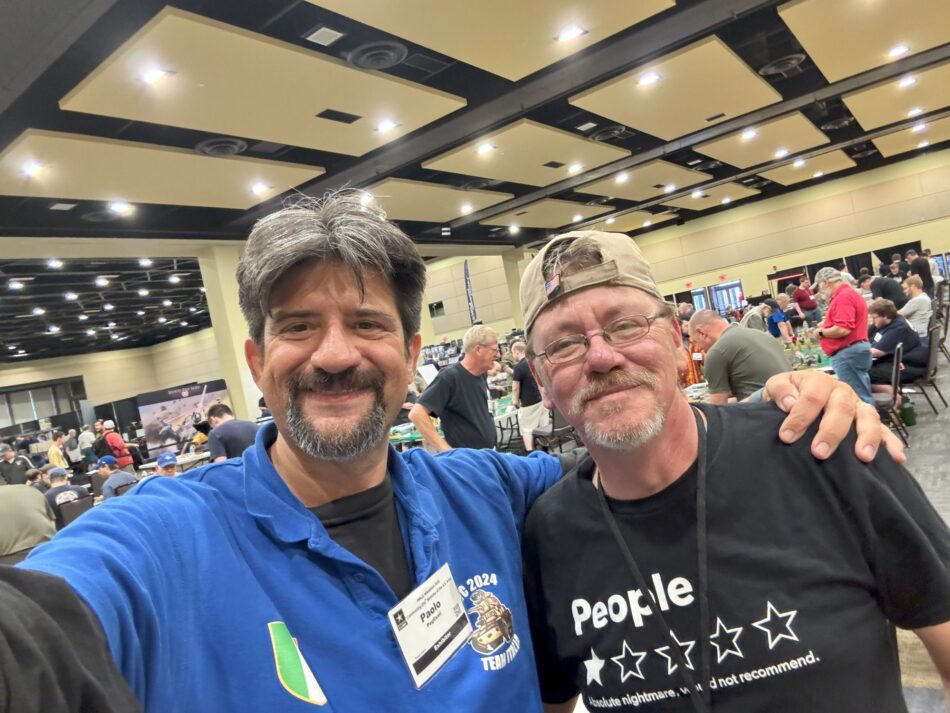
A group photo of the players, we were 36 in total!
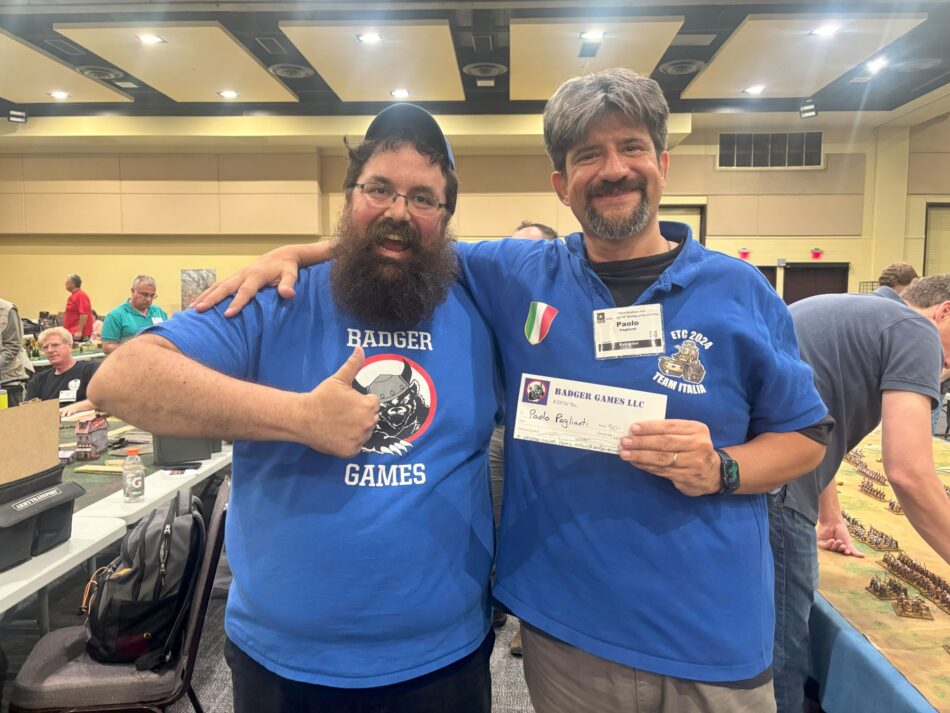
I’m the happy guy on the right with a prize valid for two 28mm buildings!
I absolutely loved this tournament — both the rules, which are really growing on me, and the people I met, all of whom were incredibly sportsmanlike and welcoming, forgiving my rookie mistakes. It’s amazing that I can travel literally halfway across the world and still feel like I’m among friends with the same passion — that always amazes me!
Now the only question is: which army should I choose next? Let me know in the comments!
It’s Jeff from game 2. I had a great time playing against you. Still not nor will be my favorite mission. But I think we did as much damage to each other as we could. A well fought draw. Nice to have met you!!! Stay in touch!
Wow, you got to play two of my buds–Bob and DJ! DJ is local (close to Pittsburgh). Two good guys to have a great game with.
Looks like you had a good time.