Modeling the Priest Kangaroo for Flames of War
By Richard Steer
One of the features of the 4th Edition of Flames of War is that many of the missions require both the attacker and defender to take and hold Objectives. This is a challenge for infantry-based forces, as having your lead infantry platoons pinned down can easily cause your attack to stall. Fortunately for Late-War British Forces, the Canadians solved this problem in 1944 with the development of the Priest Kangaroo: the conversion of surplus self-propelled guns into armored personnel carriers. I won’t go into the history here, but a good summary can be found at MilArt.
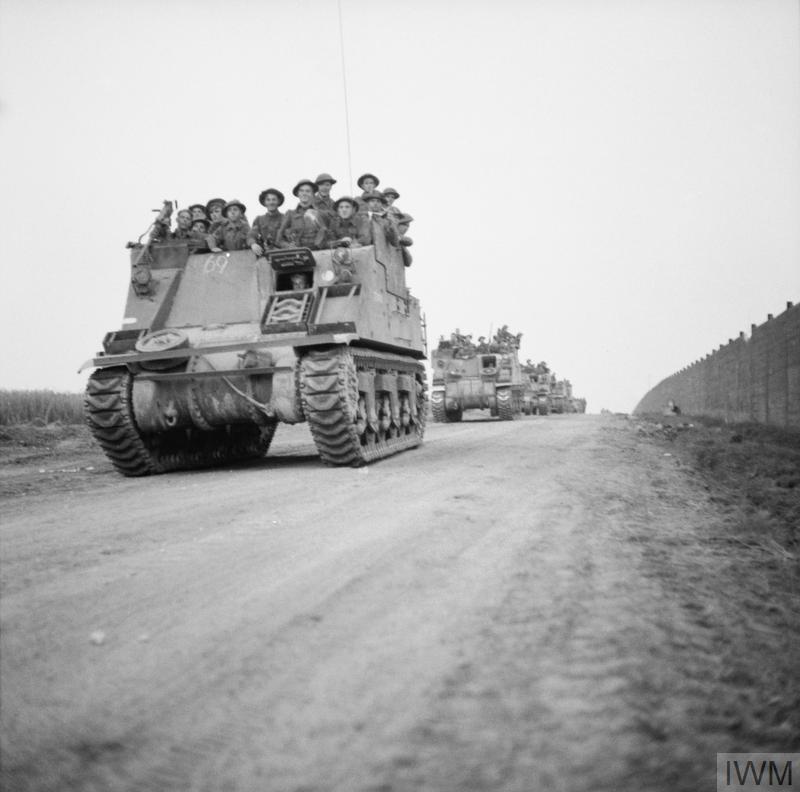
The Priest Kangaroo in Flames of War is accessible through a Command Card for D-Day: British, and provides an armored transport option for the Rifle and Desert Rats Rifle Companies. With Front Armour 3 and Top Armour 0, the infantry platoon they are carrying is protected against machine-gun and most artillery fire, and cannot be Pinned Down while mounted. Having been driven into position, the platoon can then Dismount, Move, and Assault, while the Kangaroos provide supporting fire with their .50cal MGs.
Battlefront’s Priest Kangaroo model is unfortunately no longer in production, so I am making Kangaroos for my Rifle Company by converting their Priest kit. Any of the US or British kits are suitable for this purpose, with the best options being the Late-War boxes due to them containing Allied Star decal sheets. A US box of three sprues (UBX73) will provide sufficient transports for a single Rifle platoon, while a British box of four (BBX64) will provide for a platoon plus the Company HQ,
Superstructure Modifications
The most distinguishing feature of the Kangaroo conversion was the removal of the 105mm gun and the covering of the resulting hole with armor plate. On the Battlefront kit, the gun mantlet is molded into the superstructure, so this needs to be removed with a razor saw.
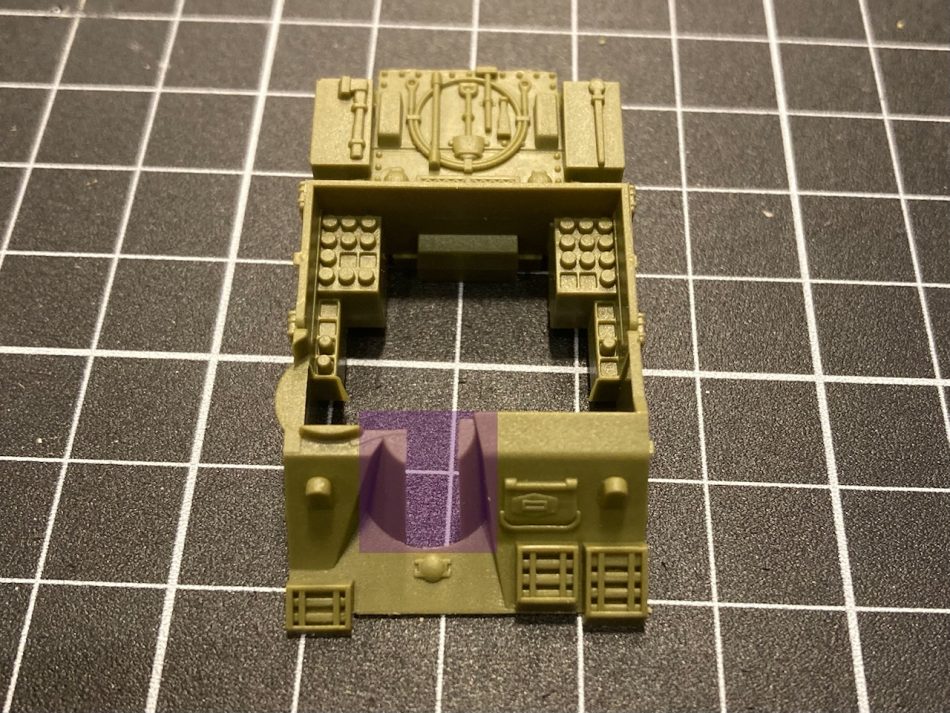
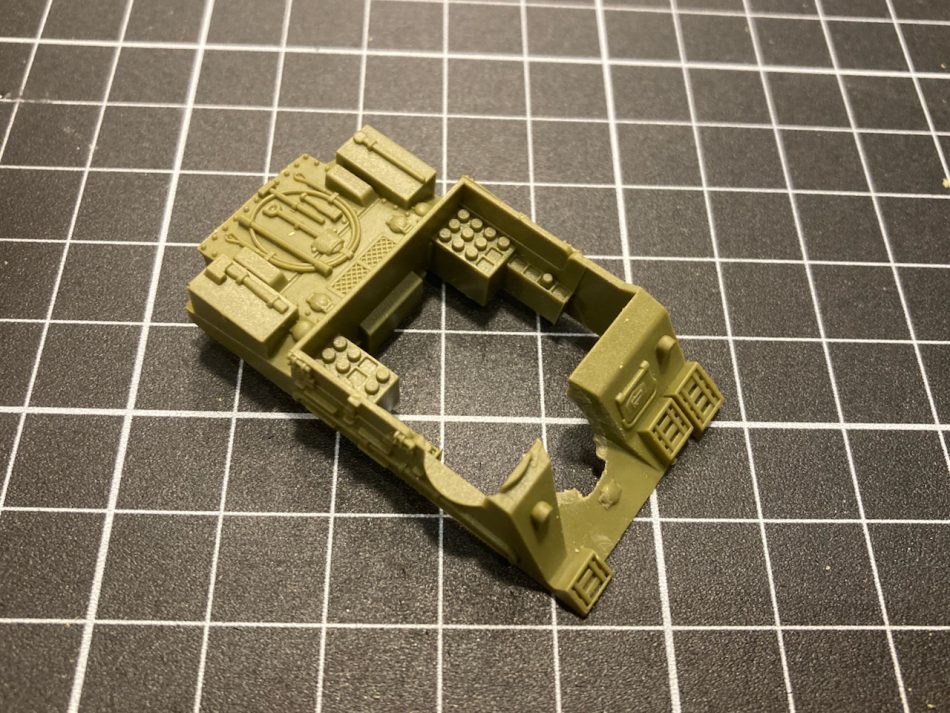
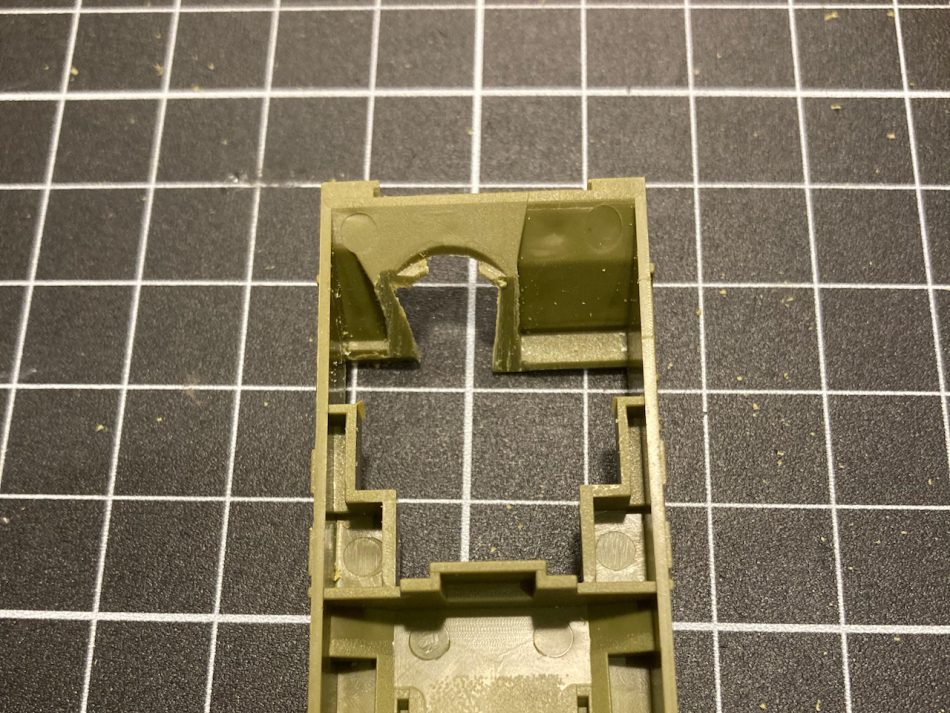
The model also has elements of the mantlet on the inside that need to be removed.
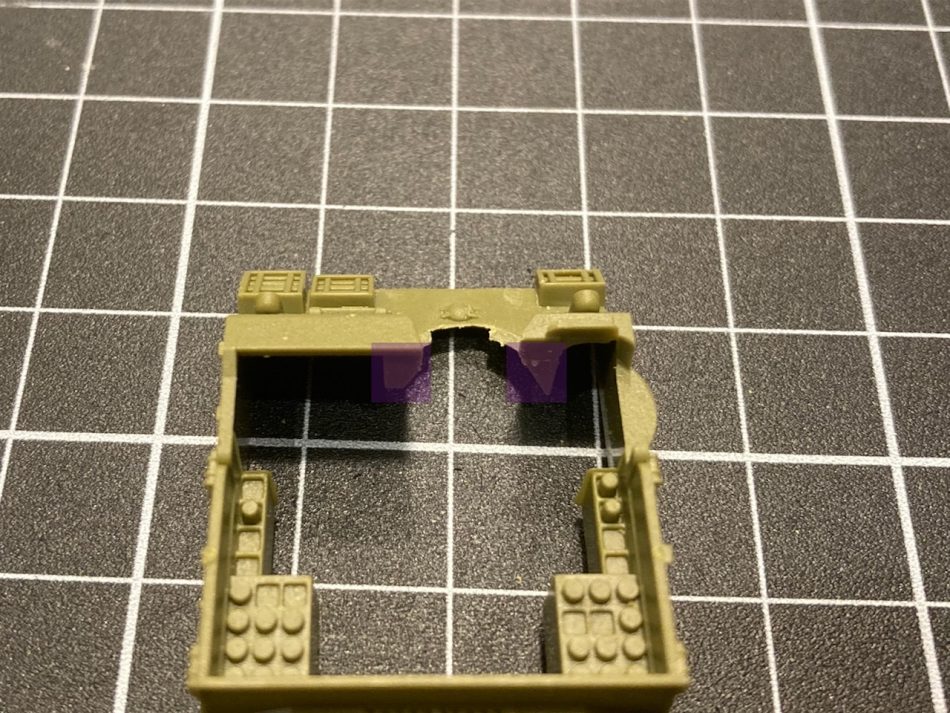
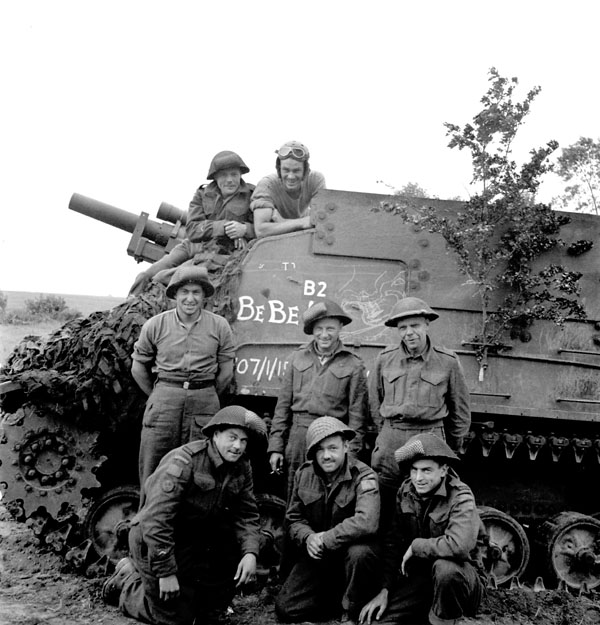
The experience of the British in North Africa showed that the ammunition stowage on the Priest wasn’t adequately protected. This led to a modification of the design that added folding armored shields to the sides, and raising the height of the back of the crew compartment to match, to better protect the ammunition. Photos of Canadian Priests and Kangaroos in 1944 appear to show that these vehicles predated this design change. Instead, British and Canadian Priests in Normandy had additional armor plates fitted to their sides, providing protection for the ammunition, and forming part of the deep water wading kits used for the landings. This armor was retained for the vehicles that were converted to Kangaroos.
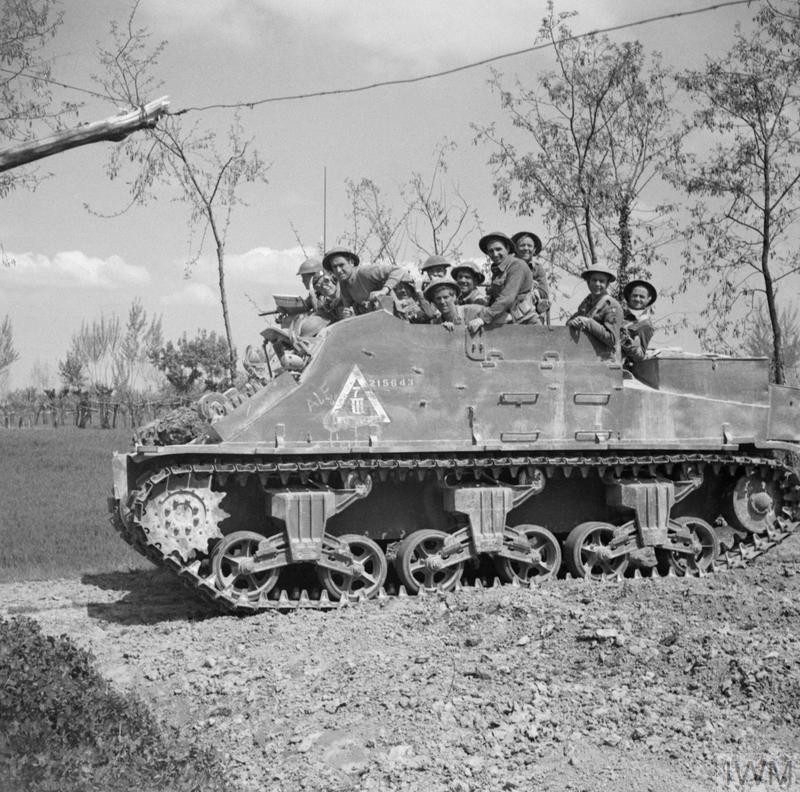
I would also say that it is not necessary to add these side plates. Priest Kangaroos were also used in Italy from late 1944, and photos from the theatre show these as having the factory-installed shields.
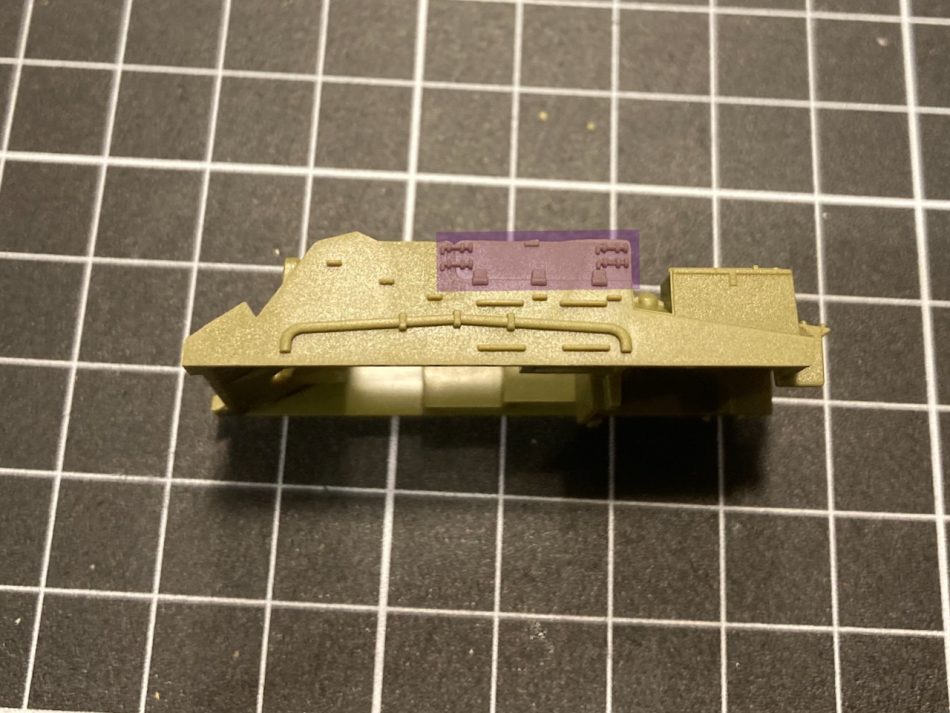
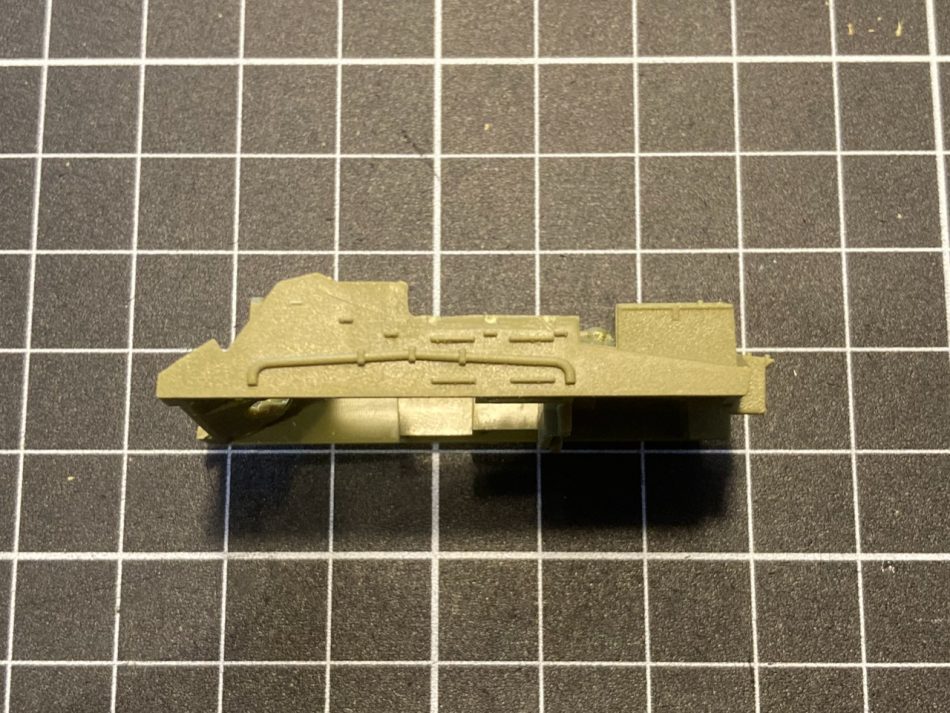
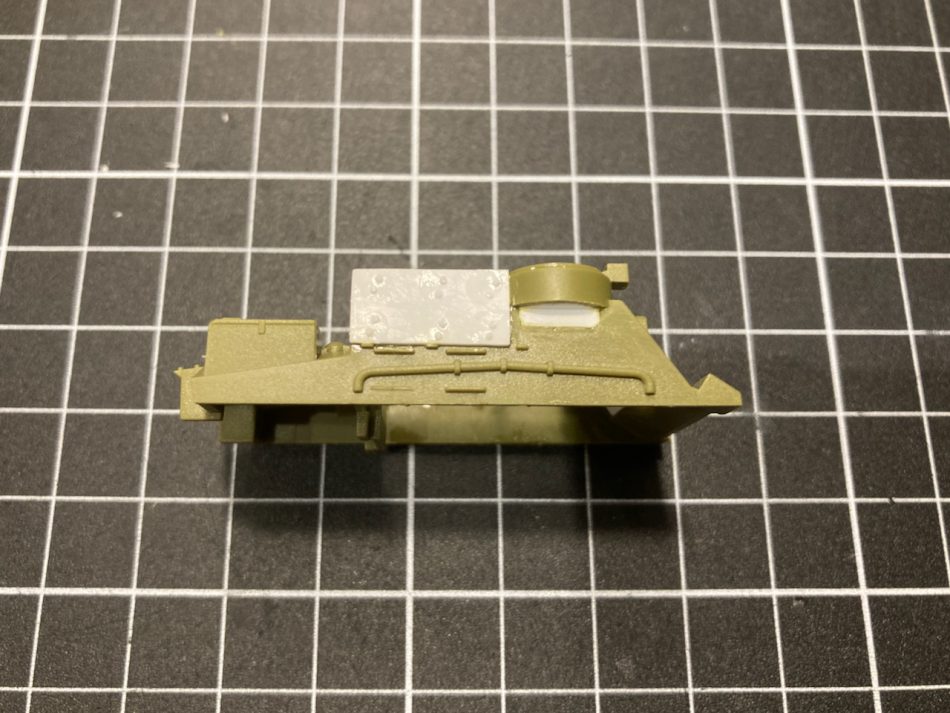
As I am making these Kangaroos for Normandy, I carved away the folding shields, including the hinges and latches, and reduced the height of the lip at the back of the crew compartment down to the level of the engine deck with a razor saw.
Ammunition Racks
The ammunition racks can be removed with a razor saw. I did this after the modifications to the other parts of the superstructure, as the racks provide a bit of rigidity to the piece which is helpful when making the other changes.

Pulpit
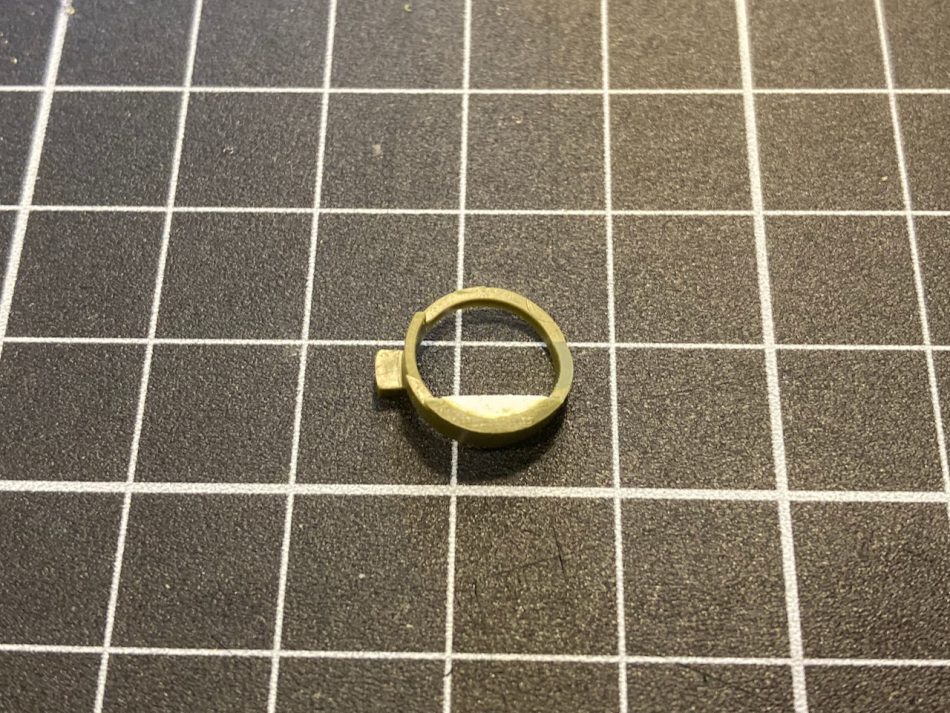
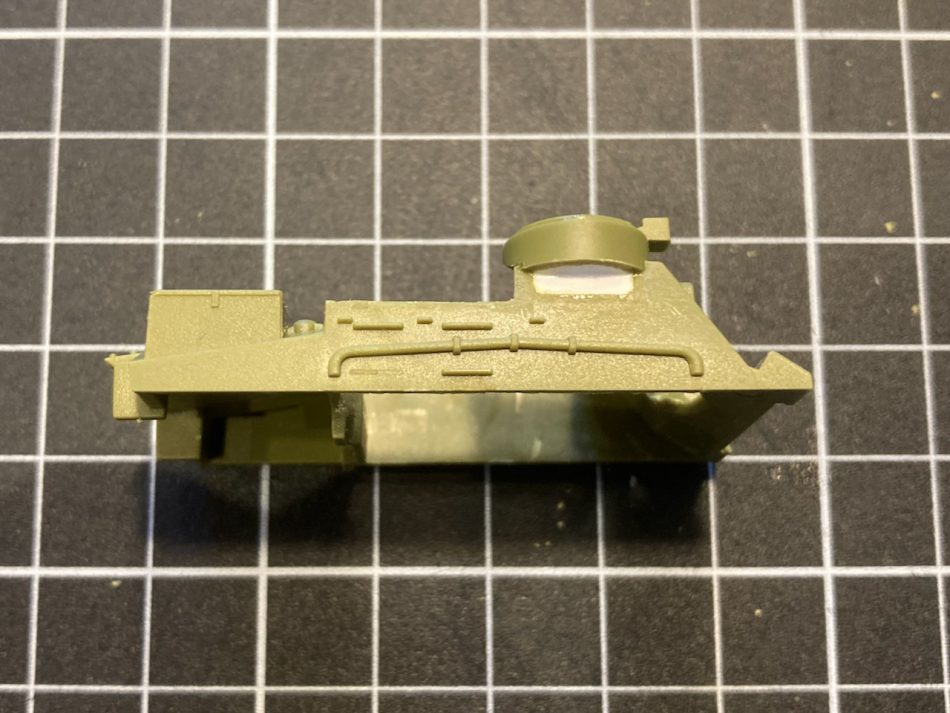
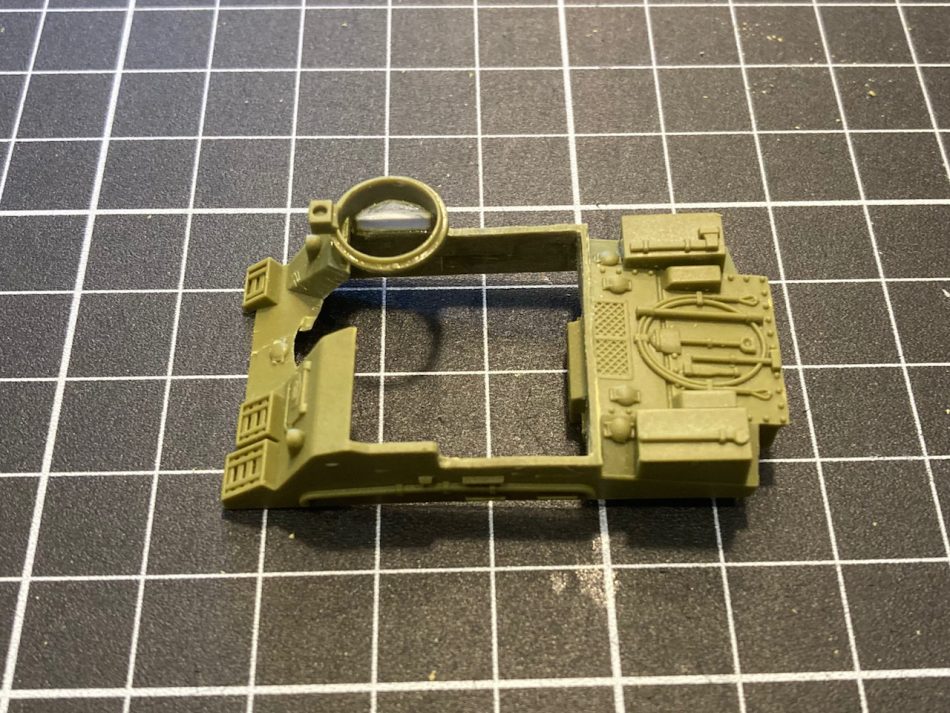
The Priest Kangaroos sported a mix of the older style short machine-gun pulpit, and the deeper pulpit that is modeled on the Battlefront kit. I am reducing the depth of the pulpit on a few of my conversions.

New Armor Plates
The next step is to add the field-installed armor plates. This uses pieces of plastic card in the following shapes:
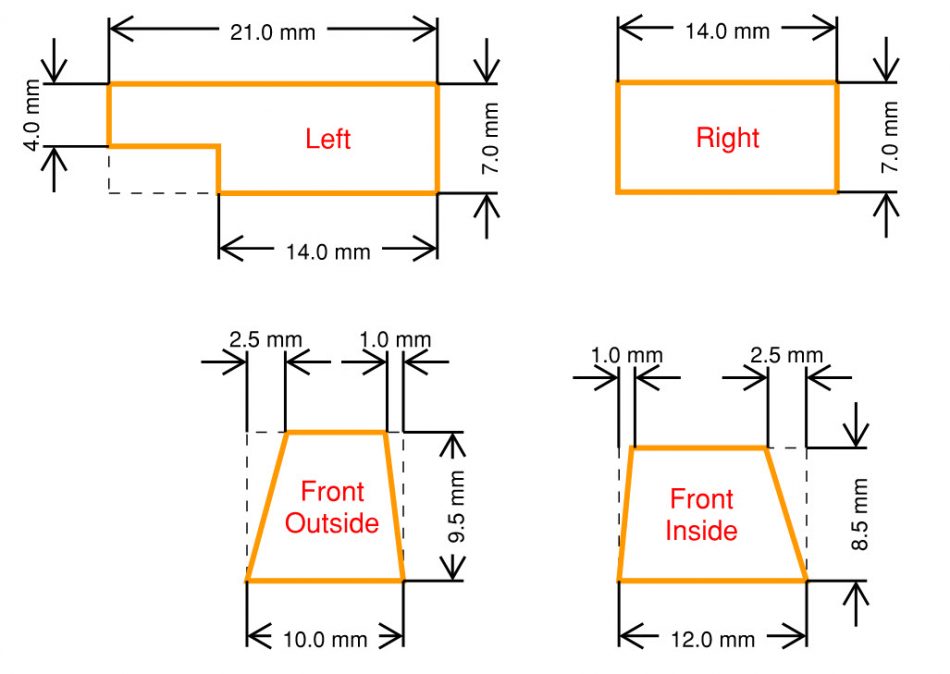
When the Canadian Kangaroos were converted in Normandy, many of them had the front armor built from three layers: a steel plate welded to the outside, and another plate welded on the inside, with the gap between them filled with sand. I’m representing this with two pieces cut from 0.010″ plastic card, starting with the internal piece.
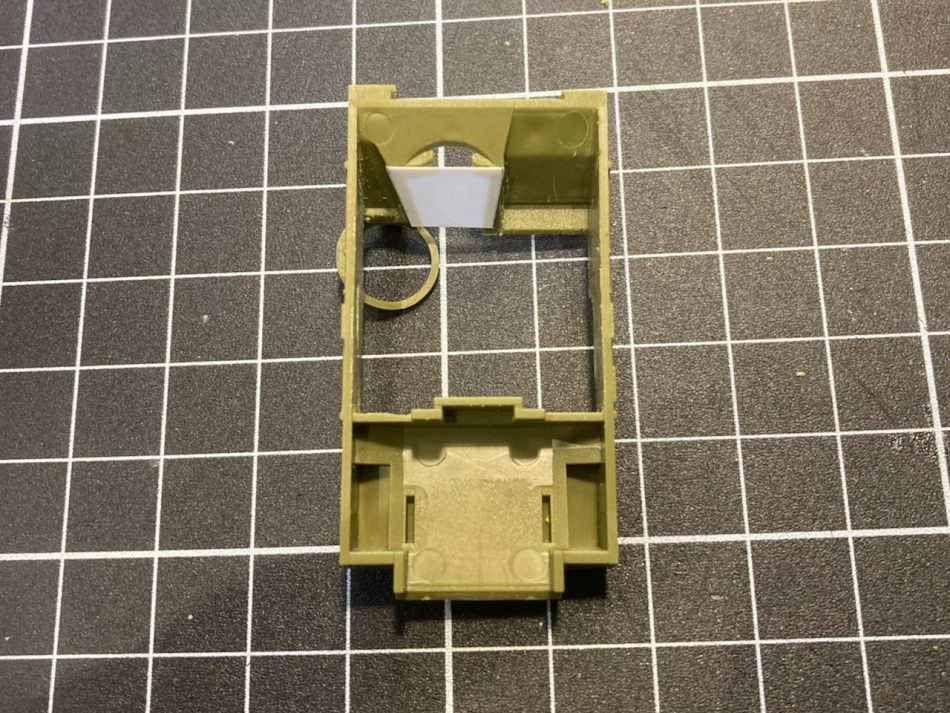
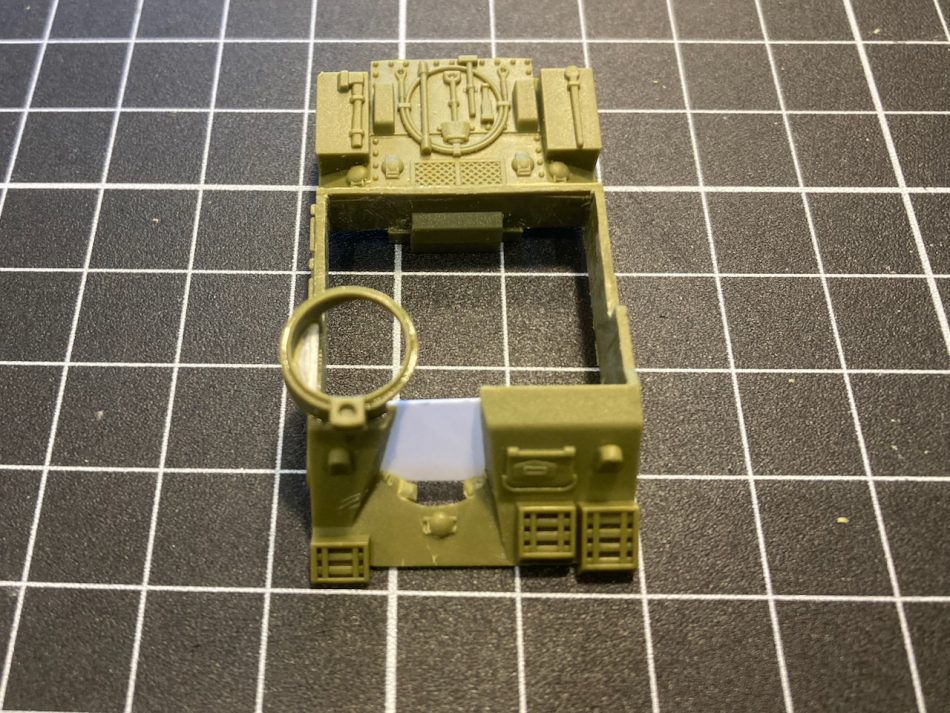
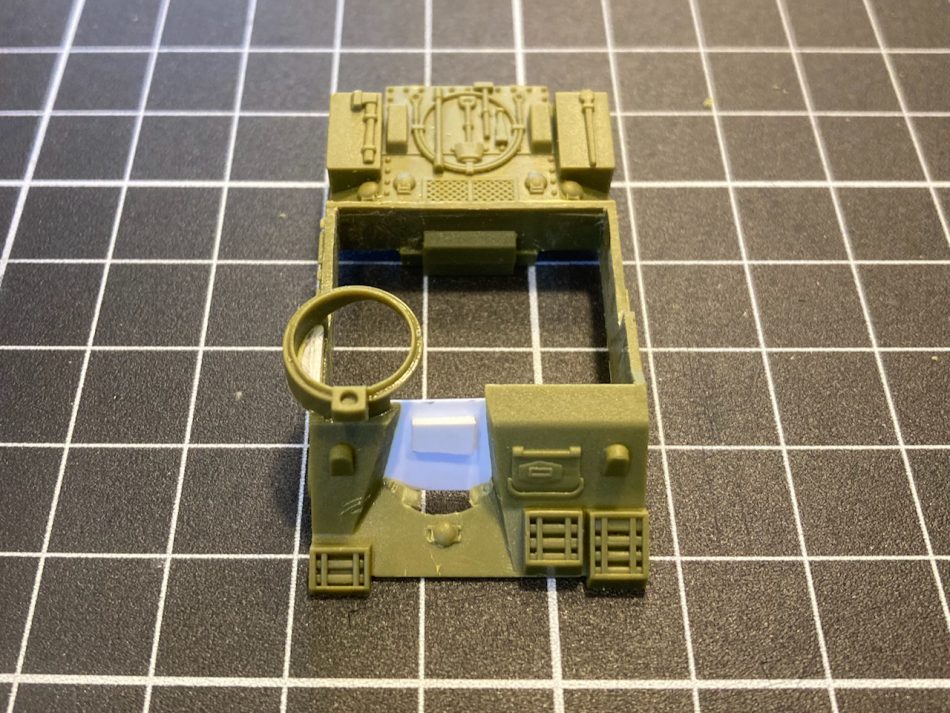
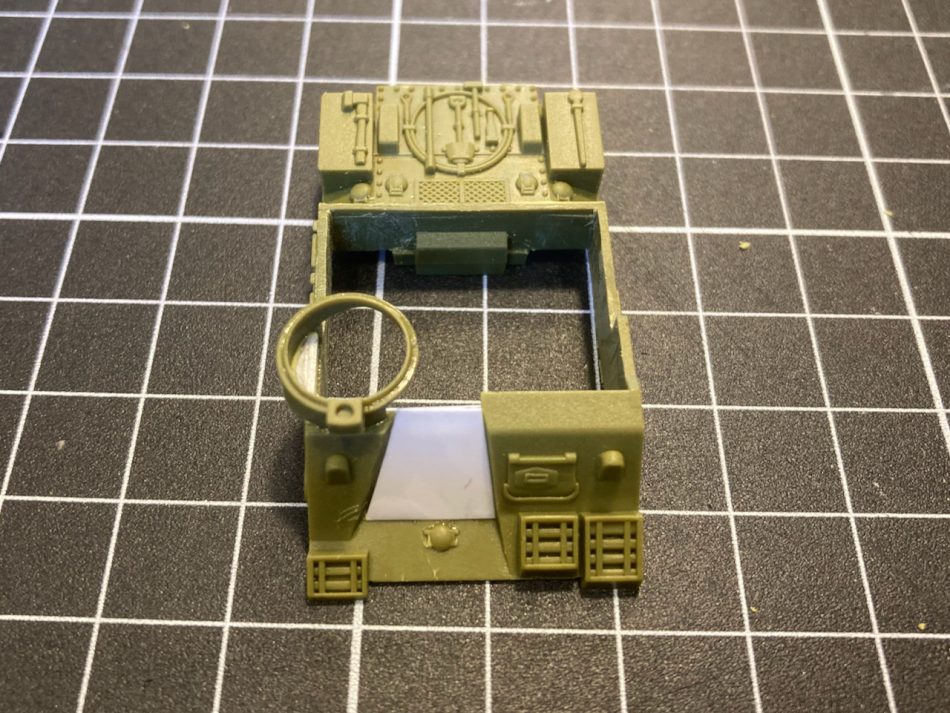
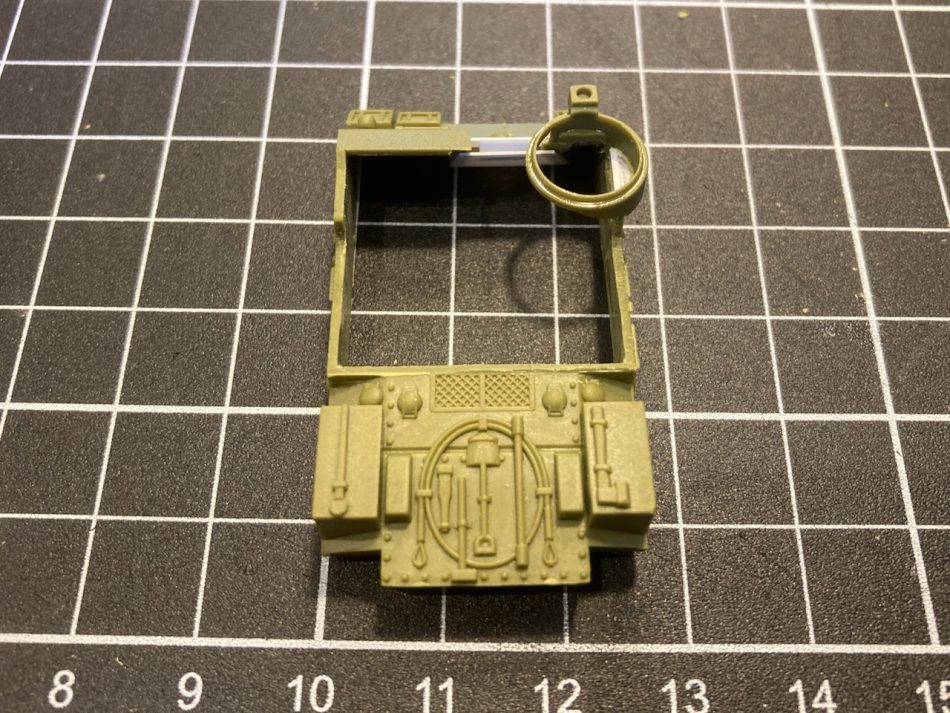
The side plates are cut from 0.020″ card.
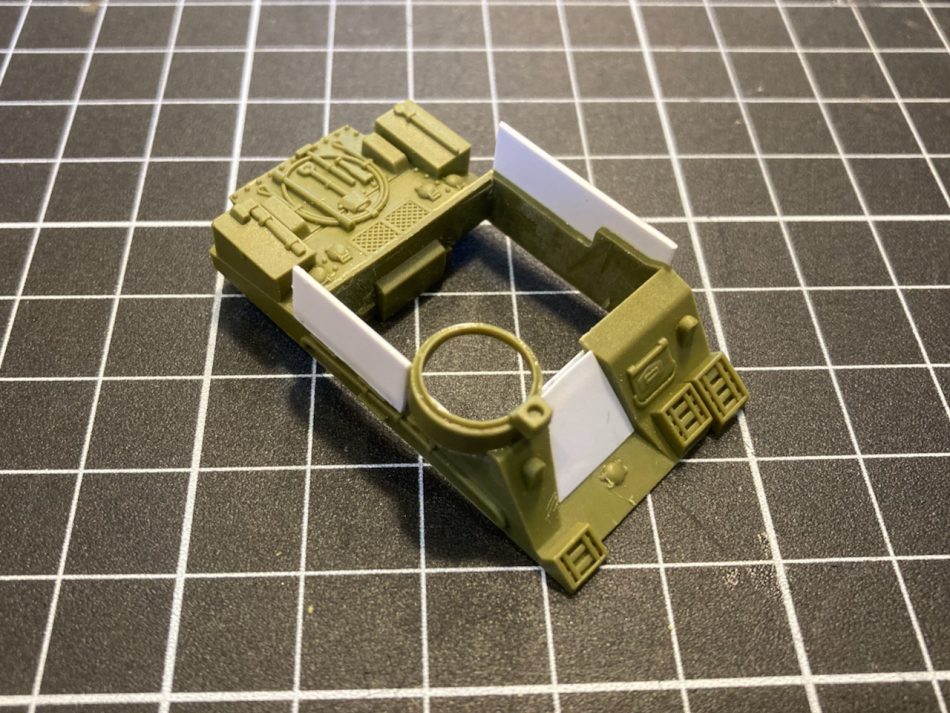
The side armor plates were attached to bracing made from T-section steel beams, as shown in this photo. I have used 1.5mm wide T-section strips, backed with a card spacer.
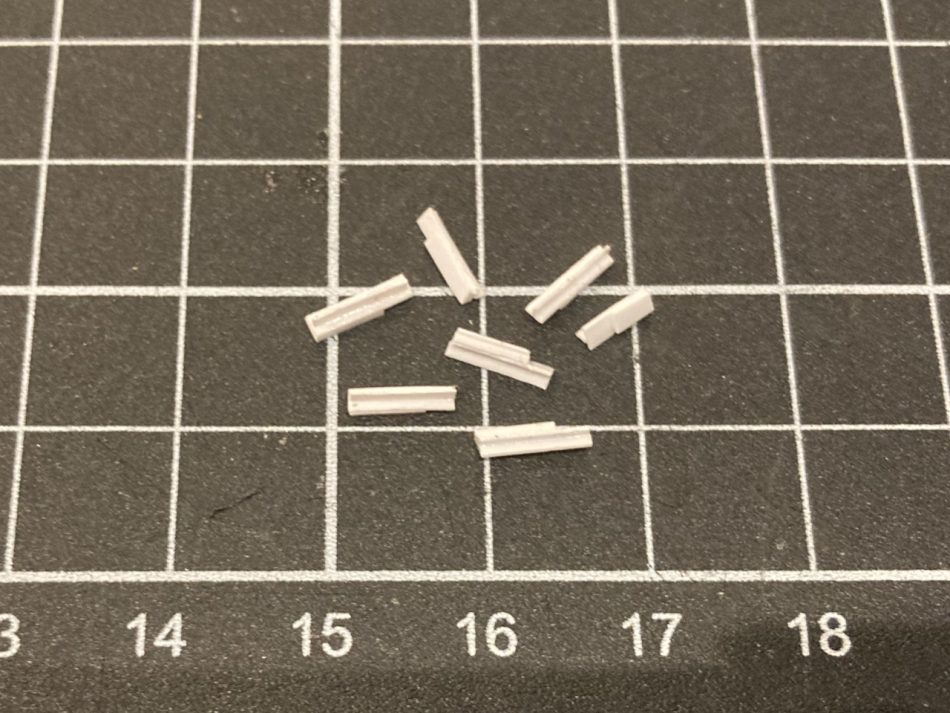
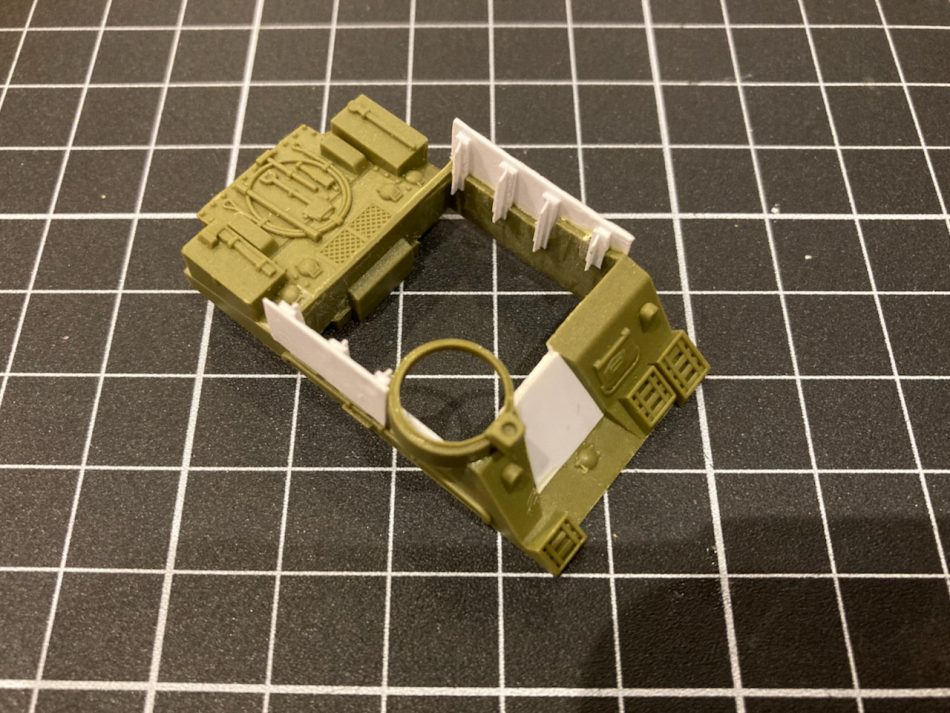
To add some visual interest to the plates, I’ve created the impression of bolt heads by gluing thin slices of 0.020″ rod to the outside, staggered either side of the web of the T-section.
Gun Trails
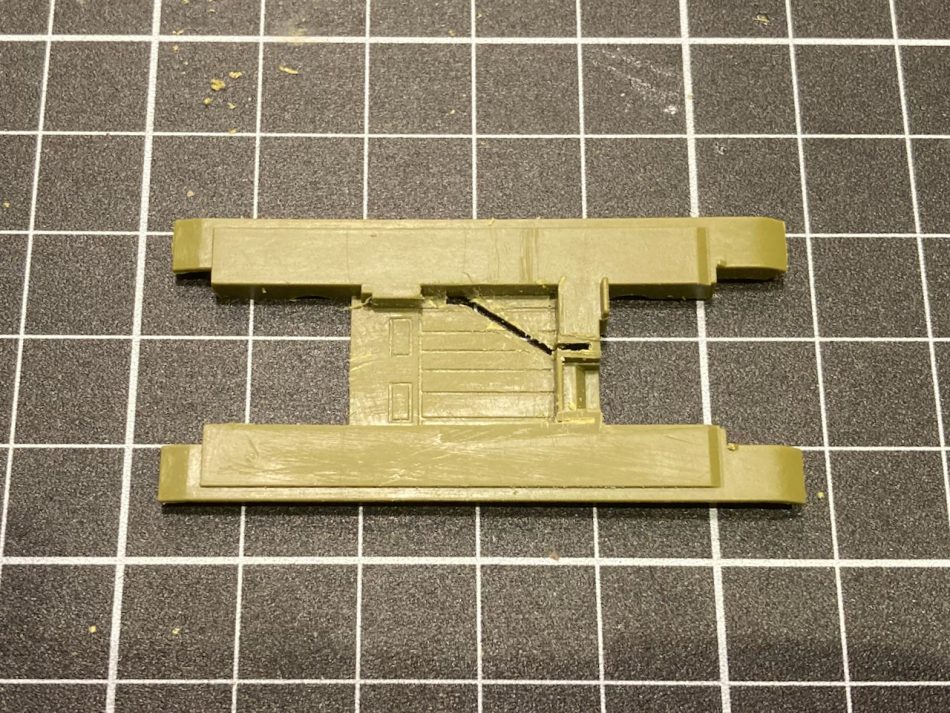
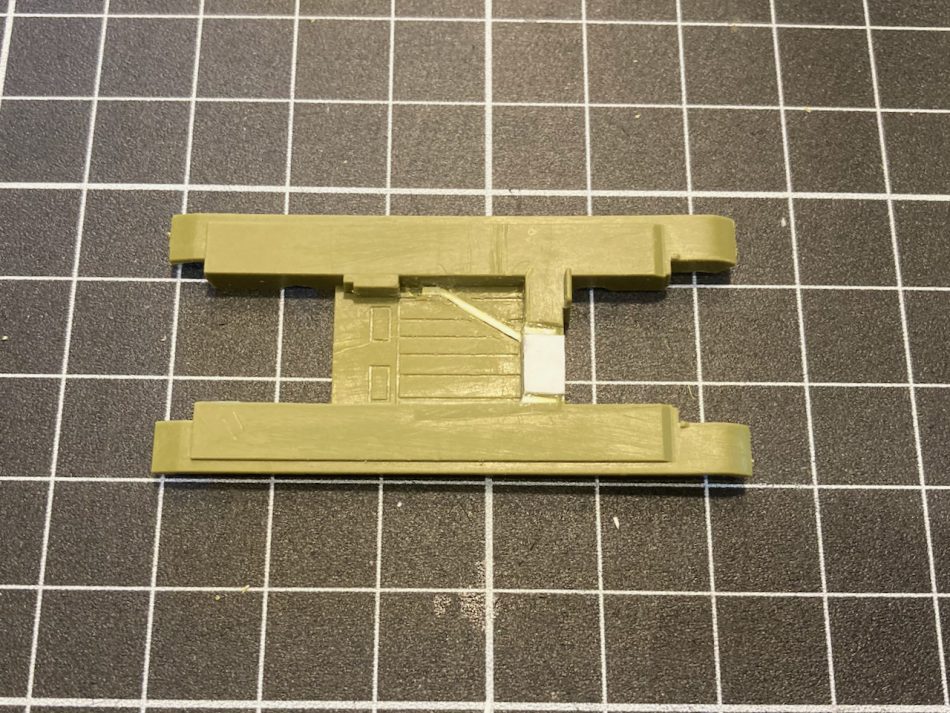
The gun trails for the 105mm in the Battlefront kit are molded into the floor of the crew compartment, and these should be removed.

Removing the trails leaves gaps in the floor. These are filled, and the floor detail rescribed. There is also a space underneath where the gun would sit. This was plated over, so I covered this with a 6mm x 4mm piece of 0.010″ card.
Suspension
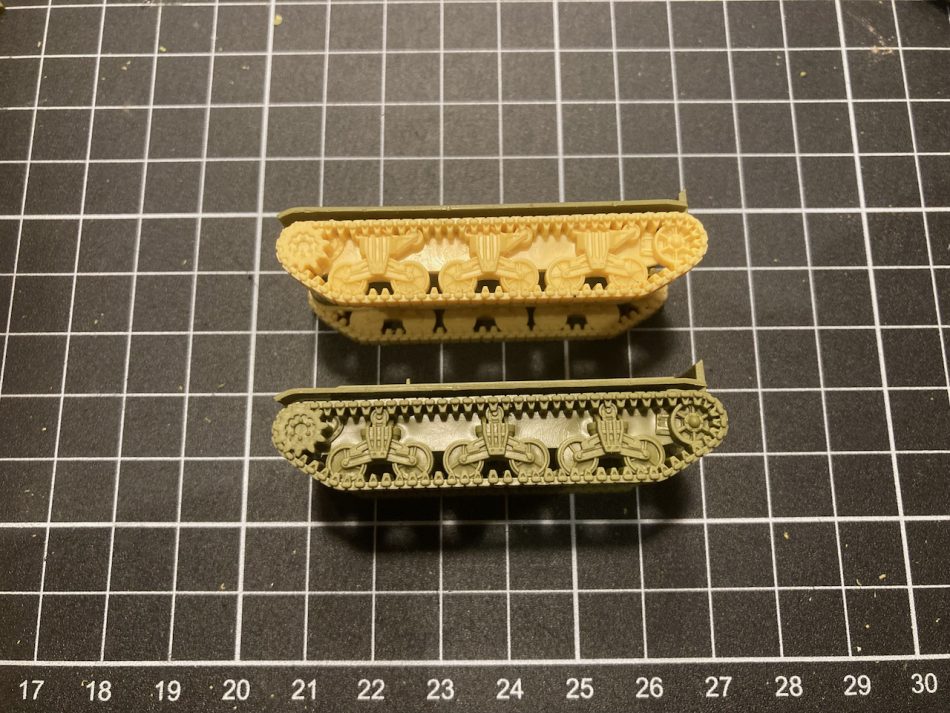
The Battlefront Priest kit comes with M3 Grant/Lee style of suspension, with the return rollers mounted on top of the bogies. This is pretty pedantic, but most of the photos of Canadian Priests and Kangaroos instead show the later M4 Sherman style of suspension with the return rollers mounted on a bracket behind the bogie. The tracks from the Battlefront Priest and M4A1 Sherman kits (UBX55, UBX69, or BBX42) are interchangeable if the center locating peg of the left-hand Sherman track is removed, so I have swapped the tracks between the kits on some of my conversions, fitting the Sherman tracks to the Kangaroos, and using the Priest tracks on the Shermans to make some Eighth Army Sherman IIs for my Mid-War British.

Final Assembly
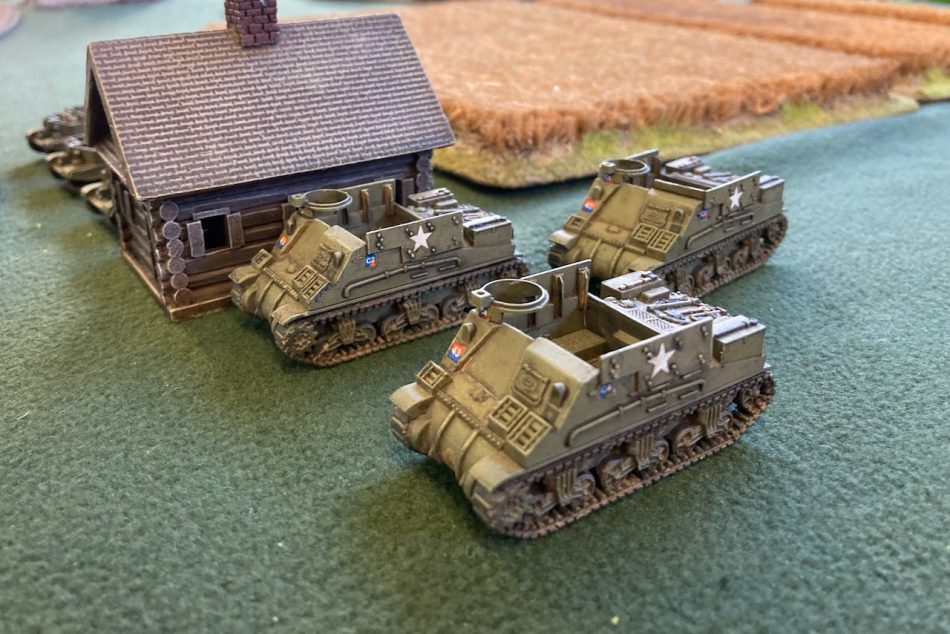
Almost any combination of the above modifications creates a decent representation of the Priest Kangaroo, with the only essential element being the outside front armor plate. The first two of my planned ten conversions are now heading to the painting bench, while I look at options for stowage, passengers, and decals.

 Title picture: Infantry riding into Battle in Priest Tanks, 4th Infantry Bde – 2 Cdn. Div., France 7/8/44. Canada. Dept. of National Defence / Library and Archives Canada / PA-129172
