Kampfgruppes in FOW – Part 2: Battle Report
We return for part 2 of the three-part series of Kampfgruppes in Flames of War. For this report, I take a Kampfgruppe into combat.

For this game, I played against Brian Sullivan. I was expecting to go against his Soviets, or for him to make a list from my Americans. Instead, he decided to pull out his Hungarians for a run.
We used the More Missions matrix.
I was attacking and Brian was defending for our scenario. We ended up with No Retreat for our mission.

We set up a little town with lots of roads. Then we chose table sides. I placed one objective on the left flank, as far forward to my deployment area as I could, which had it resting on a hill in the open.
Brian placed his objective as far back as he could, in the center of the table. Brian placed three minefields in front of the objective I had set, and then deployed his infantry behind it. His other infantry platoon hid behind the hedges around the church. He placed his Panthers in ambush.
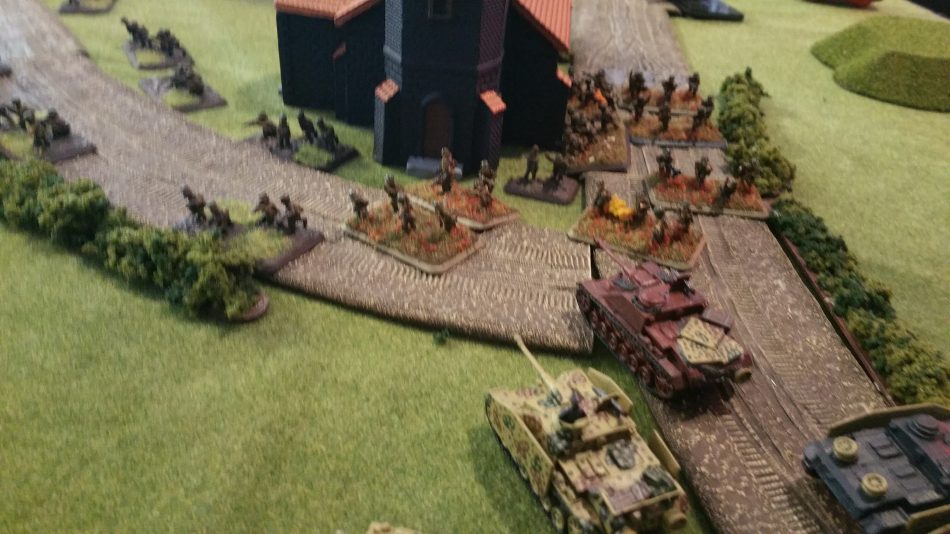
I placed my 88s in the center of the table on my side. The Luchs were deployed on the road in the center. Everything else is staged to attack his right flank, in hopes of sweeping around it to go for that objective. I really wanted to hit the left flank, but I don’t like minefields. 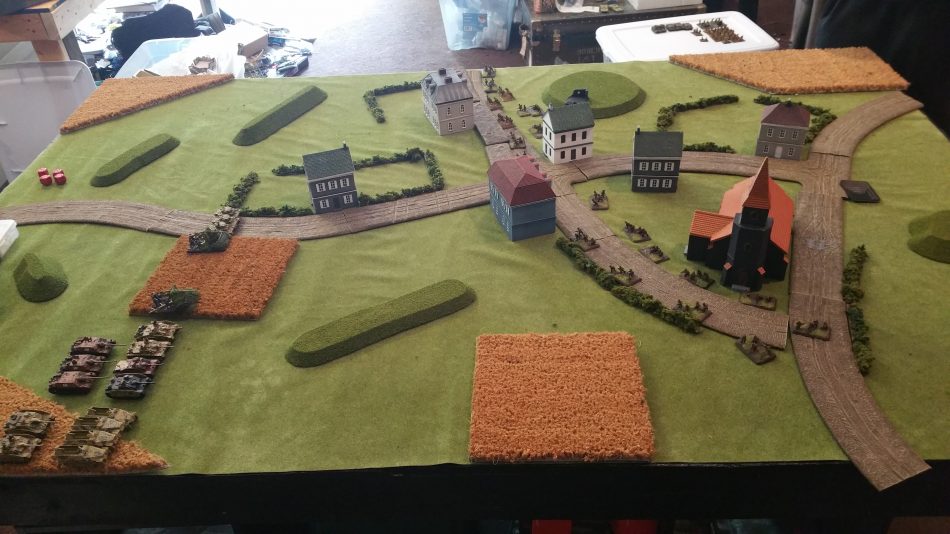
 Turn 1 for Ed – I dashed everything forward, and then issued a follow me order to try to close the gap between my troops and the enemy. I failed all of the follow me orders. Ugh.
My plane came in, and with no armored targets on the board I attempted to snipe Brian’s Panzershrecks, but he made his saves.
The Panzer IV/L70s take pot shots at the infantry but miss. The Luchs moved down the road, with the goal of harassing the infantry in the middle, while my main force worked his flank over to break through to the objective.
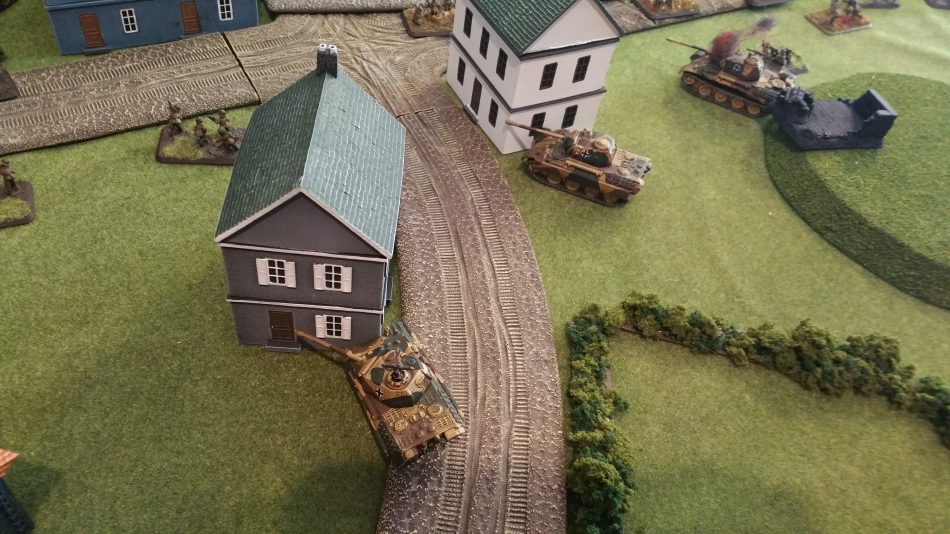
Turn 1 for Brian – Brian revealed his ambush and placed his Panthers on top of the objective that I was not going for. That objective is on a hill that has a pretty good field of fire. Not all three of his Panthers could see my Panzer IV/L70s.
Two of his Panthers fired at the Panzer IV/70s, scoring one hit which results in a bail. The other Panther fired at the Luchs and blew it to pieces. Turn 2 for Ed – My bailed Panzer IV/L70 failed to remount. My plane came in again! I really thought after it came in Turn 1 I would never see it again.
My main element moved forward up the right flank further, coming close to assault range. My last 2 Luchs dodged behind a building in order to avoid the Panthers, while still hoping they would mix it up with the Infantry.
The Panzer IV/L70s positioned themselves to get shots on the Panthers. When the plane arrived, it killed the Panther in the middle. My Panzer IV/L70 fired at the Panthers, but the Panthers bounced the shots.
The StuGs fired at the Infantry, and I killed his Panzershcrek. This is actually looking like a victory in the making for this Kampfgruppe.
 Turn 2 for Brian – Brian got both of his reserves. Three Zriynis showed up to counter my push on one flank. In the middle of the table, a Pioneer Platoon came in.
The Panthers began their move into town. His infantry platoon decided the advance over the minefield to go after the 88s.
I was surprised by this bold tactic, but it paid off for Brian as he only lost one stand of Infantry in the crossing. They were pinned, however, from the loss of the single stand they took.
The Zriynis opened up on my halftracks, which were full of pioneers. He hit two halftracks and killed the Command and two Rifle/MG Pioneer stands inside them. This was a big loss, because of a failed follow me. That failure put my pioneers leaderless as, as the Command was outside 6-inches of other stands.
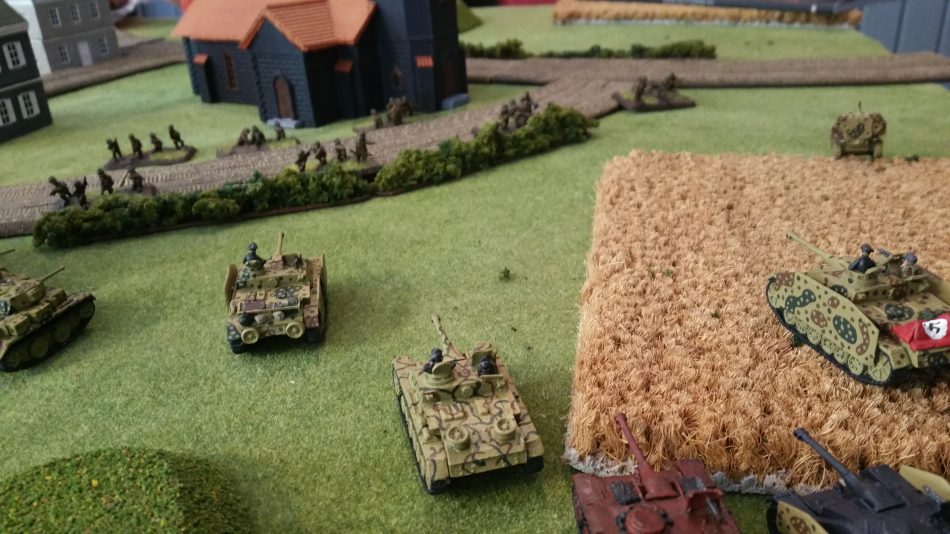
A Panzerfaust inside the building fired at my Luchs, cooking one off. This caused me to drop to one active tank in that platoon. I took a beating this turn.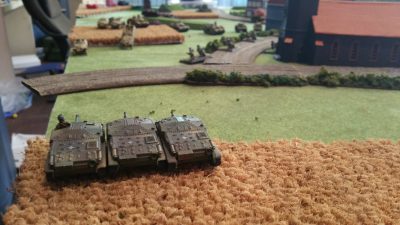 Turn 3 for Ed – My plane arrived again! It came in behind the Panthers, but missed all three shots.
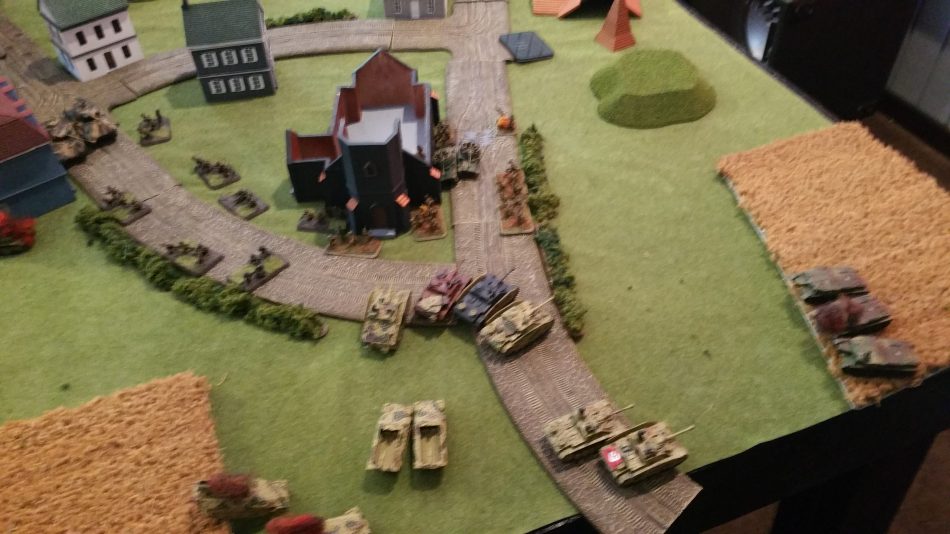
The StuGs continued to push forward. They advanced toward the flank of the infantry that were dug in at the church. They fired at the Zriynis, turning one into a metal coffin of fire.
My 88s pluck away at the infantry that moved up on the left side.
Turn 3 for Brian – Brian’s Nimrods joined the fight by entering in the center. Brian’s two Panthers continued to bob and weave in town. They moved into position for side shots on my StuGs. Luckily for me, Brian’s dice failed him and he landed no hits on my StuGs!
Brian’s Pioneers moved up into to help the flank of the infantry.
Turn 4 for Ed – No plane this time. It must have stopped for refueling.
My Panzer IV/L70s moved forward with the StuGs and lined up shots on the Panthers. Brian bounced the one hit I scored.
I moved my StuGs forward and continued to take shots on the Zryinis and the Pioneers. My StuGs felt a little cramped with two Infantry platoons in assault range, so I launched an assault with two of them onto the infantry.
His one defensive panzerfaust shot failed badly, so the iron beasts moved in. The assault killed the two stands they made contact with. Brian failed the counterattack and had to withdraw.
This was one of those cases where I knew I couldn’t win an assault going multiple rounds, but if I could force him to fail to come back, I could get the breathing room I desperately needed. Turn 4 for Brian – He moved his two Panthers onto the road and headed toward the StuGs. His infantry on the left flank moved up and opened fire on the 88s. He only scored four hits, not enough to pin the 88 crews.
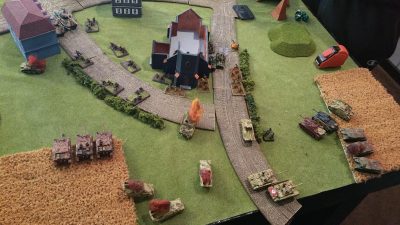
His Panthers lined up shots, and knock out a StuG. His Zzryinis open fire on my StuGs and halftracks. One half-track is hit, which killed one of the pioneer teams inside. The other bails out to the rear. The one stand of infantry left behind is destroyed by shooting from the infantry at the church.
His Infantry on the left assault the 88s and take out one gun. Luckily, I was able to move my 88 two inches and be outside of the six inches needed to be away from enemy teams.
Turn 5 for Ed Sales – My Stugs are threatened by Zriniys and Panthers, but I have to start making moves. I move my Stugs forward, and in a sign of disrespect to the Zryinis, turn the rears of the Stugs to them. My HQ component moved forward and fired at the Zrinyis, but they bounce are hits. The one half-track that is left moved forward, but the command team has hoped out for the extra shots for the impending twoplatoons of infantry to assault the Stugs.
 Turn 5 for Brian – Brian’s Panthers fired at the Panzer IV/L70s. A hit. Flames leap into the sky. His Ziryinis split fire on the HQ StuGs and the Stug platoon. They managed to kill four of the five StuGs. His infantry then moved to assault my StuG. But the machine guns were enough to scare off the troop, and the assault fell back.
 Turn 6 – I was not within eight inches of the objective. According to the rules for this mission, the game was over and Brian won.
However, we didn’t remember that and we played out turn 6.
In the unofficial ending: I managed to bail a Panther with the Panzer IV/L70s. My plane whiffed its shots on the last Panther, My lone StuG killed one Ziryni.
In Brian’s unofficial last turn, he managed to break my formation when he killed my formation commander.
 Conclusion
This game went about how I expected. I would have liked to have killed off his Panthers and Zirynis. But that didn’t happen.
Brian’s dice were rolling worse than mine. I’m sure he would have liked to have killed off my armor sooner. The Zirynis coming in and reducing my pioneers to being combat ineffective was disappointing.
This was the first time I have ever played Flames of War with Infantry in armored transports. I had hoped to put them to use. The plane was a bit more effective than I expected. I will look into adding planes into my future lists.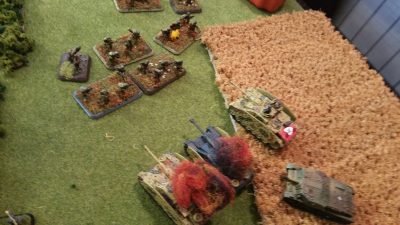
When I use the Random Kampfgruppe Generator, I rarely expect to win.
I use it because I think it helps add flavor to the game.
These Kampfgruppe commanders in World War 2 didn’t know what they’d be commanding till they got to the battlefield.
We are lucky enough with our games that most people know what they are going to play a months before a tournament.
I also believe experiments like this will make me a better player, as I am playing with units that I don’t usually take, such as the HS129, Pioneers in Halftracks, and the 88s.
That’s it for Part 2, stay with us for Part 3 as we look at how to make Desperate Panzers!
Bad news Ed, that 88 did not get away from the assault on turn 4. When breaking off, you have to move at tactical. 88s have no tactical movement. 🙁
My other comment did not go through:
I am enjoying this article series. I am partial to the kampfgruppe forces. I have used Kampfgruppe Kershner for its versatility.
Keep up the good work.
The 88 was more than 4 inches away so the assault could not continue. I miss worded what happened.
Yes, but in V4 when you break off during an assault, the teams of the unit breaking off must move at tactical speed to be at least 6″ from all teams of the assaulting unit.
Unfortunately, the 88s do not have a tactical movement and are therefore destroyed since they are still within 6″.
I have lost many guns this way in V4.