PSC 15mm Steyr Truck Review!
By Ed Sales
Hello there! Today we take a look at the that arrived in the mail.
I always buy and encourage others to buy models from the manufacturer of the game system they’re playing. Since I normally play Flames of War, the only PSC models I own are T-55s, back when Battlefront wanted 72.50 for five resin and metal tanks, and I needed 20+.
However, Battlefront is killing off a large portion of their line, and the Steyr Truck is likely a part of those cuts. I want to be able still to collect some of these trucks in case I decide later on I want to play some of the V3 lists down the road. That’s why I got so excited to see these in the mail. This is easily the PSC kit that excites me the most.
I am a fan of Battlefront’s (BF’s) models, and in 15mm scales this is likely the main comparison players will make. Generally, I prefer BF’s models over PSC’s for several reasons. First would be the fine details of the BF models – especially when we compare infantry sprues.
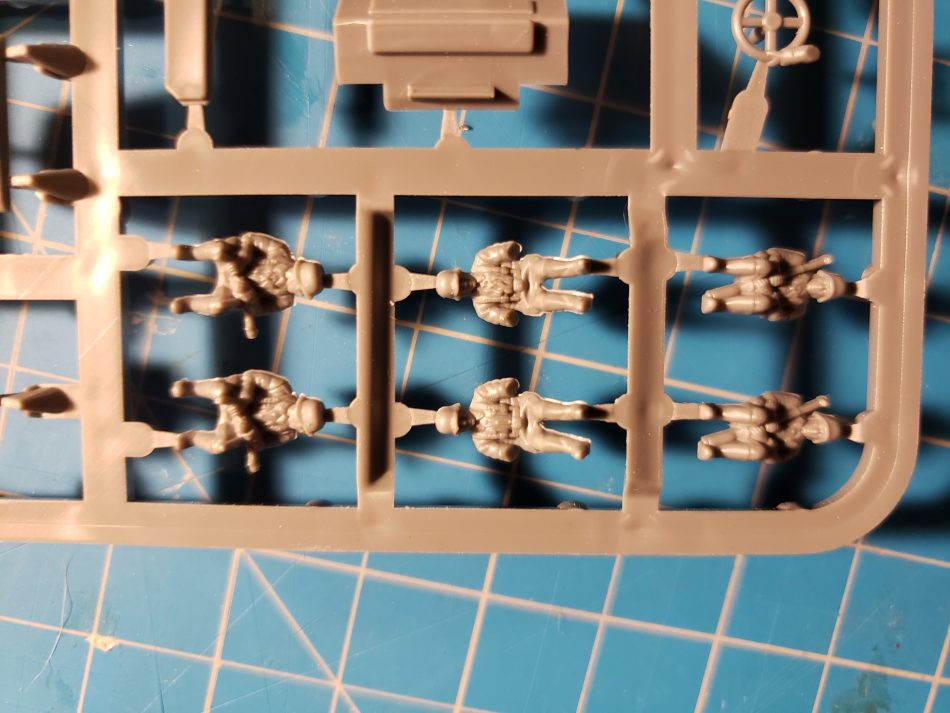
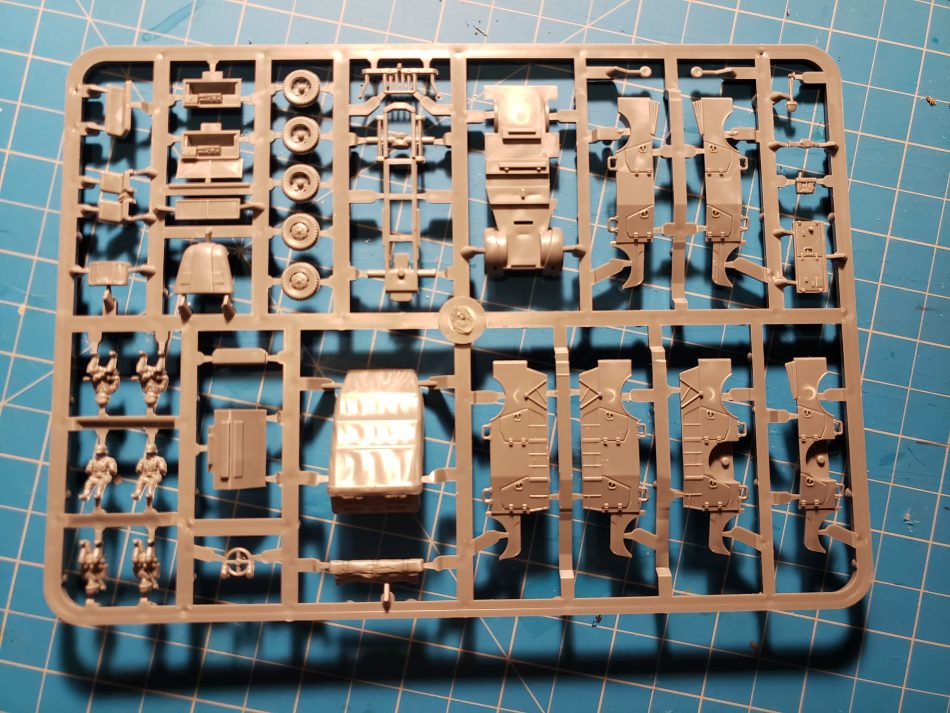
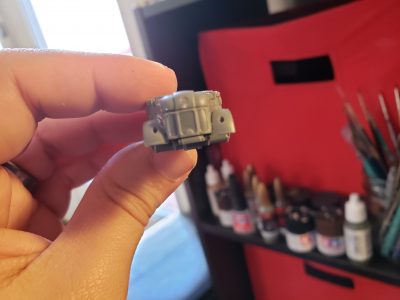
However, as you can see on this sprue of the Steyr Truck, the details are crisp. I don’t notice any mold lines or flashing. I am currently extremely impressed with what I’m seeing on these sprues.
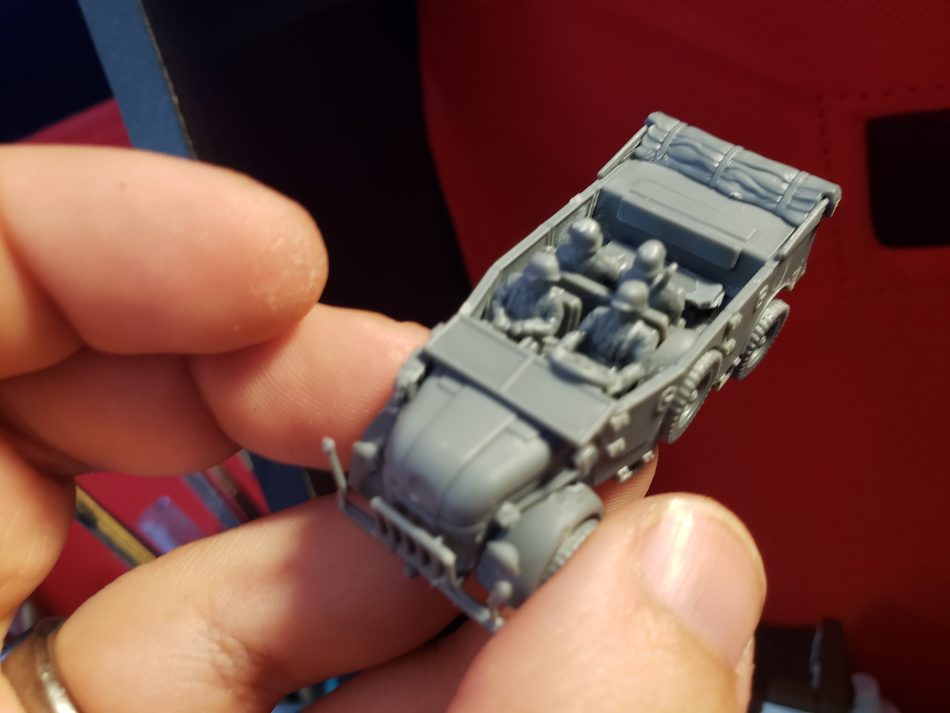
I also have proportion and detail concerns about PSC’s plastic infantry. They always look odd or out of proportion compared with BF’s infantry, especially the older metal infantry BF used to produce. The drivers and crew are no exception here. The arm appears to get thinner as they get longer. The rifles look more like sticks than rifles. The Infantry is also the only thing in this kit that has visible mold lines and flashing.
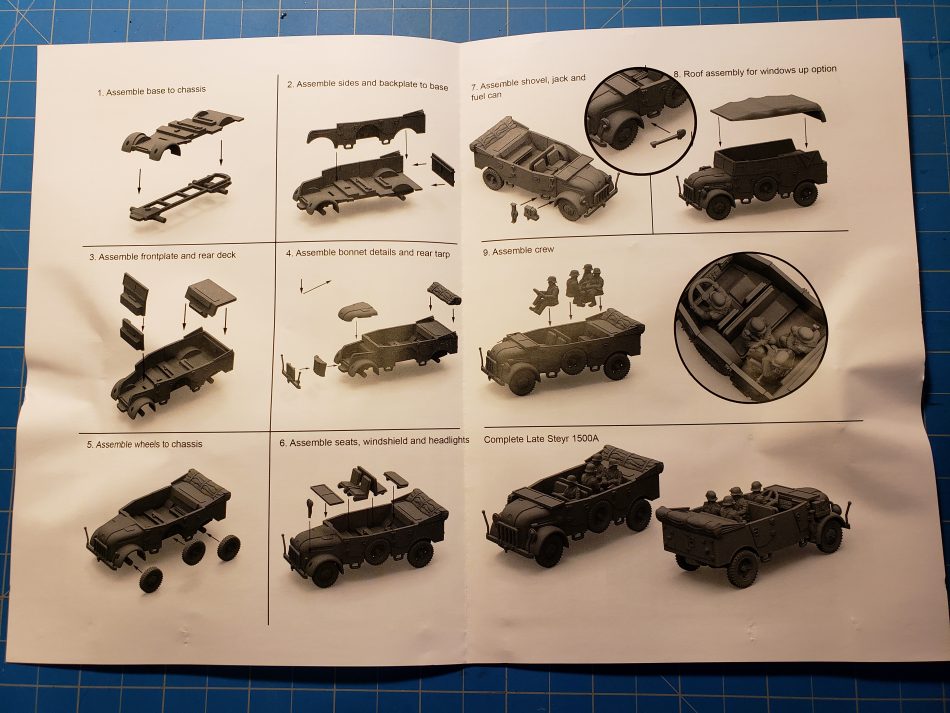
Assembly
Step 1 was a breeze, but Step 2 made me want to toss the kit and just buy a resin kit. The side pieces didn’t fit smoothly around the base, you have to hold it down with pressure as the glue dries. When I moved to the other side, the base separated as I applied pressure, and the back also came undone.
I had to add more glue and apply pressure while it dried. This left my fingerprints on the model. It seemed like when I lined up with the base evenly, either the front or back end would point towards the air. When I got it level, the side panel when then kick out left or right.
As I moved to Step 3 to apply for the back plate, I’ve noticed the back trim has gotten kicked out at an angle. The side panels just don’t wrap around the way they should, which causes twisting. Also, the front plate now doesn’t sit at a level angle from the side panels.
Step 4 started off better but still presented challenges. The more pieces that are added, the more obvious that the side panels are twisted and not fitting properly shows. This twisting throws off the alignment of other parts.
As I continued on, I noticed several of the pieces I add helped hide the lines that aren’t fitting properly.
Despite the challenges, the finished product, which took me 45 minutes for one single truck with passengers to assemble, doesn’t look bad. I’m not so negative about it now that I’m ready to paint it.
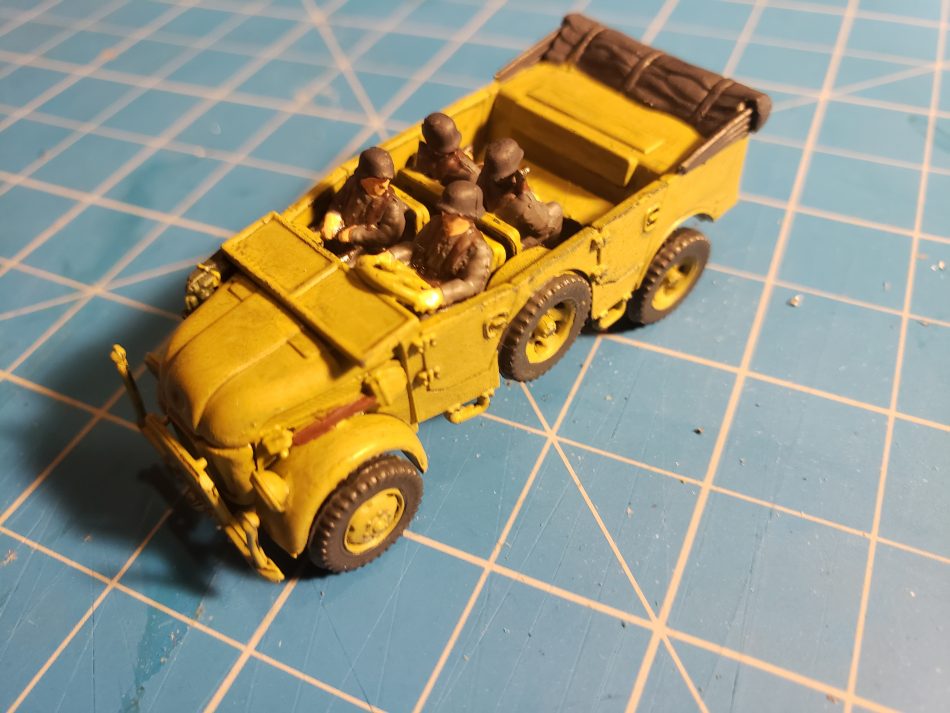
Painting it was straight forward. I usually paint the truck and the crew separate, but decided to paint the crew already in and didn’t have any issues with space. After painting, the gaps are less obvious, but anyone who takes a close look at them will notice them.
Conclusion
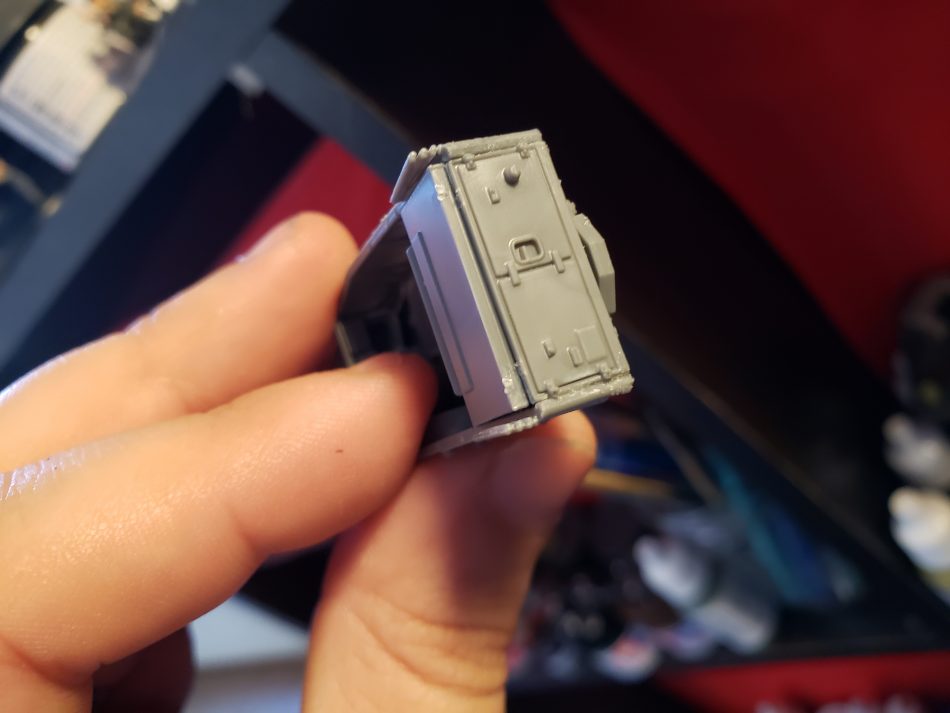
The side panels that have to be added in on Step 2 really derailed what could have been a smooth assembly process.
They aren’t molded to simply slide into place. You have to glue one end, and then apply glue and pressure to the other end and hope it stays. I also feel like it would have been easier to install the headlights before the grill. Adding the grill first like the instructions tells you too, just makes adding the headlights more complex than it needs to be later on.
Do I recommend this kit? Depends. If you don’t mind the assembly time to save a few bucks and get a truck that is going to be difficult to find in this scale in the future, then this kit is for you. The details are crisp for 15mm, but there is a trade-off in assembly time.
I don’t like having to factor in such a frustrating and time-consuming assembly process to my models. Sure, the more you do it the faster you get at it. My preference is for an easier assembly, and I’d be willing to sacrifice a bit of detail if it made the assembly easier.
You could use putty (or green stuff) to fill in the gaps in the model. To me, however, that’s like buying cheap car parts of eBay from China, you end up spending more time trying to adjust or modify something that should have worked out of the box than the install the darned thing.
Overall, a thumbs up on the kit, as long as you take into account the assembly time, and finicky alignment issues.
I use white glue to fill small gaps like these. Cheap, fast, and mostly self-leveling.
Your end result looks plenty good!