FOW LW Battle Rep: It Paras vs US TD
By Benny Christiansen
As FOW V4 was released, I still remember that surprise I felt when I found out just how mobile the game became. Mobile is a word that contains value based on your own point of view. In this case, I am thinking of the infantry and the amount of movement they made. In my V3 games infantry tend to stay stationary and in competitive situations, I would have a certain way I would deploy my infantry platoons to optimize my defensive position. After deployment, they would rarely – if ever – move.
Under V4 rules, my infantry will, in most of my games, be forced to move a lot. Under the V4 system, I see only benefits in moving them (in general). Standing still is an invitation for destruction. But such claims are easy to make and hard to prove. So I will try to make an example via a game I played recently.
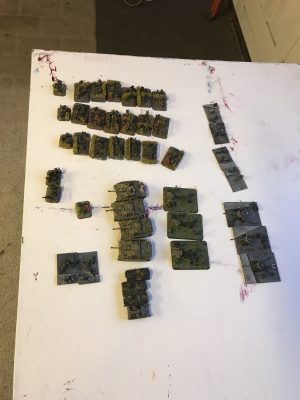
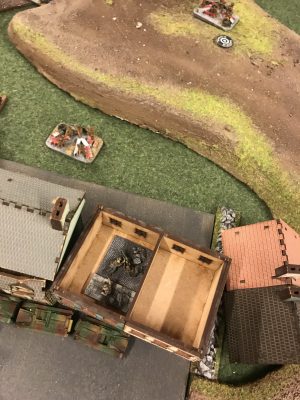
My list. The Borgwards are just funny in my mind.
We only knew we would play LW, nothing else was discussed. I thought of this as a chance for a “last huzzah,” before LW was converted into the 100 pts system.
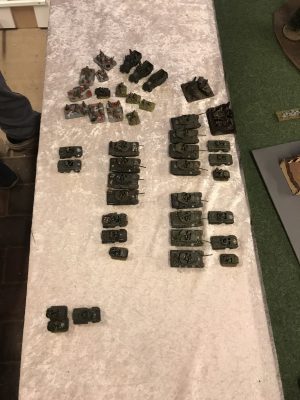
My friend’s USA list. A lot of .50 cals had me worried from the start.
I find the Borgwards to be an excellent unit. To move a full tactical move (some 25 cm) in an assault, and to have no restrictions in that move, just makes it crazy not to take it. The prize is very low, while the effect can be potentially mindblowing.
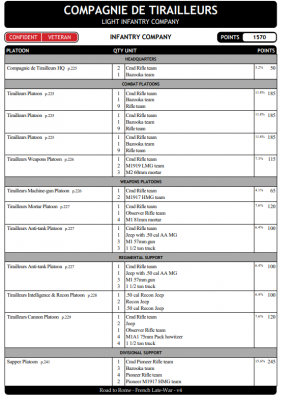
The infantry in LW is incredible. The cheap veteran infantry is very fast, very durable and good in assaults. Combined with smoke it is hard for me to imagine a lot of lists, that would not be put under severe pressure by an infantry list with lots of infantry and smoke. A list I have found to be nigh unbeatable is my french Triallieurs.
This is rather intense. With the list as an attacker, with 57mms, bazookas/sappers for tank lists, it is flexible and dangerous enough to handle most lists it comes up against. In my game I wanted to try something new, something funny instead. I find the Borgwards crazy-fun and something that is worth testing in V4 LW while I can. I look very much forward to the new LW, as I’m sure it will be just as fun and challenging as the MW has proven to be.
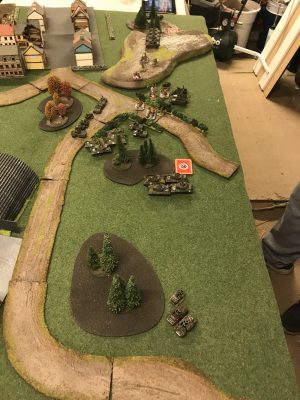
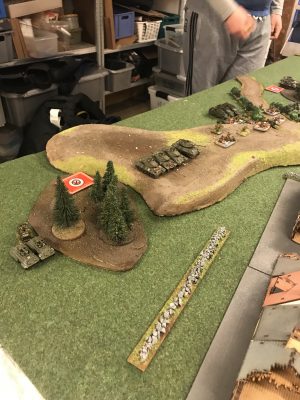
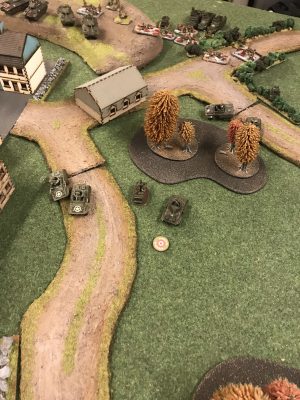
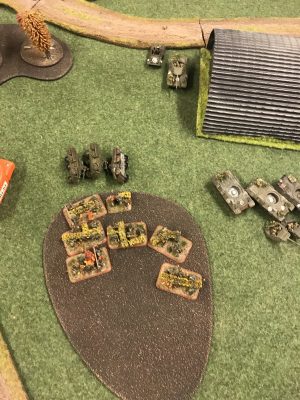
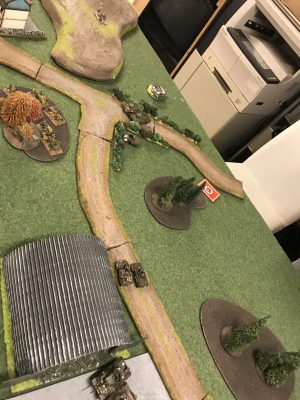
The table
As always I expect my friend to field a nice looking table. This time was no exception.
It was a table with a storyline, where the intersection, the hill, and the village all can be things to “play for”. There was no doubt in my mind, that if I were to get an objective in the city, that would be a huge advantage to me, as he only had one infantry platoon and no artillery.
The Game
We ended up playing Free For All. Not the most exiting mission for me, but it would prove to be a fun challenge, however. As always a Meeting Engagement like this depends a lot on who attacks first or who makes the first major mistake.
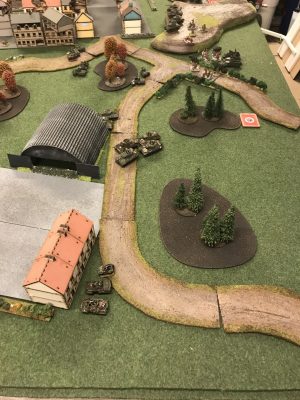
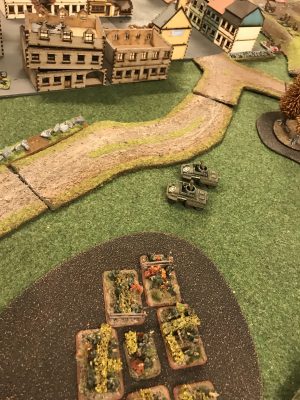
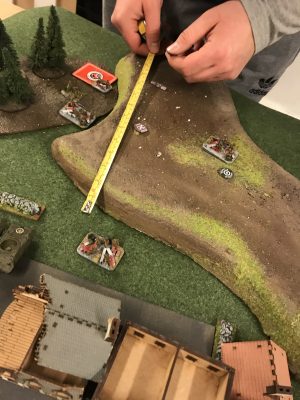
After the deployment, he had the first turn. His list is an attack list, and I was happy to see him advancing towards me. He had deployed his ARP in the middle, while spreading his M10s and recon choices all across the line.
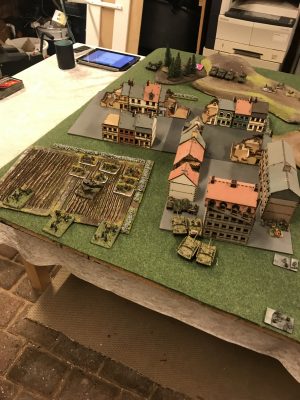
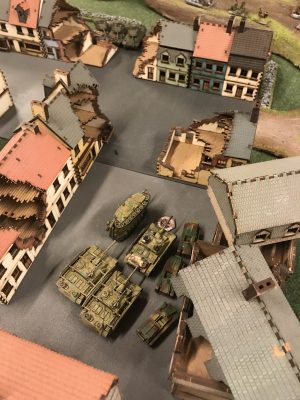
I thought it was a fine choice by him, as he could change his focus by making a dash or two, and then I would be facing his primary force where it hurts. I wanted him to stay out of the city, so I had placed my PaK40s and one infantry platoon at the airfield and the StuGs in the city area with an infantry unit. I also had one infantry unit in the middle to try and spook him away from using the middle to launch his attacks.
Turn 1
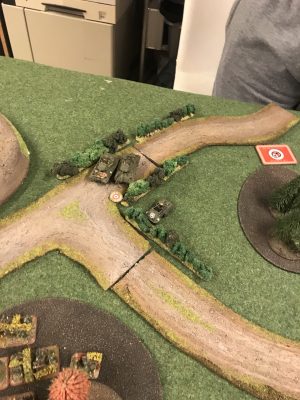
He went aggressively after my PAK corner and the middle. In retrospect, he might have had more luck, if he had gone after the PAK corner alone, by dashing out of sight/reach from my infantry to that corner.
In my first turn, I managed to take out two jeeps and move up my HMG platoon to a building and an infantry platoon from my artillery corner into buildings in front of them. I wanted to prevent him from getting too close to my nebelwerfers while they were shooting at his infantry with my mortars. I saw that as being one of the most significant problems for my Stug/infantry advance on that flank.

Turn 2
He continues his advance and manages to take out a Stug and one mortar. Those.50 cals are AWESOME with ROF3 after moving. When they changed it in MW it really became clear to me how awesome they are in LW.
I decided to move aggressively towards his forces since they had come so close to my forces. I unpinned my PAKs and between them and my StuGs I took out four M10s and a Jeep. That resulted in a Recon section that found the fire too intensive. and ran off.
I launched two assaults. The first, in the middle near my mortars, was with my HQ (smoked one of them first with direct smoke). The second near my Nebels where his M10s were standing. I had taken out two of them, and managed to get my platoon commanders in contact both places. My opponent rolled 6’s on both occasions, and then I failed my 3+ morale and ran away from the M10s.
His HQ decided to retreat from the assault and I moved my HQ into the building again (and actually forgot they were there the rest of the game).
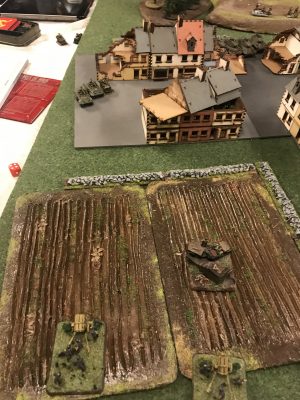
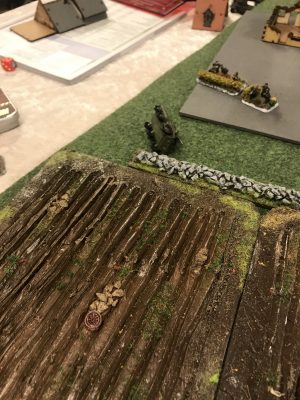
I lost an infantry team to defensive fire and I had nothing to show from it. I had also moved my center infantry out of their foxholes and up close to the front of the forest, which was a big mistake. It turned out to be a lucky choice, though, as the game unfolded.
Turn 3
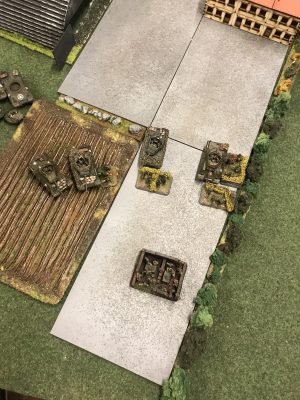
He decides to go for the infantry platoon in the middle, that left their foxholes to threaten the M10s shooting at my PAKs. As I recall it, he manages to take out one PAK team in his shooting as well as pinning them. His transports to his Sapper Platoon run away.
He shoots a LOT of .50 cal shots at my infantry, but only two teams end up dead as the dust settles. At the same time, he realizes that he has moved too close to my infantry, that now has a chance to “sneak up on tanks” in my turn.
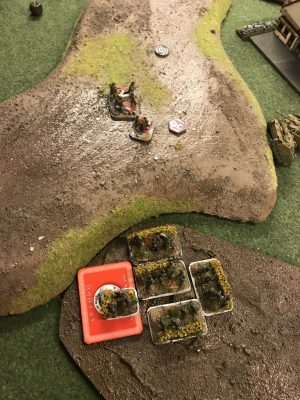
I managed to move my StuGs so they could take out a Recon Platoon, that my remaining (white base) infantry platoon were about to assault. I shot one M10 in the platoon near the forest in the middle. I assaulted his HQ and the Recon Platoon and the remaining M10. I managed to take out three M20’s and he withdrew from the combat. At the start of his turn, the M10 would run away.
Sneaking up on tanks turned the game around.
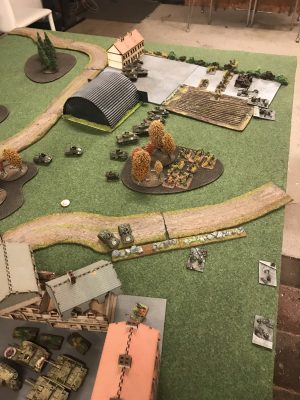
Turn 4 and the rest of the game
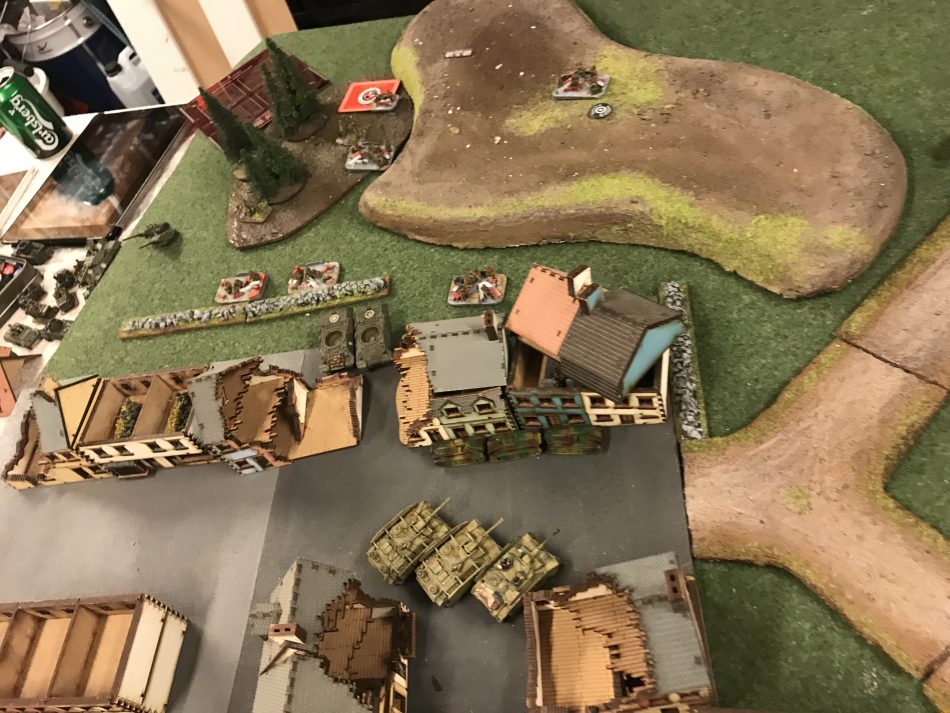
At this point, my opponent was under a lot of pressure. He took out my PAK40s, which gave him a chance to take that objective around turn 5 or 6. The infantry platoon guarding it, had only lost one team, though. He felt it would be risky assaulting them with the M10s due to their top armour of zero.
His Sapper Platoon was attempting hold the objective above the city, to defend it from my StuGs, which were hiding in the city. I had an infantry platoon that could assault that objective, and I moved my HMGs up to give supporting fire. Unfortunately, a lucky rifle shot took out one of the HMGs and in round 5 the last team ran away.
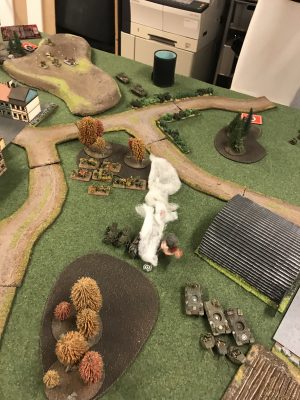
I moved forward at the middle where the other objective was. I had my infantry platoon, that had only taken a couple of casualties, dash forward covered by smoke. I wanted to stay in that forest, simply preventing him from going away from that objective. He placed two M10s and his HQ M20 behind cover, to make it harder for my StuGs to pop out and shoot him.


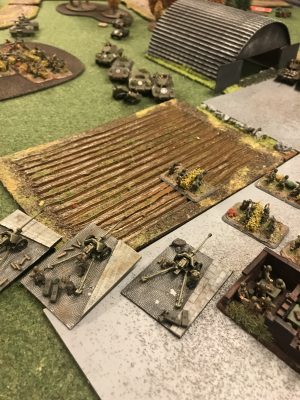
As the game was nearing the end, it became more and more obvious to him, that he had to assault with his top armor 0 M10s, as shooting could not take out enough infantry men at the former PAK40 objective. At the very end, just before the game ended, he made an assault, but ended up loosing two M10s and retreating, while taking out only two infantry stands.
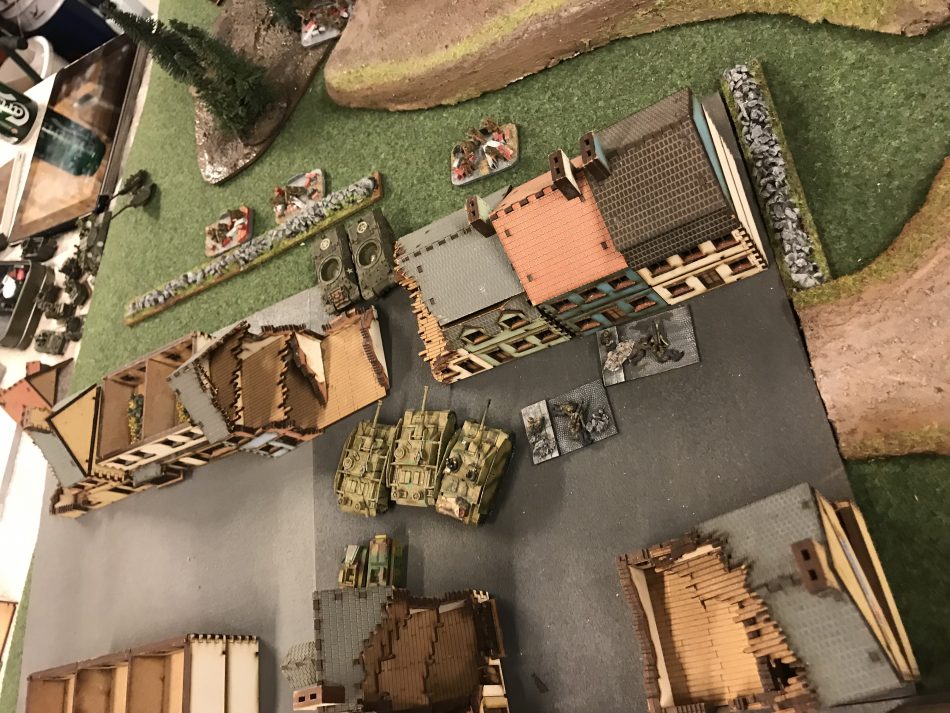
I managed to get my mortars and Nebels ranged in around the Sappers, but I did not get any kills. In the end, I assaulted him with my infantry platoon, after using a couple of Bogwards to remove his HMGs.
The PAK40 objective had an immobile infantry platoon. It did what it HAD to do, but I could have seen many interesting things happen, if I had moved them up to the building and then adding more pressure to his flank. I moved the white based platoon every turn and the center (brown) infantry platoon only a few times and the PAK infantry were immobile. To me, it felt like the PAK platoon was just sitting ducks. They shot up a jeep as one of the only things they did in the game, until the end.
The way the white infantry platoon was played made it a lot more interesting game on that side for me. A lot of things can dictate how mobile your infantry can be, one of the most obvious ones is terrain.
I had a lot of fun playing this game, and the terrain was nice and so was the company. I think this is one of my main reasons for playing FOW. I find it to be an entertaining game. I look very much forward to seeing how the game will evolve when the new books arrive.
Very nice and informative AAR. Were the Borgwards worth the cost (taking out the HMGs), except for the fun aspect?
Hi and thank you for your question.
The Borgwards were literally the reason why the assault went through. I find them very much cost effective, as I would otherwise have been forced to focus my fire on the HMGs from my Stugs or artillery and be patient and see when they died. In this case, it made it possible for me to (potentially) completely dictate when I wanted to assault.
I dont think they are very good vs tanks. Just a gimmick.