Painting and Modelling Canadian M113 Family Part Deux
By Robert Kelly
My first article talked about the correct way. Well, the M113 was just the platform for a whole family of vehicles, some of which can be found in Team Yankee, ‘Nam and Fate of a Nation.
In Bosnia, we mounted American style ACAV (Armoured Cavalry Assault Vehicle) shields on our M113s. The shields originally came in green and most were eventually painted white. We were always a bit of a ragtag army, so you can paint them either way or even mix them up within formations. The vehicle is then painted all white and I added the letters “U” and “N” that were leftover from my TL Modellbau decal sets mentioned in the previous M113 article.
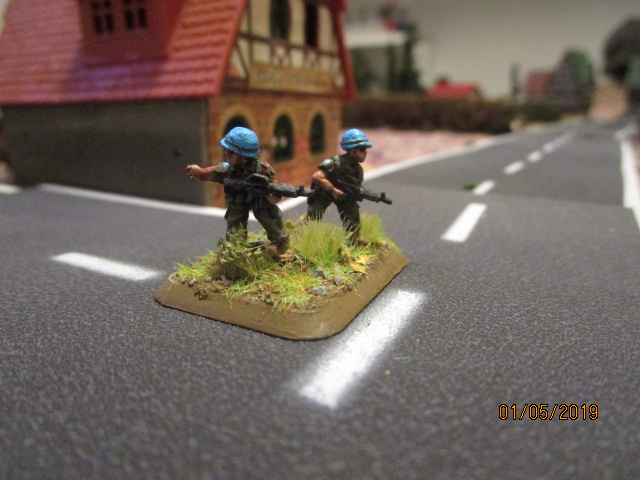
You still add the license plates and Canadian flags, but leave out the nice black maple leaf and the call signs which are much, much smaller. Don’t forget to paint the berets, hats or helmets light blue. And you only have to paint one Canadian flag on your troops as the UN badge was worn instead on the right shoulder. For now I did one vehicle up as an objective marker. Unfortunately I don’t have the external fuel tanks at the rear to make it the correct version of the M113.

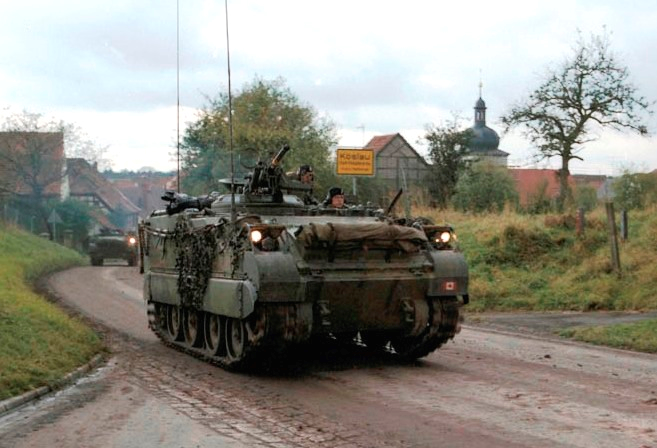
This M113 looks very warlike for a peacekeeping vehicle. When we agreed to send a battalion to Bosnia and then to secure the Sarajevo airport, the UN requested that we send a light truck borne battalion. We brought M113s. We then asked to bring mortars. The UN said we could only bring illuminating ammunition for the mortars.
We cheated and brought high explosive rounds as well. We then asked to bring our TOW under armour vehicles. The UN said no. We said we only needed them for the excellent optics on the launchers. The UN said OK, but no missiles. We cheated and brought missiles. All this armour and heavy weapons came in very handy.
I think this would make a really neat army, so I made up a couple of test models.

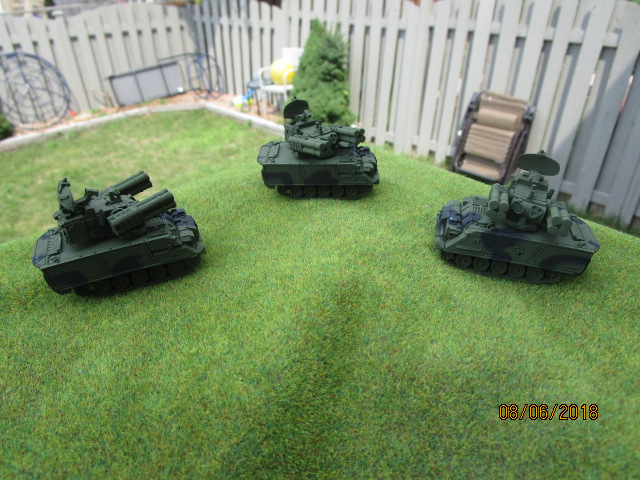
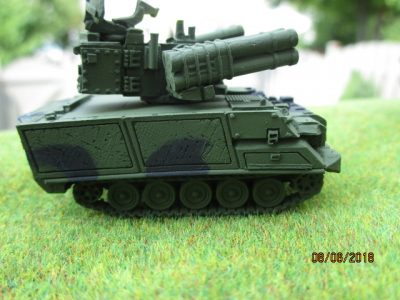
The Lynx was a unique Canadian reconnaissance vehicle that was (also known as the M113 ½) much more successful than the American M114. The Dutch vehicle was similar but had a different crew layout and a much more powerful main armament. There was a reconnaissance squadron at brigade level and each infantry platoon had a platoon of them.
The cam pattern is similar to the M113, but not exactly the same. Note that all the road wheels are painted in black.
This is a nice kit with nice details. I had problems putting the metal mudguards onto the resin hull, but I always seem to have that problem. I didn’t like the detail on the observer’s C5 GPMG, so I swapped it out for one from my Stuart/Honey sprue. Unfortunately, only the commander’s hatch is operational as I would love to build this one with all three crewmen sticking their head out of their hatches. Perhaps I’ll fix that on a subsequent model.
Applying decals is similar to the M113, but you usually didn’t find the license plate on the trim vane. Most of the time only the rear one would be visible. My large call sign decals are really noticeable on the much smaller Lynx, but I can live with it for now. The olive green on this model is a bit dark. I should have put more yellow in the mix, but both greens tended to look as one after a while in the field anyways. The black maple leaves are in the correct position as are the call signs (though they are a bit large – at least they are easy to see).

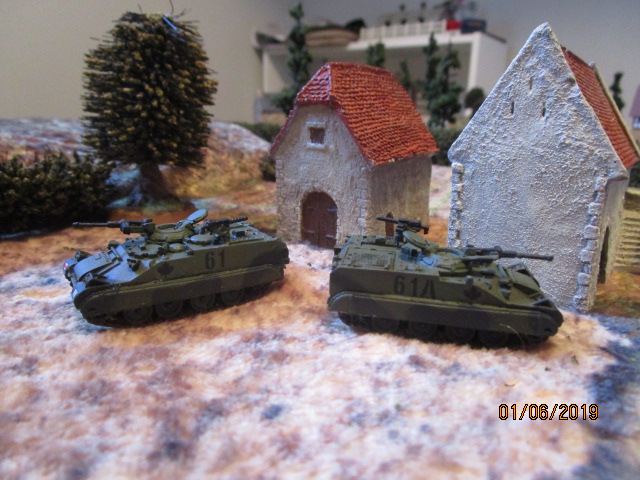
To paint up a Germany based Lynx, just reverse the two greens.

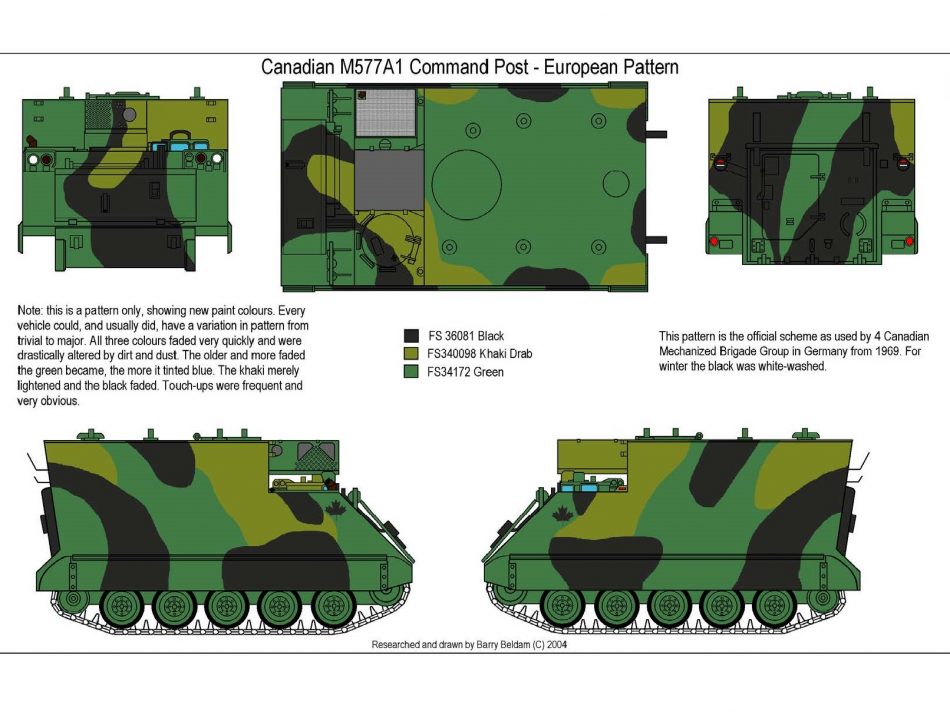
The M577 Command Post vehicle was also known as the “Queen Mary” in Canadian service. Much like the Lynx, the M577 pattern is close to the M113 but a little different. Decals would go on the same as the M113, but as this vehicle is usually found at battalion HQ level and above, the call signs would be a bit different.
I would use call signs like O (zero A or B) to show a battalion HQ. They were used in artillery batteries, but we don’t need them for the game. If you are like me and wanted to do the models anyways, I’d use 1A or 1B call signs. For some reason, this model doesn’t seem to be available form BF any more (it was part of the ‘Nam range), but if you are lucky you might find some used ones out there or as an objective marker from the original Team Yankee boxed set.
 Its also a good vehicle for those who like to put their modelling skills to use adding administration boxes, the penthouse tent or spare jerry cans for the generator.


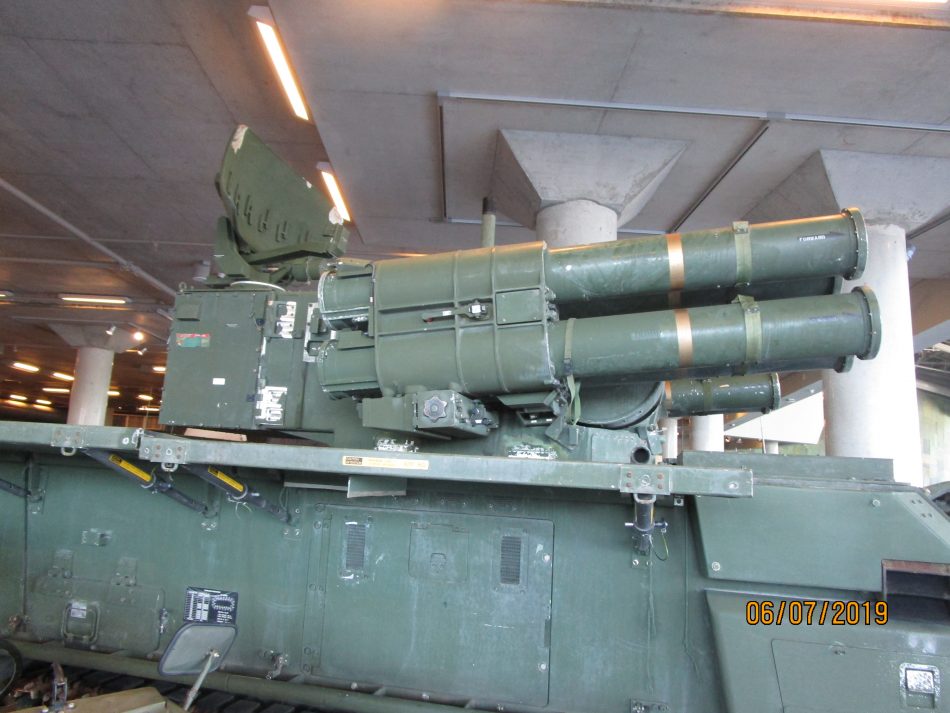
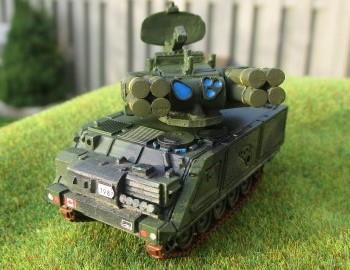
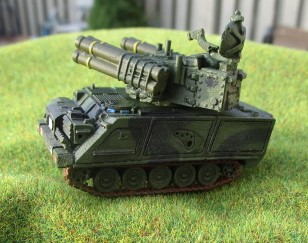
ADATS (Air Defence Anti Tank System). This is a really nice looking kit and it didn’t take long to put it together. They did a great job of capturing the details on the vehicle. I always seem to have trouble assembling metal and resin kits, so I did my old standby of using green stuff to hold it all together and then added some super glue when the green stuff had dried. This seems to have kept all the pieces from falling off in the heat of battle. I also added magnets to keep the turret in place as the balance is a bit off and it doesn’t always sit straight.
At first glance (and if you saw what Battlefront did) you might think that the cam pattern is the same as the M113, but you would be incorrect. The turret is done in Nato Green and the hull is a three colour pattern of two colours that are very close to Nato Green and Nato black. After a quick drive in the training area, the two greens became almost the same and since we are working in such a small scale I just painted the whole thing in Nato green with some Nato black. See the pattern below.

As you’ll see the black bits are close to the M113 but not totally. The missile tubes are done in an olive drab and I used my recipe from the M113 of 4 parts Tamiya 60 and 1 part Tamiya 62. Then keep adding more Tamiya 62 until you like the colour. Check out the freshly painted Lynx in my previous article to see what this looks like. To make this a quick and easy paint job, spray the model in Tamiya Nato black (either airbrush or from a can). Then blue tac the black areas and spray the whole model Nato green (again airbrush or a Tamiya spray can).

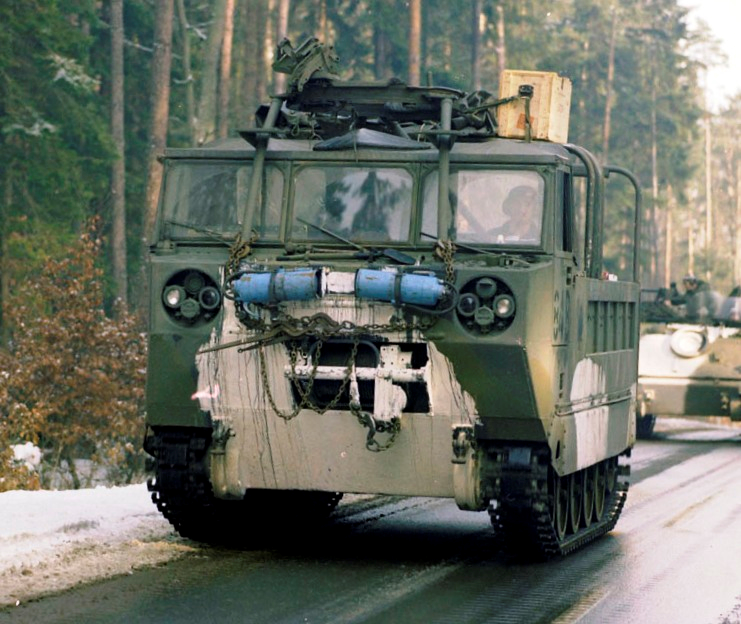
I only mention the M548 because I want some. Each M109 had an M548 attached to it to haul ammunition and I feel that my battery is not complete without them. Each infantry company also had one as an ammo carrier and the armoured squadrons had a bunch in their echelons to carry tank ammo.
The photo below shows one in the winter pattern. Simply add white to the areas that are painted black and you are good to go.
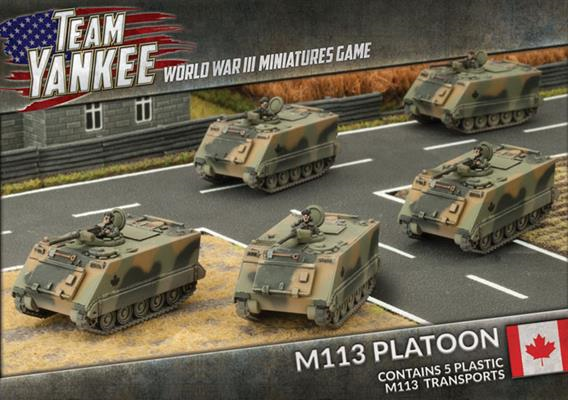
I’d like to finish up by looking at the Canadian M113 box set. The M113 sprues are the same as the US and German ones and are of the usual Battlefront high quality. But it’s the Canadian only items that make it special. I wasn’t impressed with the decals and will continued with my TL Modelbau ones. Though I did used the black maple leafs on the ADATS as they were a bit smaller than the German made ones.
 The TOW launchers and gunners were excellent and fit perfectly into the back hatch. I also like the quality of the Blowpipe gunners. I don’t plan on using the Blowpipes mounted on M113s as I find they are a bit pricey points wise, but I added the odd figure into my infantry platoons to mix it up a bit and to add interest. For crew commanders I will continue to use West German tank commanders with berets. You can also use the US tank commanders with AFV helmets if you wish.
This is an interesting photo. It shows an M113 with a pedestal mounted TOW missile. Notice that the soldiers are wearing different types of US helmet covers. One is wearing the Vietnam pattern and the other is wearing woodland pattern. This was very common. Also, note the dismounted 50 cal machine gun. This was quite common in the defence. They must have been expecting some action as they also have a Carl Gustav deployed as well. I’m sure they are very warm in their NBCW “Bunny Suits”.
 You can pretty much make an entire army just with the M113 family of vehicles. You’ve got anti-tank weapons, infantry carriers, reconnaissance vehicles, a template weapon in mortars and air defence with ADATS and Blowpipe. Just add some tanks (either Canadian or allied) and some aircraft and you are good to go.

Articles on the Canadian Leopard 1 tanks and the M109 will be forthcoming. I am also putting together an article on building the unique Canadian Armoured Vehicle General Purpose (AVGP) Cougar and Grizzly.
Rag tag army????…speak for yourself gunner…….not my Regiment !!!! 🙂
Good article nonetheless.
Luggs
I can provide lots of photos of patch work paint jobs on Canadians vehicles. Unlike the Germans who always seem to re-paint their vehicles before every exercise.
Where was this article when I painted my 31 Canadian M-113s?
Part One was published over a year ago.
Yeah Rob, I’m copying you. But I’ll be making the Warrior AFVs that I see in some of the Bosnia Pictures. If they have a doubles Team Yankee Tourney, want to make a UN joint Team? I promise to limit your equipment and generate a confusing Rules of Engagement for us. I also promise to pay for your beer for the day.
I’d need lots of notice to paint up a new army, but I’m in. I don’t drink, so its a good deal for you.