Team Yankee Soviet vs French-British BatRep
 By Tom Gall
Chuck and I got together at D6 Games in Rochester Mn this past week to pit our forces against each other using the new v2 Team Yankee rules by Battlefront. We decided to play a 115-point match which is the point level that has been set as a suggestion for tournaments to use for 2020.

For a table, we set up something part urban and part somewhat open country with a few trees, fields and terrain about. We had two hills at opposite corners and then one in the middle. We ruled that the one in the middle was just a normal hill, nothing special about it.
For my Soviet force I kept to my usual BMP mech formation, with one BMP1 company, one BMP2 company, 4 Shilkas, 4 Gophers, 4 BRDM-2s, 4 T-64s, 5-T62, 3 Storms, 3 Acacias, 3 Hail Rocket trucks, observer, and last but not least 4 Hinds. I didn’t spring for the Gremlin upgrades on the infantry tho I think they are solid buys. I did spring for the missile upgrades on both of the tanks companies, tho neither one ended up firing a single missile.
Chuck choose Attack and I choose Maneuver and with the die roll, we were on the Contact mission from the battle plan with me as the defender. I took the side to the right in the picture above. I figured with the buildings that would give me a good opportunity to push forward and keep Chuck from being too effective on this side without clearing the buildings.
In retrospect, I should have taken attack tho I wanted to avoid a meeting engagement just to do something different.

On my left flank for the initial setup, I keep as much as I could out of the line of sight to keep the turn one missile barrage to a minimum. I put all my tanks and the Hinds as reserves.
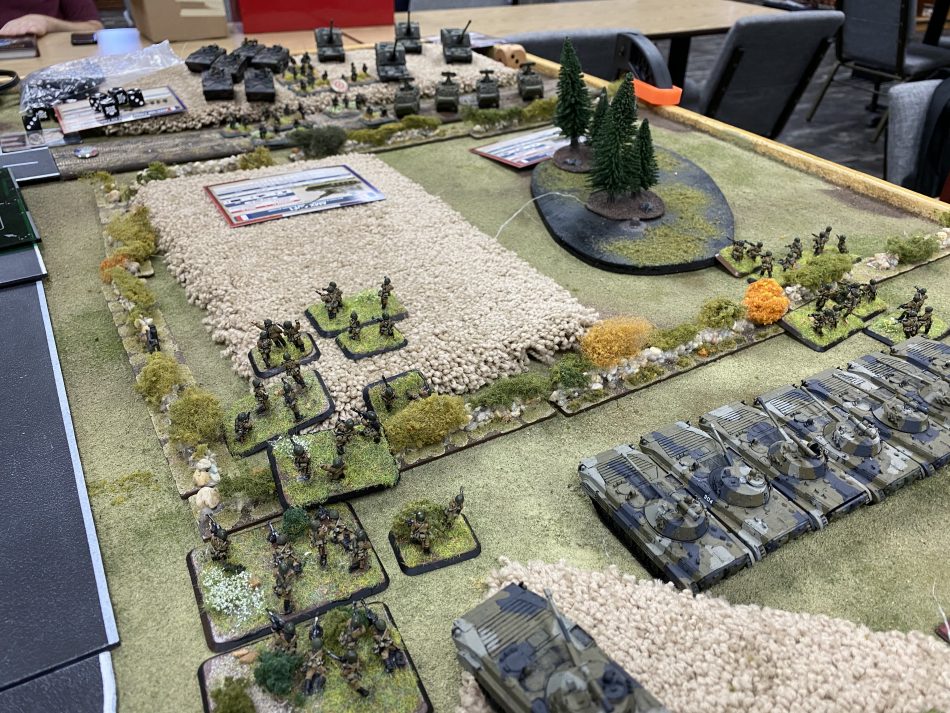
Chuck sported a Chieftain formation and then French as his primary force with plenty of infantry, AMX-30 armor and of course the French artillery with their autoloaders.
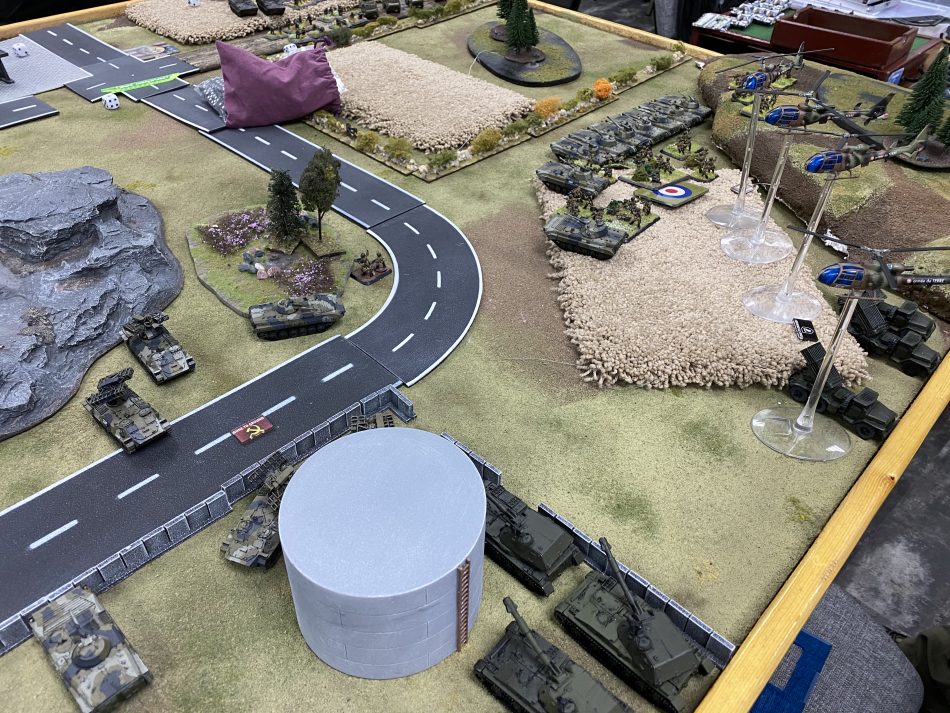
Off on the right flank my BMP-2 horde, the Hails behind them, the Acacias and Gophers to provide air cover. I kept my Storms off in ambush, as the tanks would come on, they’d need to provide a turn or two of long-range sniping.
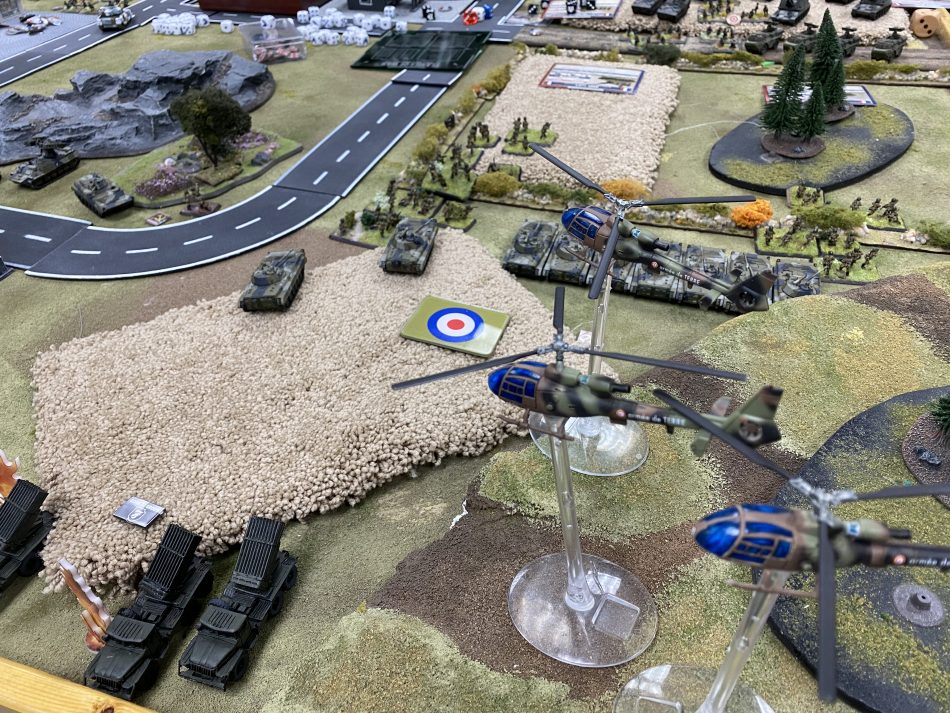
Straight off of the gate on turn one the Gazelles decided to pay me a visit looking to take out the Hails. Both Chuck and I had significantly upped the priority of going after our artillery. Any repeat bombardment is one that we didn’t want to be sitting under and with 2+ FP for many a gun that’ll take out lots of infantry pretty quick.
On Turn 1 Chuck didn’t push, he took out all but one of the Hails and thankfully they decided to stick around for my part of turn 1. The immediate decision I had to make was how much missile file did I want to sacrifice using the anti-helicopter guns on the BMP-2 or shot downrange at juicy targets. I decided to split my fire as the Gophers during Chuck’s turn didn’t accomplish anything. Thankfully this started to plink off the Gazelles. I needed them dead however they were still effective for turn 2.
I pushed my infantry horde forward in hopes I’d be able to get on the objective before Chuck’s reinforcements might crystallize.
Chuck down to 3 Gazelles but my poor rocket trucks are effectively done for the day. While my infantry was pouring forward, there was plenty of French hardware to meet them tho none of it was up against the rock/bocage like a fence so my men would enjoy bulletproof cover for the time being.
Into the next turn, Chuck managed to land his artillery onto the building on my left flank that was now full of Russian infantry, having moved there in my turn one. It went about as well as you’d expect with any miss (even tho I didn’t have to confirm saves yet) that 2+ FP roll was quite effective for Chuck.
As fate would have it, Chuck’s chieftains started to show up, which he put on the left flank. This flushed out my ambush and at the bottom of turn 2, I managed to have 2 of them bailed out. However, they would get back in and my poor storms would once again not get too much accomplished.
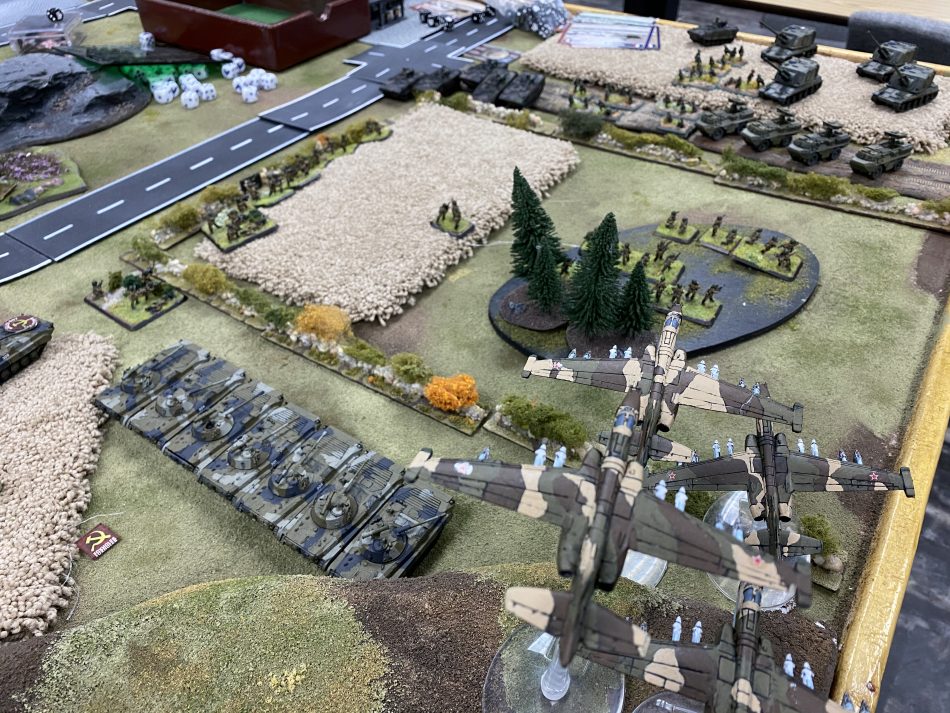
Thankfully on turn 2 my strike aircraft arrived, between the BMP2s and the SU-25s, the French artillery was completely taken out, but it took fire from both units to do so. My artillery, during Chuck’s part of turn 2 was essentially done for. he finished off the last Hail and was mauling the Acacias taking them down to 2. Any artillery fire I would conduct now needed to confirm hits. So much for artillery effectiveness!
Now the battle would turn into an APC and tank fight where the advantage was with the Chuck the attacker as I wouldn’t start rolling for reinforcements until turn 3. With my infantry on my left flank in bad shape, if I was going to win the game it would be on this right flank. Unfortunately, that meant taking out his AMX-10Ps and working on this infantry too. That sure works as long as higher priority targets don’t show up which unfortunately Chuck would over the next few turns see all his British and French tanks arrive.
With turn 3 I did make my first reinforcement roll. I brought in my Hinds to help out on the right flank. If this was to be the side I was going to win, I needed to make a bunch of progress but hinds, BMP-2s, and infantry could be enough to seal the deal.
On the good side, I’d snipped his dedicated AA. On the downside, those French tanks don’t have AA machine-guns, they have 20mm AA cannon which don’t need to reroll FP to confirm and thus take out helicopters or strike aircraft since they aren’t machine guns. Unfortunately, that was how I started to lose my Hinds. In my mind, that sure makes French armor pretty handy.

My RPG and other infantry teams were having to stay back until the APCs were taking care of. Assaulting that position was not going to be remotely successful otherwise. My RPG teams only landed one hit the entire game.
Unfortunately for me, with all the small arms fire and without the protection of bulletproof cover my poor infantry started to disappear quite quickly.
The Hinds and the BMP2 sure tried their best to take out the APCs and just off camera there are 5 more which Chuck pulled from the opposite flank since the quite over there was pretty much settled. Had I tried to assault this turn, it’d been quite a volume of fire, 2 APCs worth and 3 stands at RoF 3. 15 shots, pretty likely that something like that wouldn’t go through.
Rolling forward for turn 4, Chuck managed to get the infantry on the left flank down to 5 stands, lose one more and they’d be in bad spirits and if they flee the BMP-1s go with them. Bummer I didn’t take a picture or two of the action as it transpired on that side of the table.
On the right flank, as the last of the French tanks arrived as reinforcements their 20mm AA guns managed to take out yet another Hind, and thus two remain. Another deluge of bullets and no bulletproof cover to be had effectively settled the question on this flank as well.
Lessons Learned
In v2, artillery is now a very high priority target. Anything with autoloaders and a 2+ or 3+ FP is positively deadly and must be taken out immediately.
Air is back in vogue and as a result, you can’t have too much AA especially at higher point values. For lower point values this will be one of the areas of greatest consternation I will have, AA MGs aren’t worth much anymore so that will bring on strike aircraft and helicopters. Targets everywhere!
With 40% of your points off the table, how you structure your reinforcements will be very important. High point value units tend to be main battle tanks. If you are in a situation where you must have reinforcements optimizing it so you’re only rolling for one unit isn’t a bad idea.
Final
I’m enjoying version 2 of Team Yankee. The rules changes really have shaken things up I feel and are encouraging you to really evaluate threats on the tabletop that your force is facing. Infantry forces can be far more effectively dealt with now with artillery, OTOH, artillery when it’s the objection of your opponent’s attention can disappear quickly.
Best of luck and good hunting!
LOVE that camo on your BMPs!