Taking on the 21st Panzer – A Flames of War Late War AAR
By Tom Burgess
My good friend Ed and I were very excited to acquire last month’s release of the 21st Panzer Division expansion books/cards for the D-Day Germans in Flames of War Version 4. We both have a lot of 21st Panzer Division kit in our collections, but only Ed had any of it done. So I rolled out my new US Sheman Company so we could get in a game with the new hotness.
Mission, Forces, and Deployment
Knowing I was going to choose an attack stance for my US tank force, Ed chose a maneuver stance. We rolled up counterattack on the More Missions booklet with Ed as the defender and me attacking.
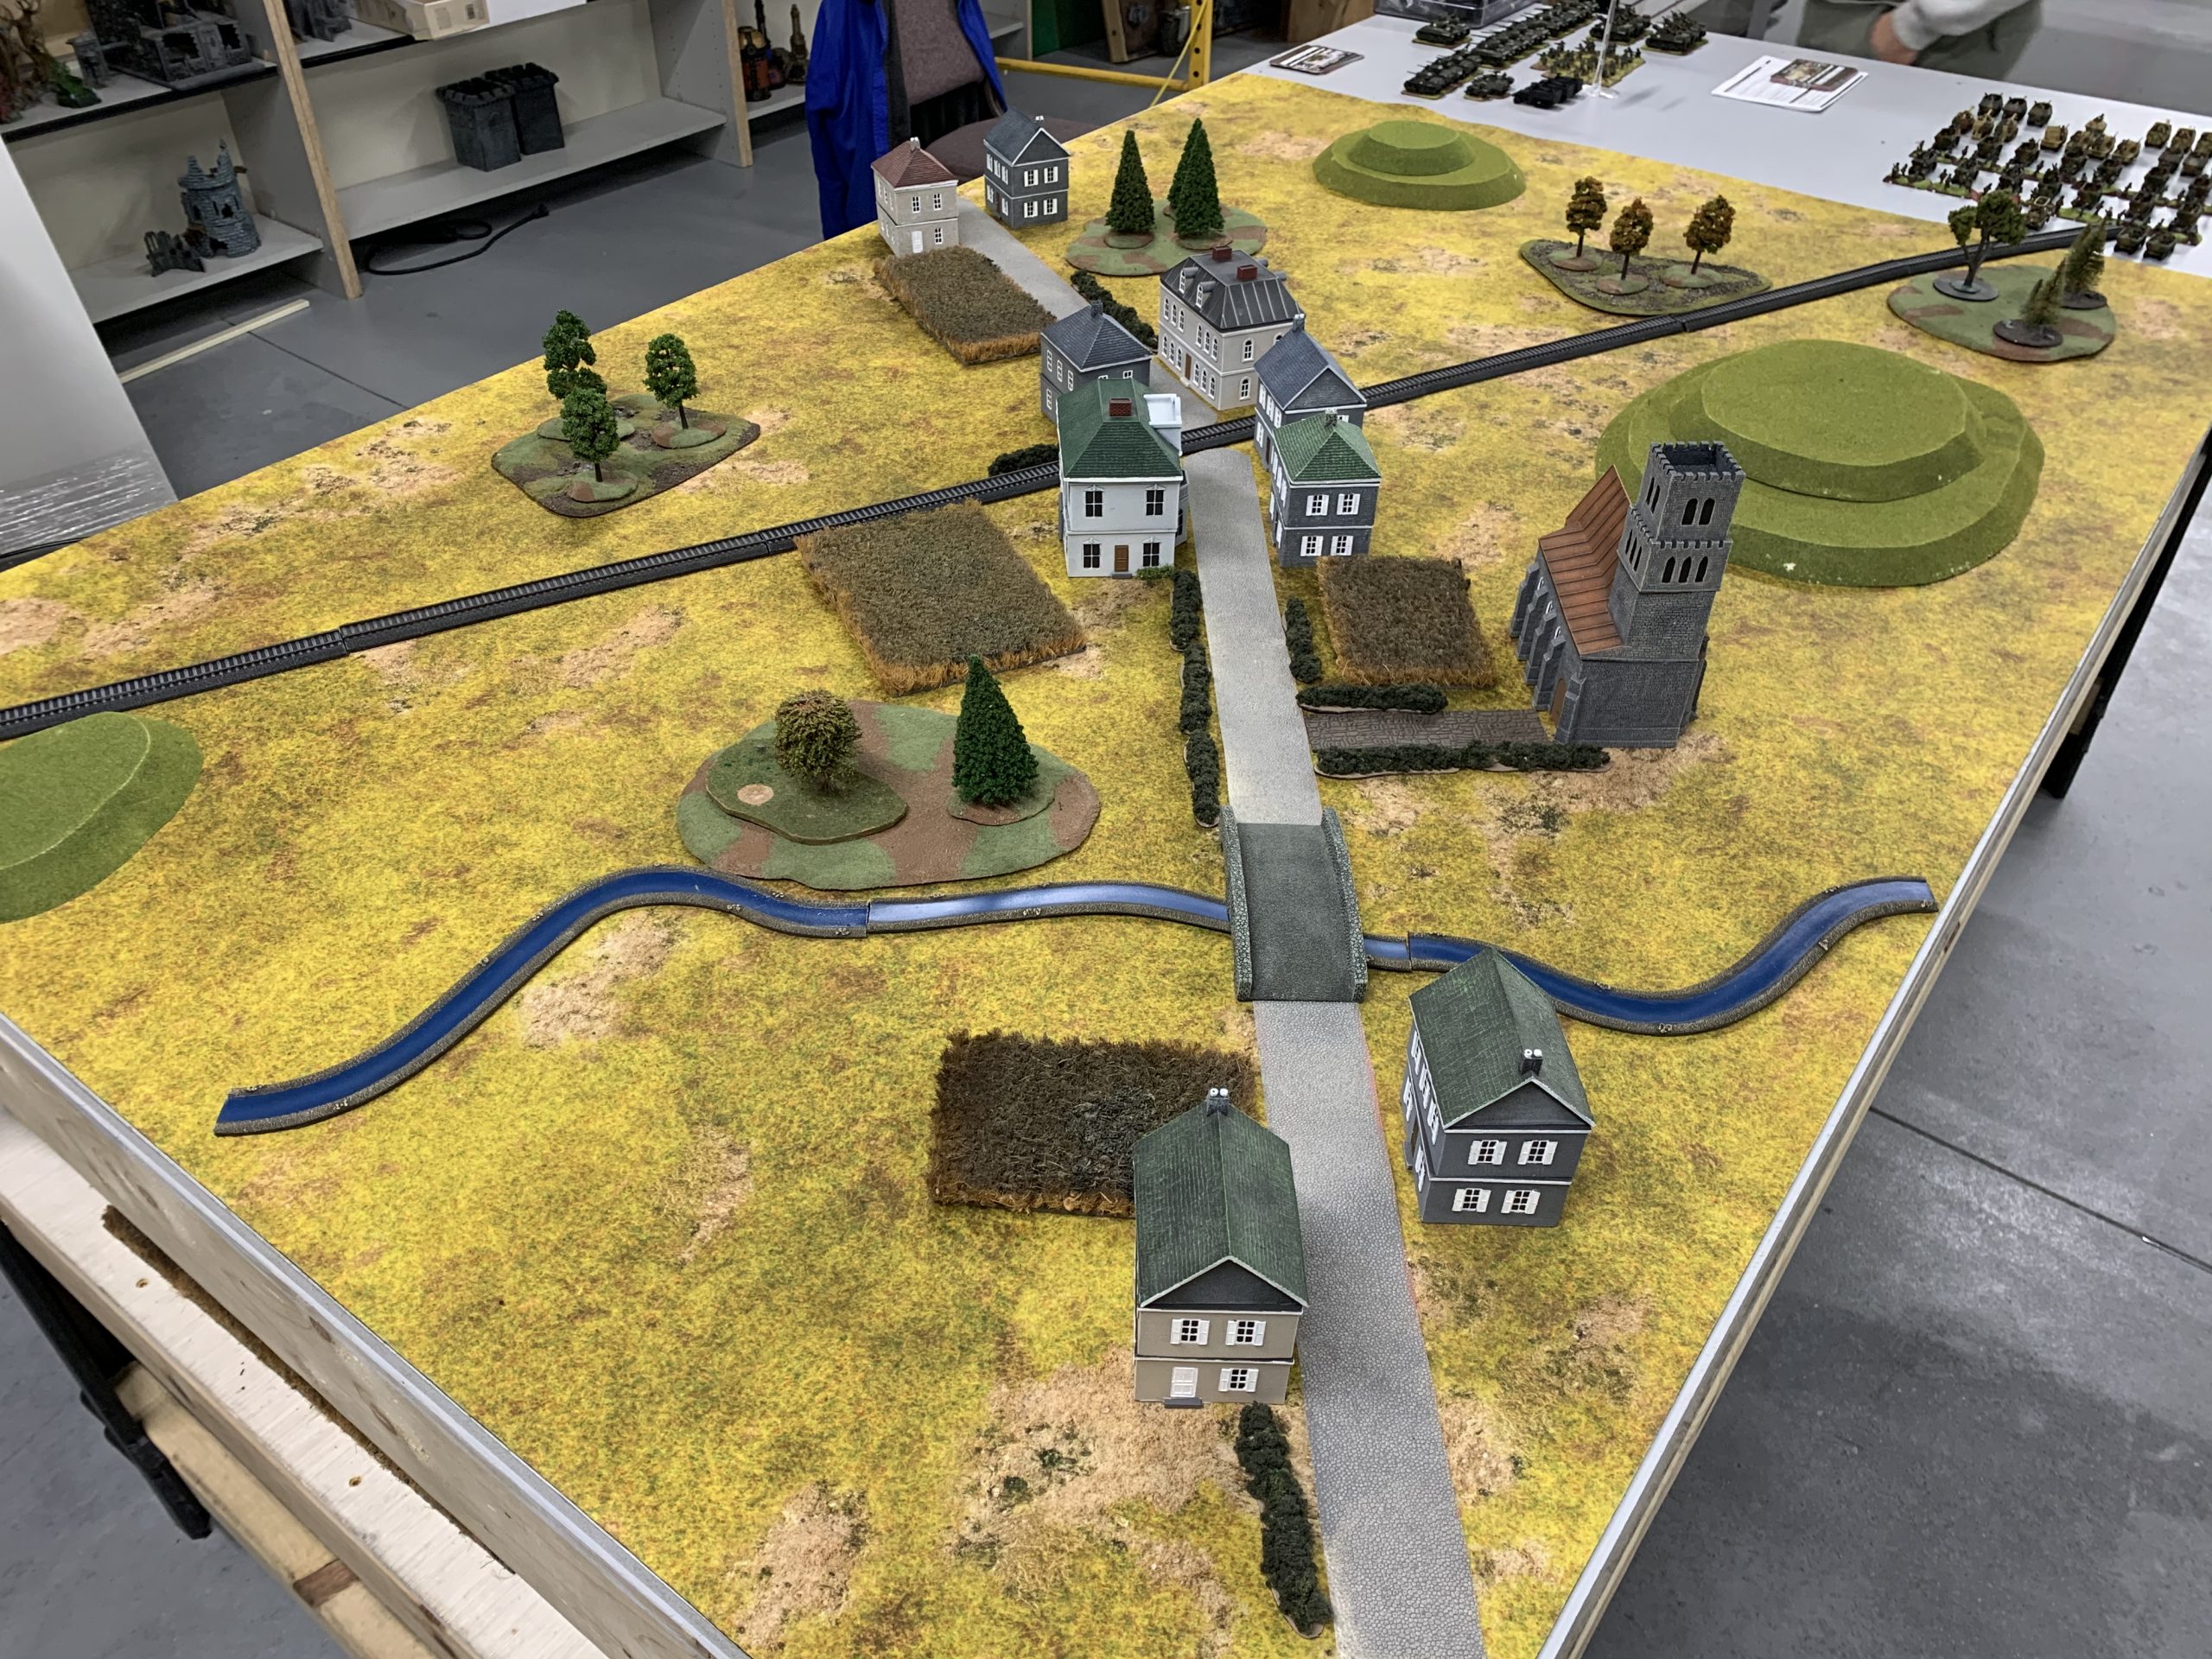
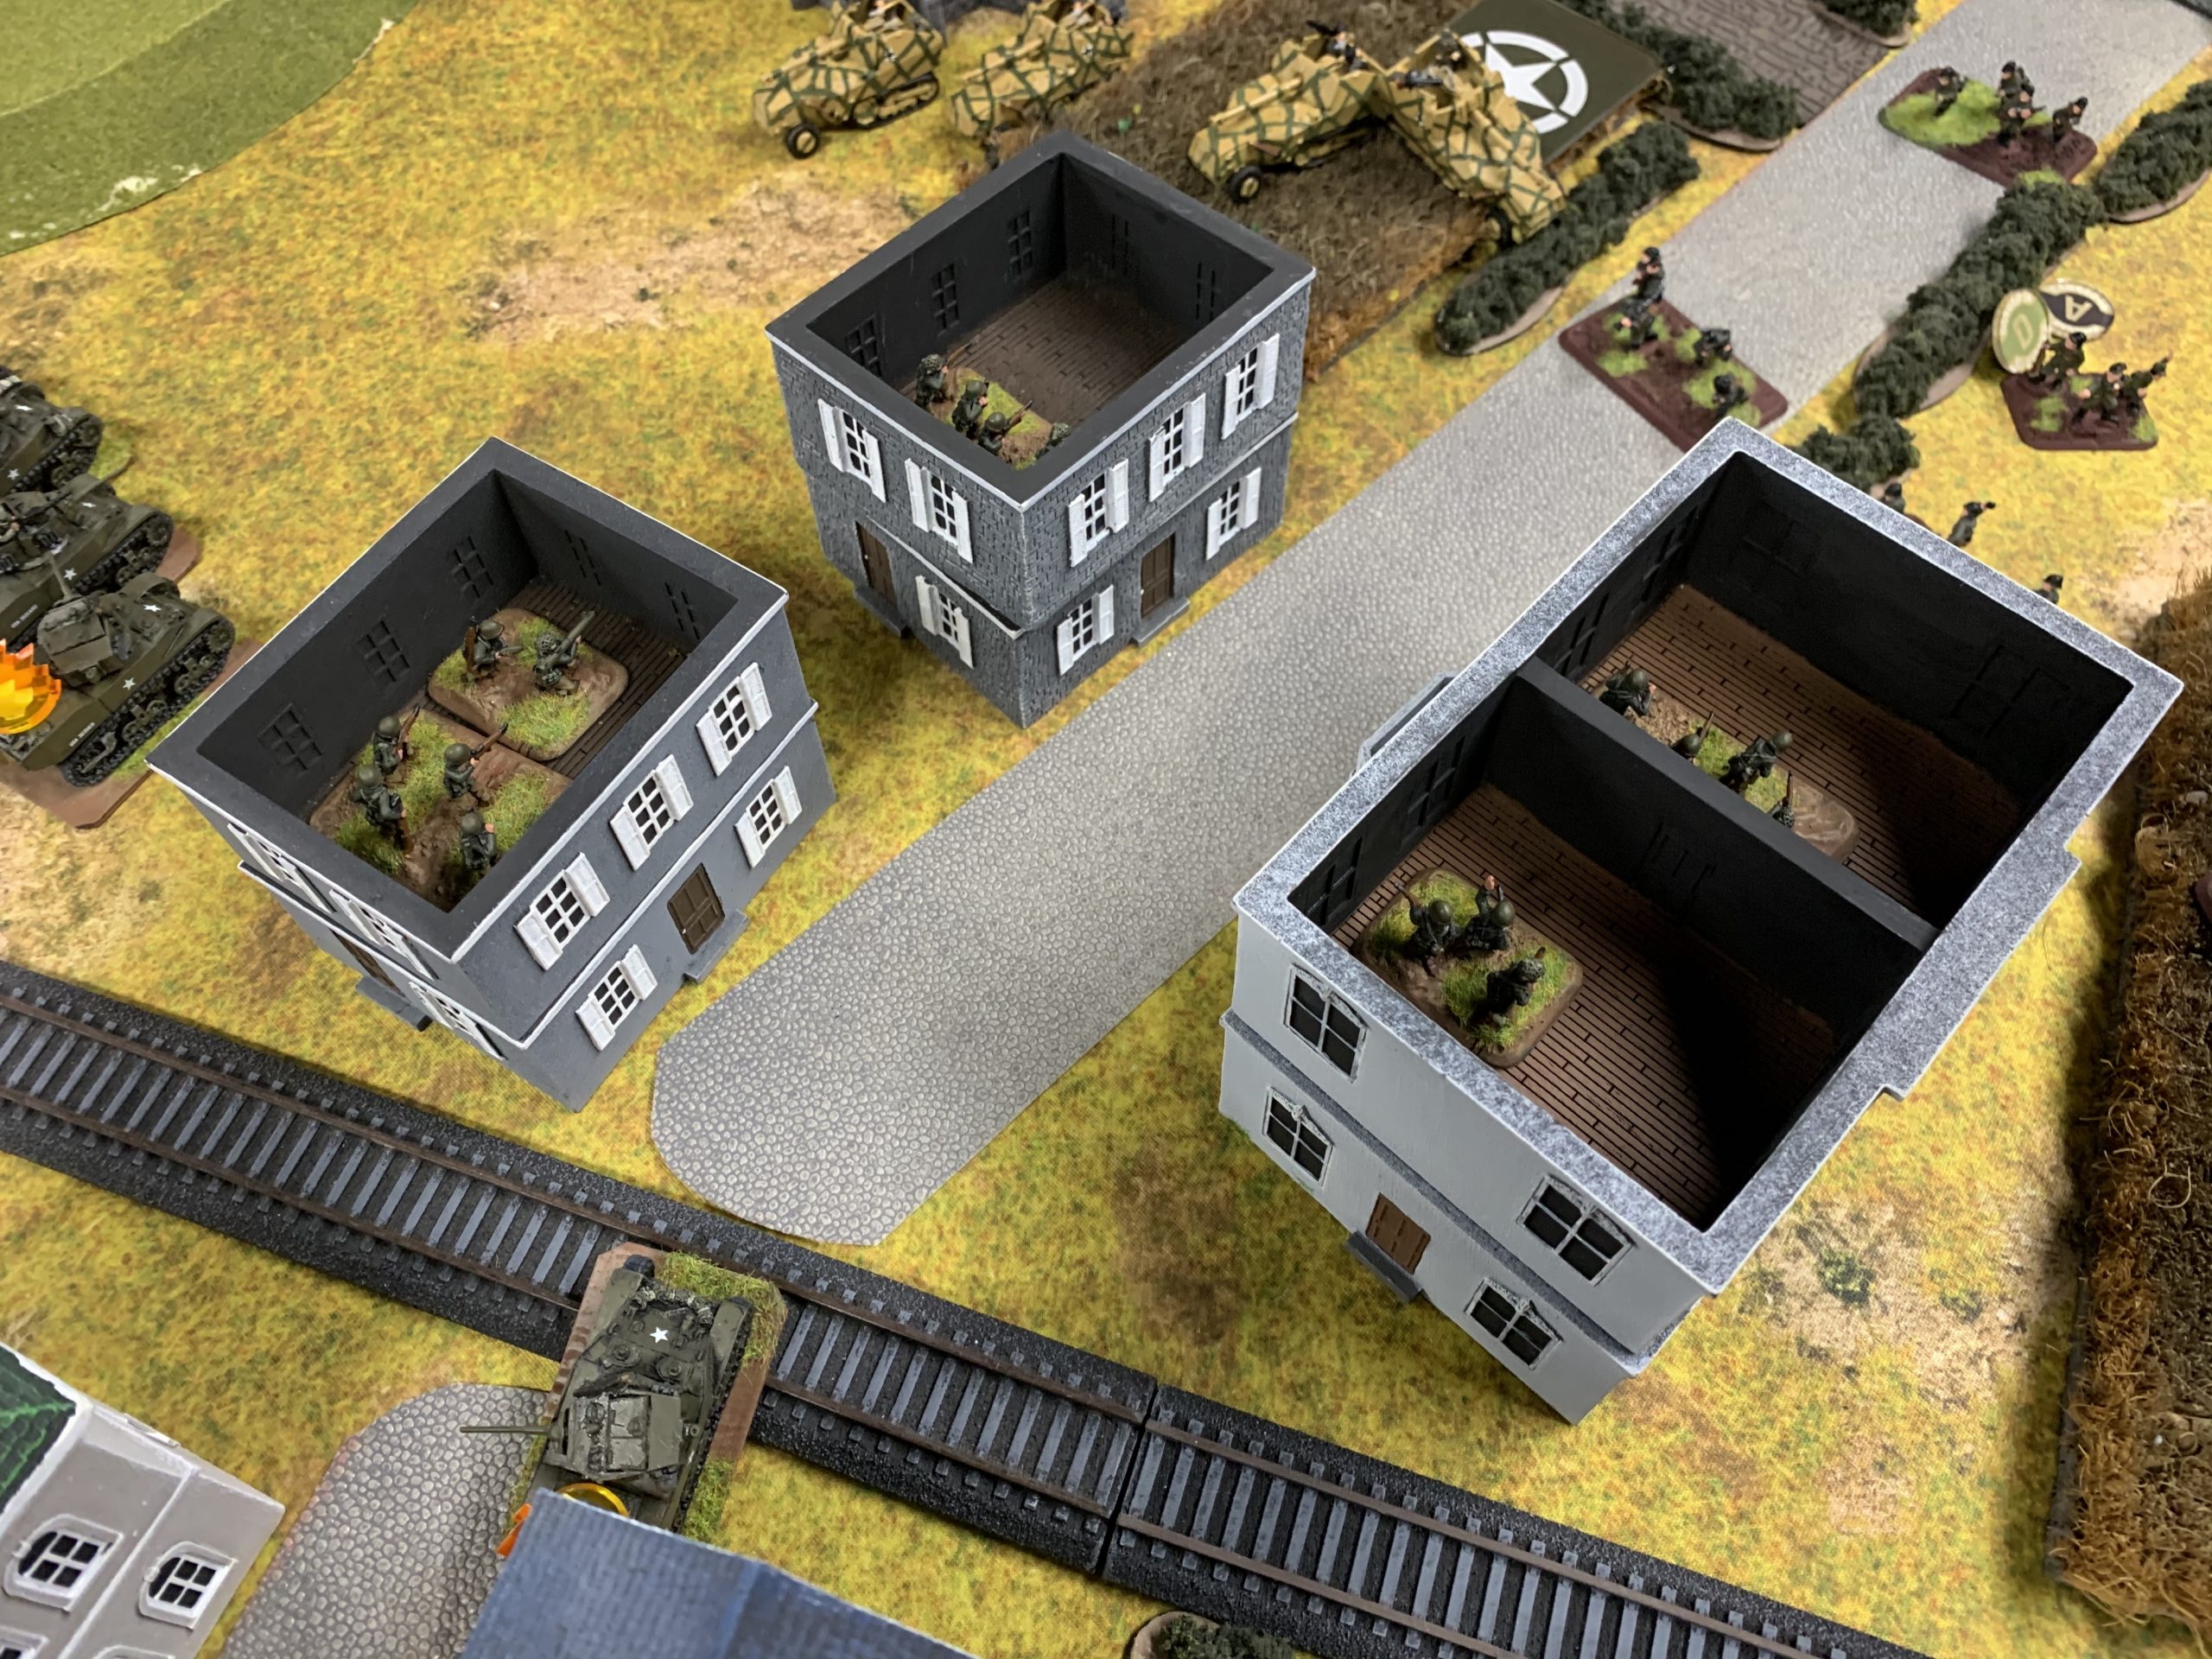
The board had a string of urban areas along a main road bisected by a rail line. Wheat fields, open hills and small woods were distributed across the battlefield.
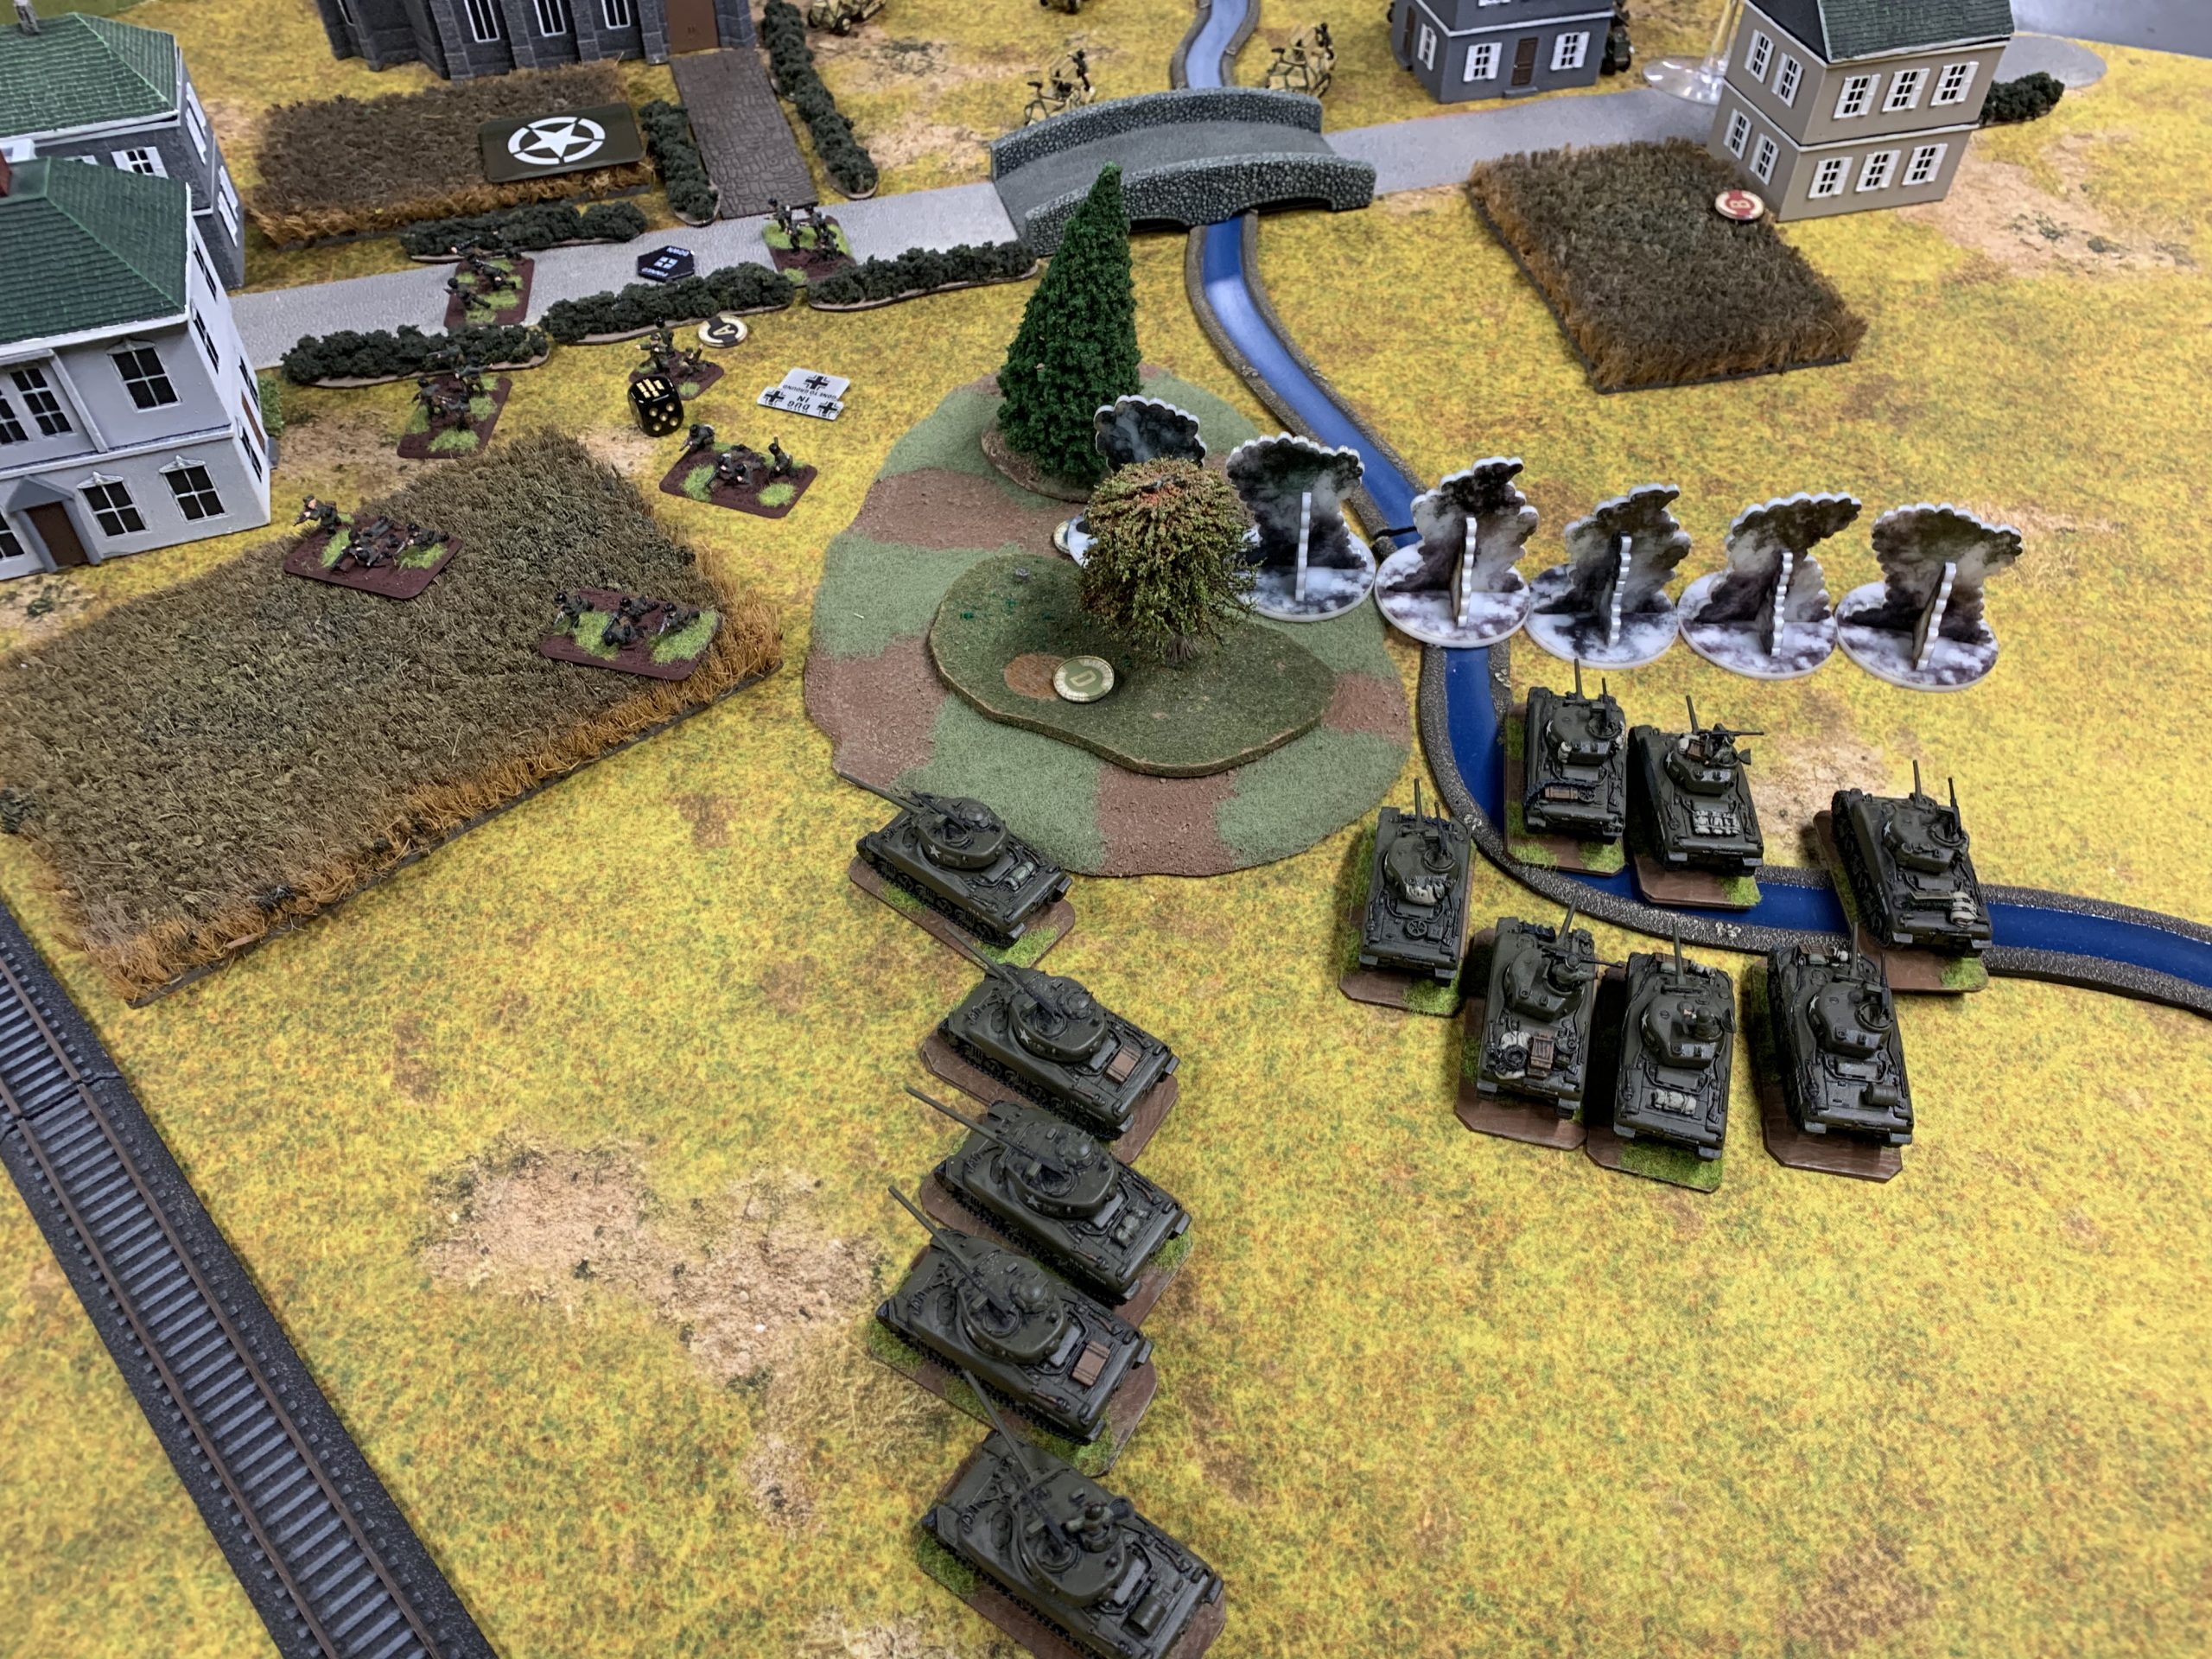
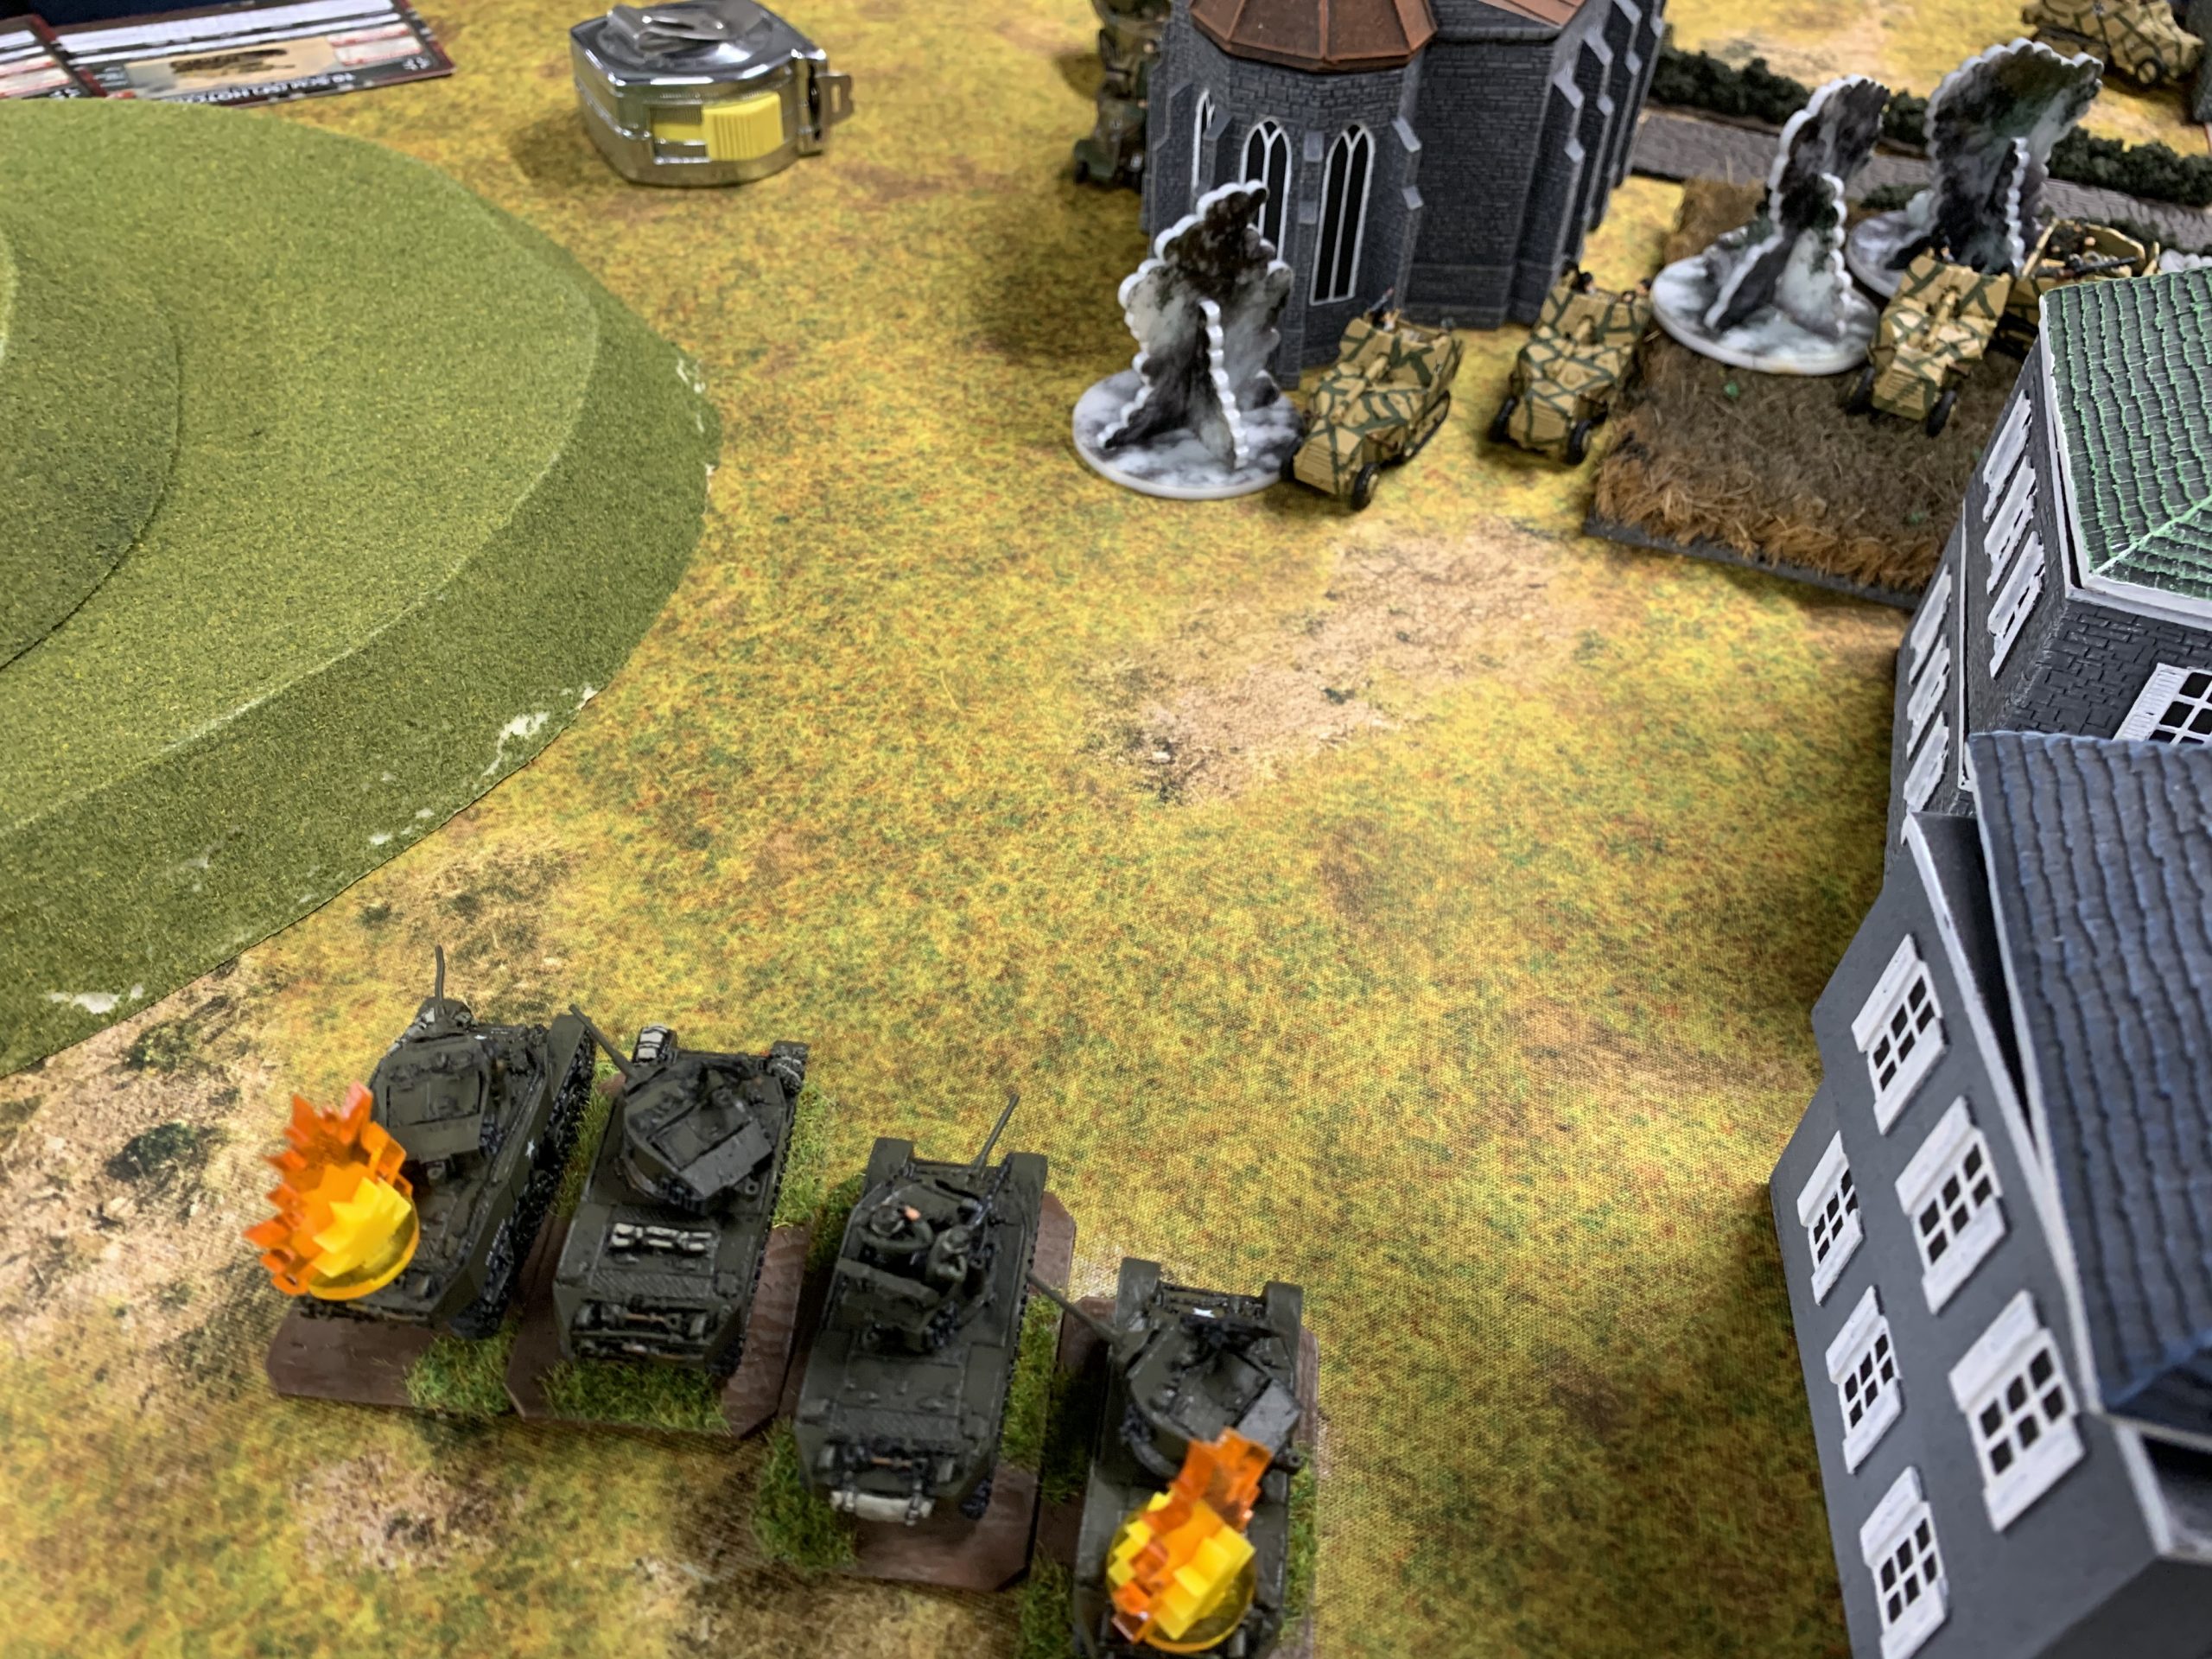
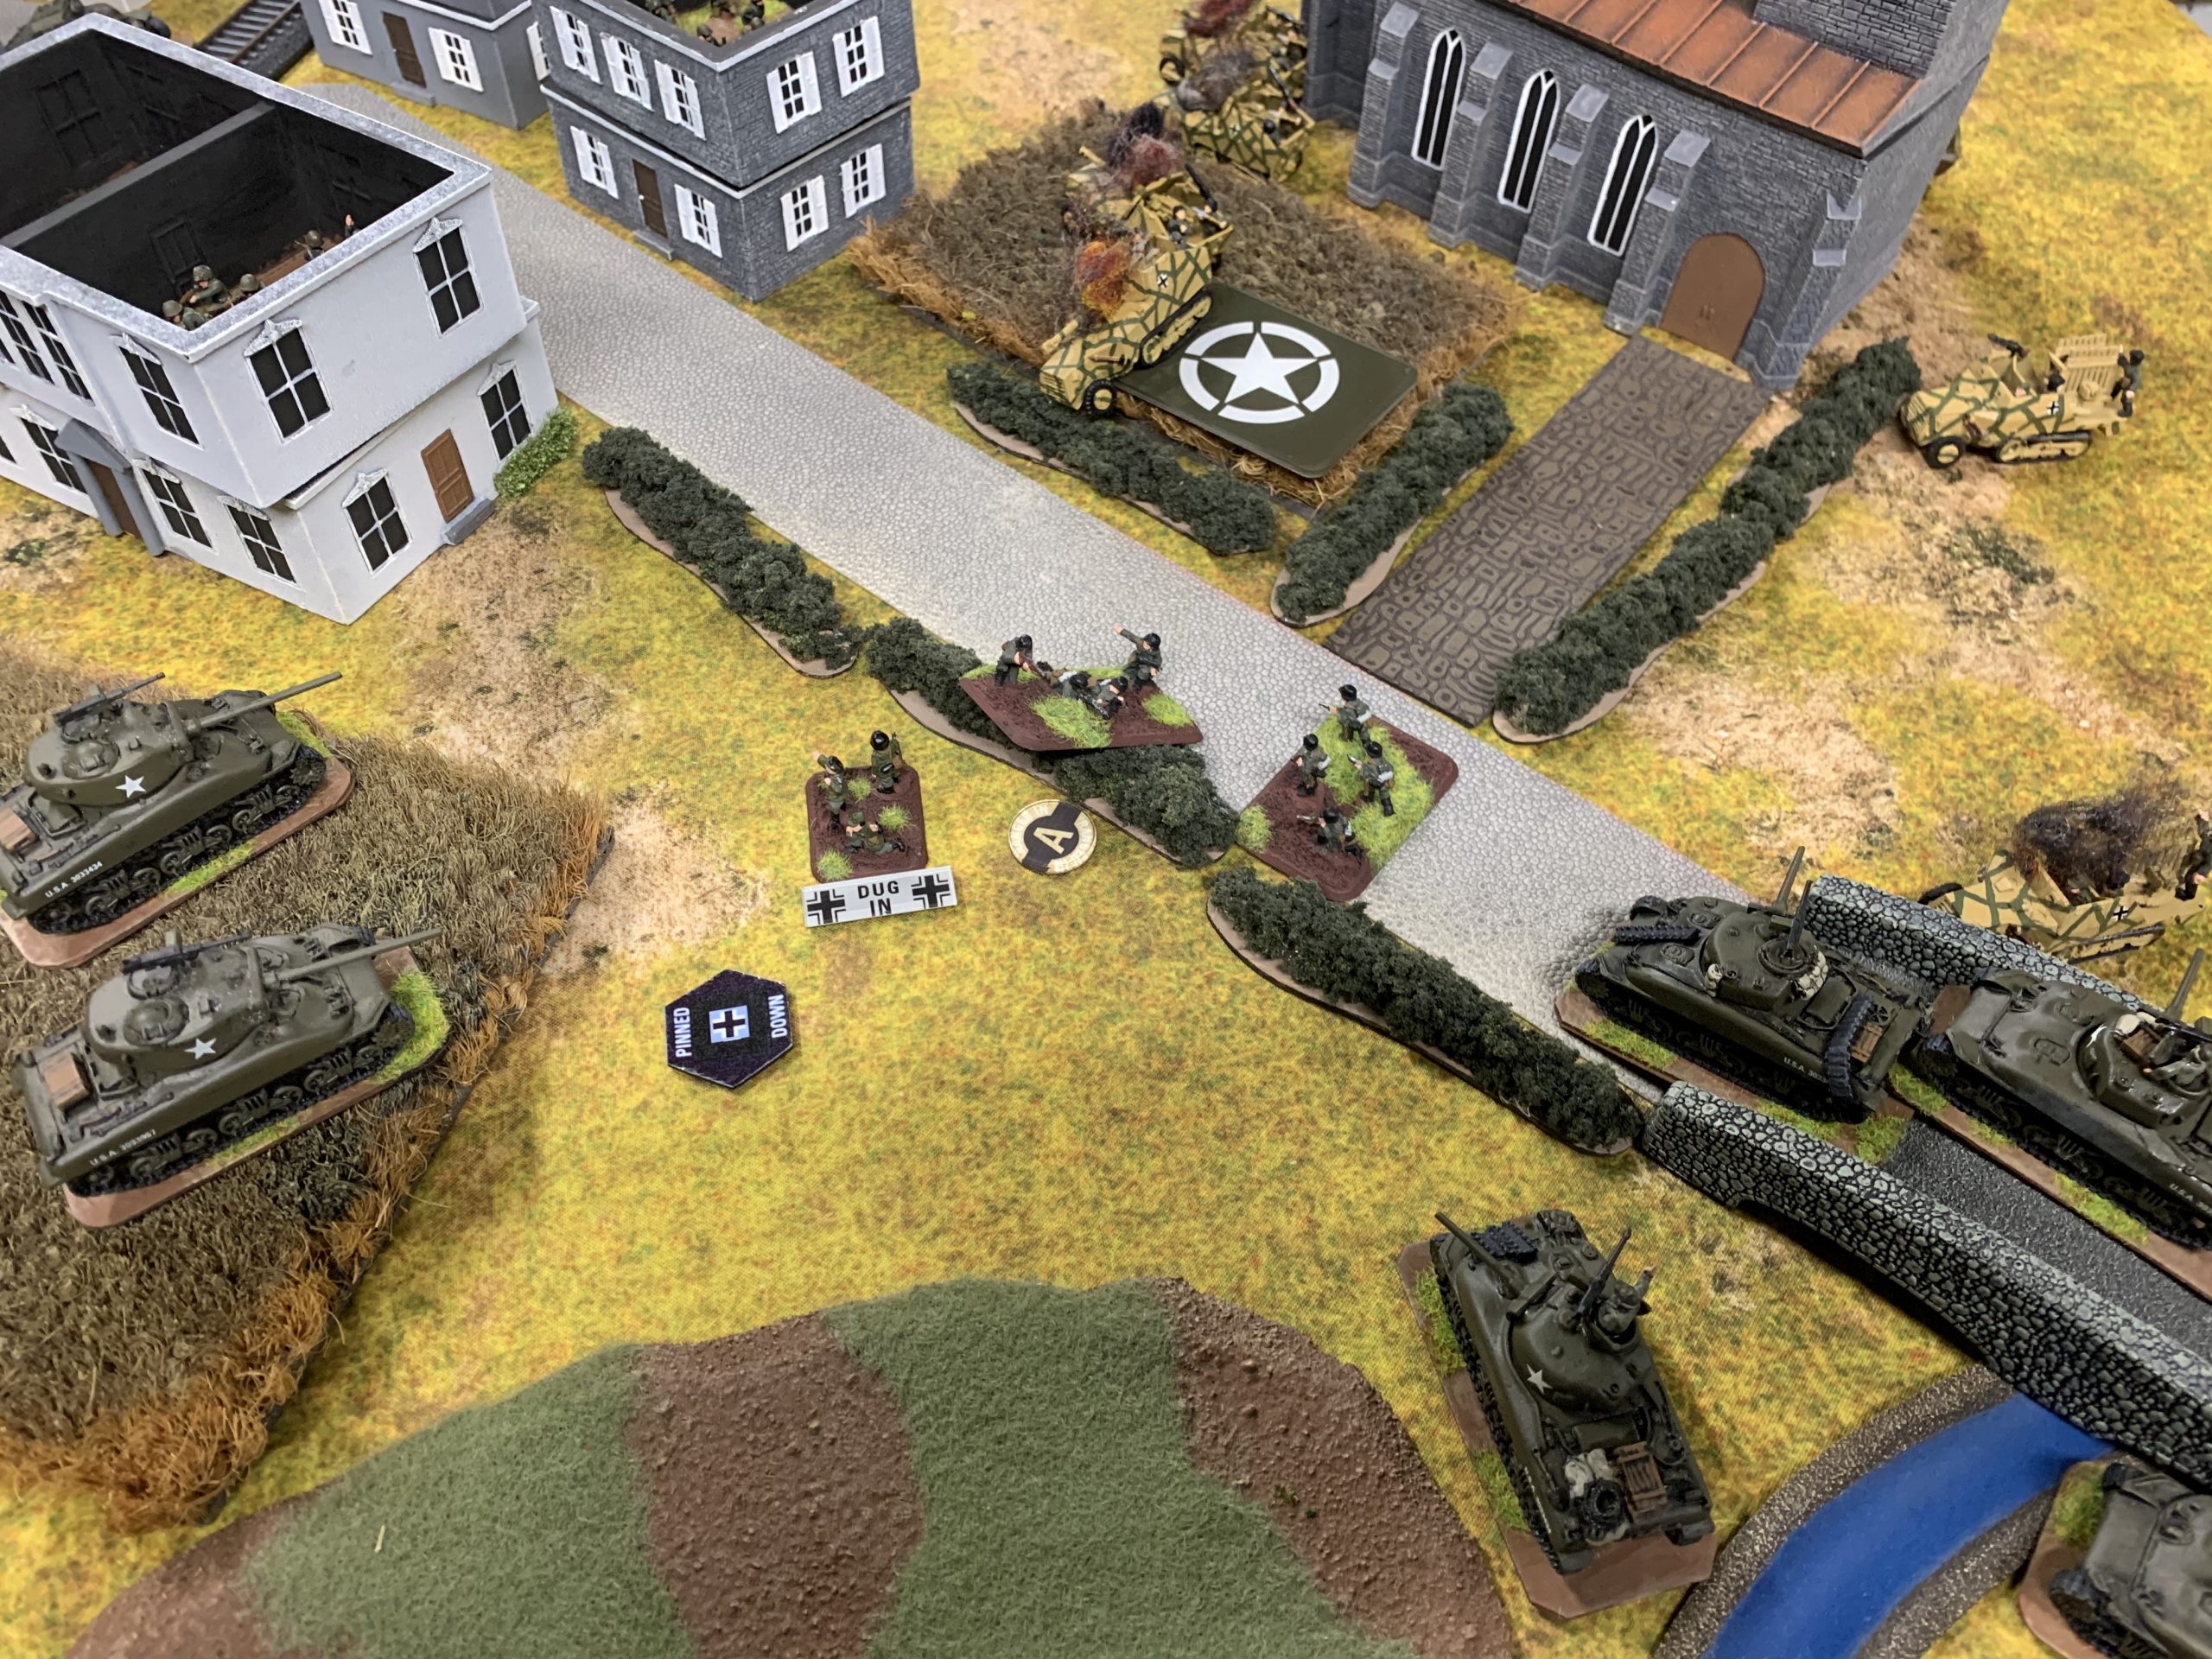
Ed chose to defend in the table quarter with the church and stream in the foreground of the below photo.
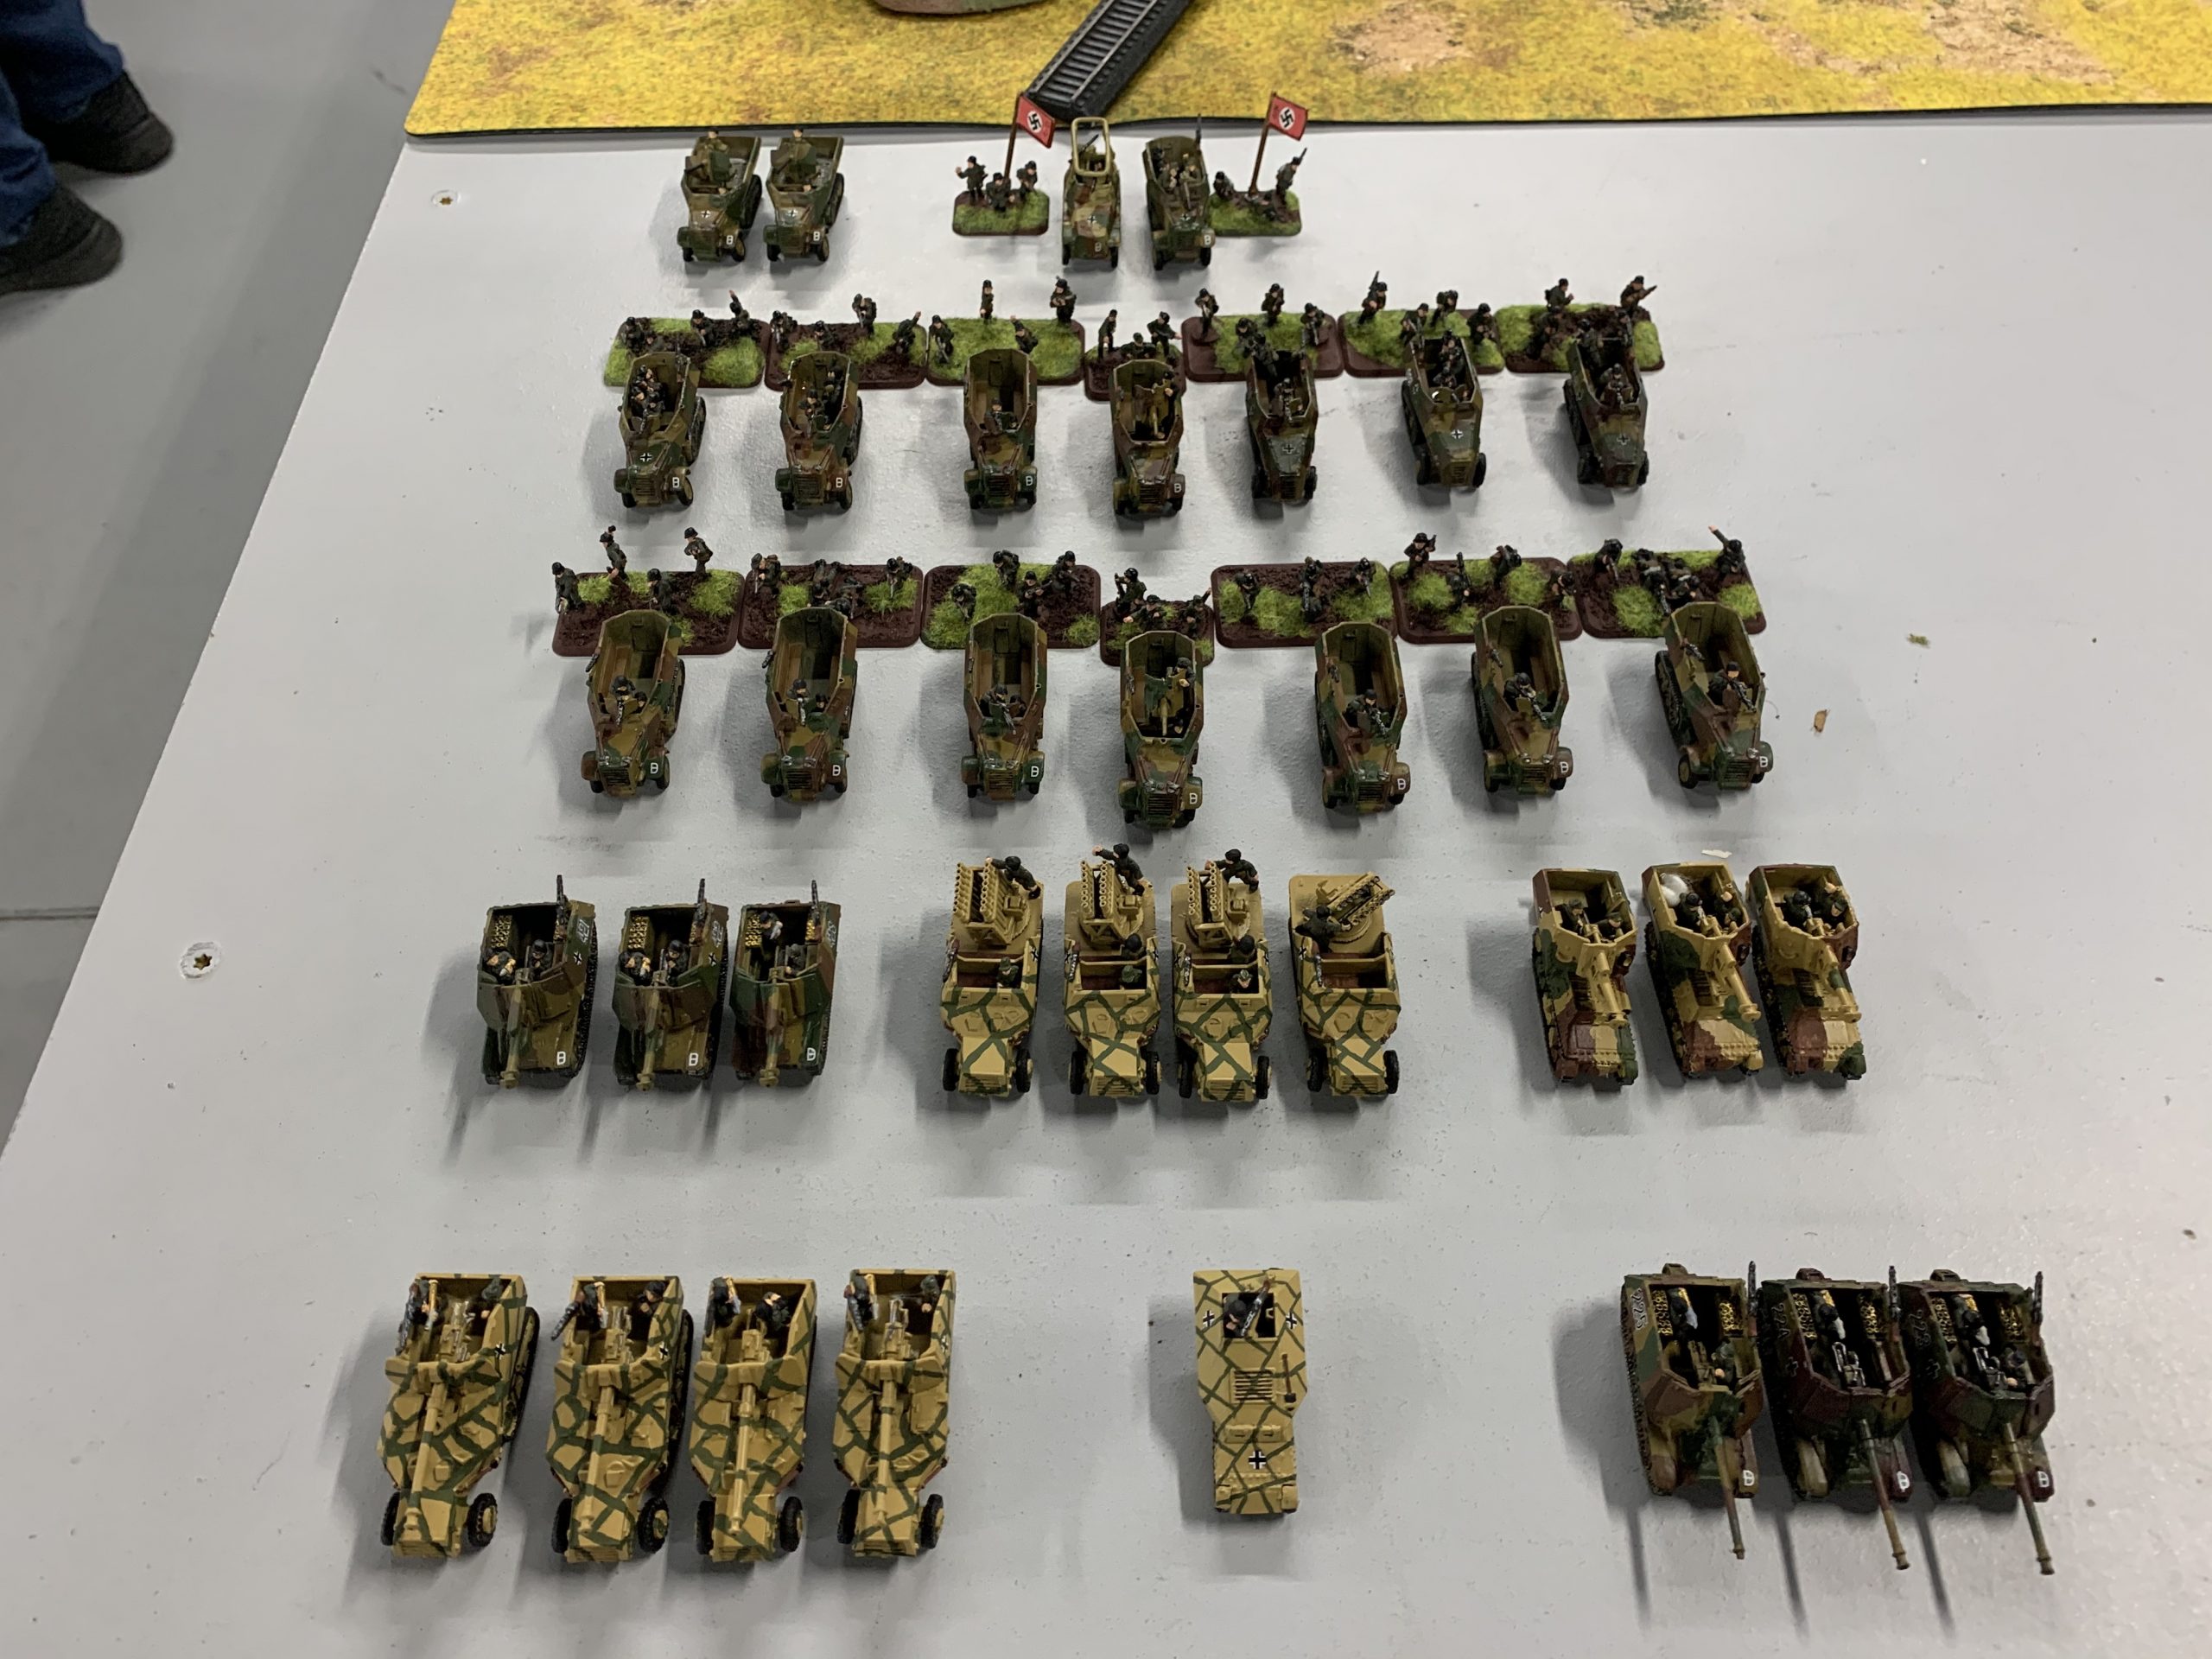
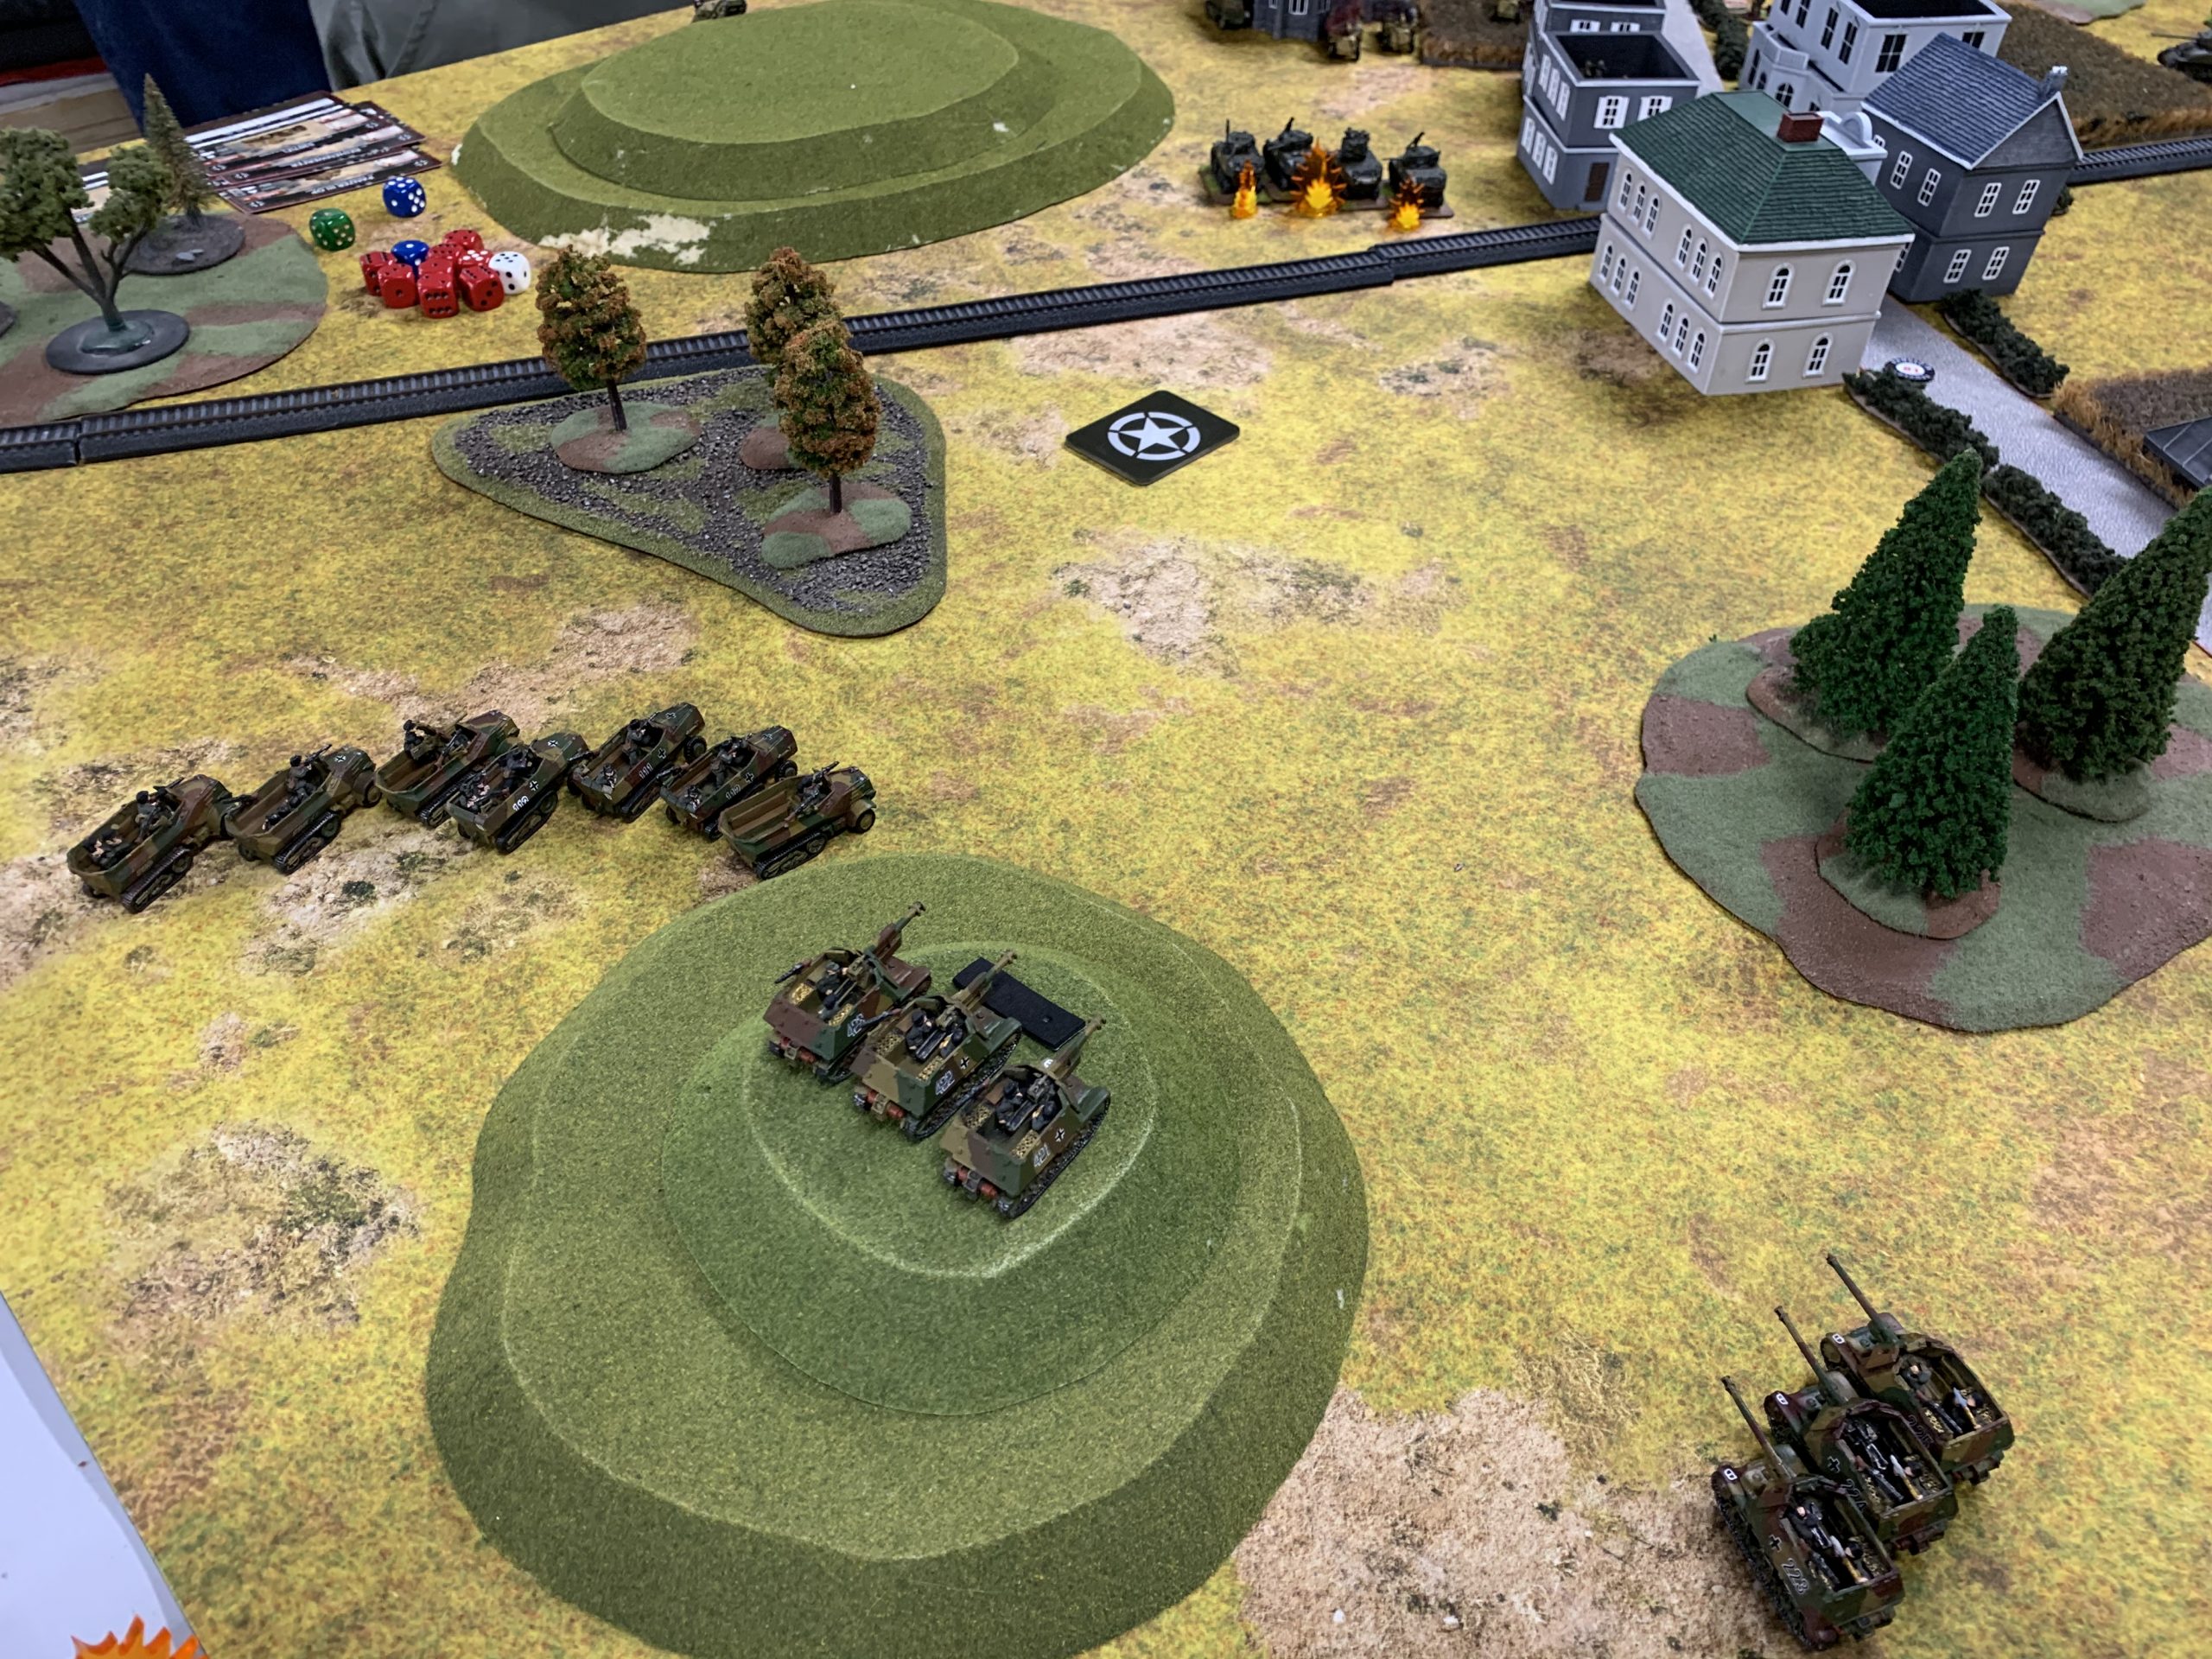
Ed ran a 21st Panzer Division Panzergrenadier Company with two platoons fully equipped with converted French half tracks, a platoon of S307 7.5cm half tracks and a full platoon of Multi-Mortar half tracks. For support he had a full platon of Hotchkiss 7.5cm assault guns, a full platoon of Hotchkiss 10.5cm assault guns, a unit of three 10.5cm Schleppers, a half platoon of AAA half tracks, and a FO “tank.”
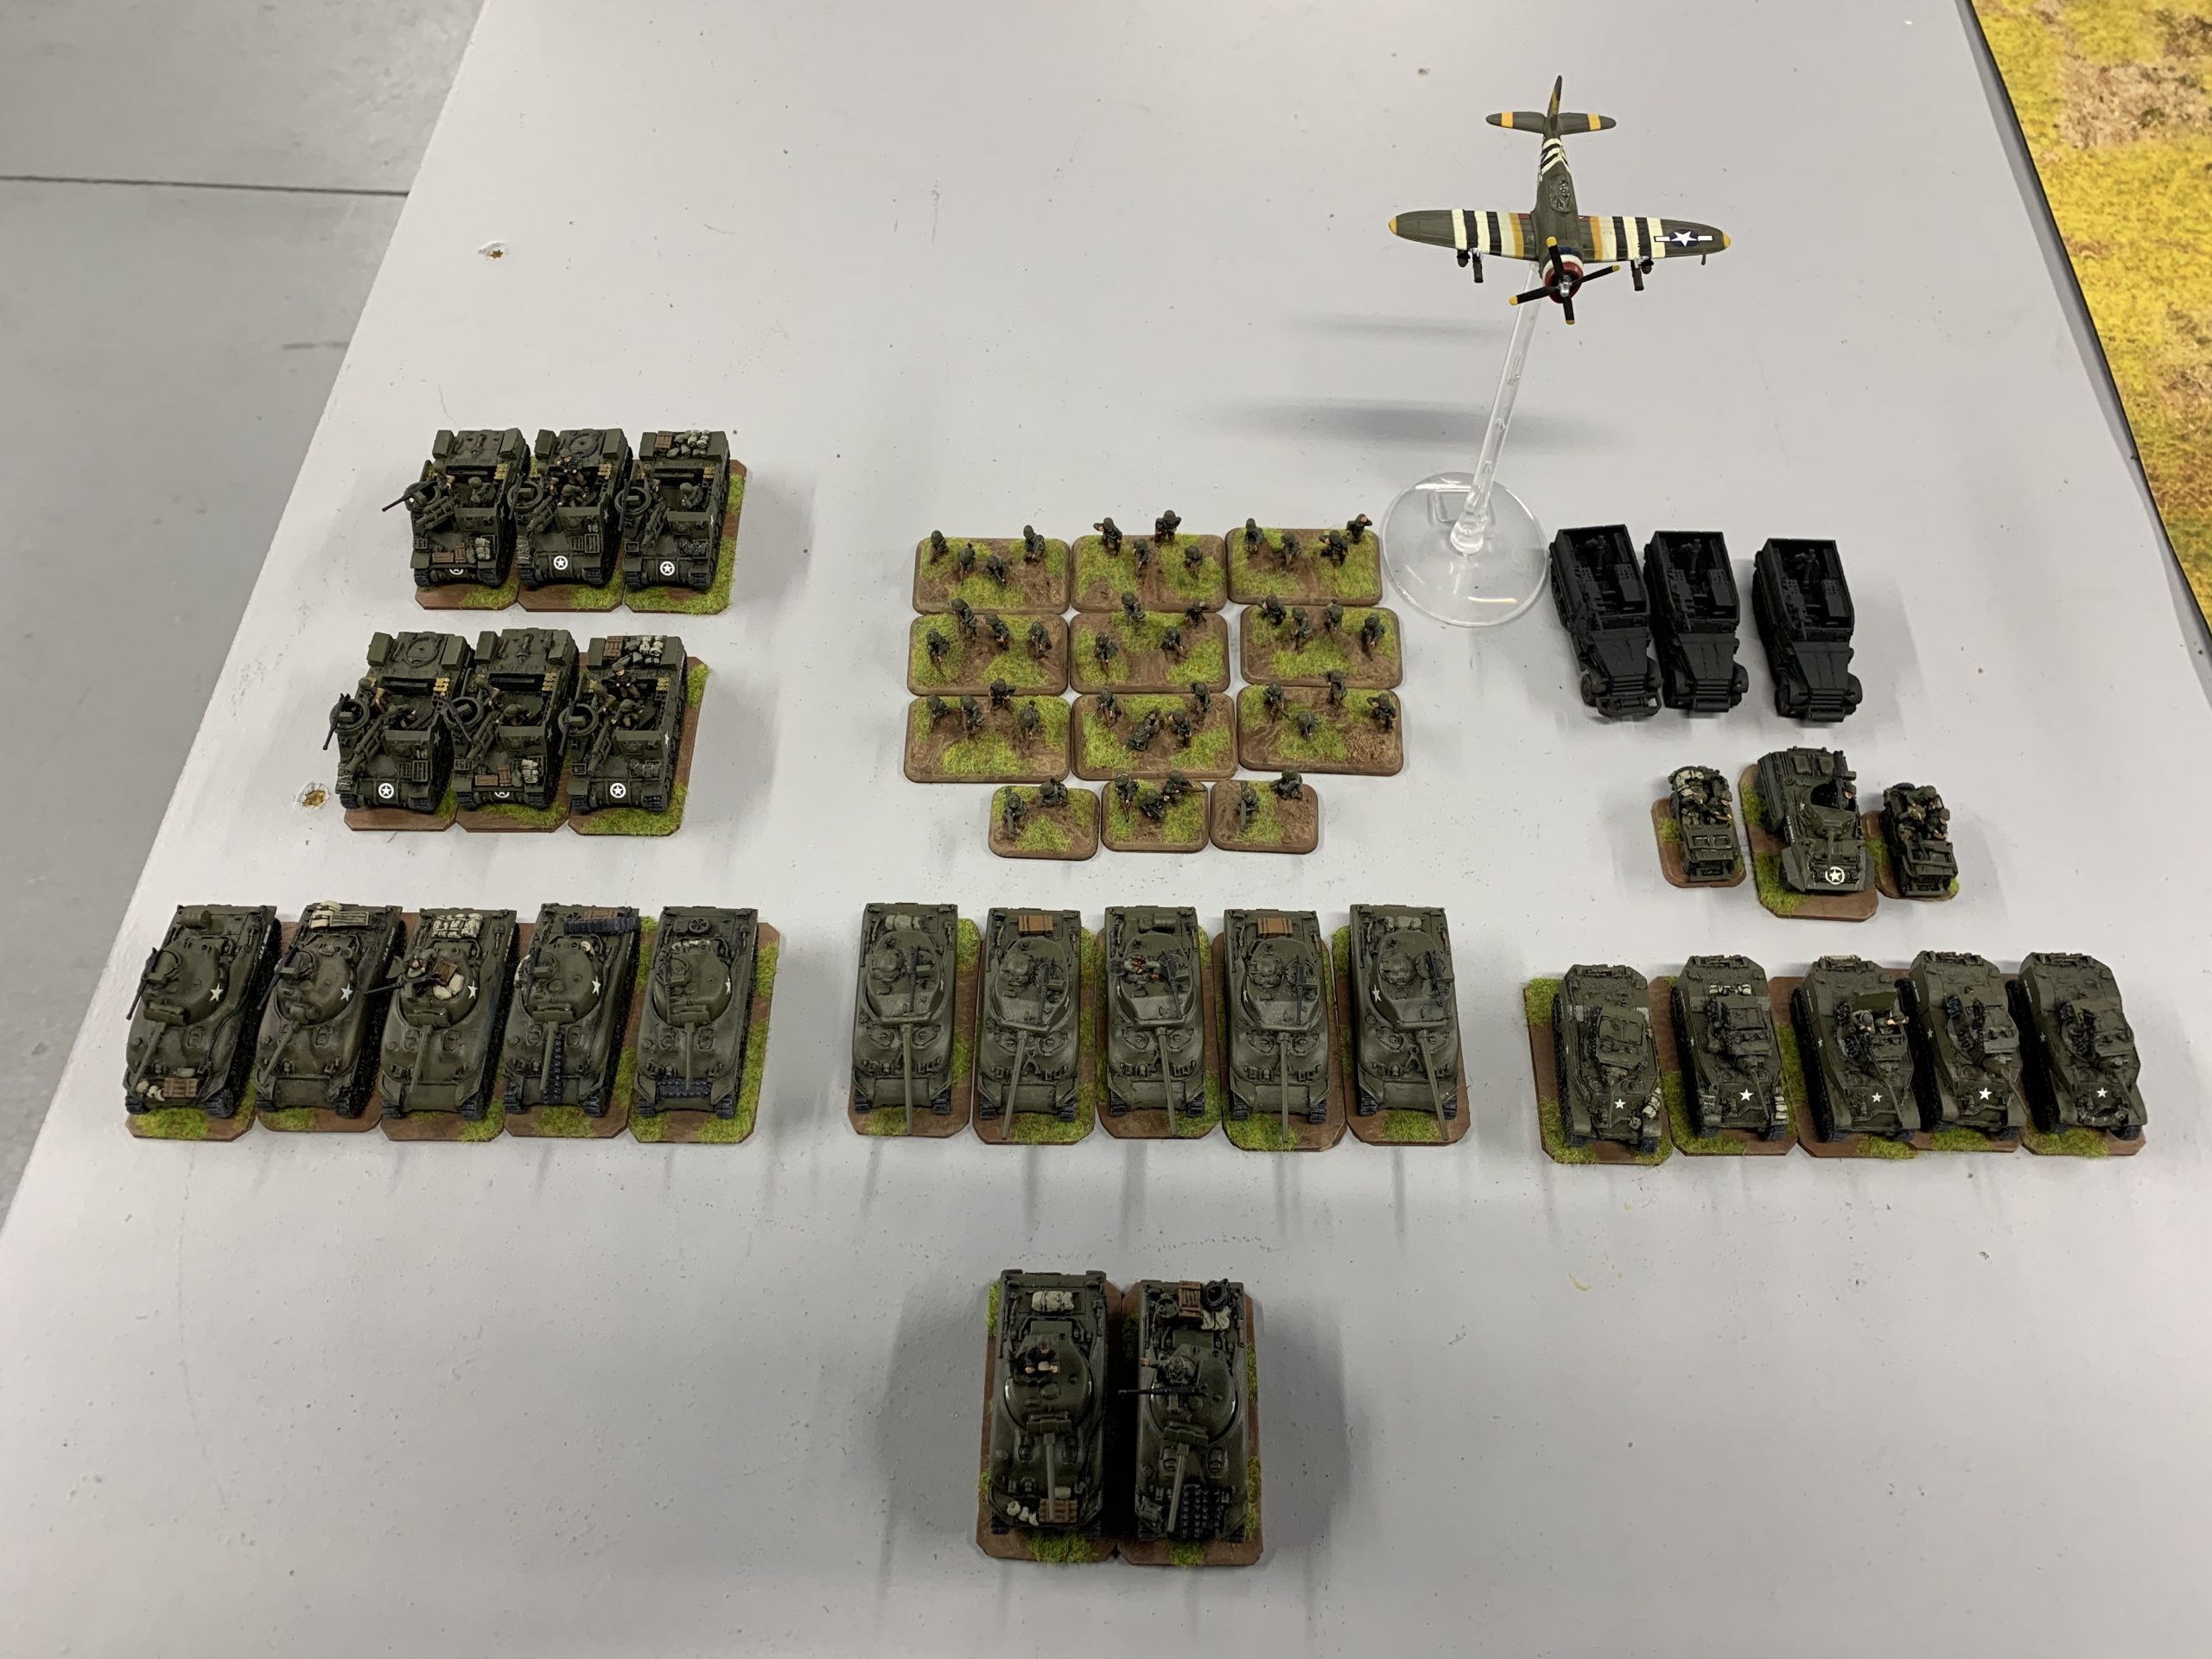
 My force was a trainded US Sherman Company with full HQ, a full unit of M4 Shermans, a full unit of M4 76mm Shermans, a full platoon of M5 Stuars, and a full unit of 82mm Armored Mortars. In support I had a Armored Recon Patrol, a veteran rifle platoon, two batteries of M7 Priest and P47 air support.
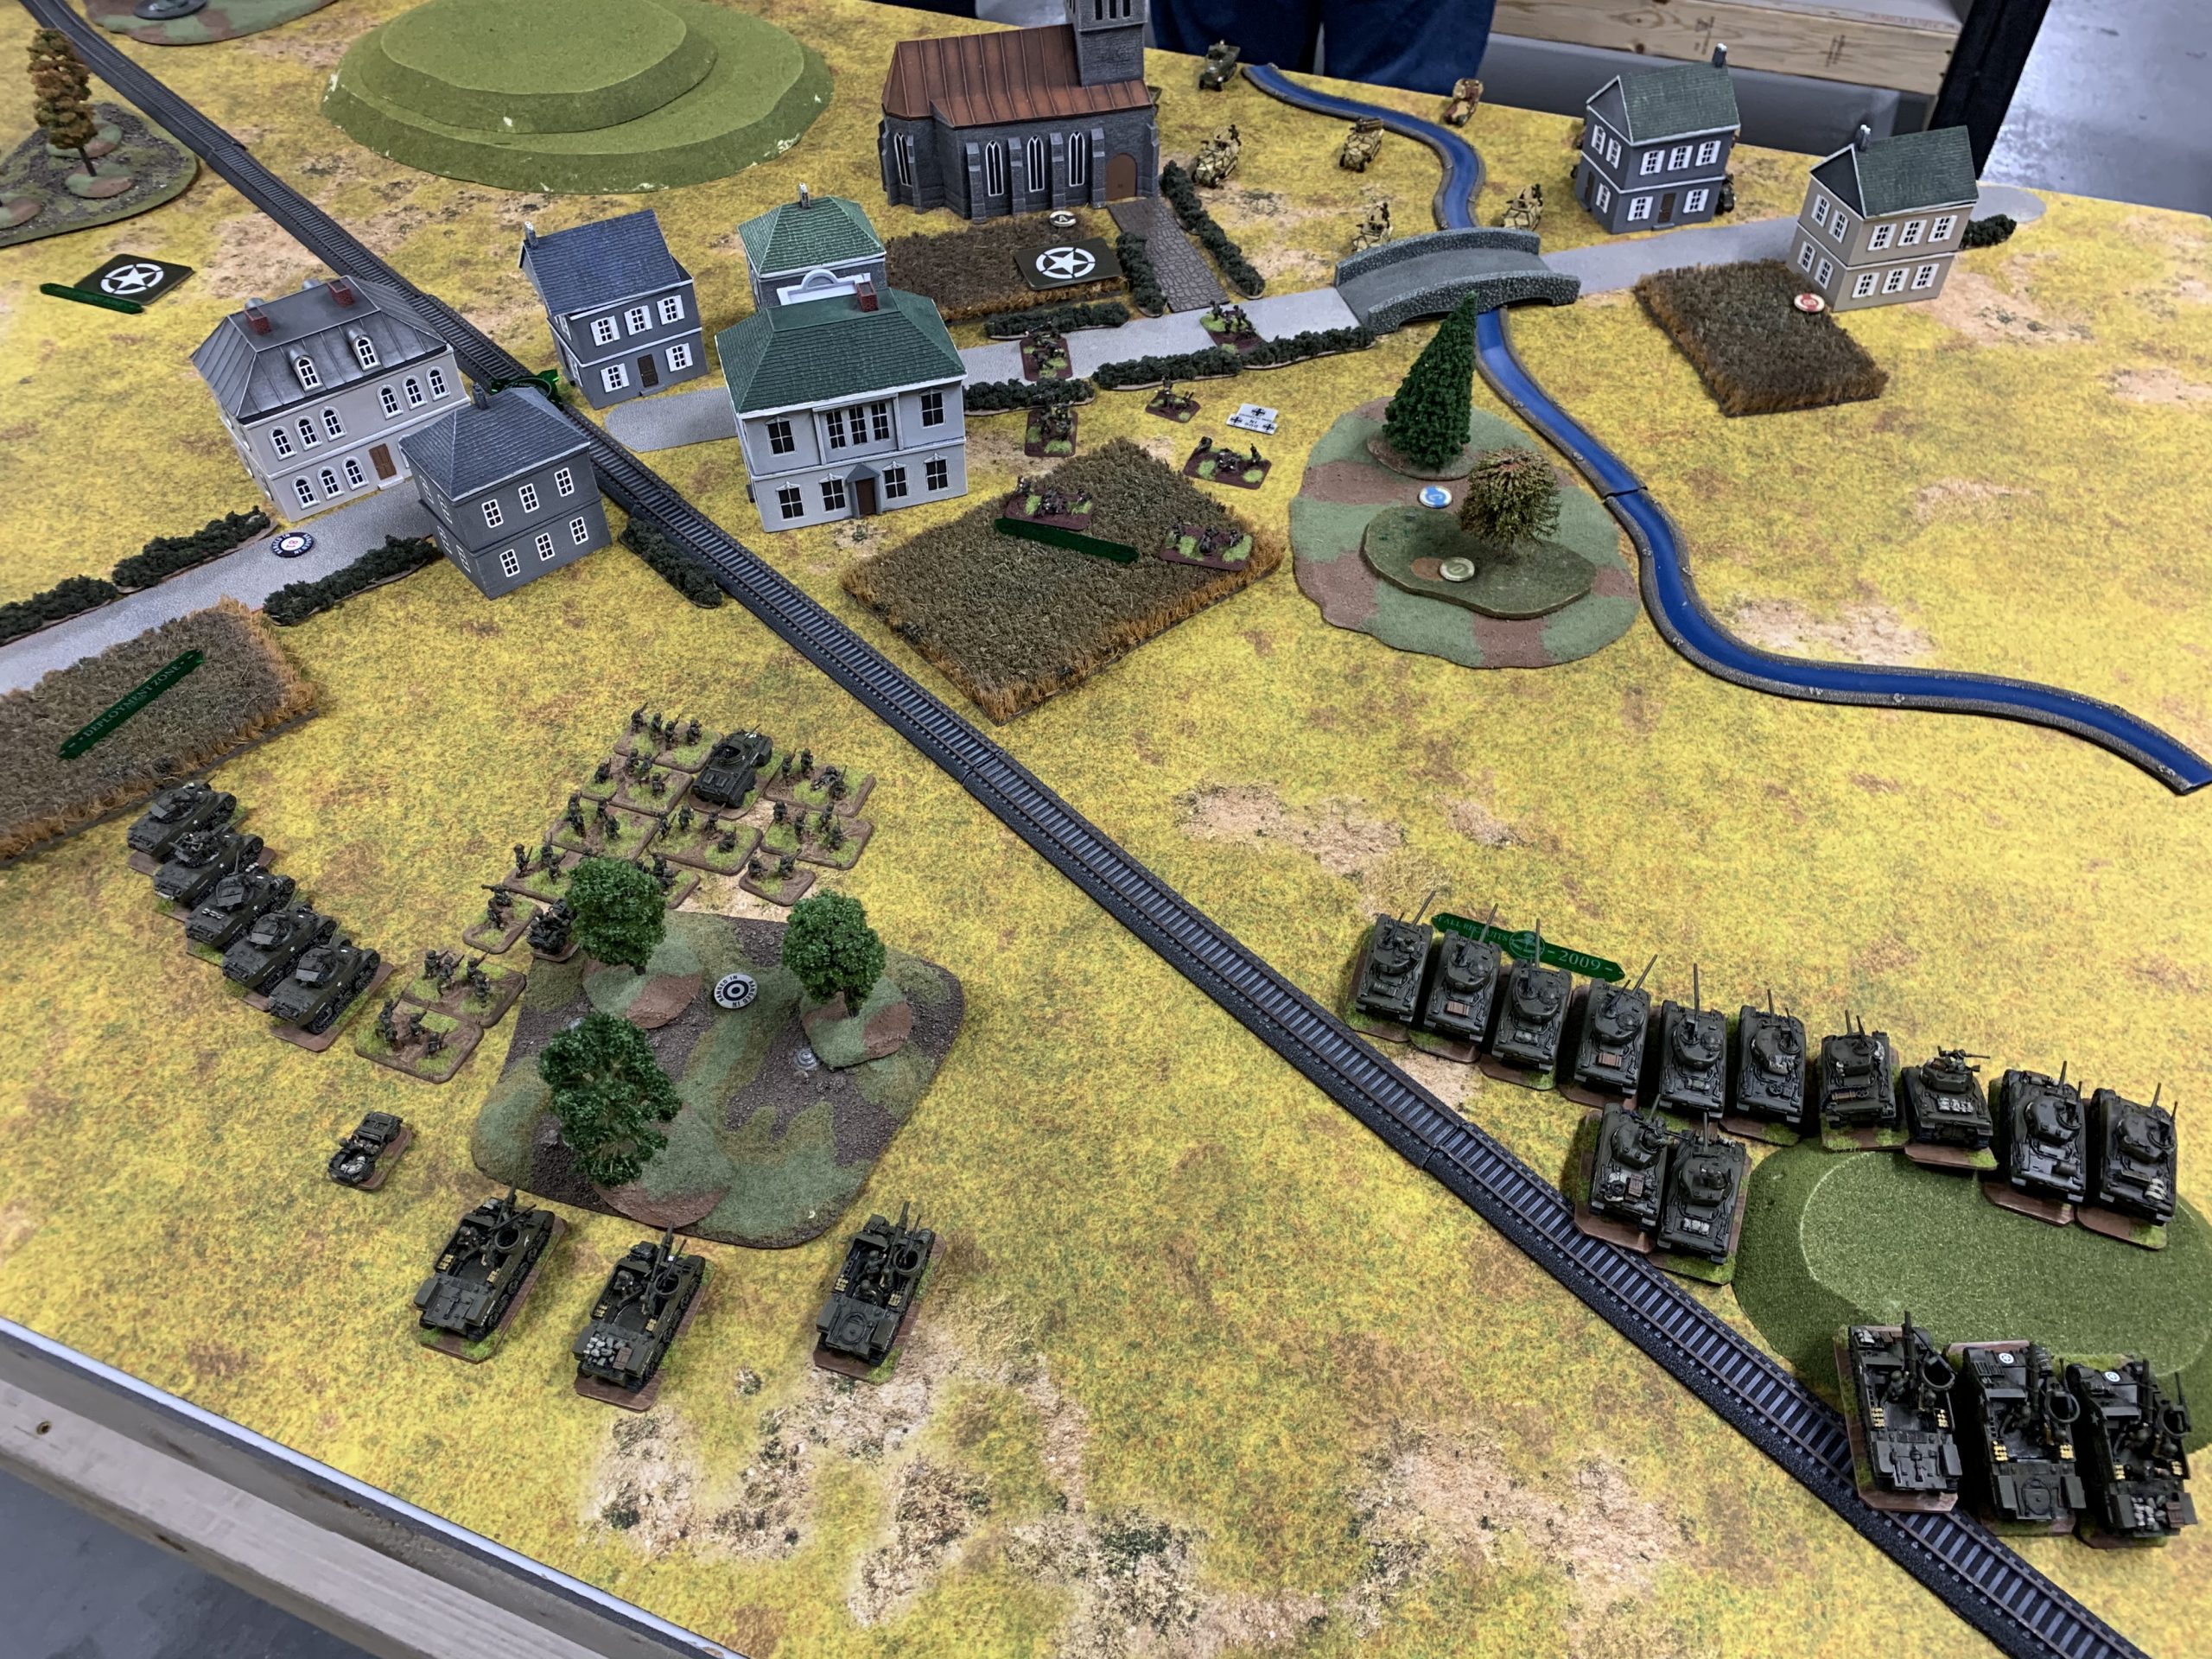
Knowing that Ed would have to put much of his mobile assets in reserve and that those reserves would come in behind my forces, I elected for an all out push against the objective in his deployment area.
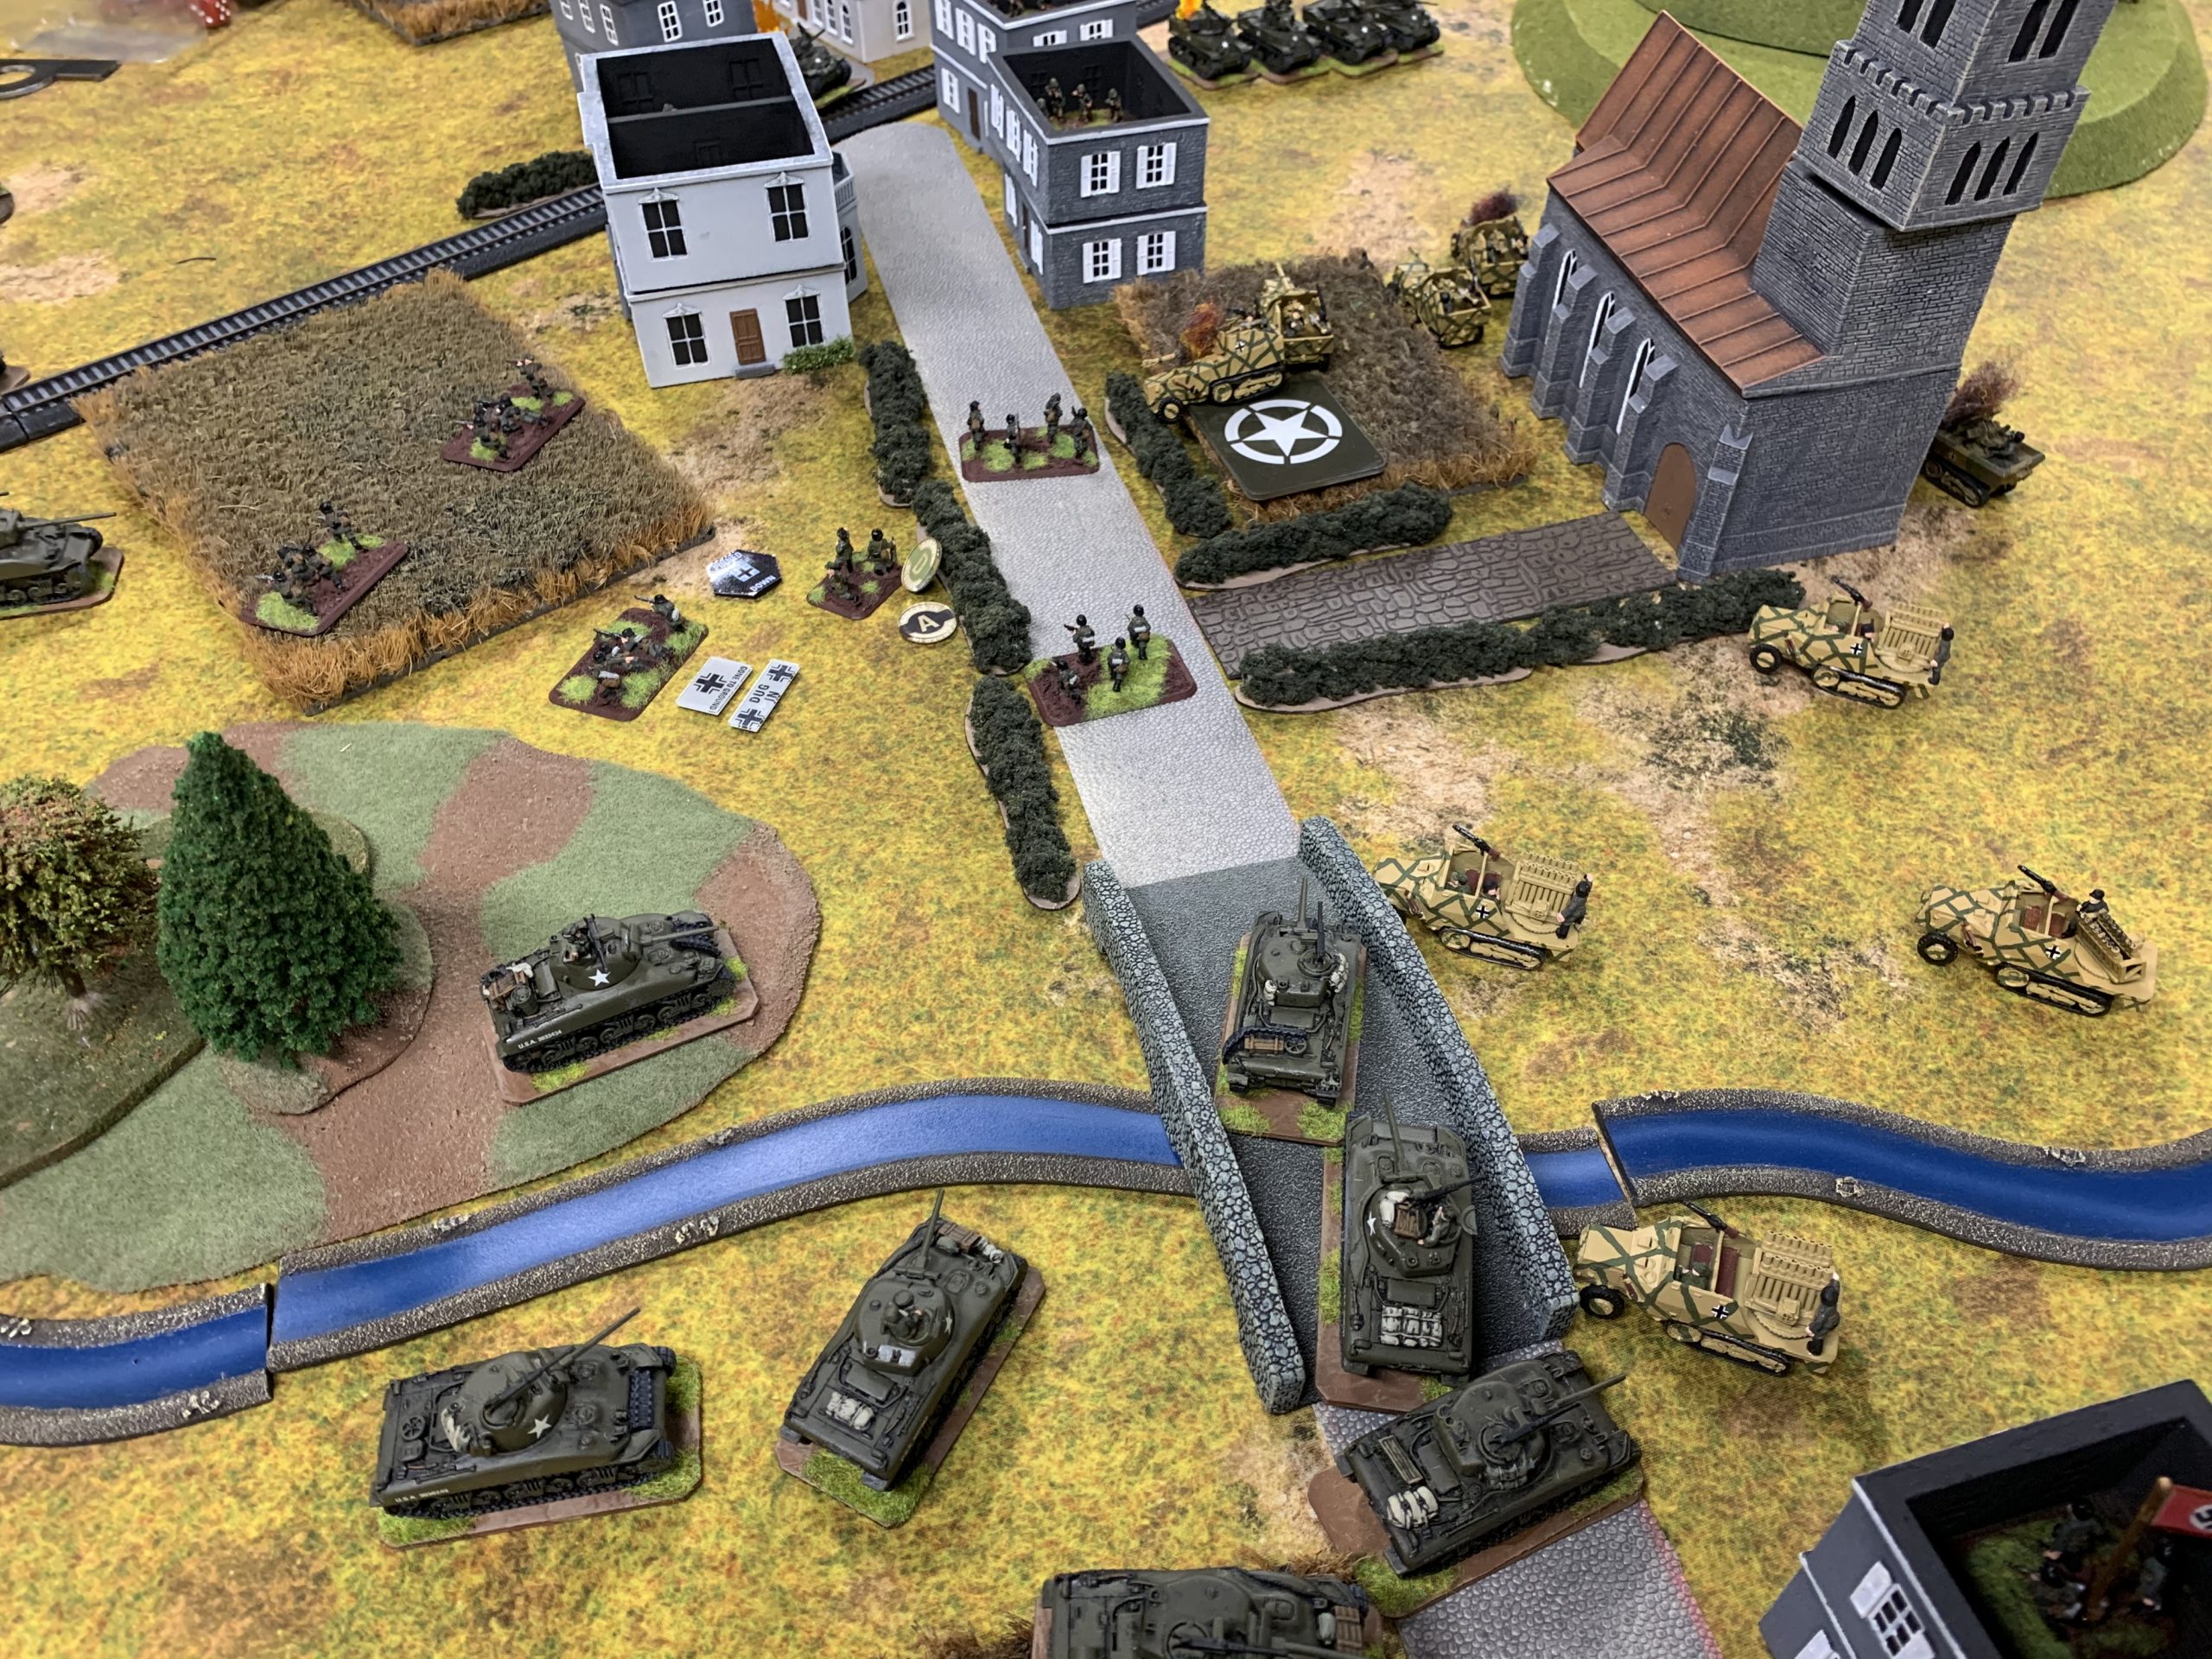
I lined up my Shermans on my right for a wide sweep while the M5 Stuarts used a bit of spearhead to get out on my left to provide a secondary effort. The veteran rifle company would be the “hinge” between my two mobile forces and would push for the town.
 Turn 1
In turn one my Shermans dashed up on the right. I laid a smoke screen in front of them from the Armored Mortars. I used that and some woods to shield my forces as Ed still had his four S307 7.5cm halftracks in ambush out there somewhere.
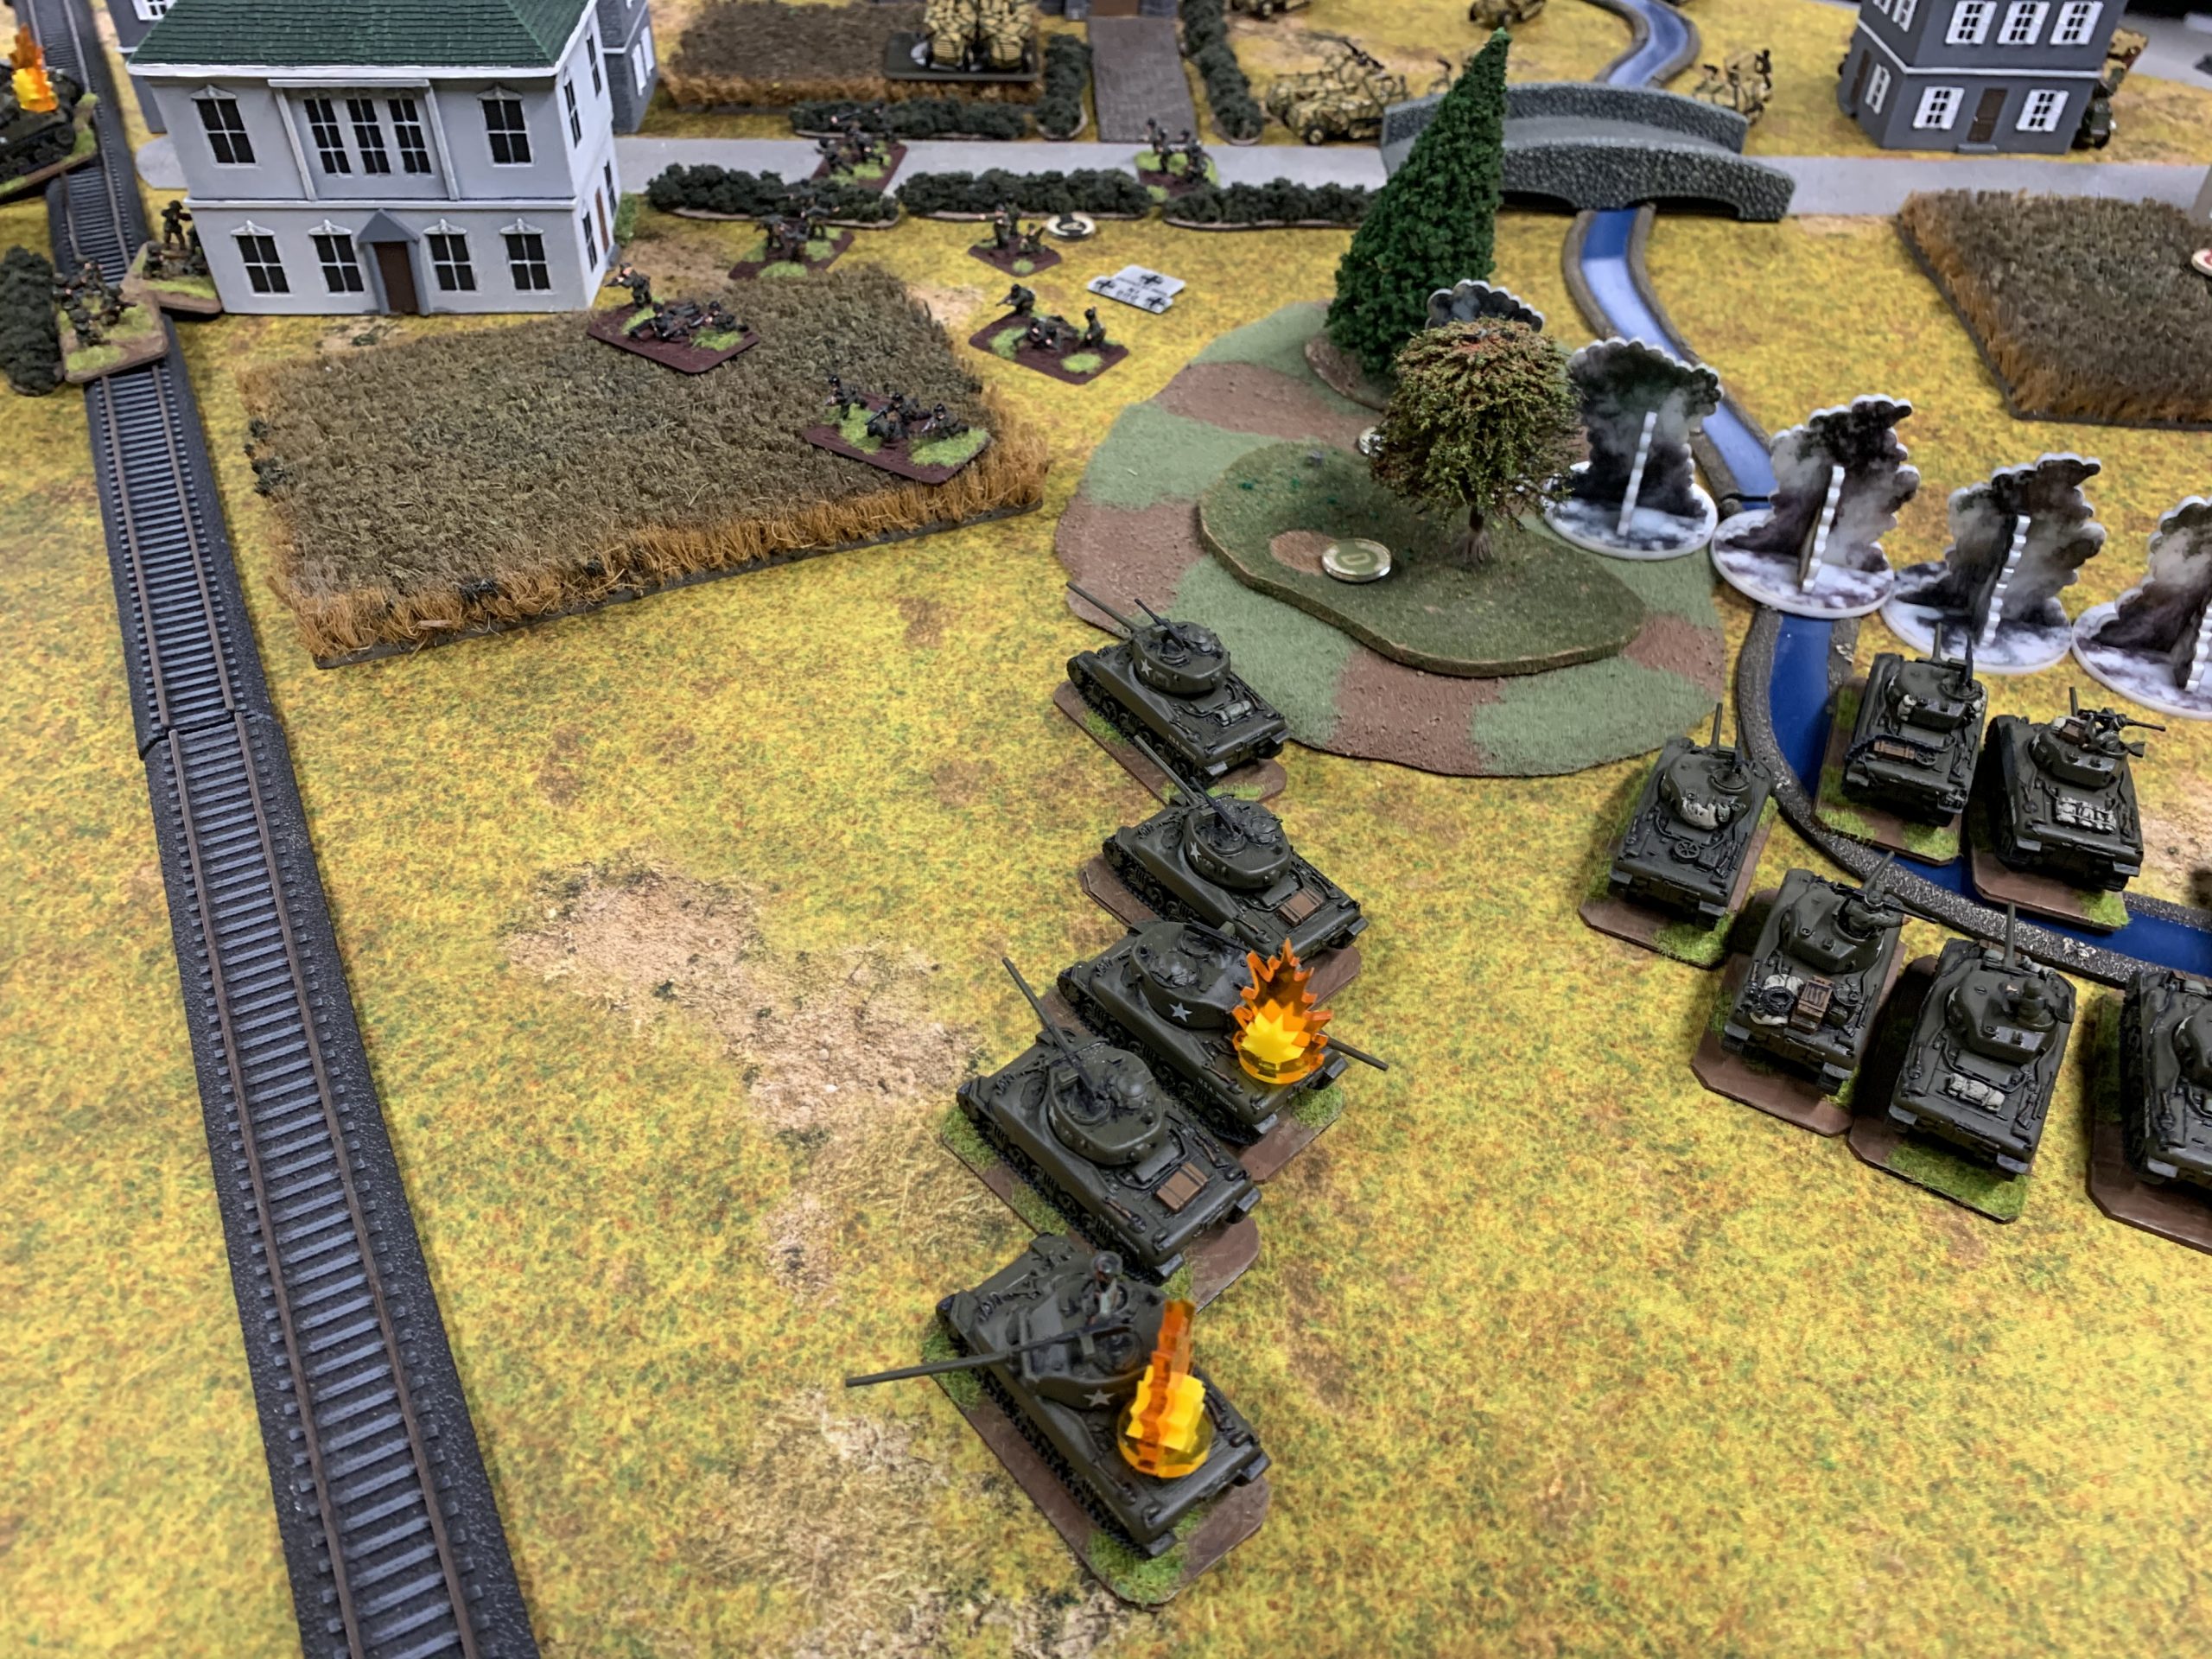
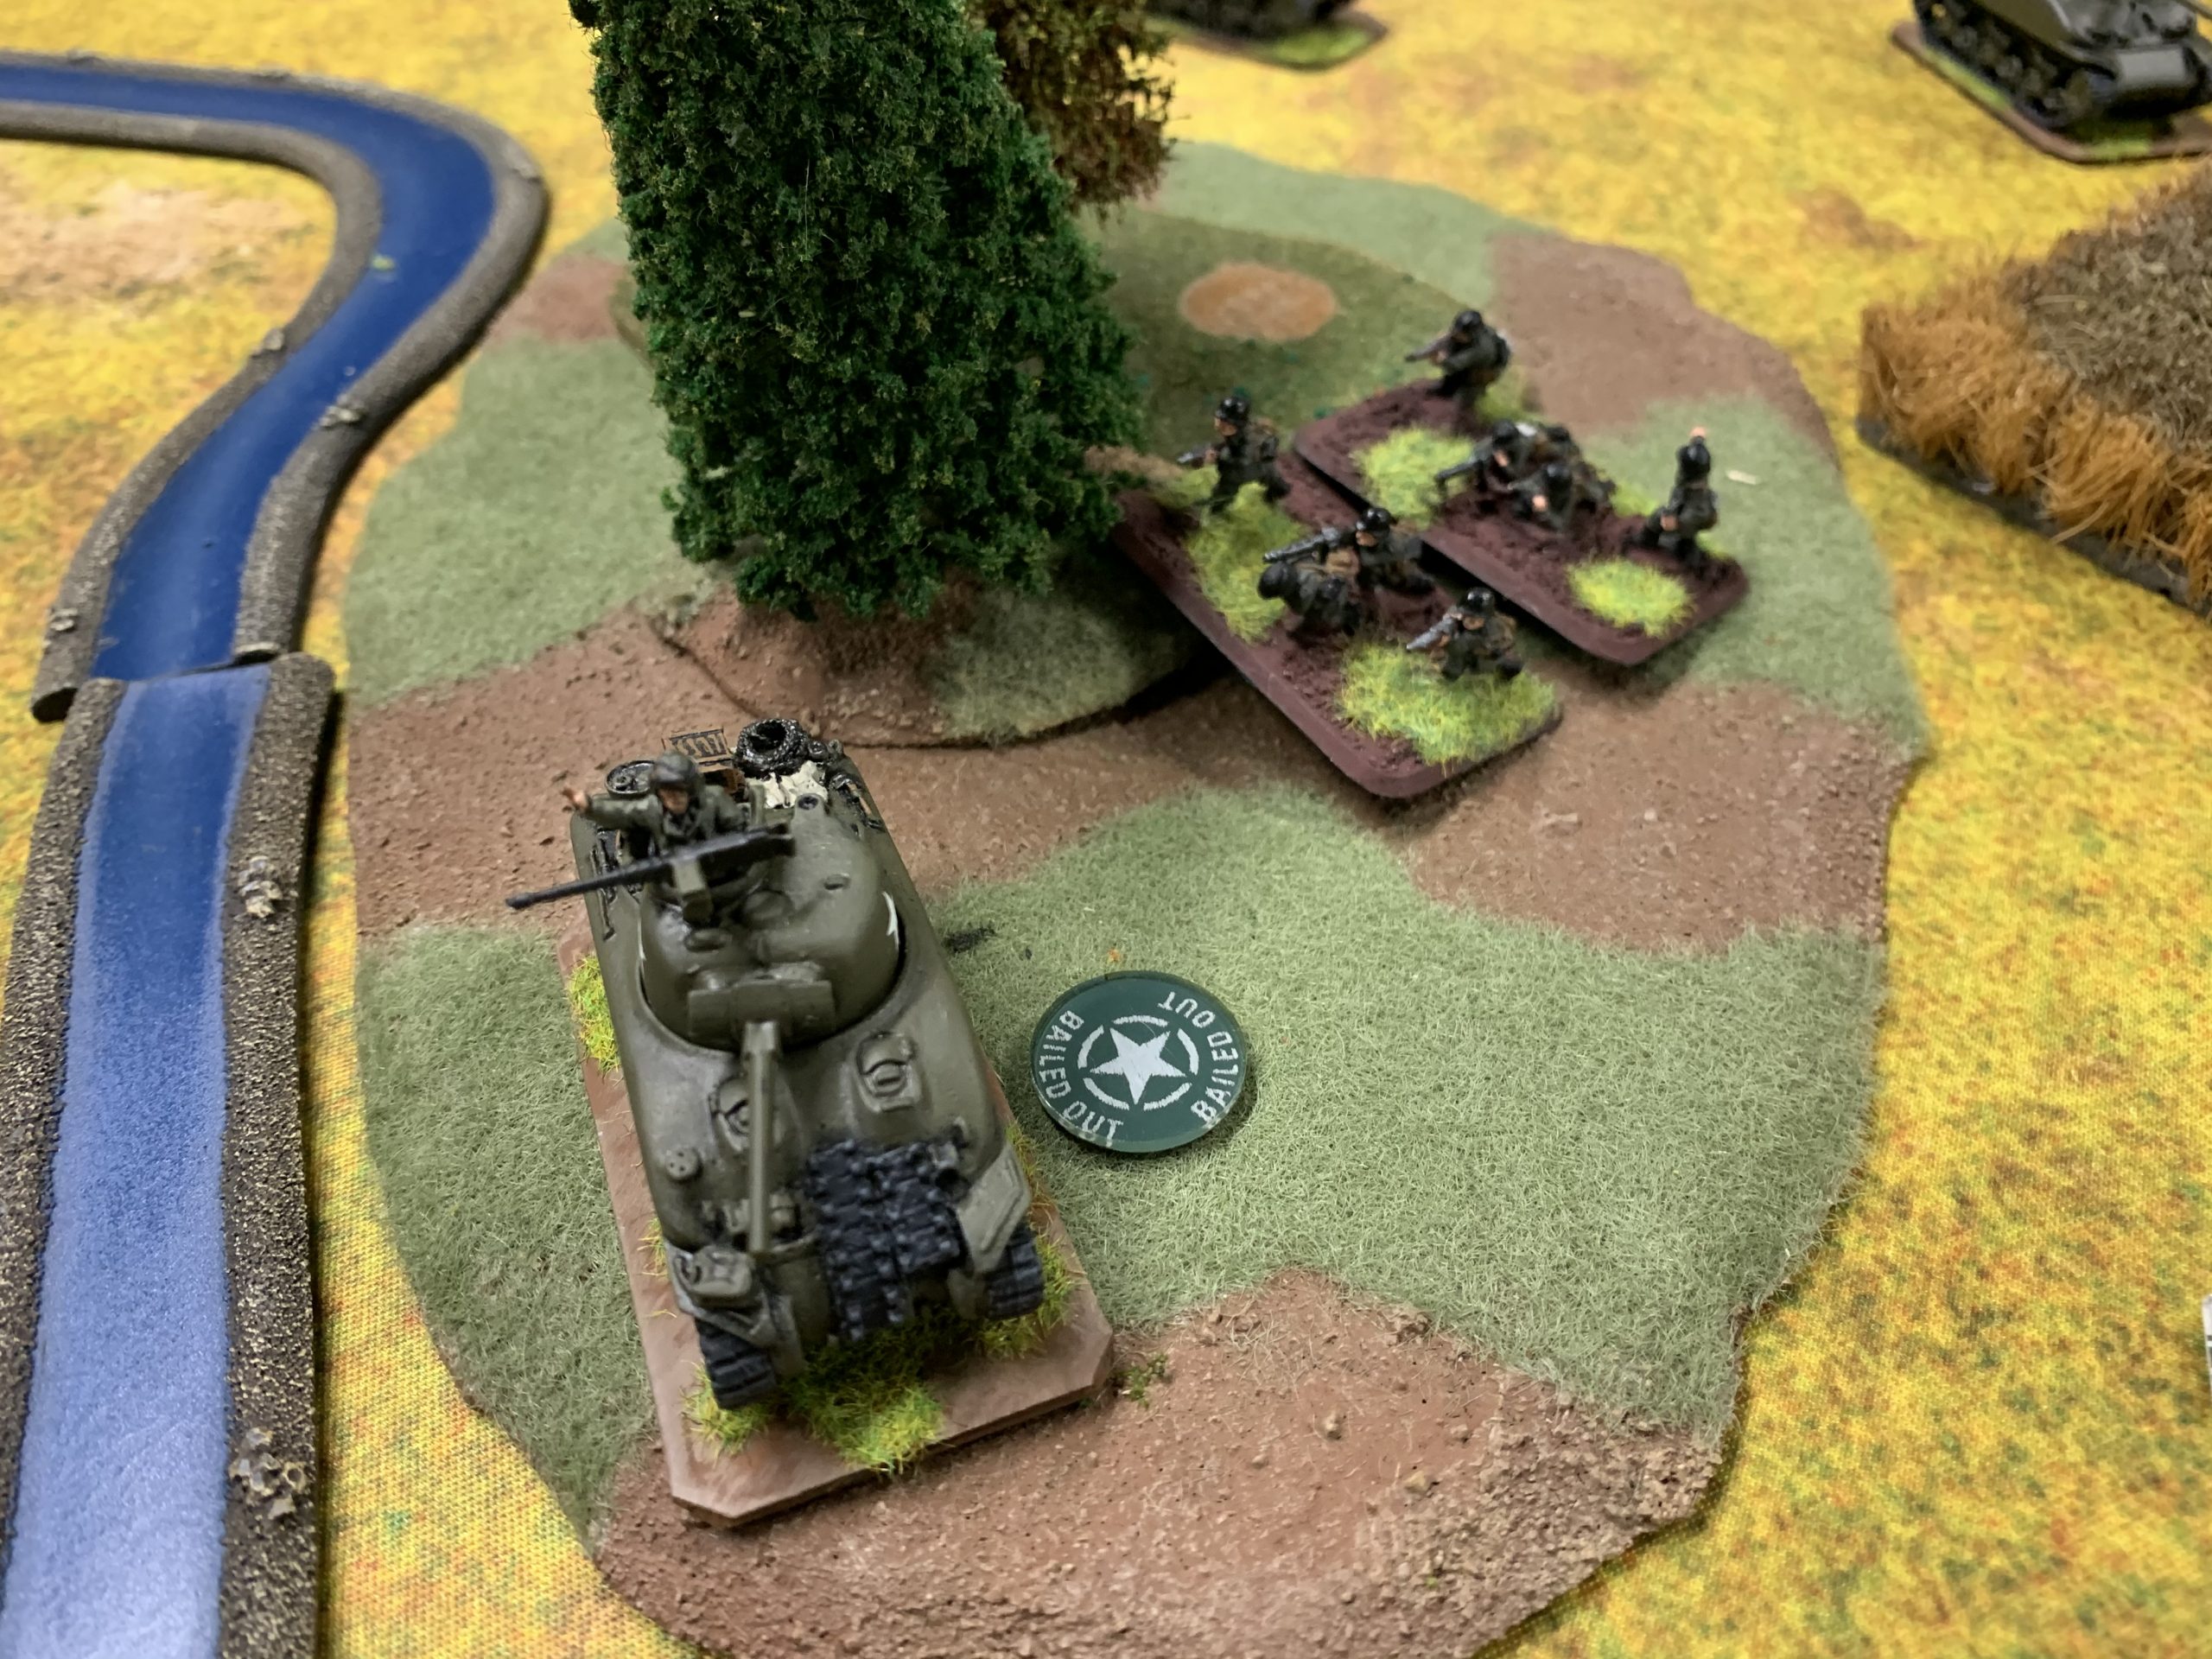
I did not quite totally cover my 76mm Shermans well enough. Ed was able to deploy his ambushing S307 7.5cm halftracks and take out two of my 76mm Shermans as well as an M5 in the town’s main street. Fortunately, Ed had no heavy armor in his force so loosing a 76mm Sherman was no worse than losing a 75mm Sherman.
Ed’s Multi-mortars and Schleppers made advancing toward the town difficult for my infantry.
 Turn 2
In turn two I advanced again on my right laying down two smoke screens to protect my Shermans. My veteran rifles failed to unpin and so moved to shelter in the town.
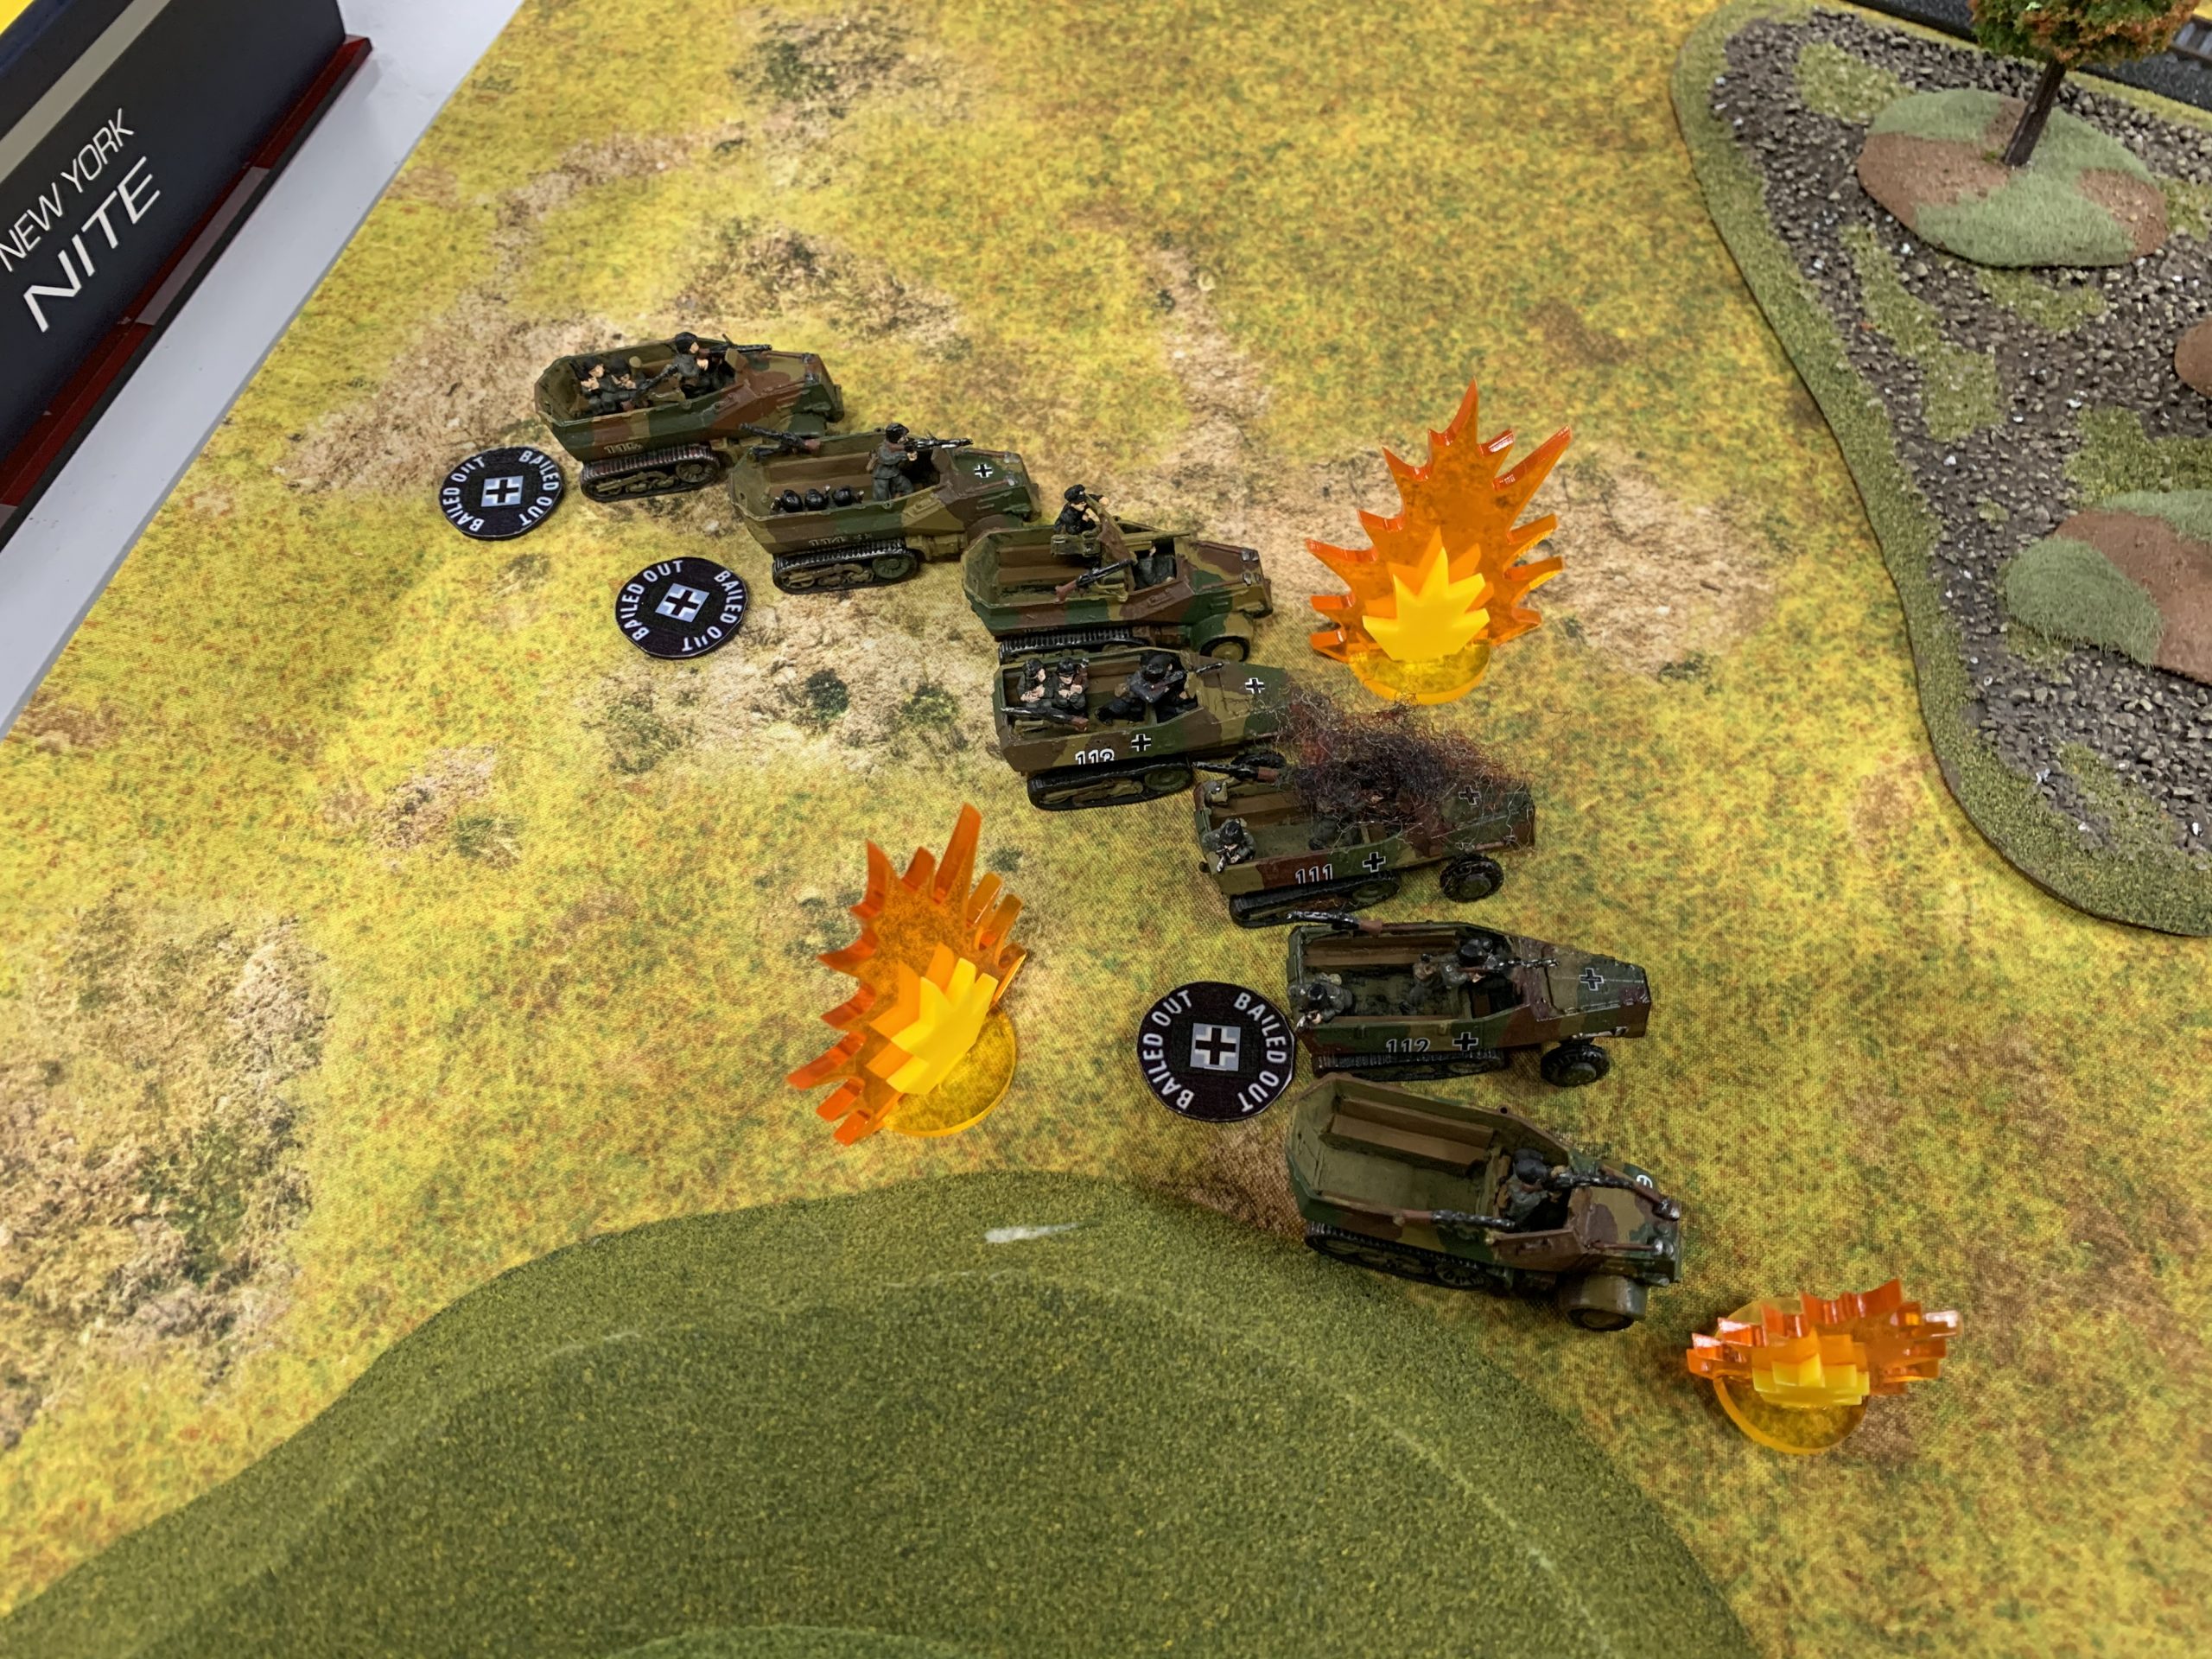
Hindered by smoke, Ed’s only option was to roll forward with his S307 7.5cm halftracks to try ty take out my flanking Stuarts. Fortunately he only knocked out two of them and in the next turn the remaining two would have targets in the open that their 37mm guns could actually destroy.
 Turn 3
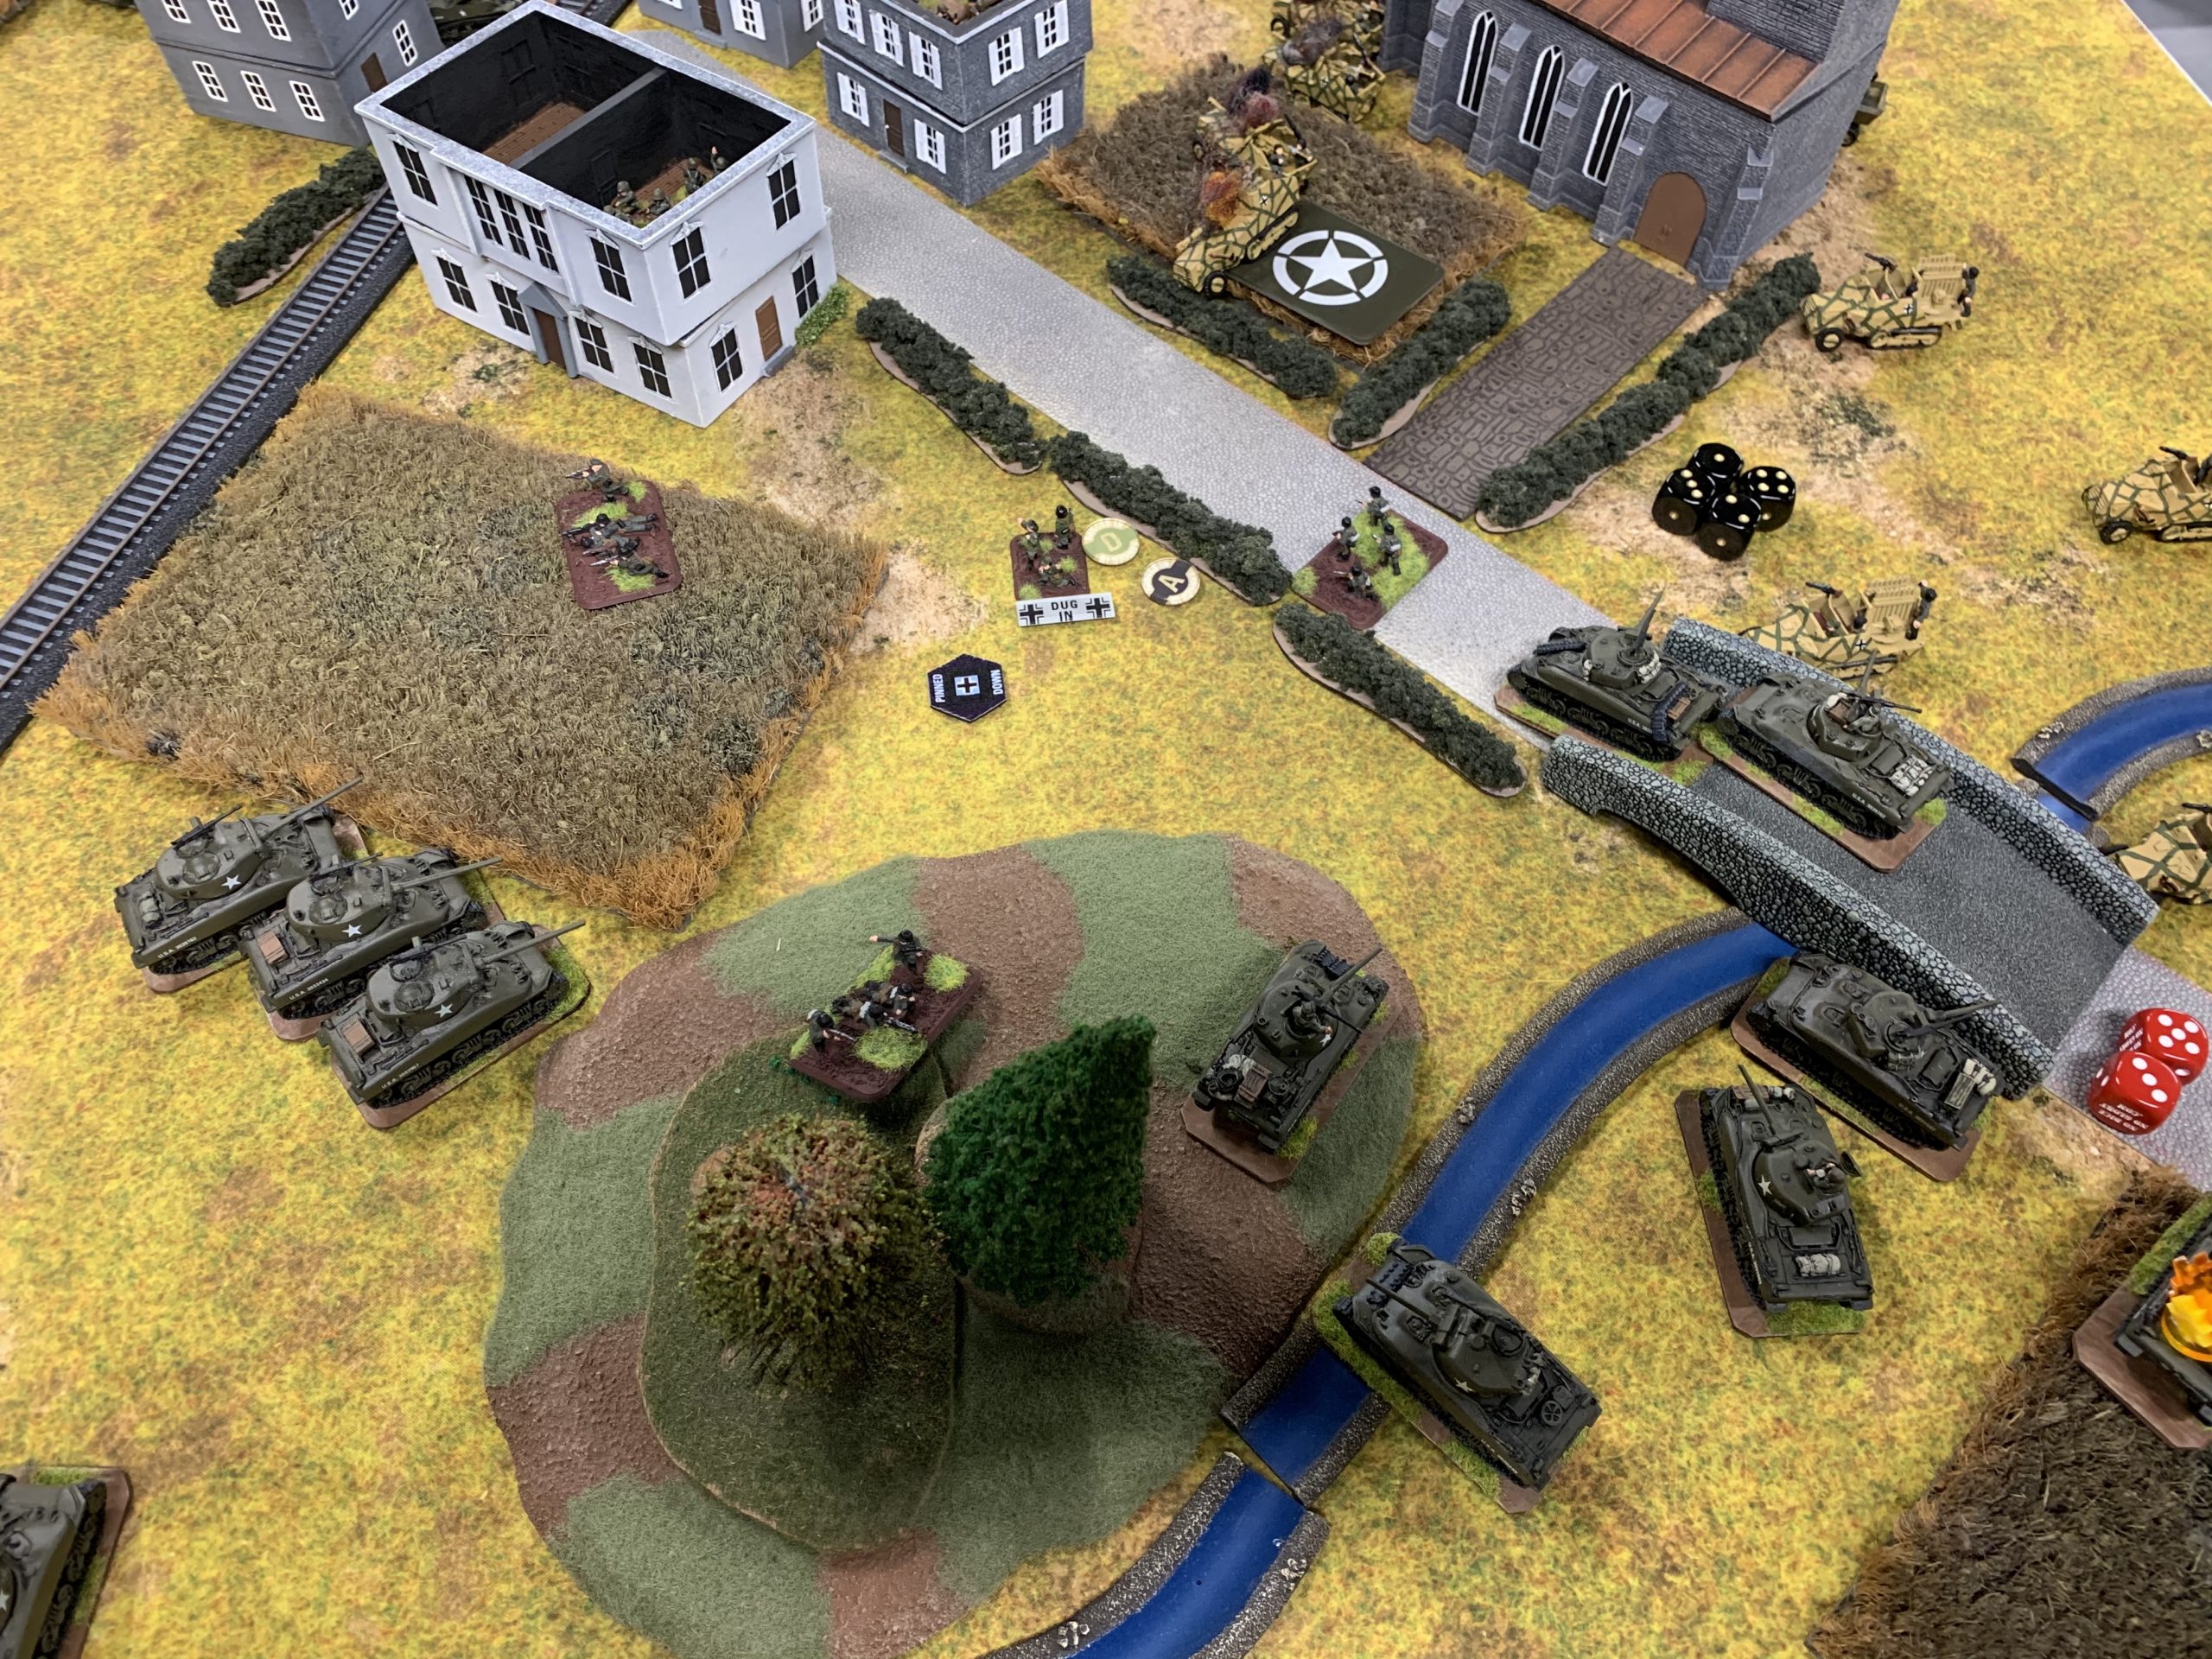
In turn three the US rifles rallied and moved up into the town to position from which they could assault the objective next turn.
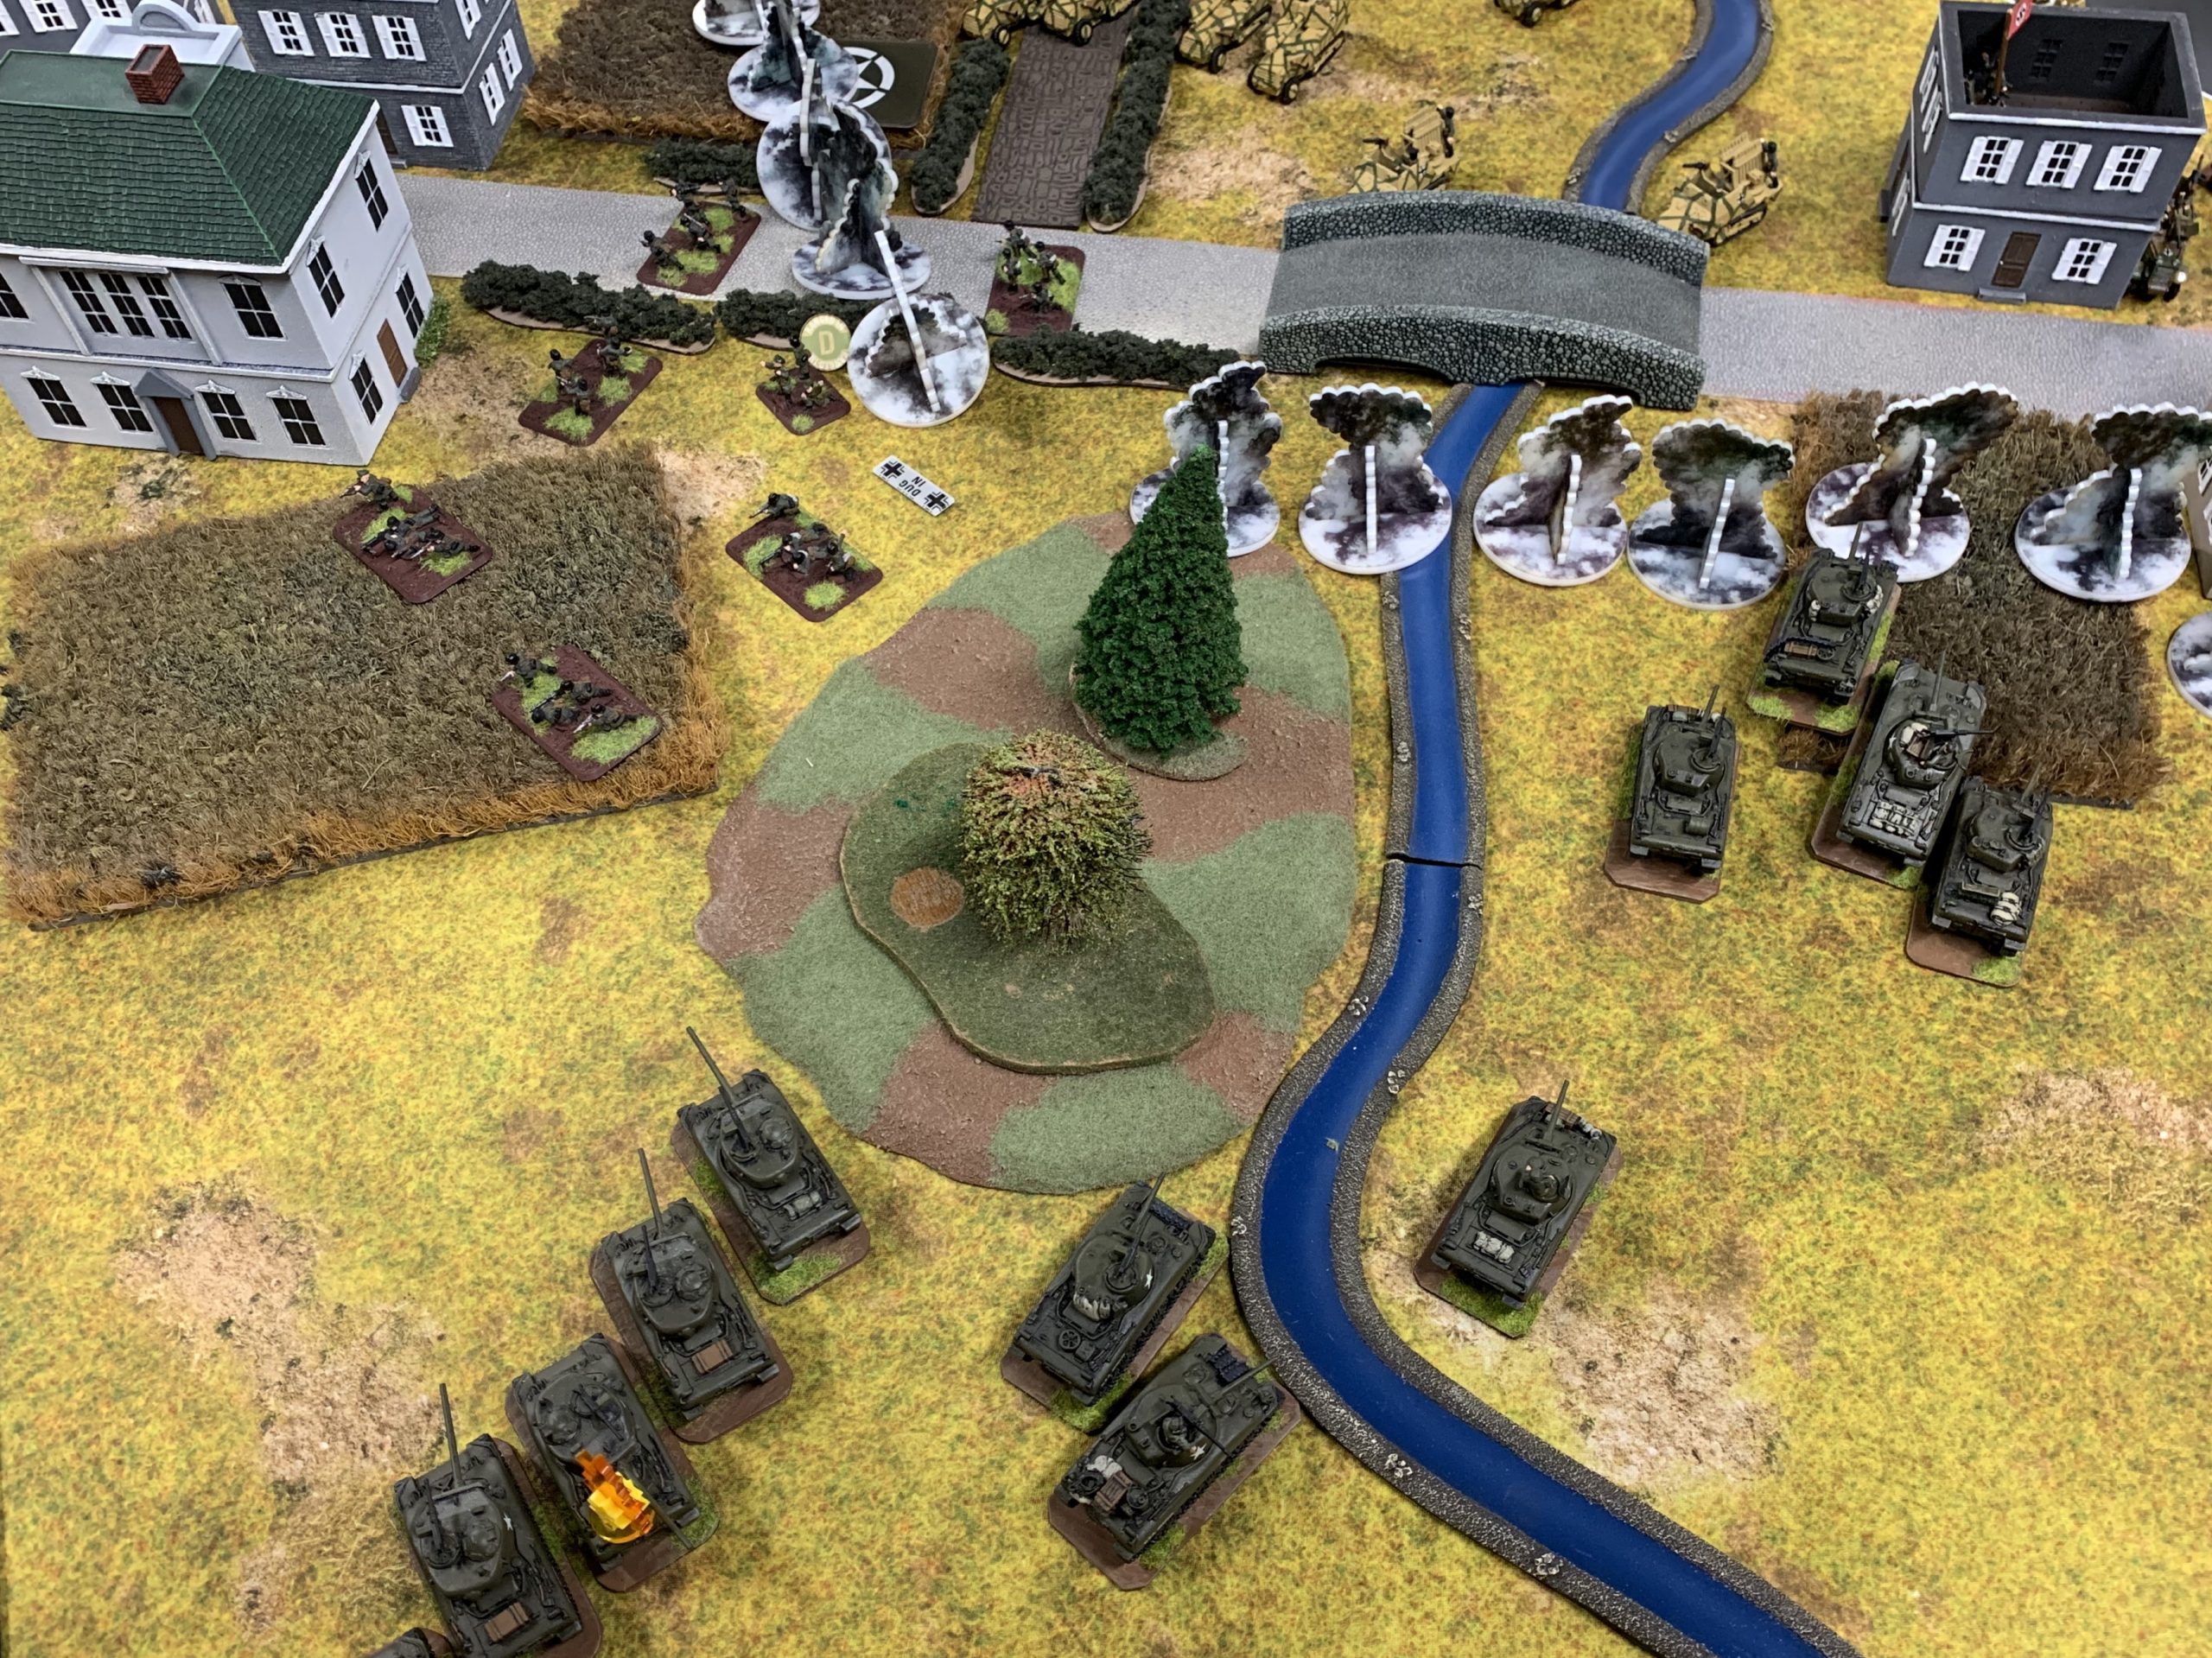
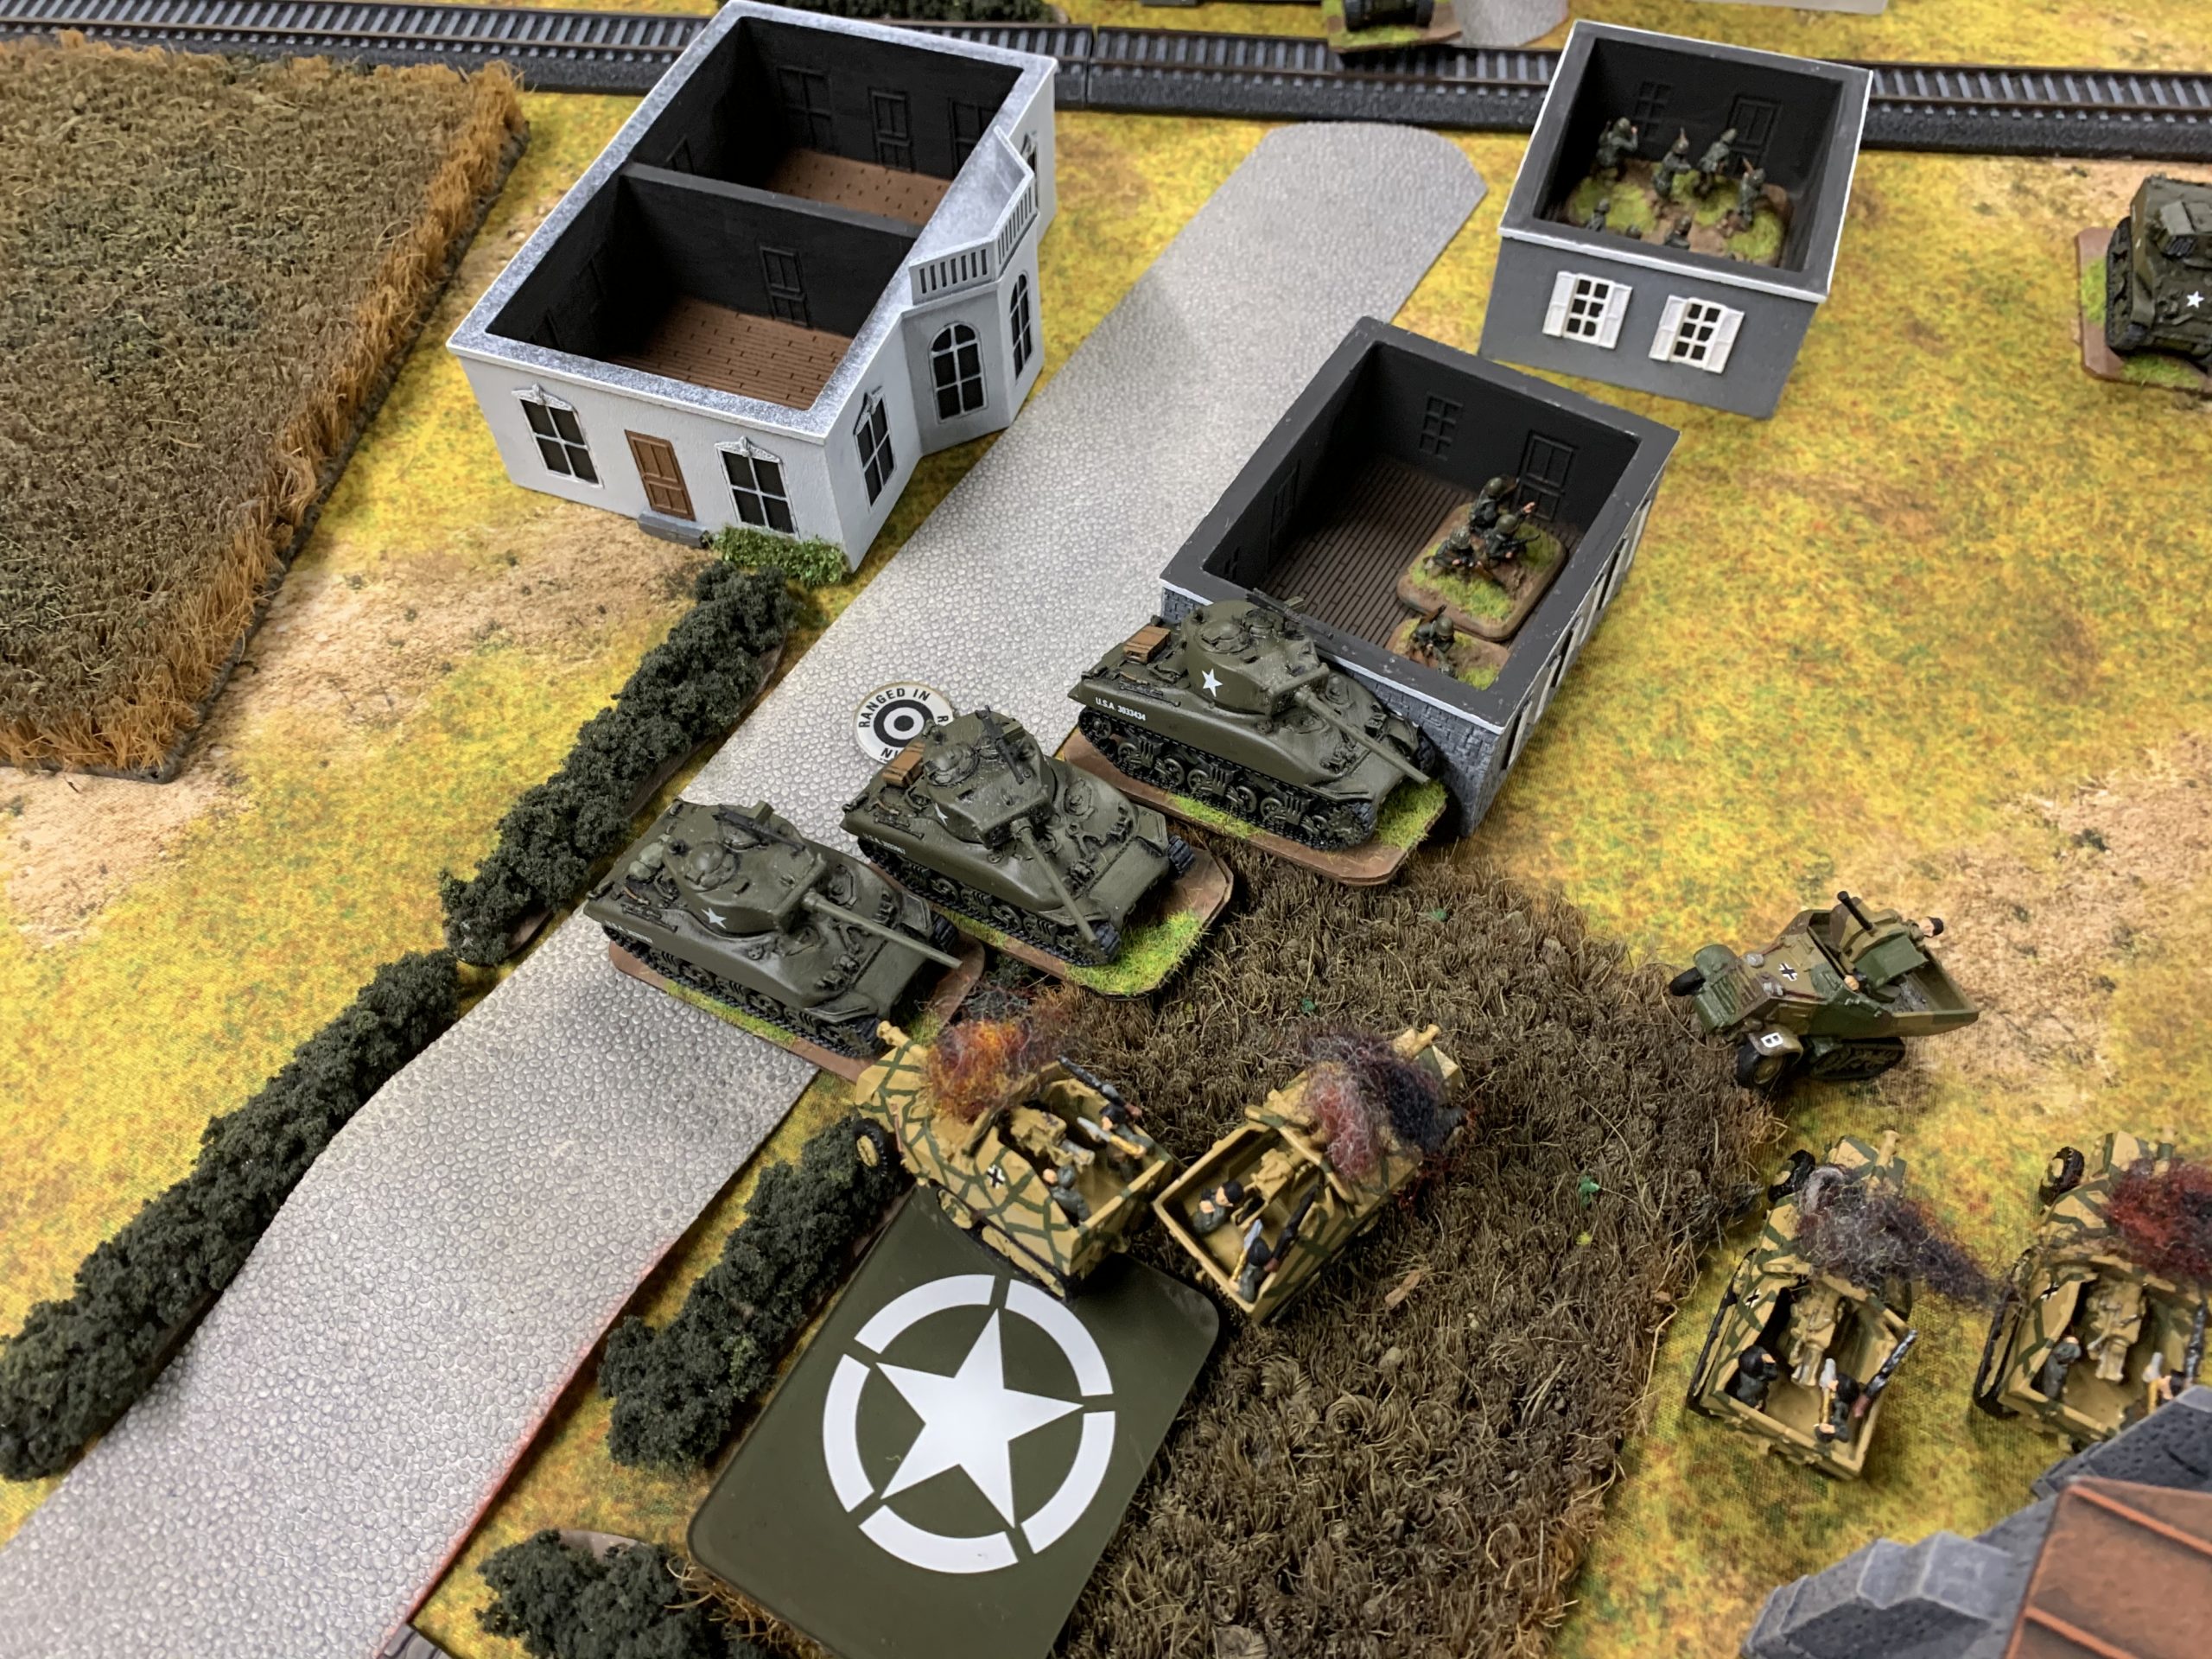
With all my smoke now used, the main Sherman force brazenly charged into the rear of Ed’s deployment area. The Shermans and the remaining Stuarts destroyed Ed’s S307s. This left his Schleppers as his only “ant-tank” assets on the table.
My artillery and mortars, done with all their smoke missions, now started to shell Ed’s Panzer Grenadiers on the objective.
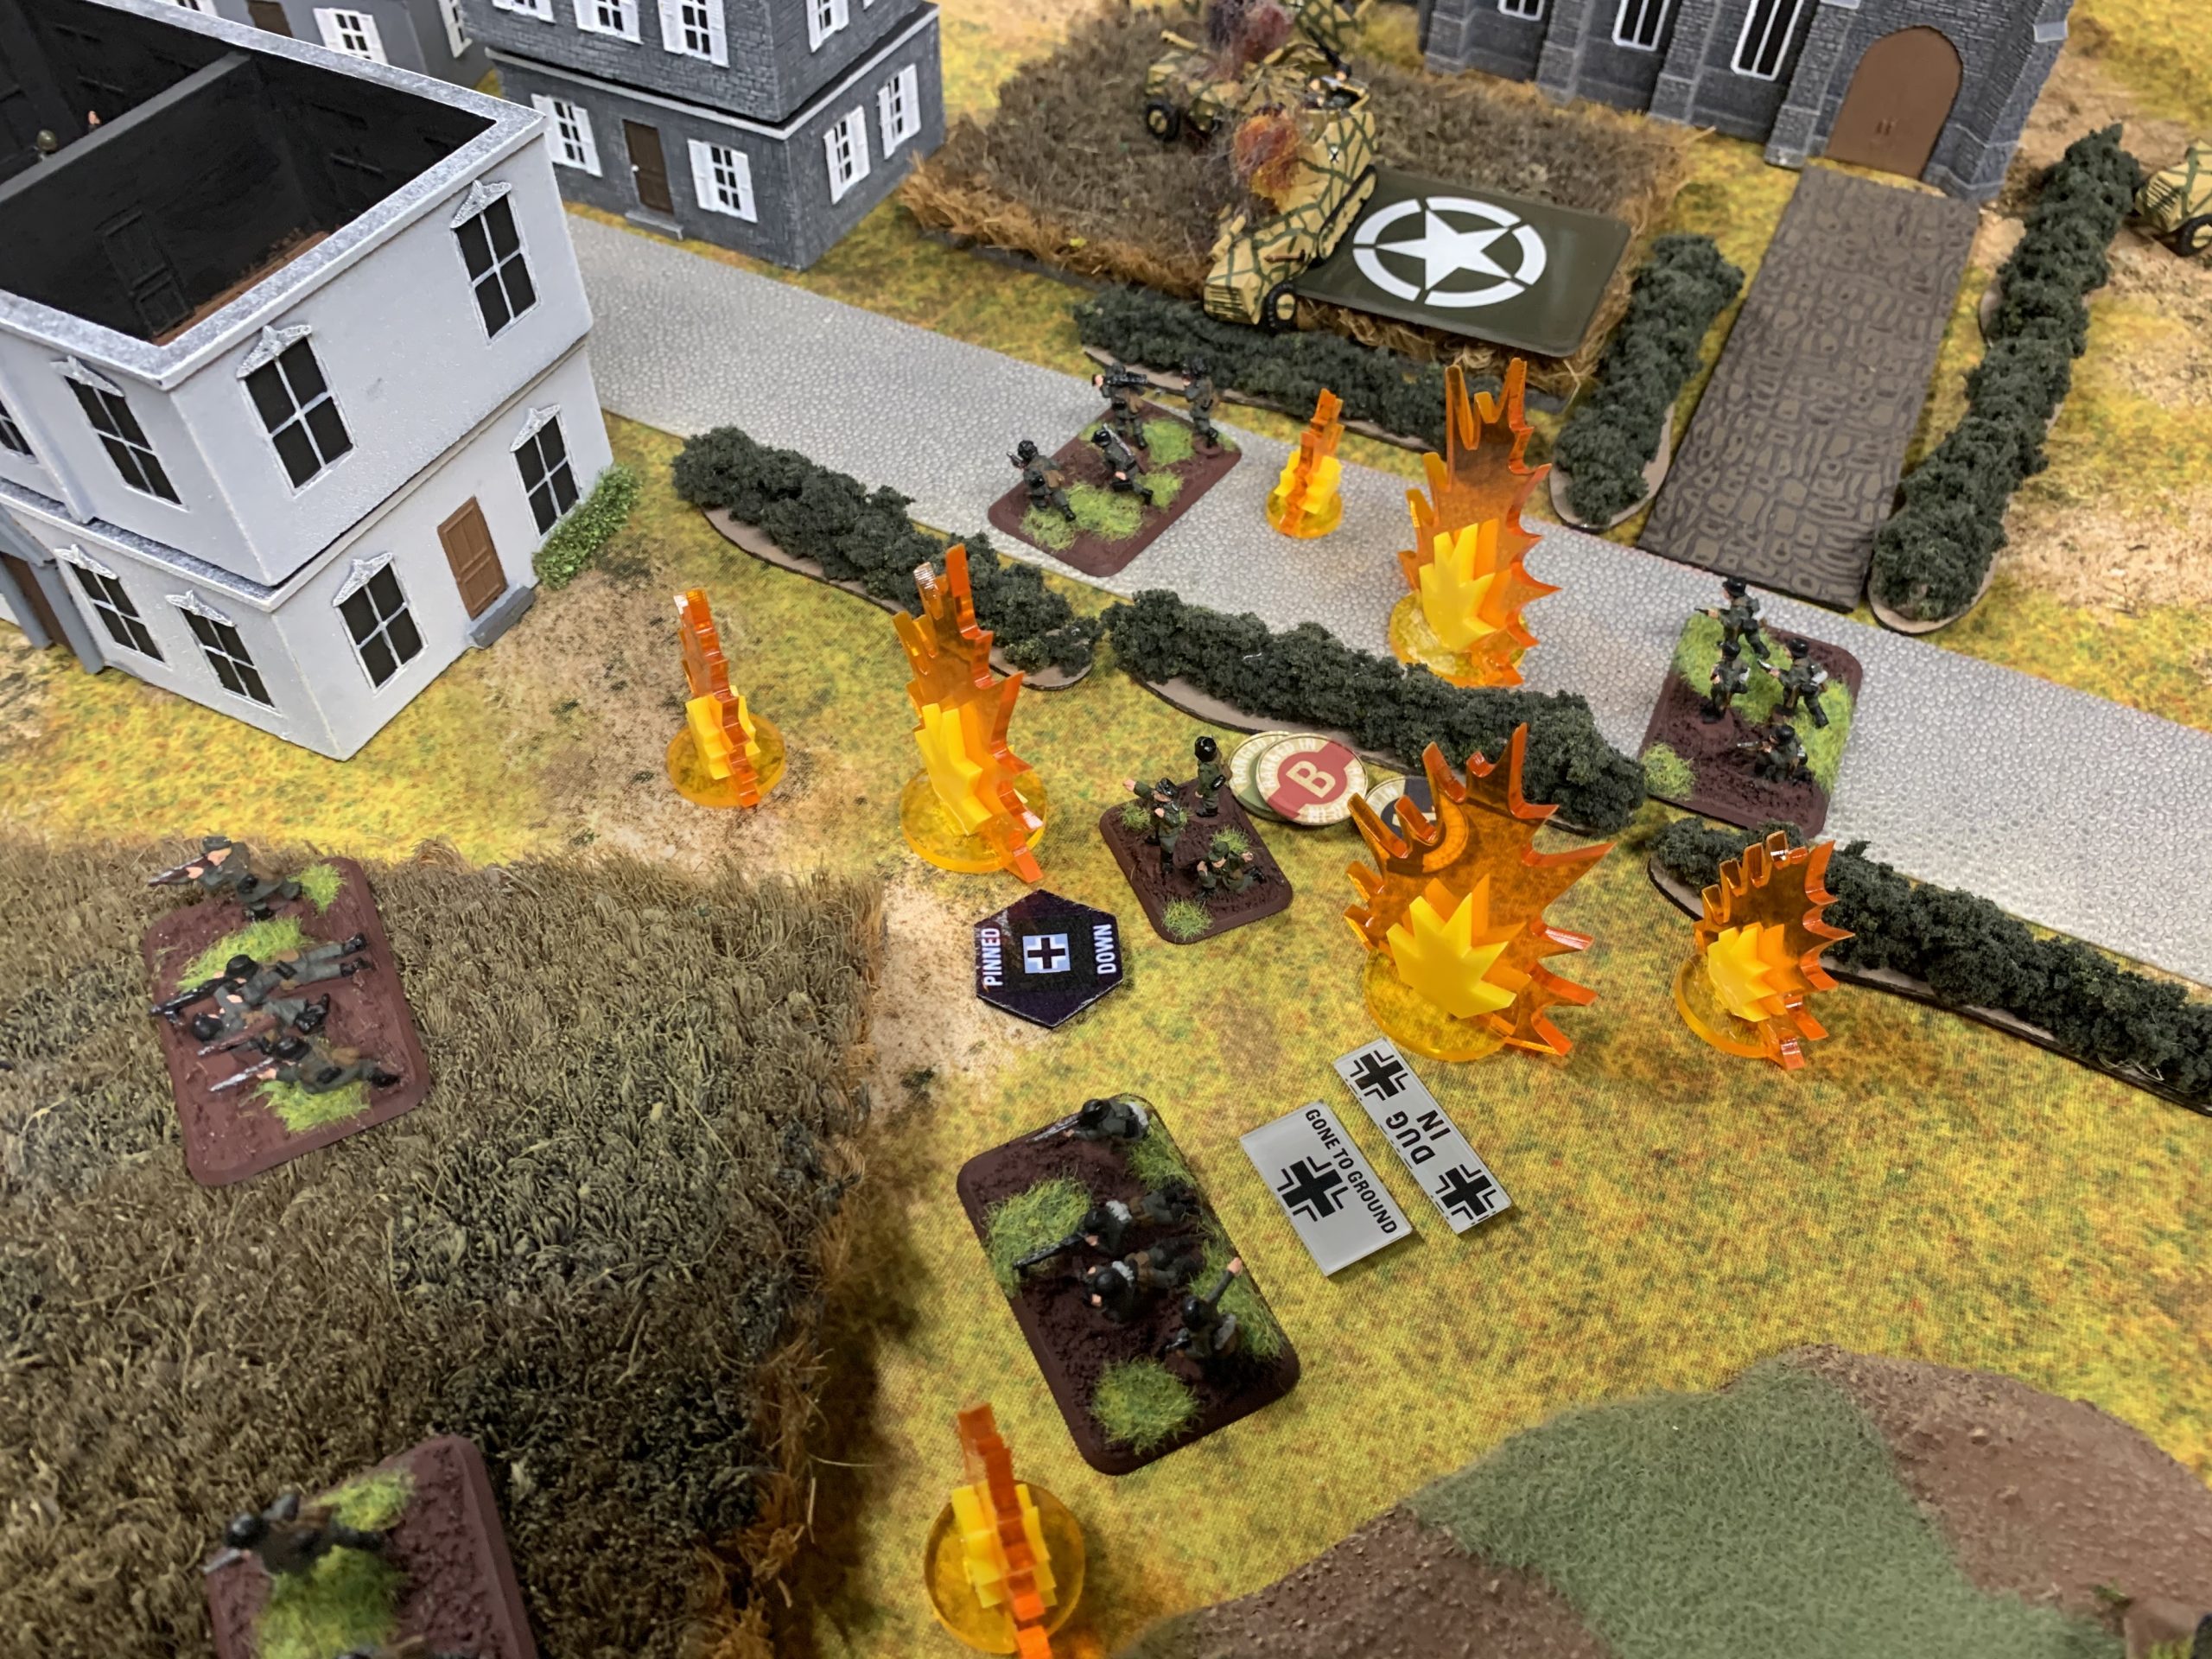
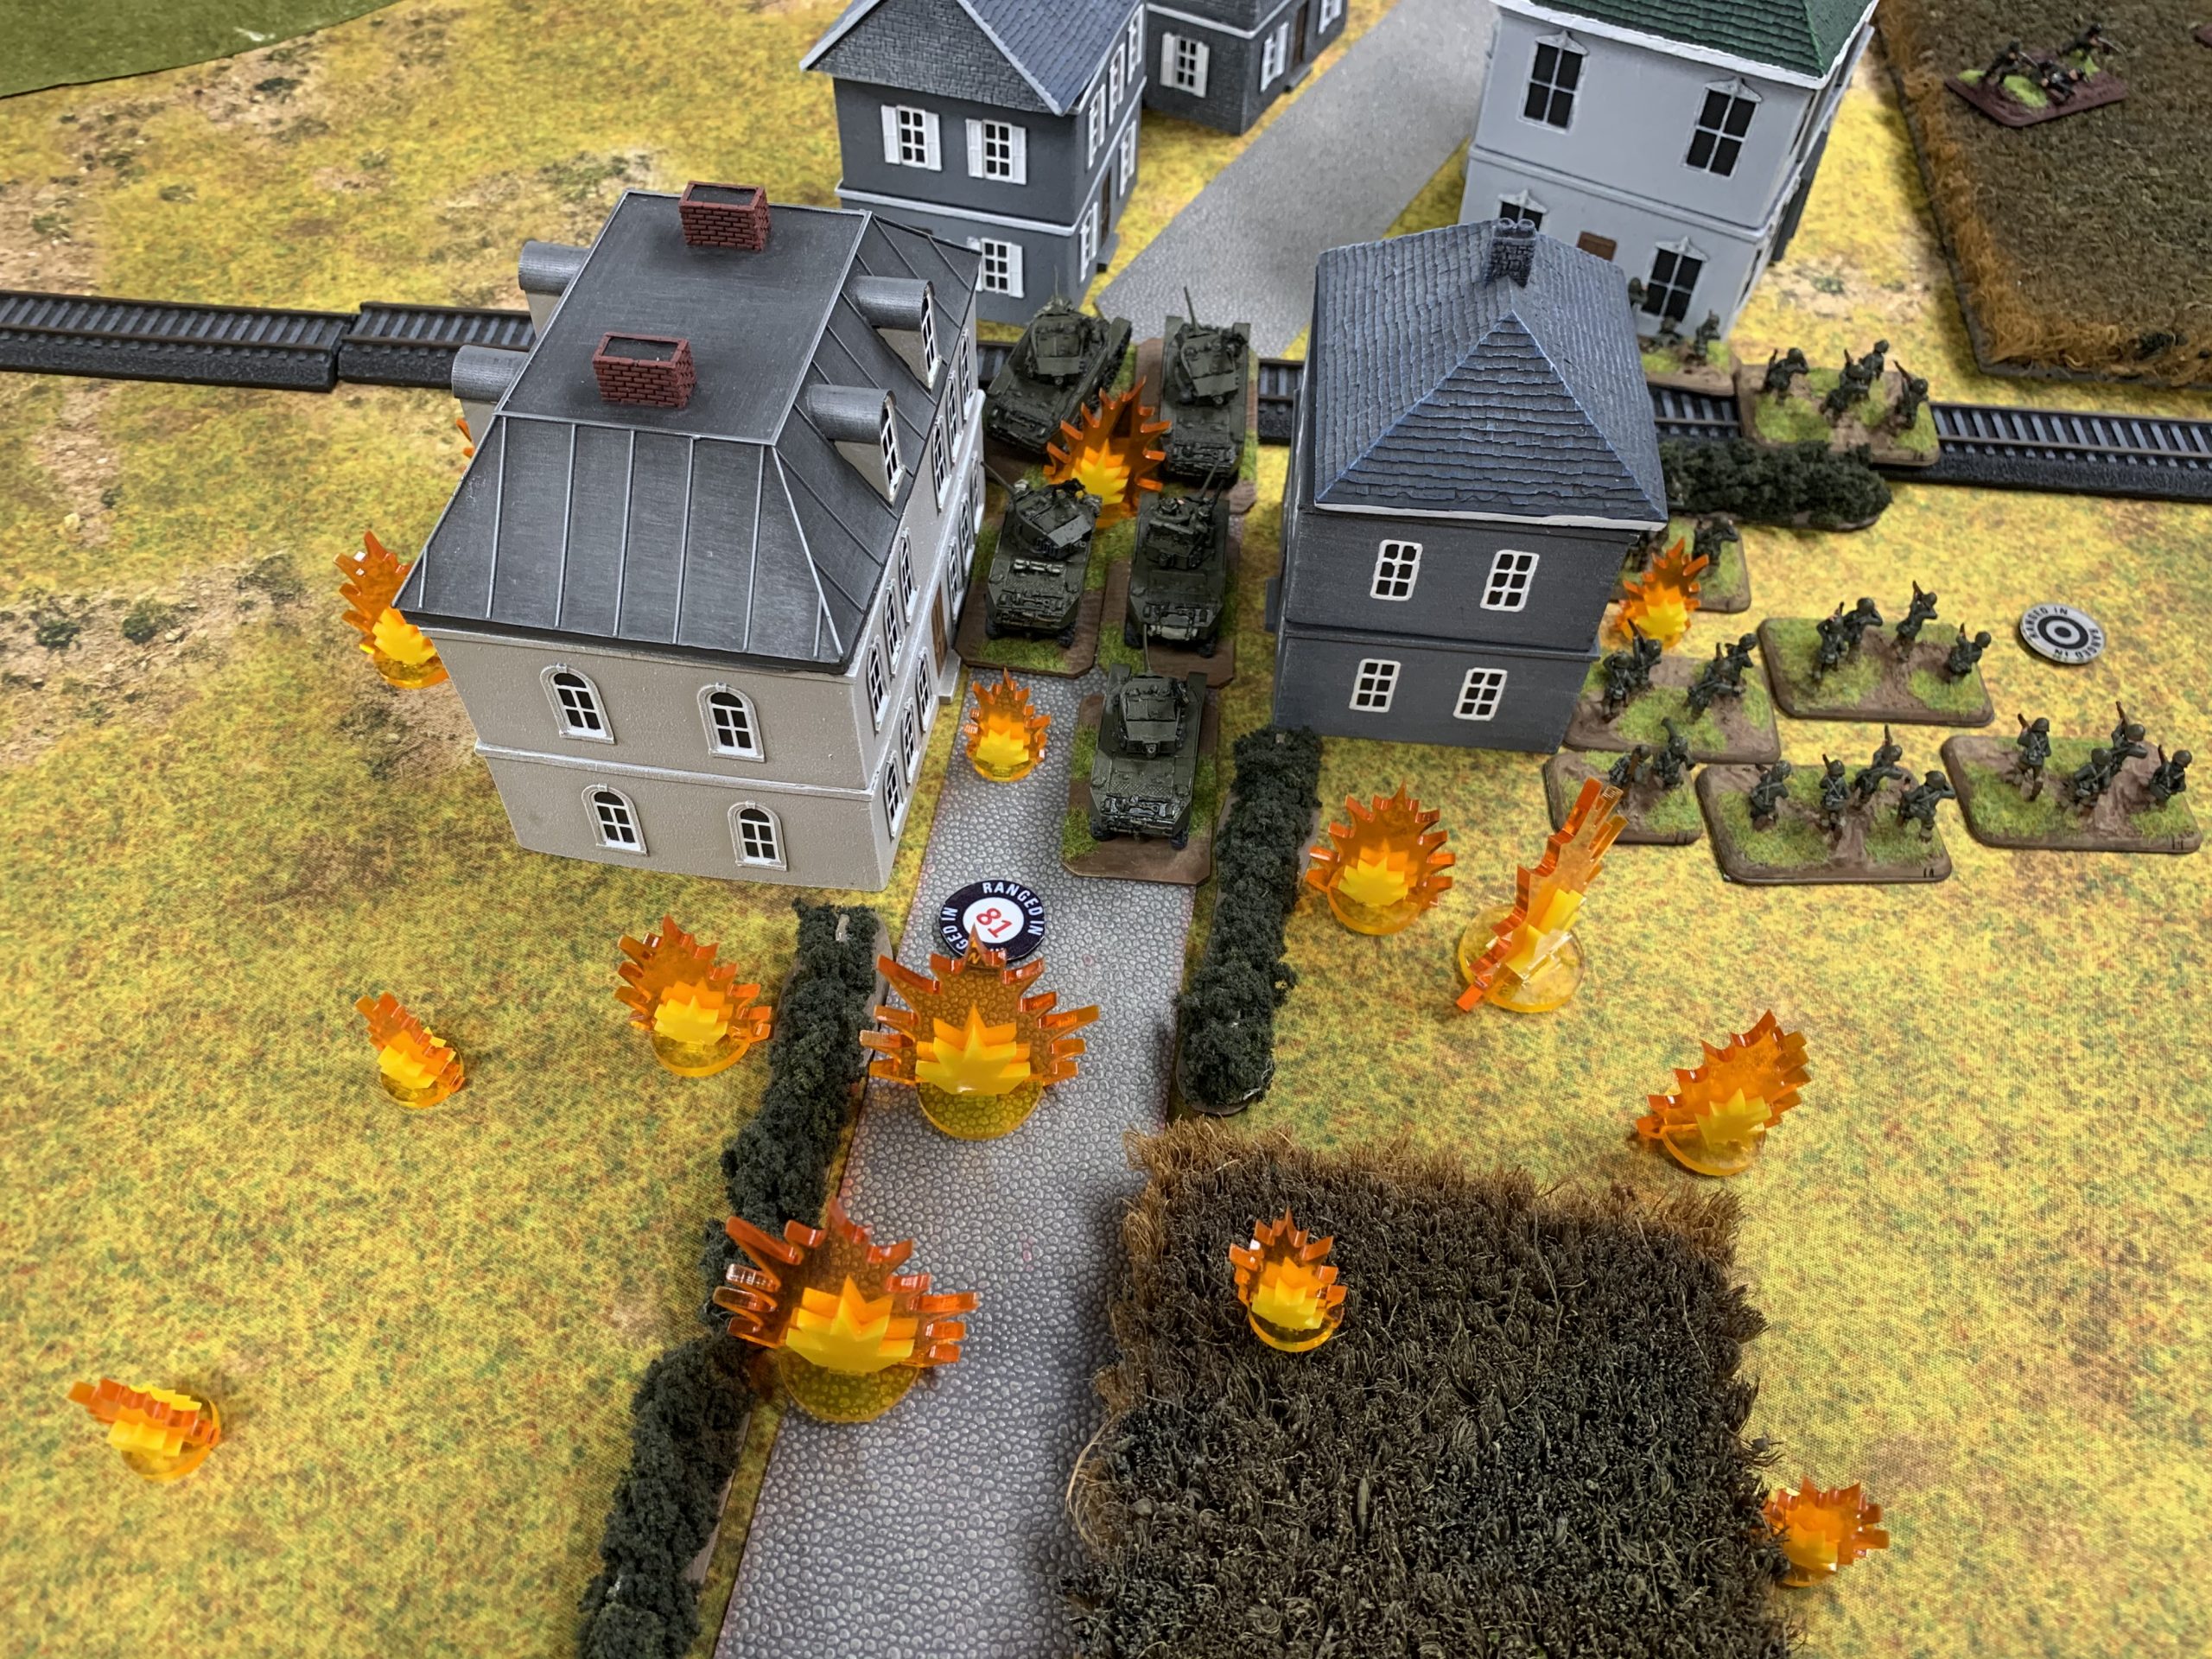
Ed rallied his Panzer Grenadiers and went to assault my Company Command Sherman nearby. He managed to bail the Sherman with an advancing Panzersfaust shot, but other nearby Sherman helped to drive off Ed’s assault.
Ed got in all three of his reserve units on turn three. With some long range sniping, his Hotchkiss 7.5cm assault guns were able to finish off the last of my Stuarts.
 Turn 4
In turn four, I managed to range in one of my M7 Priest batteries on Ed’s reserve Panzer Grenadiers with some decent results.
I also continued to mop up the Panzergrenadiers in the objective area.
 Turn 5
In turn five my Shermans eliminated the Panzergrenadiers. Ed’s two Schleppers just could not hit and when they did, I was able to make my saves.
In turn five, all Ed could get in to contest the objective he was defending was a single AAA Halftrack.
 Turn 6
With just one AAA Halftrack to destroy needed to win the game, my Shermans made short work of that sole halftrack giving the US a 8-1 win in this game. My only loss was the Stuart platoon, though Ed almost nabbed my Armored Recon Patrol as well with some long rang shots.
The 21st Panzer Division is definitely not a power house formation, especially when facing a lot of US smoke taking out a couple of turns of long range shooting. I really think the key to 21st Panzer Panzergrenadiers is Von Luck. His rerolls of reserves is crucial to reinforcing the onboard forces.
The 21st Panzer Panzergrenadiers lack the option to take PaK-40 7.5cm AT Guns and cannot add Panzerschrecks to their platoons. Though they get the S307s 7.5cm guns in the formation, they cannot take Marders as a support. As I see it, the only reason to play 21st Panzer Panzergrenadiers over normal D-Day Panzergrenadiers is to get Von Luck.
So Ed and I will need to try again with Von Luck in the mix.
U
Nice AAR, is losing your Stuats not a US 7-2 win?
Great report Tom,
Good photos supported by precisely enough text to tell us whats going on. Keep them coming.
“Recce103c”, the first unit lost is always free.
Søren,
Thx, you’re right ofcourse, need to play more!
Thanks guys. Ed’s luck has not changed much with the 21st Panzer since this game. I’m beginning to lose faith in it.