Firestorm Galaza Turn 2 Battle AAR – Repulse at El Edem
By Tom Burgess,
 My friend Charles and I recently met up to have another go at a Firestorm Gazala campaign. We had played a game, in Turn,One of the Campaign, where Charles’s Panzers managed to break up my British Motor Company and Crusader force. See that AAR . After breaking my reinforcing Crusaders and destroying all of my Anti-tank guns, his Panzers had free reign to take down my defending infantry.
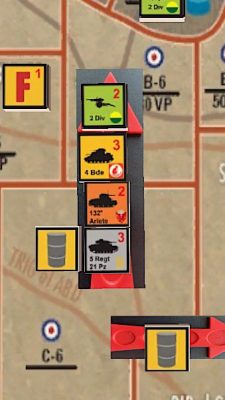
Charles hoped to keep that momentum going for our next Turn Two battle. This made a lot of sense since Charles was effectively just continuing the attack northward with the 5th Panzer Regiment. So he chose to play Battle One from Turn One at El Edem (B6). This area was just to the south of Tobruk (see inset map).
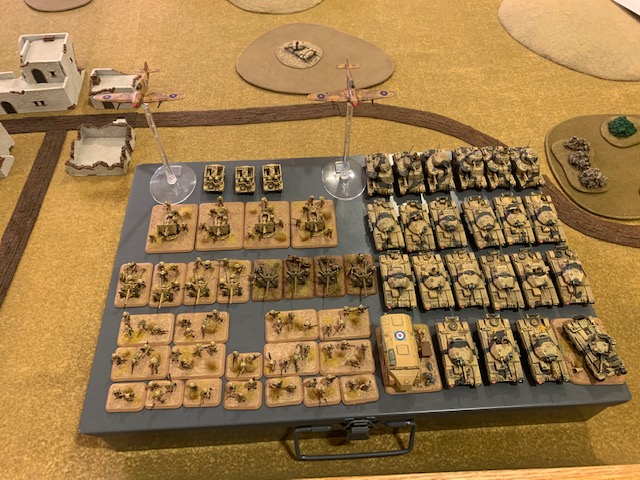
Knowing I would be facing a mostly tank force, I based my defending force off of a British Rifle Company, with maxed out 6 pdrs. I also beefed up my Crusaders with a Grant Troop to assist the Firestorm Grant unit already provided from the campaign scenario. I was very glad to have two Grant Troops as my Crusaders fared very poorly against Panzers in our last battle. Charles force was very similar to our last battle, but he did swap in a full unit of Panzer-IIINs to get some higher firepower.
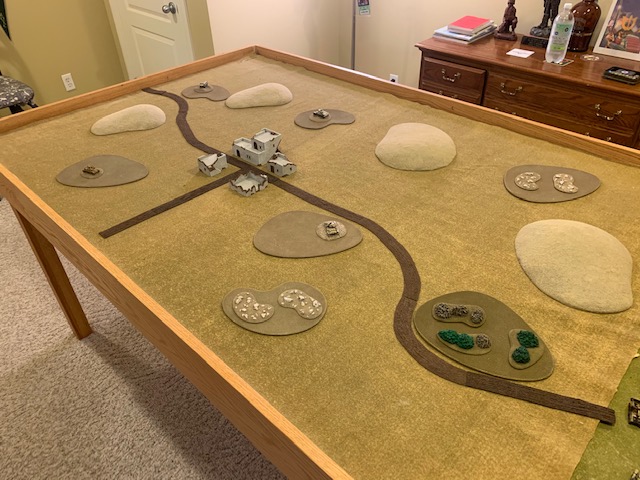
The Battlefield
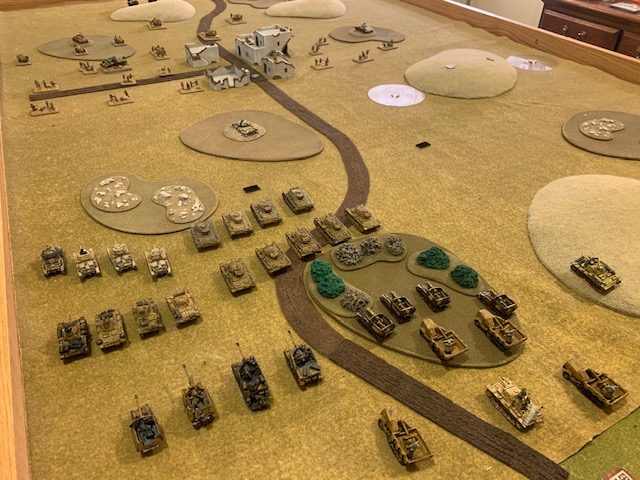
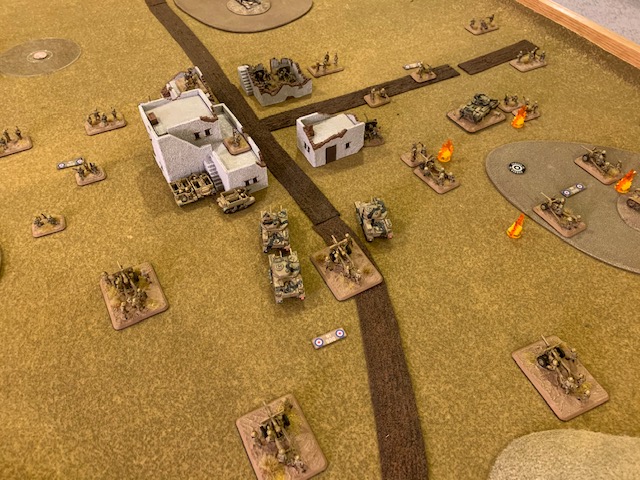
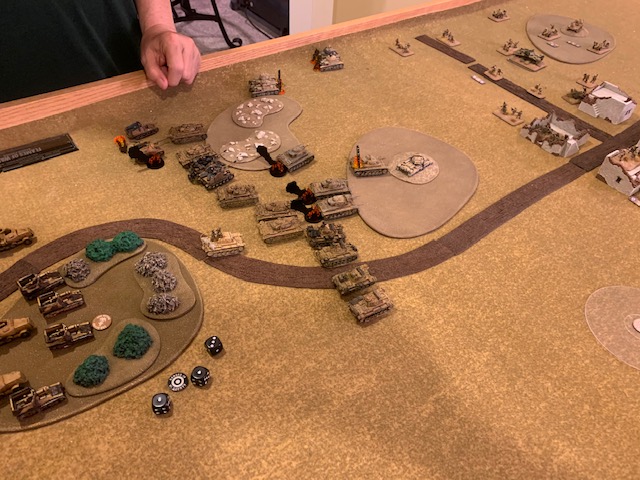
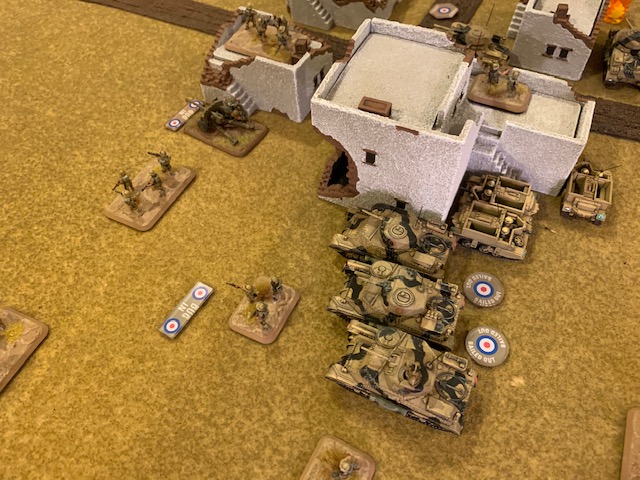
I let Charles set up the terrain as he saw fit. He kept it as a typical desert board with the rises being significant. Terrain features. Since the town of El Edem is in this area, he added a small village.

The Forces


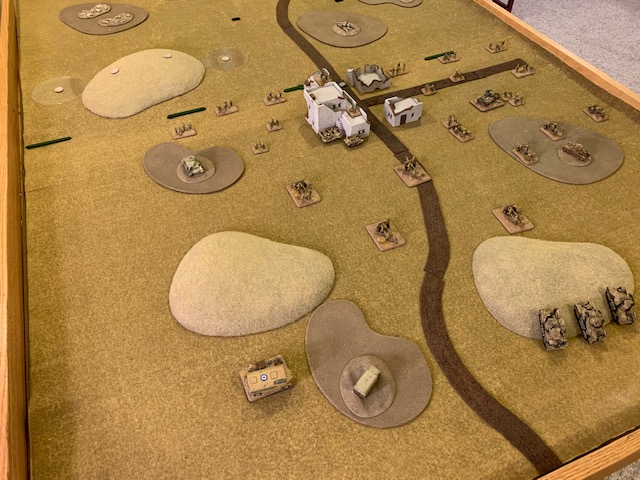
Deployment
As the defender, I chose to defend the side of the board with the small town in it. I used all of my four mines on my left in the neutral area to deny Charles the use of the hill just forward of my position and to funnel his forces to my right. In our last game, Charles decisively took control of a large hill that gave him an excellent concealed and elevated position to shoot at my Crusaders from. I did not want to afford him that opportunity again.
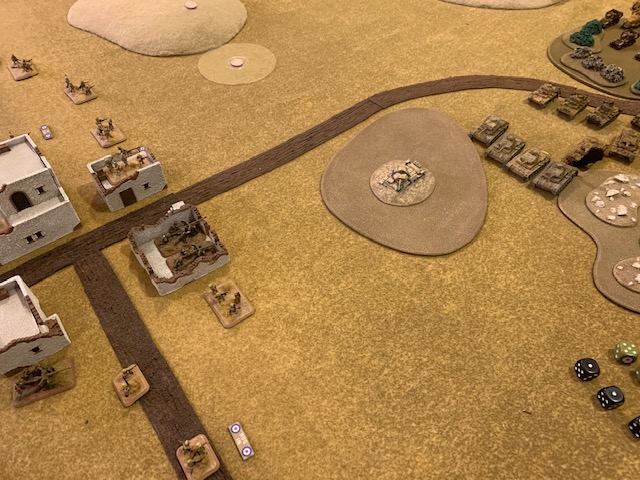
I placed one Rifle platoon on either side of the town. I set up my 25 pdrs further back and well spread out. In our last game, Charles hammered my 25 pdr guns right off the bat. So I placed them in a less threatening position and instead deployed a 6 pr platoon on the right to the rear of the objective. This position would likely be the first target of the Schleppers so I wanted the guns with the 3+ save to take that first bombardment. I did not want to lose the Grants I had on the table to an opening volley of Marders, so I kept them out of sight. The very rear objective was left very open, but I did not expect Charles would risk the minefields to try to bypass my forward defensive line. I also had a second platoon of 6 pdrs in ambush, just in case he tried.
Turn 1
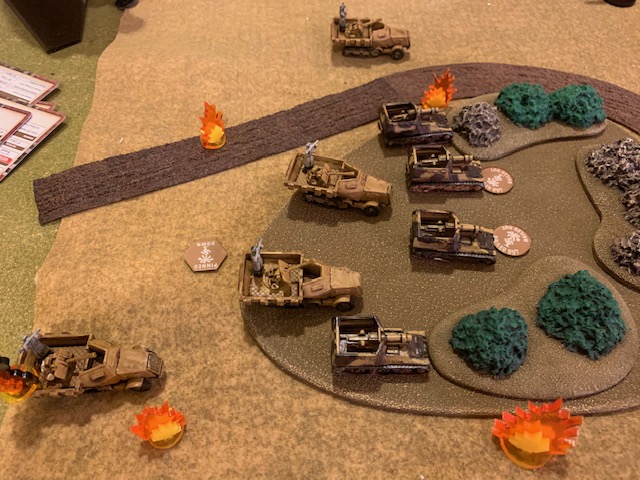
In turn 1 Charles crept his tanks forward. His Schleppers ranged in immediately but achieved no hits.

Seeing that Charles was going all-in on my right, I could go ahead and place my ambush of the second unit on 6 pdrs in the town. The Hurricanes were denied arrival due to Charles’ use of the Brandenburger Command Card. British shoot though accounted for one Panzer-III and two Italian M41/40s.
Turn 2
Charles only made minor adjustments in turn 2. Reluctant to get in close, he settled for 6’s to hit instead of 5+’s to hit. This effectively reduced his chances to hit by 50%. Due to the lack of cover, my 6 pdrs were hitting the sitting Panzers on 5+.
I was lucky in the fact that when I did manage to fail a save, Charles would usually oblige me with a failed Firepower check.
The Schleppers, even with Repeat Bombardment, could not knock out a 6 pdr from the first platoon.
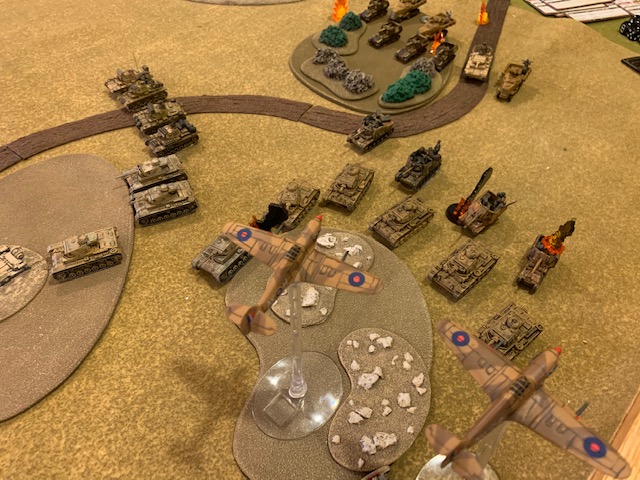
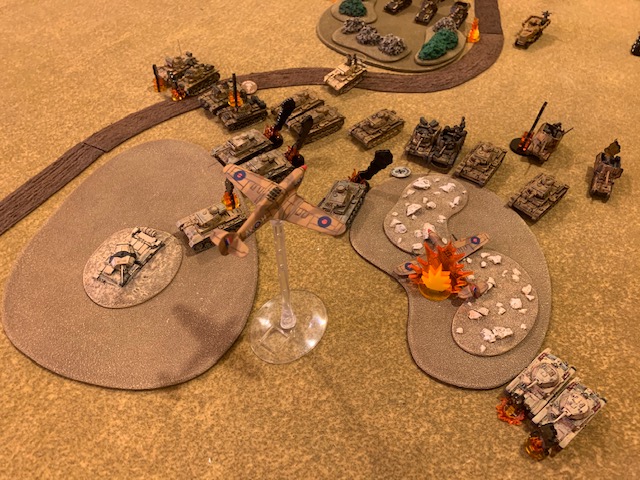
The Hurricanes managed to arrive on Turn Two and after flying through 20mm AAA fire, they zeroed in on the Marders. I felt that if I could knock out the Marders, my Grants should be able to stand up to Panzer-IIIs.
Turn 3
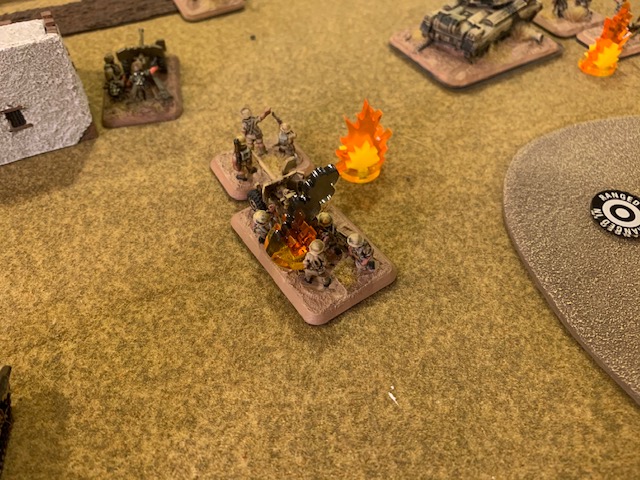
Finally, in Turn Three, the Schleppers managed to destroy their first AT gun.
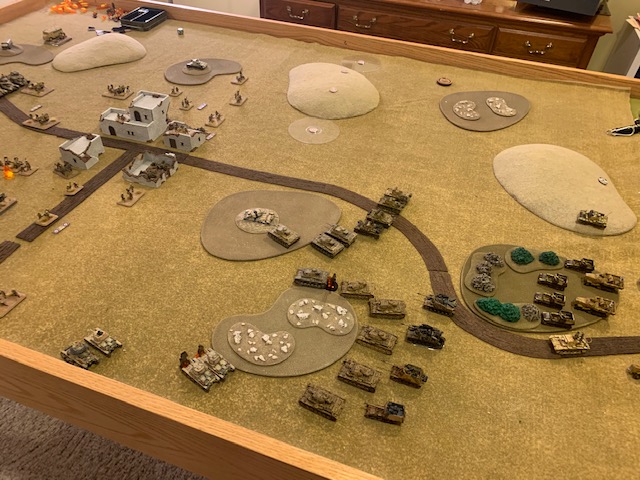
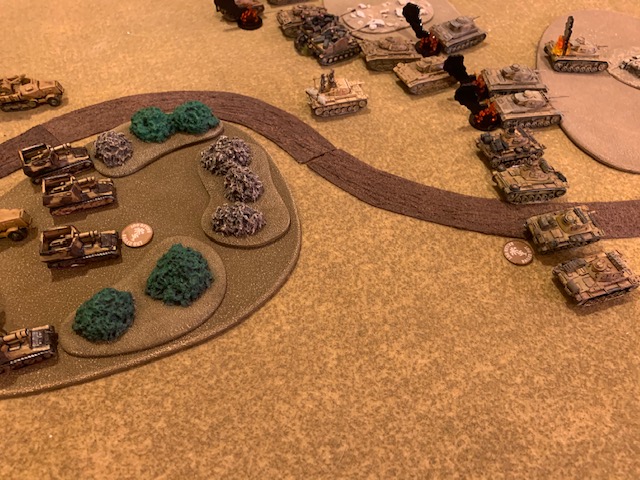
This small Axis gain was offset by the 6 pdrs having already destroyed four Panzers and all of the Italian tanks. The rate of loss was definitely in the British side’s favor. If Charles wanted to settle for a game of attrition, it was not going his way.
Turn 4
Charles continued to try to win through long-range fire, but he was just not killing British AT guns fast enough.
The British caused no additional losses to the Germans in Turn Four, despite the Grants joining the fray. But so long as the Germans staid stationary, their chances of a Turn Six loss increased. I pointed this out, but Charles had decided already that this was a lost game and instead tried to focus on gaining victory points.
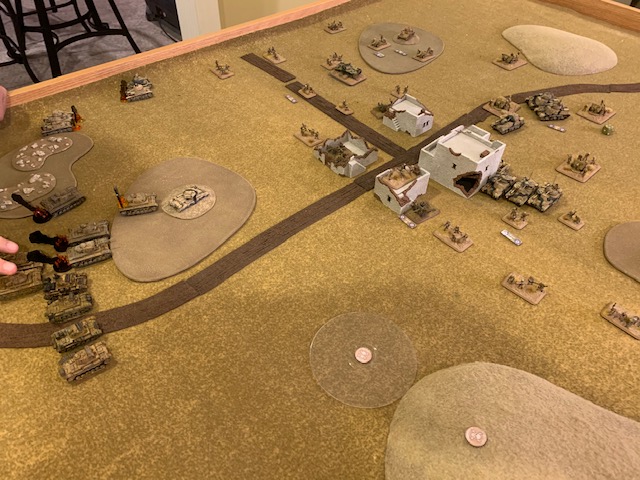
The small town had become somewhat of a forward strong point where the Grants could shield themselves from the remaining Marders yet still engage Panzer-IIIs. They also drew fire away from the 6 pdr AT Guns.

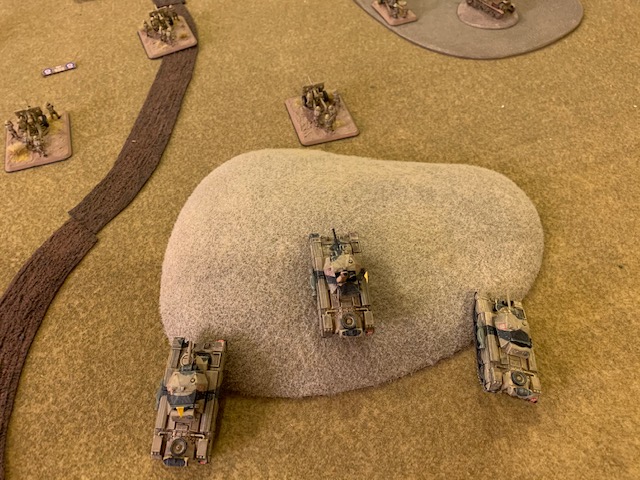
The Crusaders joining the fight now would be somewhat of a liability. I decided to hold them back and commit them only if an objective would be threatened.
Unlike our last game Charles’ Schleppers, were performing very poorly. But my 25 pdrs were not fairing any better. After three turns of being ranged in on the Schleppers and the AAA Half-tracks, only one AAA Half-track had been damaged.
Turn 5
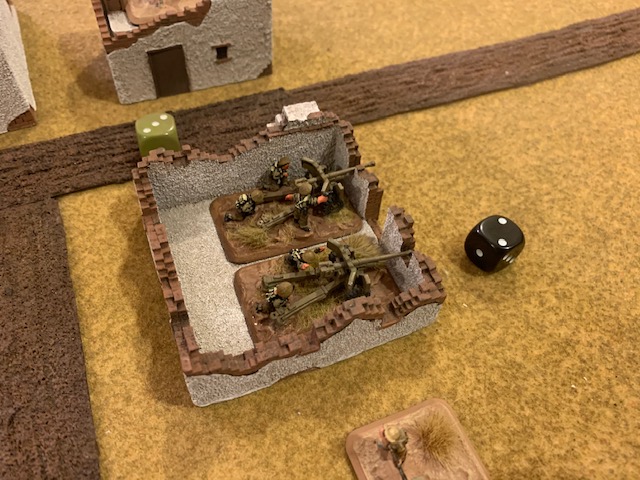
Charles’ Panzers now concentrated on the Grants. One platoon had two Grants out, which could result in the platoon failing Last Stand. But with Protected Ammo, both remounted and rejoined the fight. Charles shifted the Schlepper bombardment from the rear 6 pdr platoon to the the 6 pdr platoon in the town immediately destroying one gun.
The Hurricanes returned and again go for the Marders. The achieved only a bail results at the cost of one plane being shot down. I decided that the Hurricanes have done all they can do and I will not risk their full loss in another attack.
Turn 6
Charles knocked out one more 6 pdr in the town which forces a Unit Last Stand test, but the fearless gunners that survive continued to man their posts. At this point there is no need to play out the British half of Turn Six. Charles had barely proceeded any further than his initial move. The Panzers, settling for long range shooting, were held at bay by the British.

Conclusion
Charles’s long-range fire plan may have worked against a more aggressive hit on 3+ targets, but the cautious British had their 4+ to hit increased to 6+ by concealment (dug-in) and range. Charles really needed the Schleppers to get in a great bombardment to tip the balance early. But it never happened. In the end, the big 15cm German guns accounted for only two 6 pdr guns and a Rifle team. Charles really needed a smokescreen to let him get in close unbothered by British AT gunfire. but the Schleppers had no smoke. So the game ended as a 8-1 British victory.
So what would you have done attacking into this British force? Would you have tried to risk the minefields to outflank the British main defensive line? Would you have dashed in close, forgoing all shooting and hell-bent for leather, in the first turn like I would have likely done? Or would you stayed at range like Charles did and pray for the Schleppers to clear out the British AT guns?
I’ve played four or five games now that seemed to follow this same turn of events. If the German support units of artillery and Stukas fail to wipe out the British guns, the Germans are doomed. My only suggestion, which I have yet to try, is a German pioneer platoon to move in and remove the minefields so the Panzers can pour through the gap. But it’s only a theory.