Painting Waffen SS Platanenmuster Camouflage
By Kreighton Long
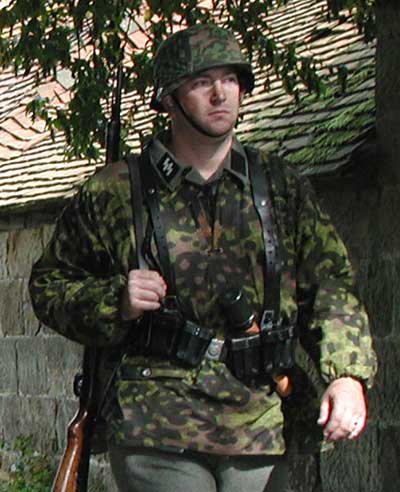
No World War Two military incorporated camouflage as extensively as Germany. Most rivet-counters/armchair historians can eyeball camouflaged German infantry and reliably tell you what branch of the German armed forces the camo-clad trooper served.
This is especially true for the Waffen SS. From their first actions in Poland in 1939 through the fall of Berlin in 1945, the SS was equipped with camouflage uniforms that visually set them apart from the Heer and Luftwaffe ground troops.
Unfortunately for tabletop wargamers, painting the different camouflage patterns of the Waffen SS can be an intimidating challenge. Personally, I held off painting my first SS infantry for years after entering the hobby due to a lack of self-confidence.
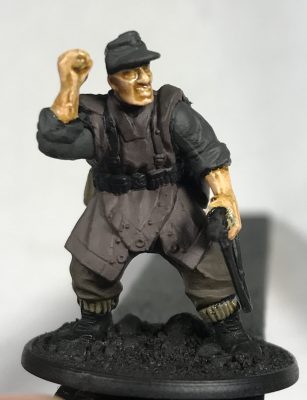
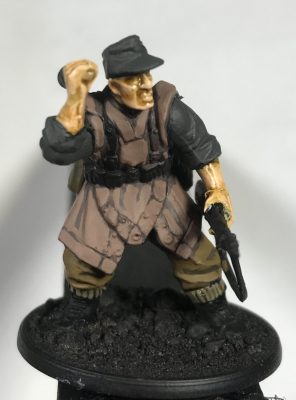
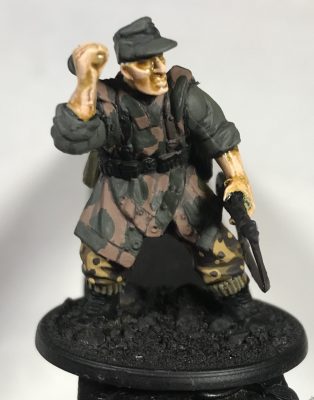
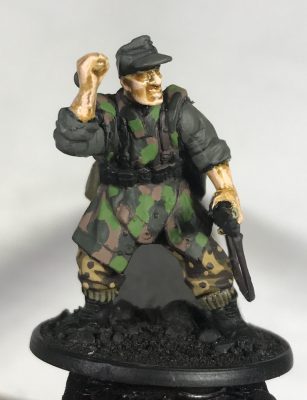
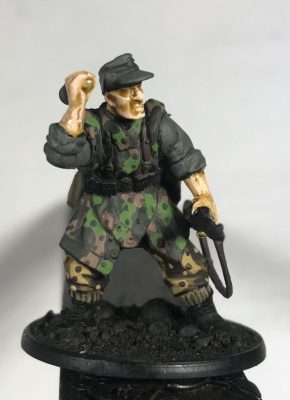
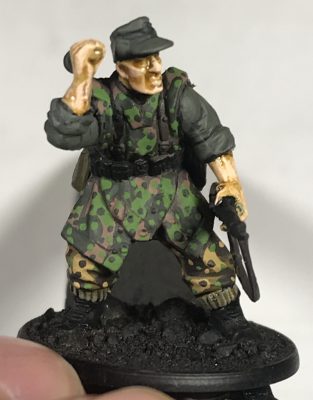
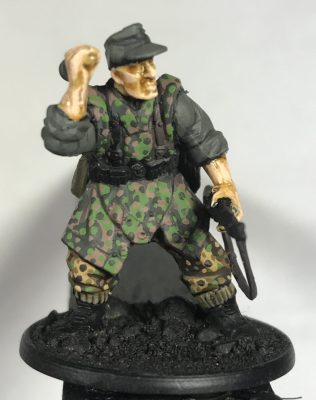
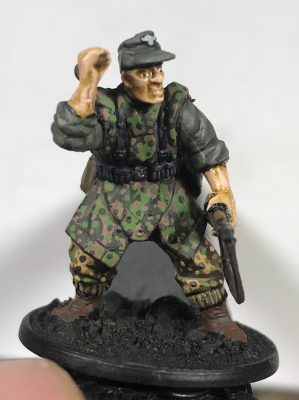
Since working up the courage to attempt painting SS camouflage, I completed numerous iterations, each time learning how to suck less the next time. By this point, I’ve grown comfortable enough with my work that I’m ready to share my technique. In this tutorial, I intend to lay out the steps I take to replicate platanenmuster (plane tree) camouflage on my 28mm miniatures.
We will be using the following Vallejo paints in this tutorial: German Cam. Pale Brown (825), German Cam. Black Brown (822), German Cam. Dark Green (979), and German Cam. Bright Green (833).
I hope this tutorial may be of use. Best of luck and happy painting!
A video version of this tutorial is available .