Misadventures with Home-Printed Decals
By Richard Steer
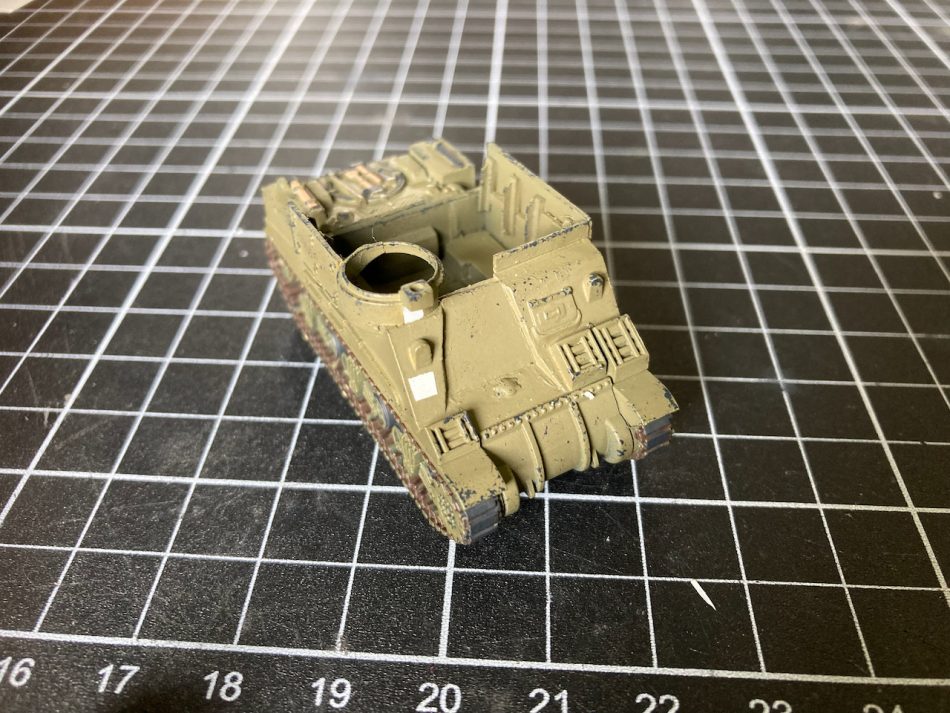
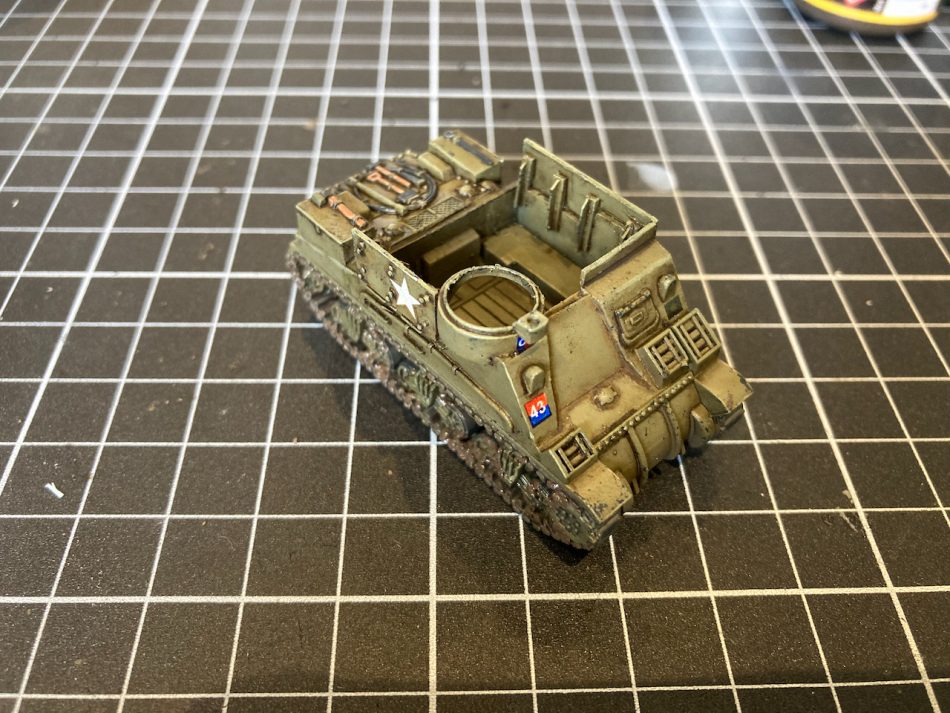
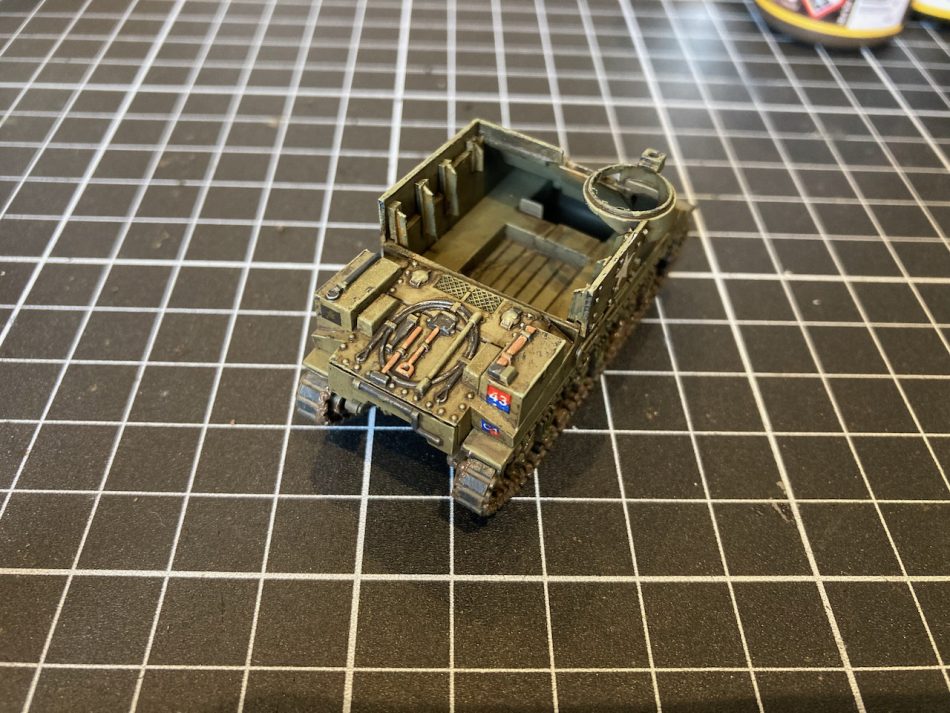
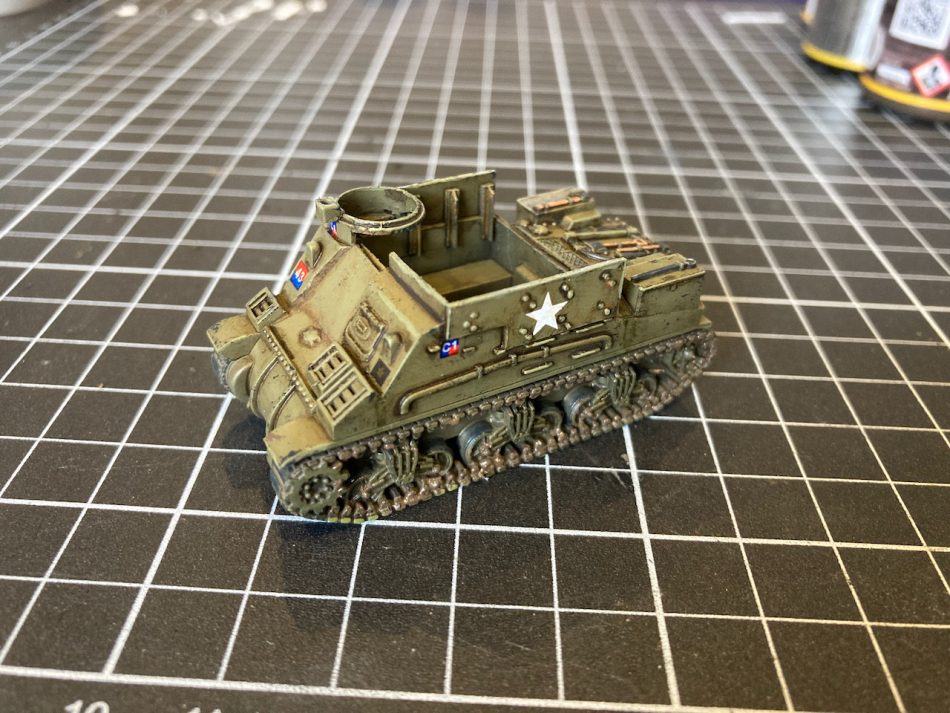
I am in the process of for my Late-War British. The Kangaroos were created in August 1944 by converting 72 Priest self-propelled guns belonging to the 3rd Canadian Division into armored personnel carriers. The converted Priests retained the markings of their original units: the 12th, 13th, and 14th Field Regiments, Royal Canadian Artillery. The are focused on the armoured divisions, with nothing suitable for the artillery units of an infantry division. In order to provide markings for my Kangaroos, I decided to try printing my own using our home inkjet printer.
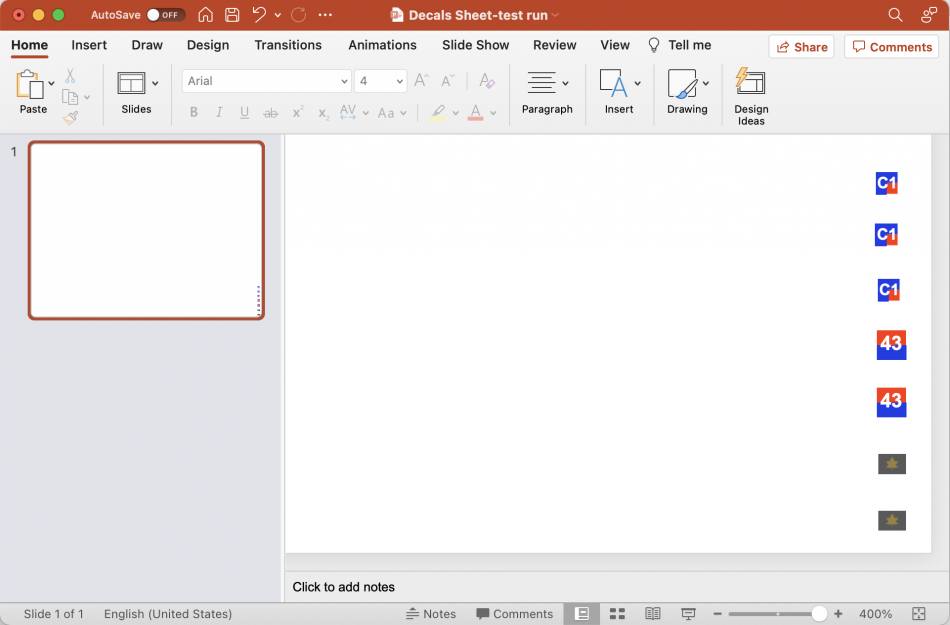
The specific decals that I wanted were the divisional insignia, the Arm of Service flash for the regiment, and the battery identification markings. I created the images I needed using PowerPoint, while the divisional insignia was downloaded from Wikipedia then scaled to the right size. The big issue was always going to be how to achieve the white lettering in the unit symbols with a printer does not use white ink.
My first attempt was using white waterslide decal paper for inkjet printers. My thinking was that this would be the easiest way to get the white lettering I needed. The decals printed nicely, and after sealing them with a couple of coats of enamel varnish, they were ready to be applied to the model.
It was terrible. Due to the white backing, I had to trim the images right to the edge of the printed color, which broke the seal between the varnish and the backing. The ink leached out at the edges when the decal was wet, and the resulting white border made the decals look like stickers. White paper was obviously not the answer, so it was back to the drawing board.

My next attempt was using clear decal paper. The issue then was how to get white letters. Two options sprang to mind. One was to use my now redundant white paper as a backing underneath the printed decal. I was worried that the thickness of the resulting double-layered decal would create that sticker-like effect again, so instead I painted patches of white where they were to be applied, and masked off the location of each decal when I painted the vehicle.
Becoming ambitious, I also attempted to create the white serial numbers printed on the side of each vehicle. For these I used dry transfer lettering from Woodland Scenics, applied onto the clear decal paper. This lettering could be applied directly to the model, but I felt that this would be too fiddly to get the letters lined up. As it was, applying white lettering to a decal sheet with white backing paper was not fun. I resorted to holding the sheet up against the window so that I could see the letters already applied well enough to keep everything in alignment.
The next step was to seal the decals, which this time was using two coats of Microscale Liquid Decal Film, applied with a soft flat brush. The Liquid Decal Film went on very well and dried quickly without leaving brushstrokes.
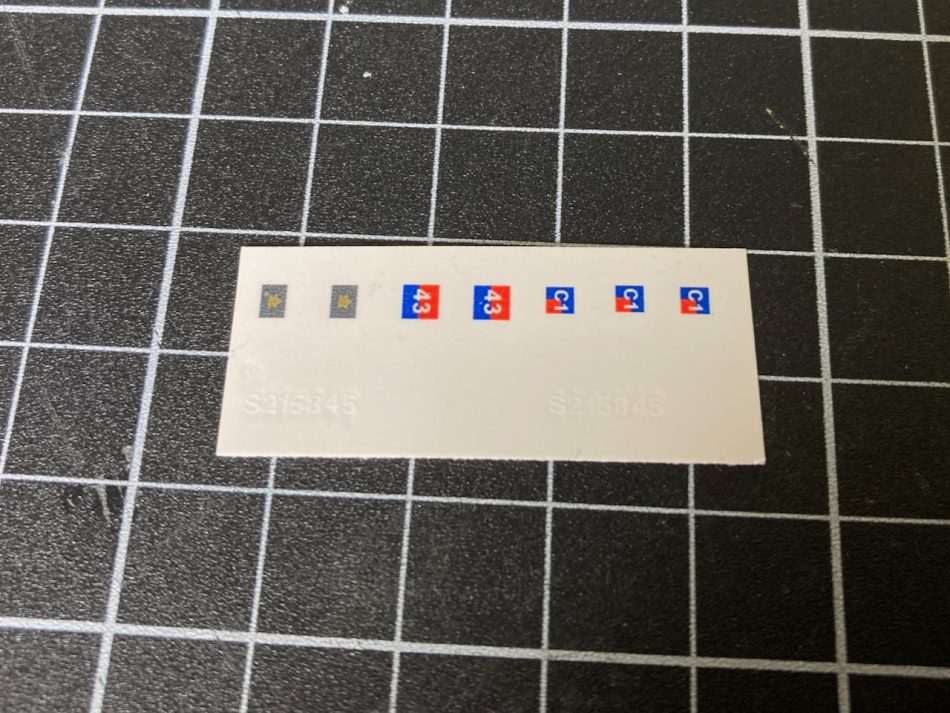
Leaving a border of about 1mm around each image, I cut them out and soaked them in water. They came loose from the backing paper after only a few seconds: much quicker than I have experienced with commercial decals. Applying each decal to its masked area on the model, the white lettering that I was after came through as expected. What I didn’t expect was how transparent the ink would be. The masked areas were, by design, slightly smaller than the decal being applied, and this showed up as a thin dark margin around the image.
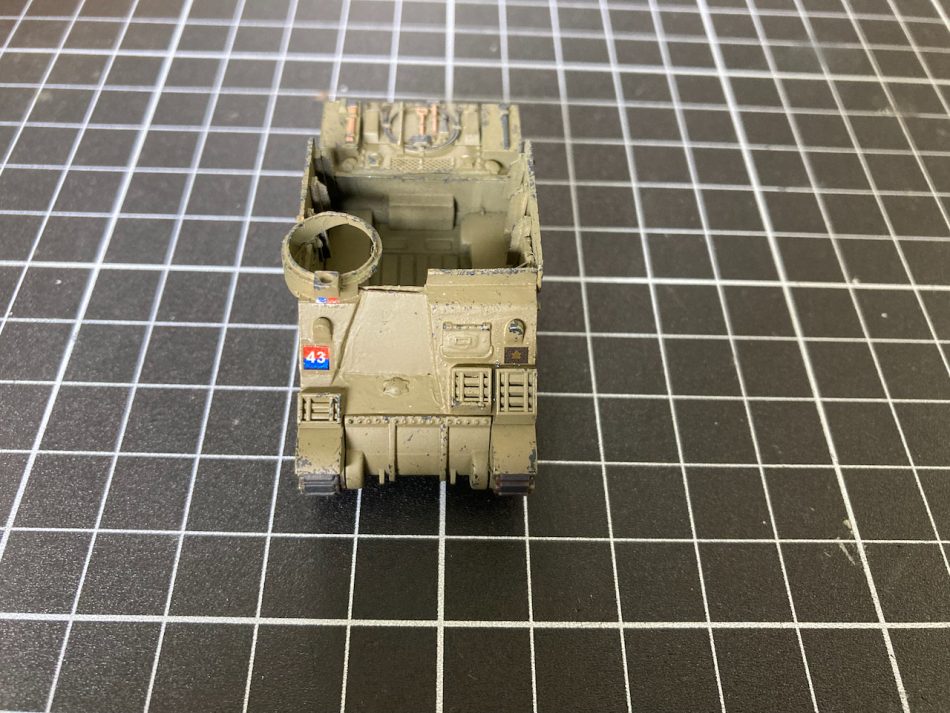
The result was, however, in my opinion good enough to proceed with finishing the model. I didn’t end up using the serial numbers I had so painstakingly created, as the 1/16″ lettering I had used looked badly over-scale when applied to the model. I was worried about how the decals would react to finishing products, but they took Microset nicely, and weren’t adversely affected by Mig enamel washes.
I am undecided whether to continue with the same process for the remainder of the vehicles. The home-printed decals pass the “3-foot test” of looking the part when viewed from a distance while on the gaming table, but due to the transparency of the ink they aren’t as good as I had hoped they would be.
I am going to try again using a laser printer. It requires different paper, but I am interested in seeing whether toner provides a more opaque finish than the inkjet. Beyond that, given the effort required to apply and mask off a white base for each decal location, I do wonder whether it would be almost as easy to paint and mask off the red and blue, then apply the white numbers over the top using dry transfers.
My first experiences with home-printed decals, while not entirely successful, suggest they could be a good alternative where a commercial product isn’t readily available. For me, the main revelation has been Liquid Decal Film. This is absolutely something that I would use to reinforce decals with a reputation for fragility, to prevent them tearing. Like a lot of other modeling techniques, these are useful tools to have available without necessarily being suitable for all situations, and it has been well worth the experiment.
Great article about something I’ve wondered about, too. I have cast-on flags on my 3d printed 8mm ACW figures. There’s no way to make a convincing flag at that scale except by decal. My thought is to paint the flag white, apply a clear decal with the design (the white coming from the paint underneath) and then edge the flag with gold paint to represent the fringe when I’m all done. I’m excited to hear if your laser printer experiment fairs any better!
Hi Don, thanks for the comment. The main issue I can imagine with using decals for flags will be the margin that you need around the design to seal it. Apparently laser toner is not water soluble, so it’s possible that might allow the color to go right to the edge of the decal without needing to keep a clear margin. Another thing I noticed was that the colors were much more intense on white paper than on the clear, so flags might be a case where laser printing on white paper could work?