Batrep : Bulge US Armor vs Bagration German Panzer IV/70s
By Tom Gall
The new Bulge American book by Battlefront offers new exciting armors lists to play. How do they fair on the tabletop against other lists?
In this batrep we’ll look at an amped up Sherman list with Jumbos, Easy 8s, 76s along with a Super Pershing against a German Panzer IV/70 list from the recently released Bagration German List. 100 points, lots of armor, a great match up and tabletop test.
The Forces
Americans
- Veteran Sherman Tank Company HQ 2 – 75mm M4 Shermans
- Battle weary Rifle platoon
- M4 Sherman Platoon with 1 Easy 8, 3 Sherman 76s
- M4 Sherman Platoon with 1 Jumbo, 2 Sherman 76s, and a 75mm
- 1 T-26 Super Pershing
- 81mm Morter platoon in halftracks (3)
- Sherman Calliape Platoon (3)
- M5 Stuart Recon Patrol
- Battle Weary Rifle Platoon (7 Rifle teams, 2 Bazooka teams, 2 LMG teams)
- Lucky Card
German
- Panzer IV/70HQ
- Panzer IV/70 Platoon (3)
- Panzer IV/70 Platoon (3)
- Panzergrenadiers (7 teams) + Halftracks
- Whirblewind Platoon (2)
- Panzerwerfers (4)
- 251 – Recon Platoon
The Mission
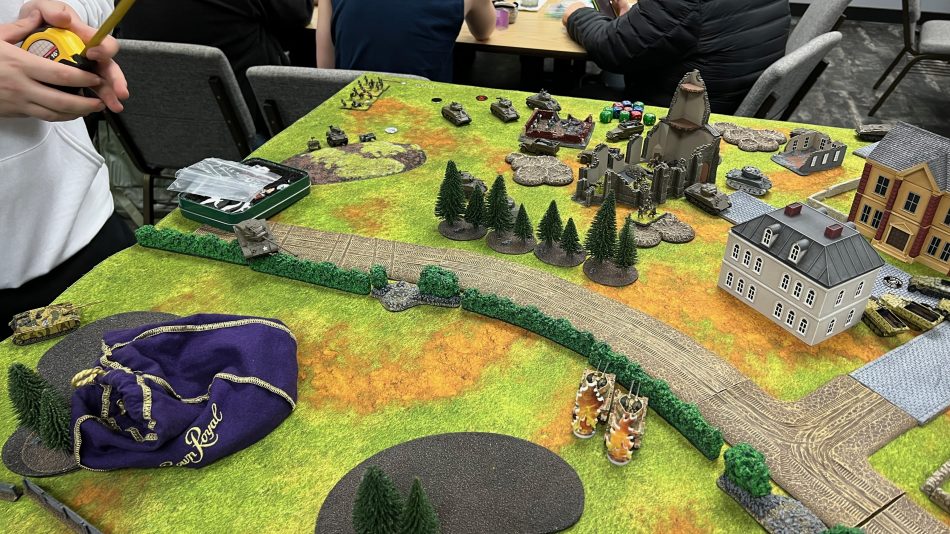
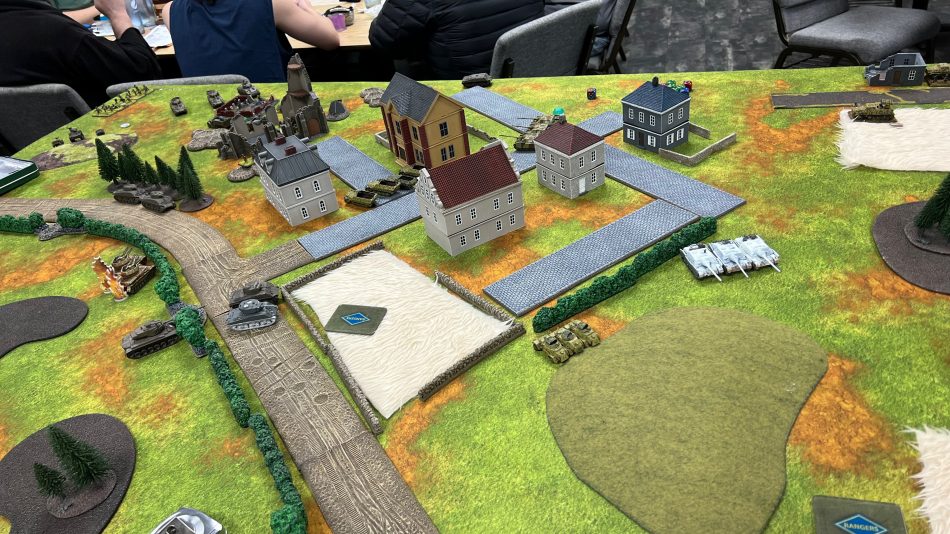
We played Breakthrough with the Americans taking Attack and the Germans Maneuver as stances. The Americans decided to start from a reasonably well covered corner and attack to a more open quarter of the table. They put one of their Sherman platoons as their reinforcement coming in from off table. (The one without the Jumbo)
The Germans decided to put one Panzer IV/70 platoon in reserver plus their HQ. You’ll note this doesn’t quite add up to 40 points, error on the German commander. The remaining platoon of 3 Panzer IV/70s were placed in ambush. With the Panzerwefer 42s bringing a salvo template the Germans put their initial ranged in marker into the town, if the Americans press hard with their infantry through cover this will be their route, otherwise the marker can be easily moved (skill 3) should a different route be chosen.
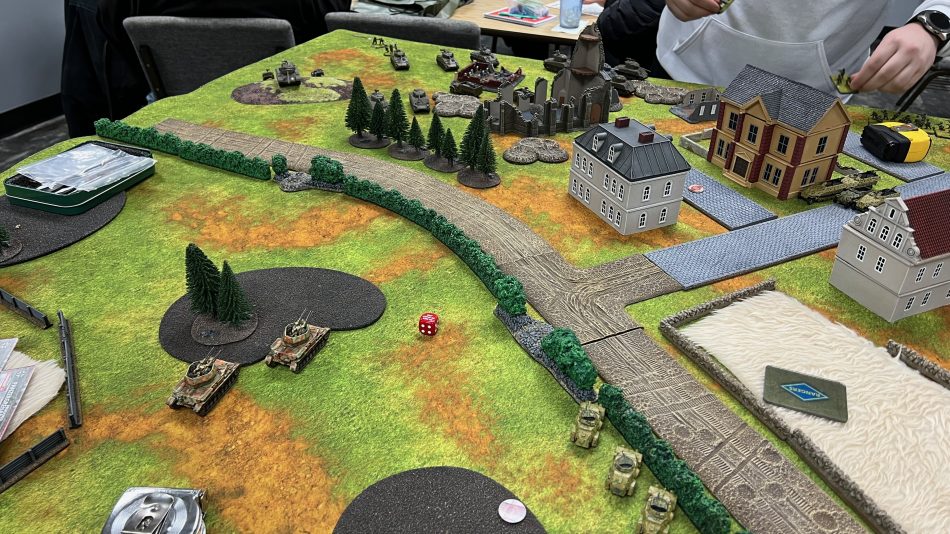
The Germans deployed their Whirblewind and the recon platoons in the near quarter and the remainder of their face in the opposite quarter. As is often the case with this scenario, the desire is to try and squeeze the attack with flanking fire.
The Game
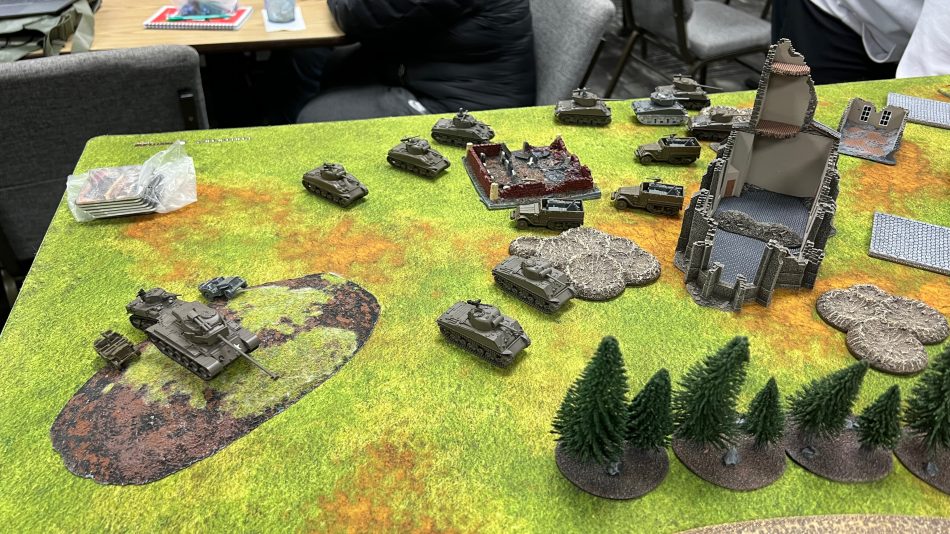
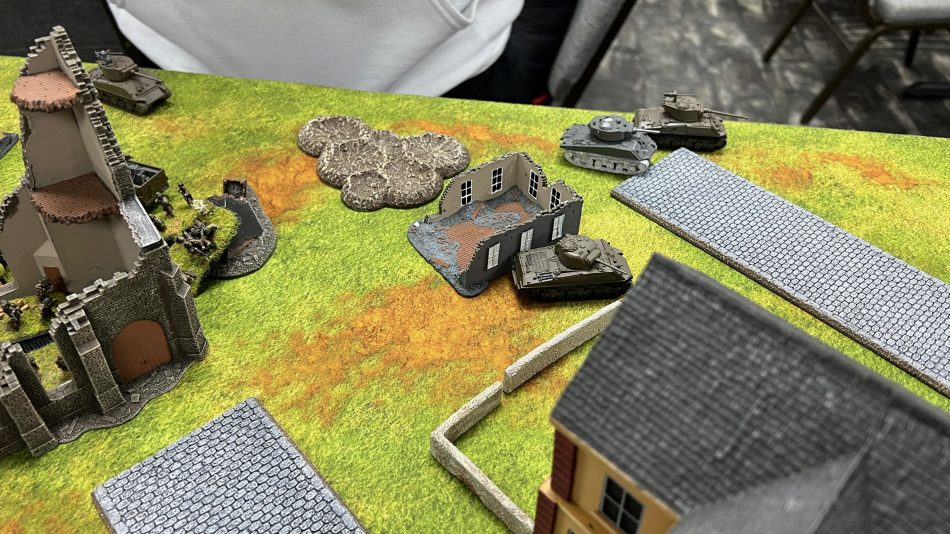
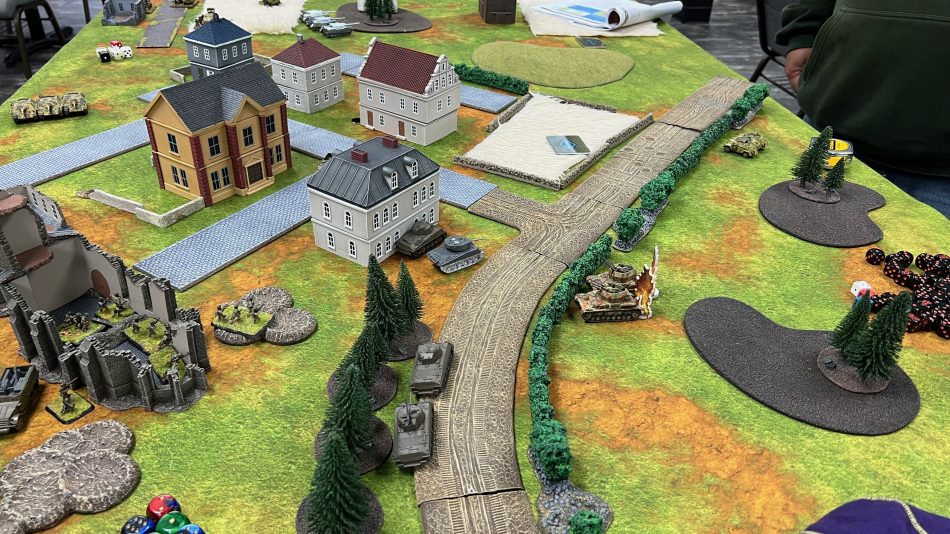
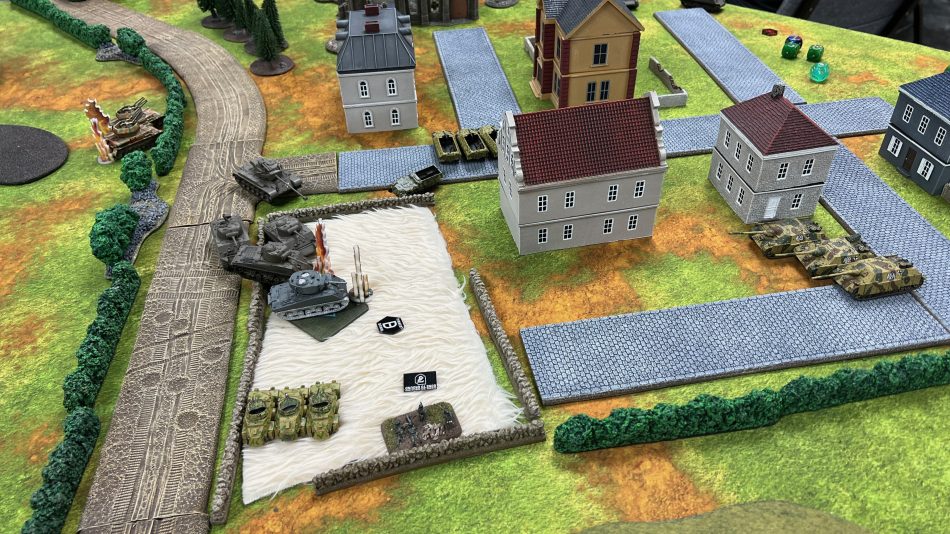
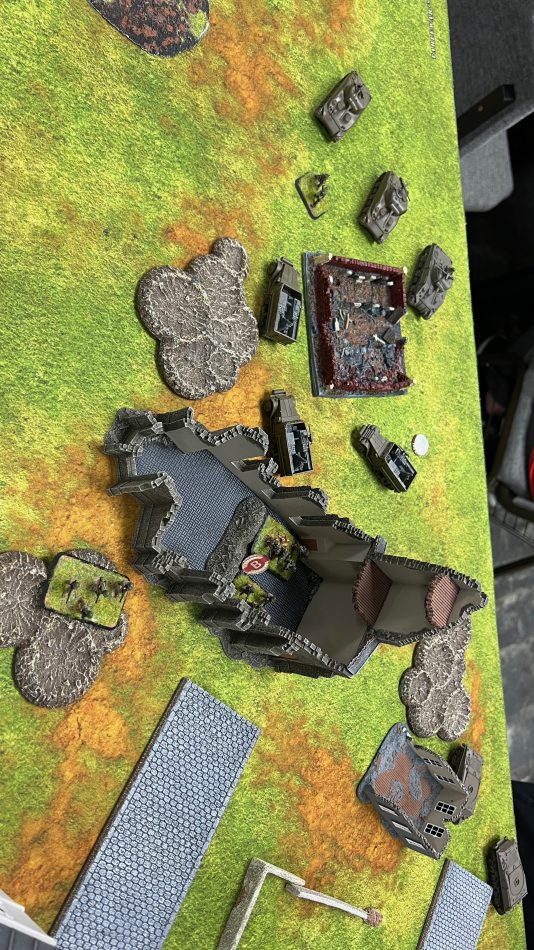
The American Shermans press forward on their left flank, the American infantry moves into the ruined church and chooses to not press hard. The Americans bring down their calliopes on the German infantry within the town, loss of a stand.
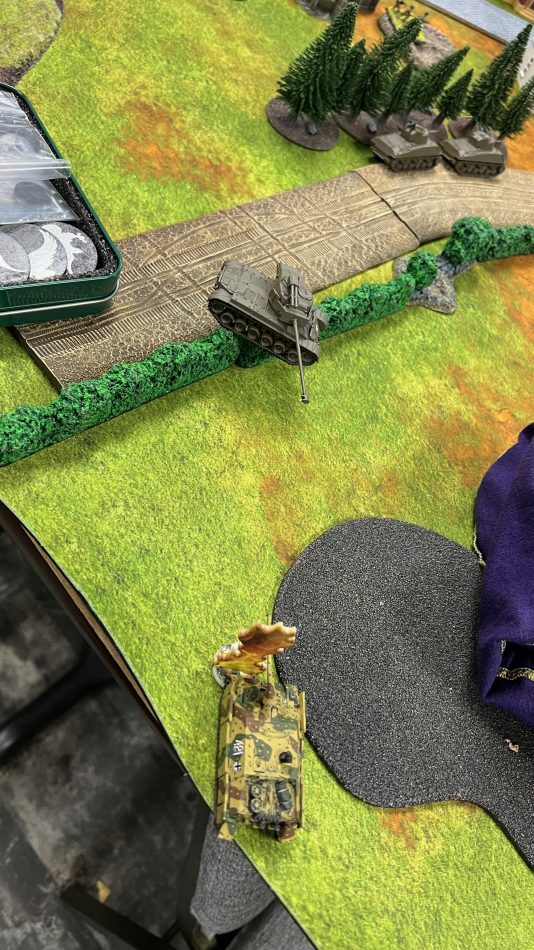
Another vantage page of turn one, the Shermans take long range fire at the Panzerwerfers, only one Sherman is in range of the Panzerwerfer out in the open, the rest must shoot at the one in short terrain which require big numbers to hit. One hit, but a bail out result.

Bottom of turn one, the infantry fails to unpin, the Germans spring their ambush of Panzer IV70s, countering the “free” shots at the Panzerwerfers. The Germans also get their first reinforcement bringing on their platoon of 3 Panzer IV/70s. On the subsequent shots, two of the Sherman 76s go up in smoke, the attempt move a shot to the Jumbo fails.
Germans drop artillery on the church, with little effect short of pinning the Americans down.

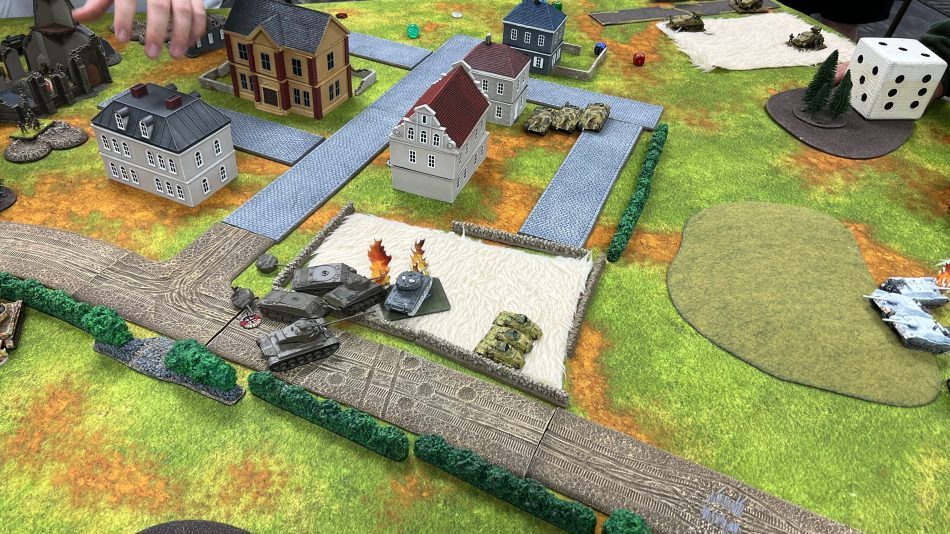
Turn 2, the remaining Jumbo and Sherman 75 move back to in front of the church. The American Sherman HQ moves up to the tree line, with the Super Pershing they’ll take some shots at the Wirblewinds and German Recce which was moved into position to fire at the American infantry.
Success for the Americans both the Wirblewinds go up in smoke with some great die rolling. Likewise 4 halftracks are bailed out from the American tankers.
More German infantry stands are killed as a result of the calliopes.
Bottom of turn 2, the Germans get their Panzer IV/70 HQ and decide to bring it on from the far edge, certainly away from the majority of their forces however a necessary side shot against the Super Pershing is available. With the great armor, German guns can’t touch it with out coming from the side. Two of the half tracks bail back in, clearly they’re in the wrong place but hold their ground.
The HQ Panzer IV/70 fires at the Super Pershing’s side, a one, a clear miss.
Some of the German Panzer IV/70s clear out knowing that American reinforcements won’t be long and defense of the objectives is imperative. The remaining 3 Panzer IV/70s stay put and try to get the remaining Shermans, the Jumbo shrugs off the shot and a bail out result for the other Sherman.
Turn 4
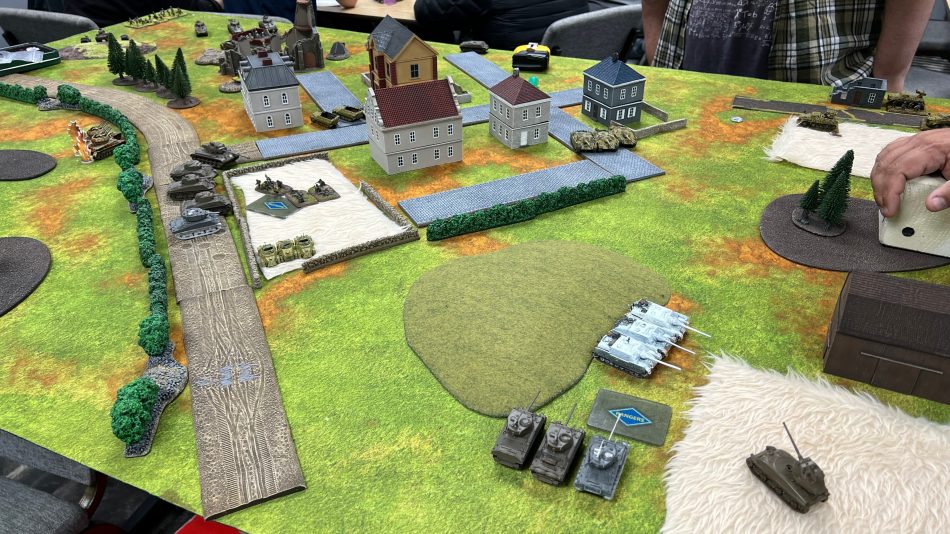
No American reinforcements yet, however the American armor starts to make a play for the nearer of the two objectives. German recce won’t be able to counter alone.
The Super Pershing rotates it’s turret, while concealed, the shot aims true and the German formation commander is no more.
Germans race their recce to get ready to contest the objective and likewise move up their Panzer IV/70s as the American reinforcements will arrive, given the calculus of movement etc, they’ll need to be contesting the objective next turn else the Americans will win.
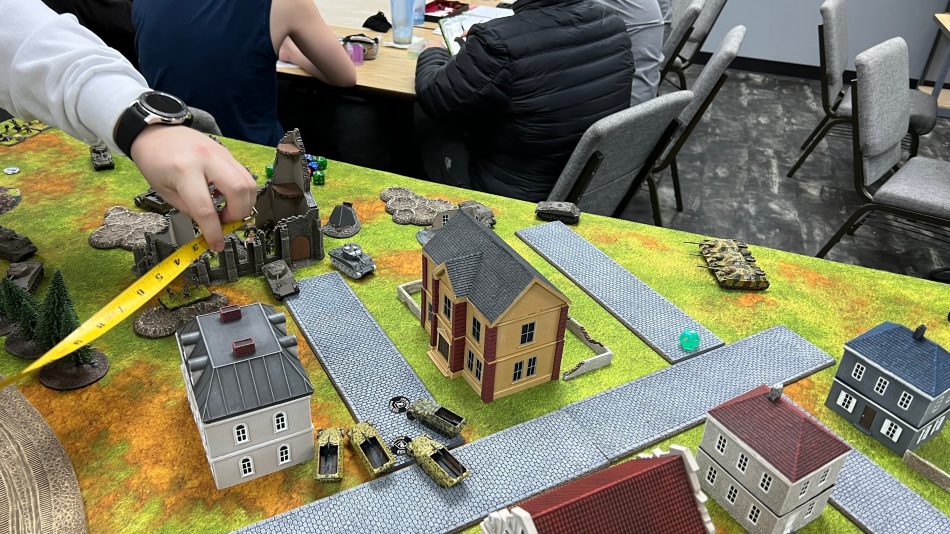
The situation at the bottom of turn 5. Note the American jumbo and Sherman are now within 4″ so they can start within 4 and end within 4″ for an insta win if the Germans don’t move in to contest. It’s about to get dramatic. The Germans have recce and infantry in the building which can move to context and prevent the instant win at the top of turn 6.
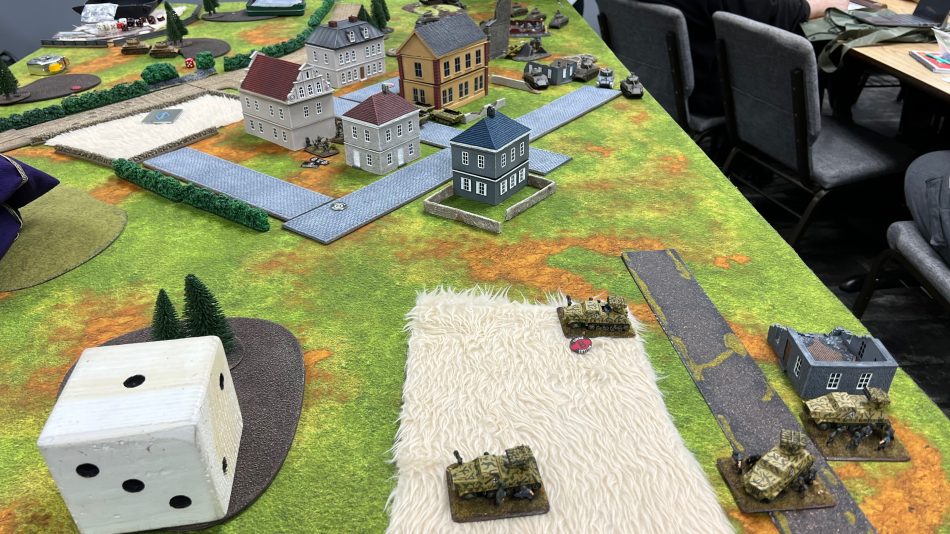
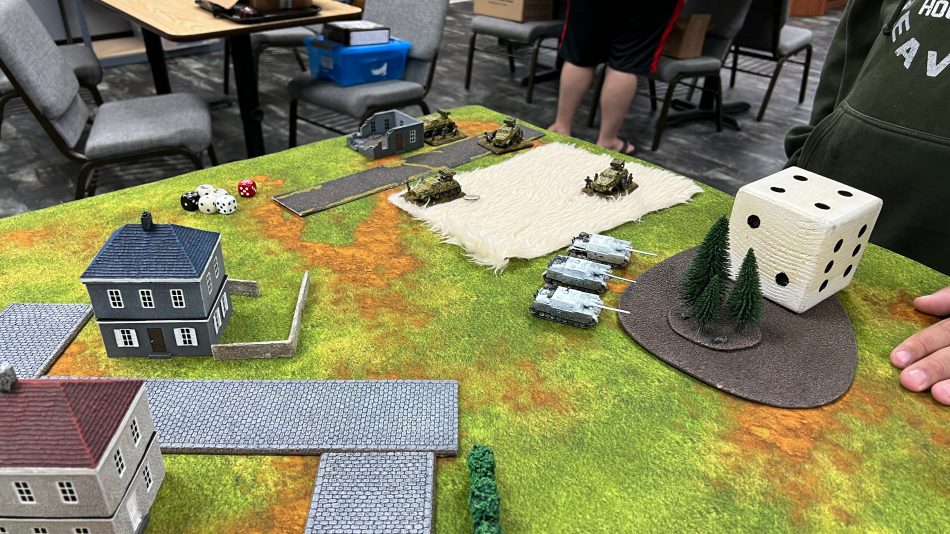
As with an exciting set of events, pictures sometimes forget to be taken. The American reinforcements arrive and drive into the field. They fire to no effect against the Panzer IV/70s. On the other objective the Shermans move to be within 4″.
The Germans in their turn make a choice to focus fire at the Americans on the far objective, one 76 Sherman is hit and is destroyed, Another is bailed out. The Panzer IV/70s throw themselves forward to cover the objective. The German recce move to contest as well as the 3 of the 4 stands of Panzer Grenadiers. The platoon commander is in the house as if he moves it’ll take him more than 6″ away from the German half track commander who is bailed out which would cause them to leave the table.
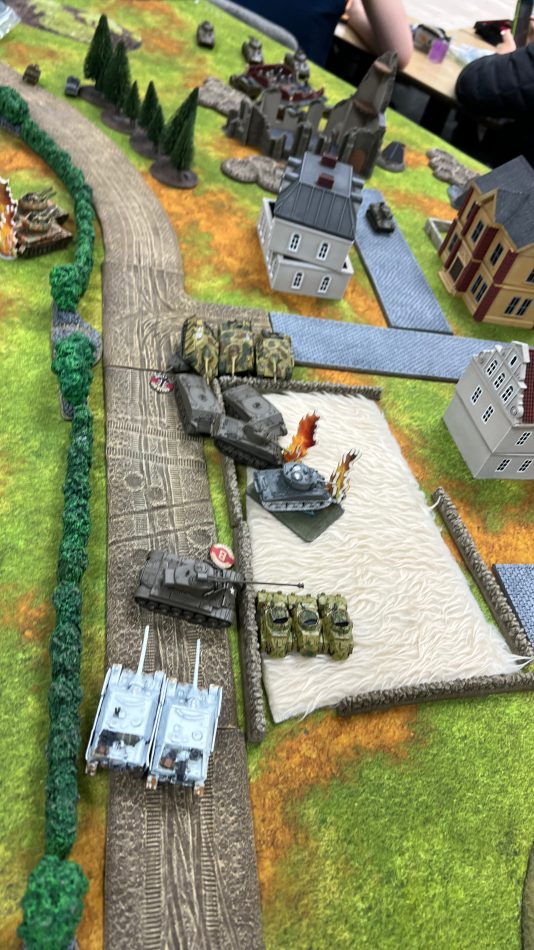
Top of turn 7 when this picture is taken, the Shermans move around to the flank on far objective (but the one closer to the camera) and on the other the Americans get ready to assault. One panzer IV/70 goes up, another bails out.
The first assault, with the recce firing in defense and the Panzerfaust manage to destroy the attack. The second assault gets in but only with one tank as the other fails its cross check. The Germans get whittled down to 2 stands in the platoon but manage to lose the assault and have to fall back, still contesting the objective, (barely).
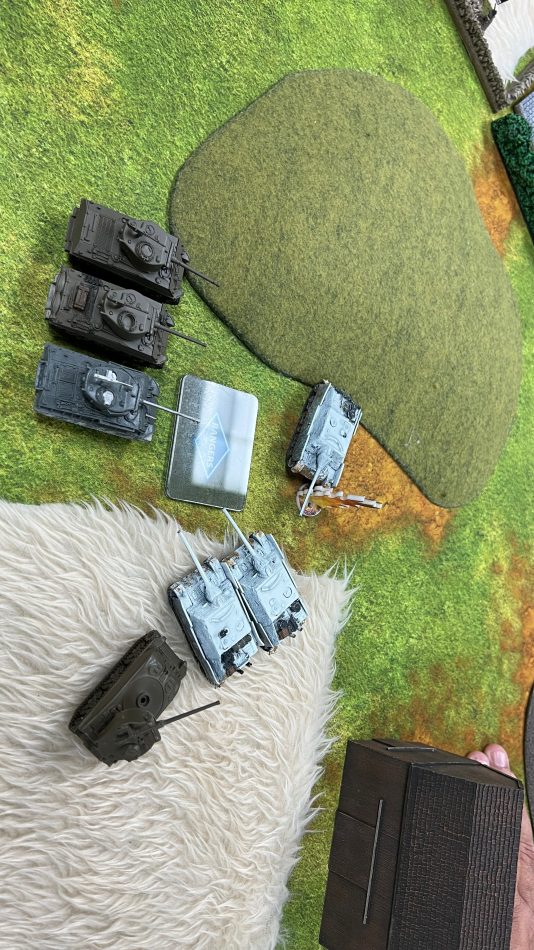
The German bails back in and pass their blitz move. Four hits and all 3 Sherman tanks are destroyed.
On the other objective, the German infantry fail to unpin but at least decide to stick around. Recce continues to stay stationary and not fire, in hope the Panzer IV/70s can do something, one functional Sherman from the HQ and one Super Pershing will be hard to deal with.
While somewhat forgotten the American infantry in the ruins of the church have taken many casualties after repeat bombardment after repeat bombardment.
The Super Pershing is on the objective, the German infantry decide they’ve had enough and fail their last stand. Both sides have now lost their formation commander. If a couple of Panzer IV/70s are destroyed the game will be over, as the American formation is certainly in better shape then the German one which is down to just the two Panzer IV/70s platoons in their core.
The Germans go for the side shots. Two passed blitz moves make a huge difference in covering the ground. During the prior American turn a lone Stuart did take a side shot at a Panzer IV/70 and missed.
The Super Pershing takes a single hit to the side, is destroyed and that’s the game. Very close match, critical die rolls during the late game American assaults made the difference. This easily could have been an American victory.
Lessons Learned
The Sherman platoons with their Easy 8, Jumbo upgrade are tough, especially when veterans. The ability to swap hits to the Jumbo akin to the Jumbos lead the Way rule from v3 is critical to soak up German high quality AT fire.
The Calliopes bring a lot to the table as do the Panzerwerfer 42s, Salvos are great to dig out infantry formations, tho the 4+ firepower is a drag, repeat bombardments will cause infantry platoons to melt away, but not as fast as you’d like if your dice are average.
Battleweary American Infantry with its ability to unpin on a 4 are still quite effective. It’s not a bad choice as a mechanism to spent points elsewhere.
The Super Pershing is the equivalent of the German Elefant. You can’t take it on frontally and getting on the flanks with a wide open table is difficult given it’s great gun. It can only defend or attack one objective tho. It’s a fun unit to play, you’ll want one in your force as well as Pershings.
Nice review Tom. HW