Big Flames of War Games for Big Days
By Tom Gall
This past Labor Day afforded the opportunity for a number of us Flames of War players to get together at D6 Games in Rochester Mn for a casual day of gaming. As sometimes happens when you have a group gather the desire strikes to do something larger with Flames of War. Our hearty band decided to set up three 4’x6′ tables together to make an extra large Flames of War game.
This article is meant as a guide to how you can set up your own big games and keep a few ideas in mind to help you be successful with your own large games.
The first thing to keep in mind with a larger game is balancing and selecting forces. Having a balanced set of forces isn’t hard in Flames of War given it’s point costed army building scheme. Likewise, with a larger game, it gives you the ability to field several formations. This brings up some rules of thumb:
Approximately 100 points per side per 4×6 table will help keep things from getting too crowded.
You don’t want the table to get too cluttered with forces. If there is too much concentrated in an area, artillery can have a field day, and players will be tripping over each other as they push their forces around.
In our game, each player had a 4-foot edge to set up in, and to provide separation between forces. Effectively the battle would be that 6-foot length of the table. We used 12-inch deployment zones from the edge. This also means that spearhead movement could be employed by both sides presuming of course they had some recce built into their force.
Use Objectives!
Objectives are important to use, as this gives each side a set of goals to reach for. I recommend using one objective per side for each 4x’6′ area you use, plus an additional one. In our case we had three tables, so each side set four objectives. Be sure to roll off for who sets objectives first, you can further add to the “drama” if you have one side set an objective and then have the other side set an objective and go back and forth until the agreed-to number of objectives are placed.
Another great way to set objectives is to use the Fog of War objective cards that Battlefront sells. These cards are used while the game is in progress to determine where the goal of your attack should be. We’ve used them as part of our big games and find them to work well.
Reinforcements? Yes.
If you’re familiar with the extended missions it’s fairly common to not start with your full force, instead starting with 60% and then rolling for the arrival of your forces either on immediately on turn 1 or delayed on turn 3. For larger games this is a good dynamic to build into your games. Either having one or more or all players being under this limitation sets a bit of drama as players often wait for their thunderbolt to arrive.
Another element that can be introduced is where those reinforcements might arrive. For this larger game, we had players roll for which 4-foot section they would arrive on, 1-2 for the first 4′ section 3-4 for the second 4-foot section, and 5-6 for the last 4-foot section. This has plusses and minuses. With a scattering, players might have forces all over the table that can make the game a bit more chaotic. Yet, it does mean that arriving forces might not arrive where they are needed and as such have to dash to get into place. It’s another element of great drama.
Reinforcements also help to keep figures off the table when the game starts such that again things don’t get too crowded and also help keep the pace of the game going faster.
Fun twists but don’t go overboard
For a larger game, elements like Minefields, wire, or other defenses can be a great add. But it’s important to not let them get out of hand. Consider if you let each side have some minefields, keep it manageable. The rule of thumb I use is two minefields per 4×6 table, minus 1. So three 4×6 tables pushed together would be five minefields in total to be placed.
The D-Day books have point-costed defenses and these can be used as a guide. However, for that kind of hard-core defense, it’s important that the opposite side be allowed to have some set of engineers who would normally be tasked with dealing with that kind of obstacle. Otherwise, it might be best to leave them off the table.
Deployment
Across the various Flames of War missions, there are a variety of ways to deploy forces, and for a larger game, those same mechanisms generally work. You could:
- have one side entirely deploy then have the other side deploy
- have each player on a side deploy a unit then have each player from the other side deploy a unit
The important thing to keep in mind is you don’t have to have everyone waiting around for one single player to deploy a unit, that’ll just make deployment take extra long.
Meeting Engagement / Who Goes First?
A couple of good twists you might want to do is have a die roll to decide which side goes first. When neither side knows which will go first they’ll often be more careful with deployment how they hatch their plans over the course of the first few turns.
The meeting engagement rules from the Missions Pack is very useful to use. If the side that goes first isn’t able to call in artillery or have air support for their very first turn it can help equalize what will be the advantage of going first.,
Don’t let artillery ruin everyone’s day
With a larger game on a larger space, artillery takes on a new role. You’ll find that artillery ranges are now an issue. Mortar ranges will start to feel absolutely short! Even with your big guns, they might not have the ability to hit everywhere their initial placement will be all the more important, and giving them the ability to adjust during the course of the game might be something to consider that you build into the scenario. Handing out some “free” trucks with the Tractor trait might be wise. This trait allows gun teams to be carried by transports thus allowing guns to be relocated across the front.
Another factor to consider is that if every player shows up with their own support, you can have a fair amount of artillery available for use, too much in fact such that it can cause an imbalance in the game. One way to mitigate this is to have each side purchase support and formations as if they are one big army. This puts more of a limit on resources and will also cause players to work together as they execute their attack or defense.
Playing the game as per normal
Once the game is in progress, Flames of War’s you go, I go system with more than two players now turns into a side goes, then the other side goes. This means that across the table it’s important that everyone keep to the same phase. When it’s movement, do the movement. When it’s shooting, do shooting. It’s good to keep everyone on track and avoid missing essential activities like bailing armor back in, or unpinning infantry.
Otherwise, the rules scale and work without the need to make modifications.
Victory!
In a tournament or using the missions pack, a game of Flames of War usually ends with the taking of an objective. In a larger game, this doesn’t work as well as you’ve more objectives out on the table. Instead, play based on the number of objectives taken. For our larger games, we generally play the entire afternoon or evening and tend to be far more limited by time.
To keep it fun, I recommend having a set time when festivities will conclude and at that set time, determine which side has taken more objectives, failing that which side is further across the table.
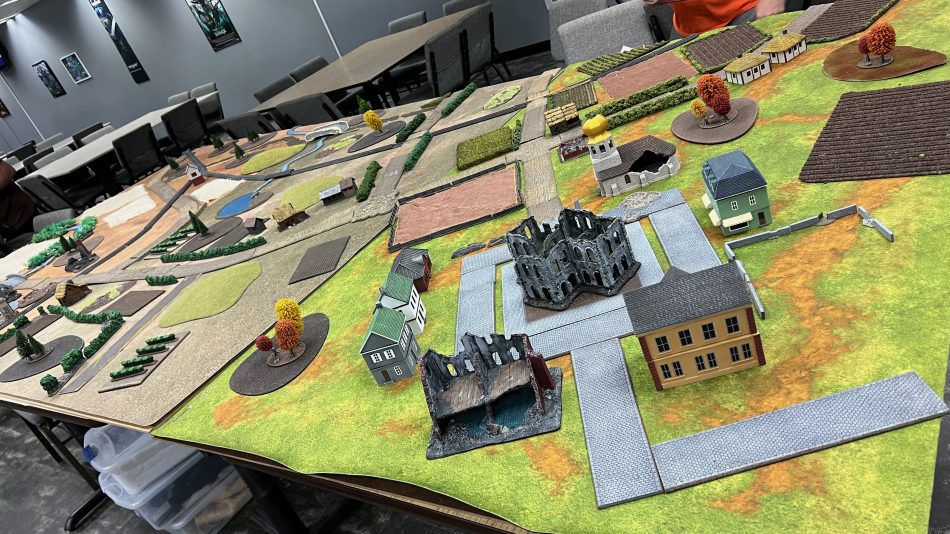
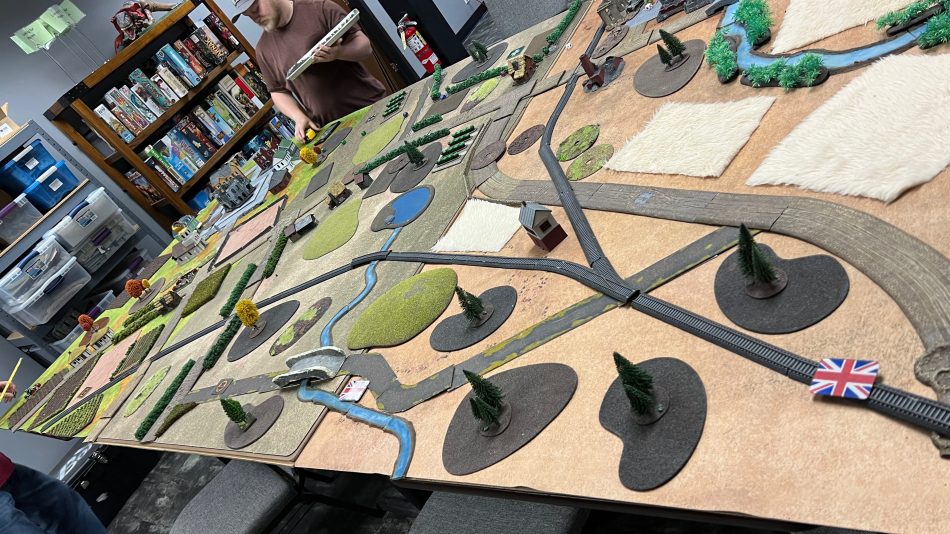
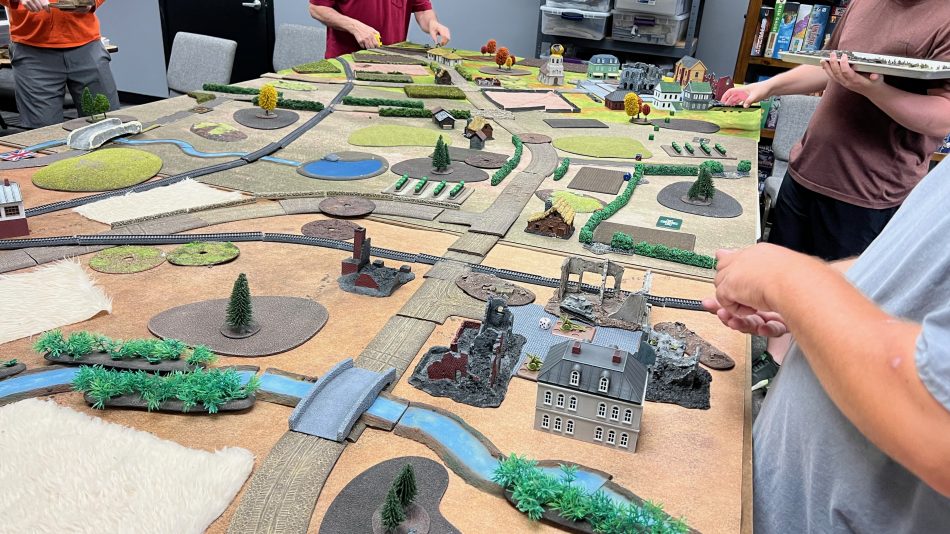
Big Game In Action
On Labor Day, we had 330 points per side. This included Romanians (110 pts) and two German forces against two American forces plus one British set in midwar. Kind of silly in that it wouldn’t a historical action, but none the less the beginnings of a thoroughly enjoyable day.
Each side placed four objectives within the enemy setup zone, within 8″ of the far edge and not within 8″ of the corners. Each side was also given five minefields to place wherever they liked.
We used a die roll to determine which side would deploy a unit first and alternated sides deploying.
As stated above, reinforcements for each player would arrive at a 4′ section of the table based on a die roll, 1-2 for the 1st 4′ section, 3-4 for the 2nd 4′ section, and 5-6 for the 3rd 4′ section.
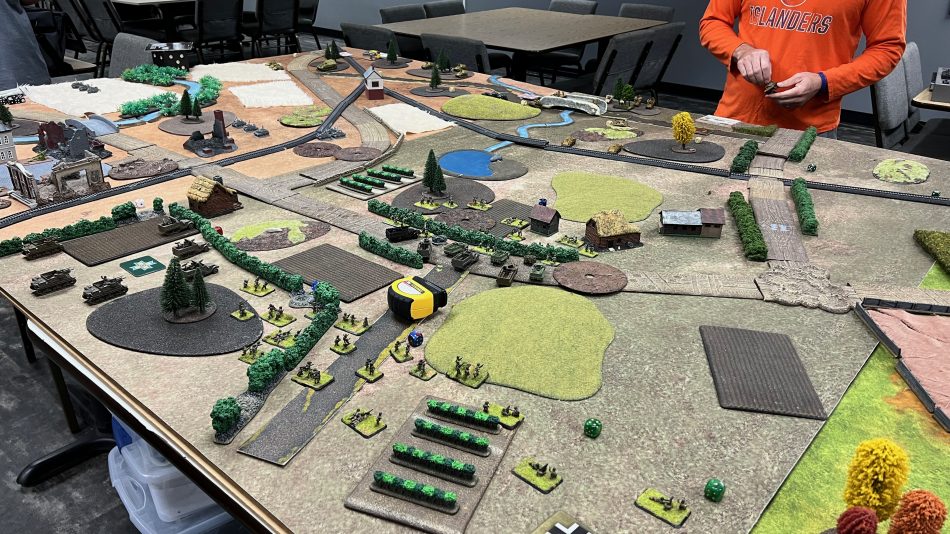
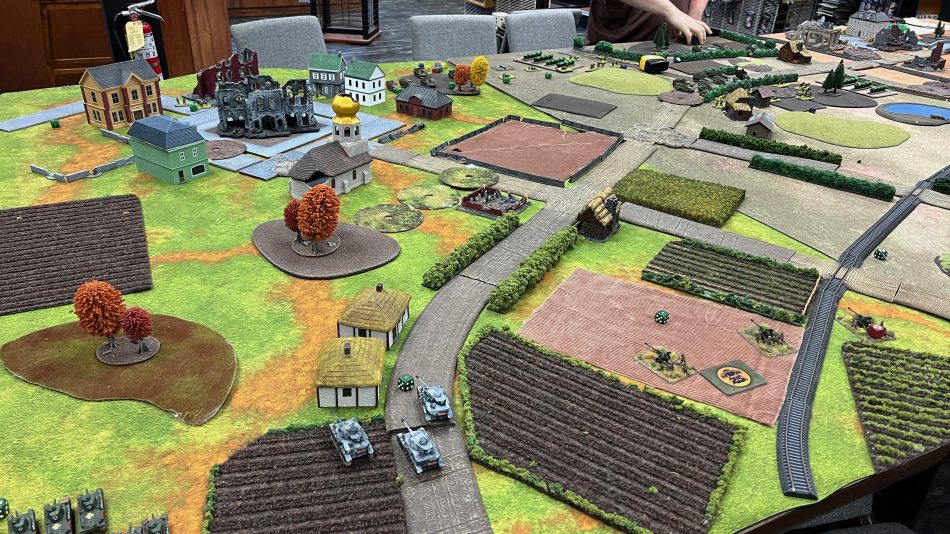
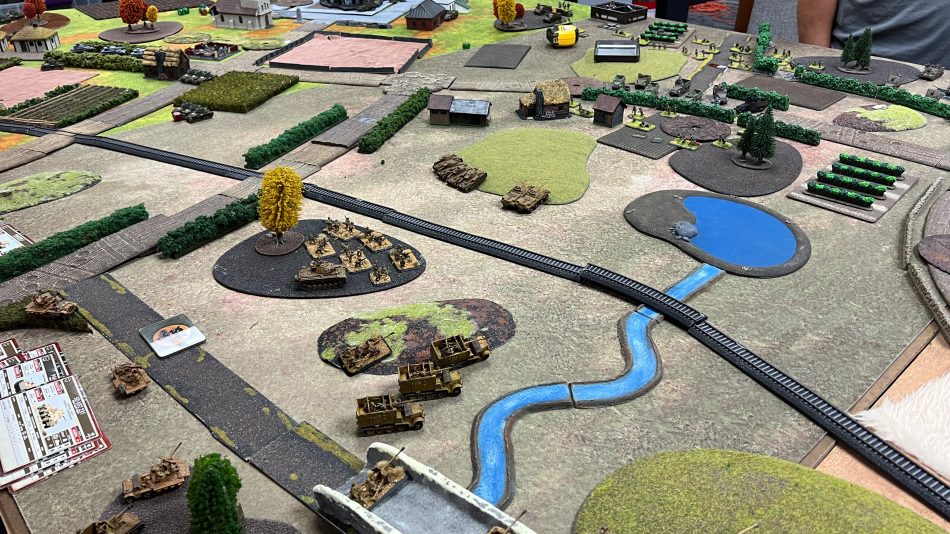
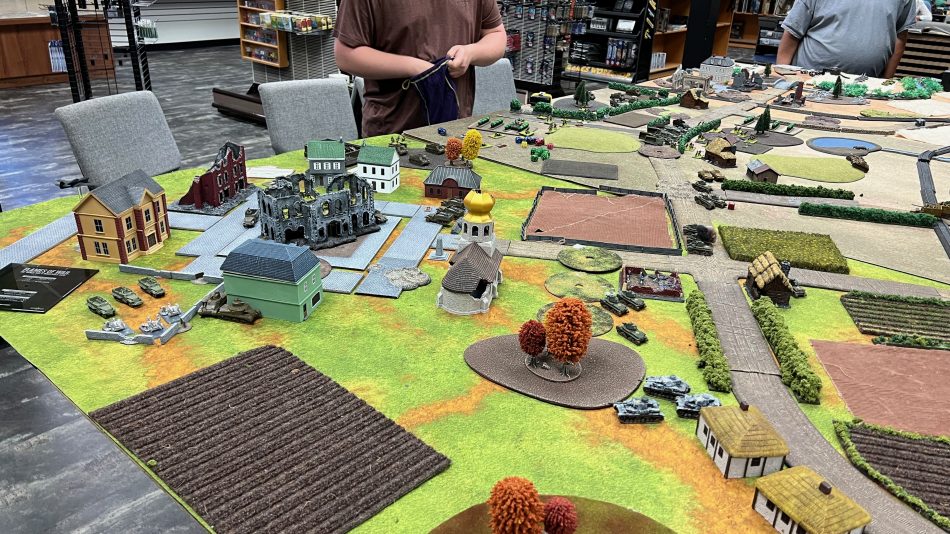
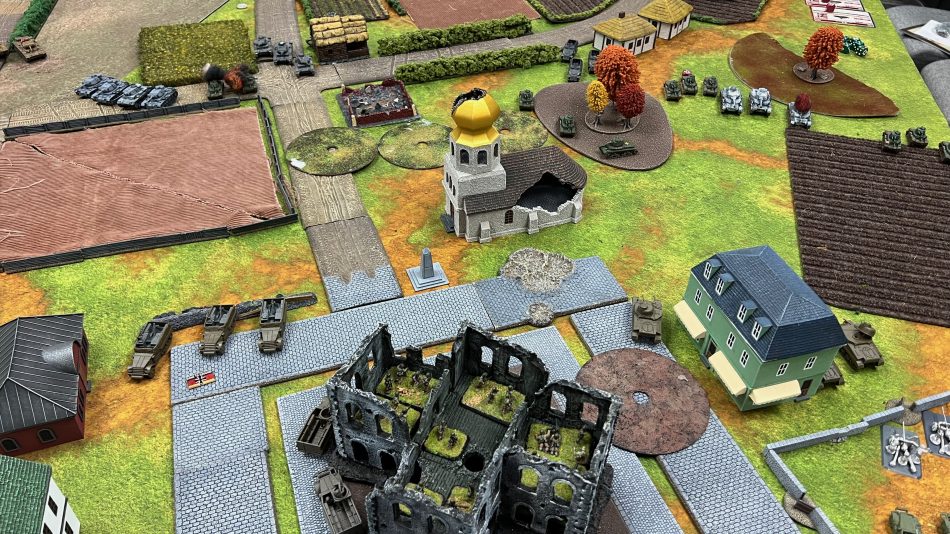
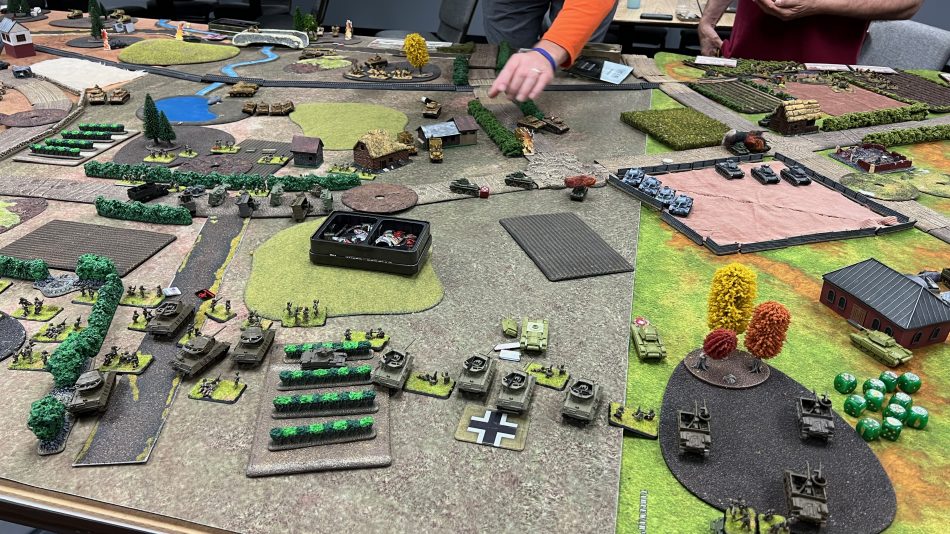
American armored infantry solidly in control of the middle section.
Having spearheaded the Germans set up a nice place for the Ferdinand to do its best “none shall best” impression.
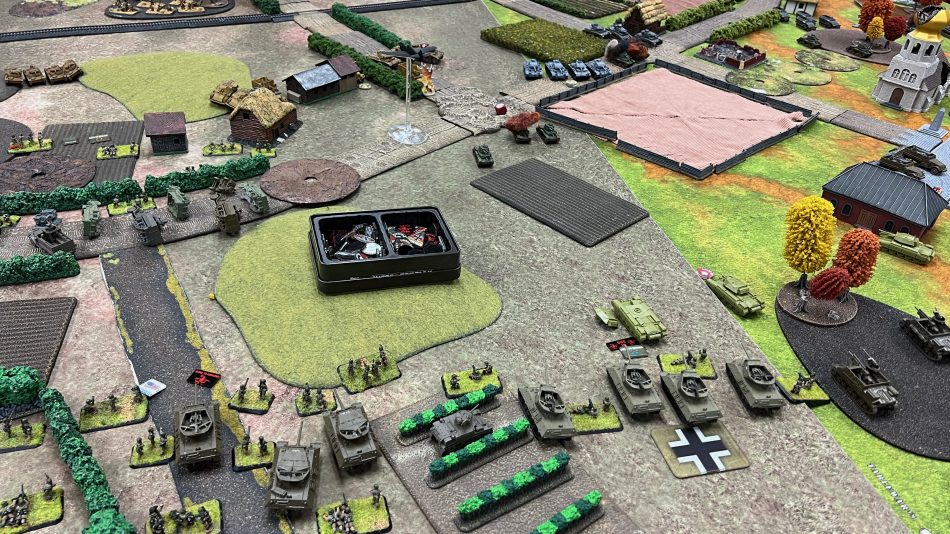
Romanian motor pool ready to roll.

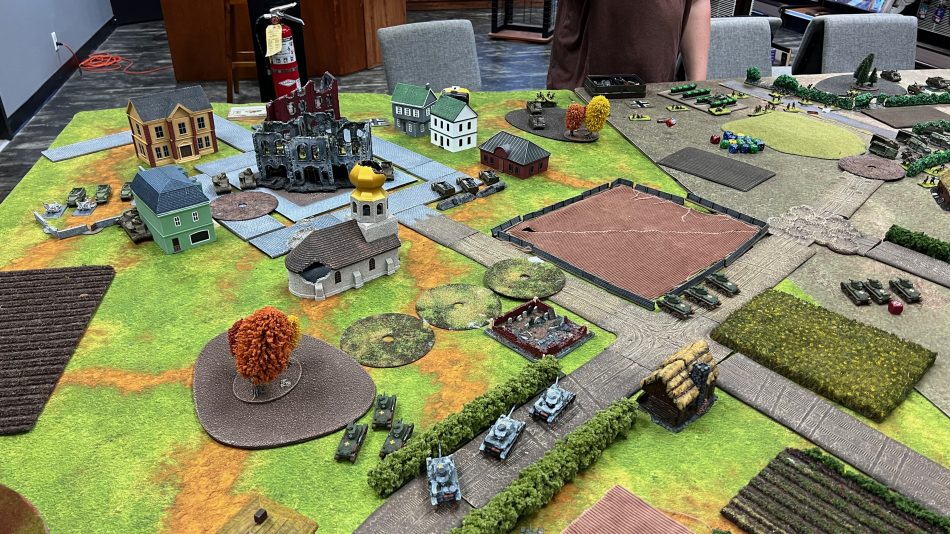
American Lees and anti-tank guns get ready to move out through the town.
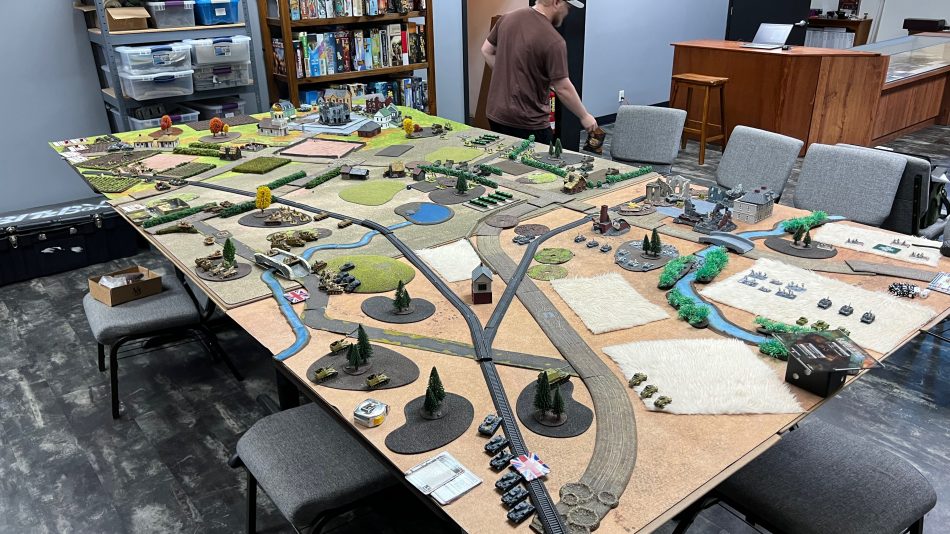
Setup complete, the game is ready to start!
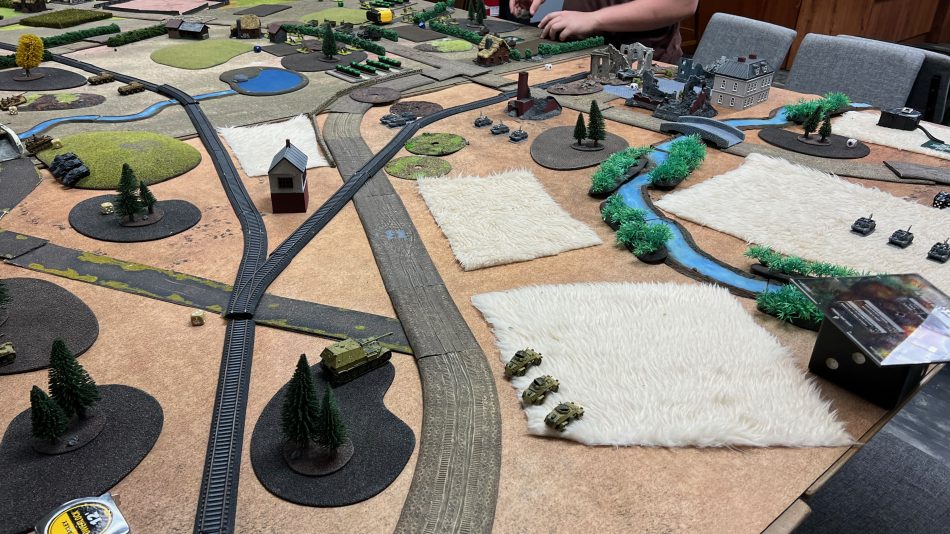
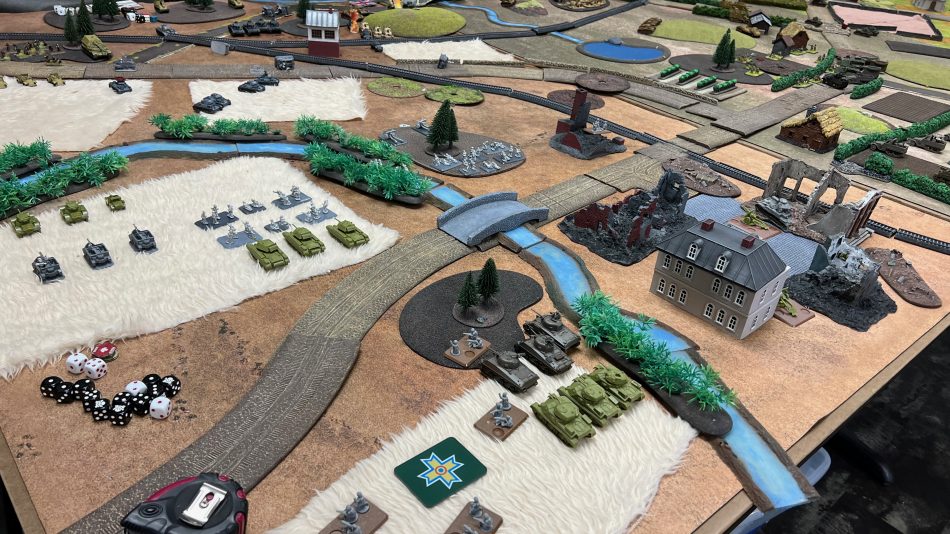
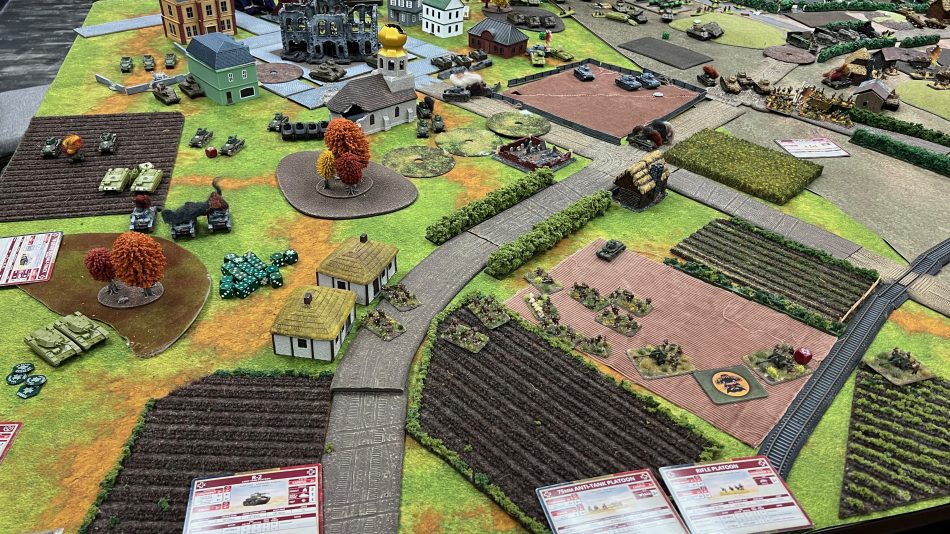
Allies go first, Axis next, Dianas position for what they hope will be good long range sniping positions.
Romanians hoping to push up on either side of the minefields.
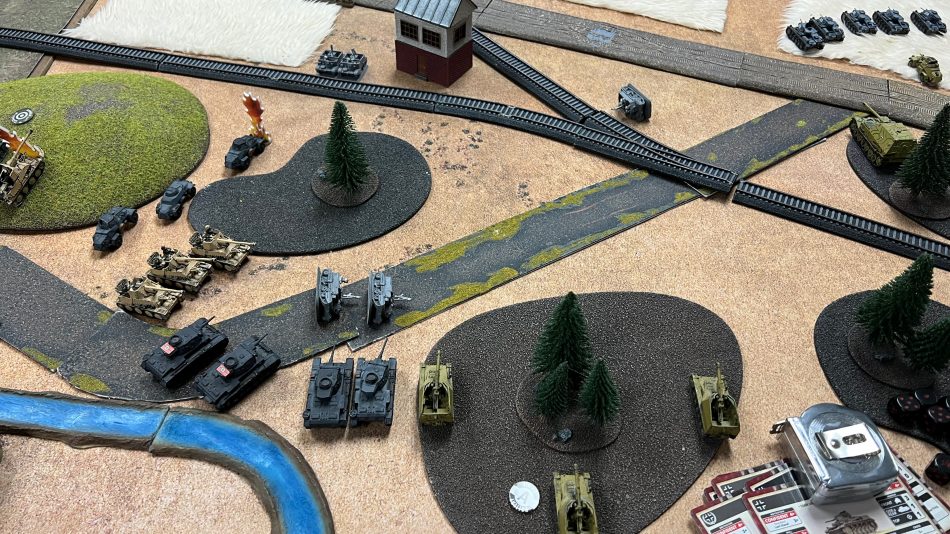
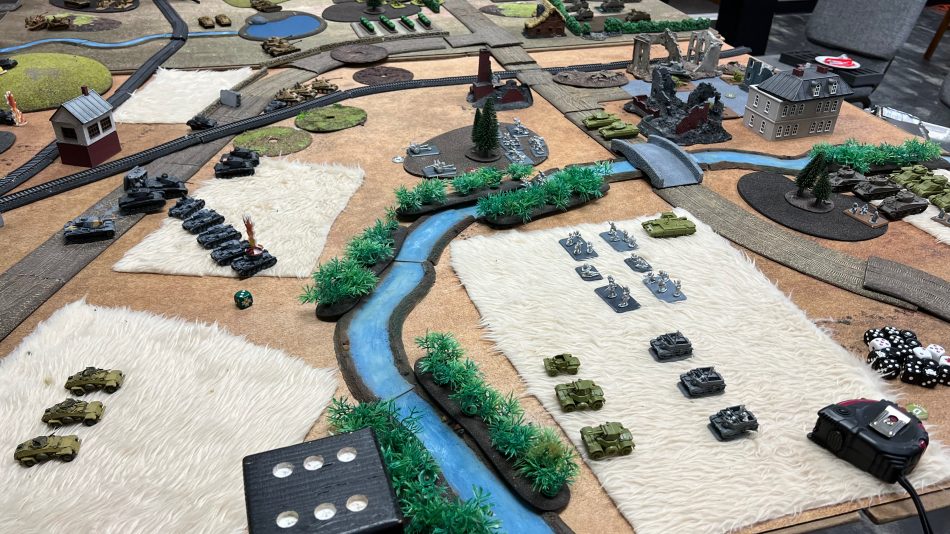
British Brens hoping they could push deep behind the lines before reinforcements arrive. They, unfortunately, pay the price as two Panzer III shorts and two Panzer III longs arrive and make quick work of them.
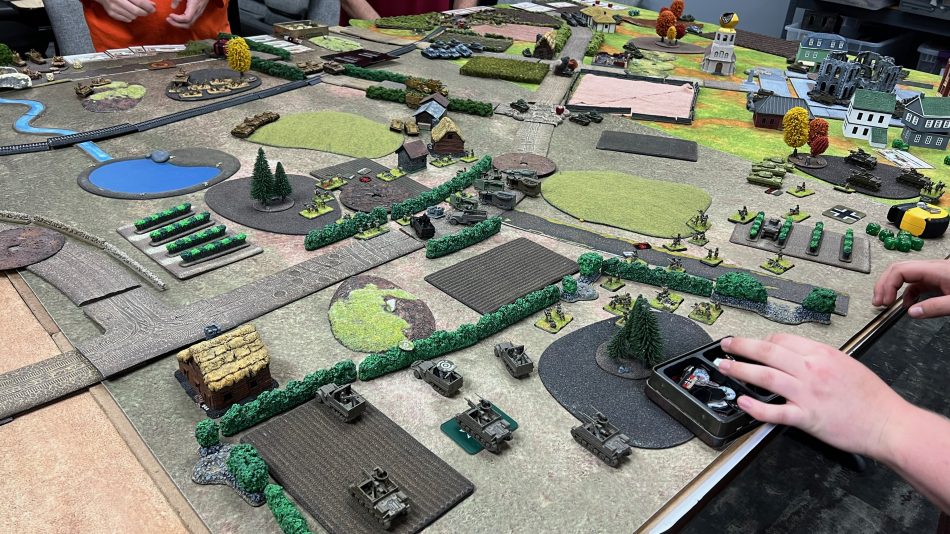
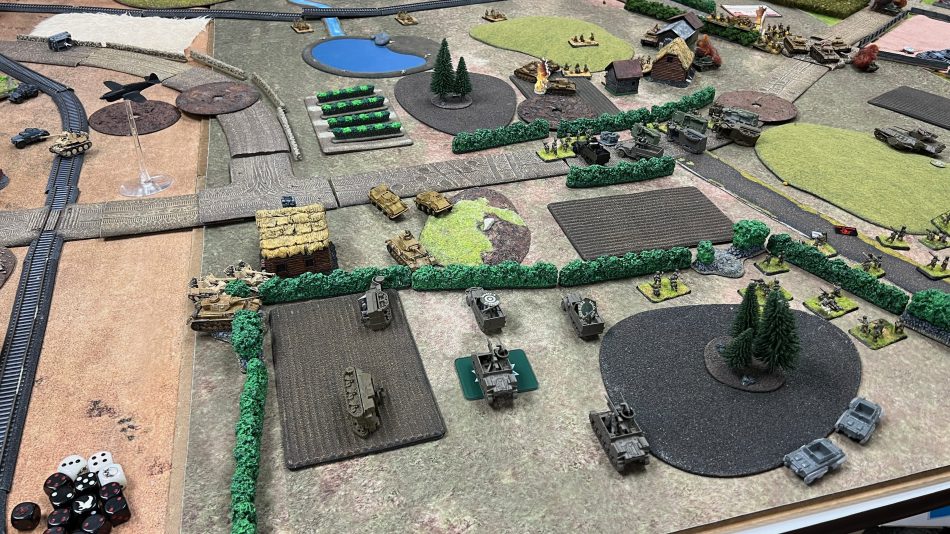
In the center, the American armored rifles and German Pz IIs are tangling. It’s not going well for the American Halftracks. Will American reinforcements spoil the attack?
Looking down the line, Axis on the attack…

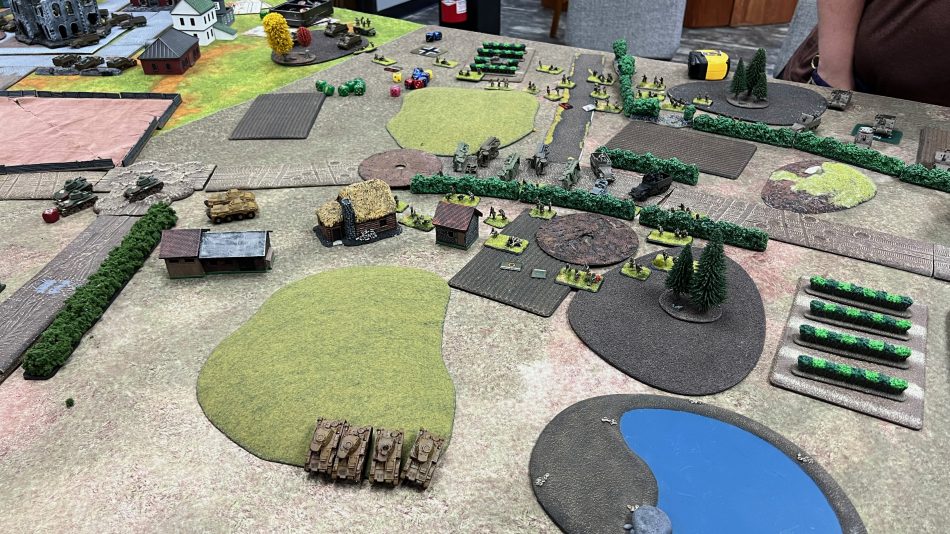
Romanian infantry arrives as reinforcements, under air attack by the Americans.
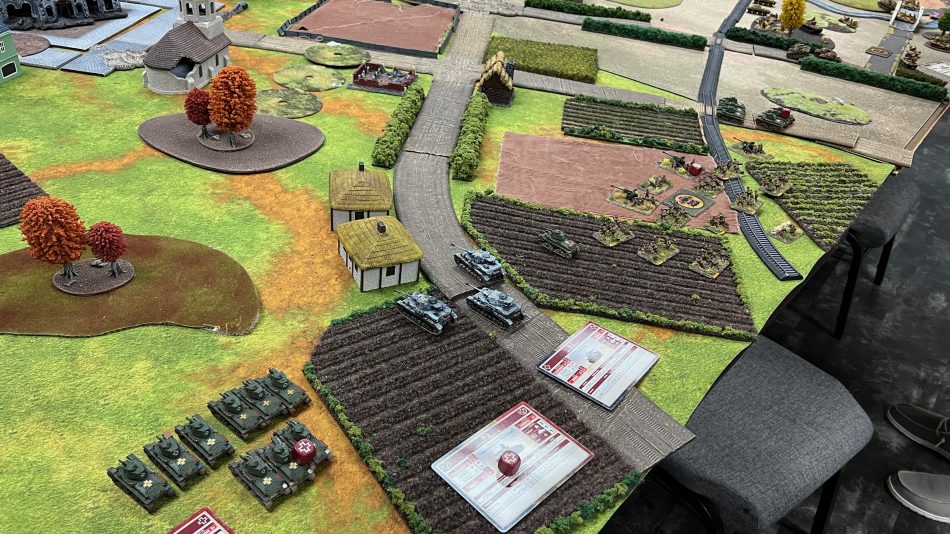
British Crusaders and American Shermans arrive, this objective will be very difficult to force, just as the British 6-pounders are getting thinned out by German artillery clearing the way for the Panzer IIIs to move up.
Americans holding their own in the center. British Crusaders arrive on their far-right flank as reinforcements.
Dianas hope to utilize their better range to help out the Romanian tankers against the Crusaders.
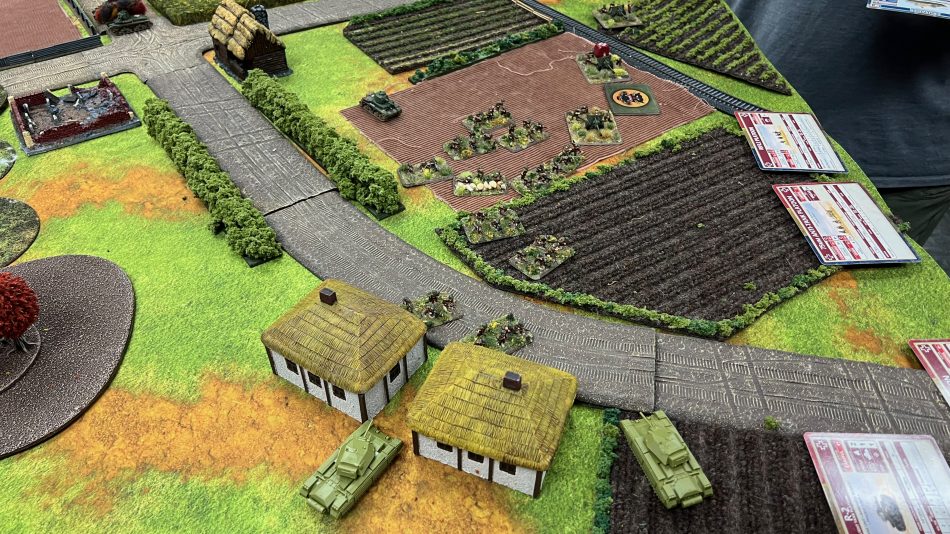
The Americans are doing well to hold the town on the American left flank. Between the Lees and their anti-tank guns, the Romanians aren’t able to make much progress.
American M-10s arrive and the Axis starts to really suffer from heartburn, those AT10 guns are great for taking care of German armor.
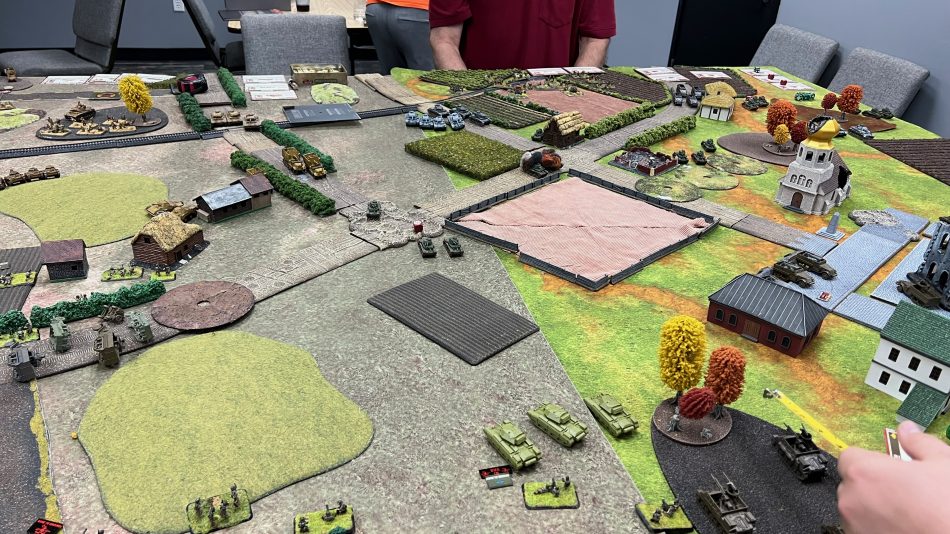
Meanwhile, on the opposite side of the table, the Germans are trying to methodically advance slow going against a very well-defended side of the front.
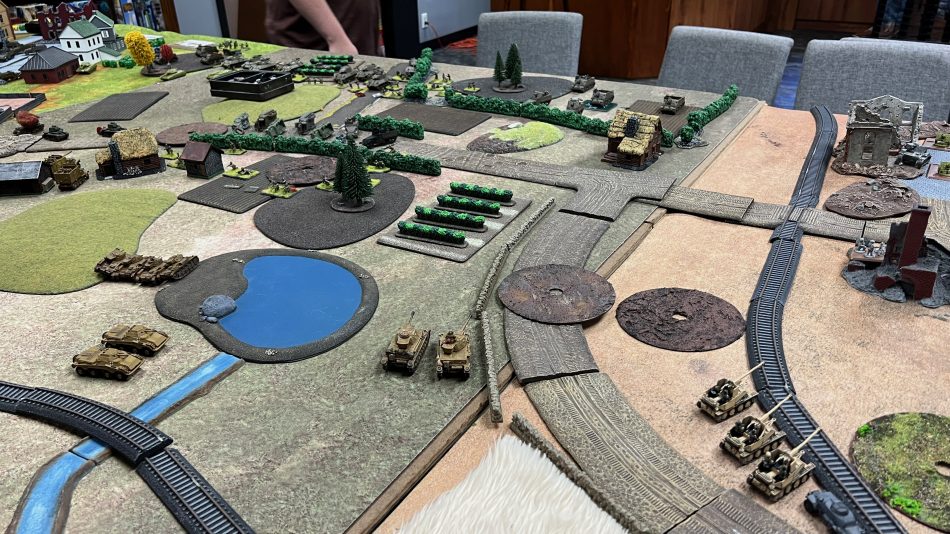
The Germans see a weak point in the lines, can they exploit it?
American defenses have stiffened. The M-10s are doing well. It will be very difficult for this objective to fall.
Two British crusaders are able to strike deep behind the Axis lines, the Romanian defenders have to scramble to pull together a defense.
The Germans are able to exploit the weak point in the American / British defenses. Will it be enough? Those Priests have a reasonable gun on them! In the center, the German Panzer IIs backed by German infantry and able to push back and take the position they’ve been working on since the beginning of the game. This will be the high watermark of the German attack.
The second line of American defense is ready.
The two Crusaders have to face down anti-tank guns and Romanian infantry by themselves. This is the allied high water mark before time had to be called on what was a thrilling day.
In Conclusion
Large Flames of War games with a huge play space, larger forces, and more than 2-player are great fun. I highly recommend doing them from time to time. They made great demos, build some comradery and see what you can accomplish as a team.
The biggest game I ever participated in was back in V3. Keep in mind the V3 point structure was totally different. We had 5 players to each side with 2,000 pts each (10,000 pts per side). We had 6 tables of 6’x4′ each. It was a blast and this article brought back fond memories.
We played the Market Garden Nijmegen game from Groesbeek heights up to and including Nijmegen Railway bridge. Stuff for Heroes. And What about a Arnhem game with the relevant sectors from the landing zones up to Frost’s Bridge 24 x 6 ft