Painting World War Two Italians
 By Kreighton Long
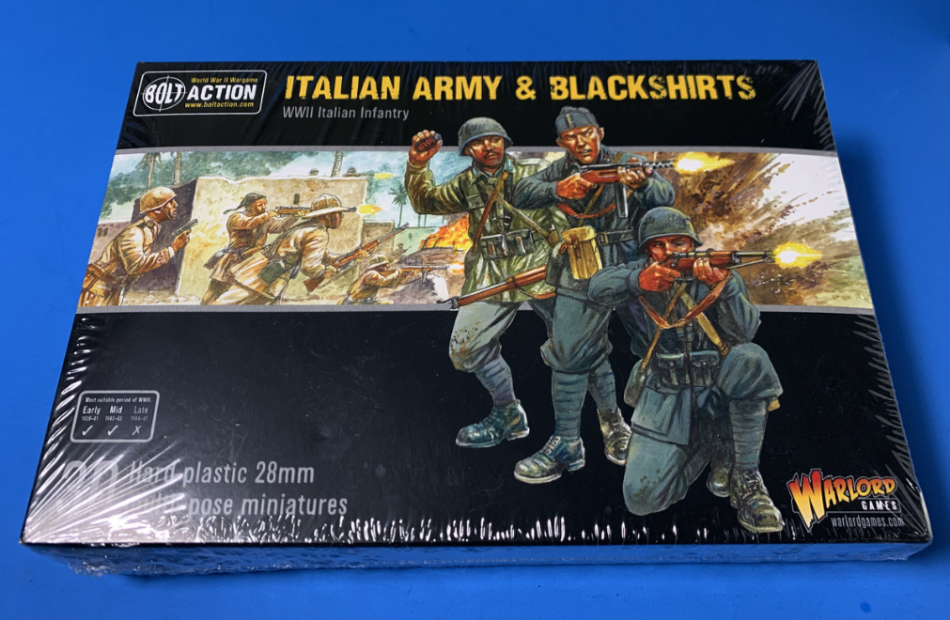
When it came time to purchase my Italians I decided to go with Warlord Games. Their plastics have been excellent over the last several years and I figured why not give these a go. I can honestly say I wasn’t disappointed. The kits are easy to assemble with enough variety to have minimal duplications in your platoon. The sculpts are clean with good lines and deep contours that make highlighting that much easier when painting. I picked up one box of plastic infantry and the support teams box to get the meatball rolling. When I get to it I’ll add some vehicles and heavier support to really flush out my Italians into a force ready to take to the table. But first, we need to put paint to plastic.
The Italian uniform was a green-grey and after perusing Osprey Publishing’s illustrations and reenactor kits found on Google Images I decided the best I could do with the paints I had was to blend Vallejo’s German Fieldgrey WWII with Green Grey. The German Fieldgrey WWII was too dark while the Green Grey was too light so unfortunately blending the two for a base color became a necessity. With the biggest piece of the puzzle solved the remainder of the kit was simple enough to piece together.
The colors I ended up using are all Vallejo colors with the last three digits of the numerical nomenclature in brackets: Black [950], German Fieldgrey WWII [830], Green Grey [886], Cam Olive Green [894], German Grey [995], German Camo Beige [821], Leather Brown [871], Canvas [314], German Camo Black Brown [822], and Buff [976]. The blends of paints below are at even ratios except where specified in parentheses.


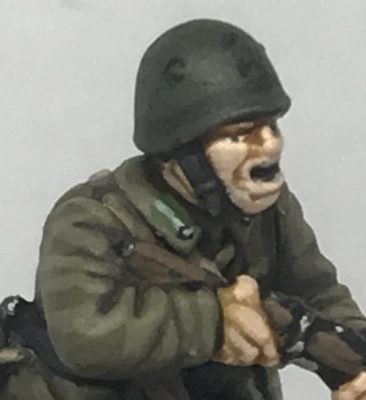
Soldatos of the Regio Esercito stenciled their branch of service onto the front of their helmets up through 1942. The Warlord Games plastic Italians set comes with decals of different emblems to put on the helmets but after trying one out I felt that the size was too small to be seen with the dark green helmet color I went with. Therefore I had to hand-paint the emblems on each helmet of my platoon. These were easily scuffed off while on campaign so after finishing the emblems I used a piece of foam and lightly dabbed some of the helmet colors on over the emblem to give it a worn appearance.
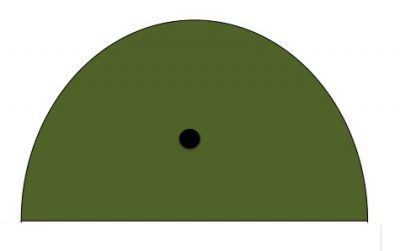
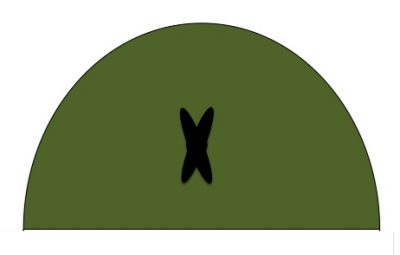
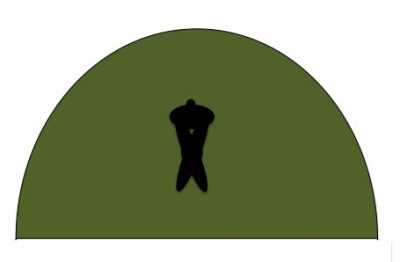
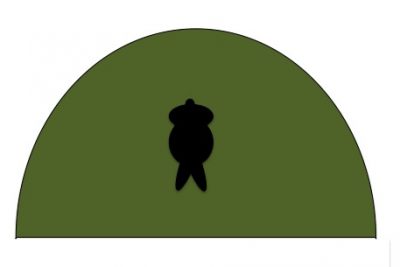
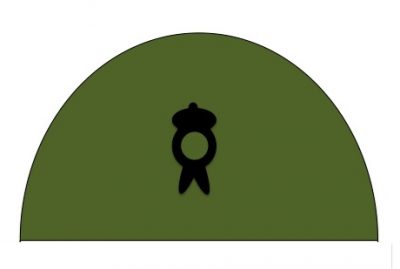
Each infantry division of the Regio Esercito had their own distinct collar patch. As luck would have it I purchased a copy of Osprey Publishing’s The Italian Army 1940-1945 (1): Europe 1940-1943 at the same time I ordered my kits from Warlord Games. In the book is a list of all the infantry divisions that served in Europe including where they served and the color/pattern of the division’s collar patch. Wanting to maximize how many foes my Italians could face on the table with historical accuracy I noted which ones fought in France, Greece, and Russia.
Only one division fought in all three locations so my Italian army is belatedly themed around the 2nd Infantry Division “Sforzesca”. The 2nd Infantry Division’s collar patch is a green rectangle with a white stripe running down the middle length-wise. All division patches featured a silver star at the lower center of the patch. The 2nd Infantry Division’s patch was easy enough to replicate with a rectangular-ish blob of USA Green [922] followed by an Off-White [820] line down the center.
Lucky for me the USA Green was similar enough to the uniform color that I didn’t need to clean up the edges. Other patch colors may require more finesse with the rectangle. Next place a Black [950] circle on the forward end of the patch and a Grey Blue [907] circle inside the Black one to recreate the silver star.
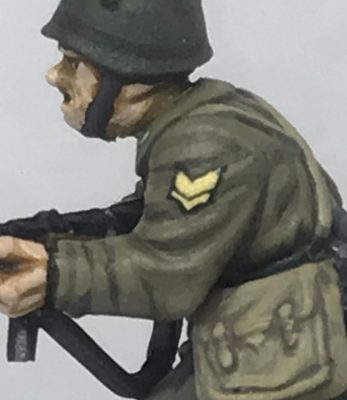
Italian NCOs wore chevrons on their upper sleeves. Sergente Maggiores and Sergentes wore three and two gold/yellow wool chevrons respectively. Caporale Maggiores and Caporales wore three and two red wool chevrons respectively. For my platoon I’m including a pair of Sergentes and two Caporales to serve as squad leaders. I’m opting for the ranks with fewer chevrons simply to make my life a little bit easier. I cover how I paint my chevrons in an article here. While the colors and shape differ, the process is identical. For gold/yellow chevrons I used Vallejo’s Sand Yellow [916] and for red chevrons I used Vallejo’s Flat Red [957].
Happy painting!
