Building Urban Bases

By Kreighton Long
With my North African Italians finished it’s time to look forward to a new project. After attempting desert bases with my Italians, I had the idea to challenge myself with new-to-me basing themes for my next few projects.
The next project will take me from the sands of North Africa to the ruined cityscape of Stalingrad. If I said the German Veterans release from Warlord Games had nothing to do with this choice I would be lying. Having never attempted urban bases before, I spent some of my prep time looking for different ways of creating urban bases and came up with three options to experiment with: Green Stuff, plastic mats, and sand.
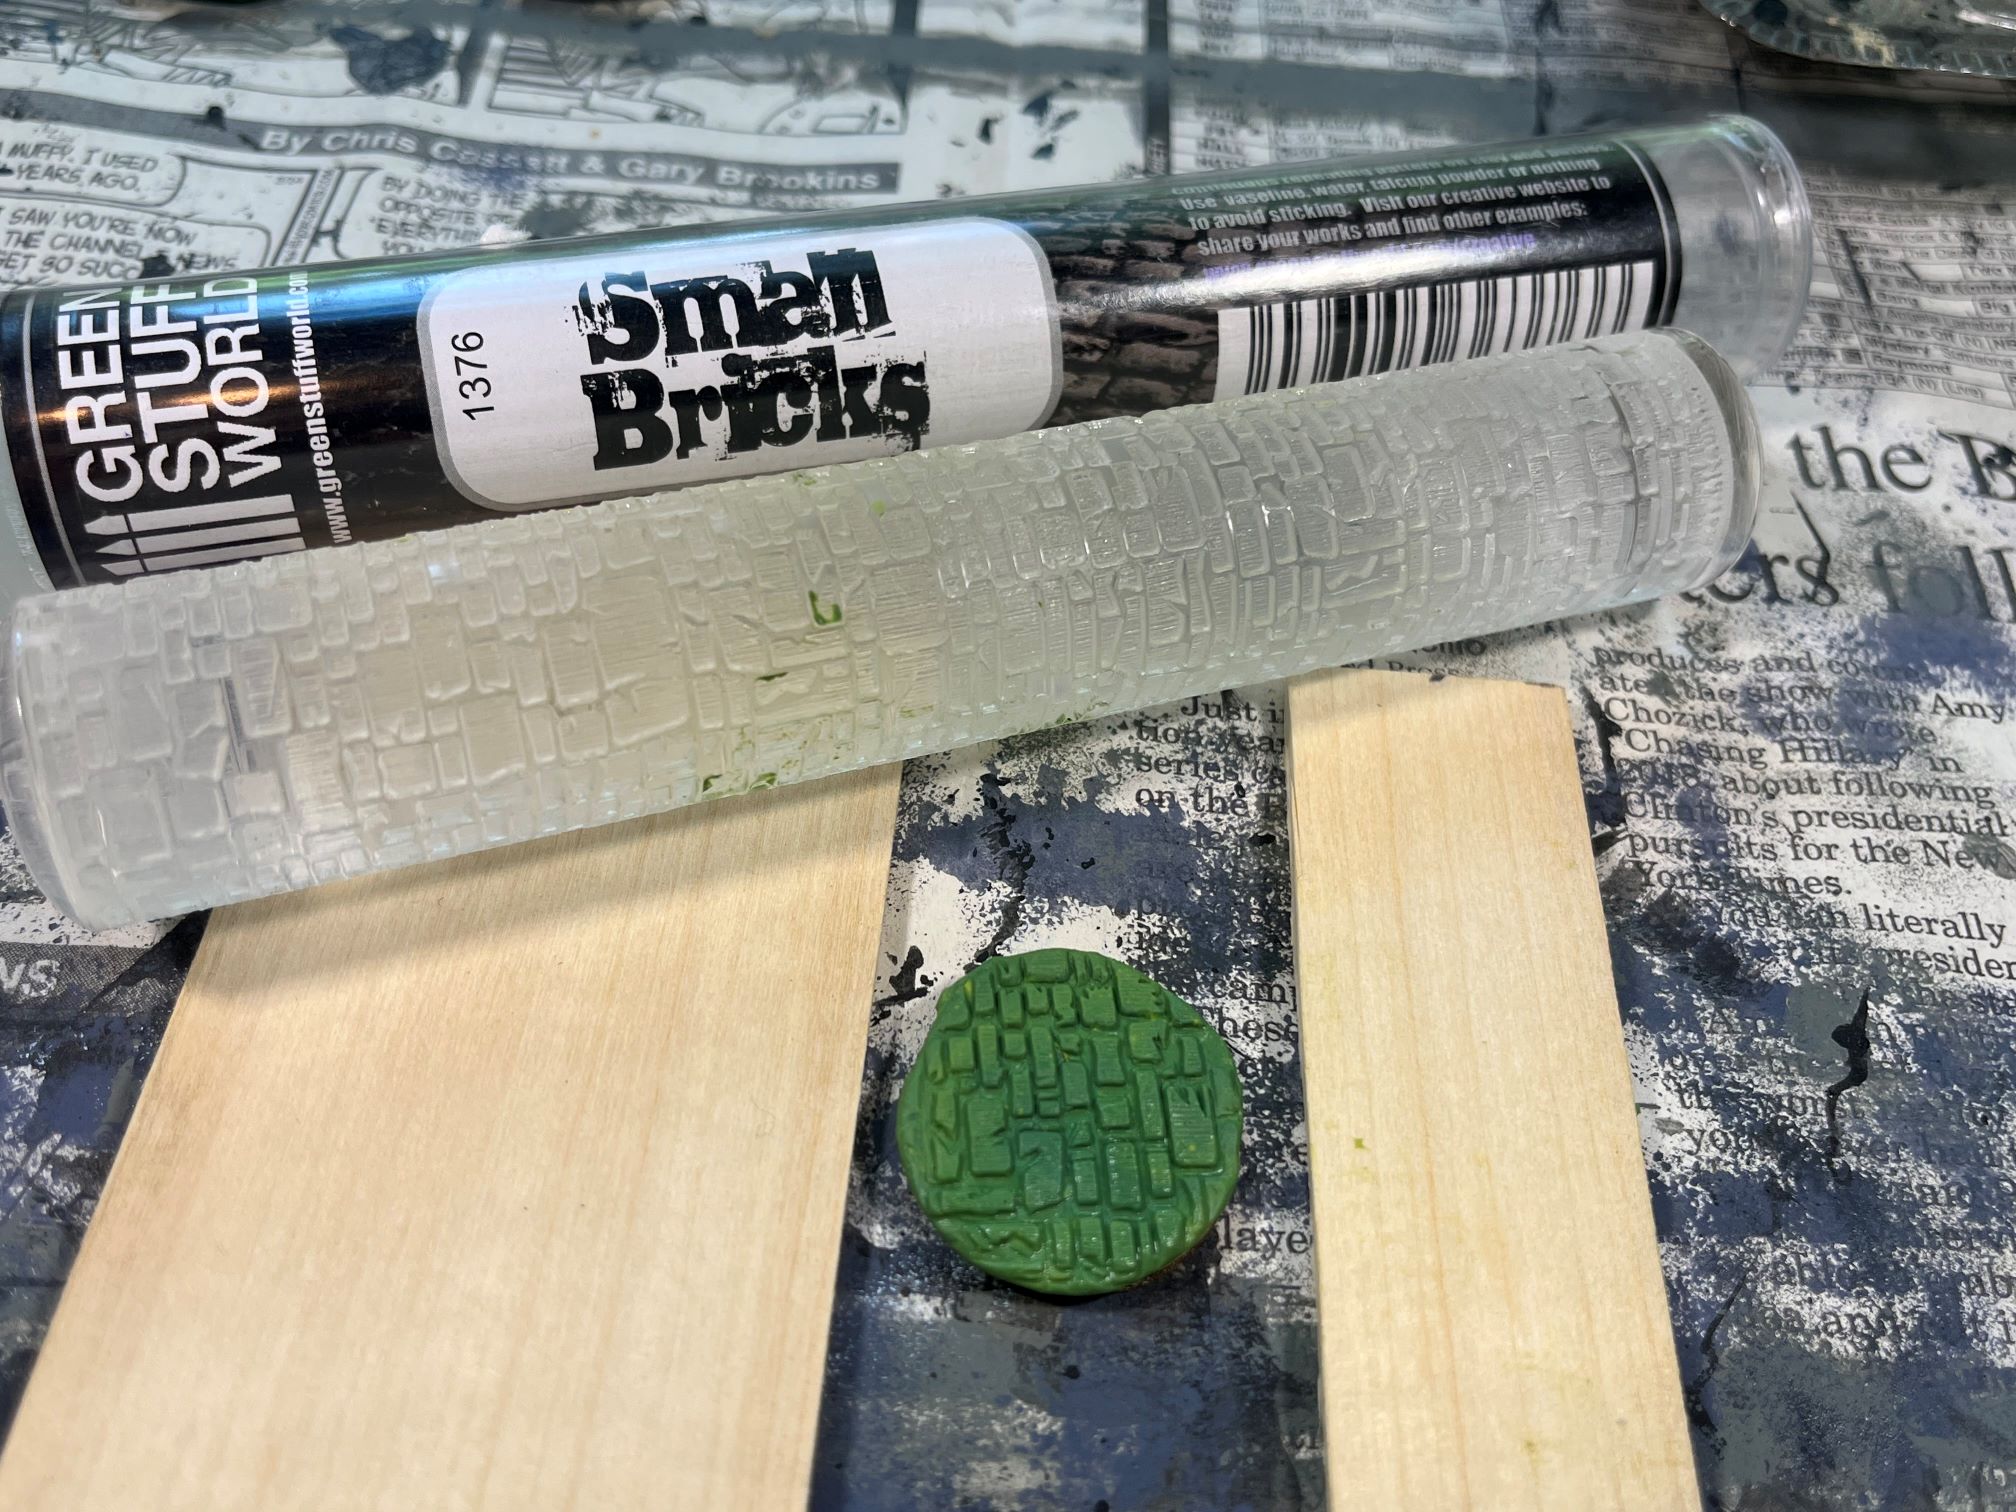
The first was inspired by a phenomenal article written by Heresy Brush in 2019. I used the core structure of their work in my attempts to include the following steps:
- Roll out the Green Stuff with my small bricks roller onto the desired base (Image 1).
- Allow to dry for an hour or two depending on humidity then clean the edges with an X-Acto knife.
- Allow to dry overnight then file the edges to match the base.
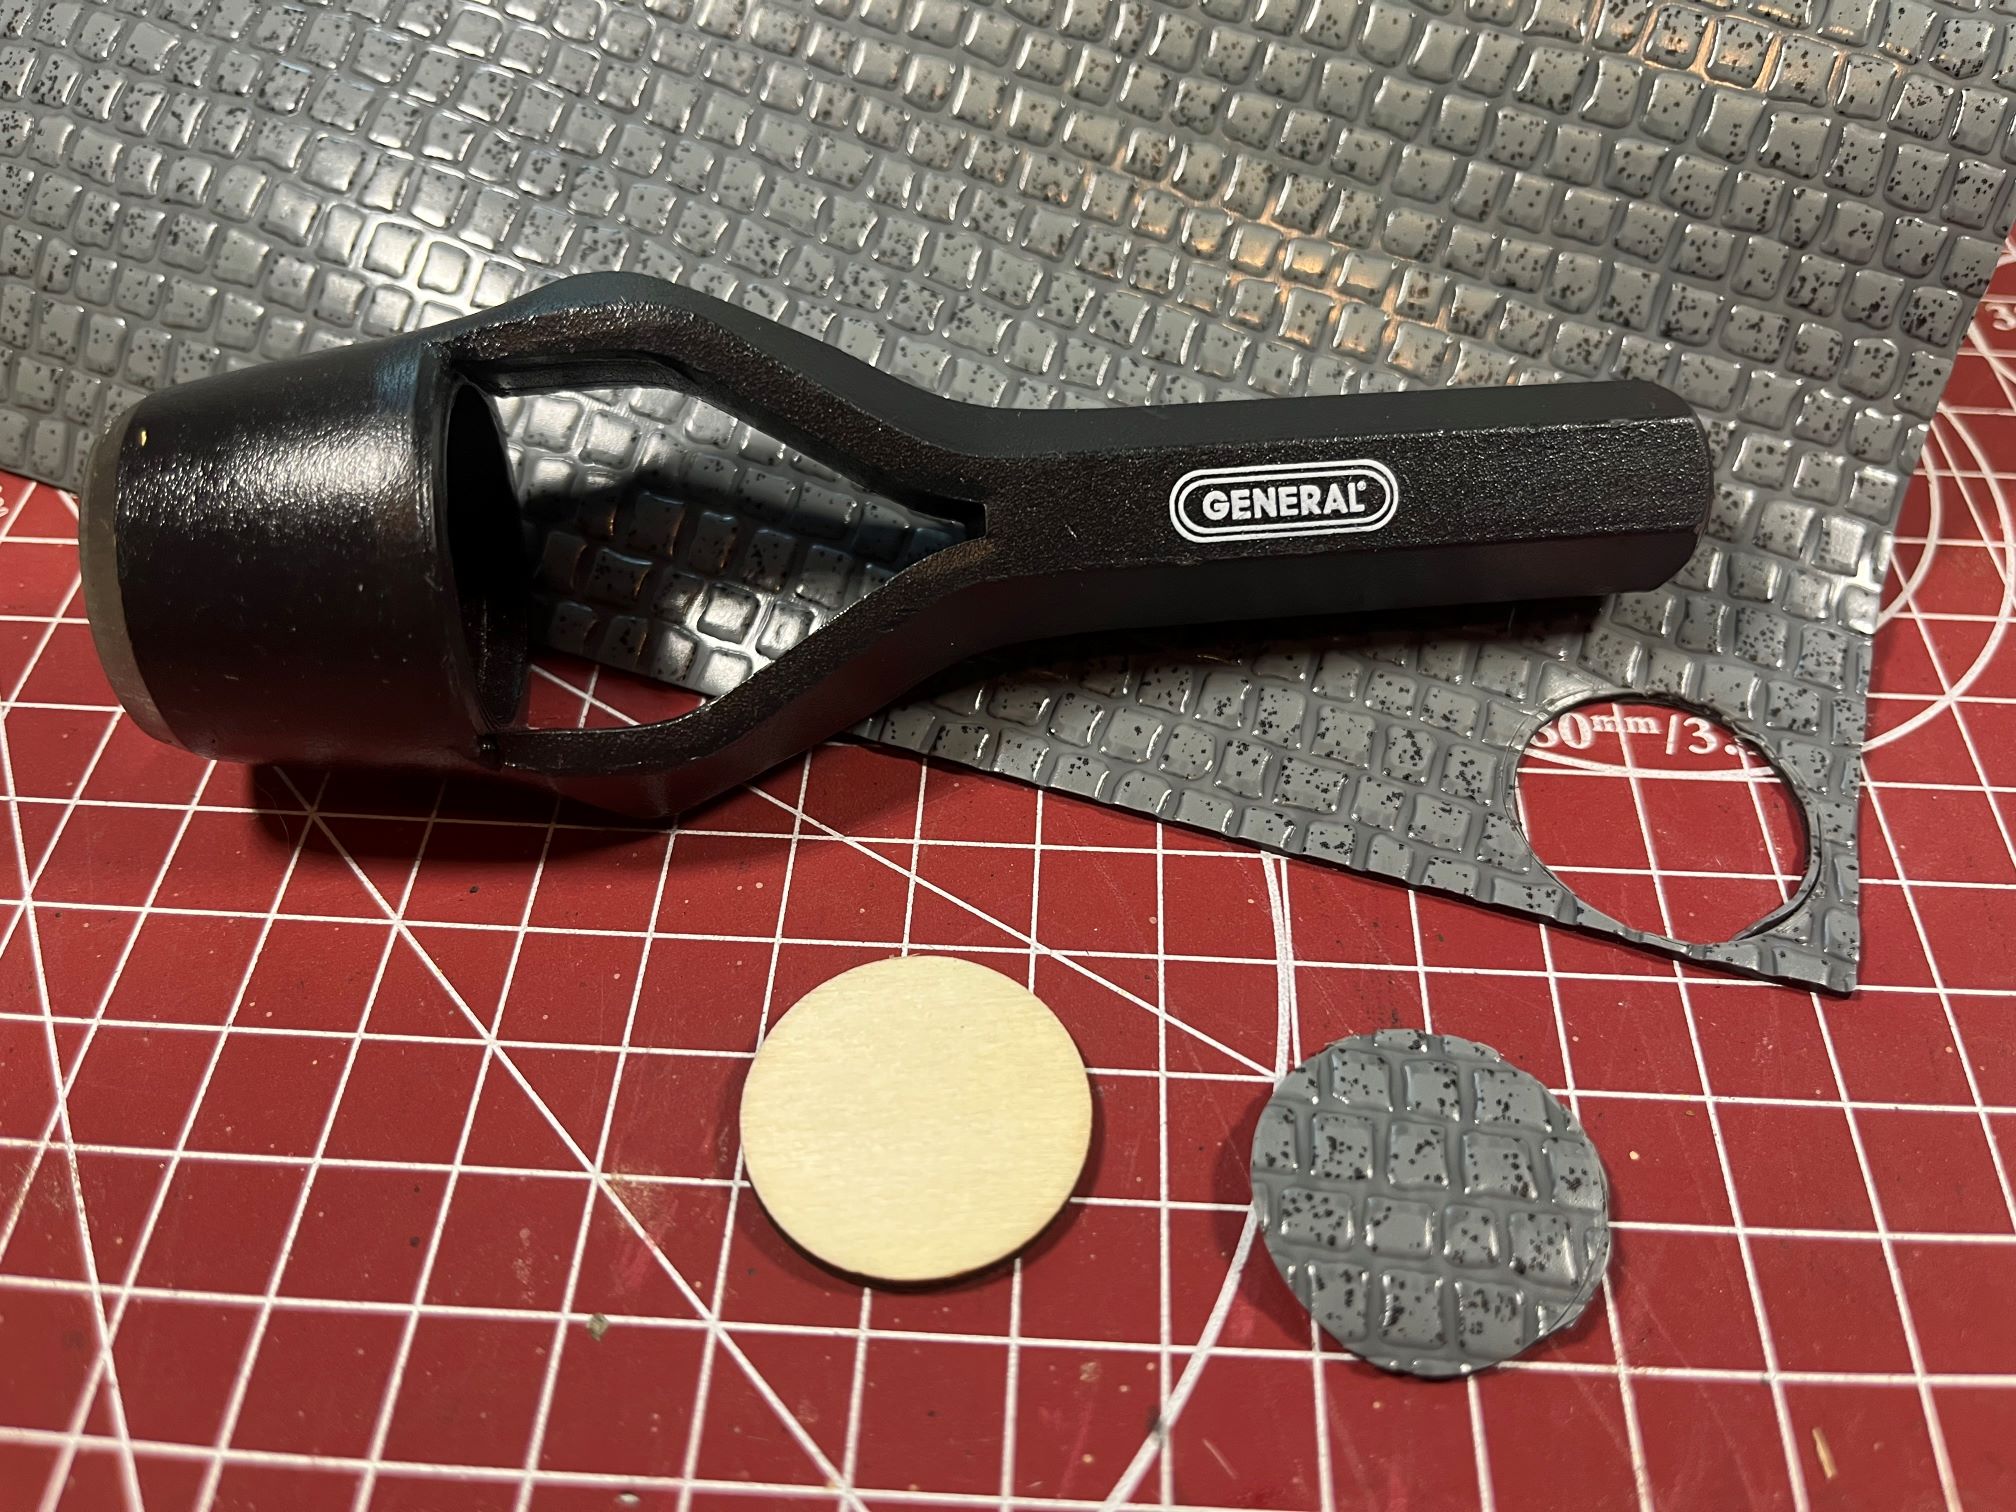
The second was one of my own where I punched 1″ diameter disk with an Arch punch out of some textured material I picked up at Michael’s during their holiday season. I tried both the Large Cobblestone and Brick mats. The third method was to glue layers of sand into various mounds.
On all three I added small piles of sand and small bricks to represent the scattered rubble of destroyed buildings. In general, I used the following six steps to complete my miniatures.
- Apply the foundational layer of Green Stuff (see above), plastic mat, or sand to the base. (Images 1, 2)
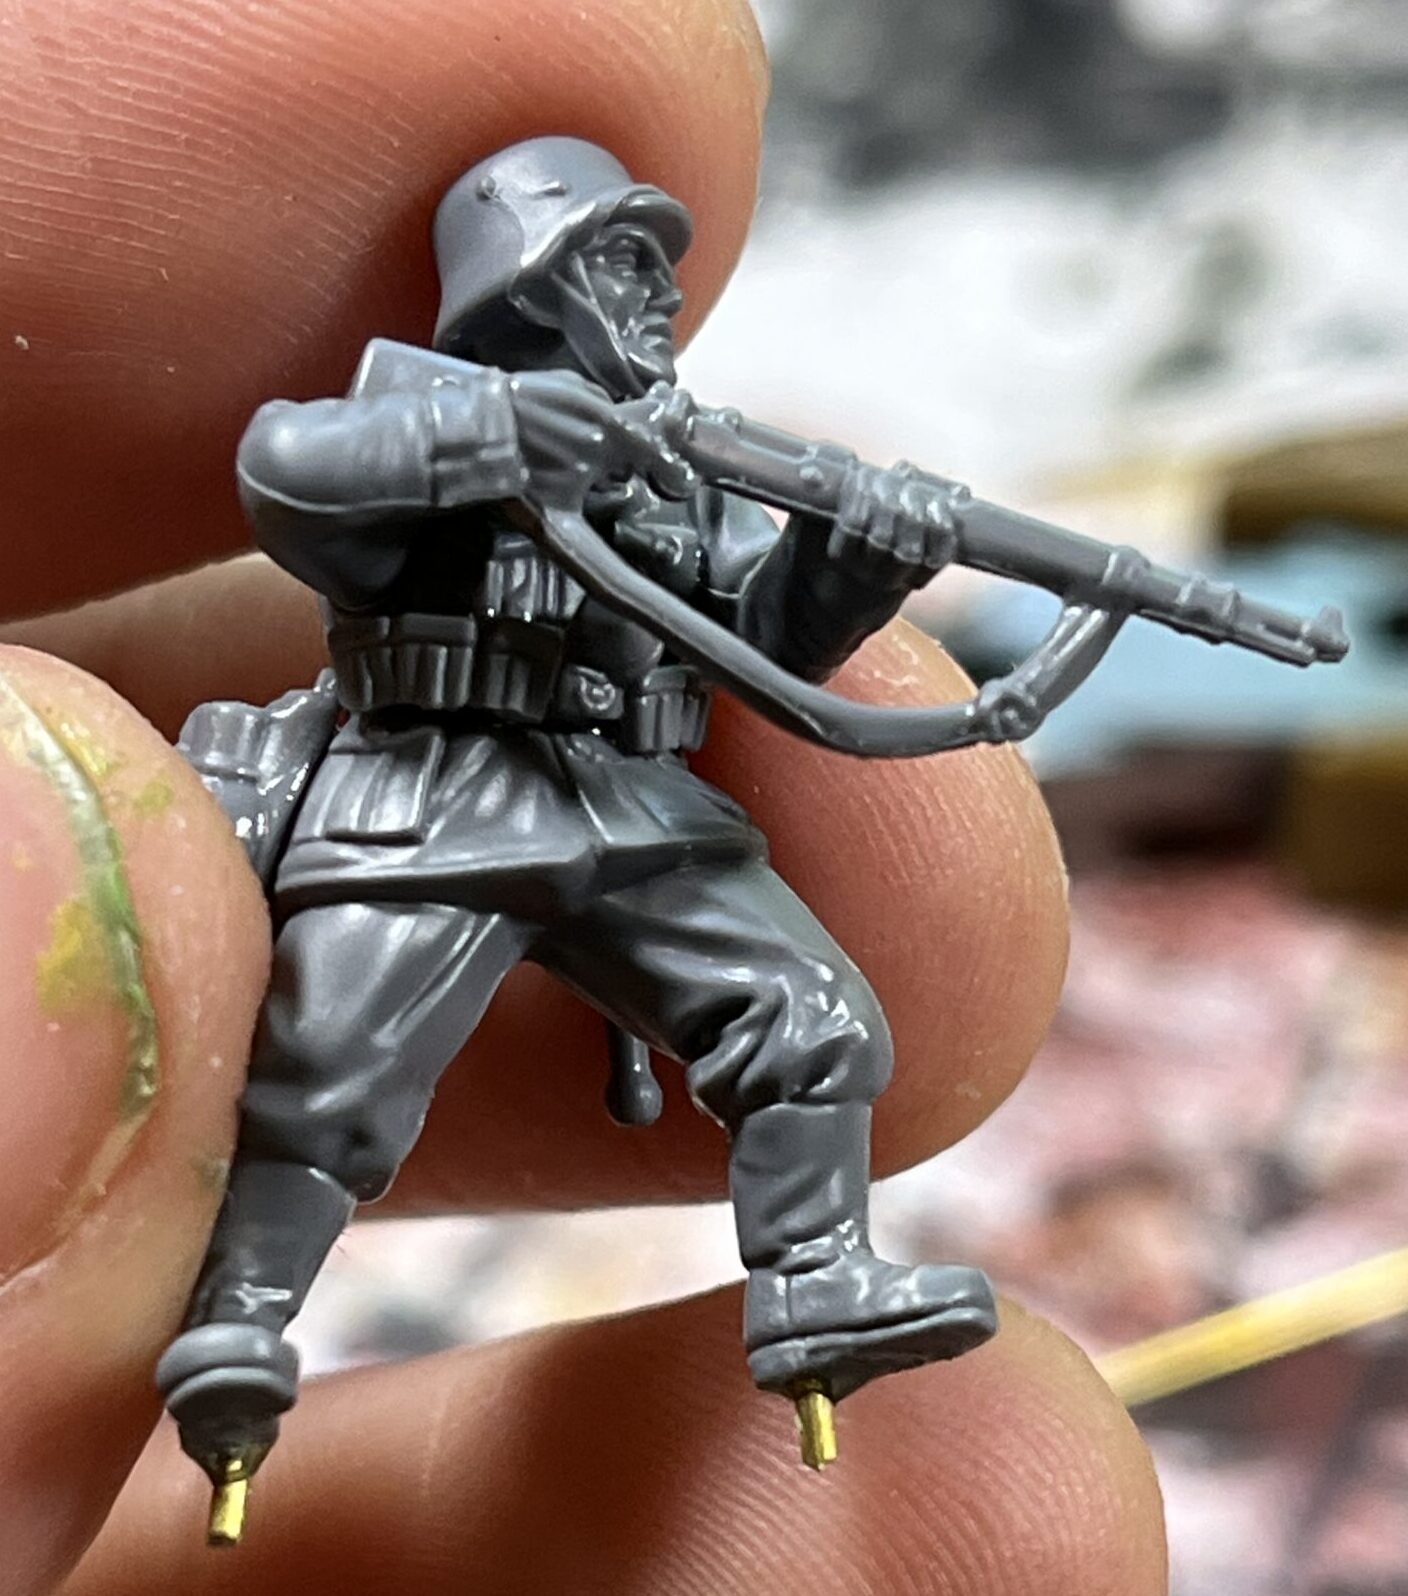
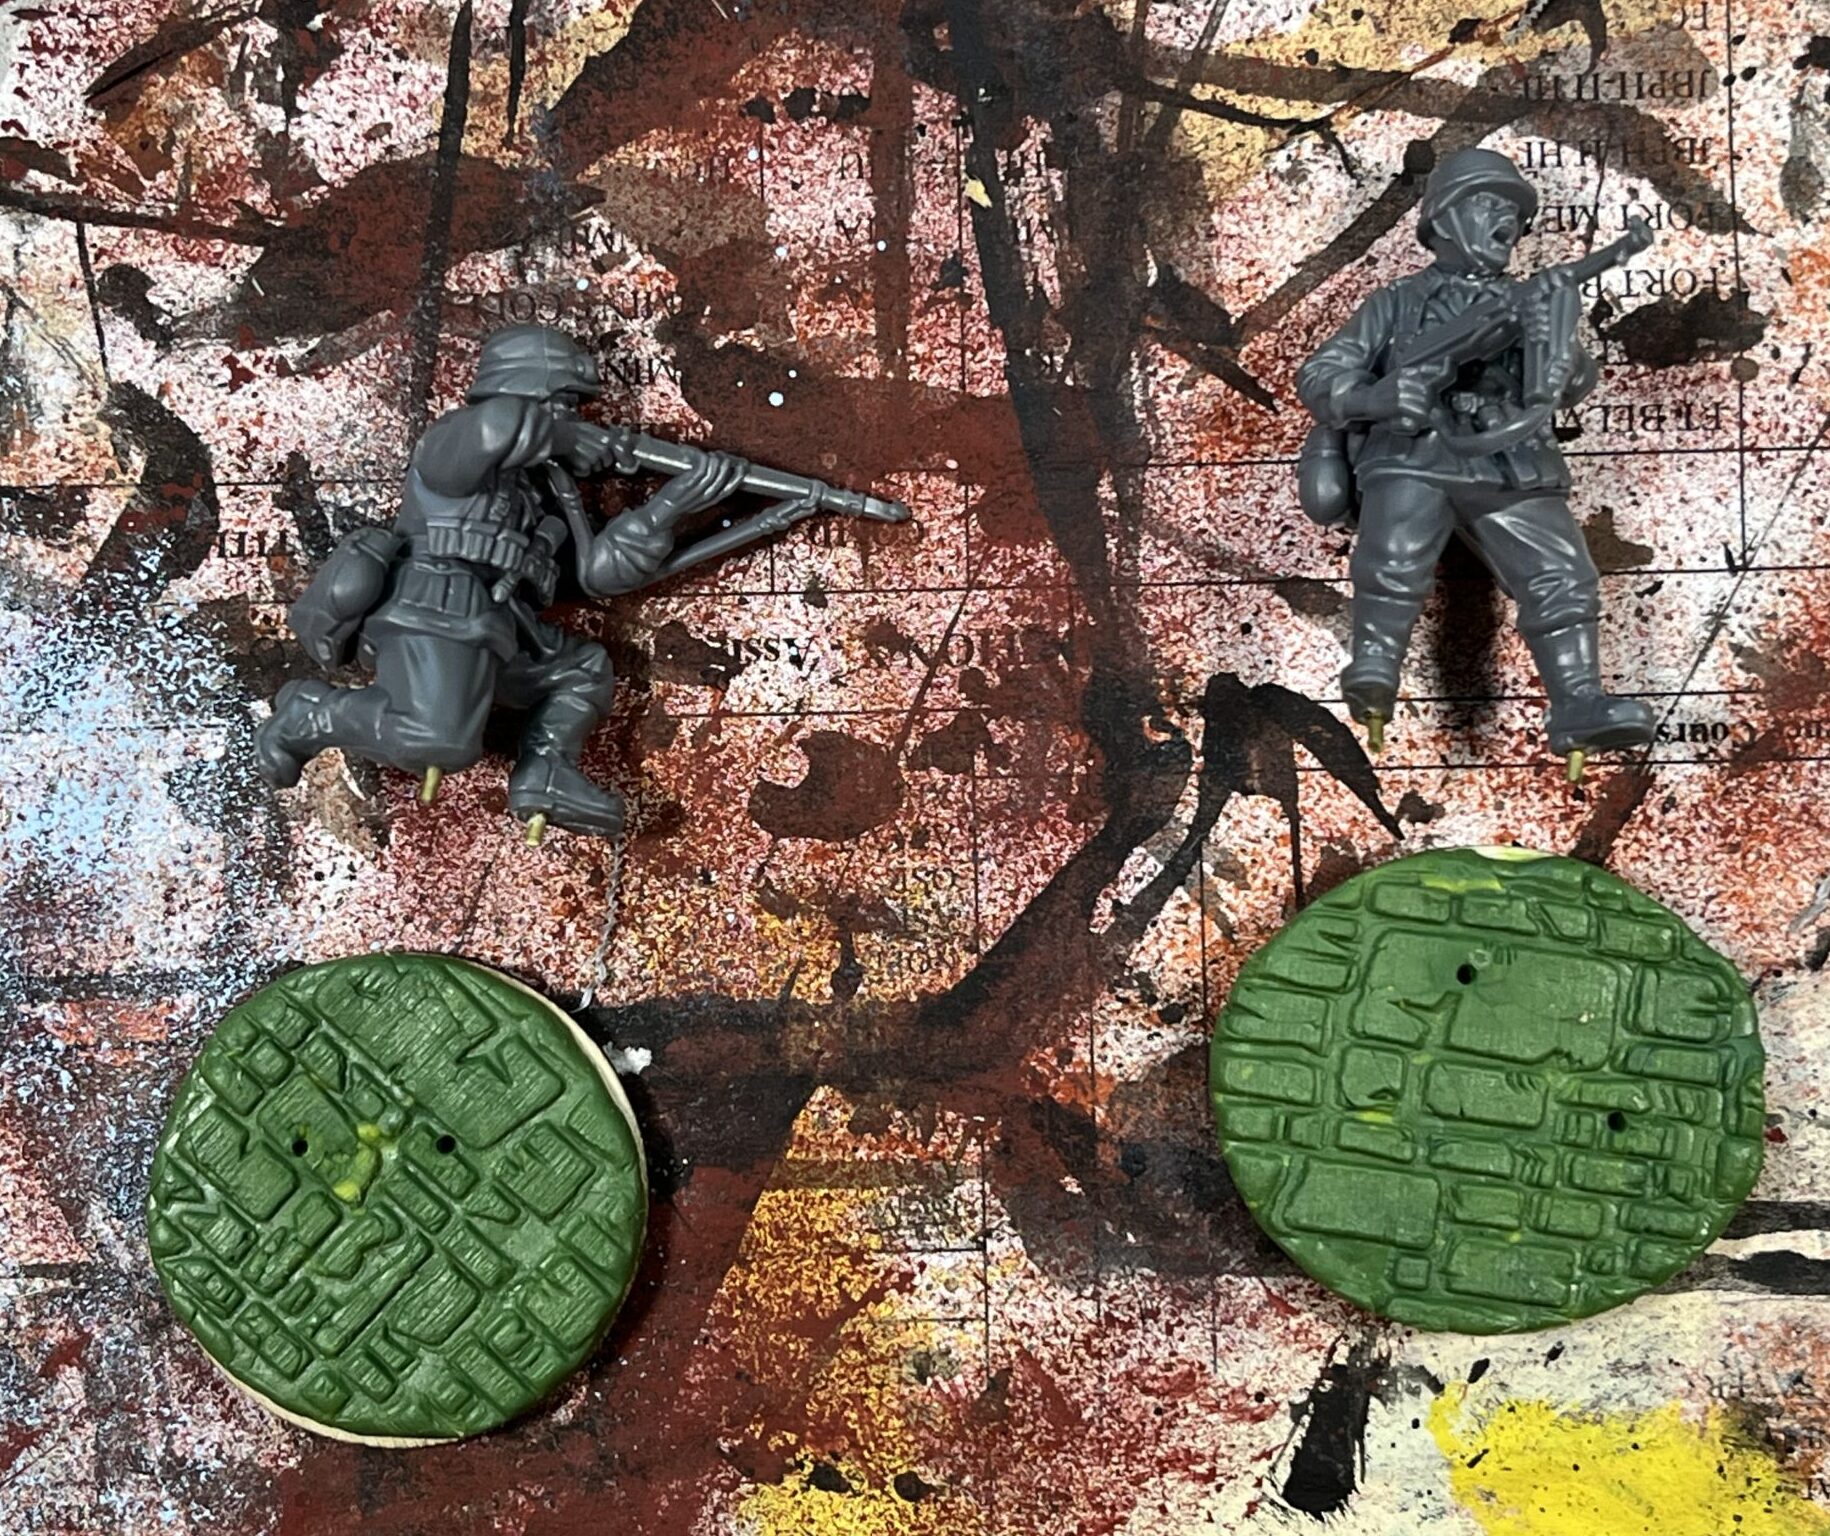
- Apply pins to the miniatures and matching pinholes to the corresponding base. (Images 3, 4)
- Add additional texture such as rubble, sand, and bricks to the base. (Image 5)
- Prime the miniature and base separately.
- Paint the base.
- Glue on the miniature.
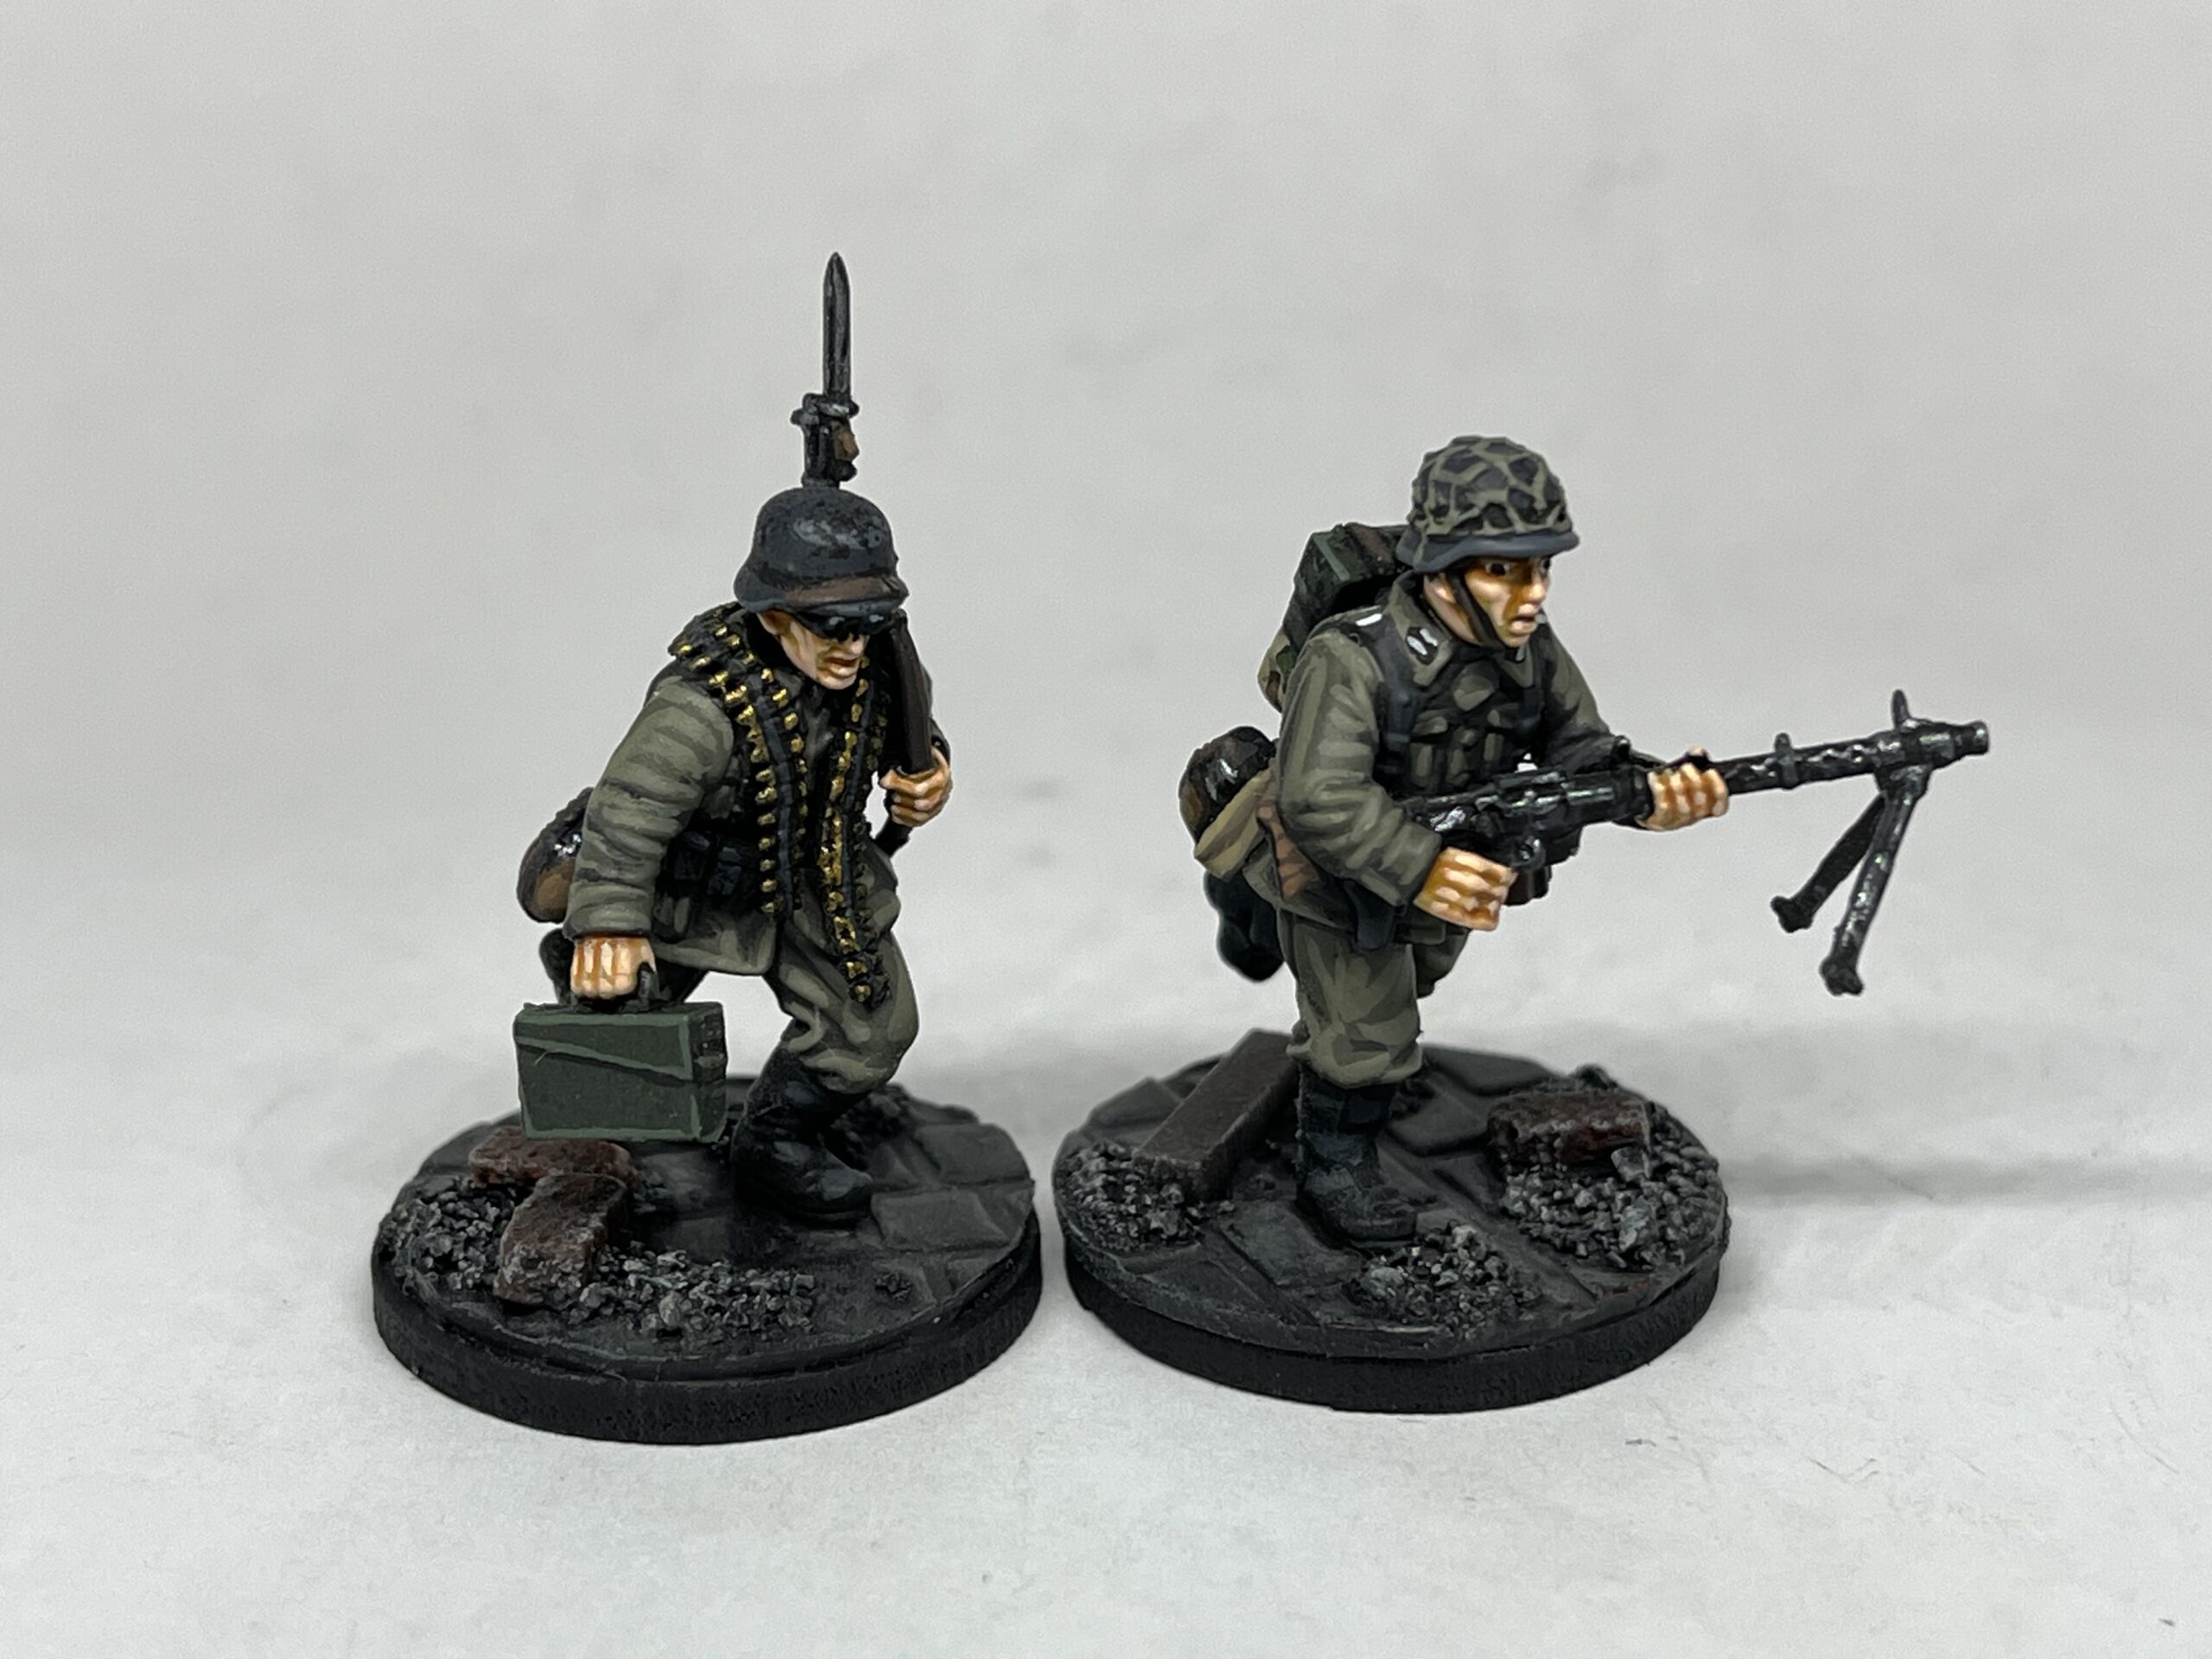
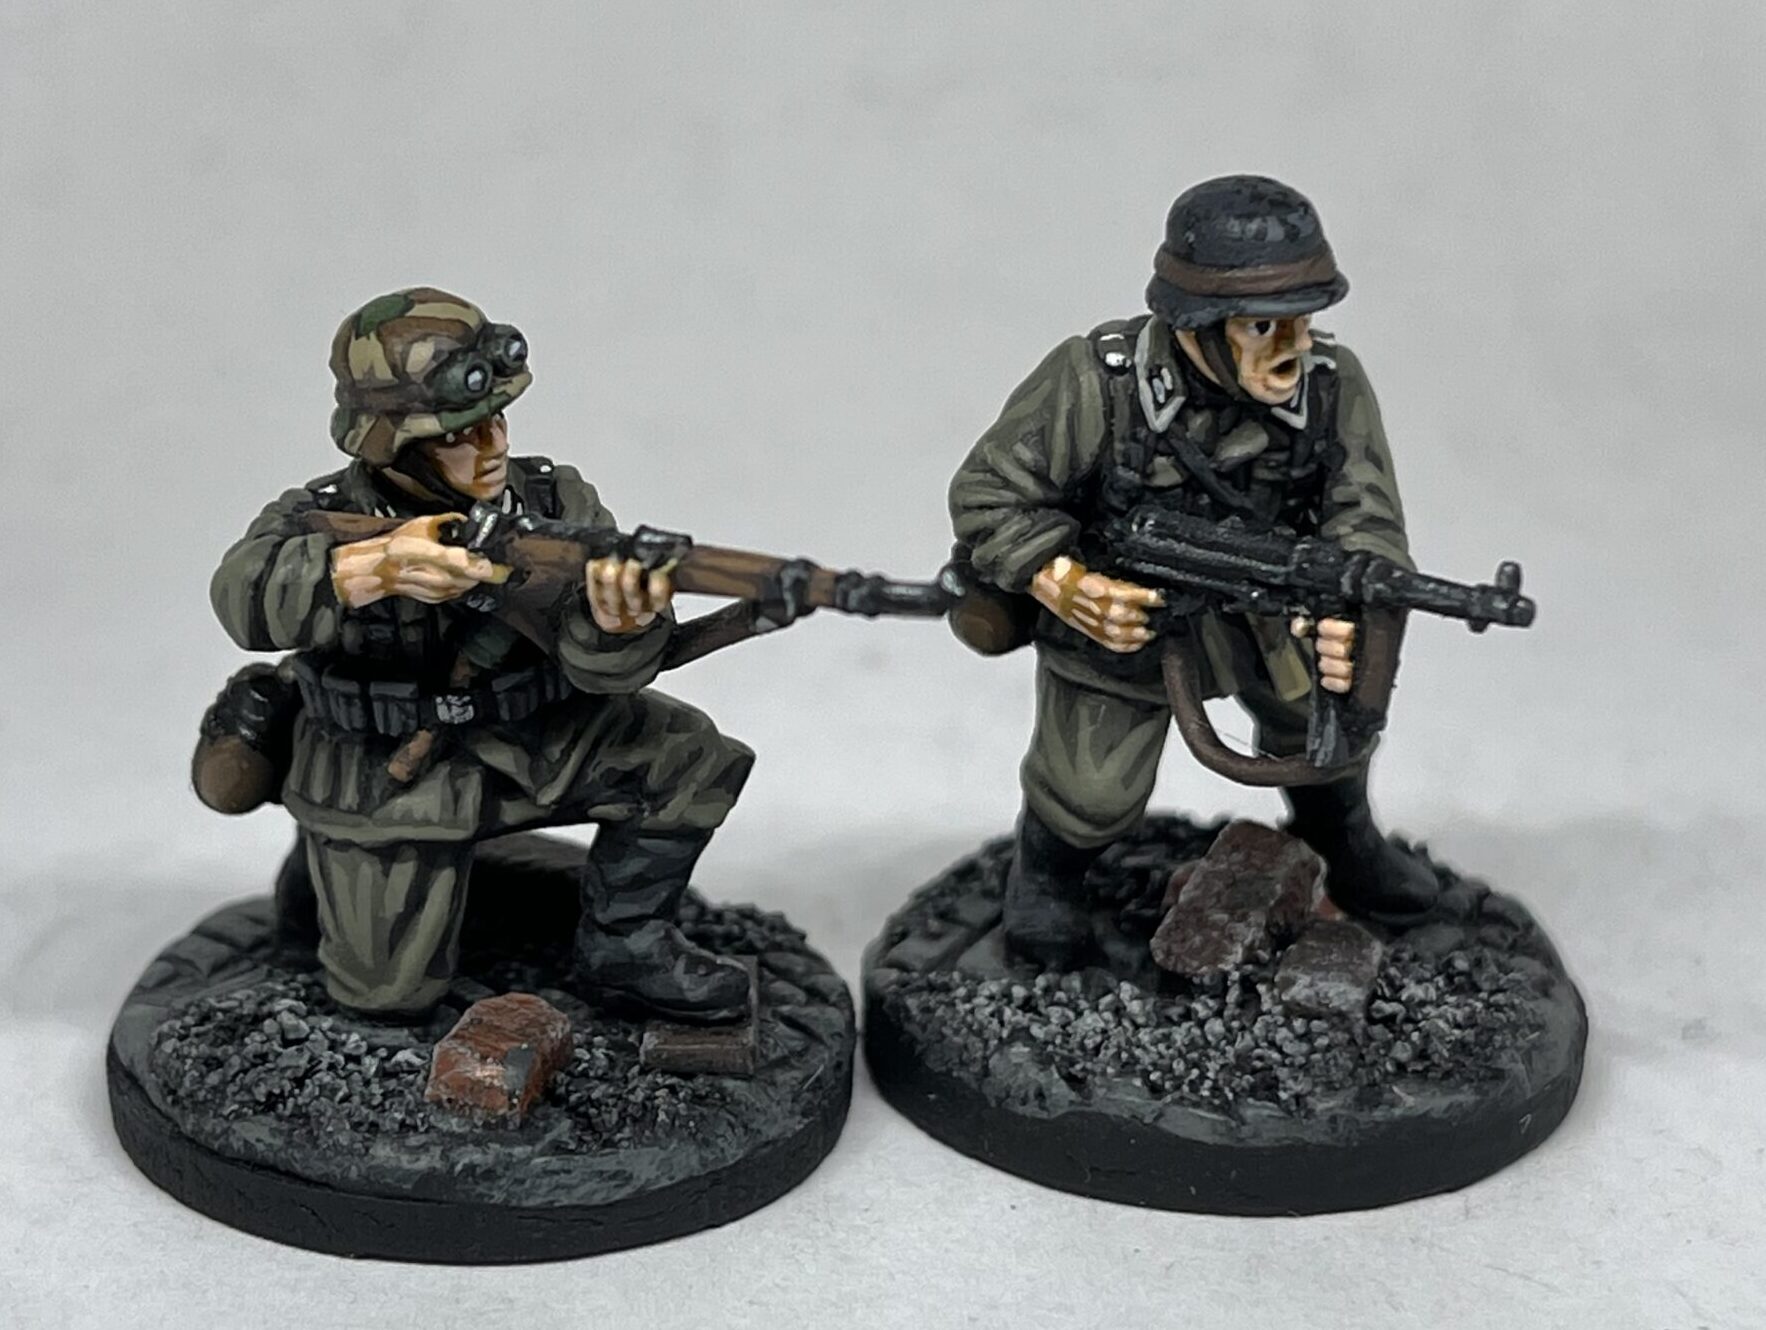
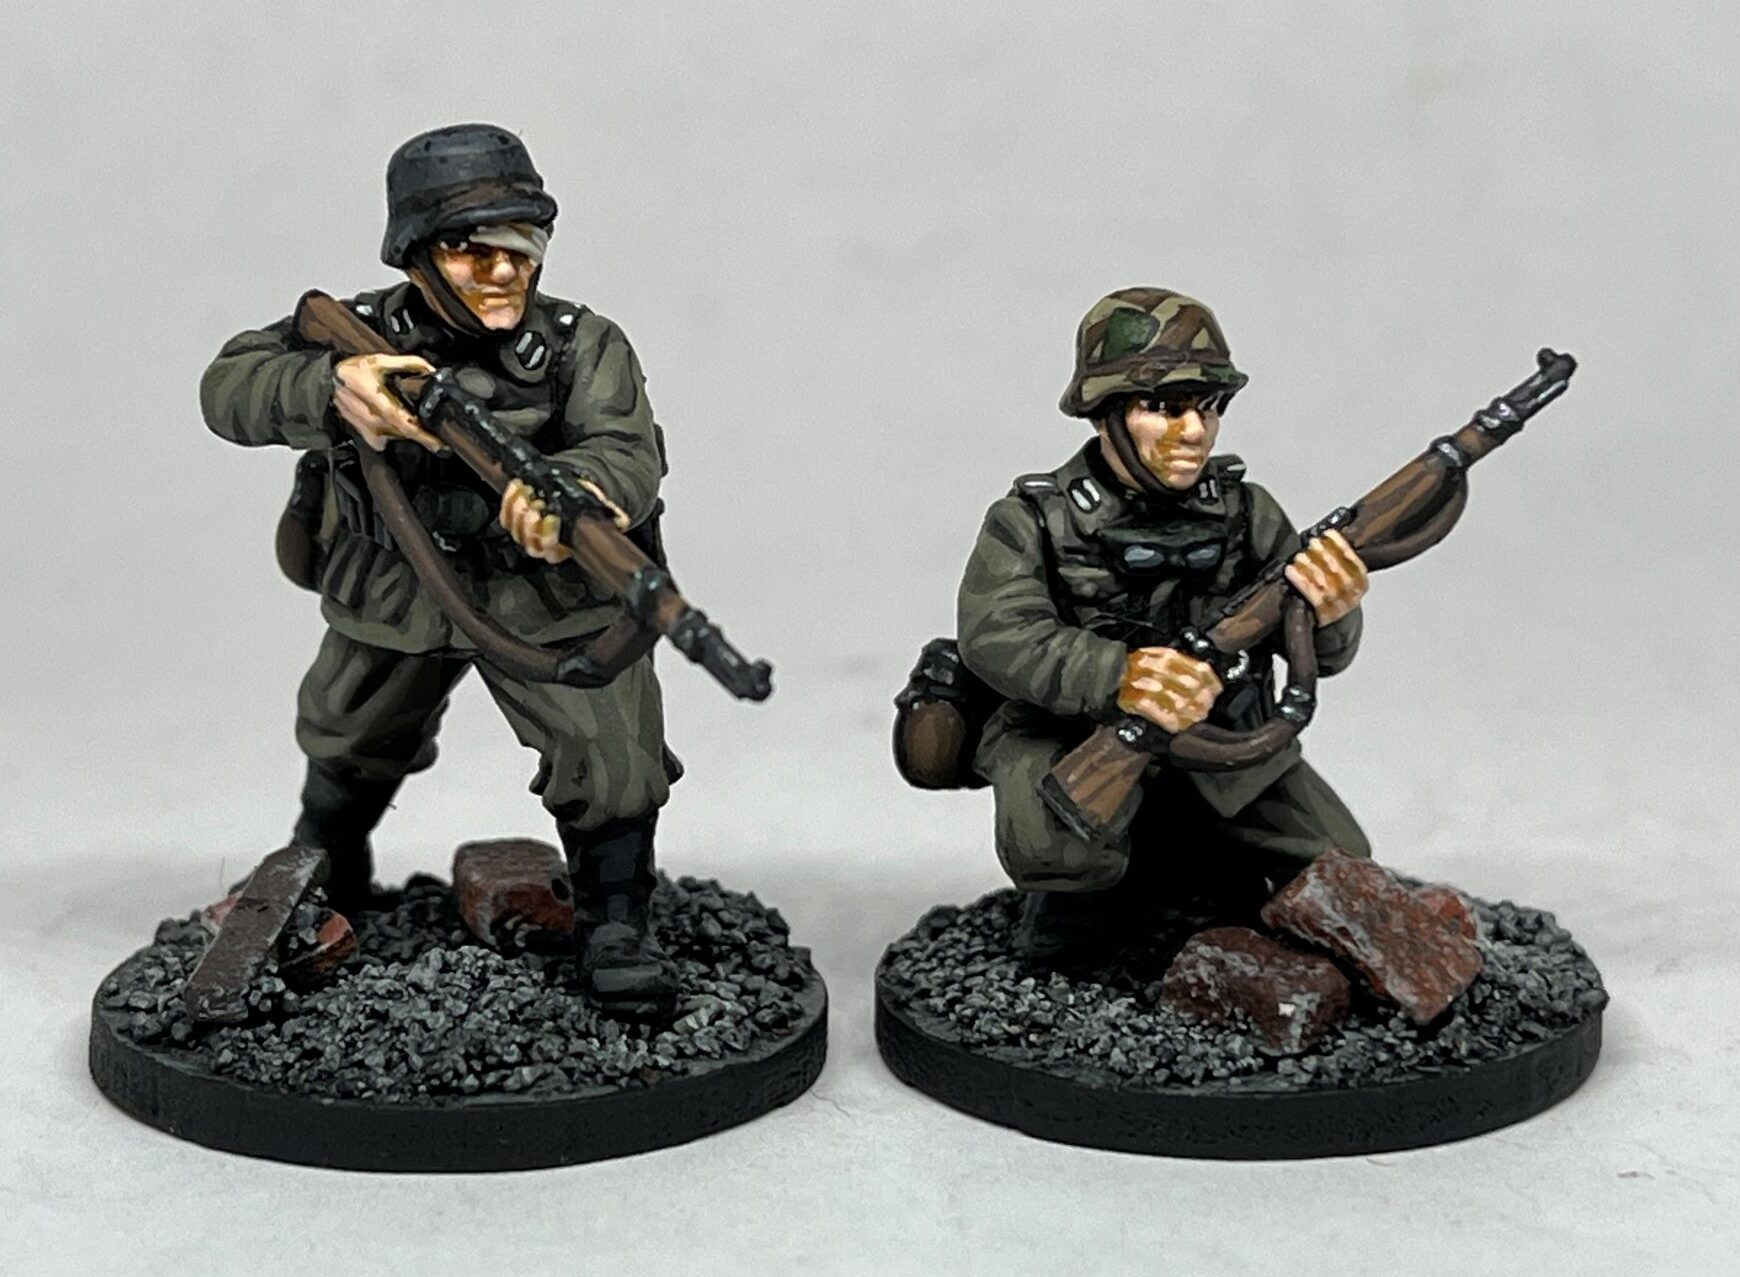
- Paint the miniature. (Images 6, 7, and 8)

While working on these tests I noted the positives and negatives for each of the three techniques and decided on my own preferences for the rest of the army.
The Green Stuff technique added excellent texture to the base and will truly help set the bases of those models apart from other urban bases that I’m bound to see at future events.
The downside is the time and expense that goes into working with this technique. This one is easily the most time consuming including shaping the Green Stuff, budgeting drying time, cleaning the edges of the Green Stuff, then adding the rubble. Green Stuff is notable more expensive than sand so the financial cost is worth considering before trying to use this for an entire army project.
The Green Stuff method one was my favorite due to the quality of the finished product but will be used sparingly due to time and cost.
The plastic mat was easily the fastest to work with allowing me to replicate city streets and sidewalks with minimal effort — other than punching the 1″ disks out from the sheet. The downside was that I felt the final product did not look as good as the other two. As I want to prioritize quality over quantity I will likely not be using much of this technique with this army project.
The sand approach was the happy middle ground between the other two. It took some time to glue the sand and allow it to dry but not nearly as much time as the Green Stuff approach. By adding mounds of sand over several iterations and bricks I could create unique and varied bases for the various miniatures.
This technique also works well when using miniatures that include a stand — such as metal or resin Warlord Miniatures. This is a factor that will require additional problem solving with the other two styles. I foresee this technique being the dominant approach for this army project.
Happy painting!
Thanks for the tips! They look great!