Flames of War Milan Tournament – back in action!
By Paolo Paglianti
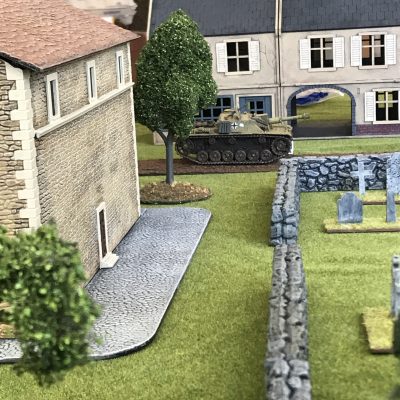
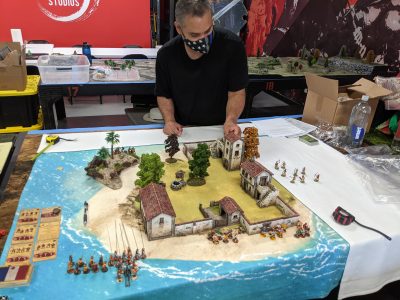
Twenty players under the same wide room, throwing die and blaming luck, moving tin soldiers and plastic tanks. How long we missed this! After two years of interruption, we began to live again our usual lives: as wargamers, it also means we are now back on business with our games! In Italy, they lifted the lockdown in Summer, but in Belpaese everything stops in August (Holiday time!) so we managed to create the first Flames of War tournament in mid-September.
 By Tom “Cap’n Chairborne” Mullane
 By Howard West
 By Howard West