Painting Italian Vehicle Continentale Camouflage

By Kreighton Long

As I work on improving my Bolt Action Italian army I found myself needing a little extra firepower and maneuverability by utilizing the Armored Car slot.  After looking through the options for the Italians I settled on an Autoblinda AB 41 and was lucky enough to stumble across one at a brick and mortar store I visit whenever possible.  While looking into different paint schemes for my new speedy-pew-pew I was inspired by photos of Italian armor painted in a three tone paint scheme with a base of tan with blotches of green and brown known as Continentale

The Continentale paint scheme was used on a few Italian vehicles predominantly in Italy as the Allies pushed the fighting from Africa to the Italian peninsula.   Gaps between the brown and green where the undercoat showed through created a unique looking vehicle camouflage pattern that I decided to reproduce.  After some trial and error I found a process that allowed me to reproduce the paint scheme I wanted in the least painful way possible.

Painting and Modelling Team Yankee Danish Infantry

By Morten

The Danish army got a new camo pattern for their uniforms, designated M/84 in 1984, to replace the older M/58 uniform. Although it was implemented into the Army in 84’ it didn’t reach the troops until years later. Even in the 90’s some troops had still not received the new uniform and especially reservists would still be issued the older M/58 uniform. 

The webbing used was of British making and had been donated to Denmark by the UK, after the Second World War. Denmark did not replace this webbing, until start to mid 90’s, although some bags and pouches on the webbing would be replaced with newer versions along the way (like new ammo pouches for the M/75(G3) rifle). Most of the webbing would be a tan/khaki color, although color variations did occur, and could range from a light green to dark khaki. 

Here is my take on how to paint a Danish Panserinfantri Deling (PNINF DEL), or Armored Infantry Platoon, for Team Yankee, in the M/84 uniform. 

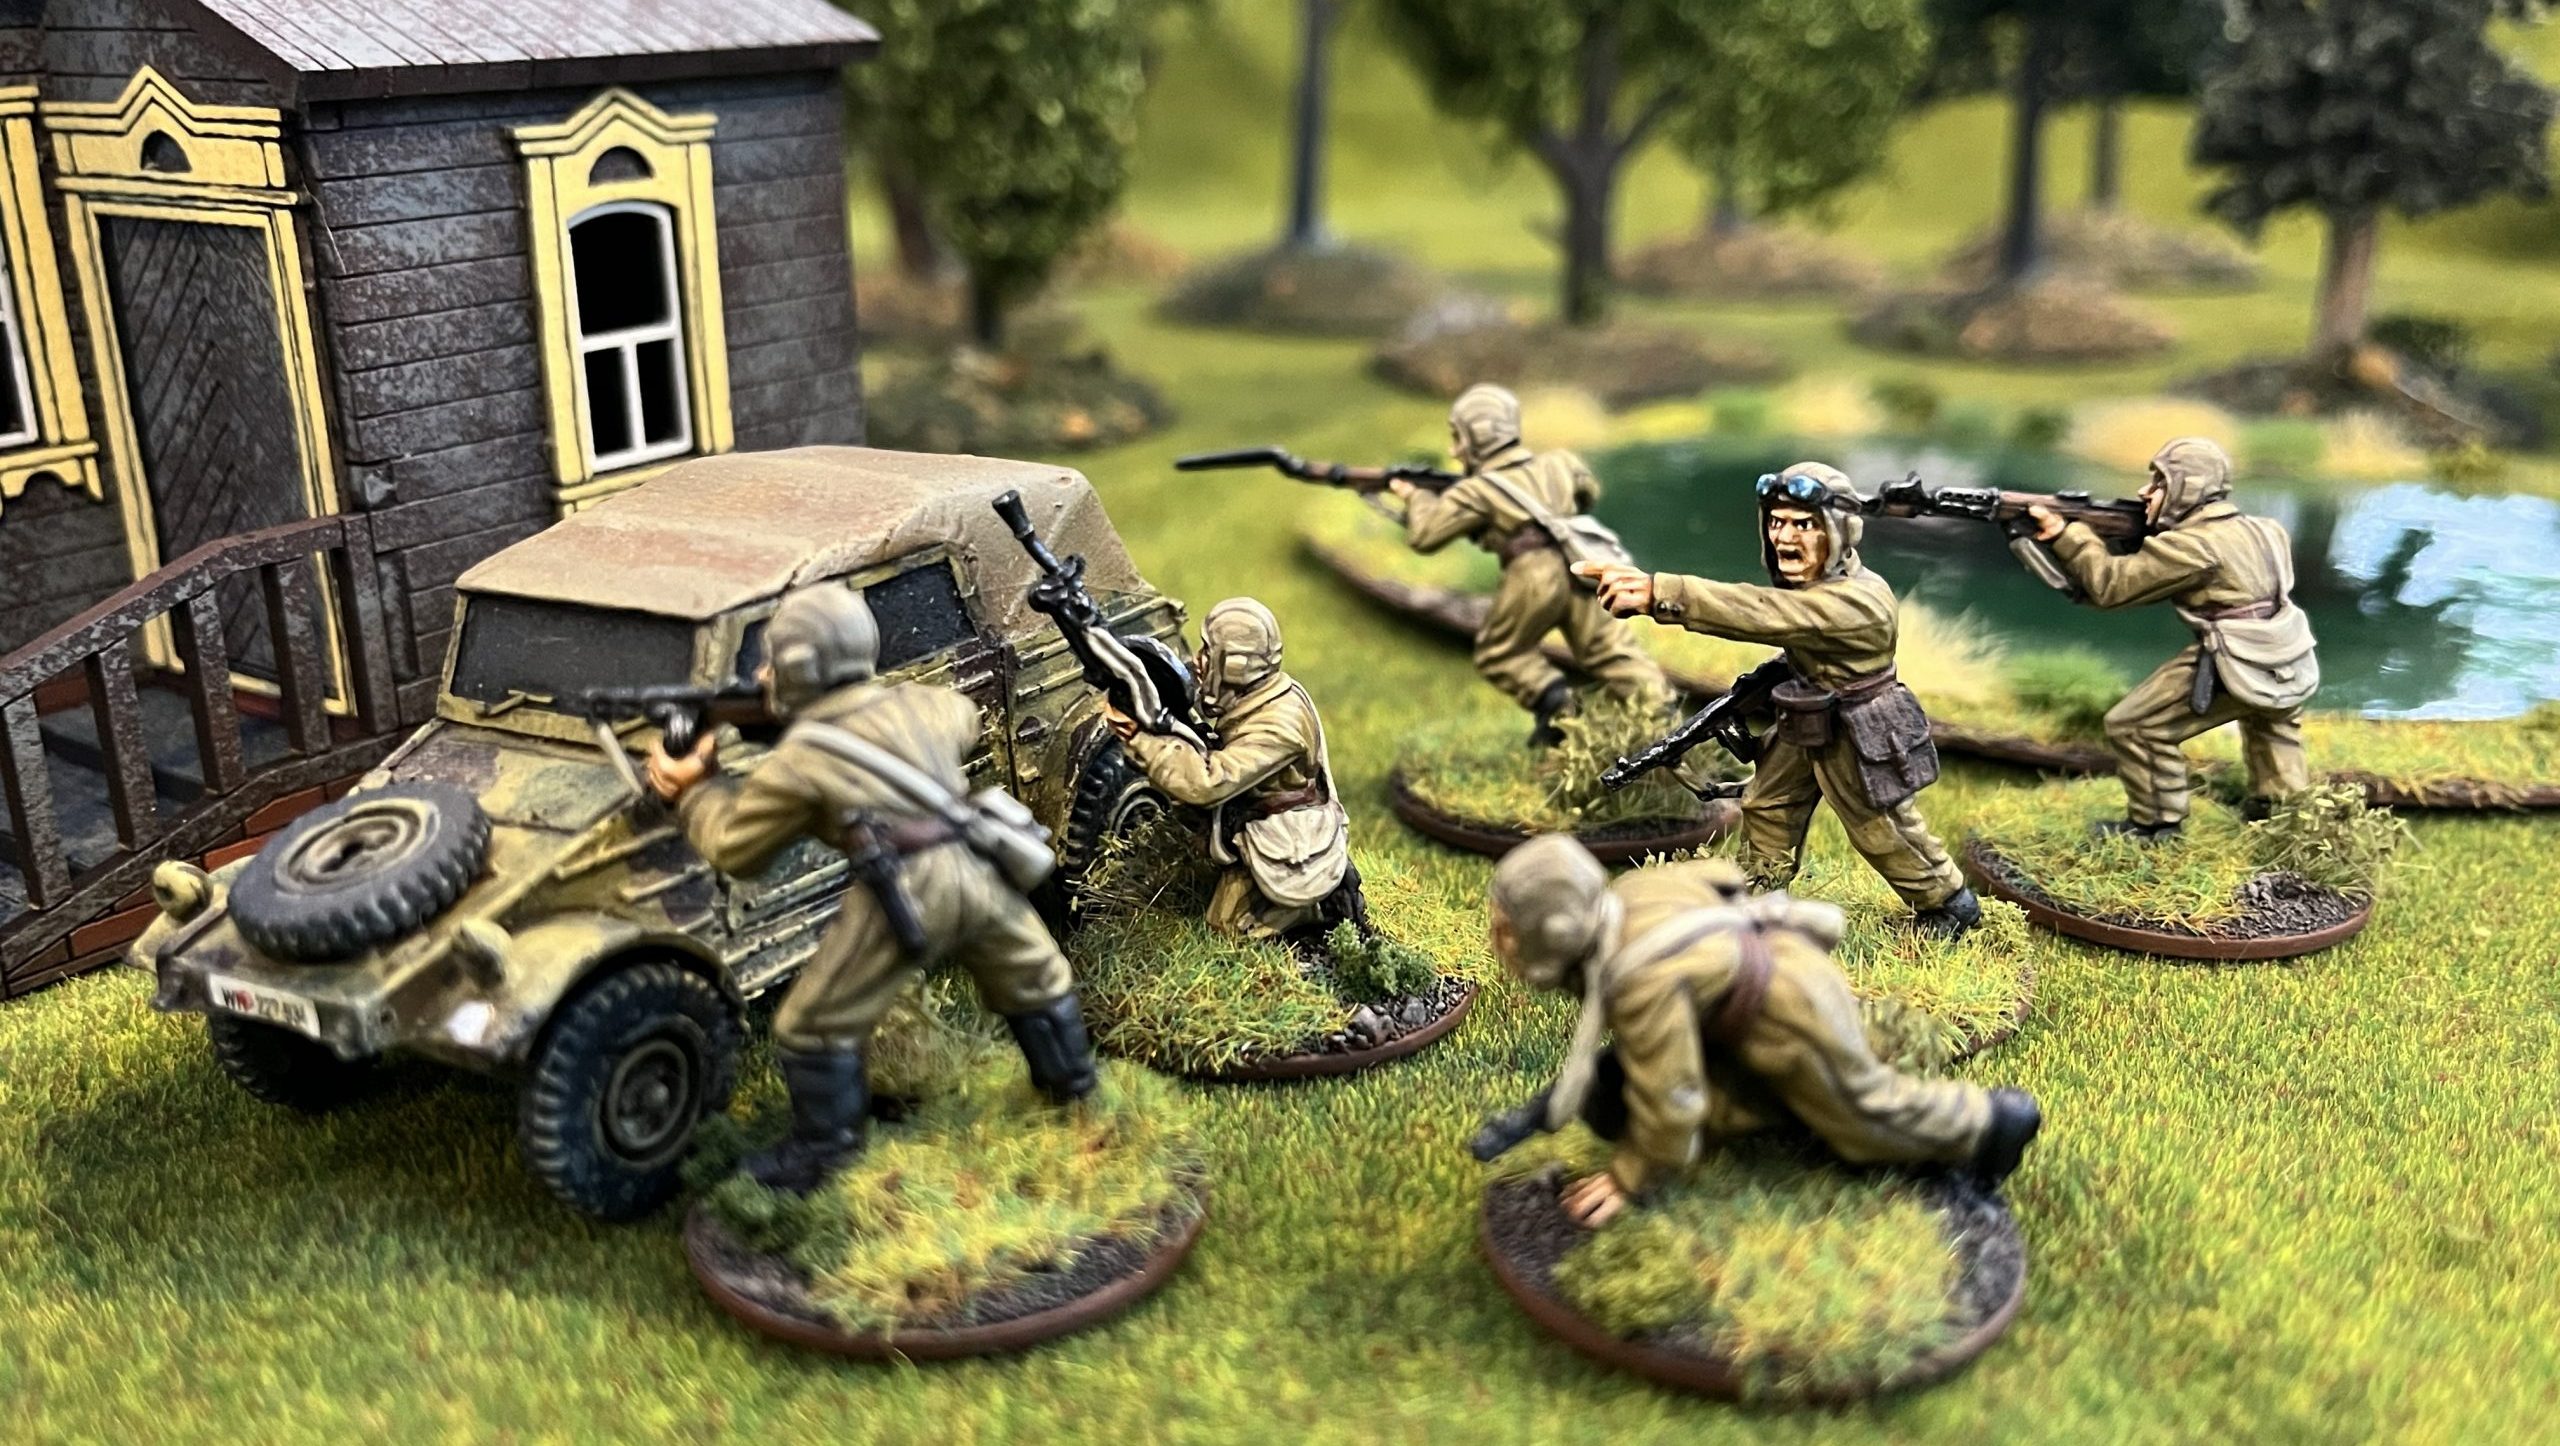
Painting WWII Soviet Union Airborne


By Kreighton Long

World War Two served as both the testing grounds and the high water mark for airborne operations.  All the major powers trained and equipped their own airborne corps with some getting more attention than others.  The Germans were the first to gain notoriety for their use of airborne forces during the early war period and the United States and Britain learning from Germany’s successes and improving upon them in their own airborne operations during the mid and late war periods.

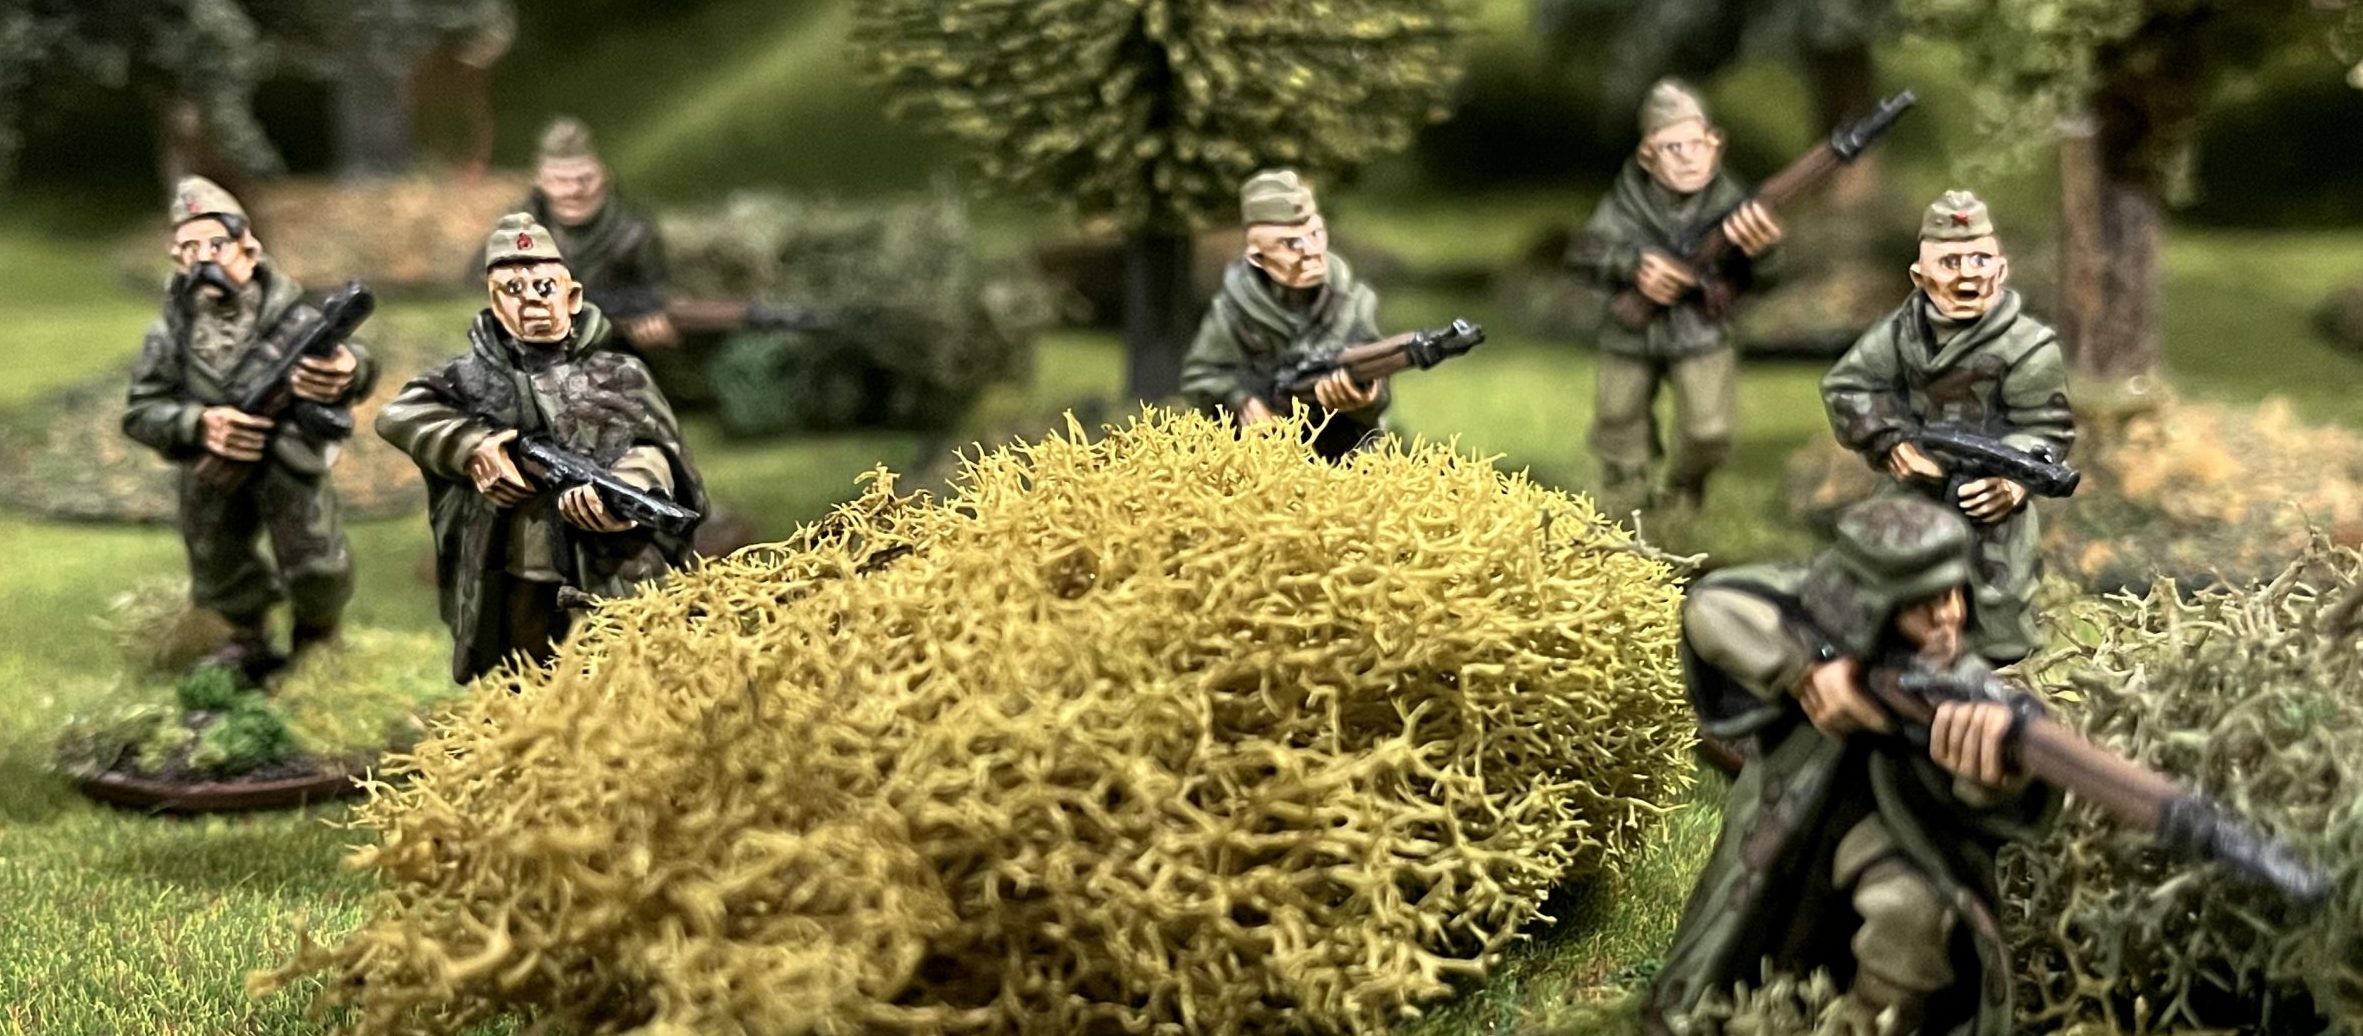
Painting Soviet Union Amoeba Camouflage

By Kreighton Long

During the 1930s, the Soviet Union began developing a camouflage pattern for use by scouts, engineers, and snipers.  The amoeba camouflage pattern, officially known as makirovochnyi kamuflirovannyi kostium or MKK, was produced and utilized throughout World War Two.  The amoeba pattern was produced in summer/spring green and autumn/winter brown versions.  I decided to paint my Soviet Scouts in the green version to better match my current terrain collection.  The paints I used are Vallejo’s Russian Uniform (924), Black (950), Chocolate Brown (872), and Buff (976).

Painting Waffen SS Oak Leaf Camouflage

By Kreighton Long

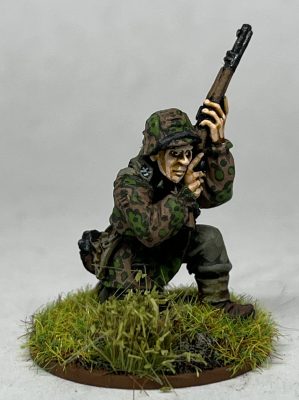
The German Eichenlaubmuster, also known as Oak Leaf, camouflage pattern began being issued in 1941 and was used by the Waffen SS until the end of the war.  Below are the steps I take when I paint Oak Leaf camouflage.  The paints I used are Vallejo’s German Cam. Pale Brown (825), German Cam. Black Brown (822), German Cam. Dark Green (979), and German Cam. Bright Green (833).

Painting Sidewalk Terrain Casts

By Kreighton Long

In my previous article, I described my first foray into mold making.  In this article, I’ll share how I took the cured casts and painted them to look like generic cobblestone sidewalks.  I spent some time looking at different cobblestone sidewalks on Google Images to try to find out how to paint mine.  In the end, I decided to go with a basic grey color as a safe neutral to fit most settings.

Creating Sidewalk Terrain Molds

By Kreighton Long

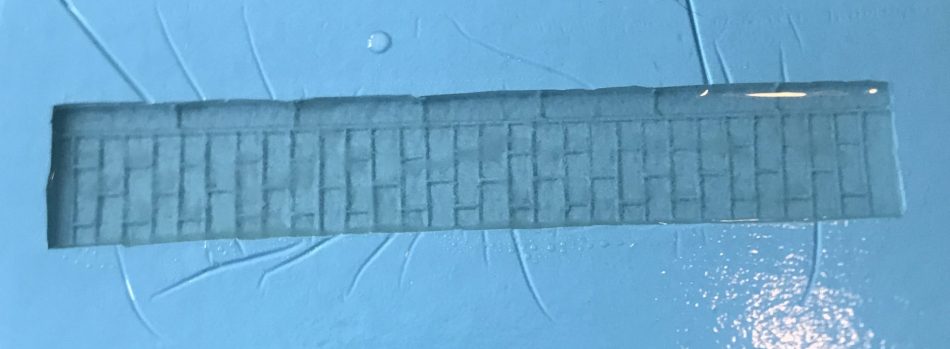
Over the years I’ve slowly been building up my collection of urban terrain and as my tables experience urbanization I’ve come to realize that the next step is to include sidewalks. Adding sidewalks to my terrain collection will help to fill in some void space in my town, and will help the town become a more aesthetically pleasing, lived-in, setting.

At first, I looked for simpler options such as printing cobblestones onto card stock or buying mousepad cobblestone rolls and cutting to size but none of those gave me the modeler look I desired.  Eventually, I rolled up my sleeves and declared, “Fine.  I’ll do it myself”, with my best Thanos impression.

Basing Artillery in Bolt Action

By Kreighton Long

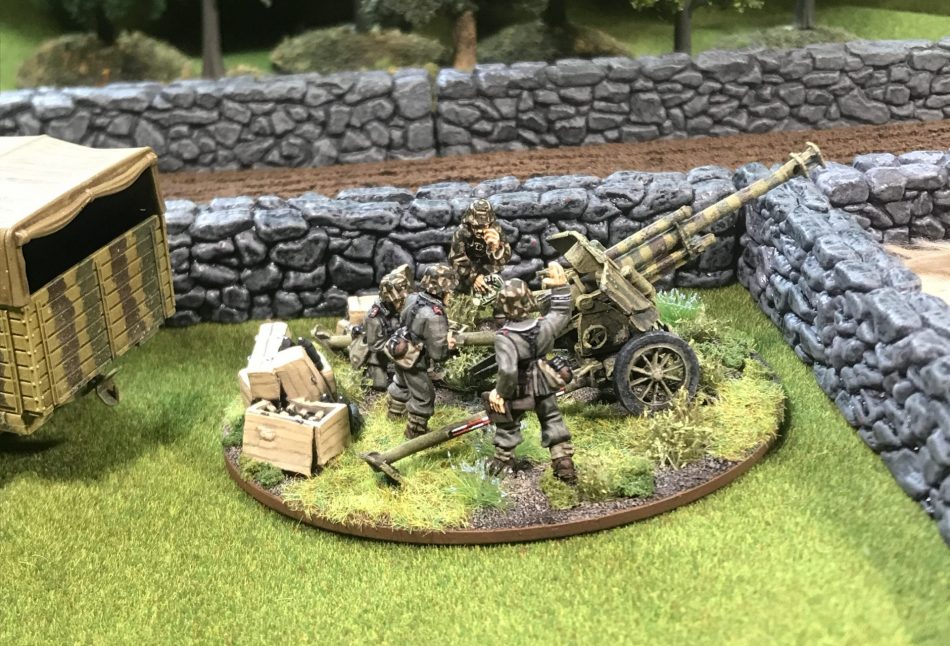
What is a Bolt Action army project without some big guns?  Even partisans have access to lighter howitzers and anti-tank guns.  There’s probably at least one army that can’t take artillery options but I can’t think of one on my own.  As fun and good-looking as the big guns can be it can be challenging to paint and base the finicky things.  Speaking for myself, I struggled for a while on how best to turn these pieces of pewter, plastic, and resin into gaming pieces that were as aesthetically pleasing on the table as they were influential on the outcome of the game.

Painting World War Two Italian Camouflage

photo by Kreighton Long

By Kreighton Long

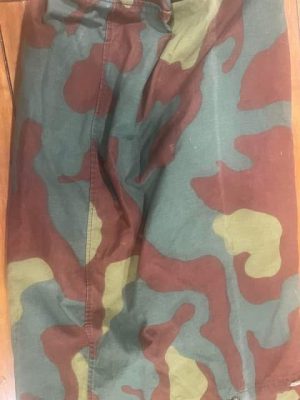
A sample of M1929 telo mimetico provided by fellow geek and co-conspirator of the author, Mr. Jeffrey Whitlock.

The Italian Army, or Regio Esercito, was the first military in the world to mass-produce camouflage equipment for their soldiers. The M1929 telo mimetico was utilized by Italian soldiers and paratroopers as well as by Italy’s German ally during the course of World War Two.

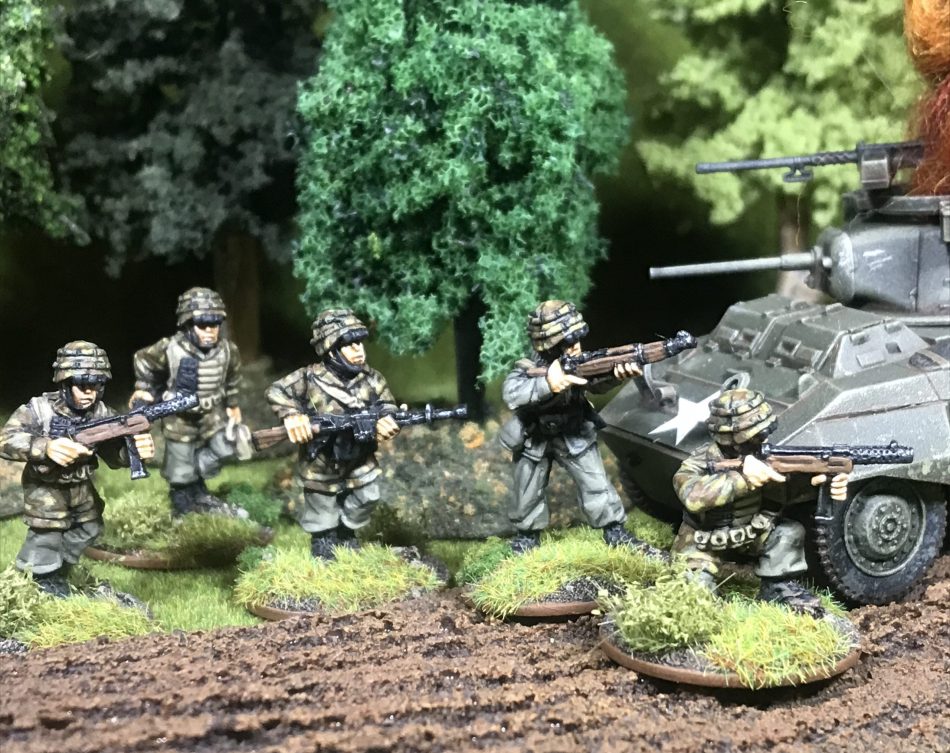
For my Italian paratrooper army project I knew I needed to commit hard to the camouflage pattern and after a few trial runs incorporating feedback I reached a scheme that was close to accurate while still being doable.

Painting World War Two Italians

By Kreighton Long

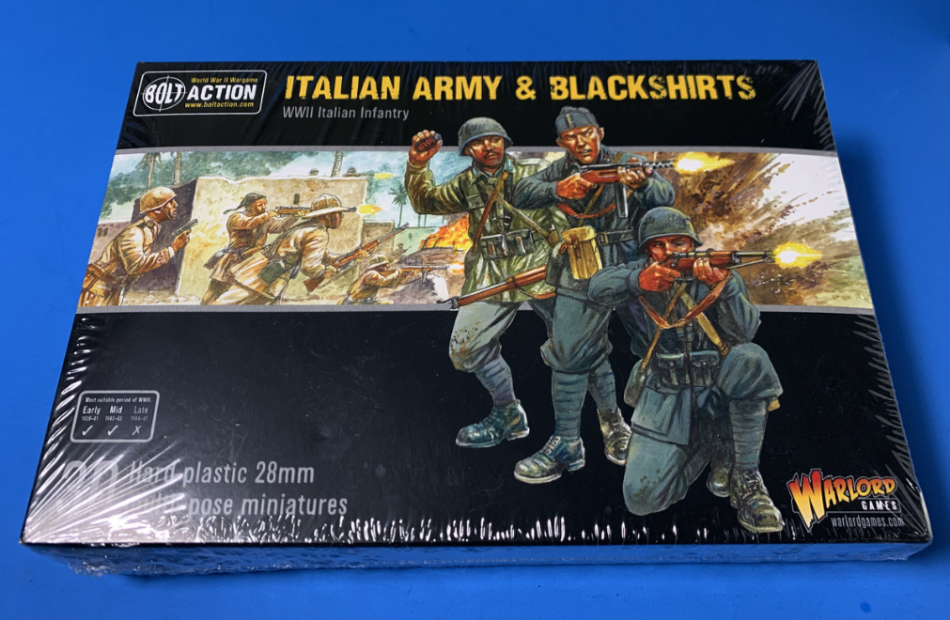
When it came time to purchase my Italians I decided to go with Warlord Games. Their plastics have been excellent over the last several years and I figured why not give these a go. I can honestly say I wasn’t disappointed. The kits are easy to assemble with enough variety to have minimal duplications in your platoon. The sculpts are clean with good lines and deep contours that make highlighting that much easier when painting. I picked up one box of plastic infantry and the support teams box to get the meatball rolling. When I get to it I’ll add some vehicles and heavier support to really flush out my Italians into a force ready to take to the table. But first, we need to put paint to plastic.