Miniature Wargaming Wedding Cake
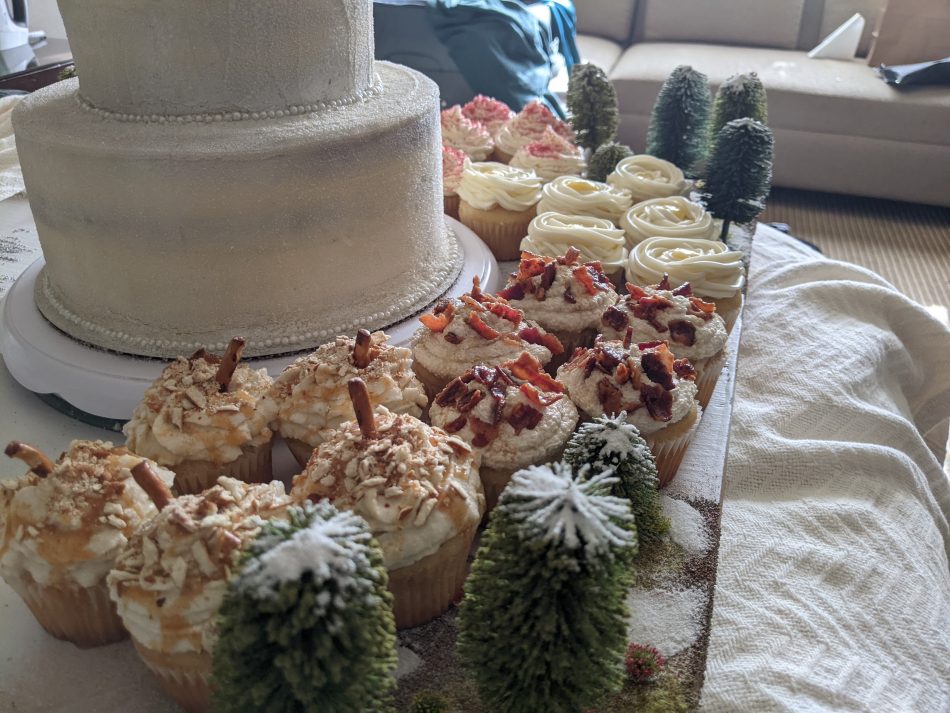
By Tom Mullane
This winter, my sister got married in a small ceremony in NJ. I served as the minister, and it will have been the 8th wedding I have performed since being ordained in the Ministry of Life Church (certificates available online for 35$— includes parking pass) Every great wedding party needs a wedding cake, even small receptions for family and close friends like the one my sister and my new brother had planned. In an effort to make use of my wargaming skills in a non-wargaming capacity, I decided to make a winter-themed diorama for the cake and desserts my wife Angela was going to make.
Before I walk you through the process of building this I will mention that
- I procrastinated
- My wife’s job making the cake and many different types of cupcakes was FAR FAR more work than this was.
- I also had help from my friend’s son, Elian who we were babysitting for the evening and he was an awesome helper.
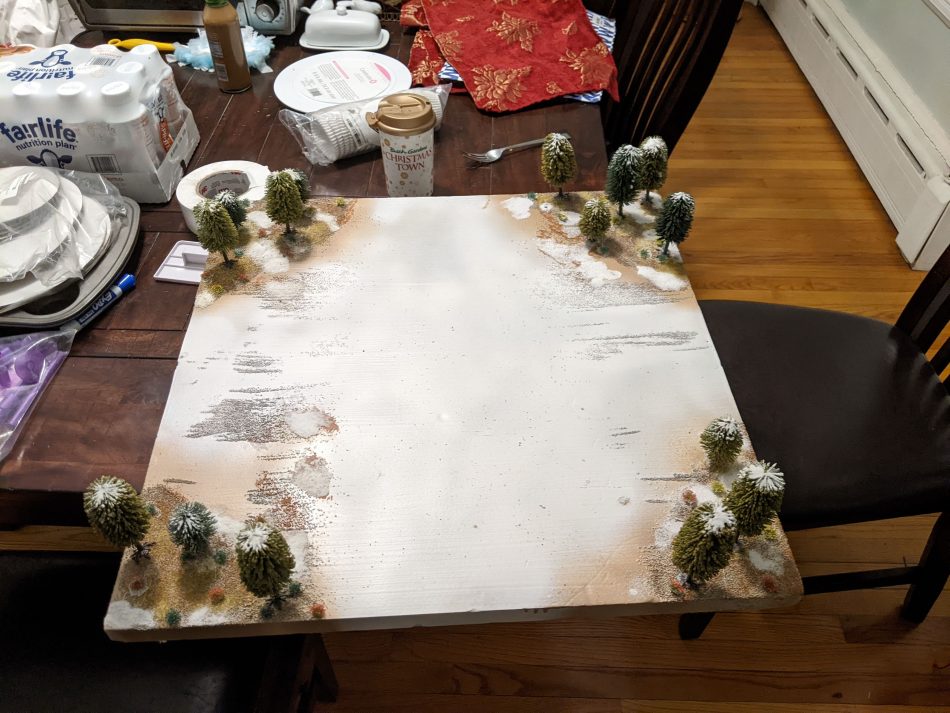
I started with a standard 2 X 2 piece of insulation foam from Home Depot. I have many of them lying around, and I thought this was the right size needed to provide a good placement area for both cake and cupcakes. I started by coating the entire slab in modgepodge with black primer paint mixed together. In retrospect, given the weight of the cake, I should have reinforced the slab with some small slats of wood across the bottom, but it held together alright despite that.
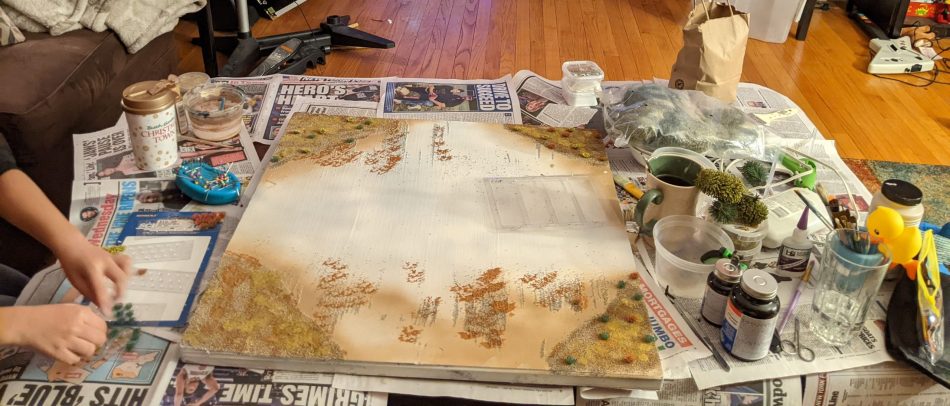
I then spray painted it, once dry, with a bit of white flat spray paint. After that had dried I took some dark brown spray paint and hit the corners. Finally, some tan or khaki spray paint gave the corners a highlight. After letting it dry outside for around 20 minutes, I brought it back in and started adding bits of grit and texture to my “Forest Floor” I mixed basic Elmers PVA glue with some water and then spread it around large patches I wanted to be decorative. Elian helped me make a mess.
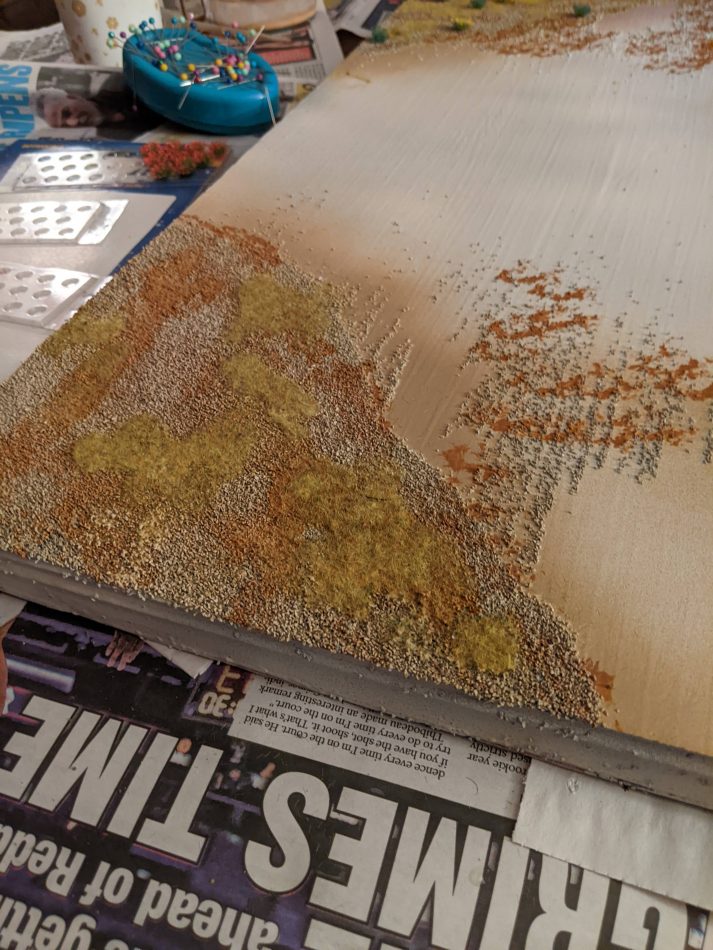
After using some medium grey grit in patches, I used a large brush and sponge to put some splotches of light brown to give some variation in color. I then added two kinds of static grass. One dead yellow and longer in length, and another darker dead green. The flowers are from Woodland Scenics railroad lines. Great examples of grass patches and flower tufts can also be found at Gamer Grass, which is most of what I use on projects like these.
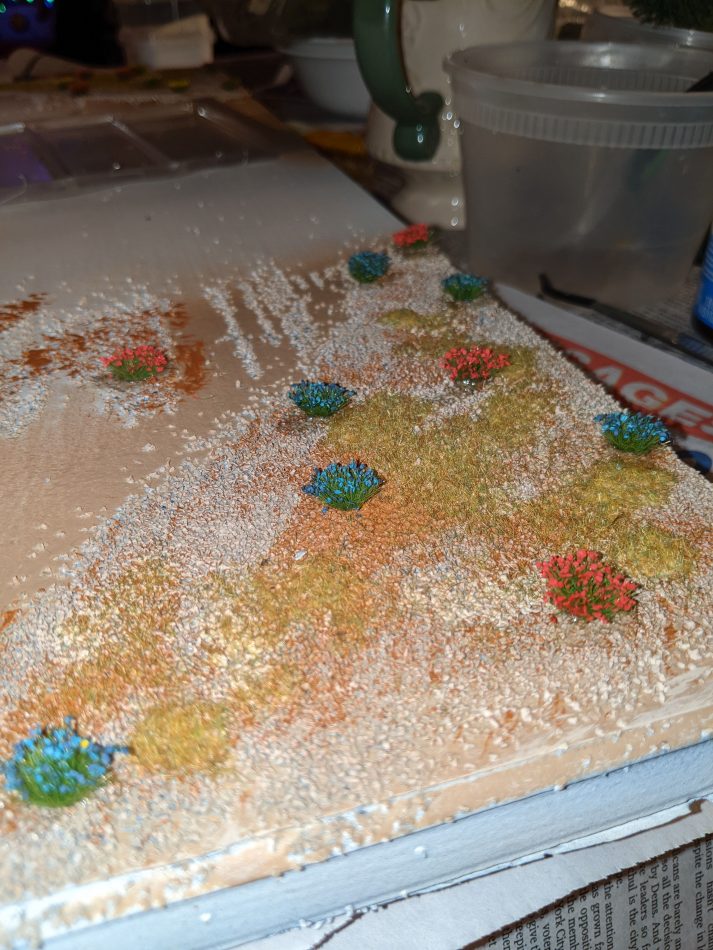
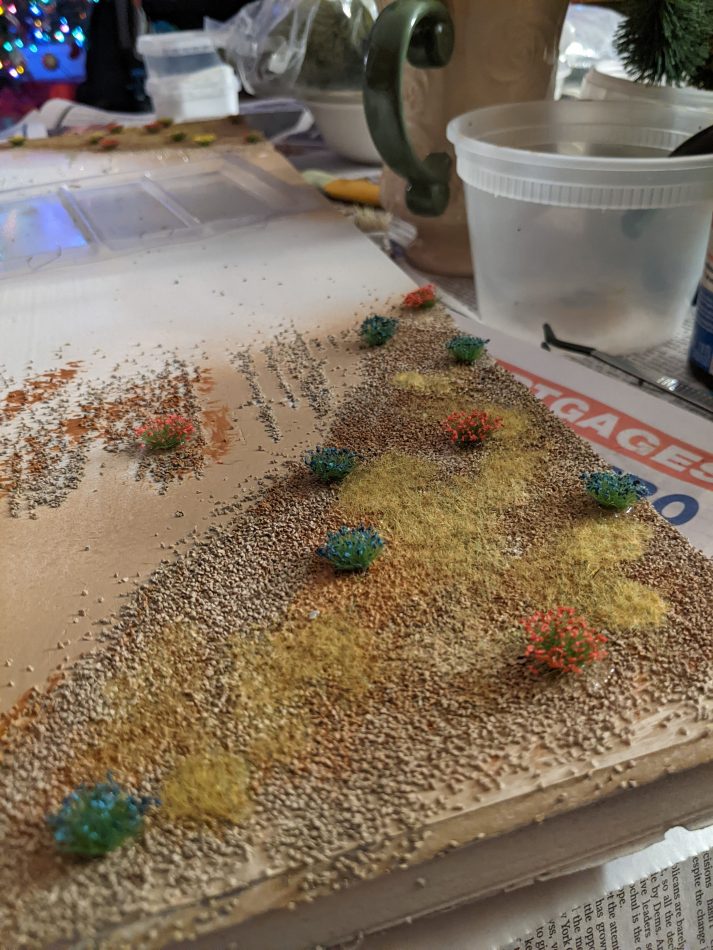
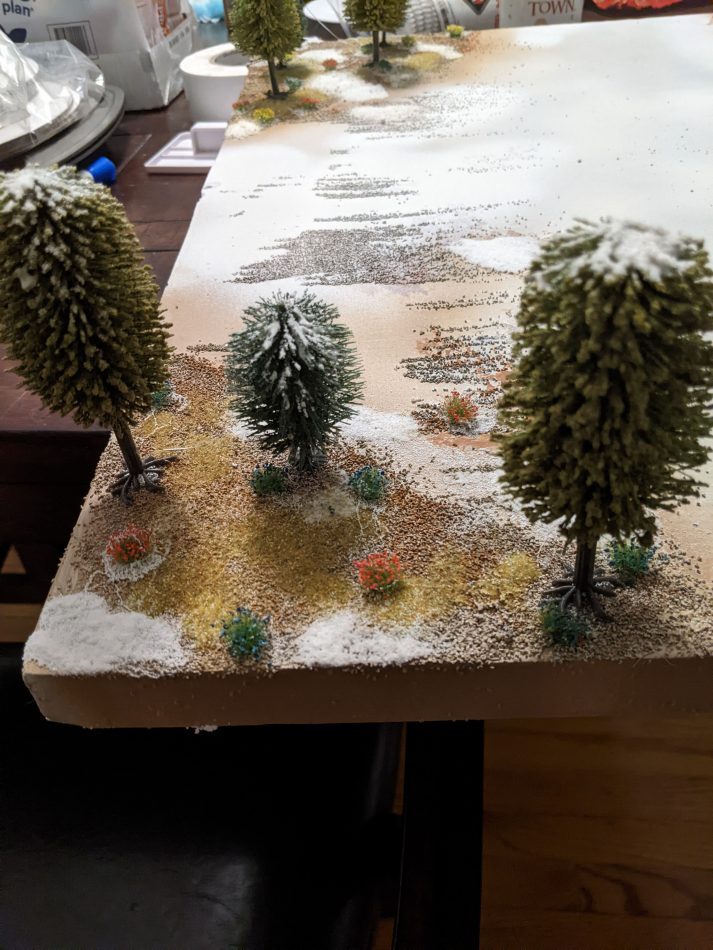
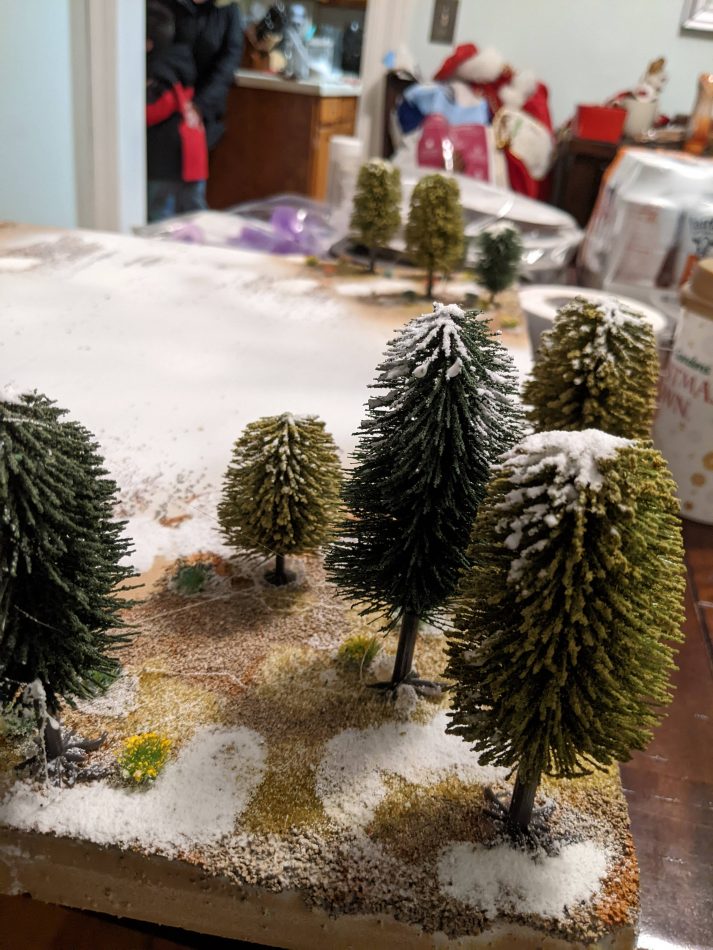
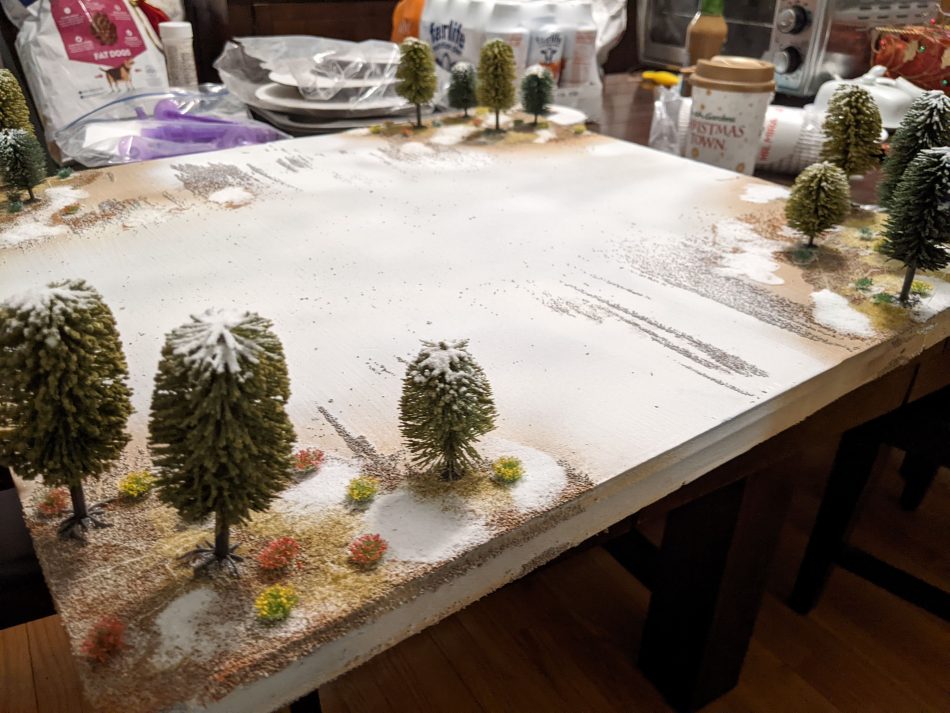
While PVA works, I find for these heavier grass tufts, I like using rubber cement. It makes a permanent bond quickly and never lets them go. Finally, the trees. For this, I decided to do something I had not tried before. Pinning. I had a ton of extra needles from a sewing kit (not sewing machine or sewing needles themselves, but long pins for holding garments in place on a mannequin. They come in bags and have colorful nubs on the end to make it easier to not stab yourself with them. Using a cutter that I normally use for cutting out sprues, I managed to cut that part off, leaving me with a long thin pin. I used Trees from The Wargaming Company and a Dremel tool to drill tiny pilot-holes into the bottoms of the trees. I then pushed in the pins, cut off the heads and hot glued them into place.
Here is the final result once all the tree pinning had been done.
Ready for the Cake. The cupcakes, because of the need to have them fresh and avoid going stale, needed to be assembled the day of the wedding. Which meant some serious MacGuyver action from my wife. Who went so far as to take bacon home from the hotel breakfast to make a maple bacon topping in the room. Lemon Curd and other accouterments were prepared in advance and kept cold in the hotel fridge. My wife brought her piping kit and made a huge mess. We did our best to clean up and generously tipped the maid.
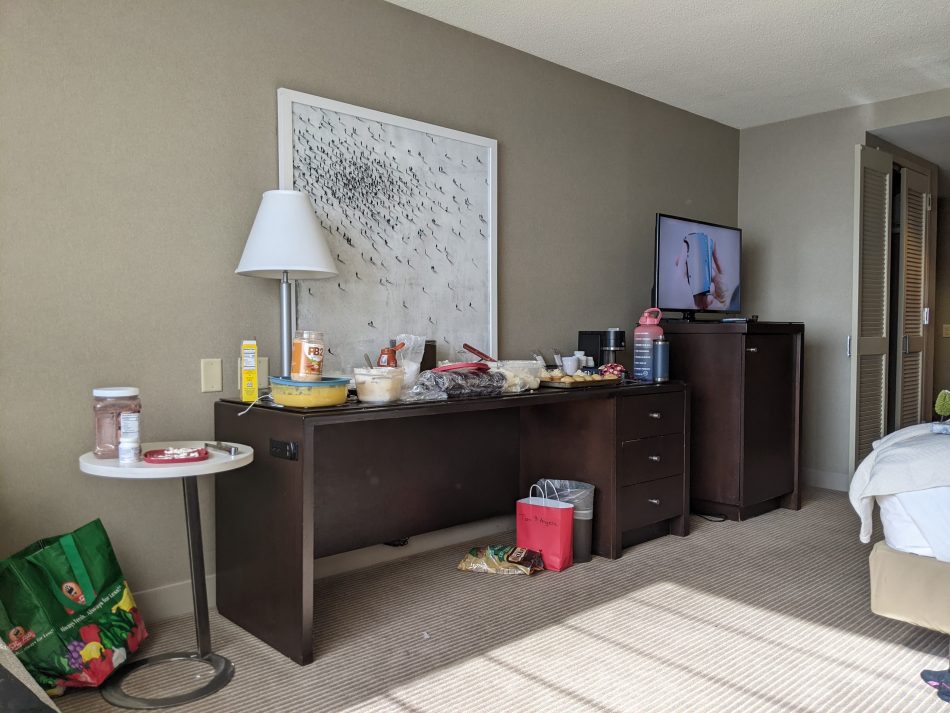
The dessert assembly

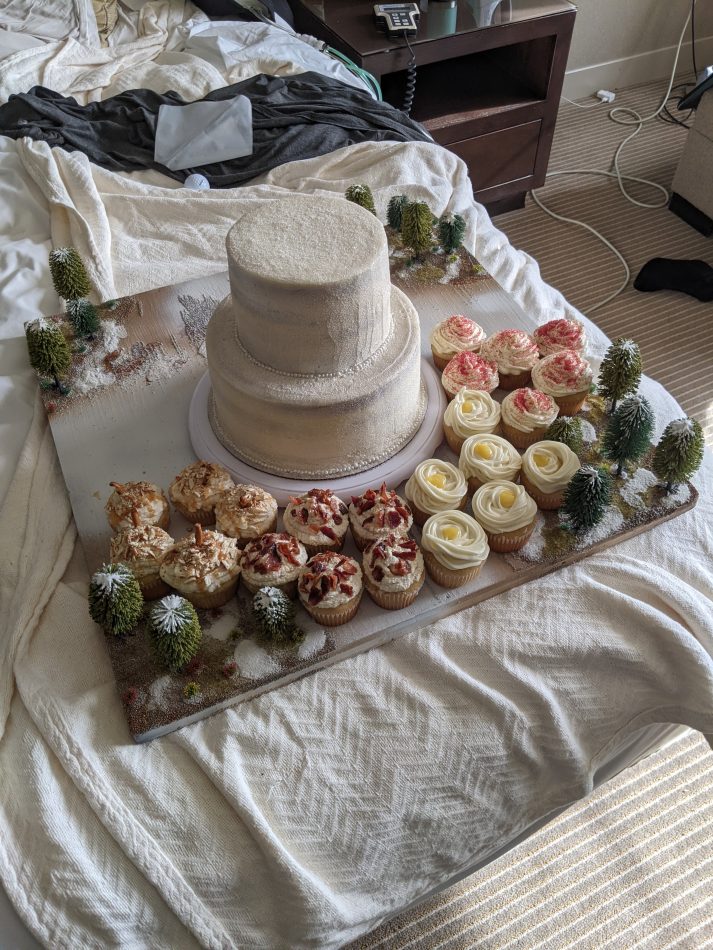
By the time we were done, there were seven different flavors, Lemon and Raspberry Cheesecake, Maple Bacon, Salted Caramel, Chocolate Peanut butter, Double Chocolate, and Raspberry Chocolate. We had to use a luggage cart to bring it down to the car. We then embarked on a tense ride to the venue to unload it. By the time everything was fully assembled, it weighed close to 60 pounds. Not tough to lift, but bulky, and also not what the insulation sheet was designed to comfortably hold.
The final product was enjoyed by everyone!
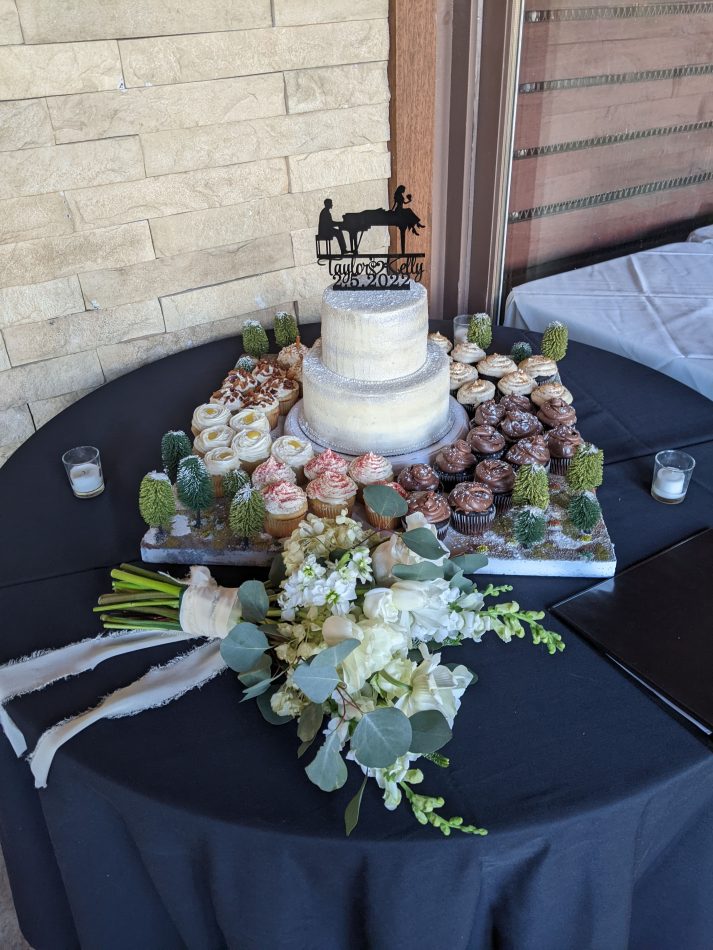
So the next time someone tells you that your wargaming hobby doesn’t have other applications…show them this article, and let them know that it totally does. Happy crafting and thanks for reading!
Thomas “Chairborne” Mullane has been a writer and podcaster for No Dice No Glory since its inception. He teaches High School History in NY and Lives in Danbury, CT. He is a player of Flames of War, Bolt Action, Dungeons and Dragons, and Blood and Plunder. Tune in to “Tales of the Sail” if you want to hear what he sounds like, and please say hi during the next HMGS convention.

Love what you did with thecgamers grass 🙂