Avanti Italians vs. the Crusader Horde a Dust Up AAR
By Tom Burgess
“Battle Buddy” Ed and I had a chance to test out the new Avanti Mid War lists for Flames of War. As a diehard Italian player, Ed was particularly excited to get his miniatures on the table. We thought that the best test of the new Avanti Italians would be to throw them up against the dreaded British Crusader Horde.
Random selection gave us Dust Up as a mission. We gamed on a suitably open desert table. We chose to play at 71 points so I could also get some practice for Adepticon. Given that we were playing a fair fight on a fairly open board, I thought my chances were good.
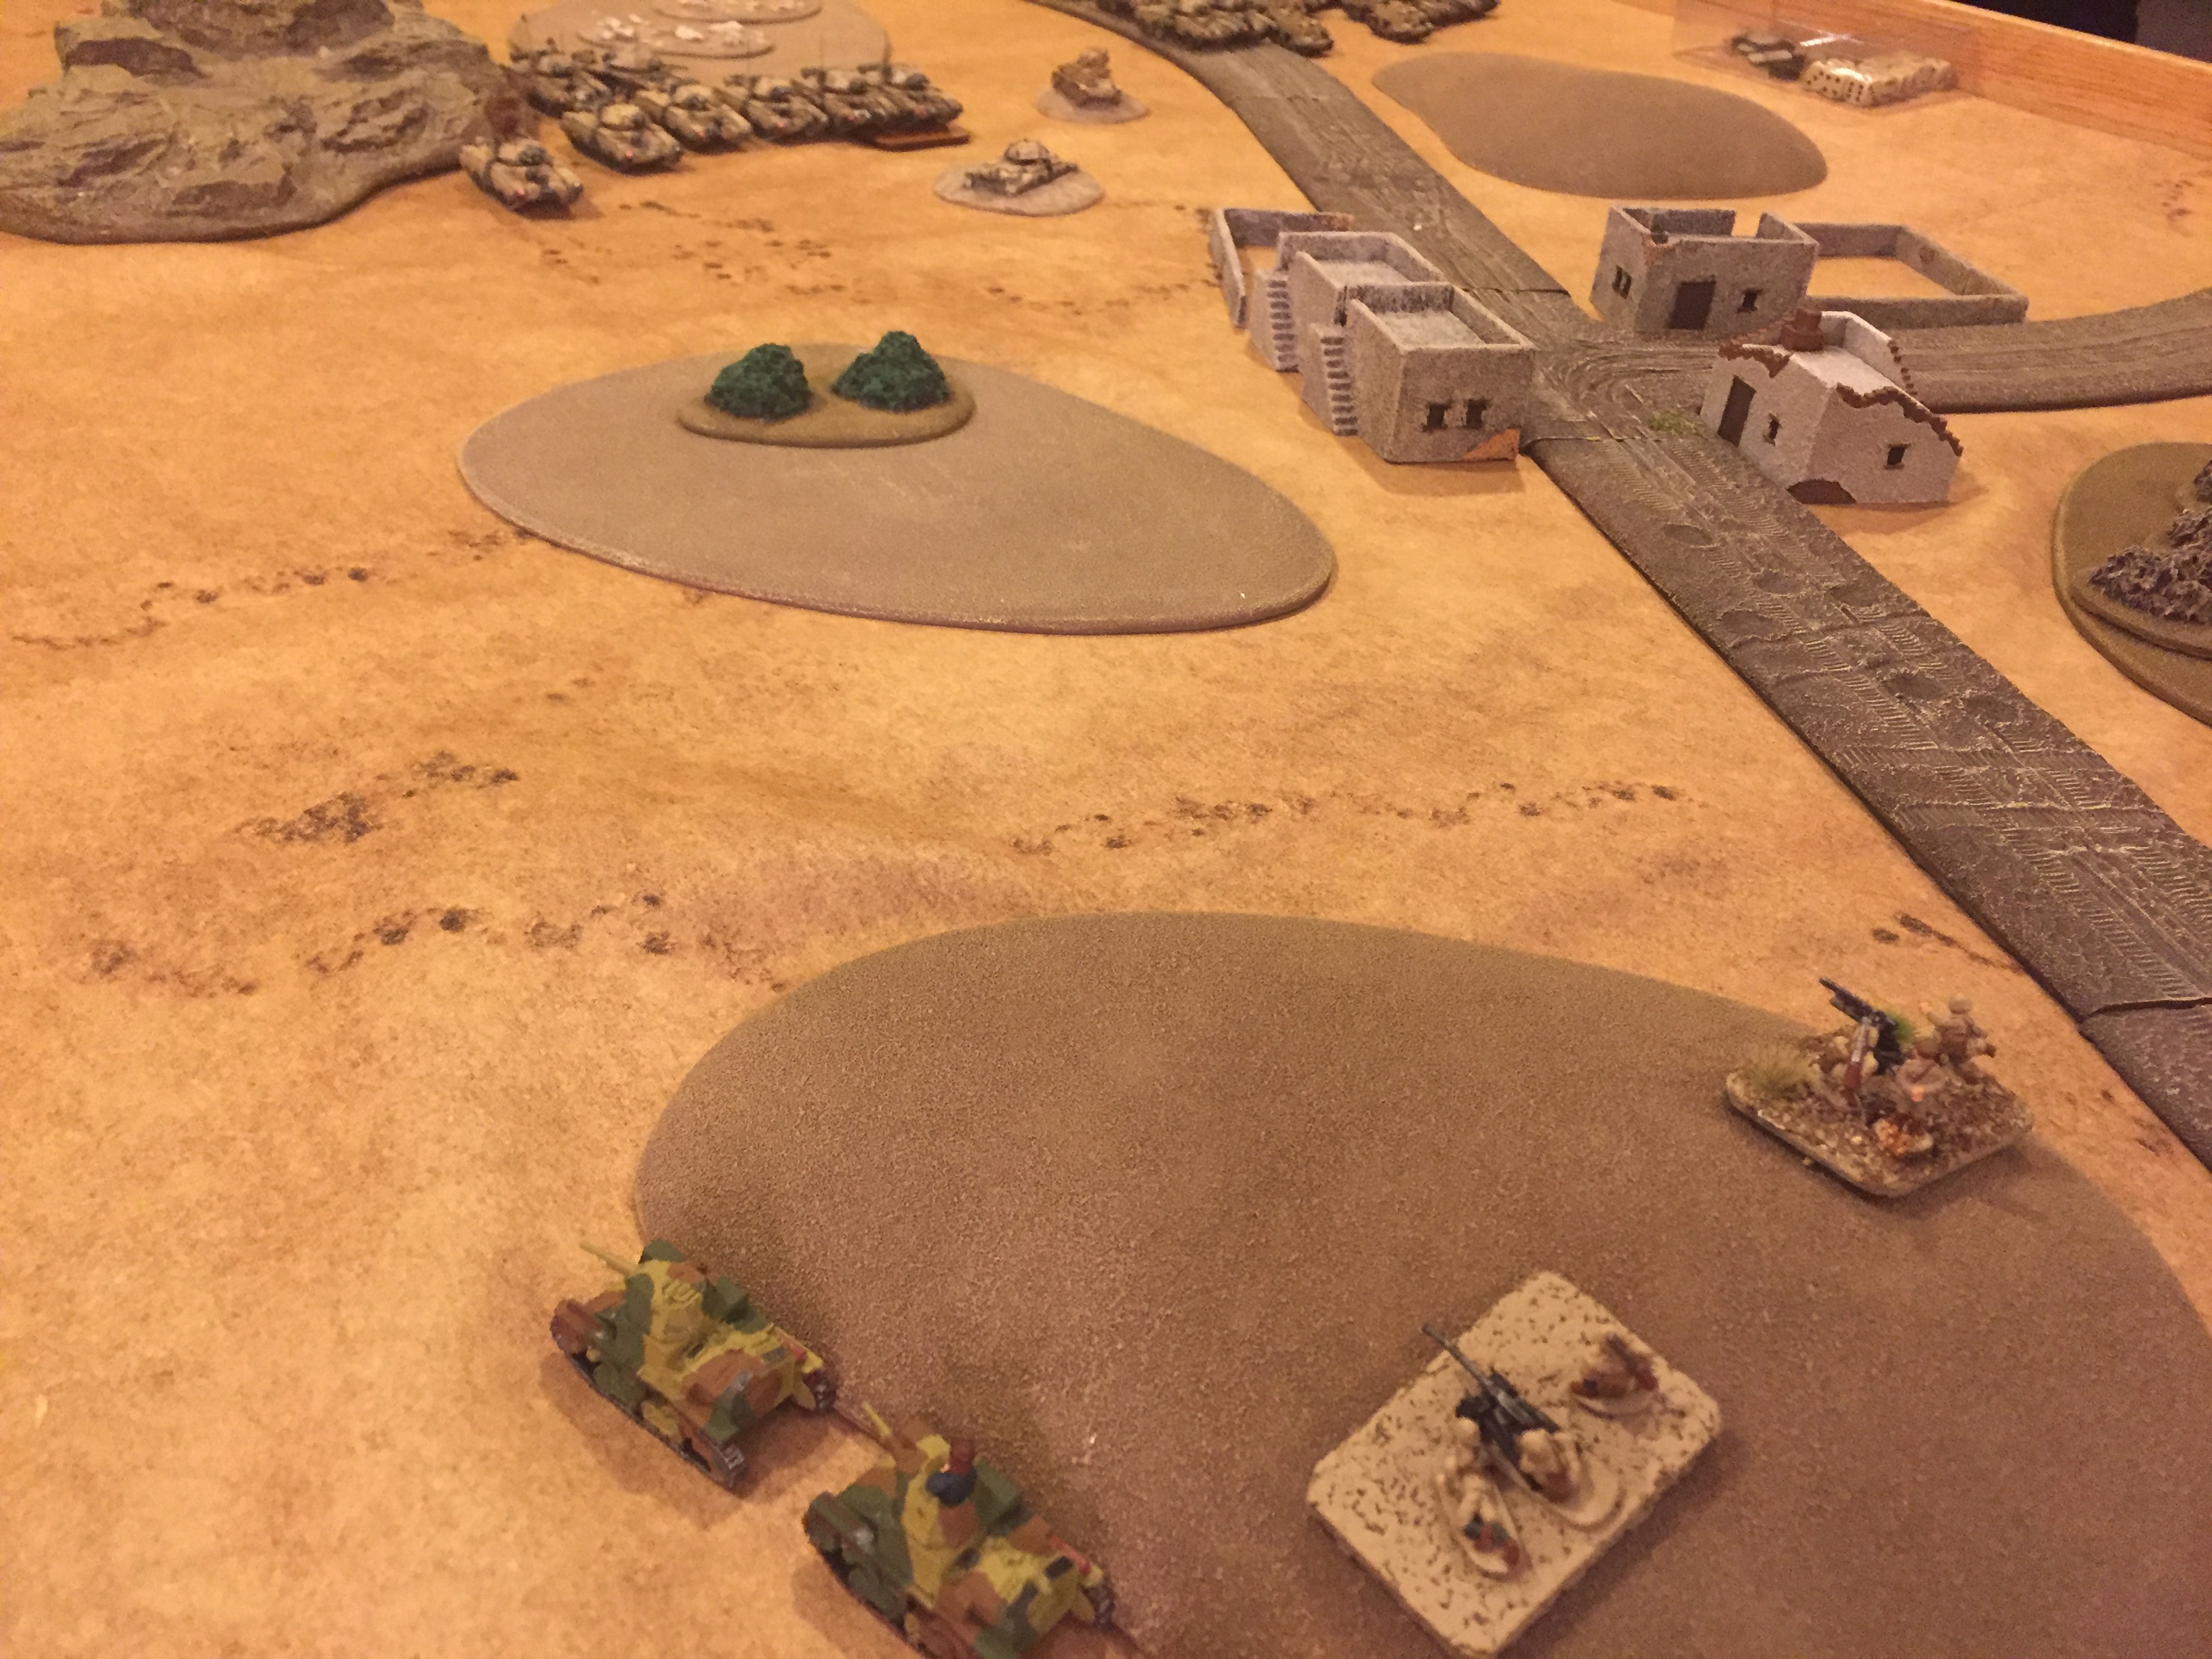
The board looking out from the Italian deployment area.
The board looking out from British deployment area.
Ed’s force
Ed’s ItaliansFormation 1:
HQ: 1 x M14/41
3 x M14/41
3 x M14/41
3 x M14/41
3 x Semovente
Formation 2
HQ: 2 x Rifle/MG Teams
5 x Rifle/MG Teams
5 x Rifle/MG Teams
4 x 47mm ATGs
Support:
2 x 100mm Artillery
2 x German PAK38s
2 x 20mm AA Trucks
1x CR.42 FALCO
Tom’s British force
Formation 1:
HQ; 2 x Crusader II, 2 x Crusader CS
2 x Crusader II, 1 x Crusader III
2 x Crusader II, 1 x Crusader III
2 x Crusader II, 1 x Crusader III
2 x Crusader II, 1 x Crusader III
Formation 2:
HQ; 2 x Crusader II, 2 x Crusader CS
1 x Crusader II, 2 x Crusader III
3 x Crusader II
3 x Crusader II
Support:
3 x Humber
2 x Hurricane
Deployment
I used my Universal Carriers to spearhead out into one of the neutral quadrants to threaten Ed’s right. I followed the scouts with all four Crusader Troops of 1st Squadron, the HQ troops of 1st and 2nd Squadron deployed on my right where the CS tanks could bombard. In reserve, I had my Hurricanes, the three Crusader Troops of 2nd Squadron and my Humber troop. This was all a feint. I wanted Ed to commit to defending his right, but I was planning to shift my access of attack to his left.
British Initial DeploymentsEd did not play too heavily into my plan. He did deploy his 47mm ATG on his right on a rocky hill tough facing off against what appeared to be my main effort. But he did not over commit and had a well spread out defense with German PAK38s in his center on a smooth hill and just in front of those his three Semovente, and a weapons platoon with 47mm ATG and Solothurn 20mm ATR anchoring his left. His left also had the AB41 FO and his three L6 light tanks.
In the rear of his deployment area, Ed had his 100mm Howitzers, 20mm AA Trucks, and his Falco CR.42. In reserve, Ed had his ten M14/41s ready to slam into my left flank.
Initial Italian Deployments
Turn 1
I immediately swung my entire 1st Squadron of Crusaders by dashing them outside of the 47mm ATG’s range and across the center of the board. My Universal Carriers, primary job done scattered off to hide for a while. The 2nd Squadron HQ troop moved up into some brush were their Scout Card would make them very hard to hit.
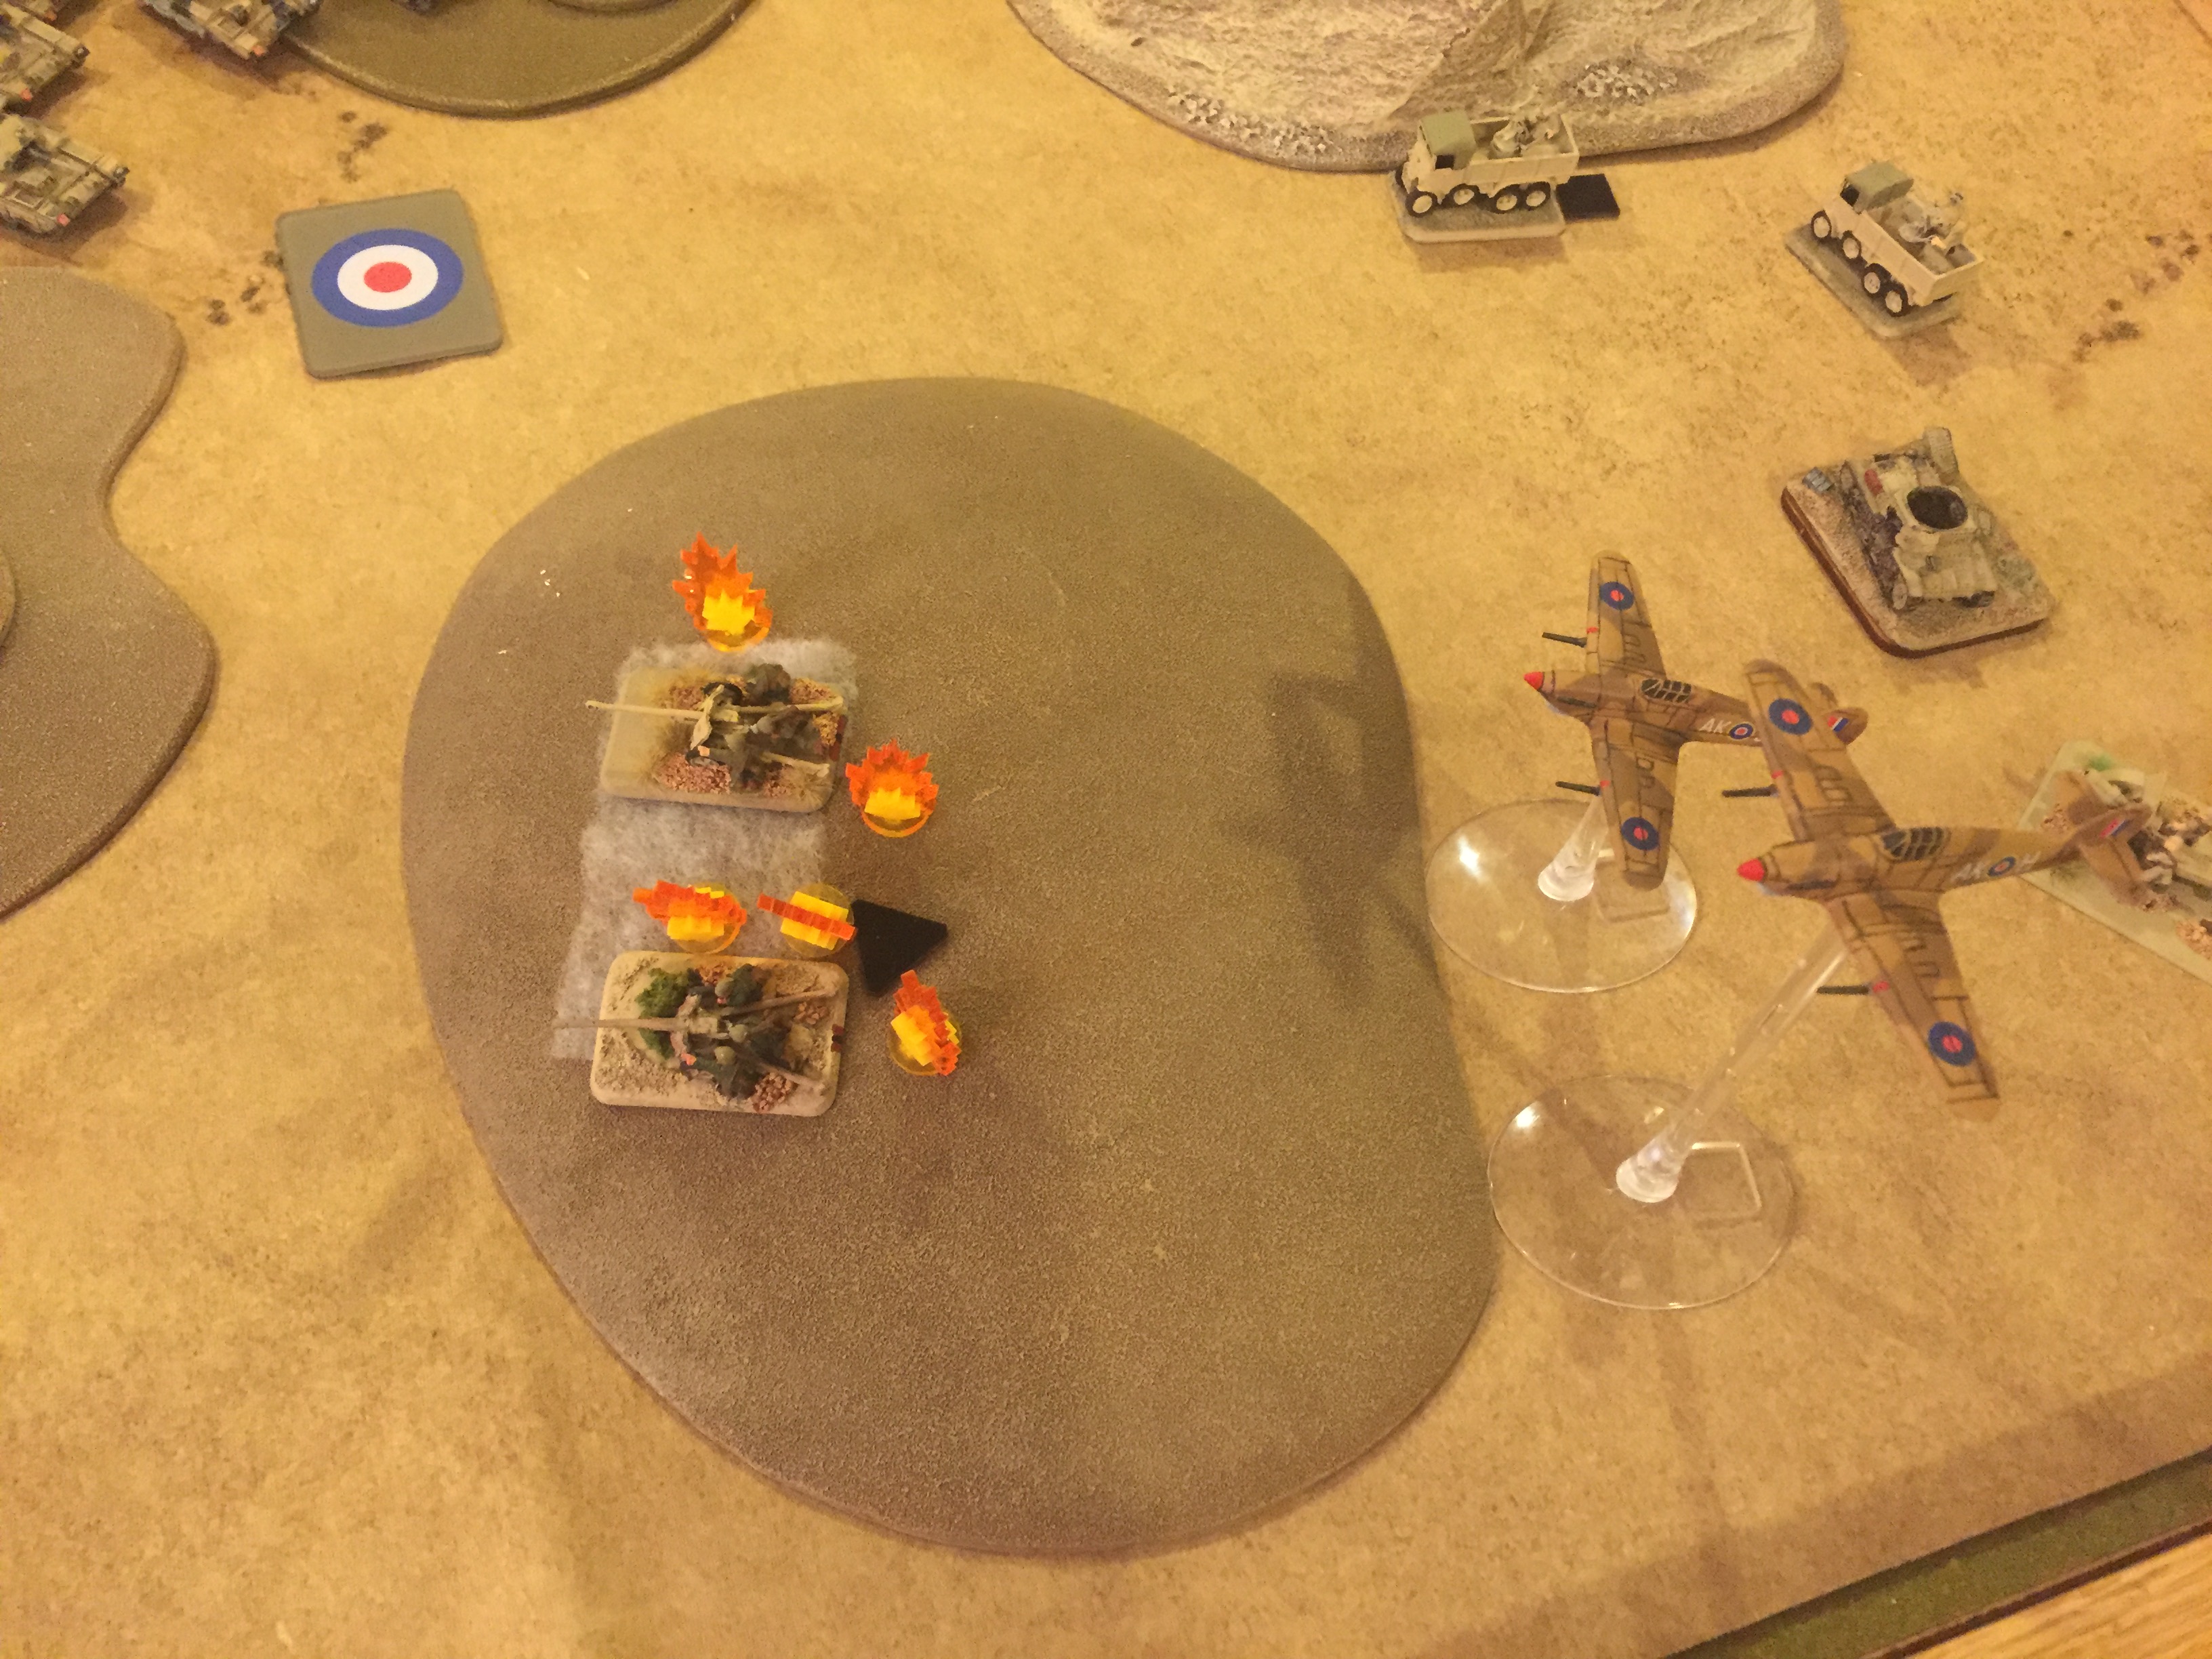
British first move complete.Ed reacted to my shift in the axis of attack by having his 47mm ATGs get out of their foxholes and move toward a cluster of buildings. So much for may feint against his right. That’s where he ended up deploying his most mobile guns (these actually Heavy Weapons Teams that move as Infantry. His CR.42 Falcos arrived and along with some long-range fare from his PAK 38s and Semovente he managed to kill a few Crusaders. My losses should have been worse, but the Scout Card letting my Crusaders be Gone-to-Ground while moving through the brush made them hard to hit.
Turn 2
In my second turn, I continued to push Crusaders into the brush and swing left. I managed to knock out a 47mm ATG from the AS42 Weapons Platoon on the left and one of the L6 Light tanks.Ed continued to focus on the Crusaders in the center, but even though these were now firing and had given up Gone-to-Ground, Ed struggled to get kills. Since I had my Formation Commander CO Crusader nearby bailed out results became less relevant.
Turn 3
In my third turn, no reserves arrived. I continued to swing to my right, using the Crusaders in the brush as a base of fire. Ed finally managed to knock out a Crusader platoon in the brush, but I felt my casualties were still lighter than expected.My far right Crusaders knocked out Ed’s L6 Light tanks, leaving just a 20mm Solothurn ATR holding the left end of his battle line.
Ed’s 47mm ATG unit moved into the small village and was able to exploit the Tall Terrain ignoring Low Terrain rule. The pressure was building. I could not afford to just sit in front of all of those Guns.
Ed’s Falco CR.42 continued to take advantage of my packed ranks of Crusaders.
Turn 4

But of course…Ed saves all three Semovente hits.
Turn 5
On Turn 5, two crusader troops from 2nd Squadron arrive and immediately plow into the Italian left.They assault and take out the last AT system on the Italian left.
Ed’s 100mm Howitzers range in on seven Crusader tanks. The battery was down to just two guns, so he had to reroll hits.
Turn 6
The battle continued as my main line began a large wheel movement swinging to my left. Ed’s M14/41s had started to arrive. The tempo of the battle great intensifies as we both start getting our reserves in.Ed makes a desperate attempt to assault a lone Crusader tank, but the brave Bersaglieri team is destroyed by defensive fire.
British losses mount and the pesky Falco CR.42 just won’t go away!
At this point, I had cleared out the Italian left and center, but the right, reinforced by the M14/41 remained strong. I had lost two Crusader platoons and had a couple more platoons at the breaking point. Ed had lost his Semoventes, L6s, and PAK 38s. Most importantly I now had my Crusaders contesting an objective.
But it was not to be. By this point, we had played for two and a half hours. Replicating a tournament format, we decided that this meant we were at a draw. Three points for the British and two for the Italians.
Summary
We had a blast playing this game with the homogenous Crusader force going up a very diversified Italian force. The Italians were a very tough opponent with the “careful hit on 4+” and a lot of AT fire. My force was lucky to have not incurred higher losses earlier in the game. If we had played a defensive battle, it would be even more difficult for my Crusaders. Dust up as a mission left me with a lot of maneuver room and I was able to mostly keep out of Italian gun range until I was ready, but I’d not have as much luxury with that in a mission like Hold the Line. I am highly impressed with the Italian Semoventes. These will definitely make future appearances in my German DAK forces as an ally.
hmmm, it seems that though the italian list you posted is correct it seems he brought a lot of extra stuff like the light tanks and weapons platoon during the game that wasnt in his list.
Oh…it might just be my poor memory when I wrote the AAR. Ed’s the as good as an opponent and sportsman as you could ever ask for. Nothing nefarious going on there. 🙂
I’m fairly sure it’s that both lists are just wrong/incomplete – there’s stuff in the Italian picture not listed and the Brit list doesn’t have any Universal Carriers while the report starts with “I used my Universal Carriers to spearhead”
That’s entirely possible.