Challenging The Challenger – A Team Yankee WW3 AAR
By Tom Burgess
My good friend Charles Christy and I recently played our first WW3 “Team Yankee” version 2 game. Because the new rule book already had the new stats and points for the Challenger in it, Charles was able to sneak in three Challengers into his list.
Mission and Forces
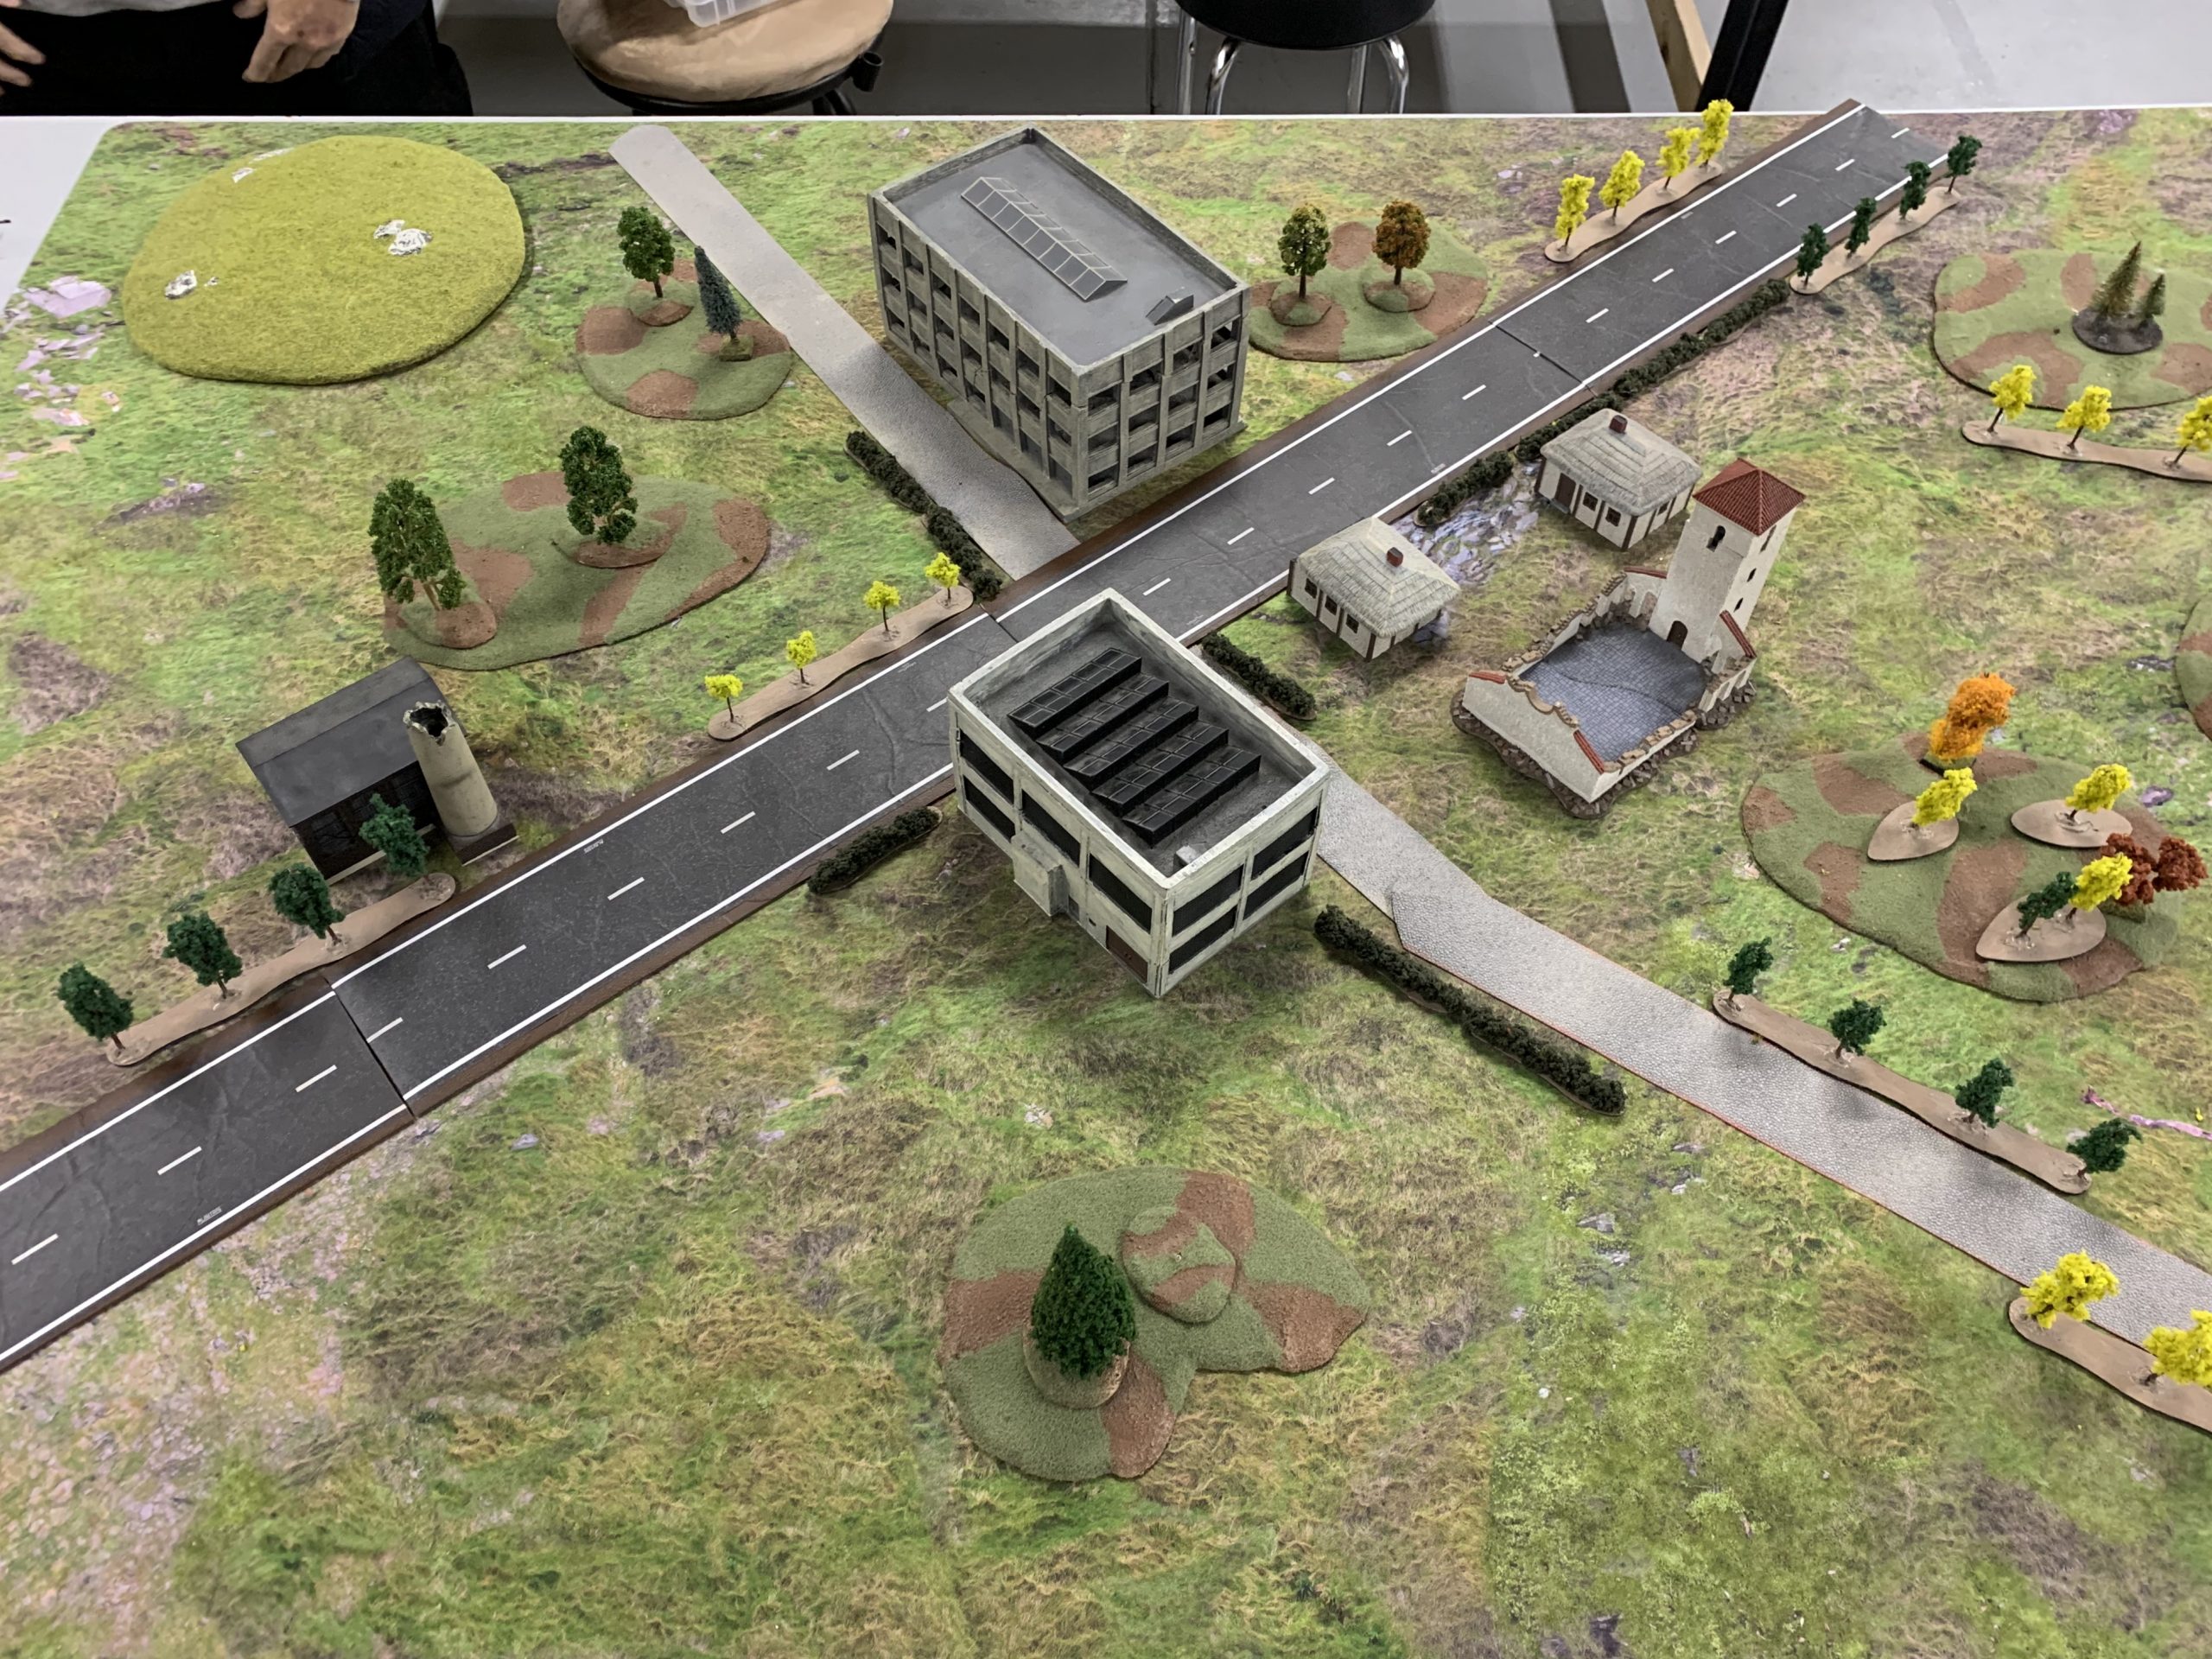
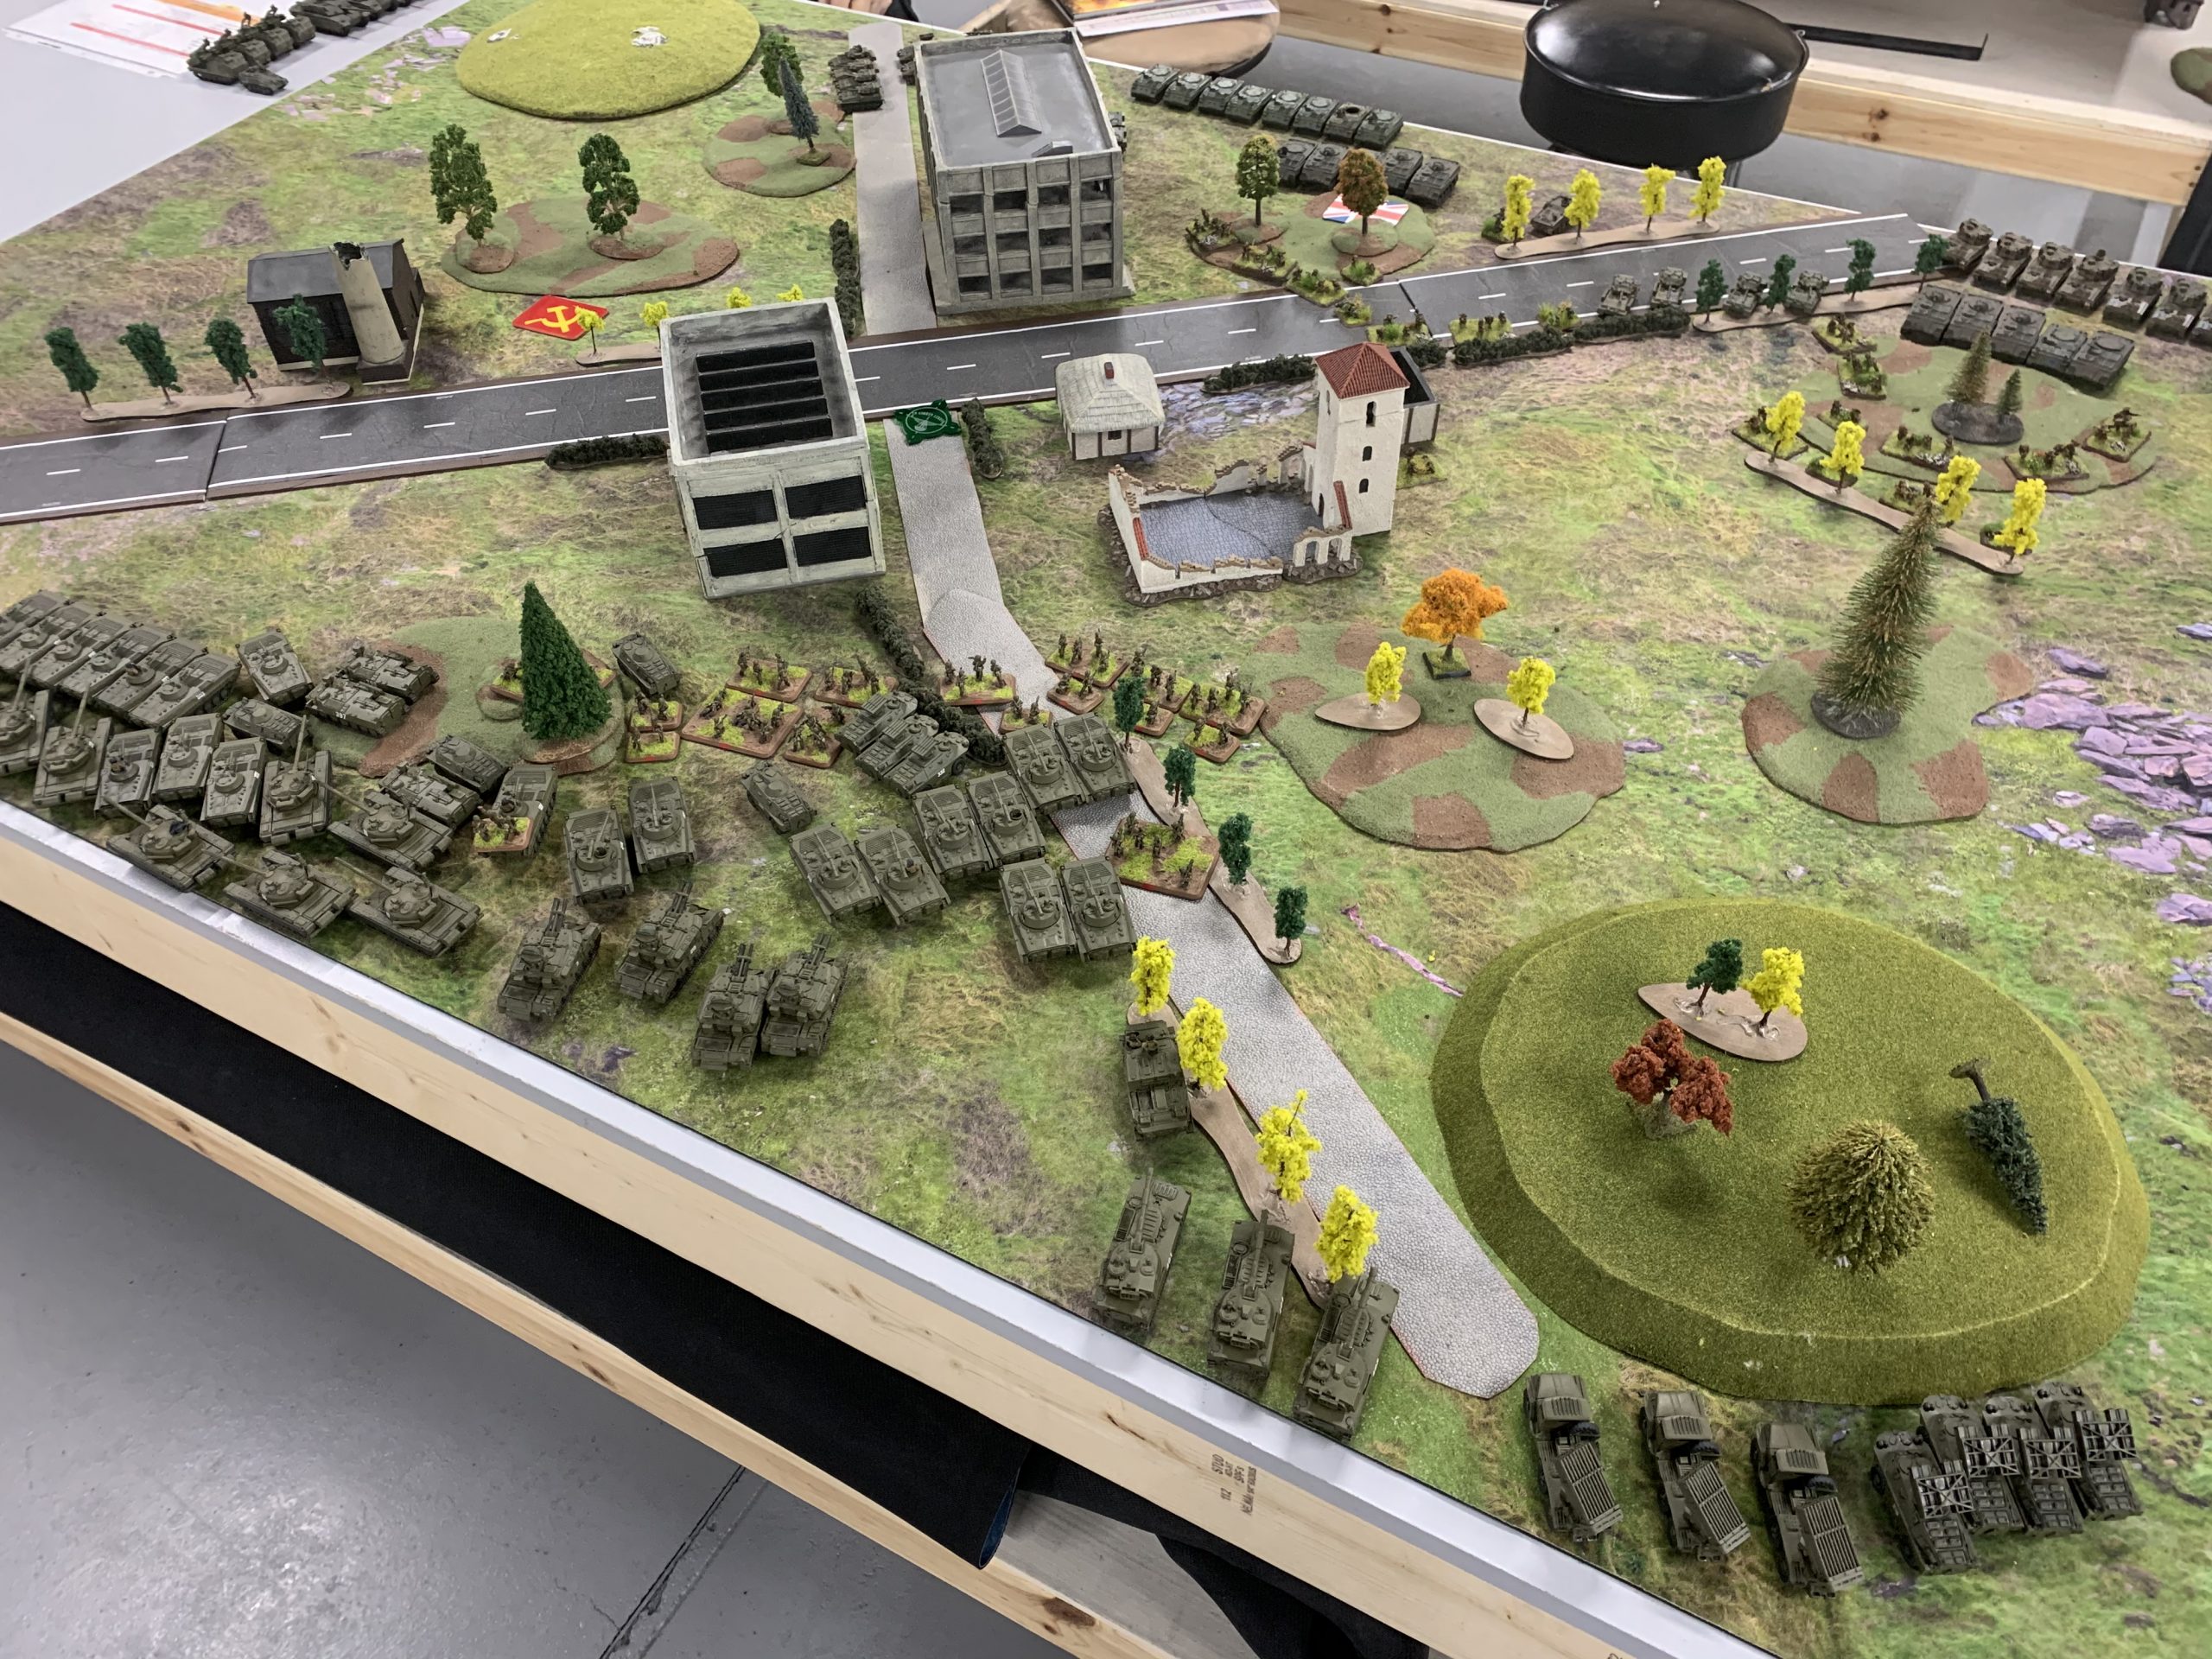
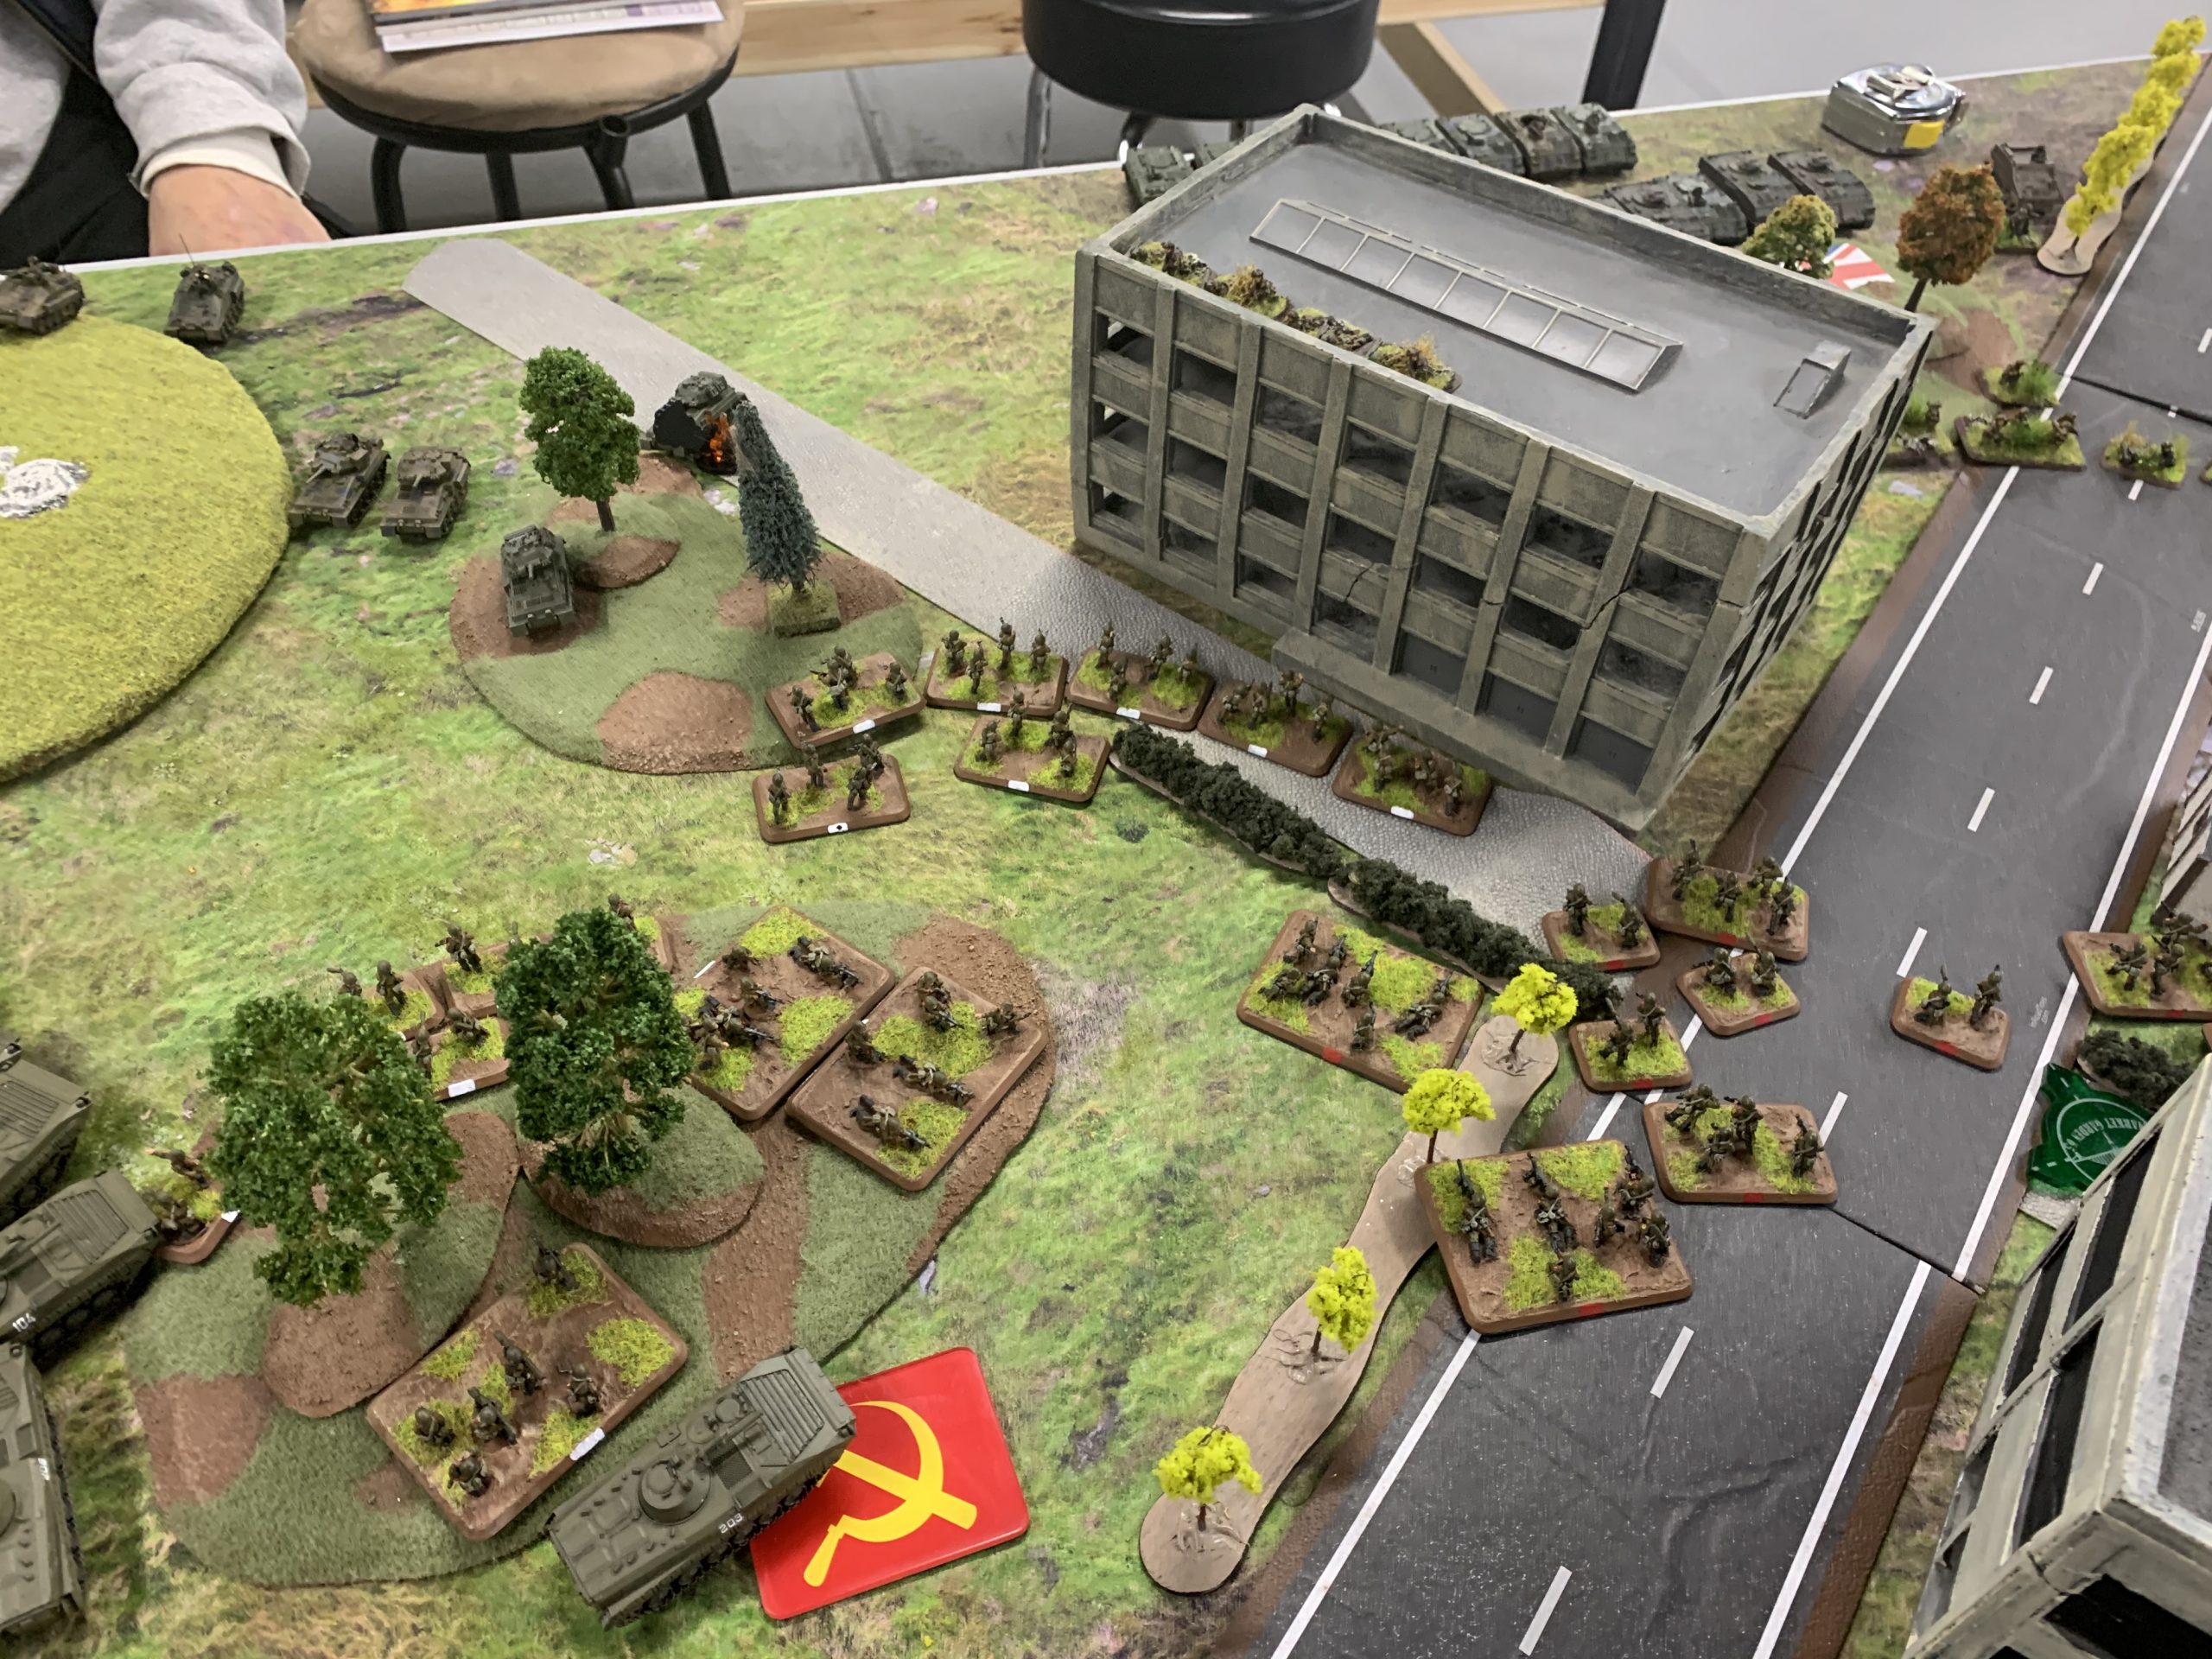
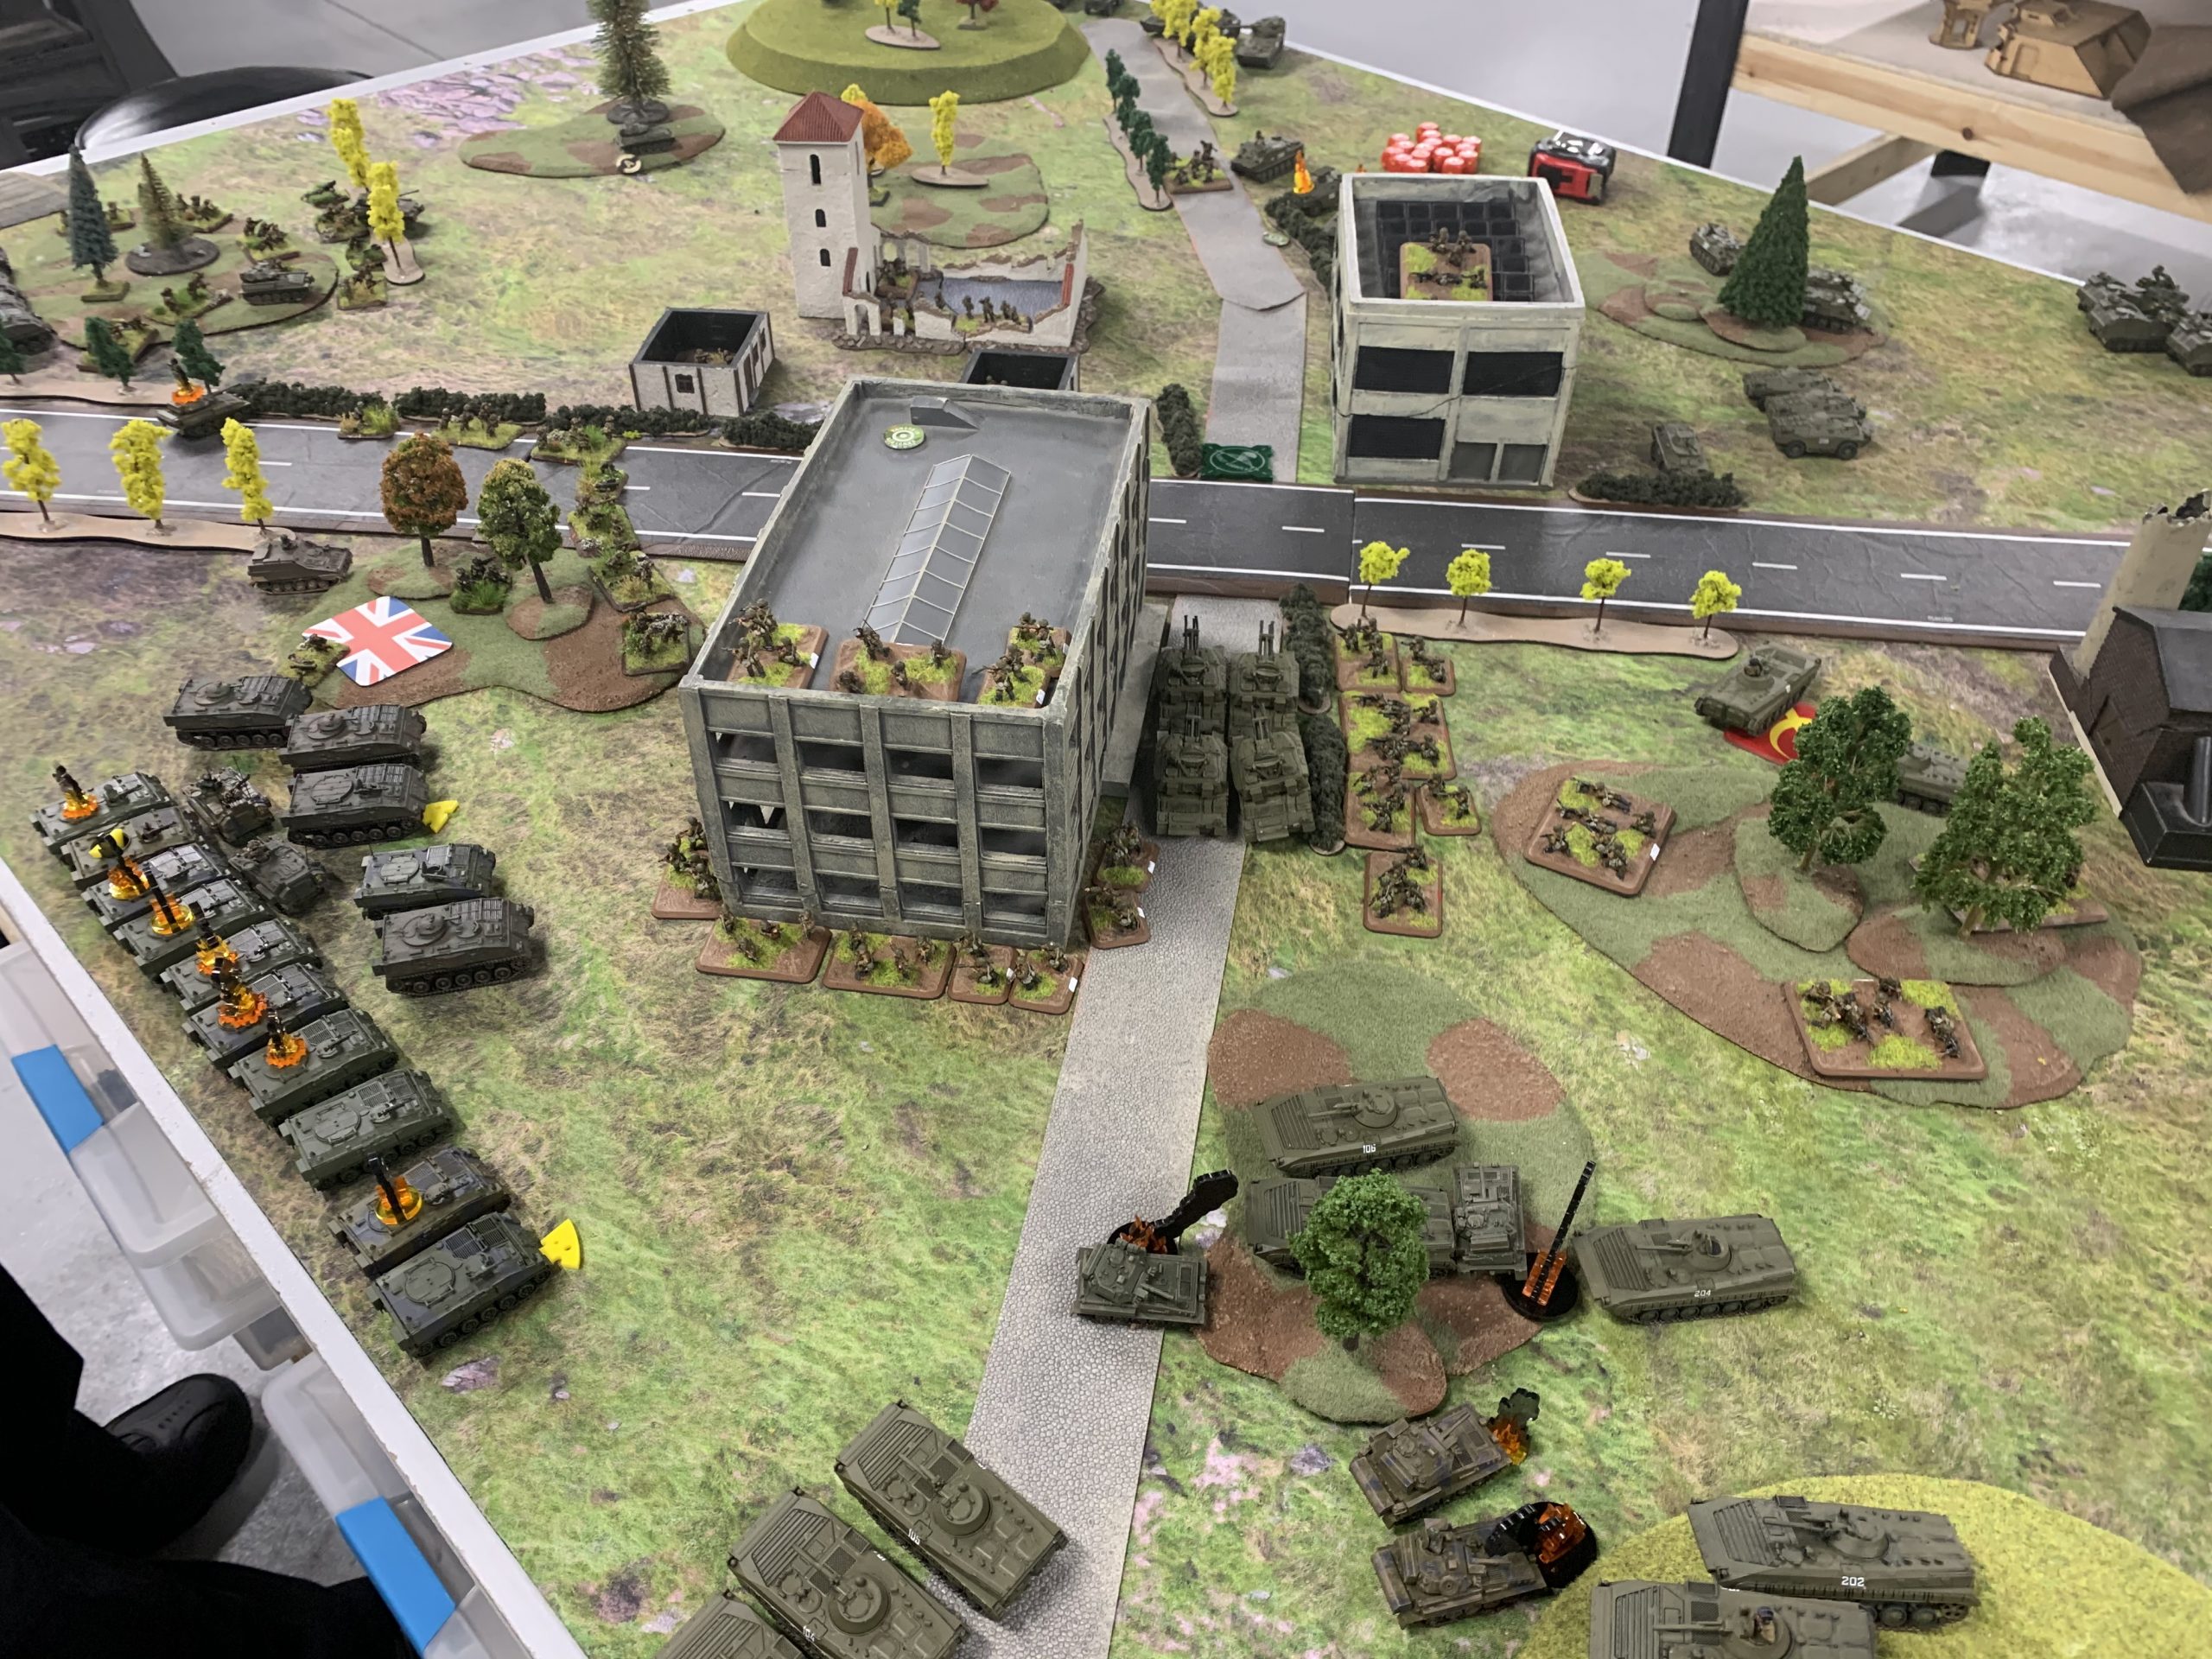
I went with an attack stance for my Soviets and Charles chose to maneuver. We rolled up Counterattack for the mission with him defending. The battlefield has a small urban center surrounded by some hills and woods.
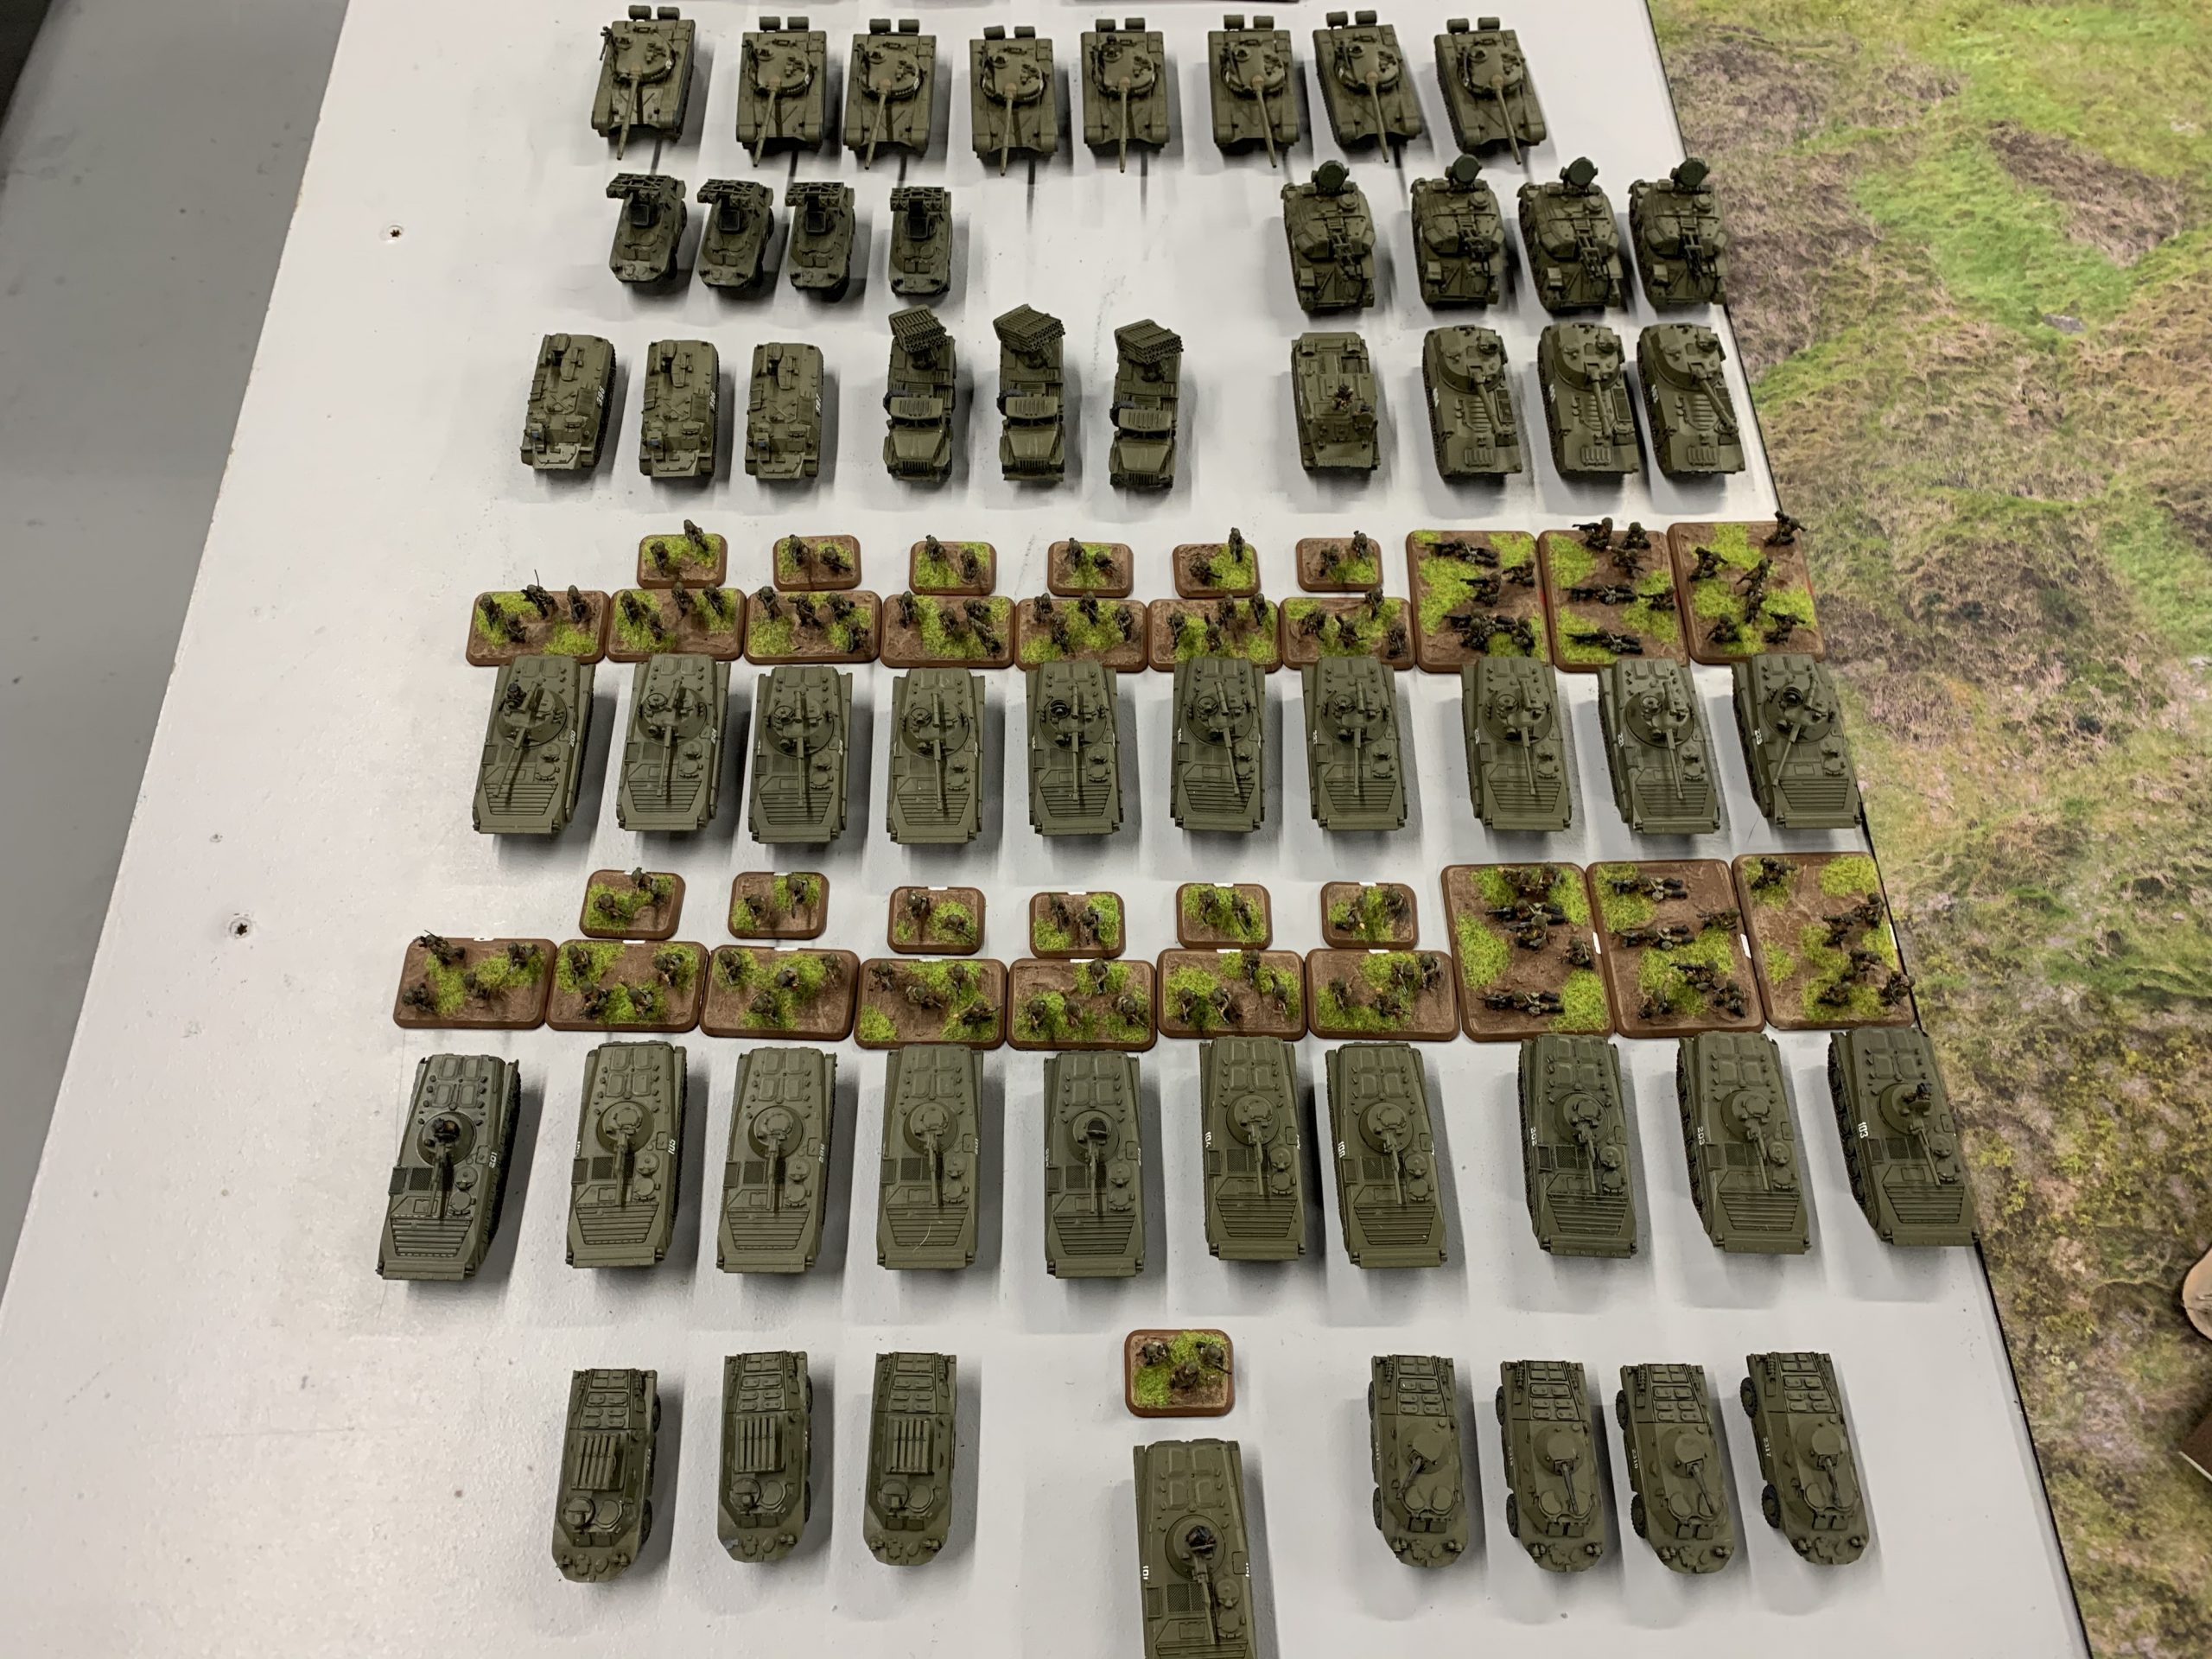
 I was running a typical single formation Motorized Rifle Battalion (MRB) with one BMP-1 company and one BMP-2 company. I had some decent support to include a T-72 Tank Company.
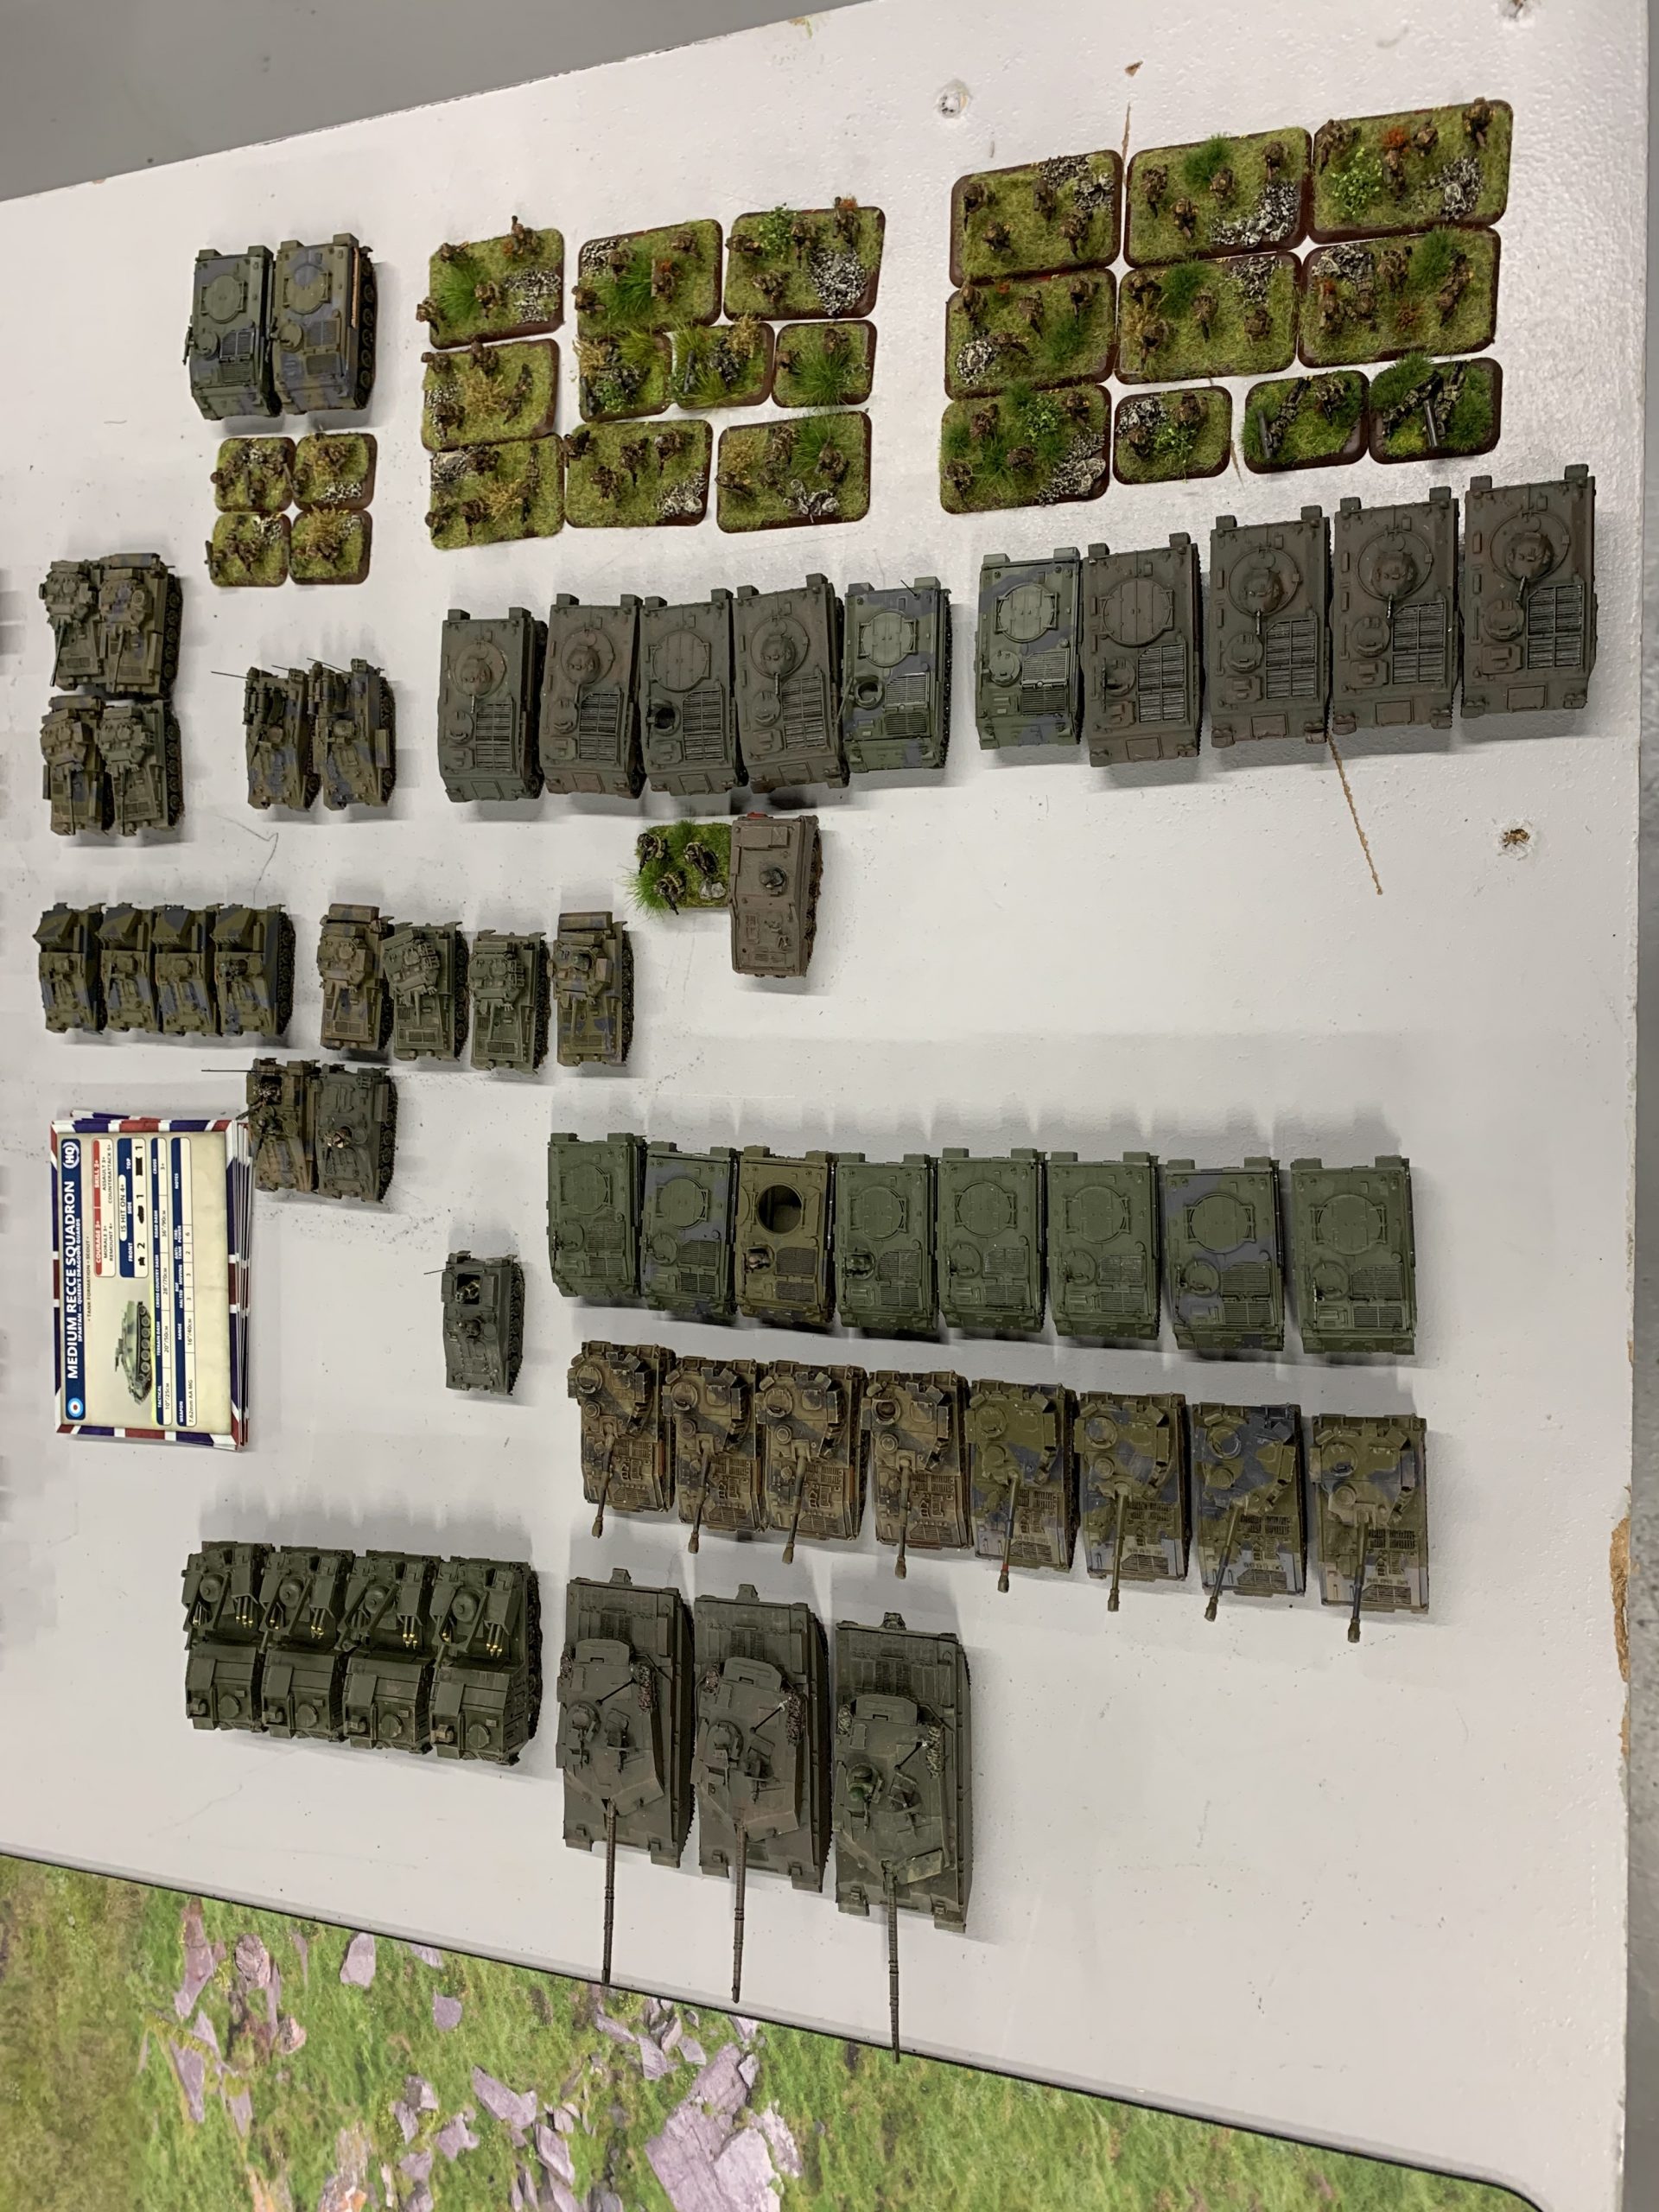
Charles had two formations, a FV432 mounted Mech Infantry company and a Recce Troop. He notable had a unit of eight VF432 Mortar Carriers and unit of eight Abbots to make the most out of the new WW3 TY2 artillery rules. And of course he had those lovely three Challenger tanks.
 Deployment
Charles chose to defend with his FV432 Mech Co protecting objective in his deployment area.
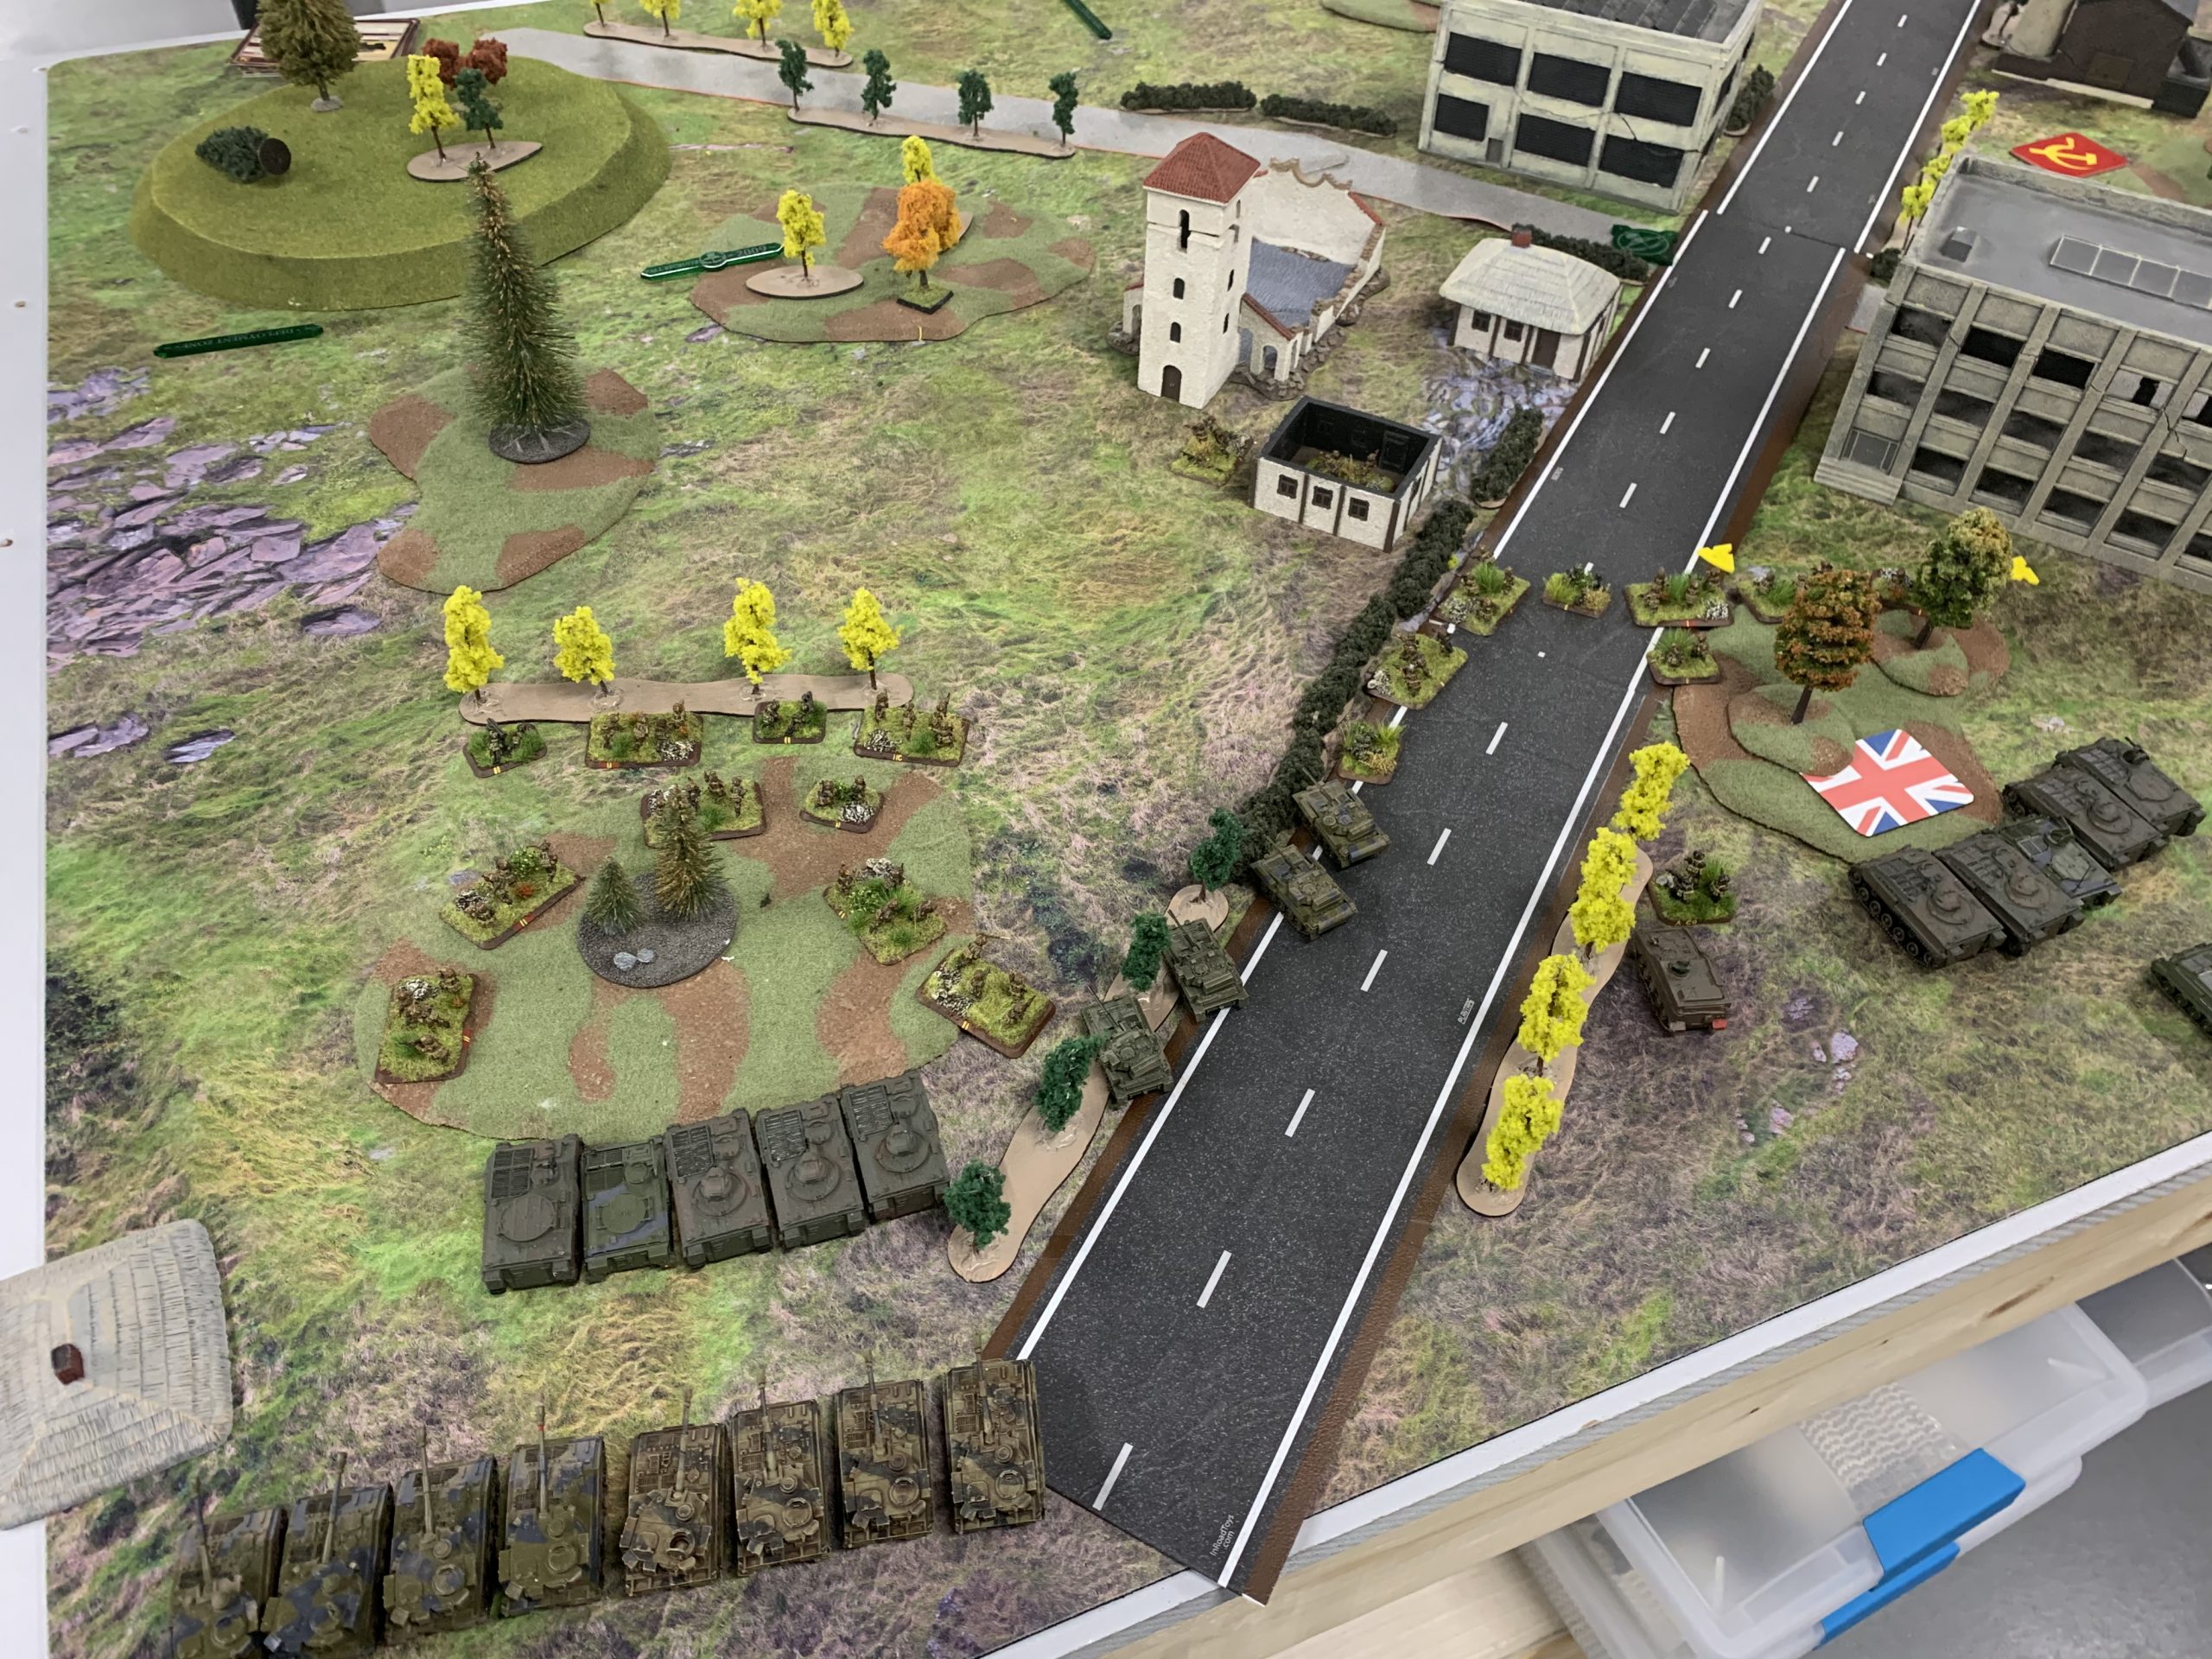
He used spearhead moves to flex out to the objective in the neural quarter, but due to the new WW3 TY2 spearhead rules, he was much more limited in his ability to move as far as he would have liked.
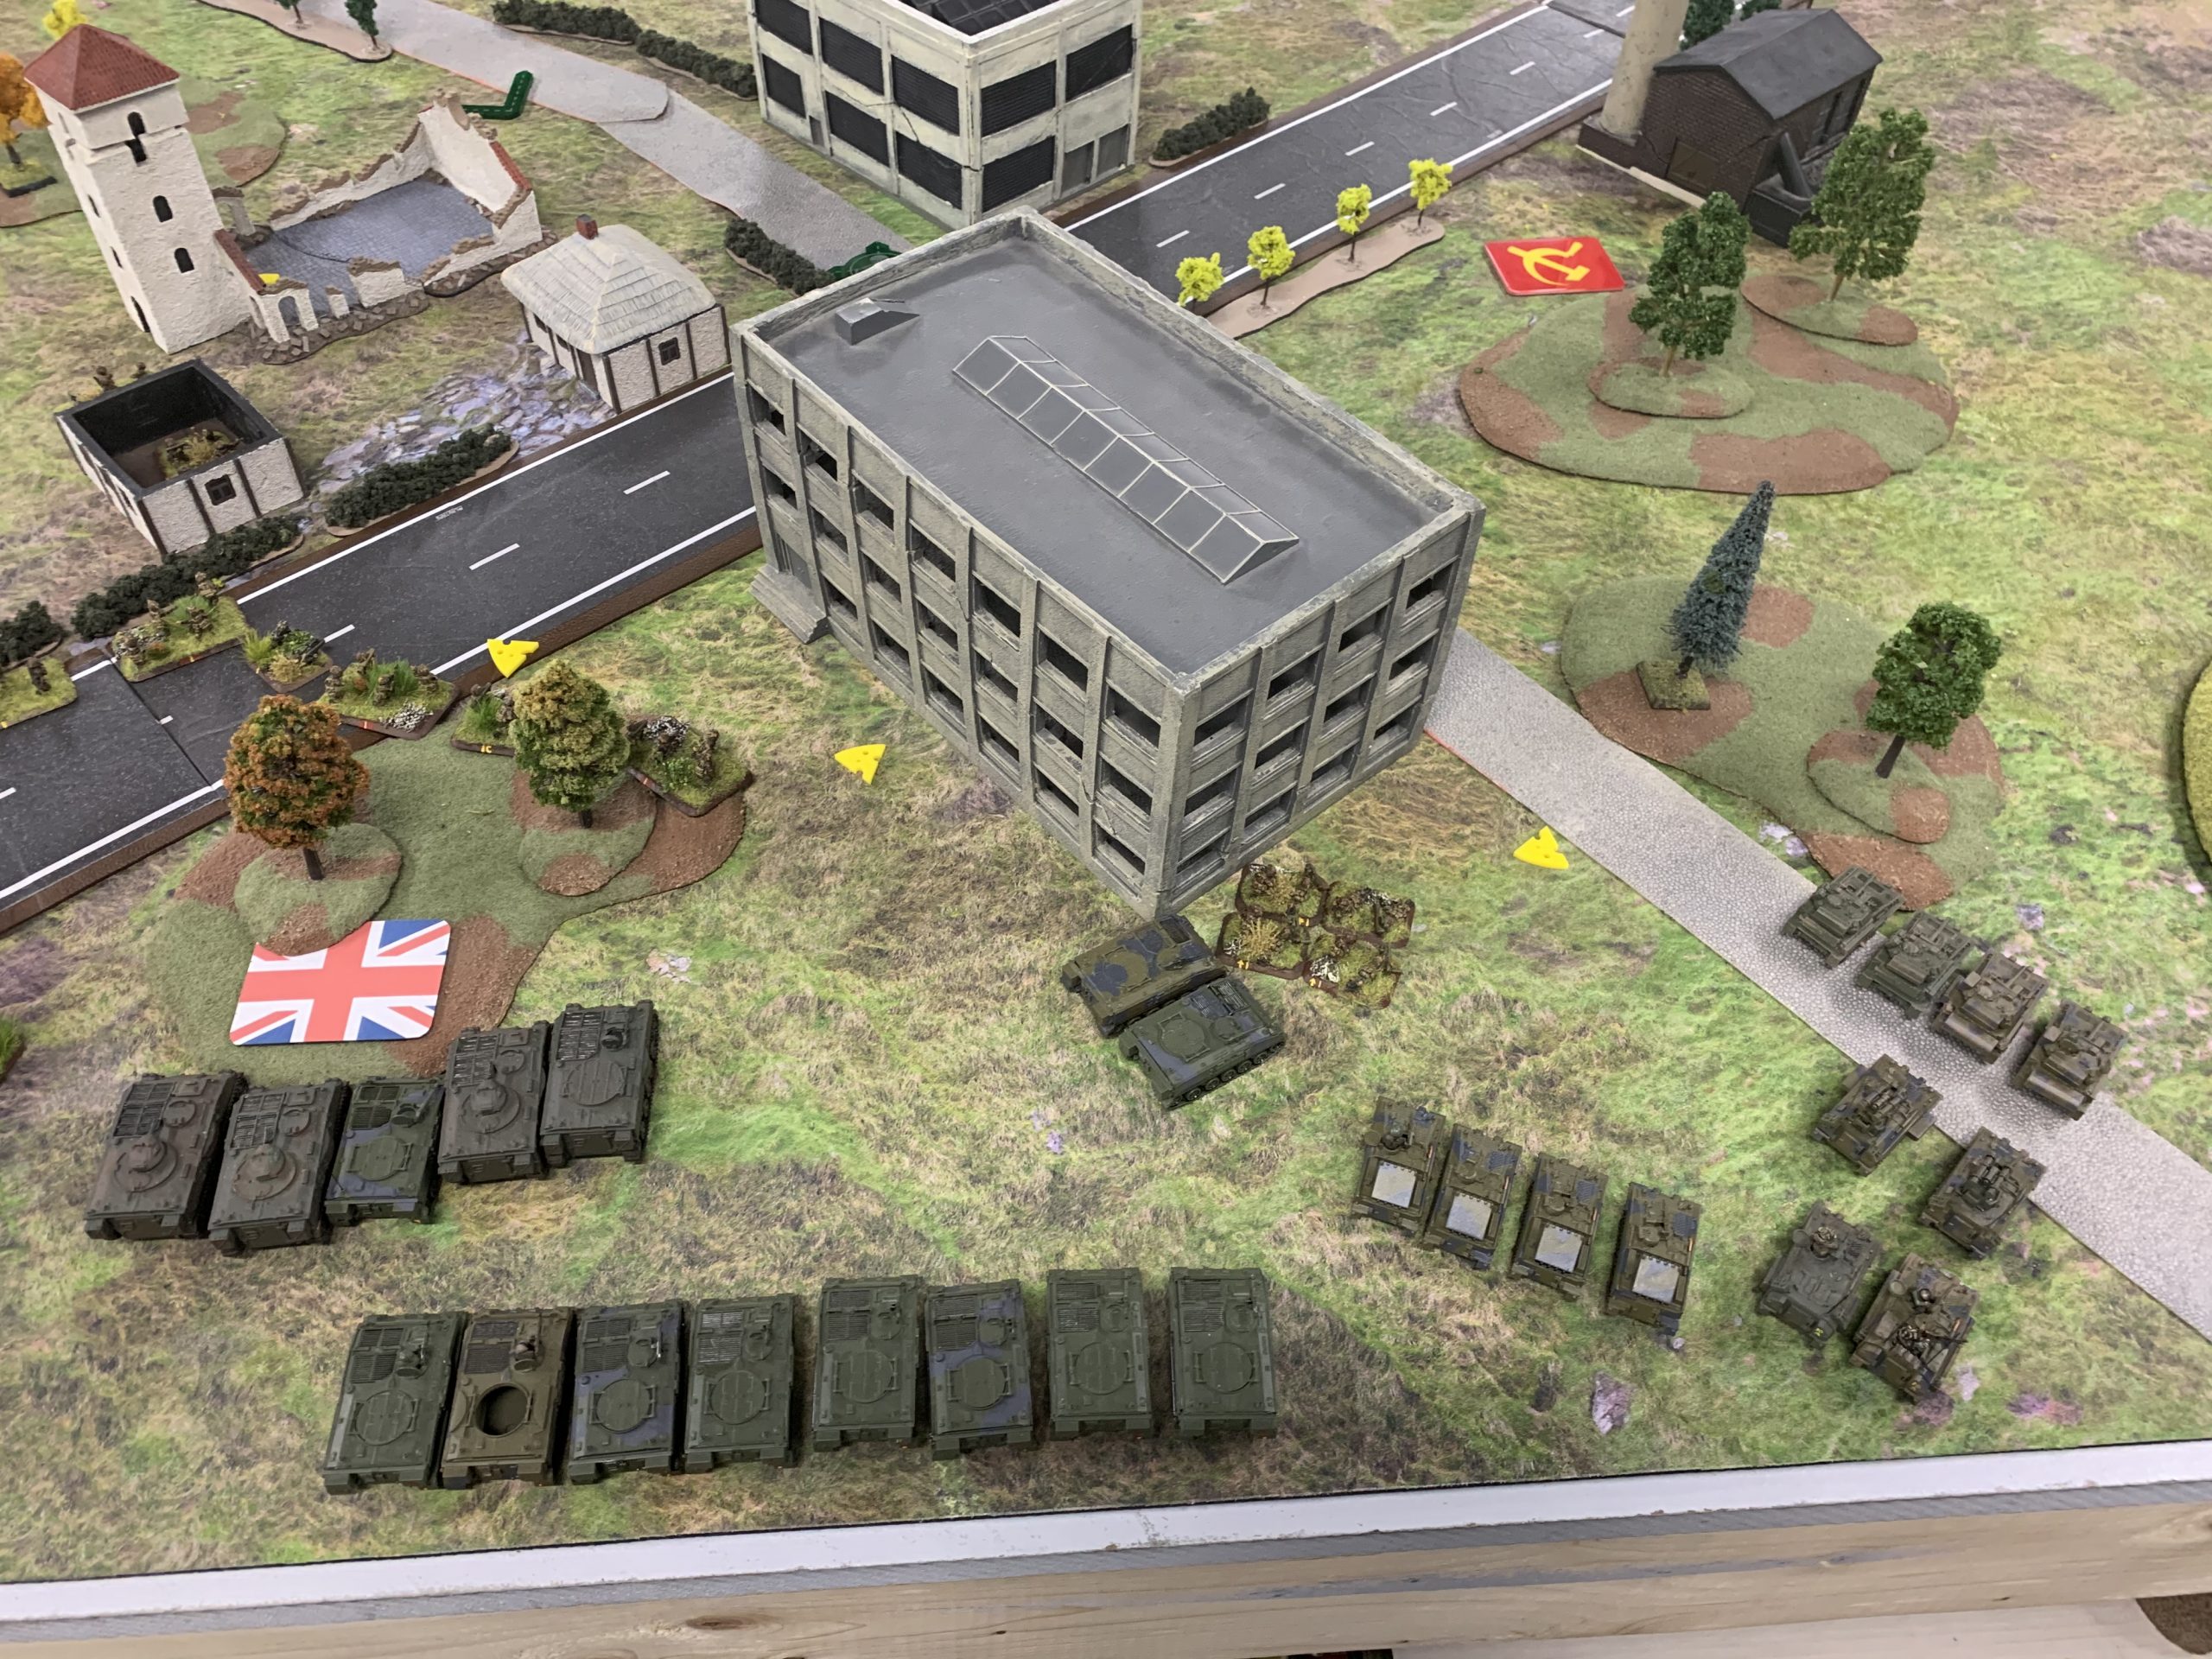
Counterattack only gives the attacker a tiny deployment area, which can be a big problem for large Soviet formations like mine. I used my BRDM-2 scouts to push my deployment zone off to my left, effectively doubling the area I could deploy in.
Charles’ Challengers, due to their very high point cost went into his reserve pool as did an AAA unit he would not be needing.
My plan was to heavily weight my left and concentrate on the objective in the neutral quarter. My T-72s would “follow in support” and swing even wider to left rear board corner. I knew Charles’ Challengers would come there behind my main effort. I needed to leave the T-72s hanging back to take the initial hit and tie those Challangers up. My infantry wound swing through the urban area and demonstrate against Charles’ FV432 Mech Co to keep them pinned in place.
Turn 1

Why do I always take two artillery units with my Soviets, two chances to lay down smoke? After the 2S1 Carnations failed to range in a smoke screen (with Forward Observer assistance!) my BM-21 Hail rocket launchers put in a nice smoke screen that ties in a large building with nearby woods to mask the approach of my main effort.
I caused no damage to Charles in Turn 1. I’m not even sure I took a shot. The first turn for my Soviets is always about positioning and getting in close.
Because my main force was so well screened by smoke and terrain, Charles really did not have much to shoot at, expect for artillery on my infantry. He continued to swing his Recce Troop out to his right to get into good over-watch positions where he could hit my T-72s.
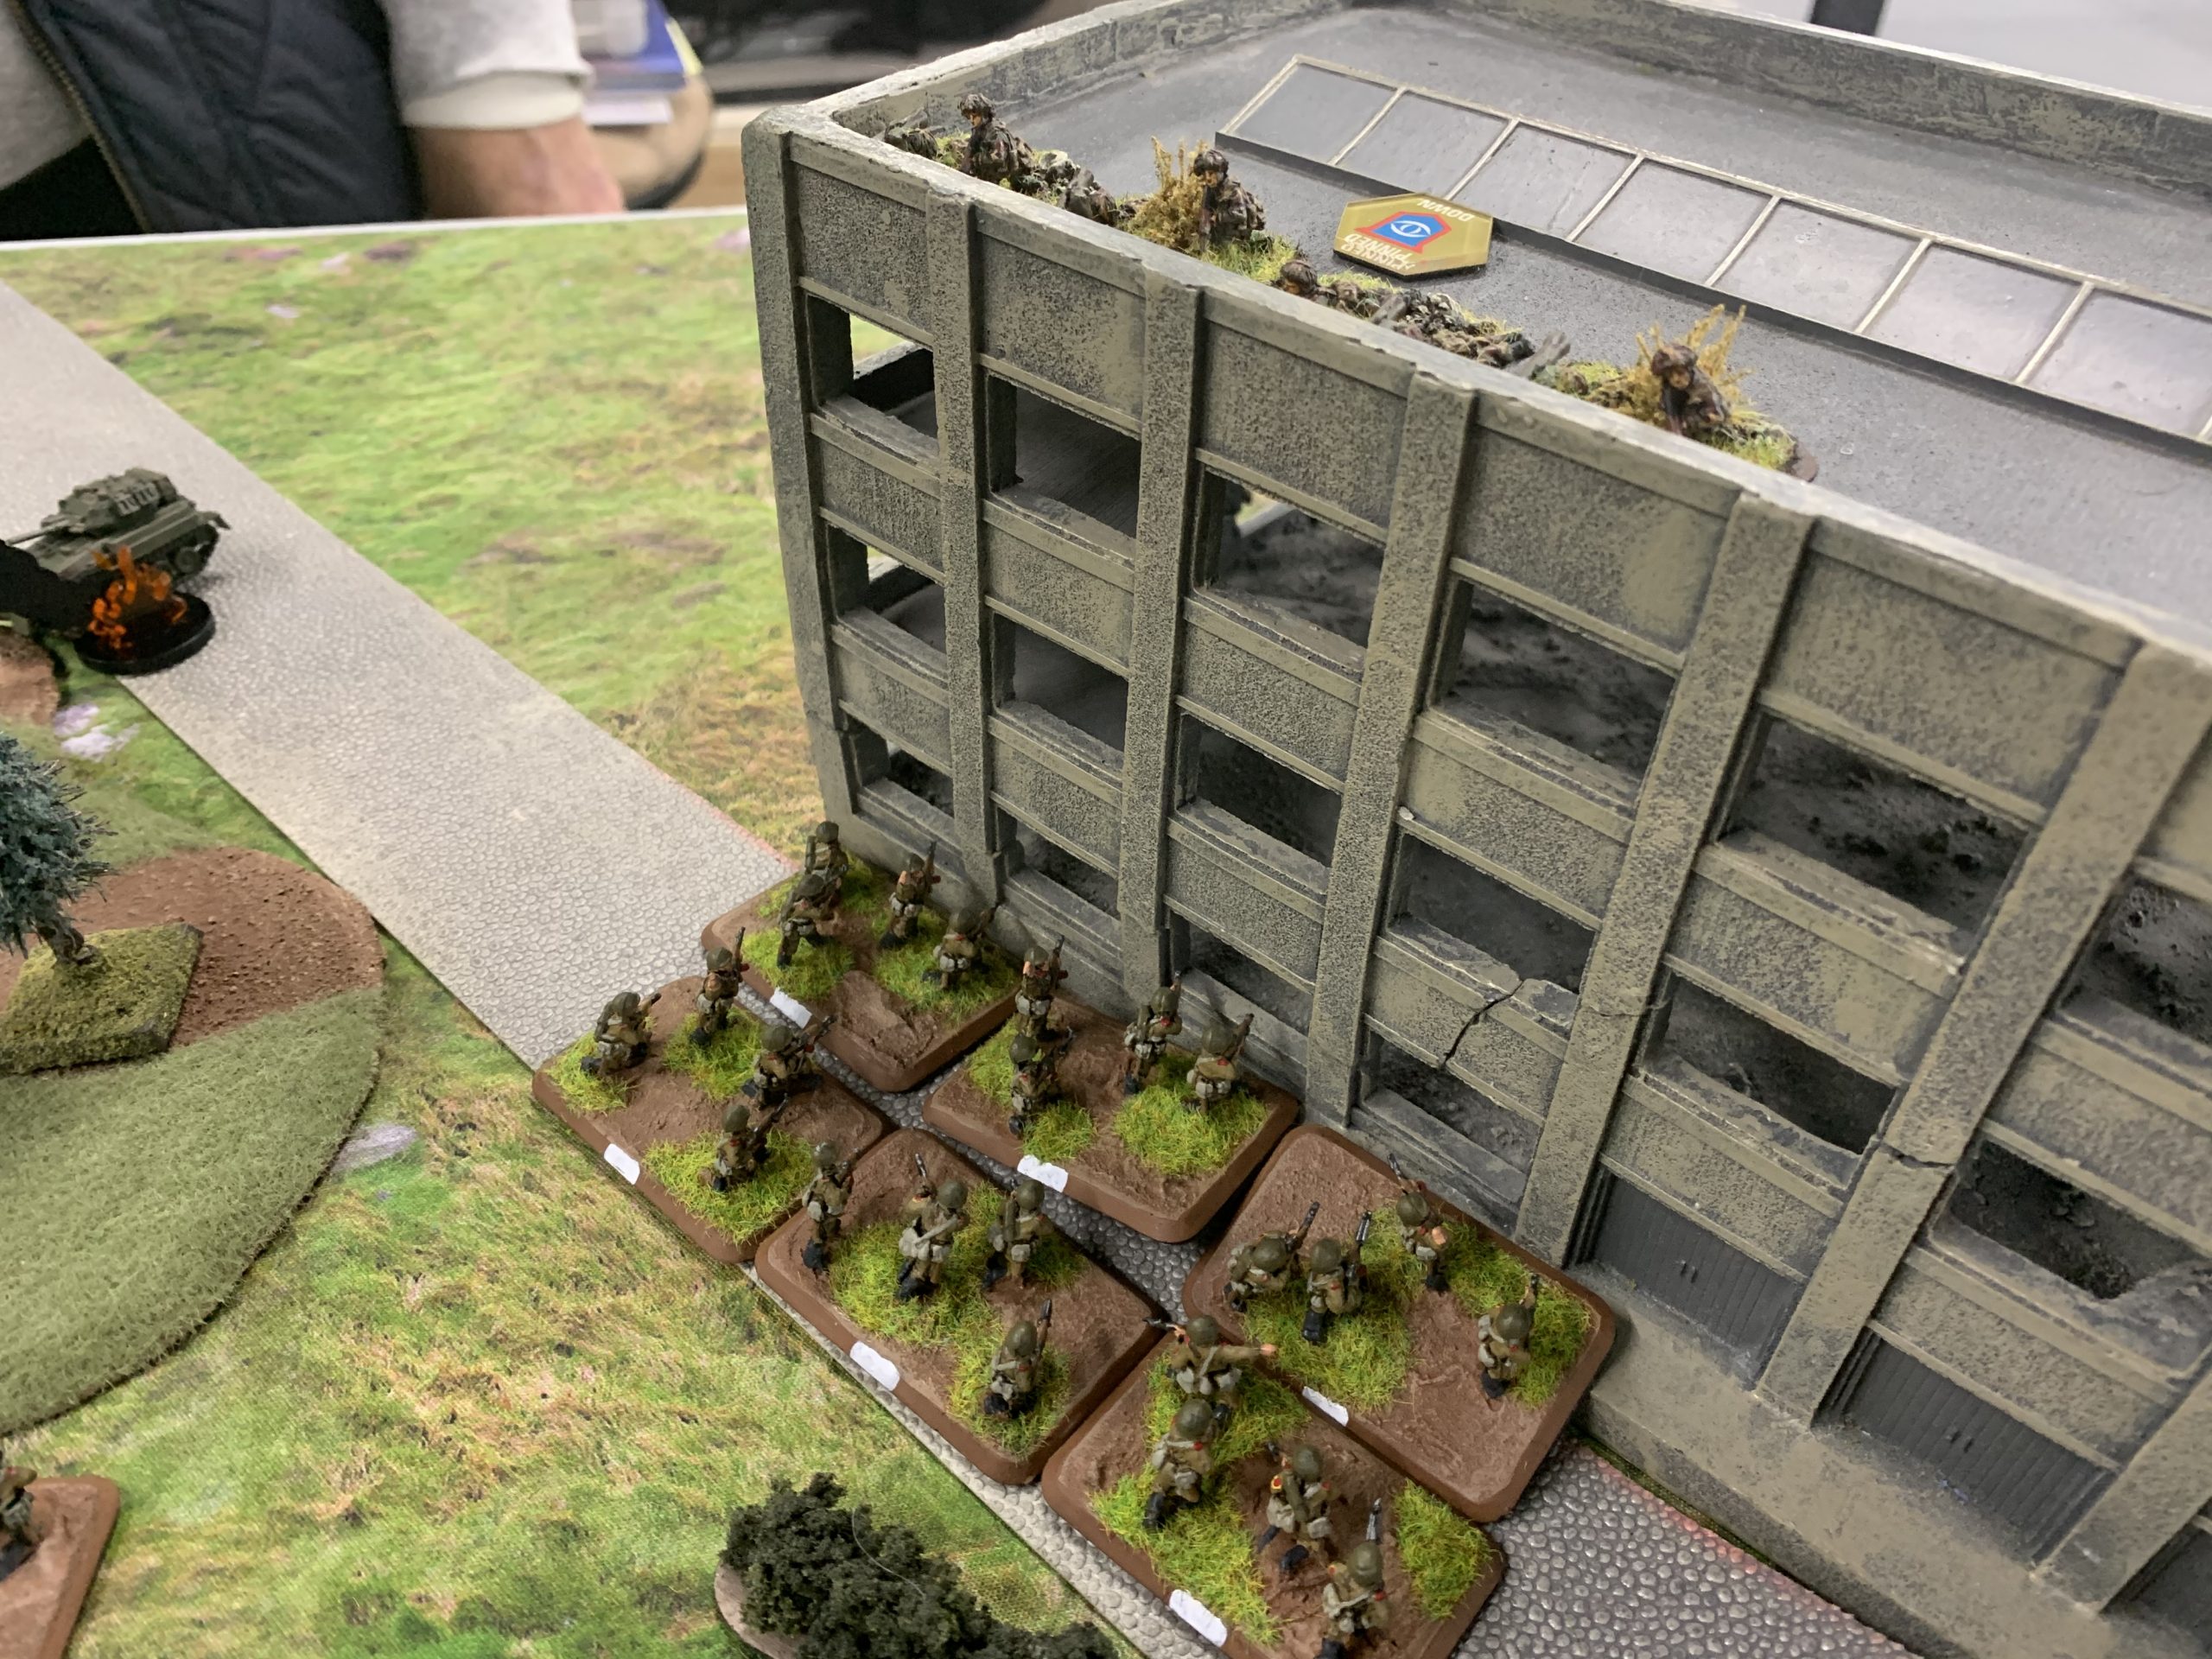
Charles also deployed his ambush (four Milan Teams) and relocated them forward into the large building where they would have a target rich environment next turn.
Turn 2
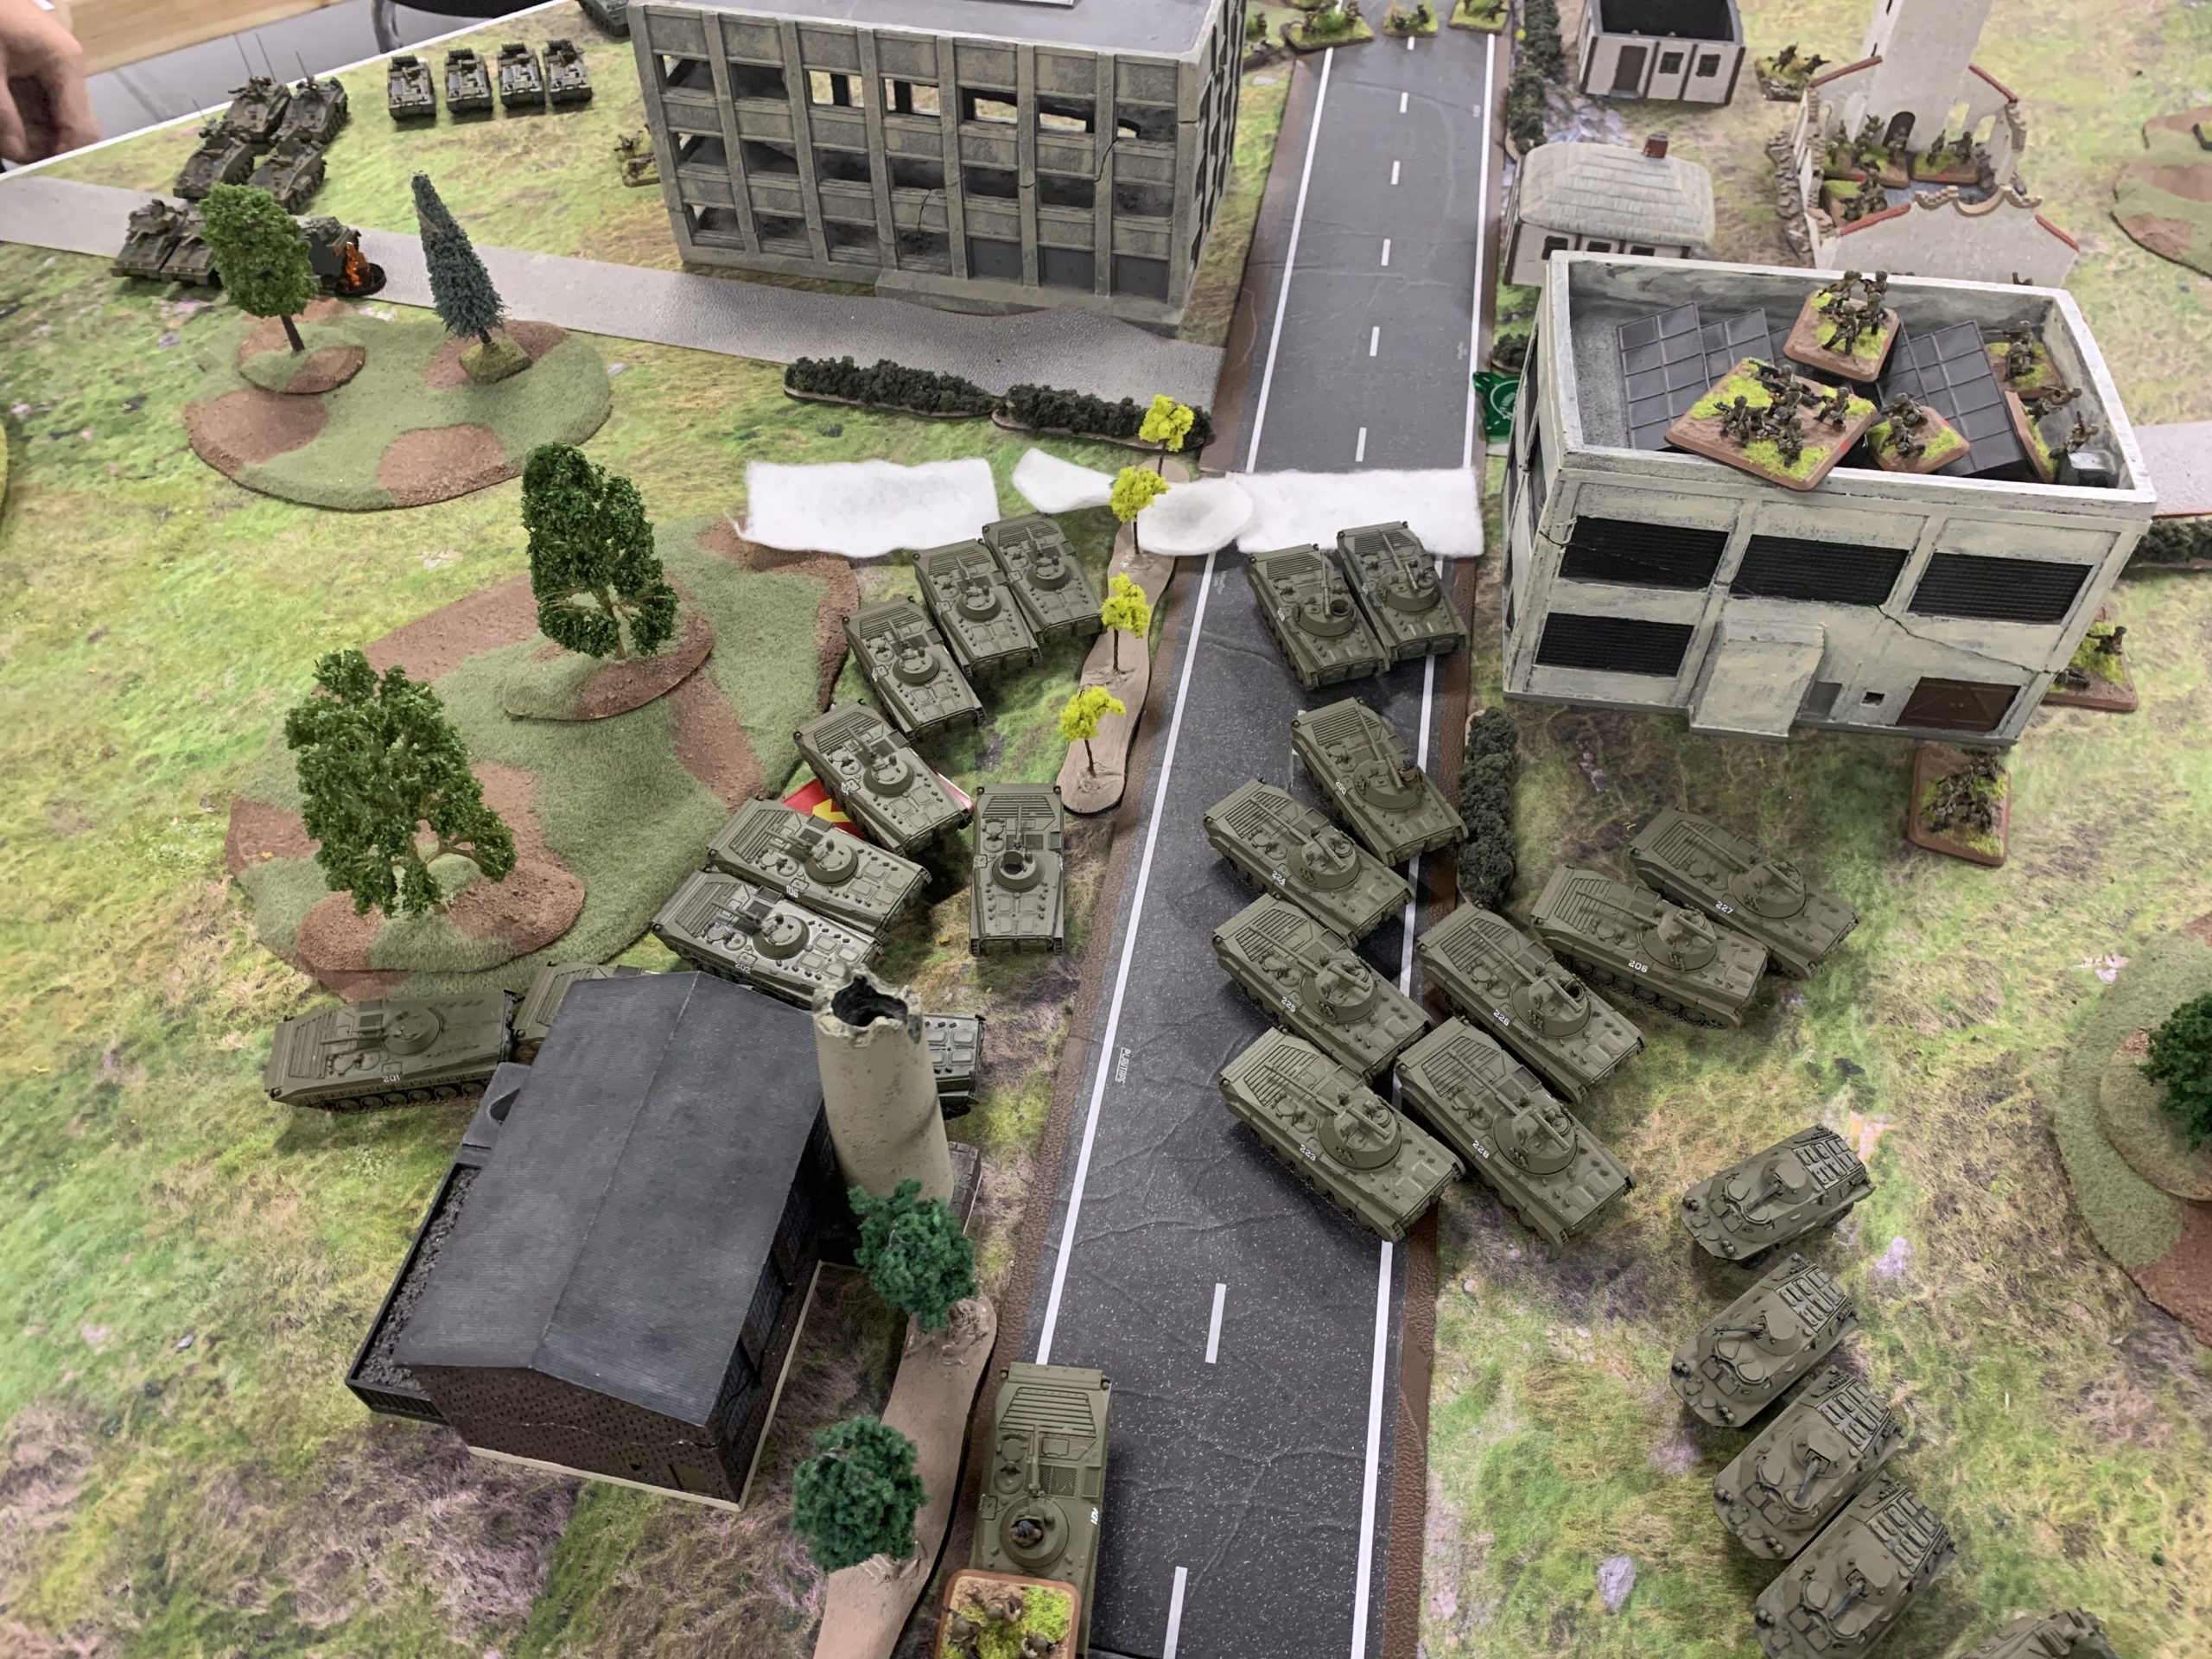
In turn two, I continue my swing to the left with my BMPs, who with support from advancing infantry with RPGs make short work of Charles’ Scorpions.
My infantry continue to push in the center and Charles suddenly realizes that his Milan teams are about to be assaults before they even fire.
Fortunately for Charles, he only lost one Milan team to the Soviet infantry assault as he broke off immediate after the initial Soviet melee.
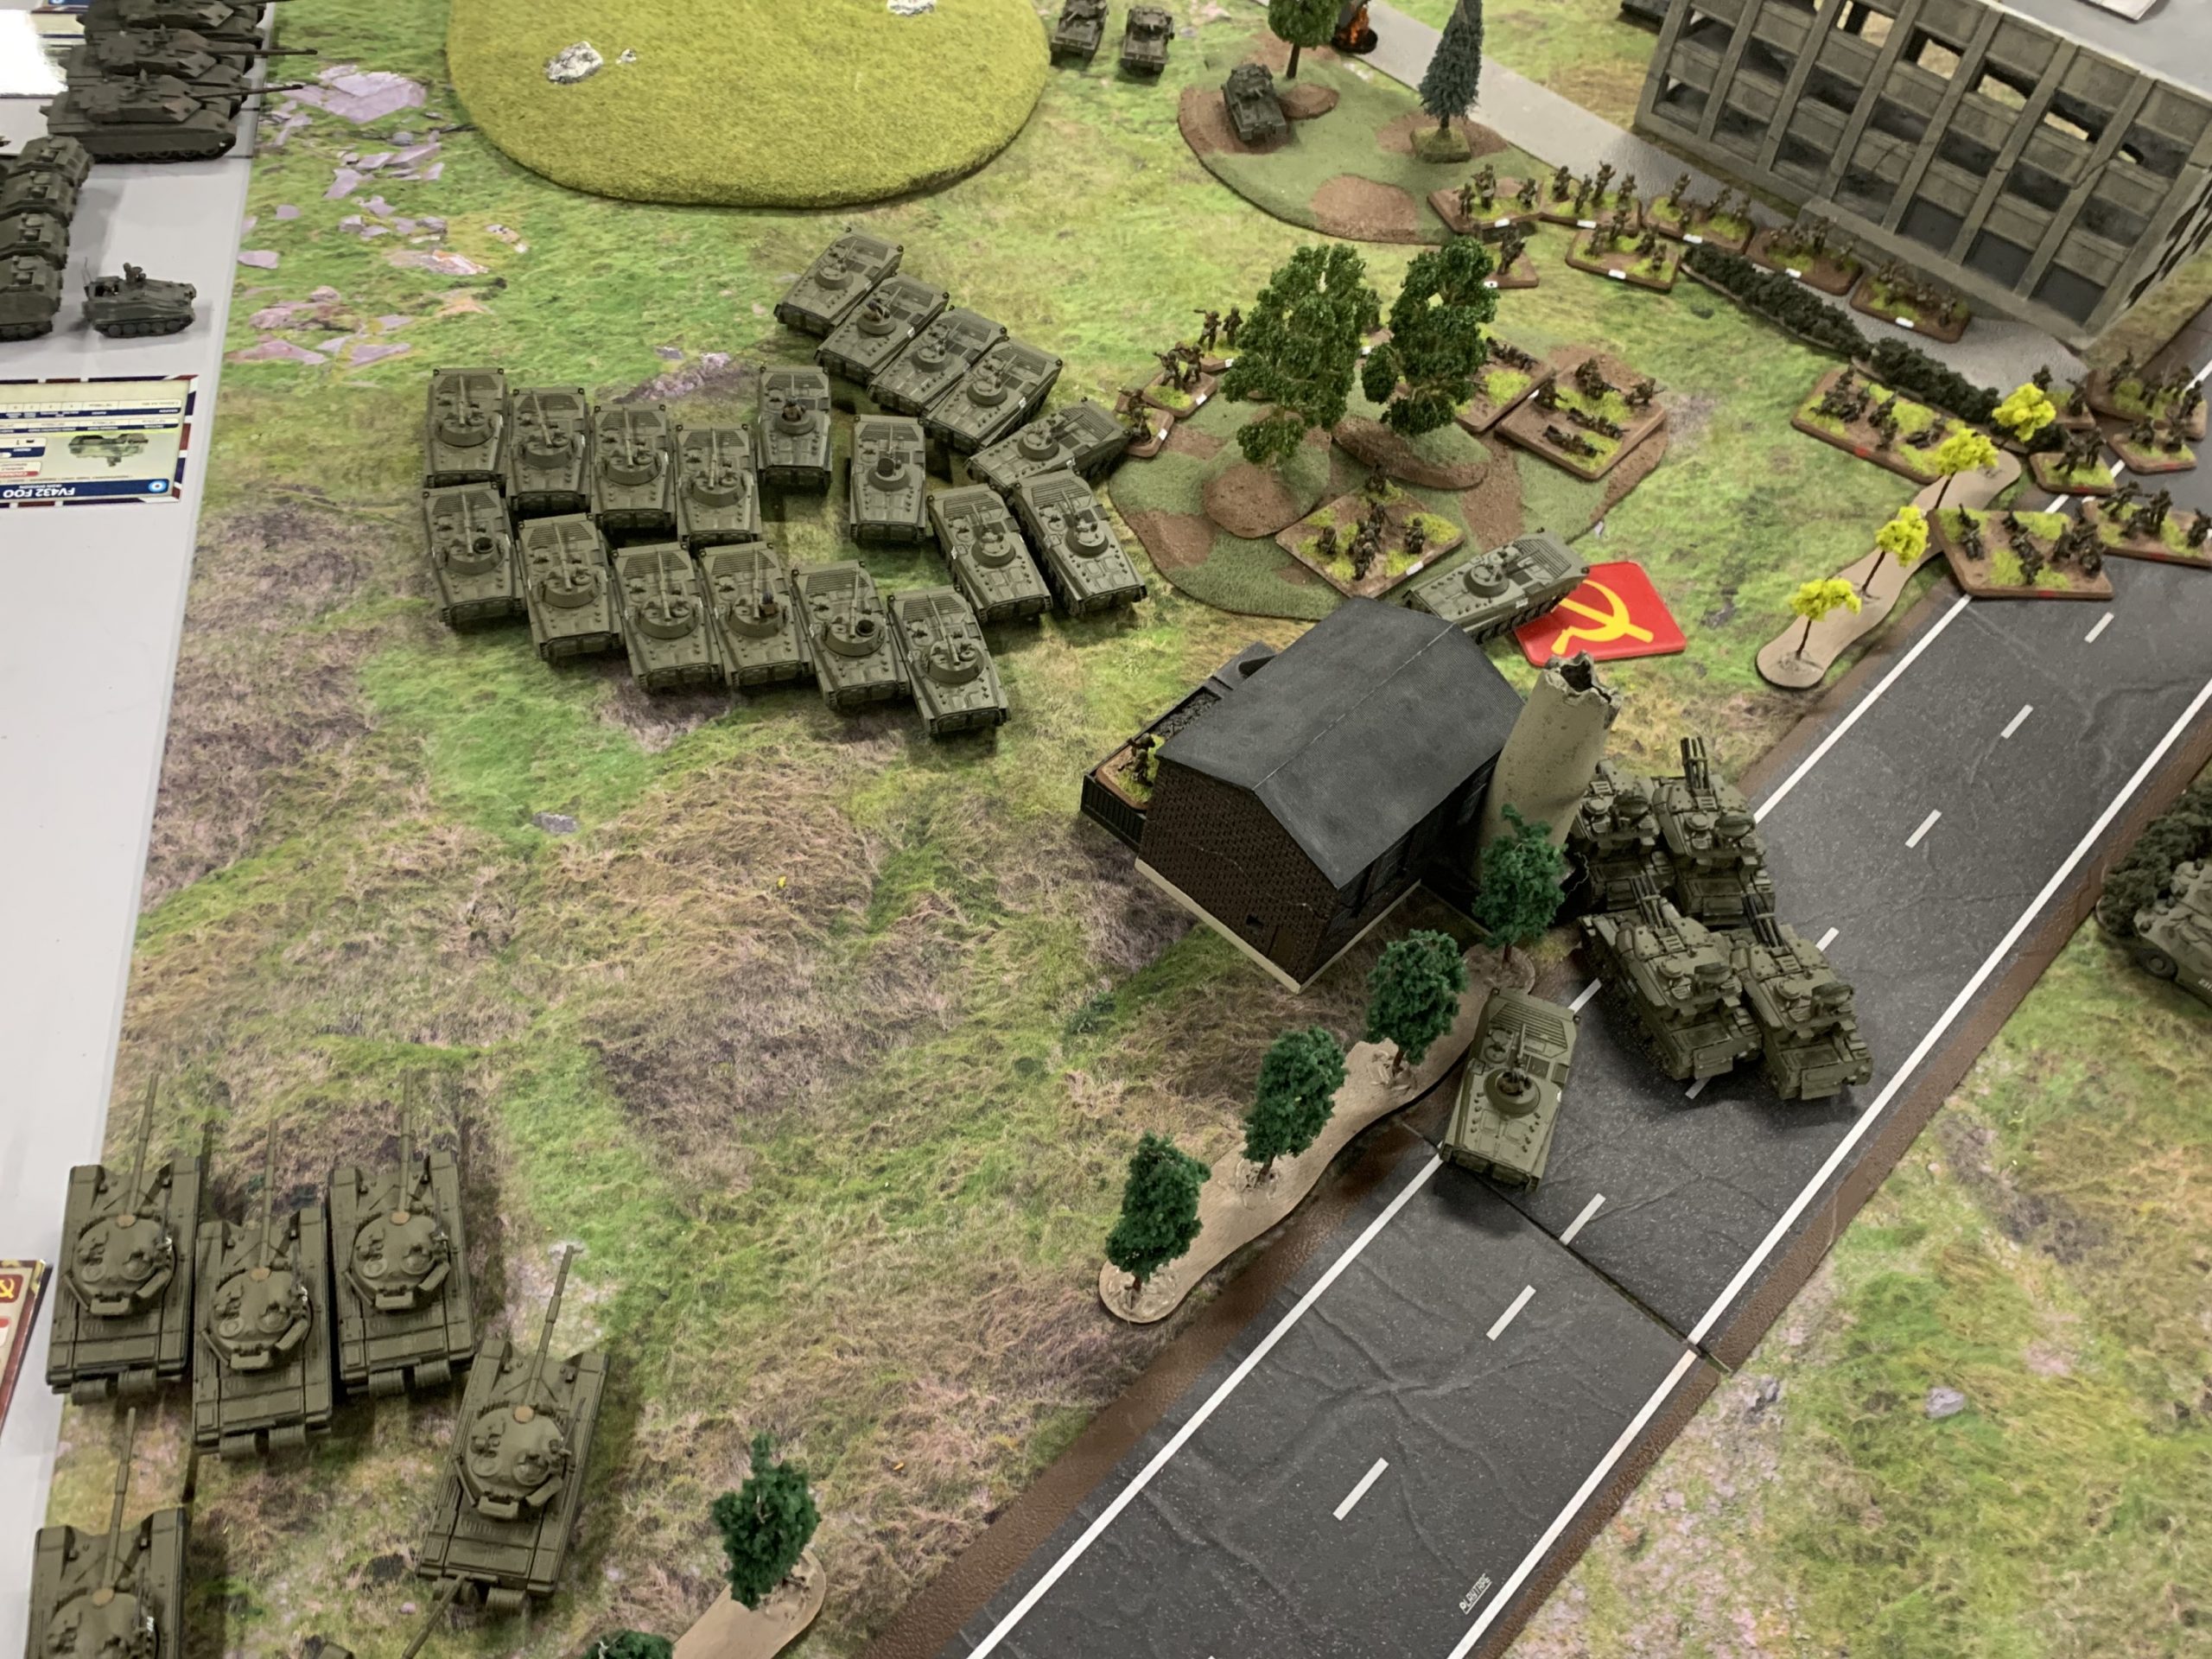
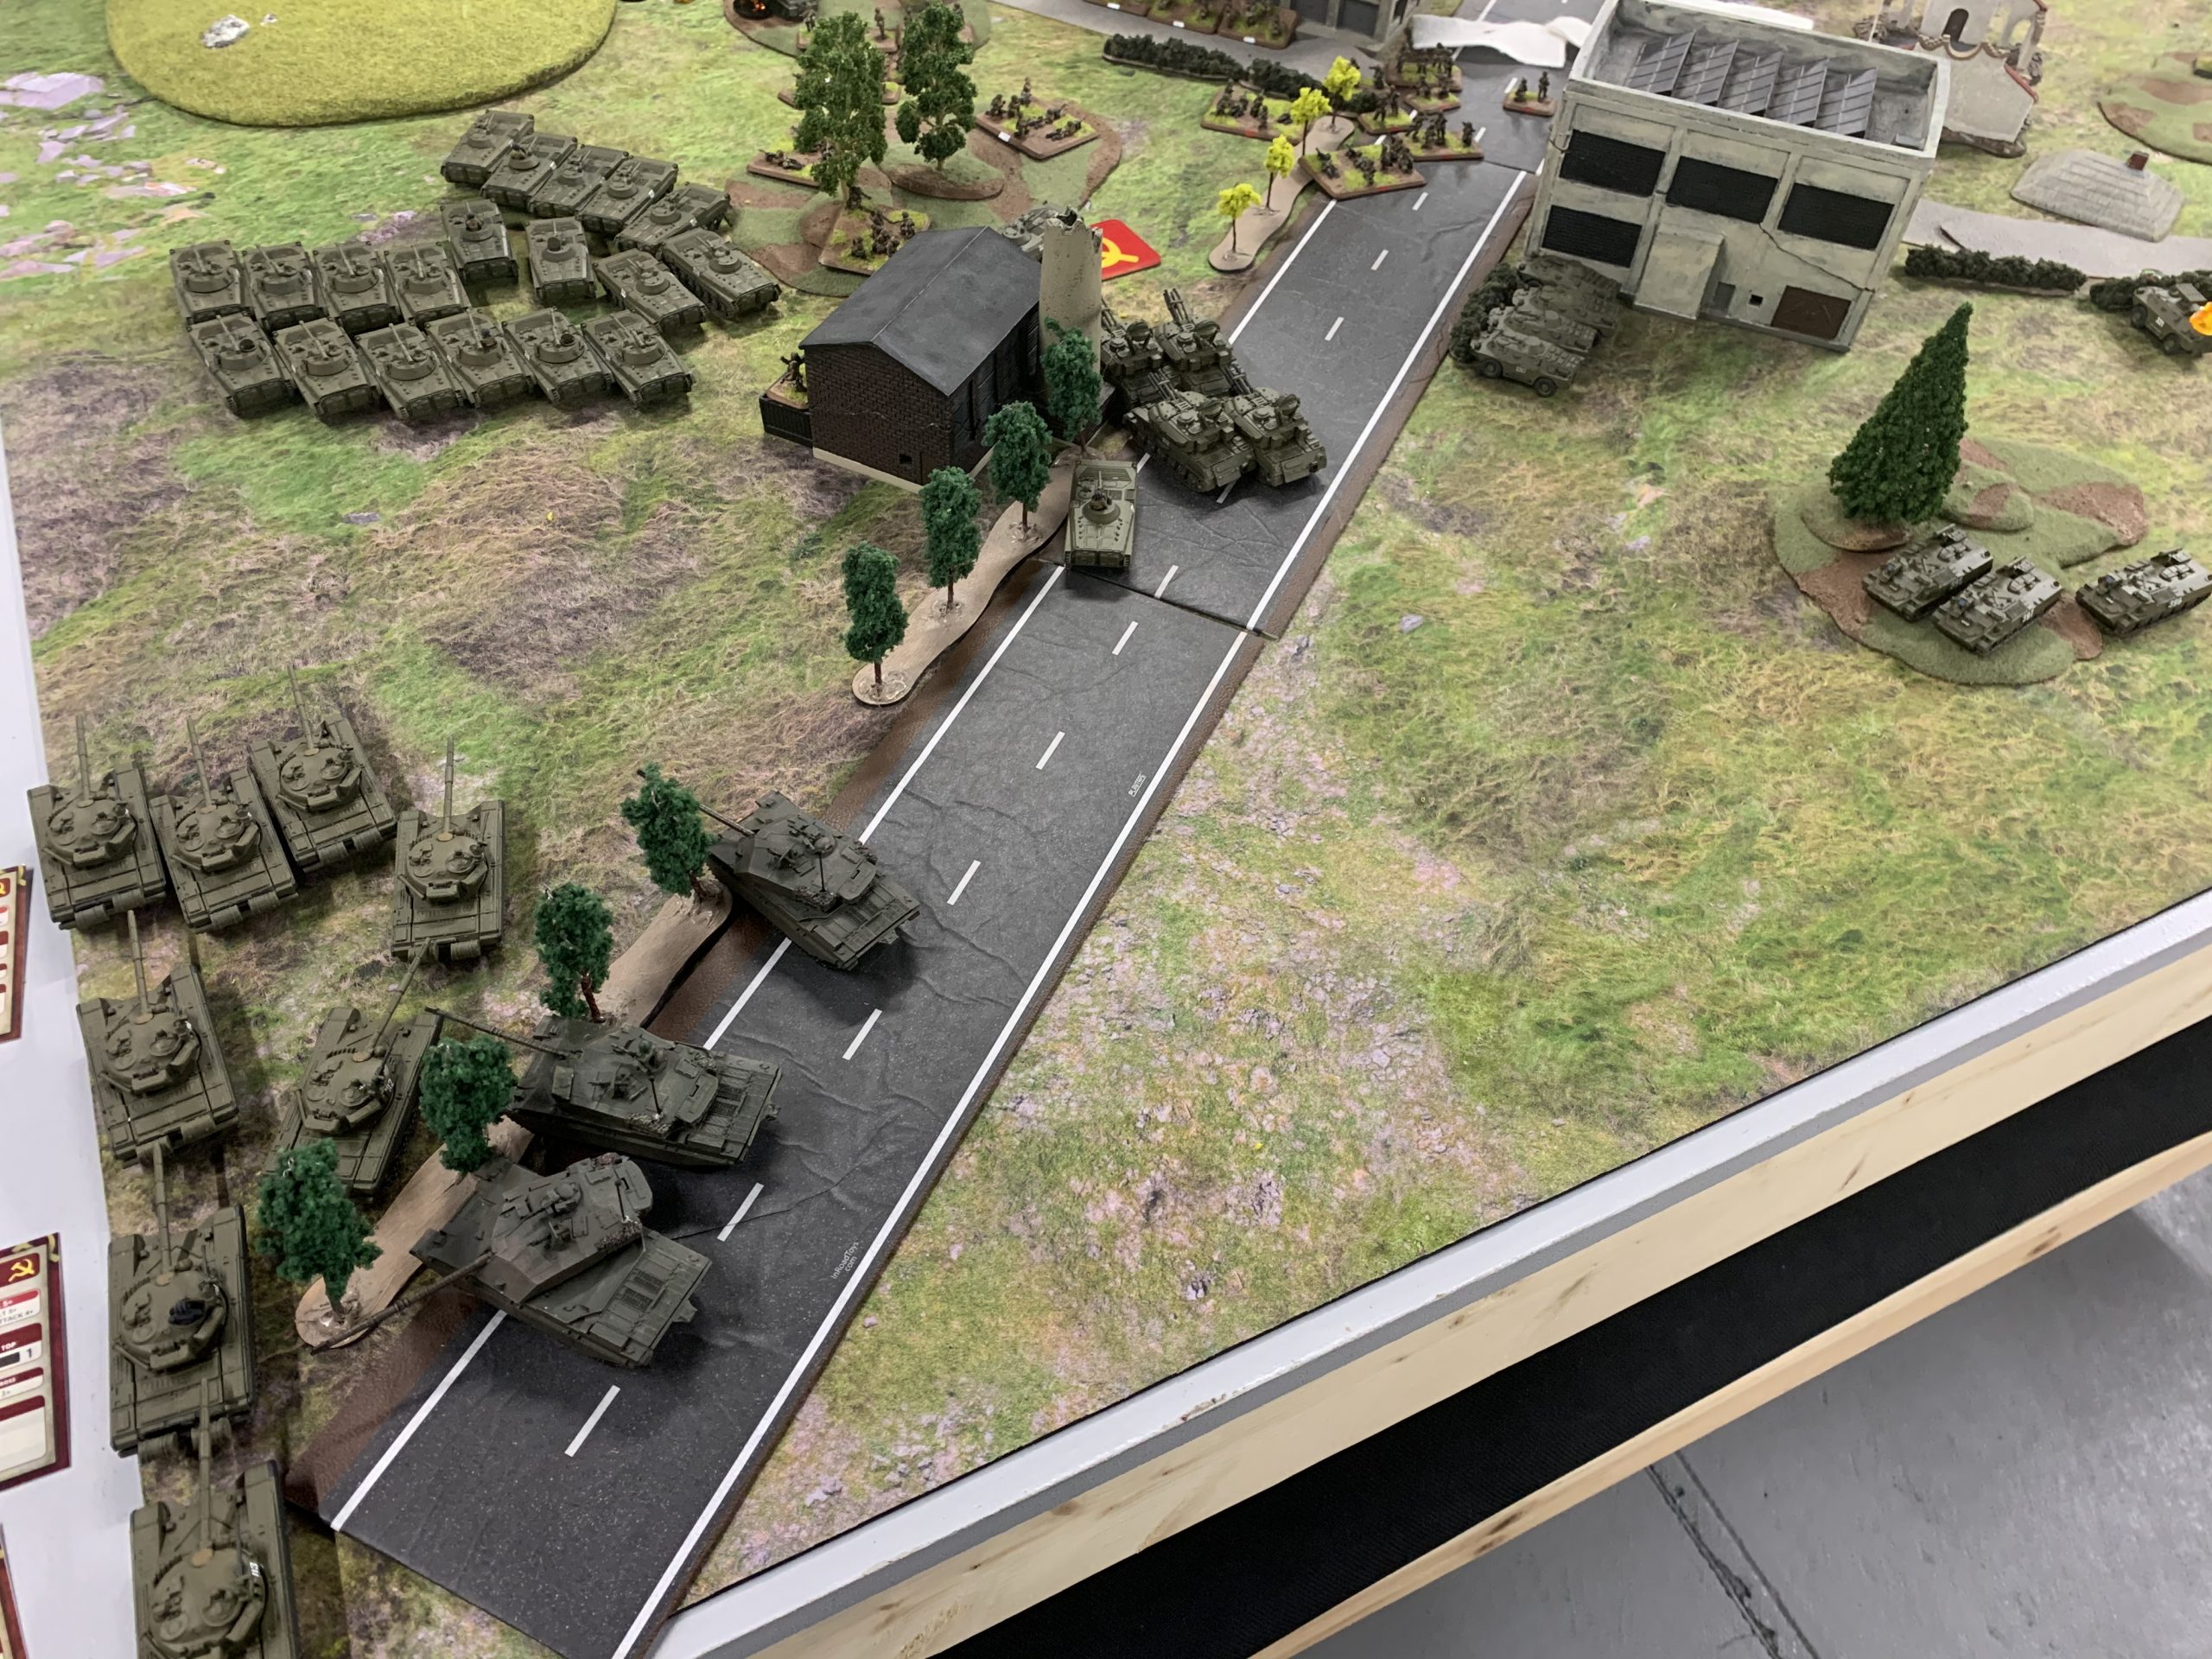
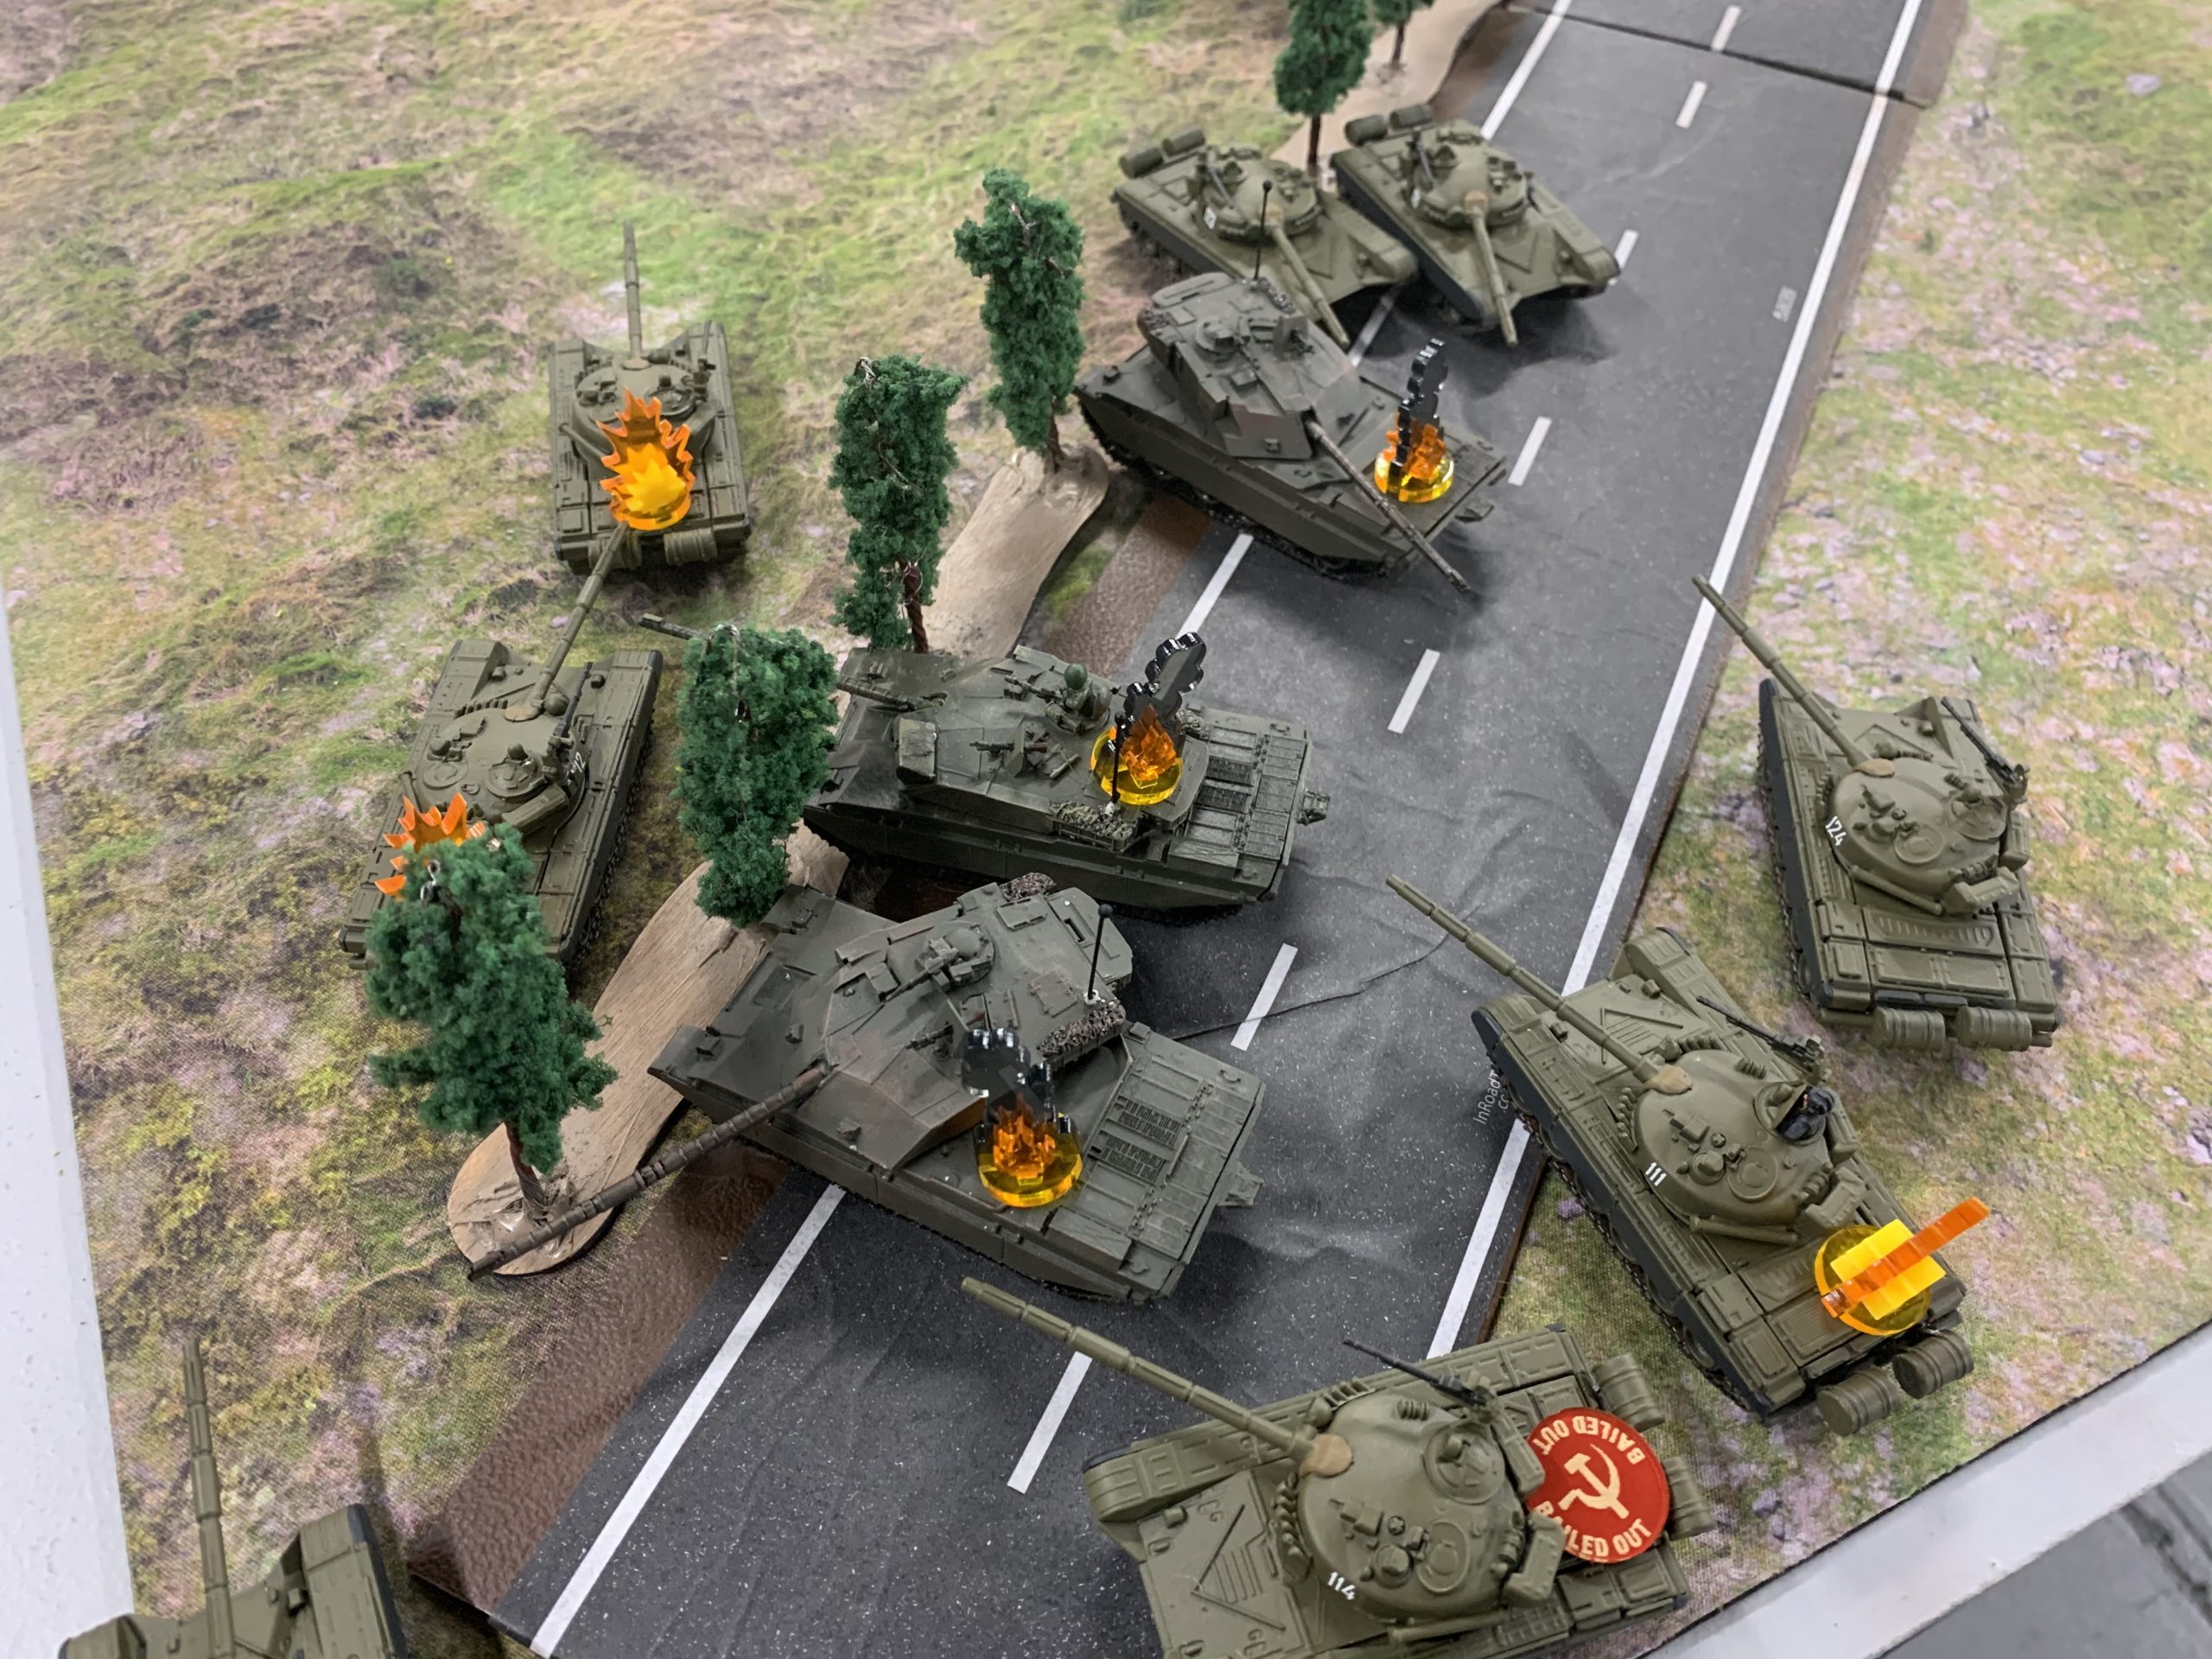
Charles’ Challengers come in on turn, right behind my T-72s as expected. Note the Sthurms waiting off to the right in the below image, knowing that the T-72s are bait that Charles’ Challengers cannot ignore.
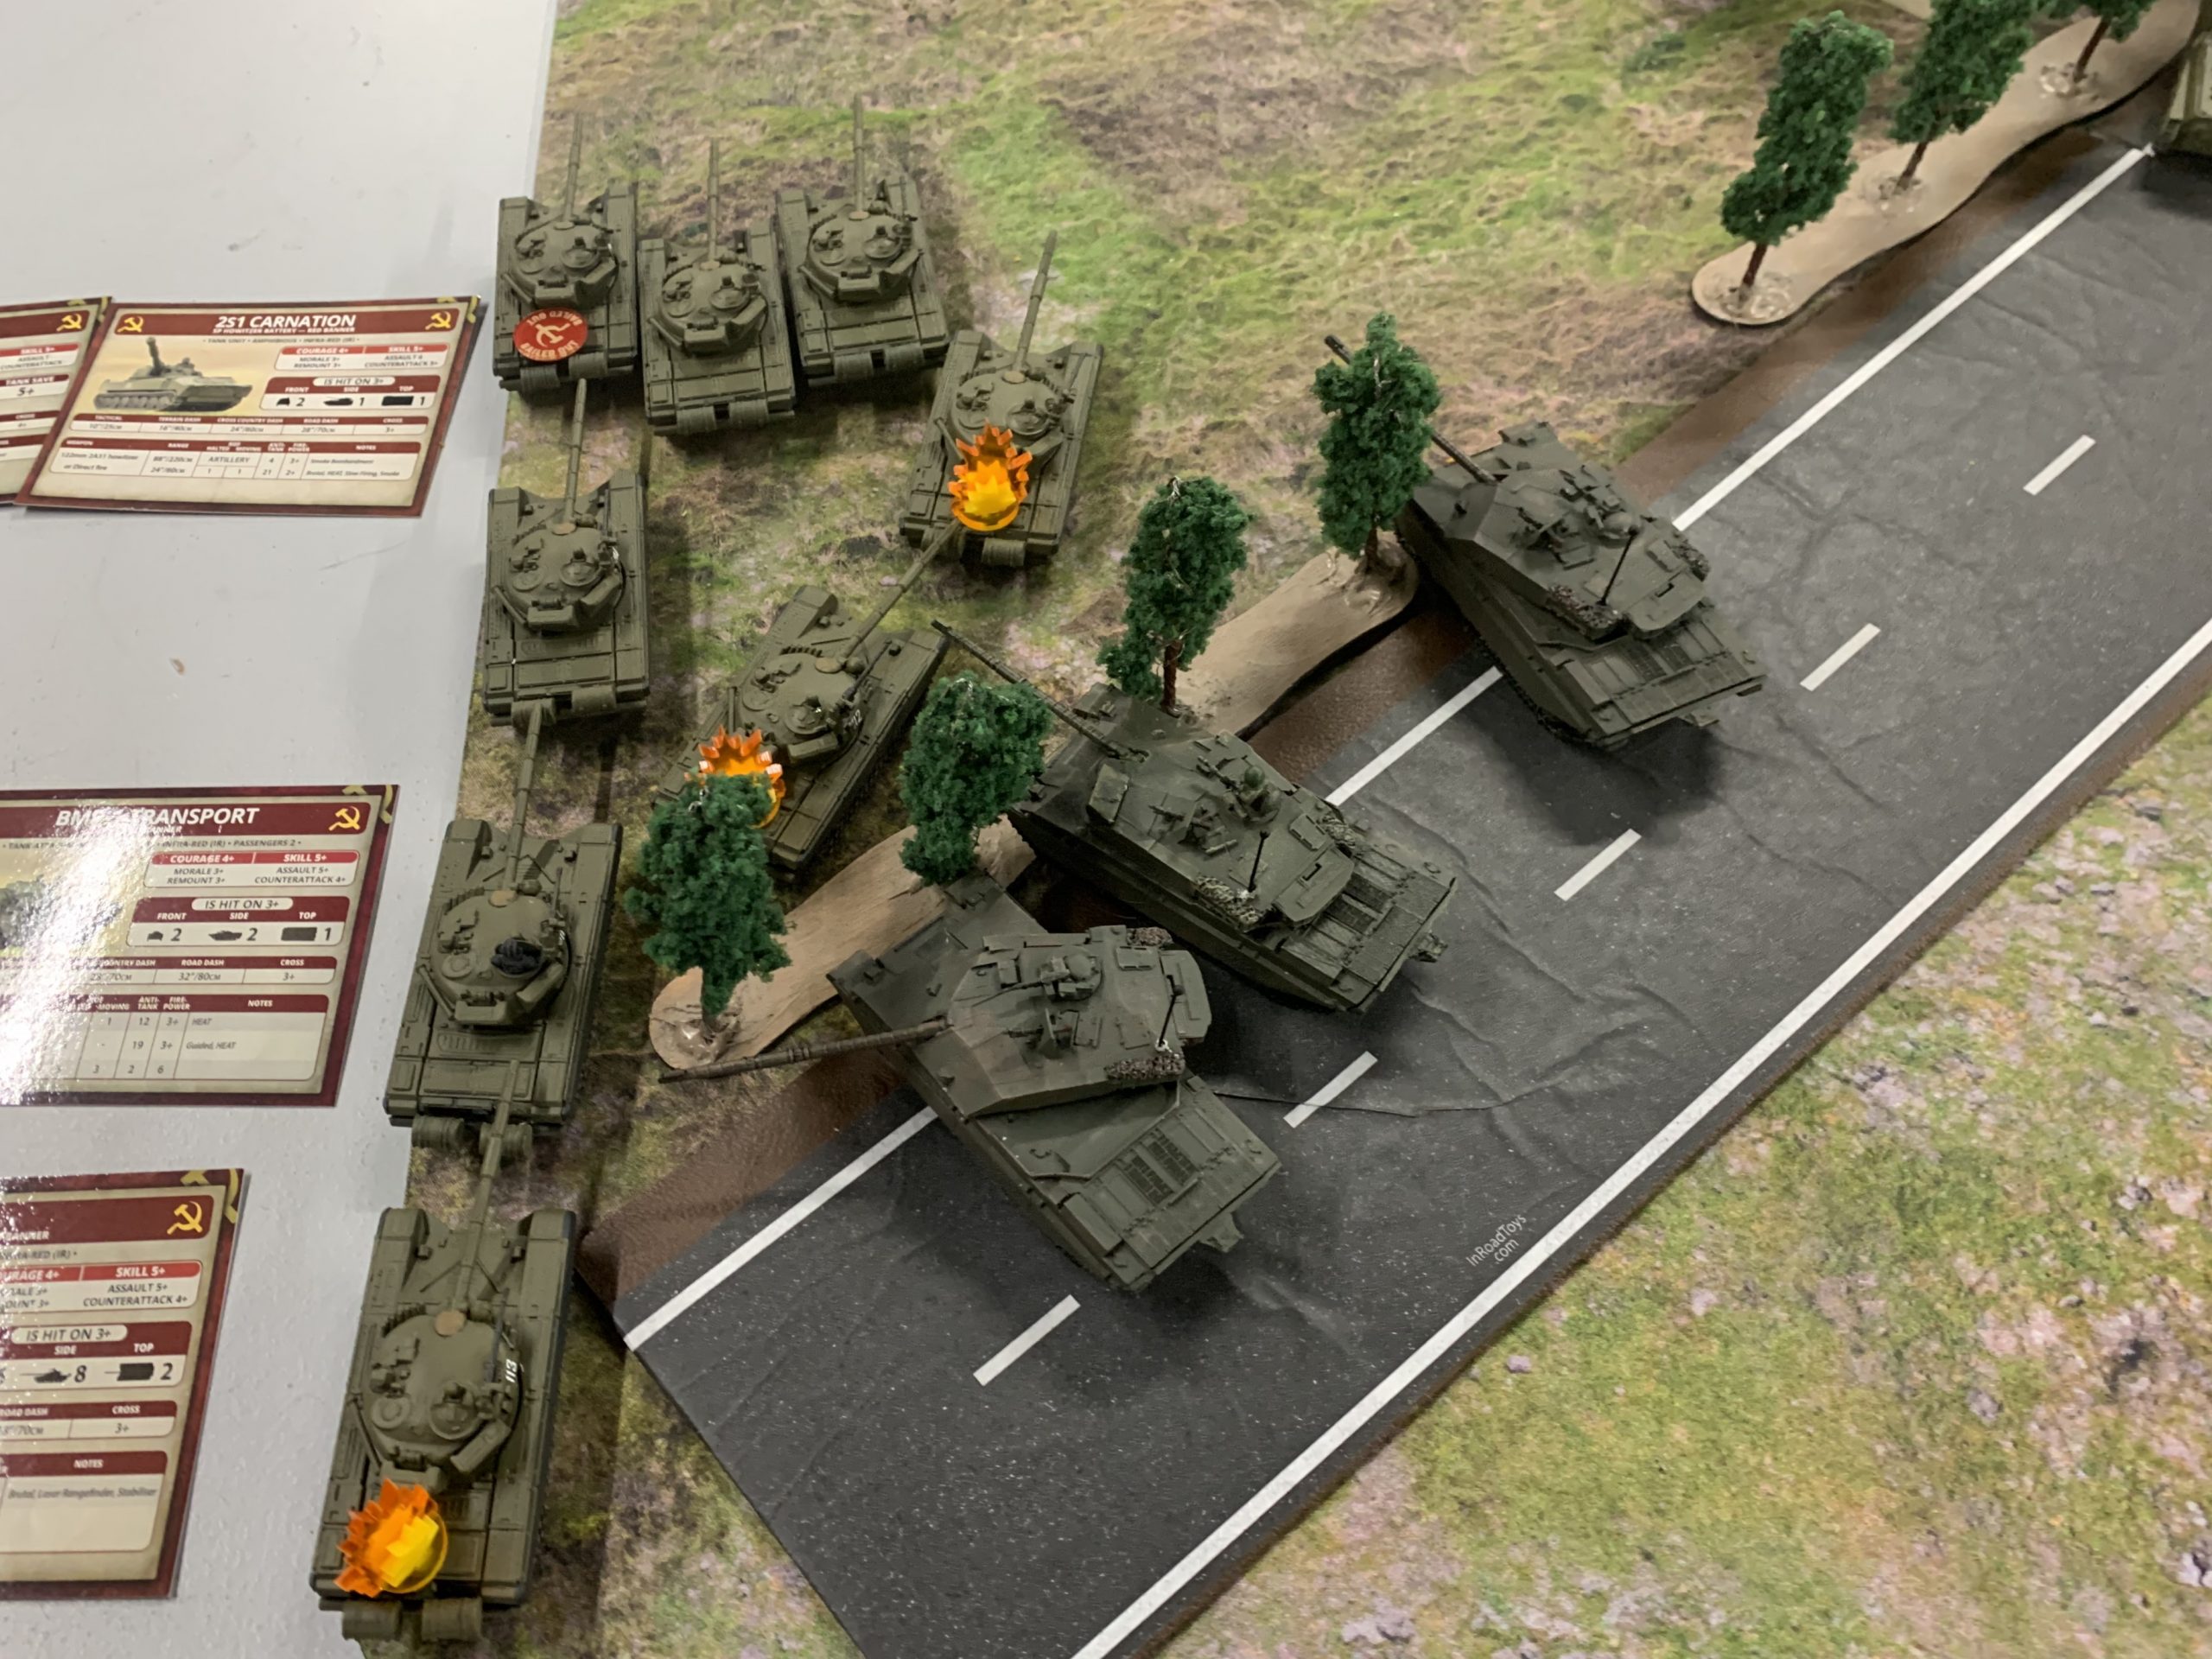
Charles’ Challengers knock out two T-72s and long range fires from his Swingfires kill and bail a T-72 as well.
 Turn 3
In turn three, my T-72s moved to flank and destroy two Challengers. Knowing exactly where the Challengers were going to come in at. I left the T-72s in the corner so that no matter what, the surviving T-72s would be able to maneuver for flank shots. Really Charles’ reserves needed to wait a bit longer and let his Swingfires get a turn or two more of shooting at the T-72s.
Turn 4
My infantry pushed through the large building and took the FV432 Mortar Carriers under RPG fire while my BMP-1s moved to flank Charles’ rear “gunline.”
The BMP-2s run rampant on what is left of Charles’ Recce Troop. Note how far Charles’ forces are now away from the objective in the neutral quarter.
With just three T-72s left, then last Challenger is knocked out.
By the end of turn four, it is clear that the only way Charles can keep the game going is to assault with his Mech Infantry company against my Soviet infantry in the center urban area. With way too many BMPs, ZSU-23/4 and BRDM-2s rolling around the area, this simply is not a viable option he concedes at the bottom of turn four.
Tough game for the British. The new Challenger is a beautiful and scary beast, but it’s not going to stand up to AT22 flank shots. It’s ROF of 1 on the move to me makes it far less intimating than a M1IP or Leo 2.
The new artillery rules had a big impact. When Charles ranged in on my infantry, I totally cleared the impact area. In most cases I was able to rally and move forward, but when I did not rally I did not hesitate to fall back. Fortunately, I only had to do this once, and it was with my “demonstrating” infantry on my right who I could afford to have fall back.
This game was not the best test of all the new kit the British have now in WW3 TY2, but as best as I can tell, the Soviet player really does not need to change tactics to face the British under the new rules and the new list. As always, maximize smoke to screen your advance and get in close as quick as possible.
In the end of the day it was a good game and I’m sure Charles will be scheming on how to use the other new British items against me in or next game.
Just out of curiosity, was there any particular reason the Challengers moved up so close to the T-72s?
The mission required the British Reserves to come in in that corner. The thin tree line blocked line of sight, which forced the British to get close.
There was no way to come in and not expose rear/flanks to other Soviet shots. The T-72s were basically bait.
Fair enough, sounds like these unfortunate Tommies fell for the wily Soviets’ trap!
Nice report Tom and well played game. The Challengers have some great stats but the cost is prohibitive. Say hi to Charles for me.
Will do Ron. Have you checked out the NDNG BattleVault Poscast yet?