Row With the Oars You’ve Got: Solo Play for Blood & Plunder
Quarantine. It’s a word that has embedded itself like a shipworm into the hull of our modern lexicon, isn’t it? I was going to start this article off with some history about the quarantine of the English fleet which defeated the Spanish Armada. That story is a bit grim though. Besides, unlike those sailors, we have modern distractions: Netflix, Social Media, and Grubhub binges. And now, we can add the new from .
I decided to download the free rules and spend my weekend (I think it was my weekend? Everything is blurring together) putting them through their paces. In truth, I can’t give the most impartial review; I was part of the playtest group, and a few of my ideas made it into the final cut. So, how can I give an accurate idea of the quality of the A.I, and the fun-factor of these solo rules? Well, the Dutch have a proverb:
‘Roeien met de riemen die je hebt’
Translated, it means “row with the oars you’ve got.” What I’ve got is a pair of 120pt armies, a kitchen table, and a very patient girlfriend who’s only played a handful of miniatures games. So I thought that I would play two games to determine if the A.I is smarter than even the most error-prone of opponents.
From left to right: Jan, Johan, Jann, John, Jansen, Janny, Ja…Dutch Militia – West India Company
Untested Dutch Militia Commander
8 Militie, Trained
6 Kapers
8 Soldaten, Veterans
Fetchez la vache!
French Buccaneers
Untested French Buccaneer Captain
4 Flibustiers
4 Flibustiers
5 Enfant Perdus
8 Milices des Caraibes, Trained (this unit is not part of this faction, but they were to hand)
For the mission, we played Seize Ground, placing three objectives across the middle of the table. The side which held the most markers would seize the day. This is a good, neutral mission and it’s pretty easy for a new player to wrap their head around. We deployed our forces. The Dutch are on the left, with the Soldaten ready to charge through the cane field, Kapers prepared to occupy the building, and Militie anchoring the center with the captain.
My French opponent deployed for a Milices bayonet charge through the cane, Enfants ready to duel with the Kapers for control of the ‘big house’, and Flibustier units holding the center.
“Yes, but what are you doing in the West Indies?”“None of your business, Dutch Pig-Dog!”
The first turn started out with both sides advancing to cover. We were on a 3’x3′ table and deployed about 2′ apart. A combined 16″ of movement would quickly rectify that. Available cover meant that my attack drifted to my left, where I hoped to catch the Milices and a unit of Flibustiers in a firefight. She surprised me though, by sending the Milices around the windmill itself. The rest of the French headed to my right. The Soldaten and Milices exchanged a volley. The French came off a little worse for wear, but such long-range shooting is always ineffective.
“What smells like livestock? Oh, we’re downwind…”I started the second turn with my forces split. Three units to her four meant that I was more pinned down; reinforcing one flank meant shifting my whole line. I’m really only making excuses for what happened next – Flibustiers. A unit of these French nightmares ran right up the middle of the field and fired right into my Militie. My poor Dutchmen didn’t stand a chance; 4 muskets cracked, and 4 Militie fell immediately.
Normally, I would have used a Fortune Point to reroll those awful saves. However, you don’t use Fortune Points for solo play, so for a fair review, I didn’t use them in the Player vs. Player game.
My captain and the survivors beat a hasty retreat to get out of range.

I avenged my losses by charging the Soldaten into melee against the Milices. The carnage inflicted by the VoC’s best offered little consolation. The French troops broke and fled, and my Soldaten turned their attention to the mid-field. The French had inflicted 25% casualties on my force, and held two of the objectives to my one.
“mais, la Distance Sociale!” – Jacque’s last wordsOn turn 3, the situation got even worse. More French shooting stripped my Captain’s unit; and they fled the field altogether. My army would have to press on leaderless. The Kapers jumped into the large plantation house, through a side-window. They were immediately counter charged by the Enfant Perdus, and a unit of Flibustiers. The Kapers returned fire, and felled 2 of the French specialists as they covered the open ground to the house. A fierce melee broke out as the Dutch pushed enemies away from windows and doors like a tropical Romero flick.
Pictured: an armed mob storming the courthouse, ca.1695, colourizedTurn-4 was the last stand of the Dutch. The French Captain shouted encouragement to the Flibustiers, and they forced the doors open with braces of pistols and sailor-knives. The Kapers had seen enough, and the two survivors jumped back out the window. French surrounded the proud Soldaten. The last quarter of my army stubbornly held the final objective. Unable to roll a Strike Test without my Captain, I surrendered to my giddy French opponent.
The ‘Pirate Encyclopedia‘ shirt is purely coincidental, I’m sureGame Two!
It was time for some Dutch revenge! The mission and deployment stayed the same.
The A.I for the solo-rules operates by flipping cards for the “opponent” at random. So, you choose and play a card as normal, and then the A.I flips a card to respond, references a chart, and acts accordingly. Of course, this means that there are some limitations; units won’t always activate in the most strategic order, and any advances will aim towards the nearest enemy.
This meant that this time, the Milices and Flibustiers went straight through the cane field and into the waiting jaws of my Drilled gunline. As if seeking revenge for the last game, the Militie removed a Flibustier unit with their opening volley. The Soldaten broke the Milice and drove them back, Shaken.
“I feel like we’ve seen these crates before”“Shut up Janny!”
The French Captain’s unit had advanced more cautiously and was actually in position to catch the fleeing Milices. He issued them a Rally order and got the panicked Frenchmen under control. They were betrayed by the card system though, and fired a hail-mary volley back through the cane, at the Soldaten. History will not record whether the veteran Dutch soldiers even bothered to duck.
“We cough in your general di-rection!”The French Enfants Perdus had found cover and stayed there. A shooting contest began between the 5 Frenchmen, and the 8 Dutch Militie and their commander. In the meantime, the Kapers got their backs to the building and prepared to occupy a strong position.
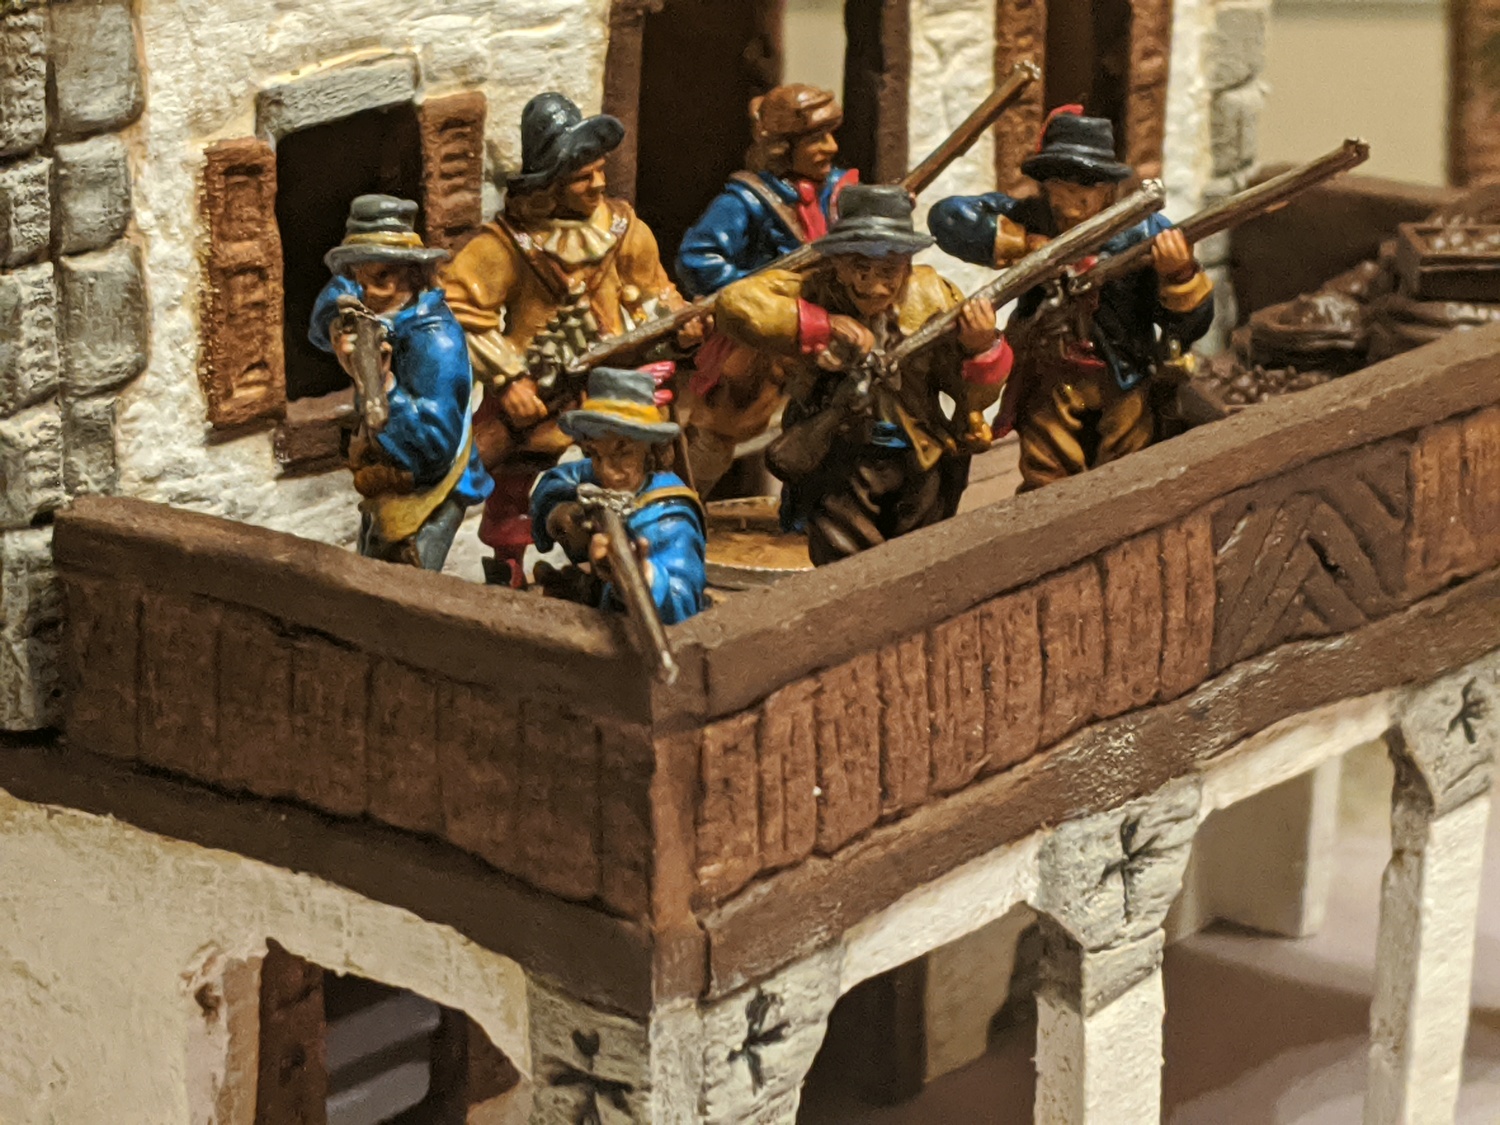
The creeping kapers of the Great Kaper CaperThe game ended in a cruel mirror of the evening’s first battle. The Kapers took up position on the balcony of the mansion while the Soldaten continued driving the Milice ahead of them. With 3 Strike Points on the French, and only a few Dutch casualties, the French army failed a Strike Test and bottled at the end of Turn 4.
A seagull’s eye view of the actionSo, how does the A.I stack up against a real, flesh & blood foe? Barring the “hot” dice rolls, it actually does very well. This is not the first game that I’ve played against the A.I, and it won’t be the last. I will say that the A.I does much better when playing the role of Defender in any scenario. My experience in the first game colored my approach to the second – I advanced more aggressively and held my fire until it would be most effective.
In the past “Seize the Field” games, the A.I advanced to the objectives and then dug their heels in. The A.I chart really prioritizes the 12″-20″ range. In this game, the 20″ range meant that the A.I started shooting far earlier than I would have as a player. Even the ‘newbie’ realized that any shot in B&P over 12″ is usually only “worth it” if you can reload in the same turn.
You can almost bait the A.I into unloading their muskets at extreme range. This is what makes the A.I a better Defender, where you must press into effective range and invite the A.I to take better shots. The A.I might even to fix bayonets and counter-charge you.
“Shut up, Janny”
Obviously, the A.I also benefits a bit from “bending the rules.” If the chart is telling you to do something that you feel is silly or uncharacteristic, you should override it. I only did that once in this game (the A.I would have moved the Enfants into the open courtyard in front of their cover on a 1-action card).
Perhaps, if this whole ‘Coronapocalypse’ doesn’t ease up, I’ll write a follow-up article on how to play solo games, with a particular focus on the kinds of “good practices” for running the A.I.
No solo-rules are perfect. For the ease of use and the quality of play, the solo rules from Firelock are excellent. They’re also a free alternative to bribing your housemate with food and beer to play toy soldiers with you.
Great article. Awesome board and figures. I should try something like this for Test of Honor.
Absolutely! I’m not sure of ToH’s activation system, but the card-based system in B&P really lends itself to a simple conversion to solo play. It’s what makes the game feel so much like playing against a real opponent. I’m not ashamed to say that I’ve lost a few matches to the A.I
Excellent article, thanks for writing it! I’m a newbie to this game but I loved your play by play. I also thought running the same scenario twice, one with the solo play rules and once with a newbie opponent was inspired.
Awesome, I’m always glad to see new people getting into B&P!
Have you checked out the Facebook group HERE?
There’s a lot of good content on there, and loads of help for new players.
I’ll try to do some more beginnner-oriented articles in the future. Maybe some stuff on how I built my terrain?