Basing Artillery in Bolt Action
 By Kreighton Long
What is a Bolt Action army project without some big guns? Even partisans have access to lighter howitzers and anti-tank guns. There’s probably at least one army that can’t take artillery options but I can’t think of one on my own. As fun and good-looking as the big guns can be it can be challenging to paint and base the finicky things. Speaking for myself, I struggled for a while on how best to turn these pieces of pewter, plastic, and resin into gaming pieces that were as aesthetically pleasing on the table as they were influential on the outcome of the game.
As I experimented over the years with different approaches I found a few that I quite liked.
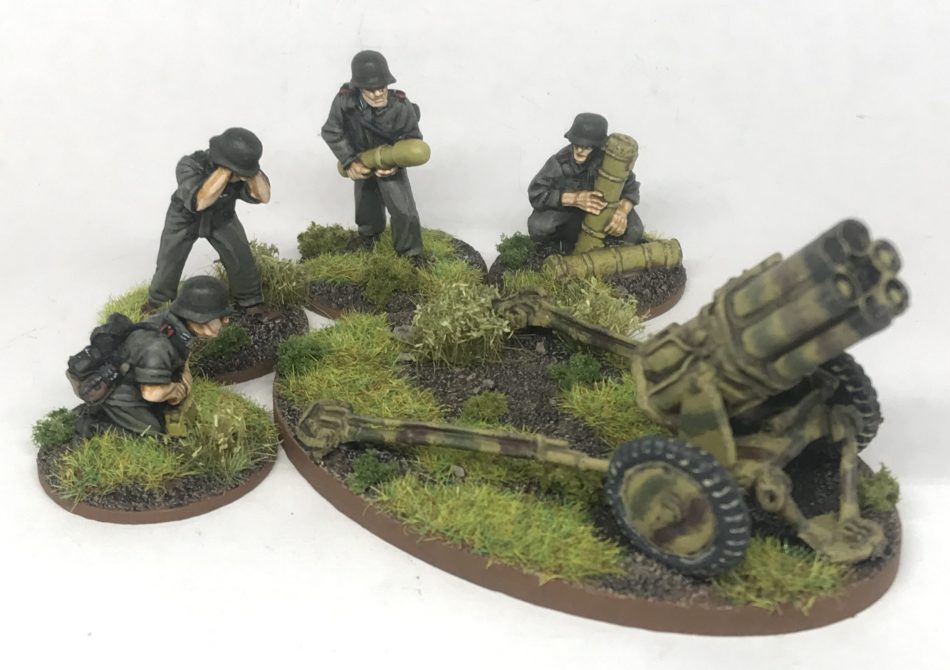
One way is to assemble the gun and crew on separate bases. This approach allows each piece of the set to be painted to the best of one’s abilities and allows crew models to be removed as the unit takes casualties. Unfortunately, basing everything separately can make the unit look less-than-unit-like when deployed on the table and adds a few more pieces to transport and keep track of.
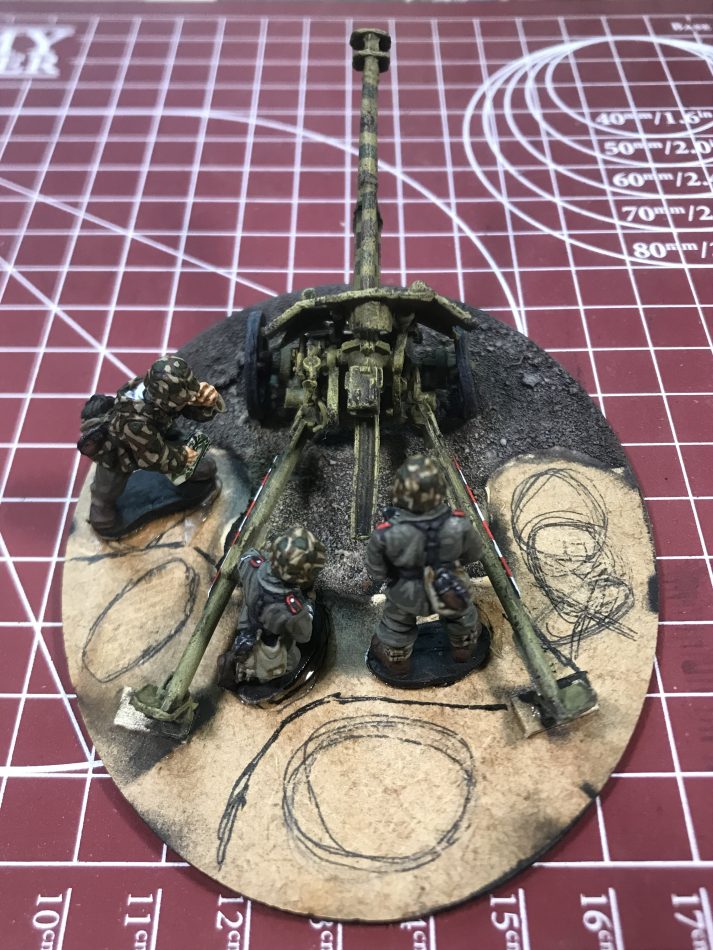
A second way is to base a portion of the crew with the gun and the remainder of the crew separately. This has the advantage of better aesthetics on the table, fewer pieces to move and track, and allows some models to be removed as casualties when necessary. The disadvantage is that you can still find a few nooks that your brush can’t quite reach plus keeping track of rogue crew members. A third way is to base the gun and crew together on one base.

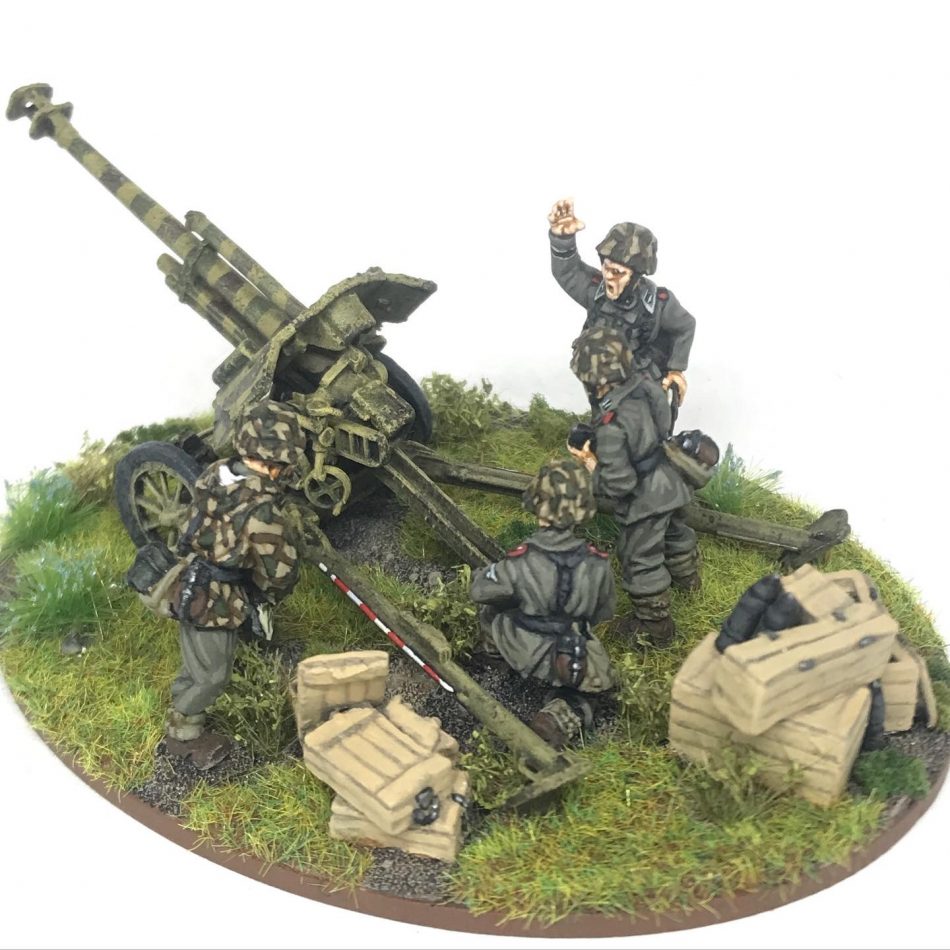
The advantage of one base is that the piece looks organic on the table and transports well with just one piece to pack and move. The disadvantage is that as the unit takes casualties the losses must be marked in some way on the table which can create detract from the look of the gaming table.
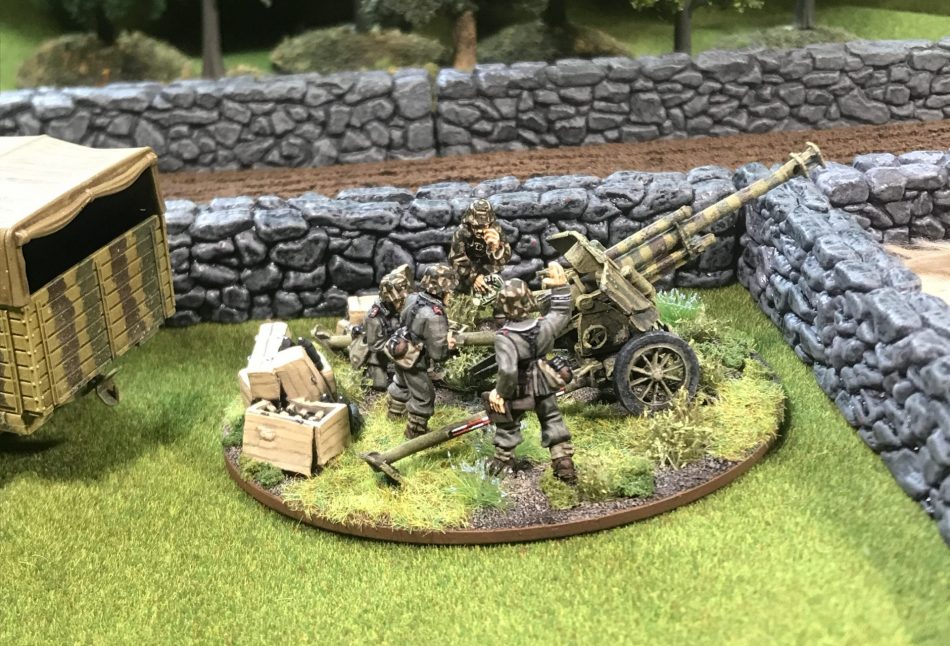
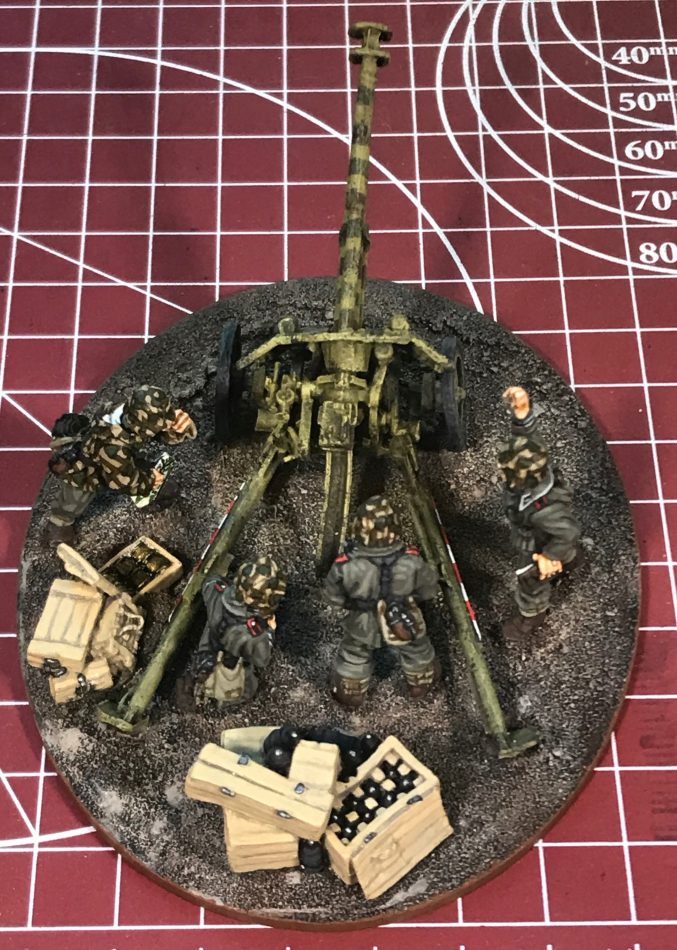
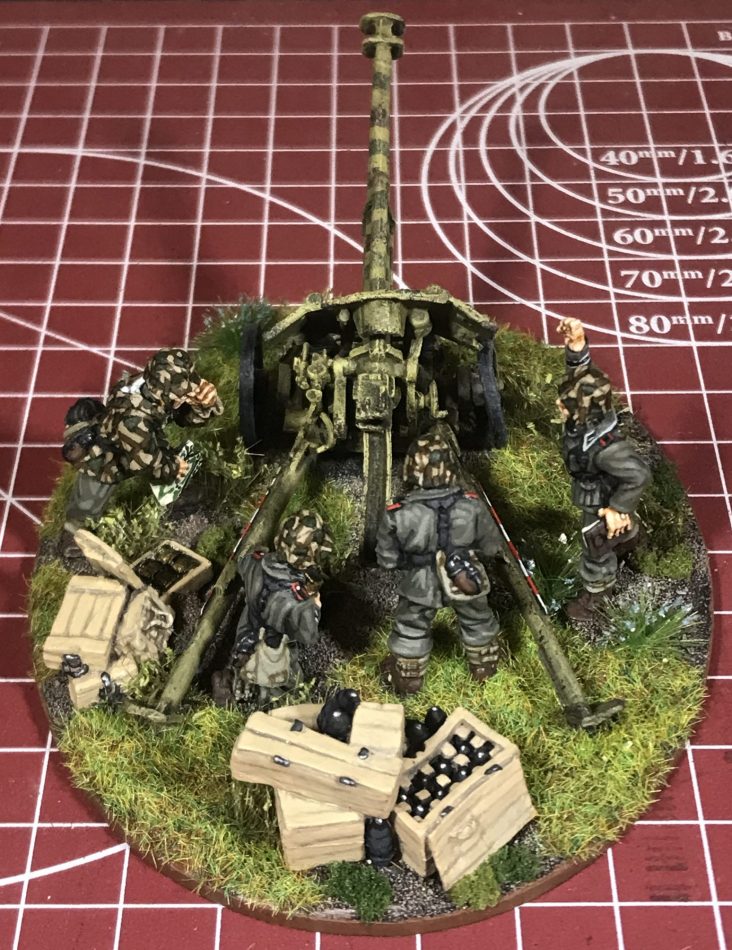
As I’ve gone through the various iterations I’ve come to accept each has its uses and I’ve incorporated all three into various guns of various armies. The most common one however is option three — with everything placed on a single base. I have found that basing the gun and crew on one larger base works wonders for the look of the piece and the gaming table but the actual process of putting them all together and keeping the work clean requires patience, patience, patience.
After all, who among us hasn’t said a few choice words to their own clumsy hand after accidentally placing some basing putty, glue, or paint on a miniature you’ve spent too long getting just the way you want it?
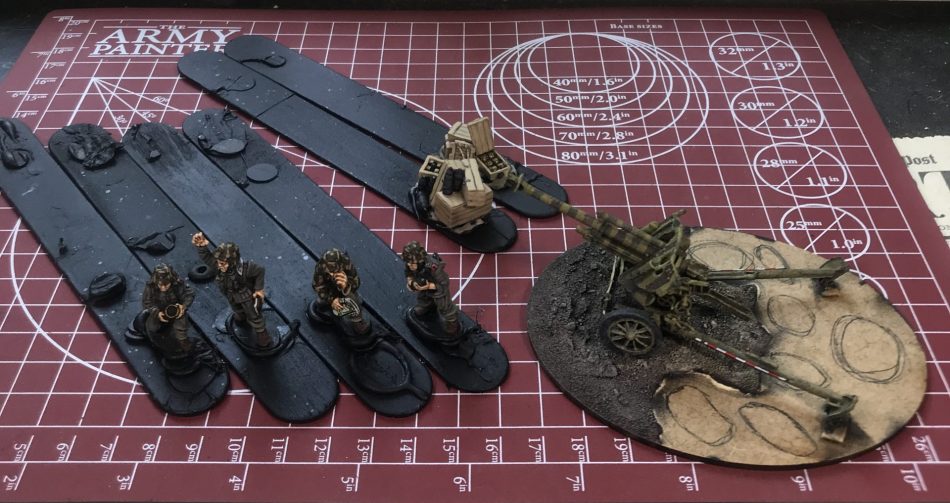
The process I’ve come to use is an effective, albeit time-consuming, way of basing my gun and crew on a single base. Fortunately for me, I have plenty of projects to work on while waiting for putty, paint, and glue to dry.


Happy painting!
Beautiful looking guns !
What’s the brand of the flock you used ? Thank you
Thank you! I’m currently using War World spring grass for my flock.