Painting World War Two Italians

By Kreighton Long

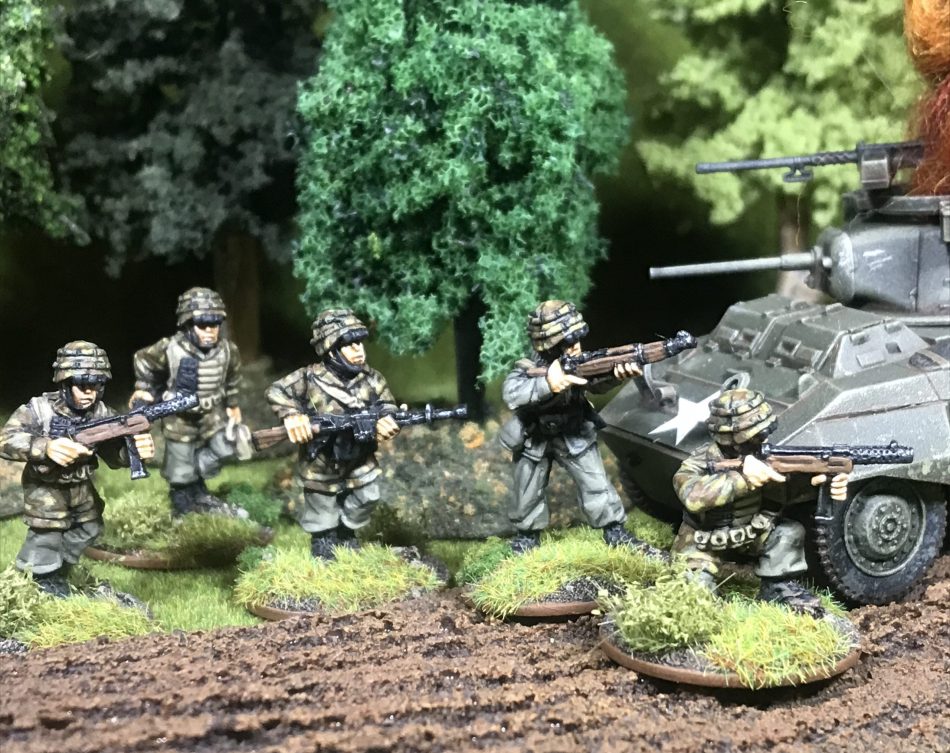
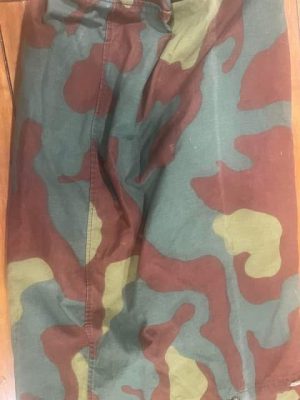
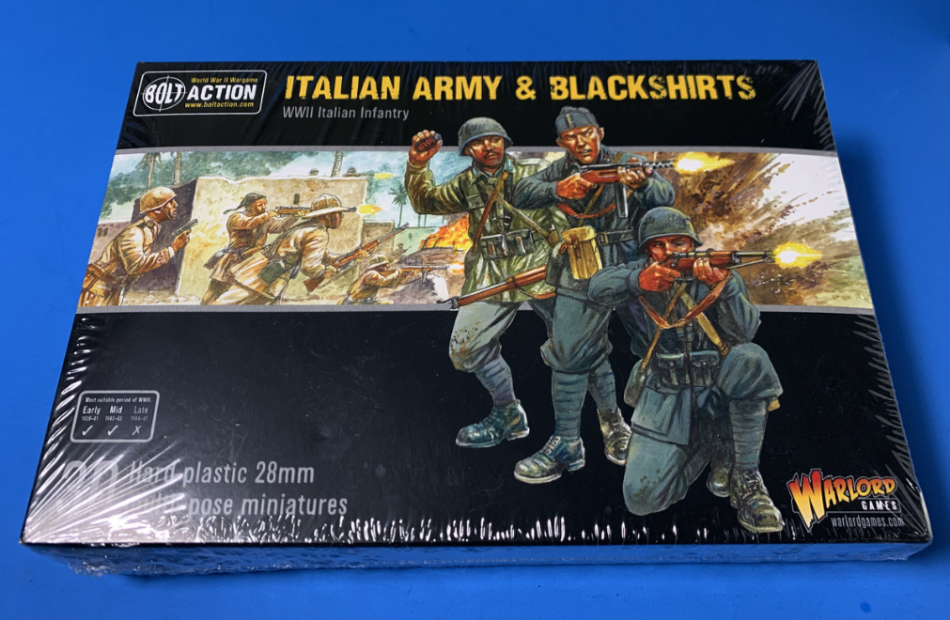
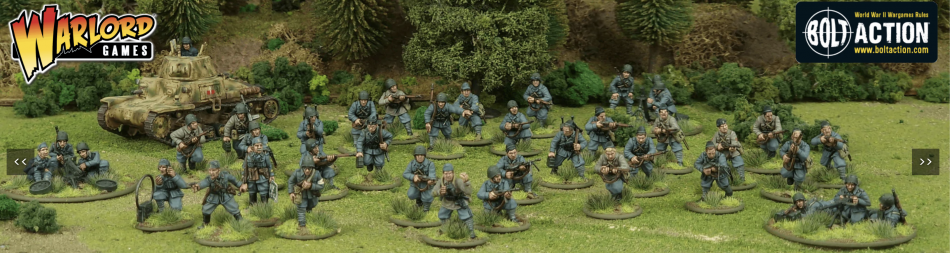
When it came time to purchase my Italians I decided to go with Warlord Games. Their plastics have been excellent over the last several years and I figured why not give these a go. I can honestly say I wasn’t disappointed. The kits are easy to assemble with enough variety to have minimal duplications in your platoon. The sculpts are clean with good lines and deep contours that make highlighting that much easier when painting. I picked up one box of plastic infantry and the support teams box to get the meatball rolling. When I get to it I’ll add some vehicles and heavier support to really flush out my Italians into a force ready to take to the table. But first, we need to put paint to plastic.

Starting an Italian Army for Bolt Action

By Kreighton Long

With my Bolt Action Romanian army built and bloodied on the table, it’s time, once again, to look forward to a new project. Scrolling through my mental list of armies I aspire to paint and field I felt temporarily at a loss. While discussing my dilemma with a friend over a mid-war game of Bolt Action, he suggested I try something in the early-war period, so as to pair against his own early-war armies.

The suggestion was well received and we spent a good portion of the remainder of the game discussing my options. A combination of desiring to get the most mileage out of my next project and to build a less common army brought me to the stoop of the Italian Army.

The recent releases of Warlord’s Bolt Action: Campaign Italy: Soft Underbelly and plastic Italian Army opened the door and ushered me inside. As all my terrain is themed around European battlefields I decided to focus my research on the Italian participation in European campaigns and battles. Some quick online research into the campaigns fought by the Italian Army in Europe gave me some quality gaming options to consider including campaigns in Southern France, Greece, and Russia.
Miniature Wargaming Wedding Cake

By Tom Mullane

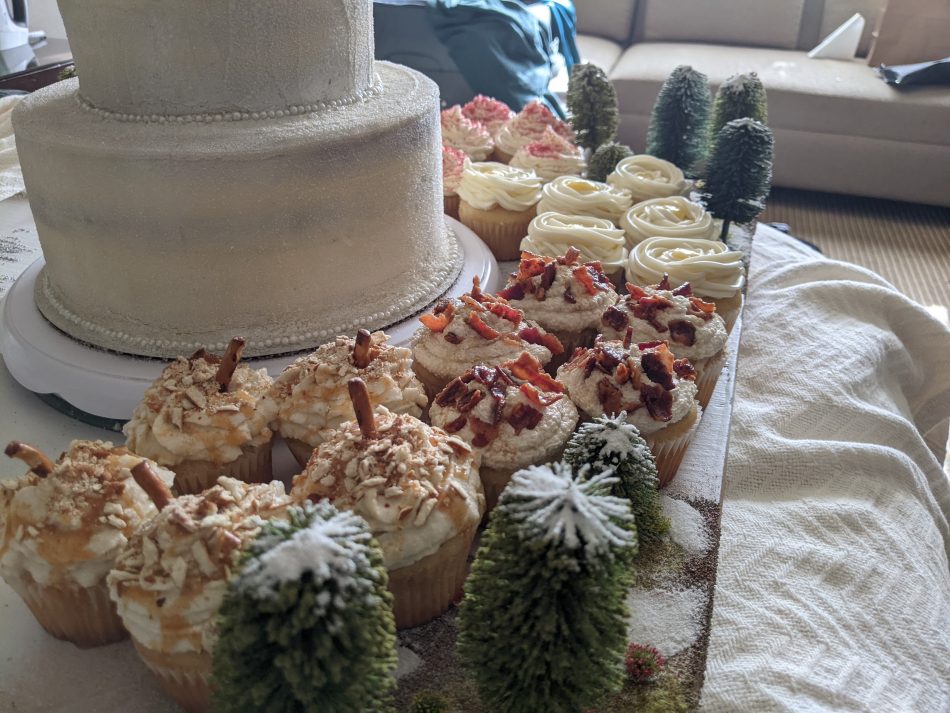
This winter, my sister got married in a small ceremony in NJ. I served as the minister, and it will have been the 8th wedding I have performed since being ordained in the Ministry of Life Church (certificates available online for 35$— includes parking pass) Every great wedding party needs a wedding cake, even small receptions for family and close friends like the one my sister and my new brother had planned. In an effort to make use of my wargaming skills in a non-wargaming capacity, I decided to make a winter-themed diorama for the cake and desserts my wife Angela was going to make.

Team Yankee COLD WAR Warriors Revisited Part 2 the T-62, T-62M and the T-72M

By Howard West

Background

My previous article Team Yankee COLD WAR Warrior Revisited the T-55 Tank focused on a Team Yankee player adding a 24-27 point 2nd or allied T-55 tank formation to an existing army list. With the “official” Team Yankee points reduced for this year’s US National events and with the changing META caused by the new NATO books as described in Tom Gall’s recent No Dice No Glory article on chasing the Team Yankee Meta. 

Also, several of our upcoming local Team Yankee tournaments that I will be playing in have the following point levels: 110, 94, and 70. I thought this provided a good basis for a series of list-building discussions for Team Yankee on No Dice No Glory.

Team Yankee COLD WAR Warrior Revisited the T-55 Tank

By Howard West

Background

With the “official” Team Yankee points reduced for this year’s US National events and with the changing META caused by the new NATO books as described in Tom Gall’s recent No Dice No Glory article on chasing the And since several other upcoming local tournaments have reduced point levels, in the following order 110, 94, and 70.

I wanted to see what a 2nd Warsaw Pact formation might look like and I started playing around with different formations and kept coming back to an old reliable T55/T54 Tank family. Team Yankee represents the T55/54 Family in 20 different tank and motorized infantry formations in 5 different books from the Soviets, East Germans, Czechs, Poles, Oil Wars(Syrians and Iraqis).

App Review: Model Colors

By Richard Steer

Many wargamers that I know keep a recipe book, a notebook that is used to record which paints have been used for a particular project. This record is invaluable should the project be put on hold for a time, or ends up being extended at a later date due to new releases, as it avoids the question of “what on earth did I paint those with?”

Model Colors is a free iOS application that I have started using in place of my own recipe book. At its core is a paint library holding over 24,000 products from a wide range of manufacturers, which includes other types of products such as inks, pigments, and thinners. It also has a number of features that mean it can serve as more than just a catalog of the paints that you own.

Misadventures with Home-Printed Decals

By Richard Steer

I am in the process of for my Late-War British. The Kangaroos were created in August 1944 by converting 72 Priest self-propelled guns belonging to the 3rd Canadian Division into armored personnel carriers. The converted Priests retained the markings of their original units: the 12th, 13th, and 14th Field Regiments, Royal Canadian Artillery. The are focused on the armoured divisions, with nothing suitable for the artillery units of an infantry division. In order to provide markings for my Kangaroos, I decided to try printing my own using our home inkjet printer.

The specific decals that I wanted were the divisional insignia, the Arm of Service flash for the regiment, and the battery identification markings. I created the images I needed using PowerPoint, while the divisional insignia was downloaded from Wikipedia then scaled to the right size. The big issue was always going to be how to achieve the white lettering in the unit symbols with a printer does not use white ink.

Homemade Dug-In Emplacements

By Kreighton Long

Humans are squishy, fragile creatures who leak profusely when punctured. Knowing this, combatants typically are inclined to hid their more vulnerable bits away from the sharp pieces of metal flying through the air. While the First Industrial Revolution featured columns of well dressed fellas marching towards the sounds of guns and exchanging volleys with equally brave soldiers opposite them, there are instances of trenches and emplacements being used in sieges or to protect less maneuverable artillery pieces on the battlefield.

Moving into the Second Industrial Revolution, the descendants of survivors from the aforementioned battles fully embraced the value of fighting from holes in the ground during World War One. The topic of “digging in” continues to the modern era as any contemporary Soldier or Marine can attest to. On a typical wargaming table, dug in fortifications or emplacements are more of an exception than a rule. Players tend to prefer skirmishes and battles of maneuver rather than a bloody, typically one-sided siege or assault.

Painting Chevrons on WWII US Army Uniforms

By Kreighton Long

It’s not too hard to find decals to add rank patches to your GIs. The Warlord Games set of US Infantry even comes with decals in the box. For those of you who are gluttons for punishment or want the bragging rights of painting tiny lines on your already tiny toy soldiers here are the steps for how I add rank patches to my 29th Infantry Division army.

Painting Rank Symbols on WWII US Army Helmets

By Kreighton Long

[29th Infantry Division: Normandy landing]
Note the horizontal NCO stripe on the helmet of the soldier in the foreground. Photo from https://www.lonesentry.com/gi_stories_booklets/29thinfantry/
When playing Bolt Action I’ve run into the headache of trying to find an NCO who fell to a successful sniper or find an officer to see if he’s close enough to a unit to buff their order check. Taking an extra ten seconds or so to find the right model is a minor inconvenience at worst but there are means of expediting this step while adding fun historically accurate details to your painted toy soldiers.

The American GIs in World War Two painted a white stripe or bar on the back of their helmets so that soldiers they were leading, presumably from the front, could identify their leader and follow them into battle. American Officers donned a vertical bar while Noncommissioned Officers sported a horizontal stripe.

Below are the steps I took to hand-paint my platoon and squad leaders for my Bolt Action 29th Infantry Division army.