Painting Winter Armor
By Kreighton Long
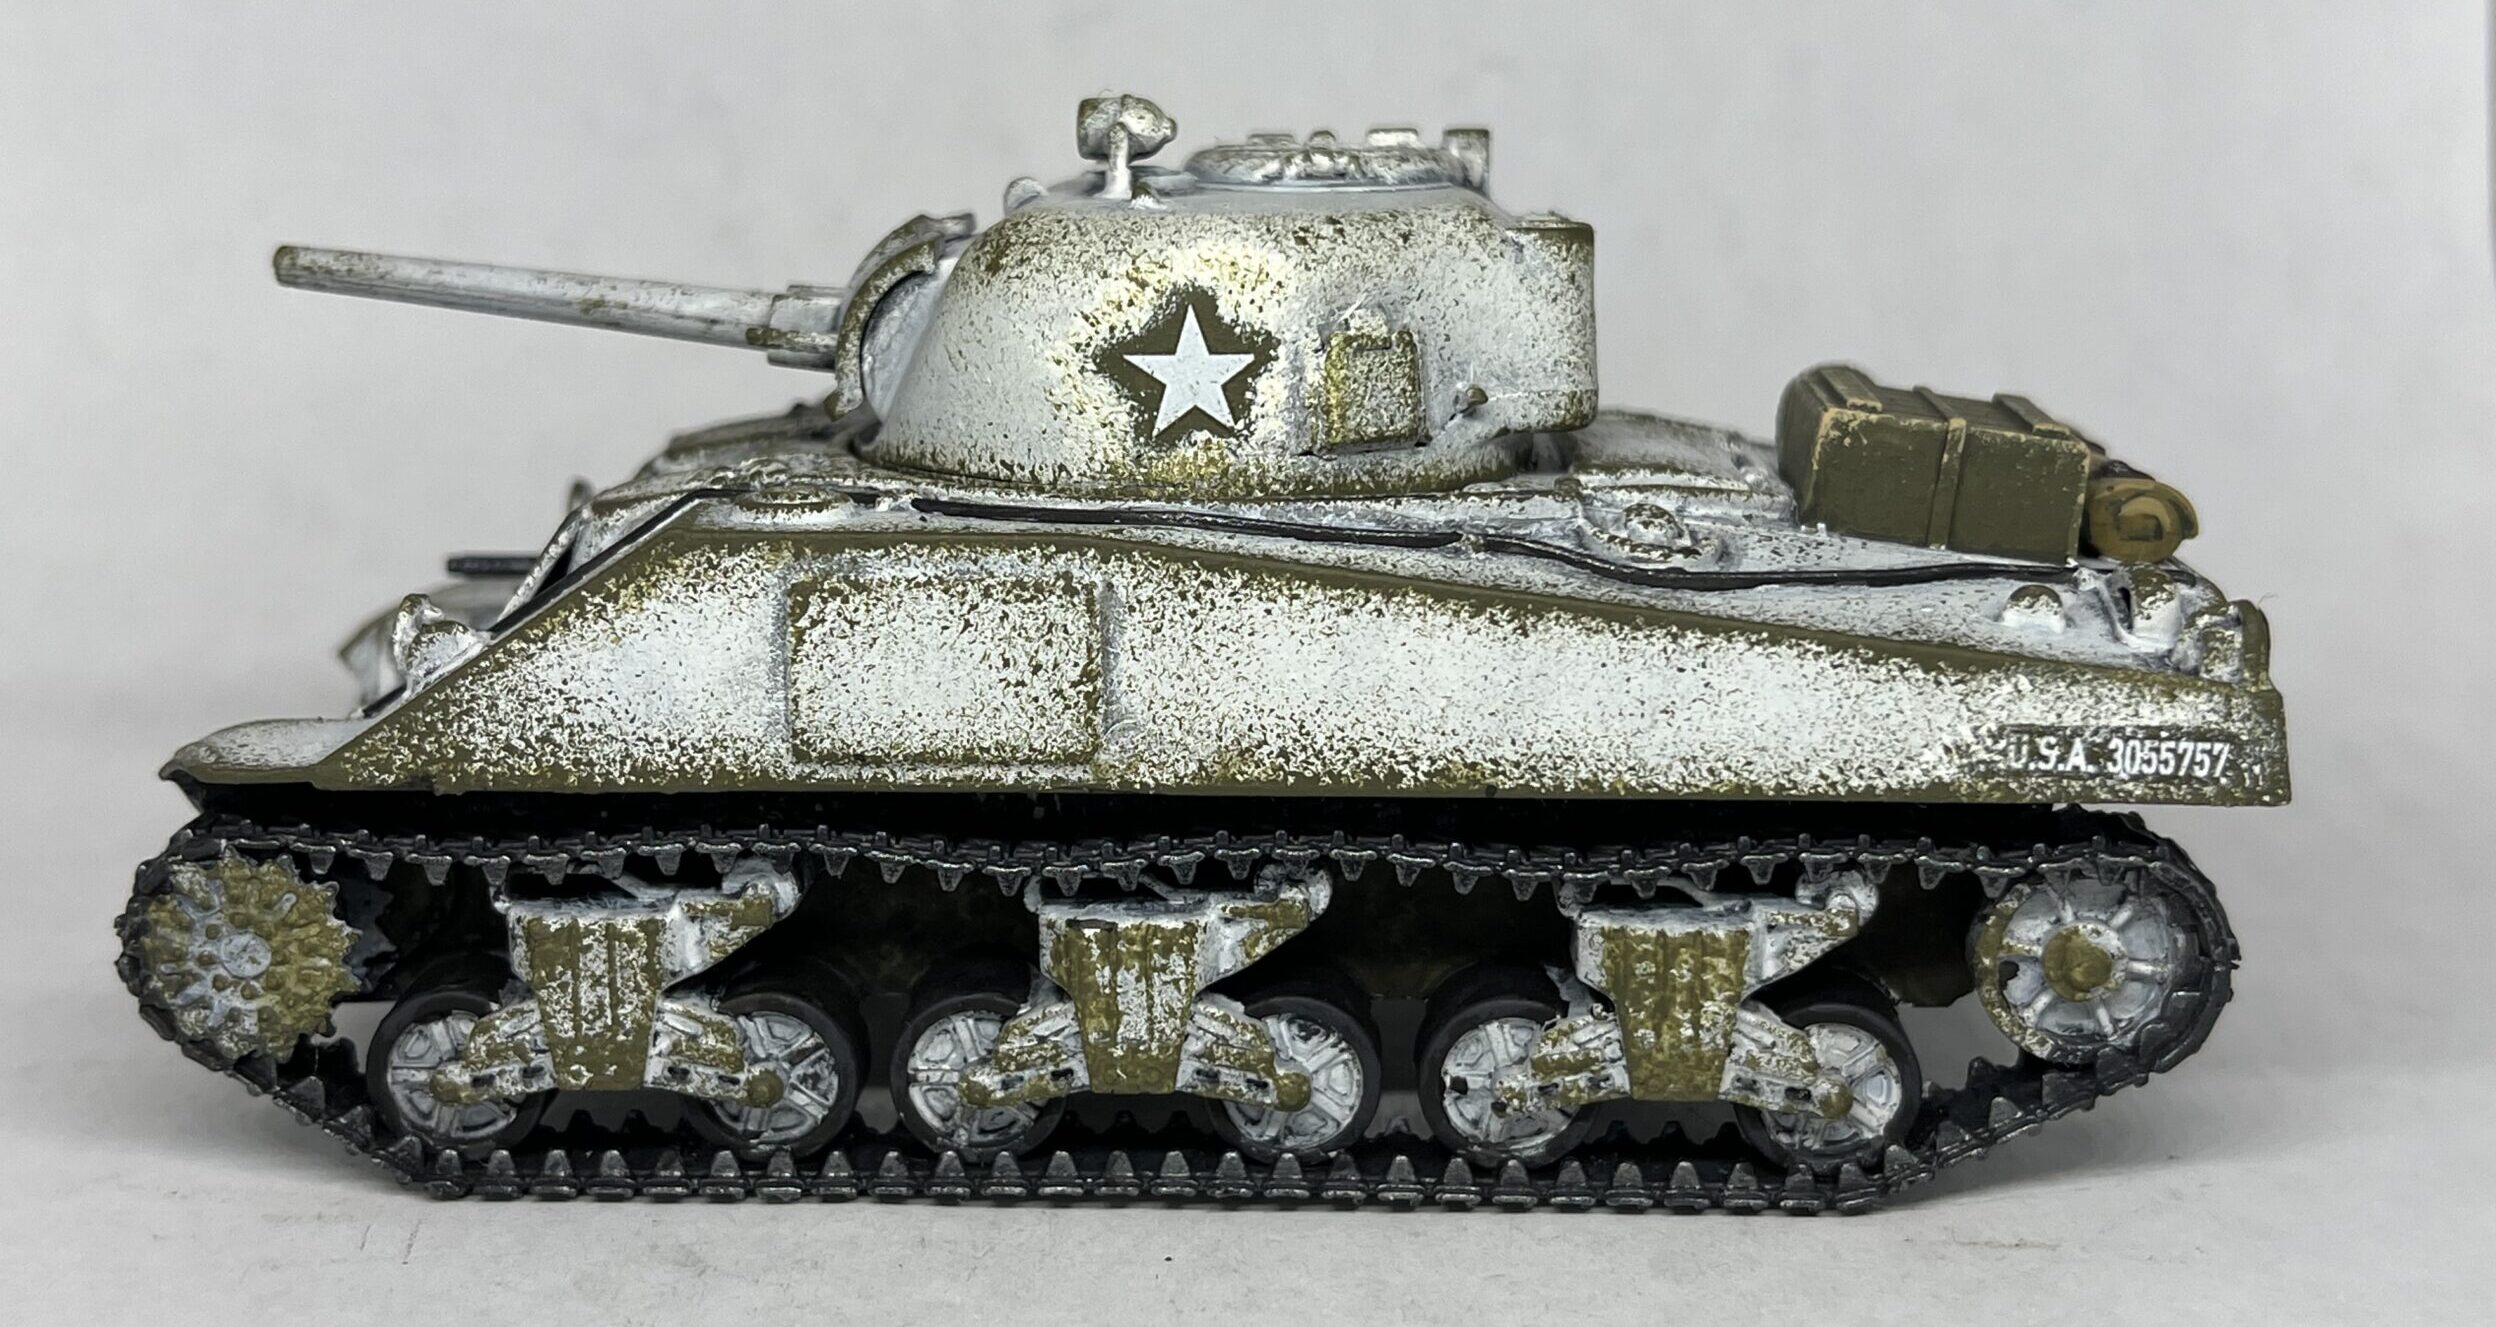
My Bolt Action army project of the year is a winter American army project. While my infantry will advance through the snow on foot, they are in desperate need of armor support. In order to fully commit to the theme I decided to paint the armor support in winter camouflage. The general idea was to paint it white with the green undercoat showing through where the white paint rubbed off.
Perusing Google Images for Sherman tanks during the Battle of the Bulge resulted in a minority of images showing whitewashed American tanks. A few did pop up the longer I spent scrolling. With at least a few examples documented, I decided a precedent existed and committed to painting my armor support for my winter Americans with whitewashed camouflage.
Whitewash camouflage was used by pretty much every tank crew that wanted to better blend in during the snowy months of fighting. Examples of whitewashed tanks from World War Two appear to me more common among German and Soviet forces but it’s not hard to imagine tank crews, of any nationality, wanting to increase their chances of survival.
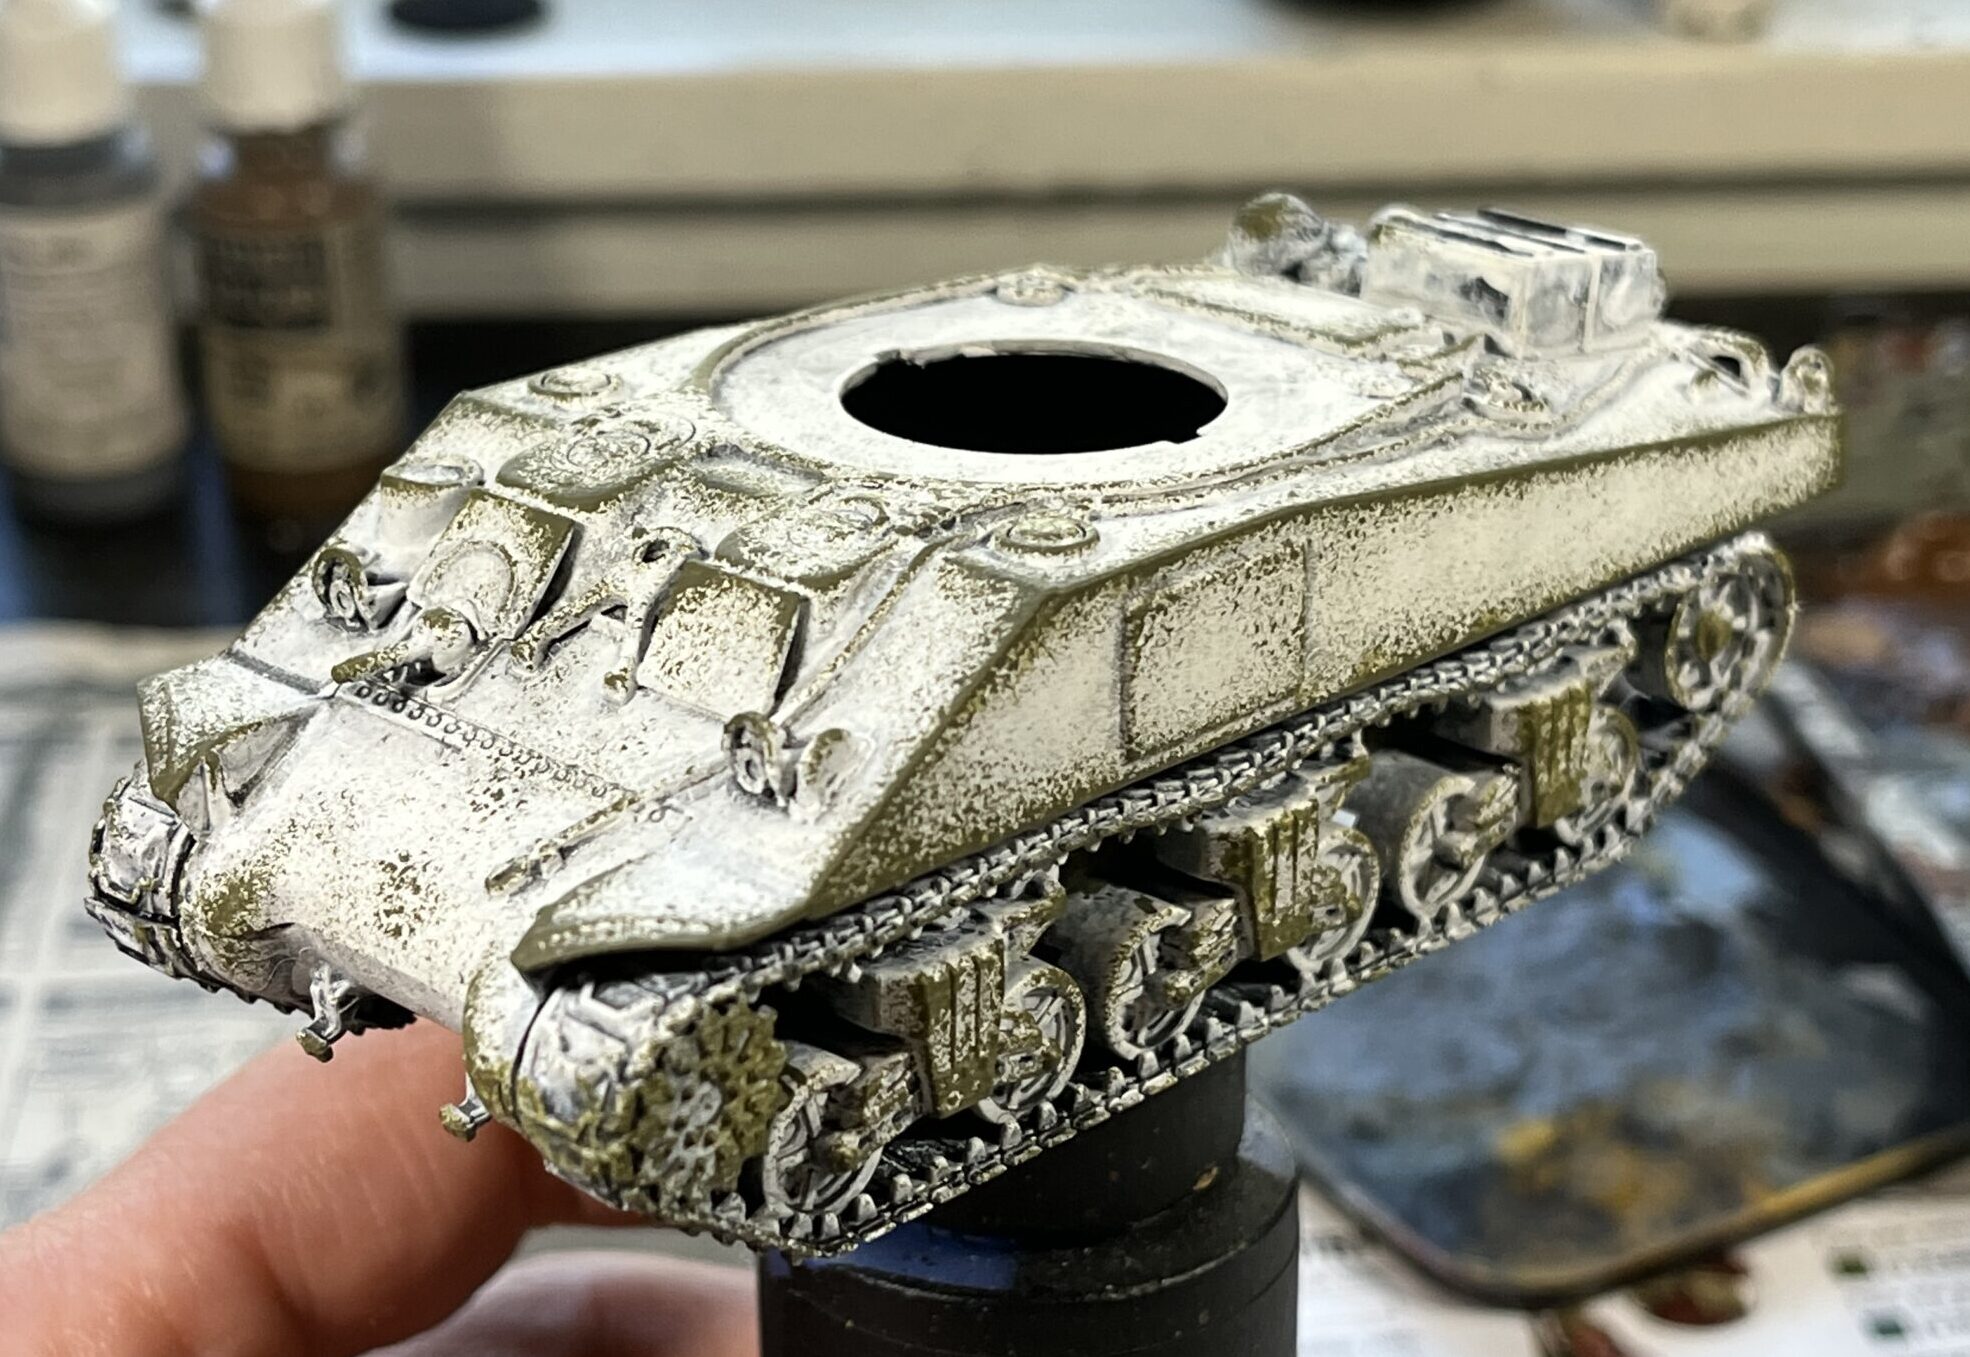
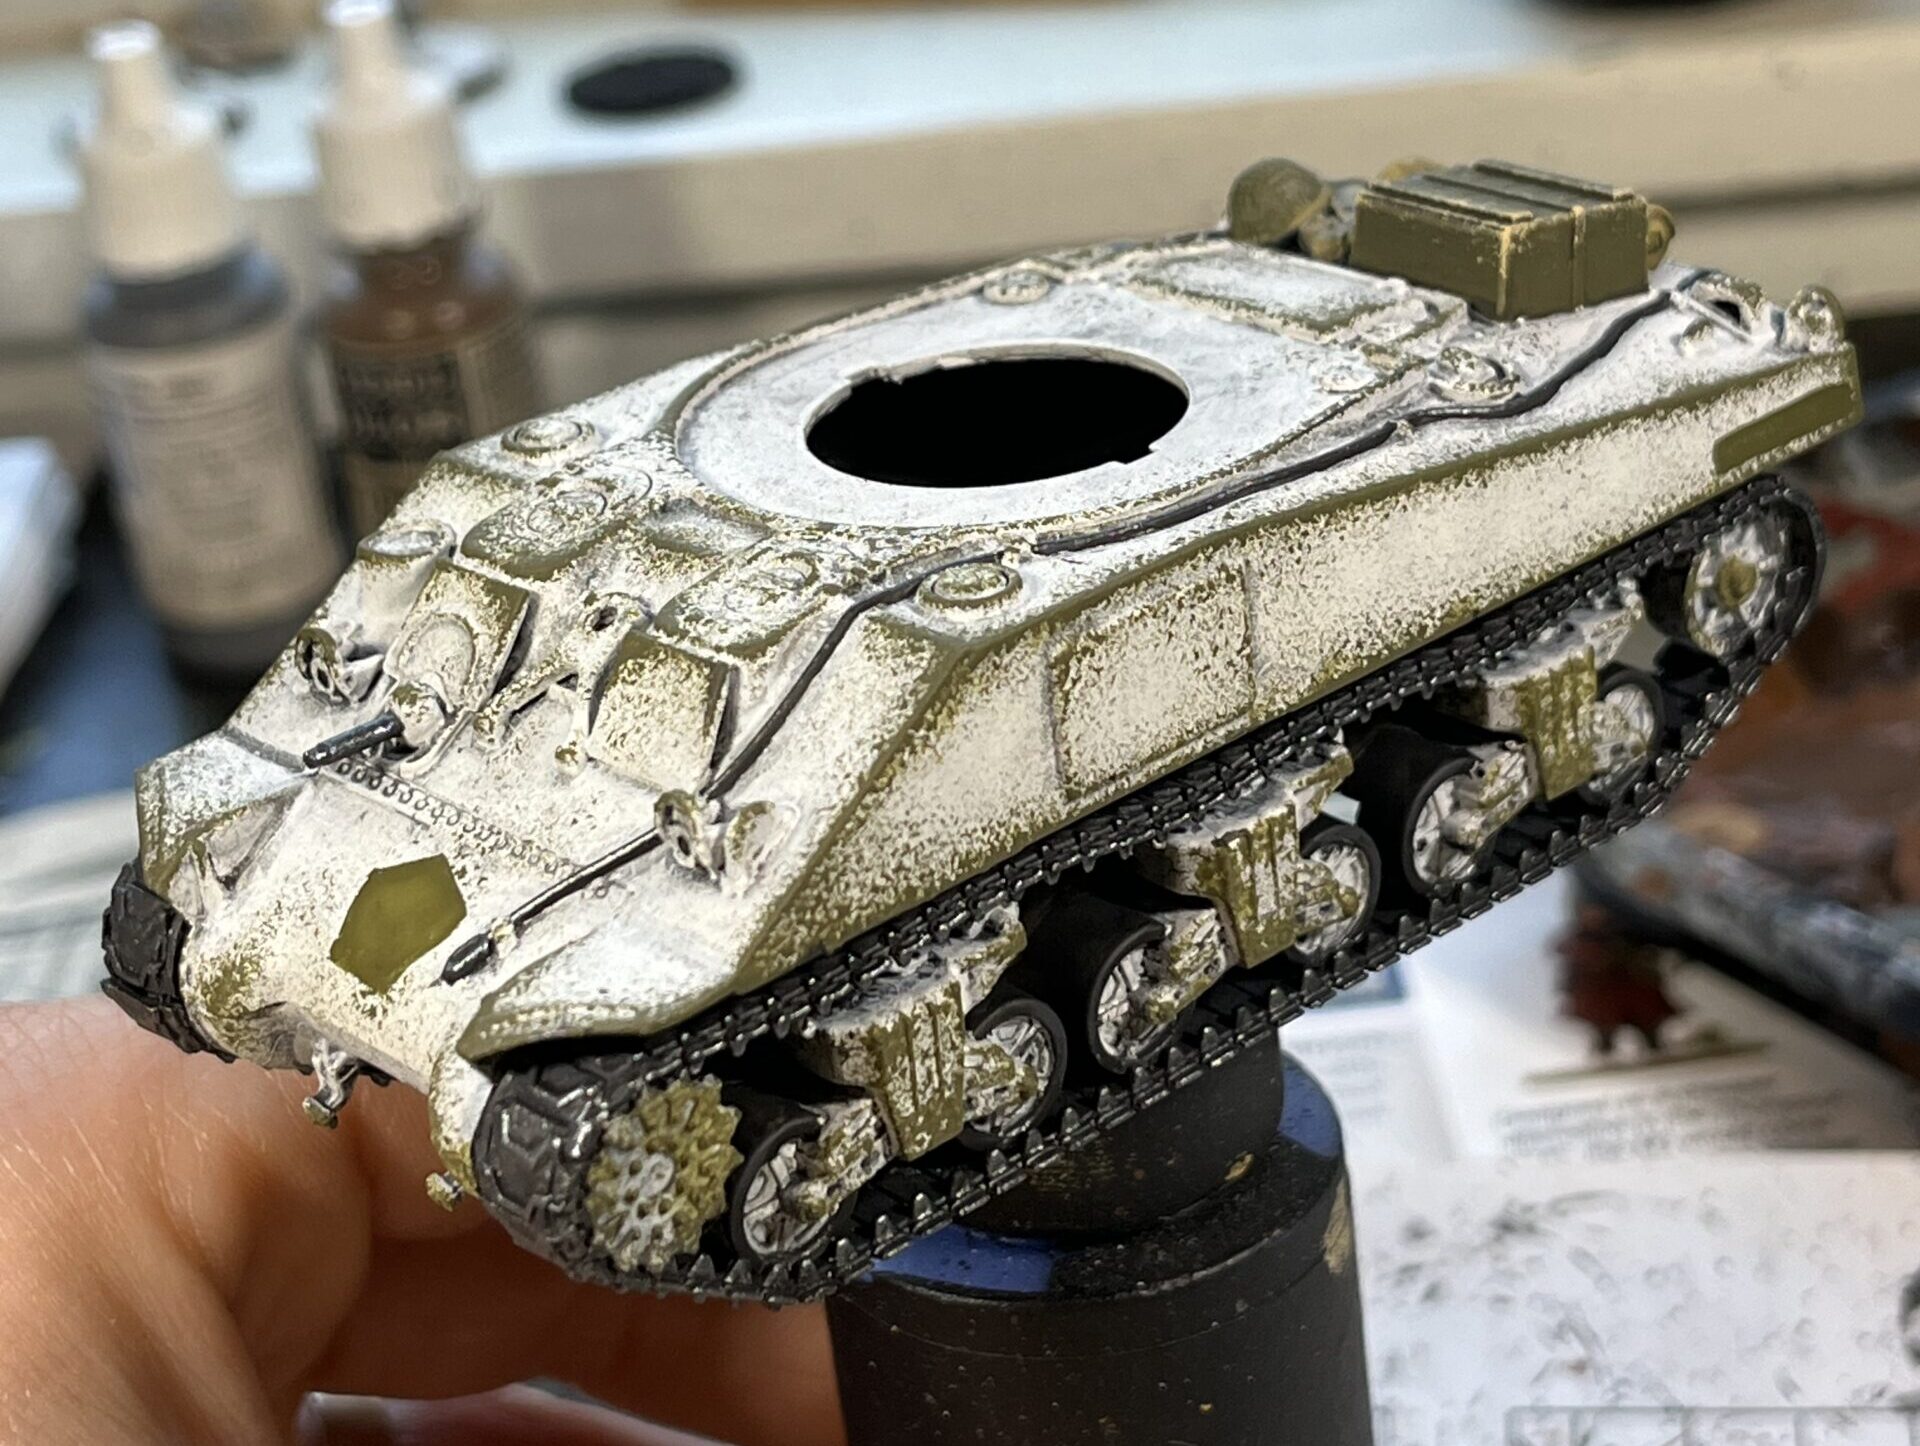
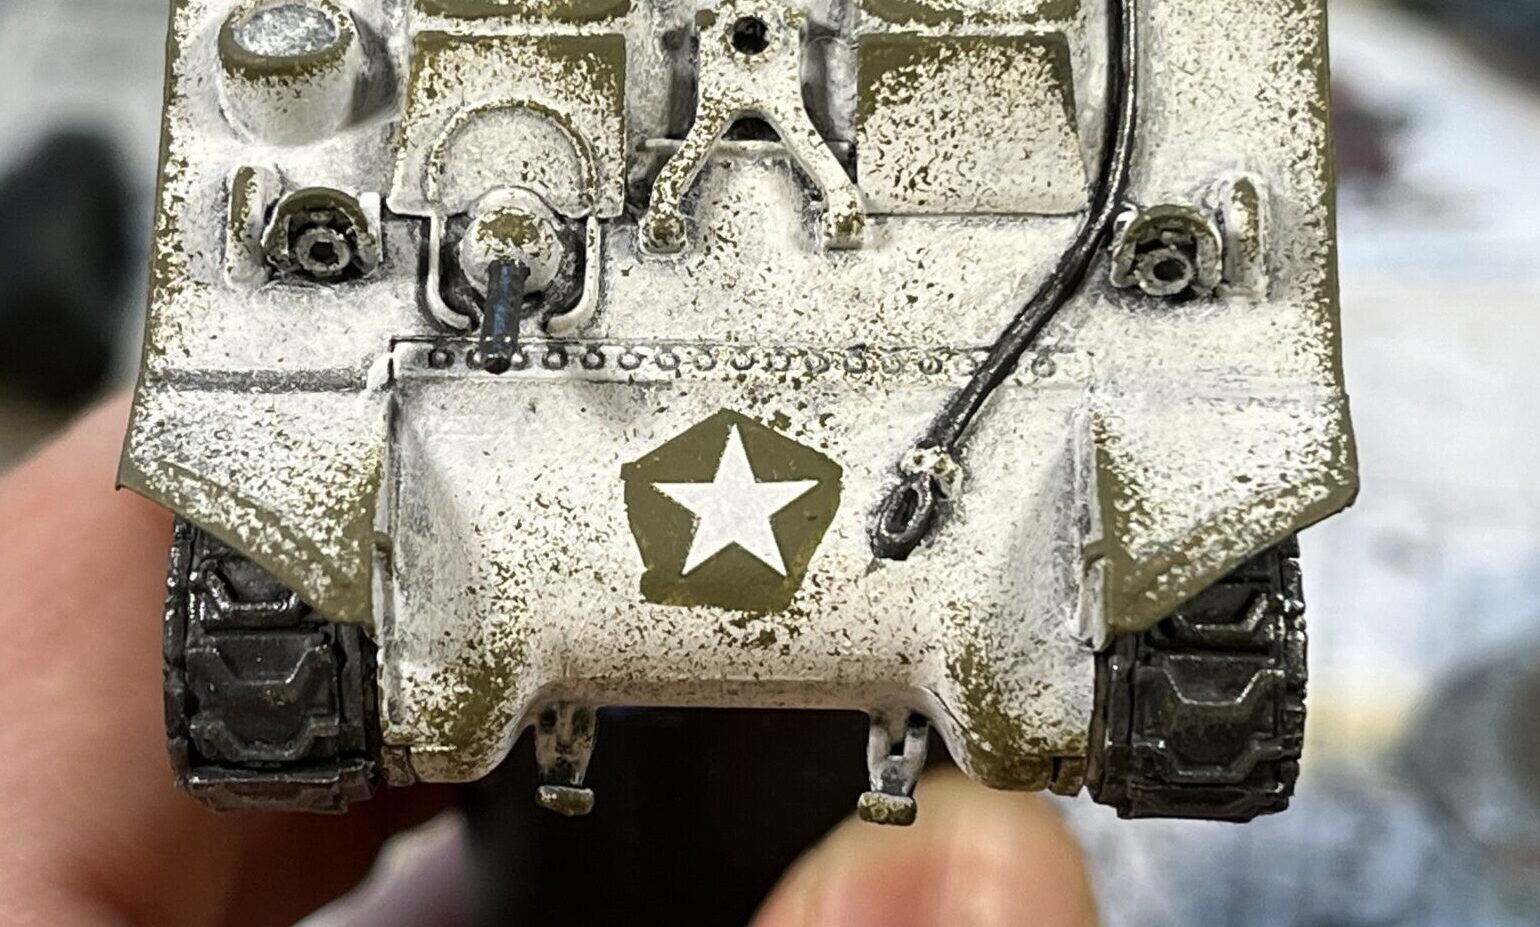
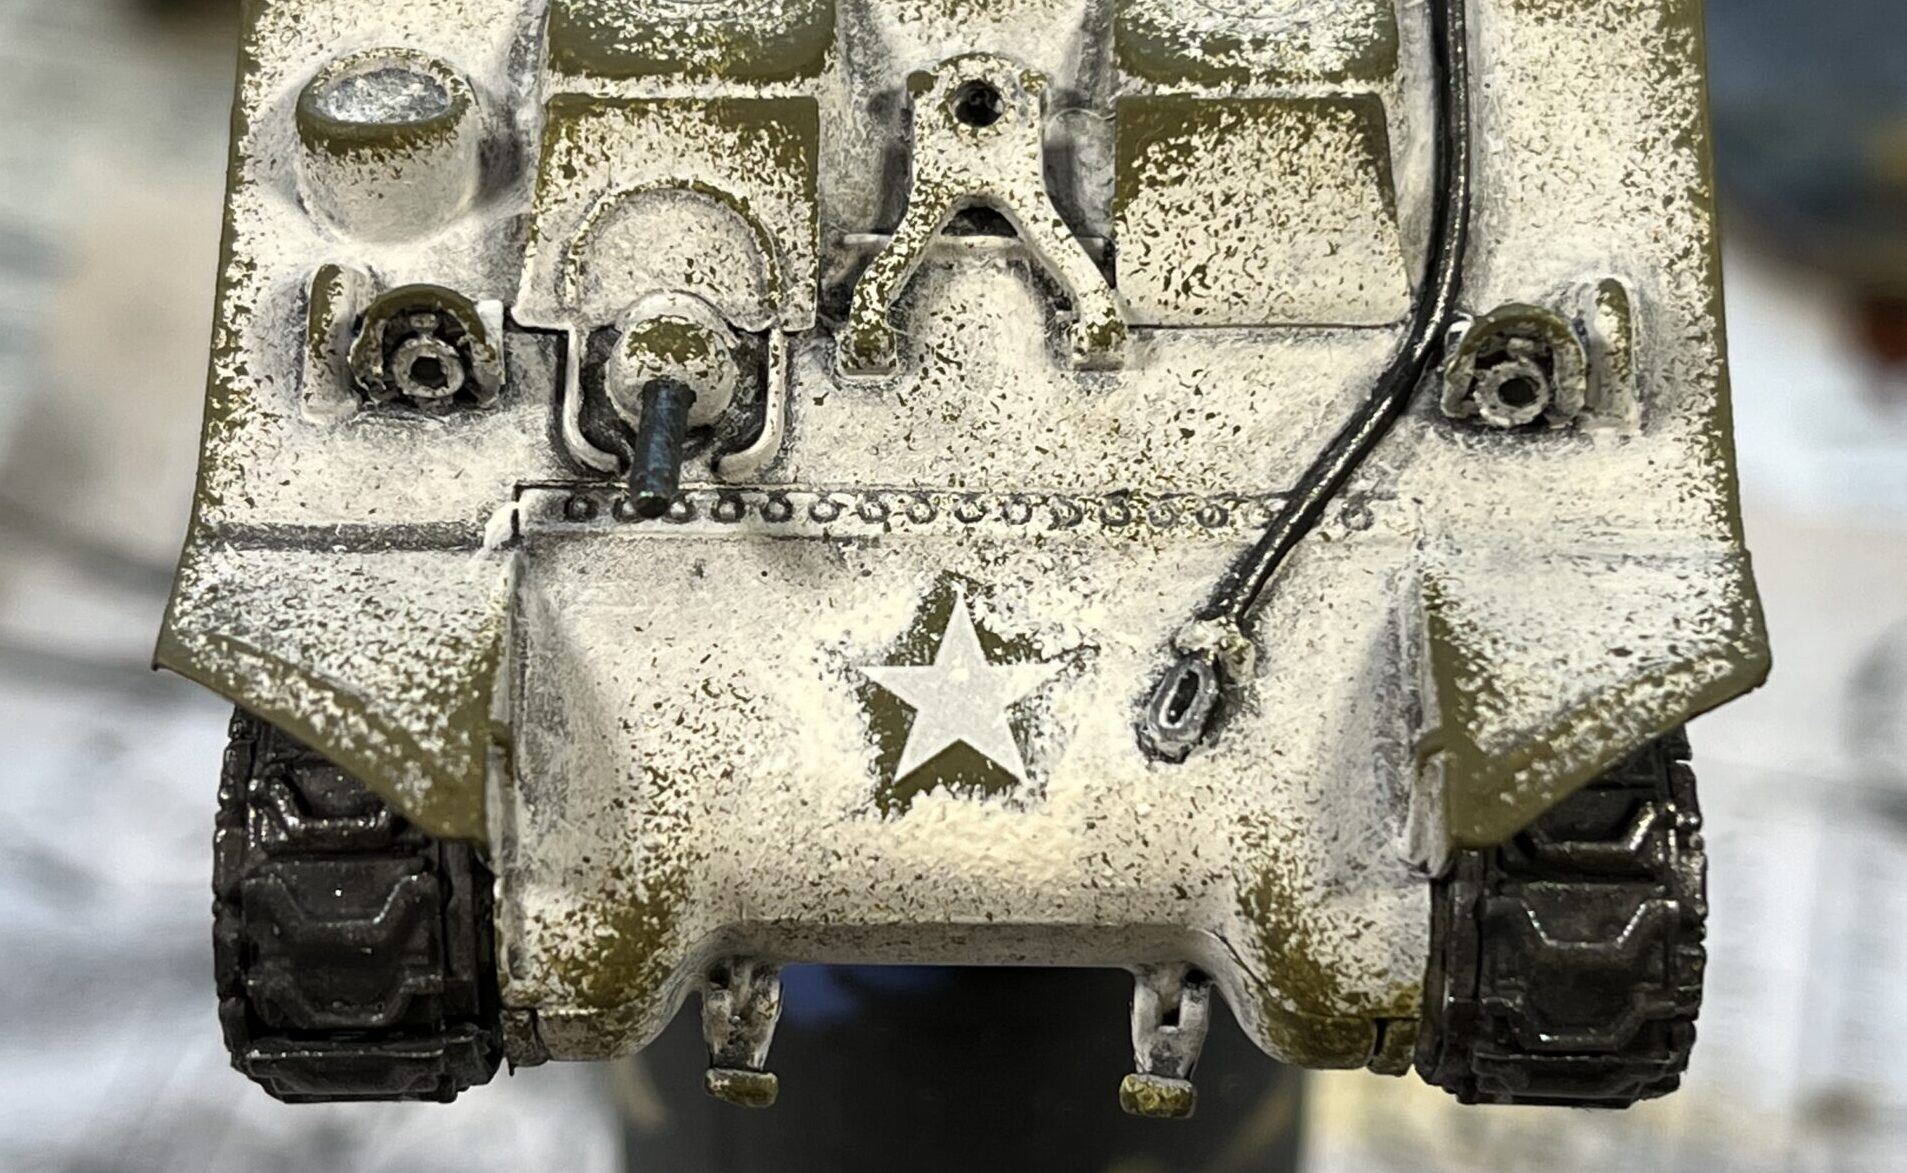
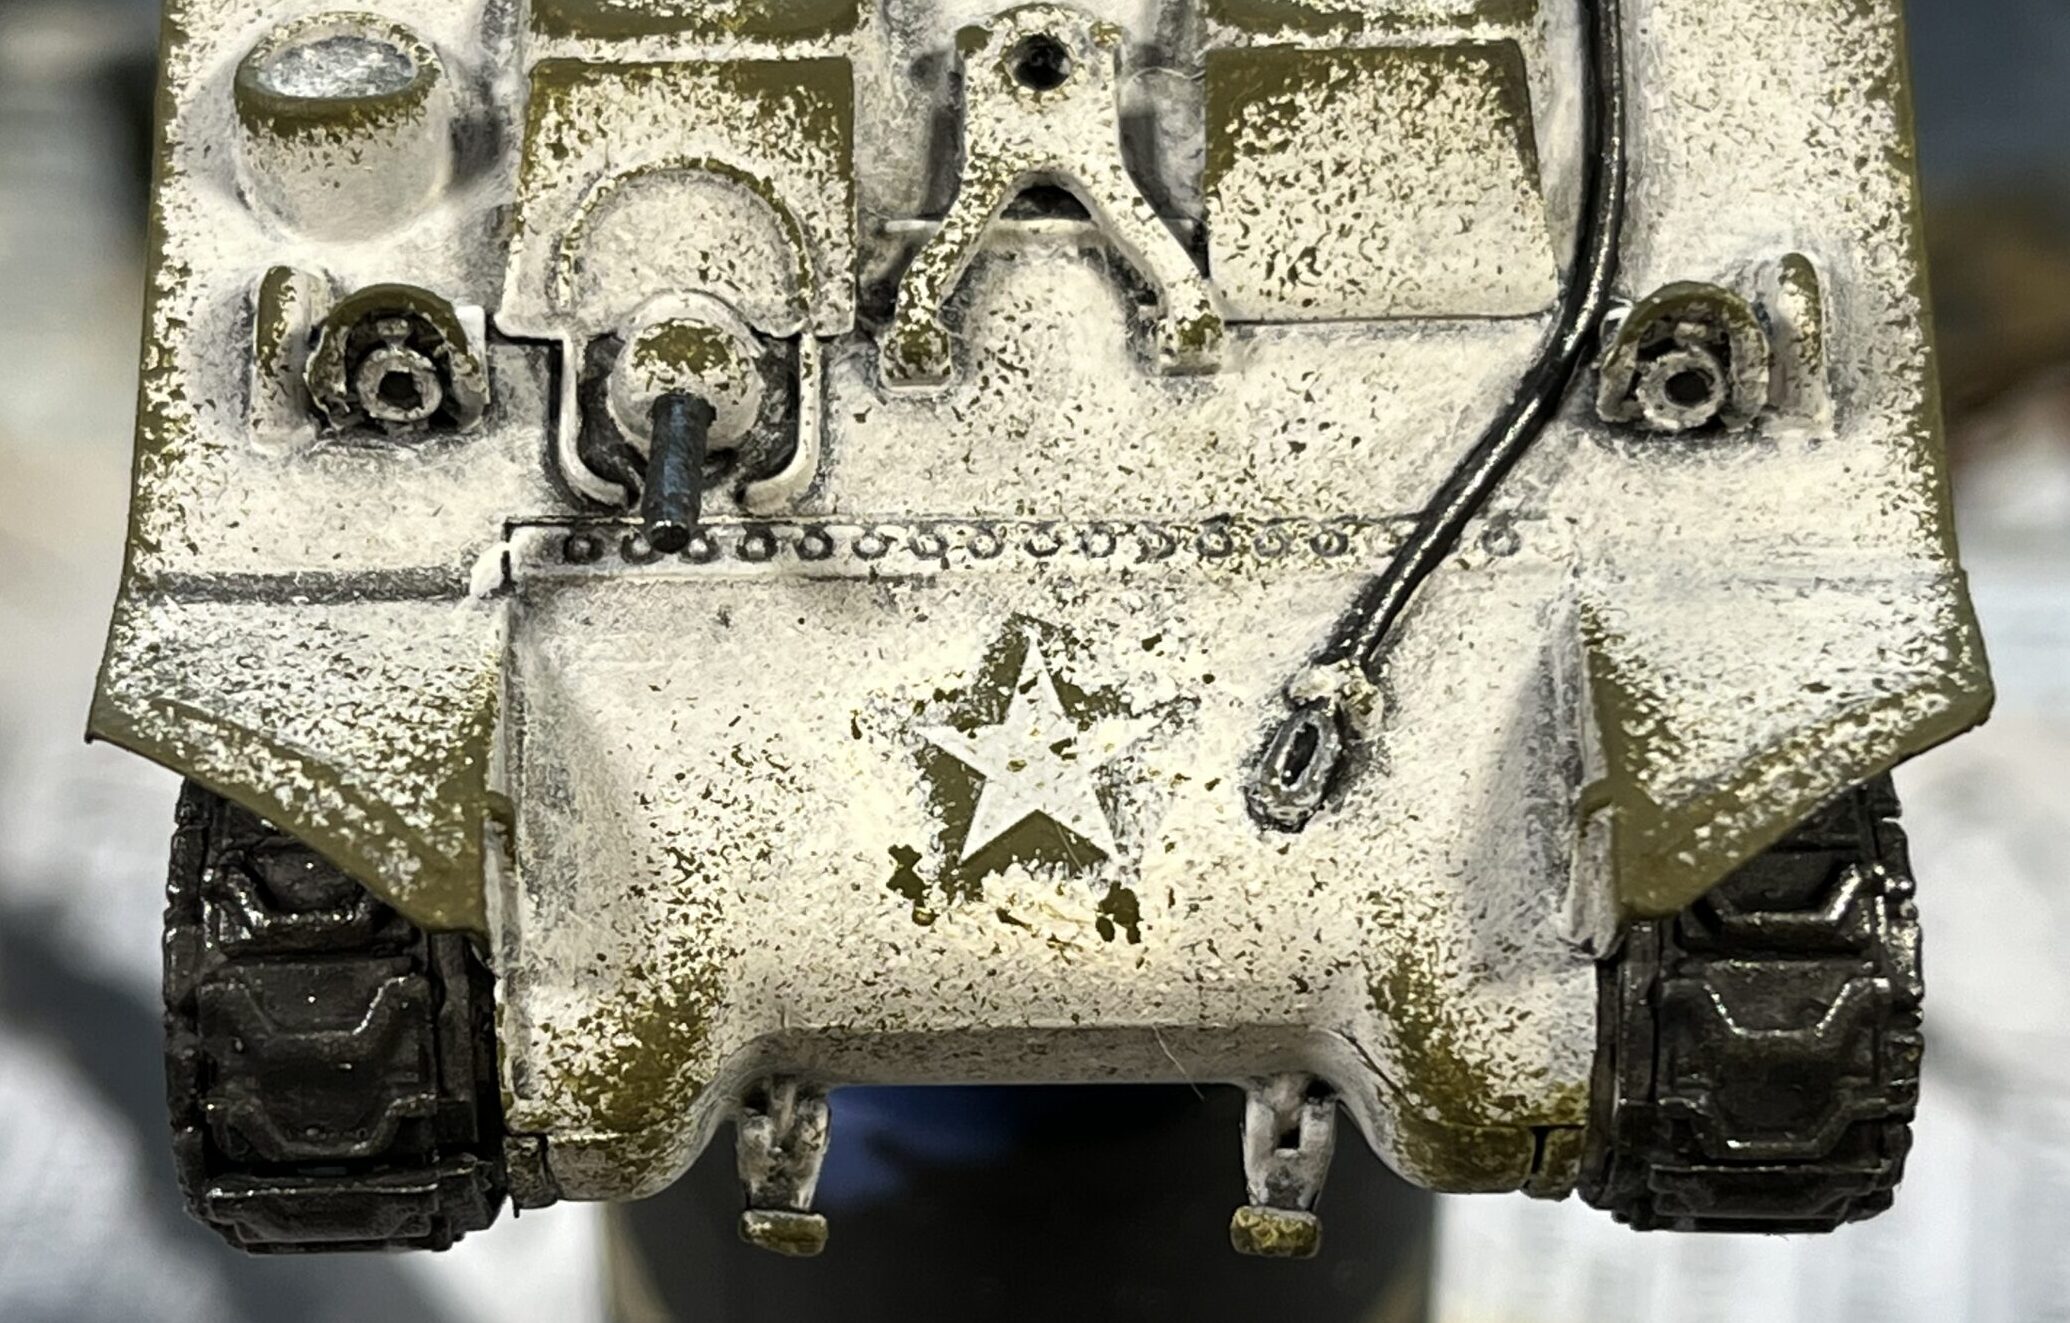
Whitewash was a thin white paste that was applied to the exterior of the tank — often in the field. The paste was designed to be temporary so that it could be cleared off when the environment no longer required it. I for one would not like to be the only white target on a backdrop of brown and green! Therefore, the whitewash easily scrapped off where the crew or environment made contact with it. This created an ideal opportunity for some sponge painting techniques to show where the white wash is coming off the edges of the tank.
See below for my process.
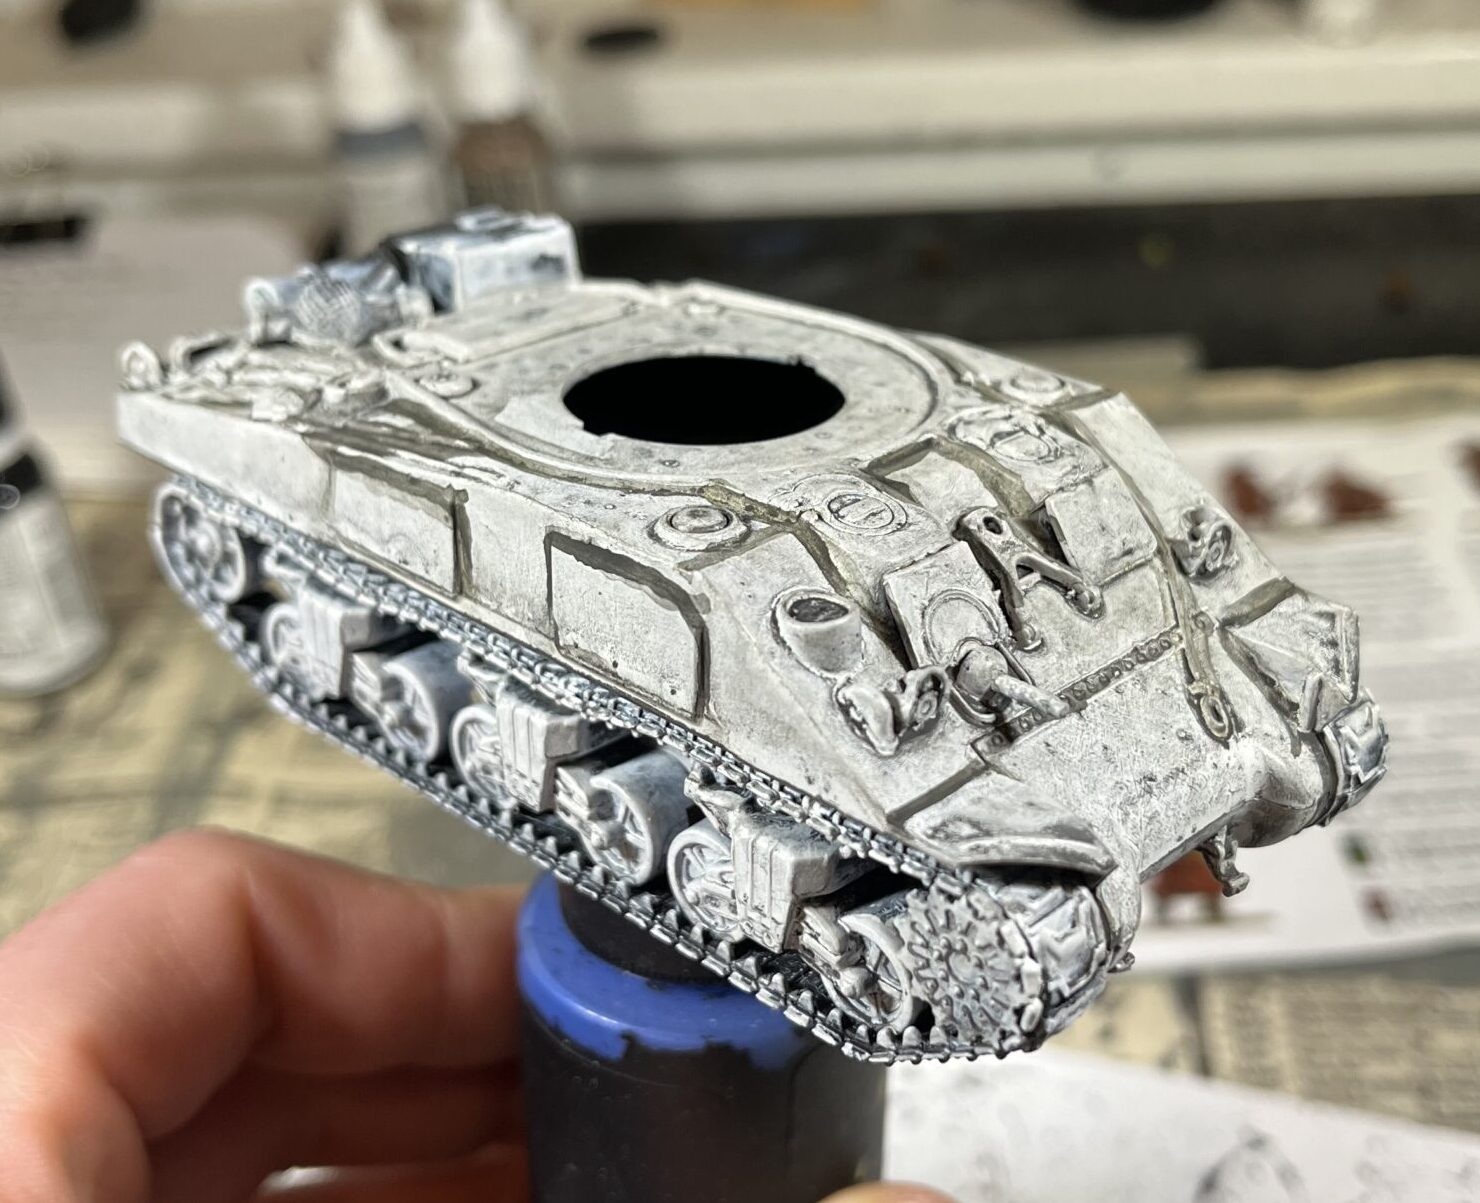
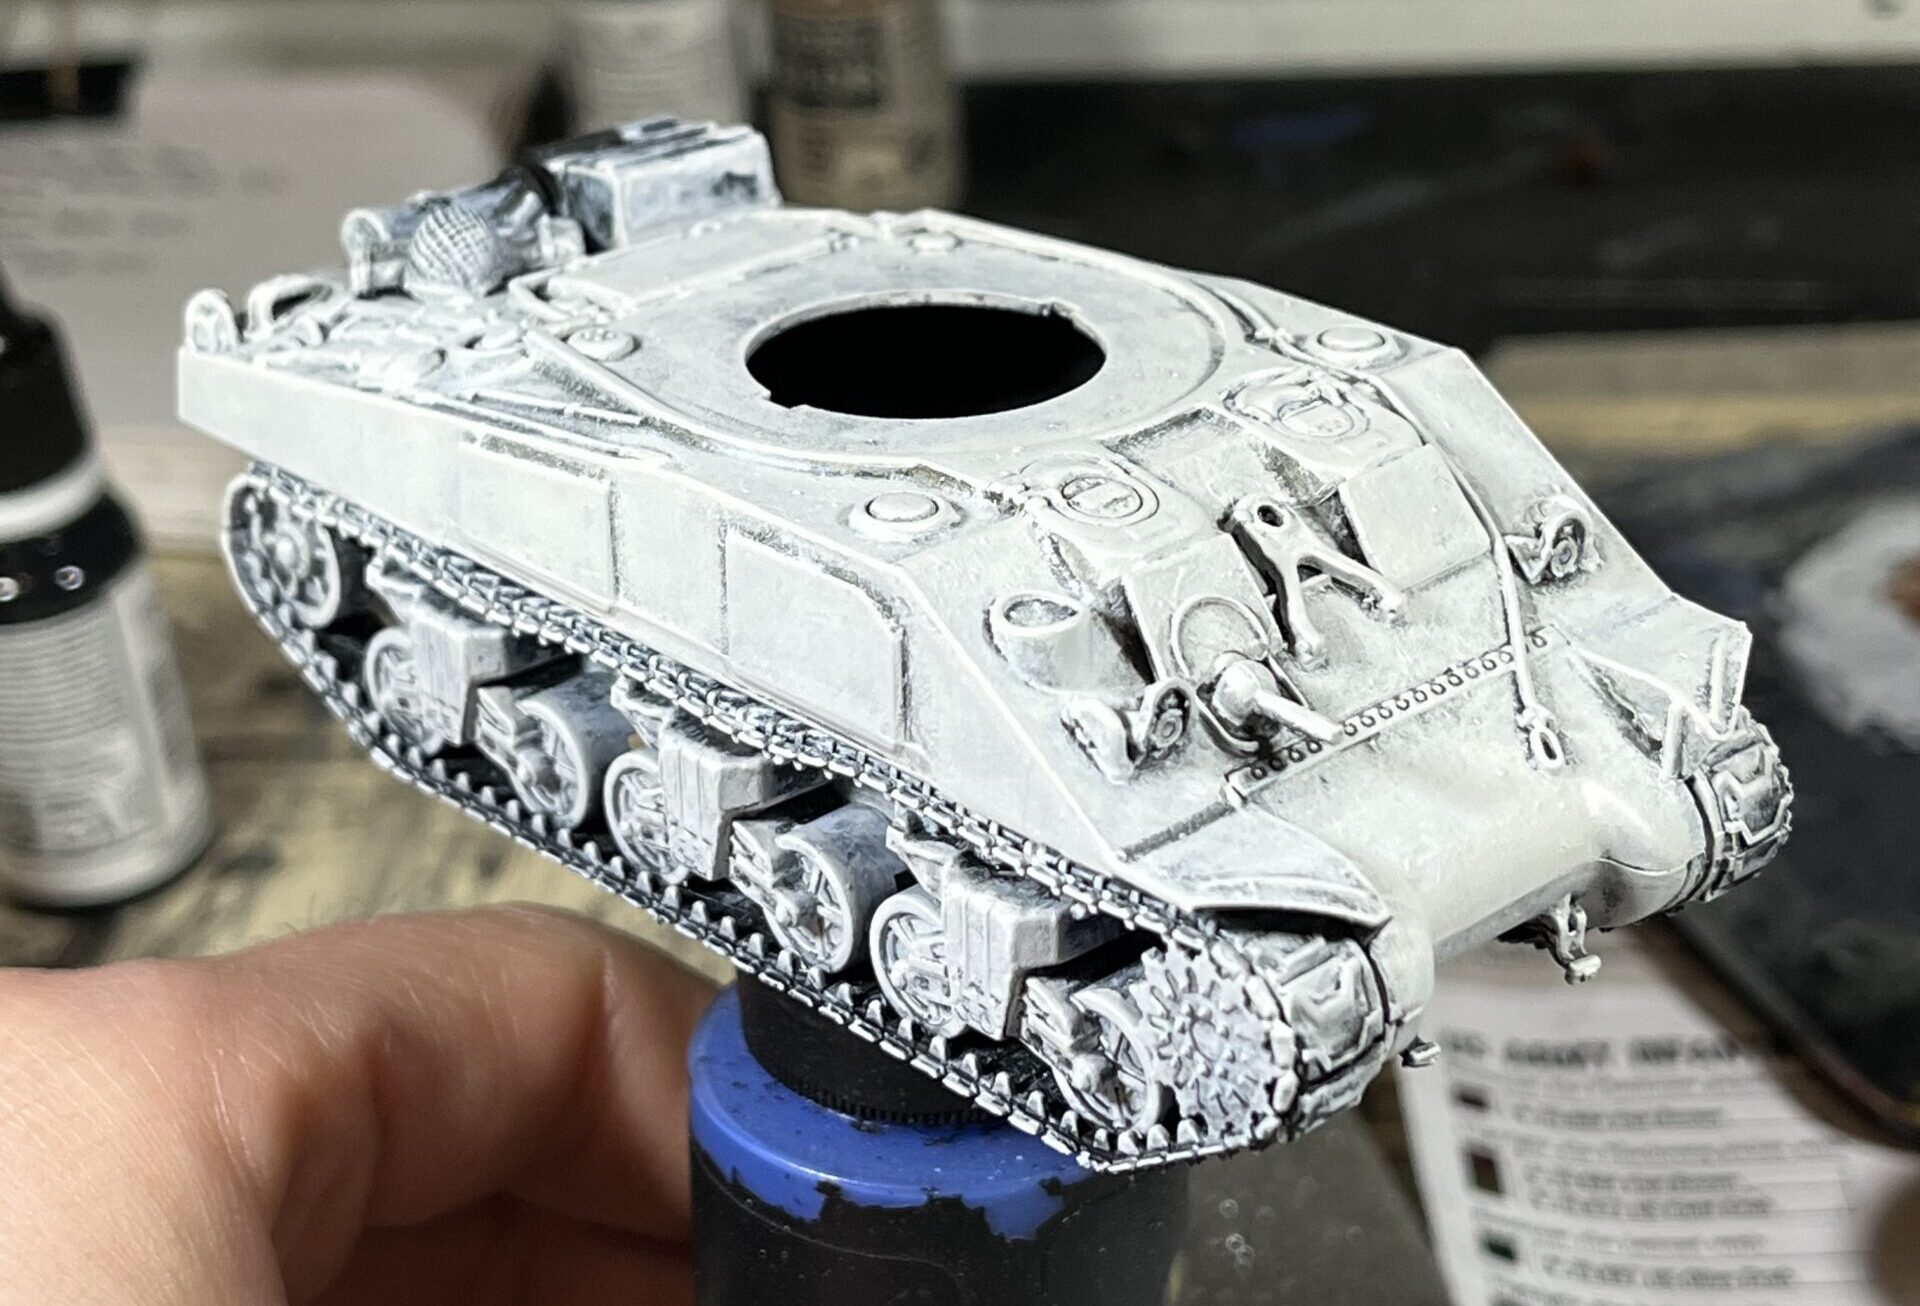
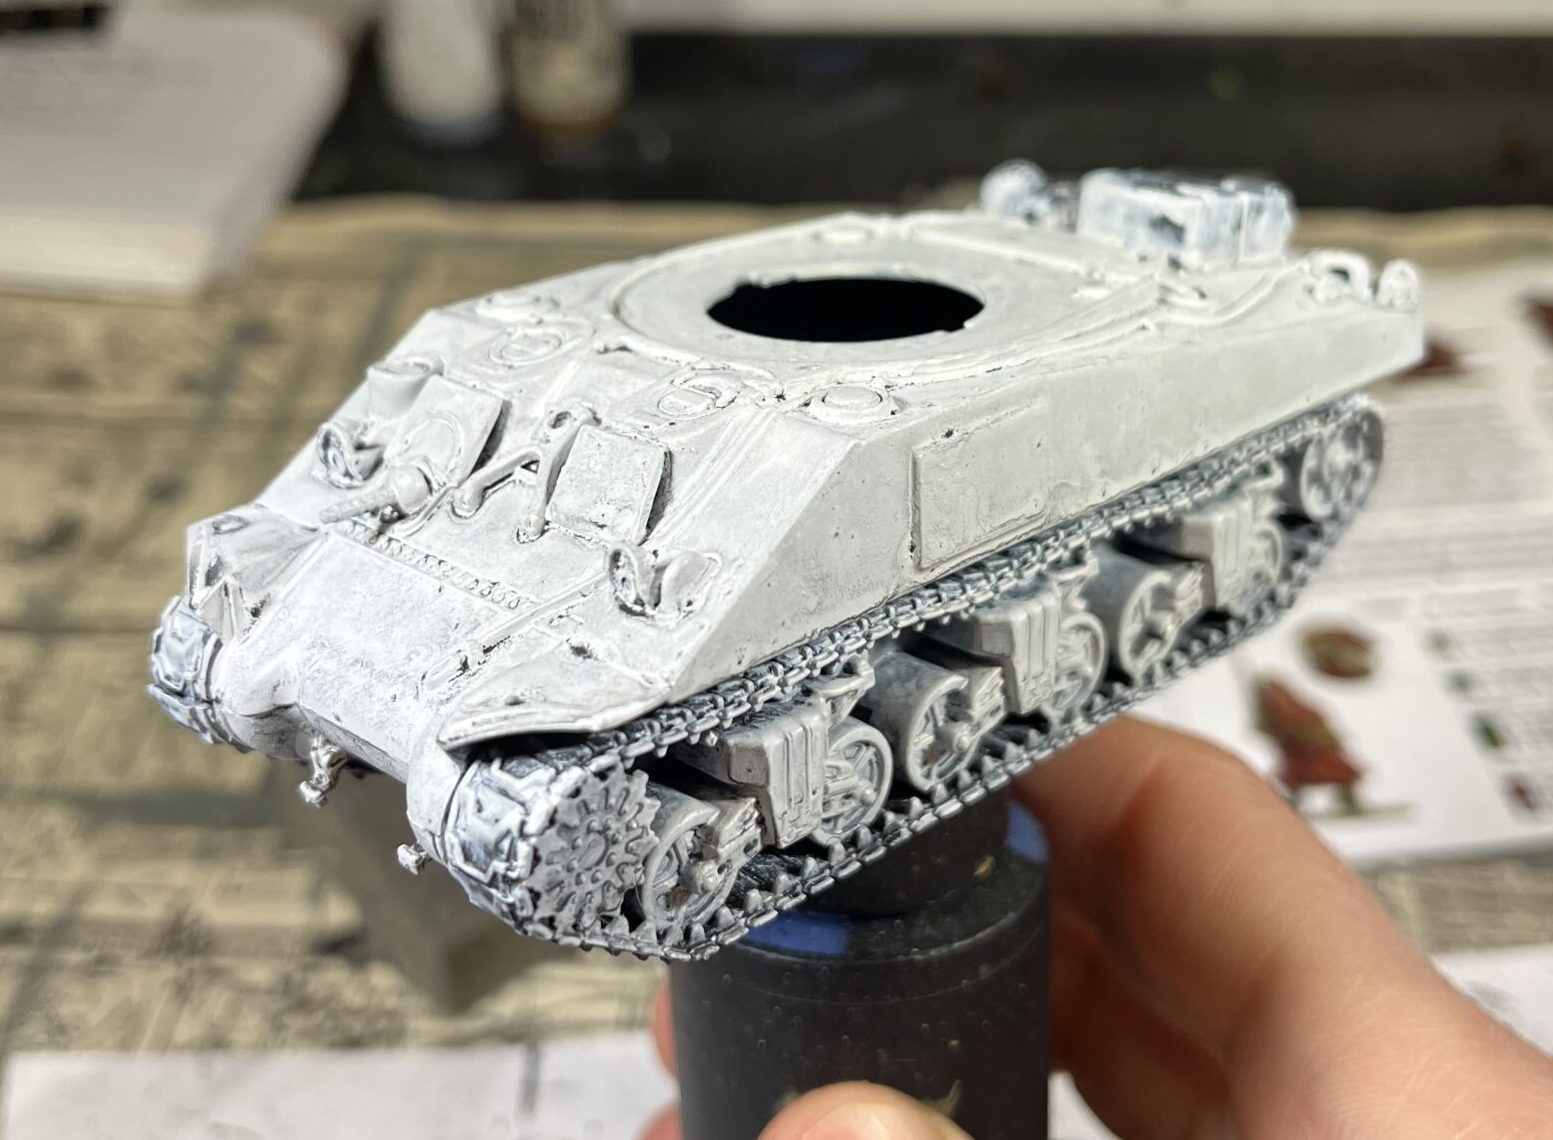 Basecoat the armor with Off White.
Happy painting!